


Learning how to draw a zebra doesn’t have to be a challenge when you follow this guide for kids! Find out how to create an adorable zebra pal of your very own by moving through the guide.
Zebras are incredible creatures. They look like big horses with a distinctive black and white striped color scheme that really makes them look distinctive.
Anyone who has seen a zebra in person can attest to the fact that they are gorgeous! In order to make this guide even more special, we will be working on a cute cartoon version of one of these hooved beauties.
I’ll take you through all of the steps to make it so much simpler and even more fun. So join me as we make this zebra together.
Watch These Steps To Make Your Zebra Drawing
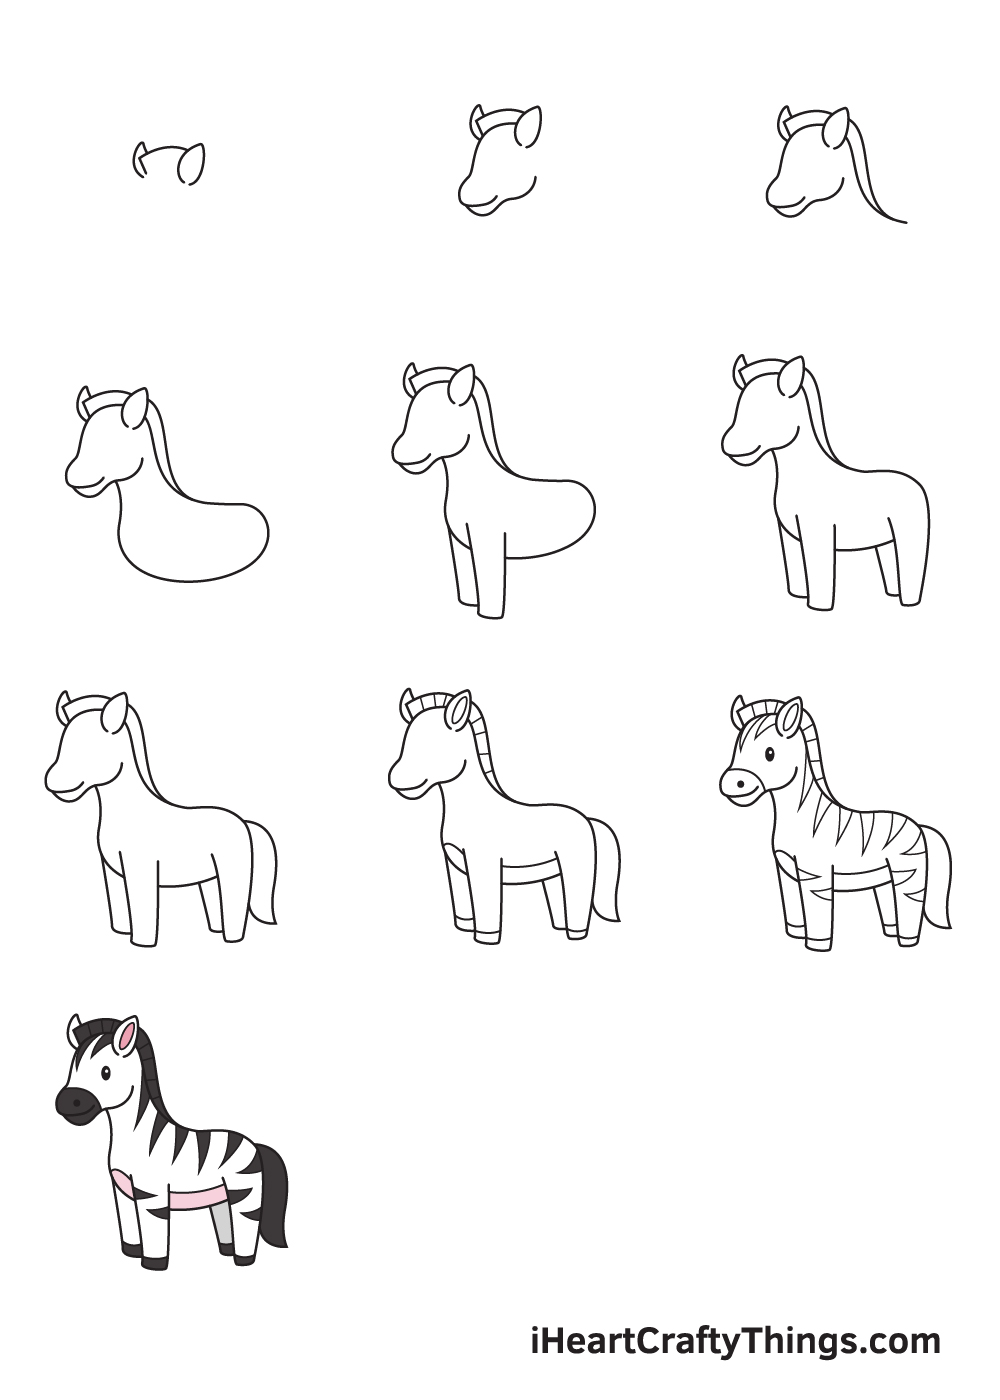
How to Draw a Zebra – Let’s get started!
Step 1
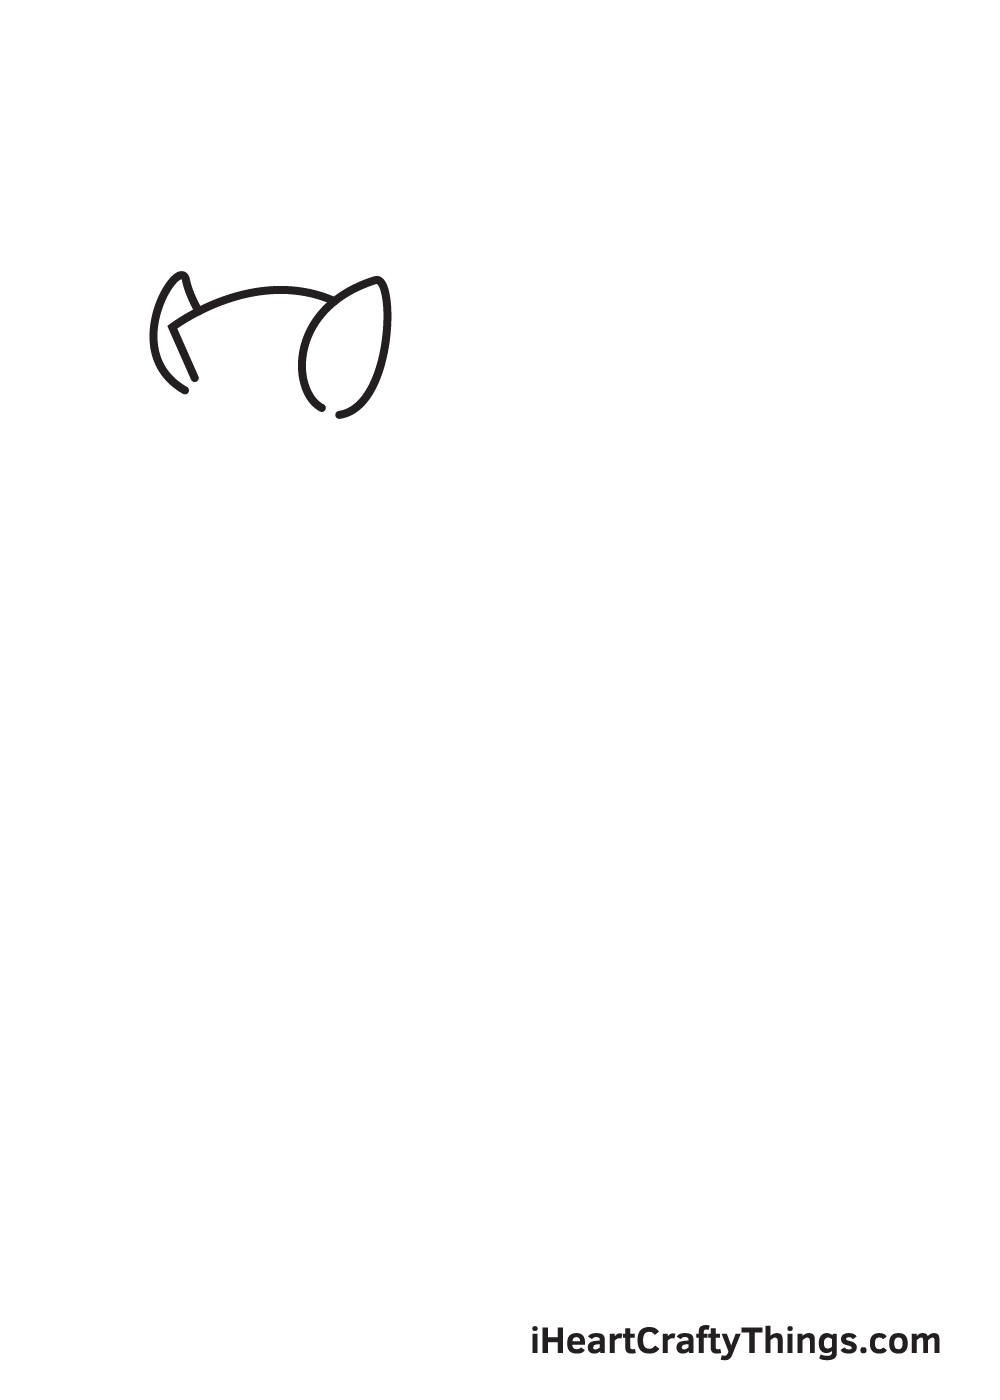
Start by drawing an angled line forming the mane of the zebra. For the ears, add two small oval shapes with pointed ends on both sides of the mane.
The mane and the ears should be drawn on the upper left side of your paper to leave sufficient space for the zebra’s entire head and body.
To make sure of this, you can create reference lines by drawing an intersecting horizontal and vertical line across your paper.
This guideline should divide your paper into four square spaces. The one on the upper left corner marks the spot where you should begin drawing.
Step 2 – Create an Outline of the Zebra’s Head
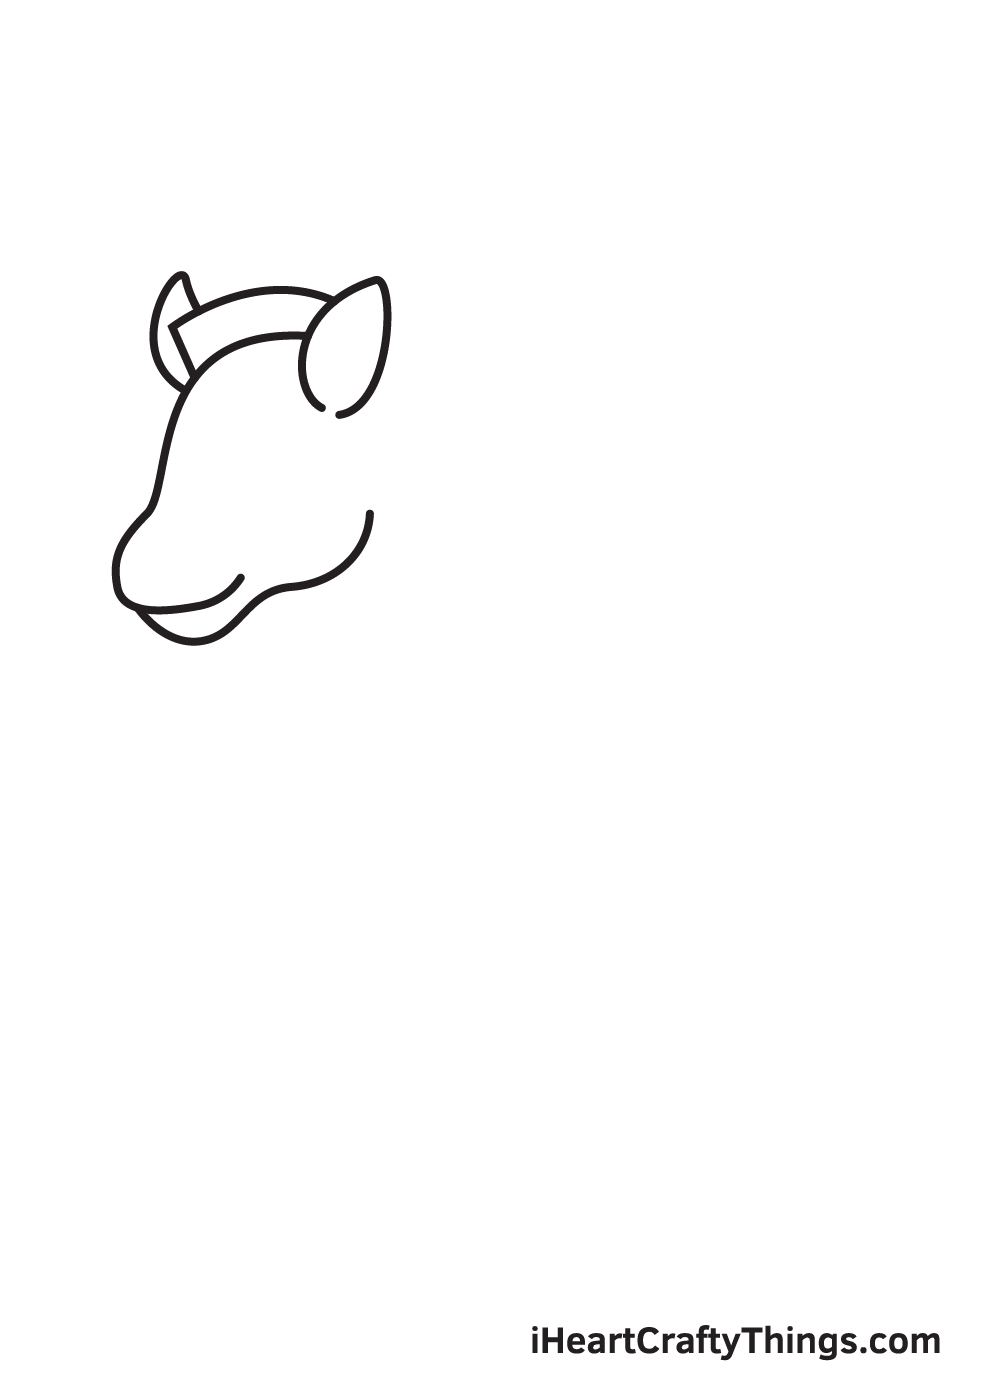
Draw a curved uneven shape underneath the zebra’s mane and ears. This forms the shape of the zebra’s head.
Don’t forget to put emphasis on the muzzle of the zebra by making it slightly elongated.
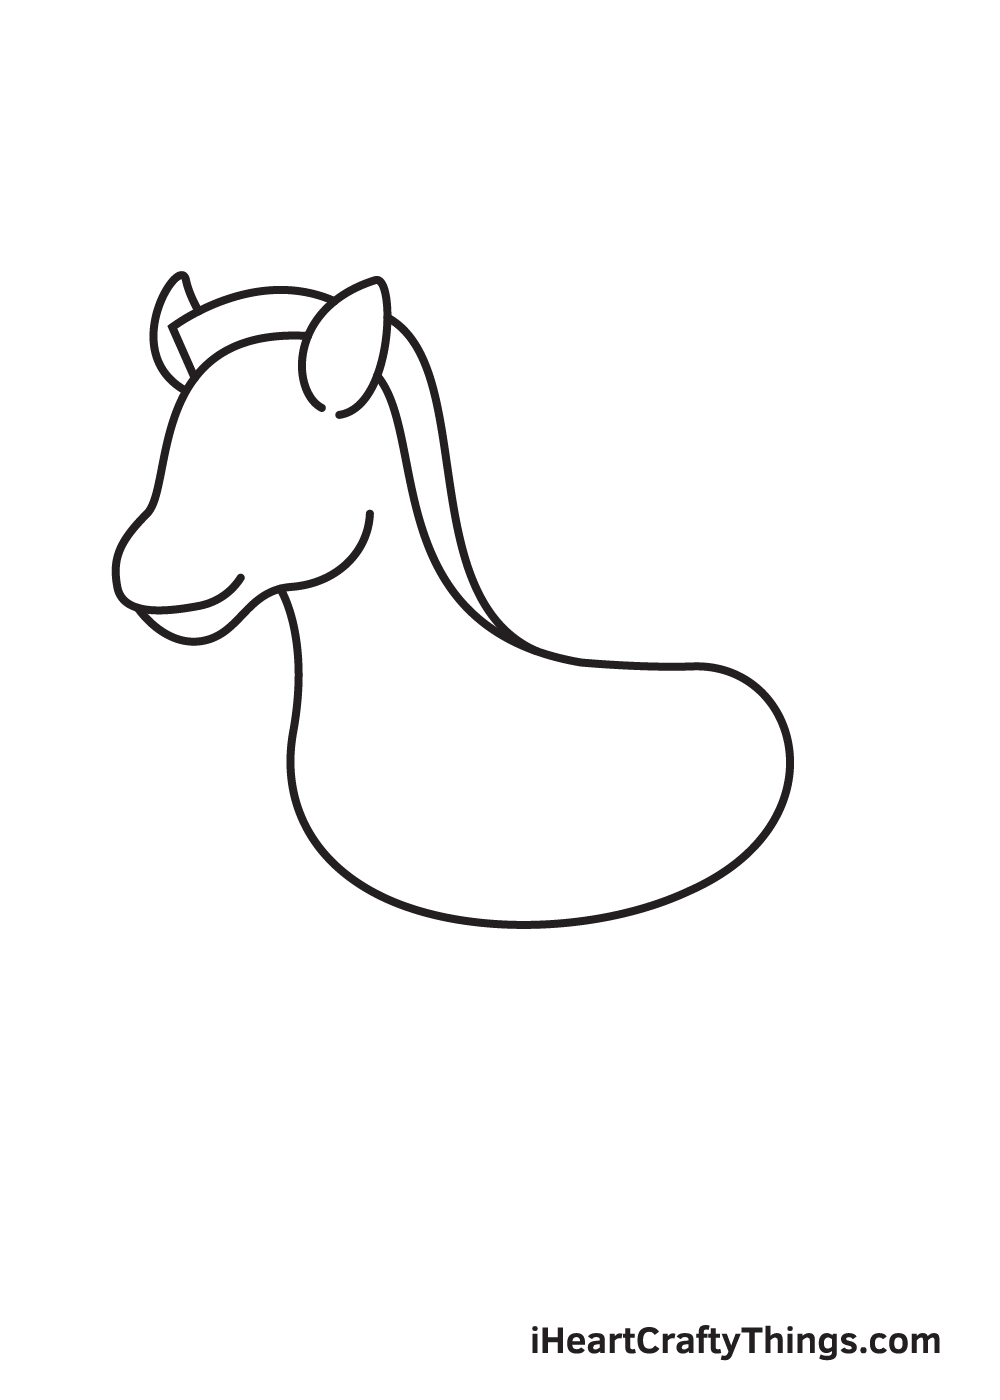
Step 3 – Next, Draw the Zebra’s Long, Thick Mane
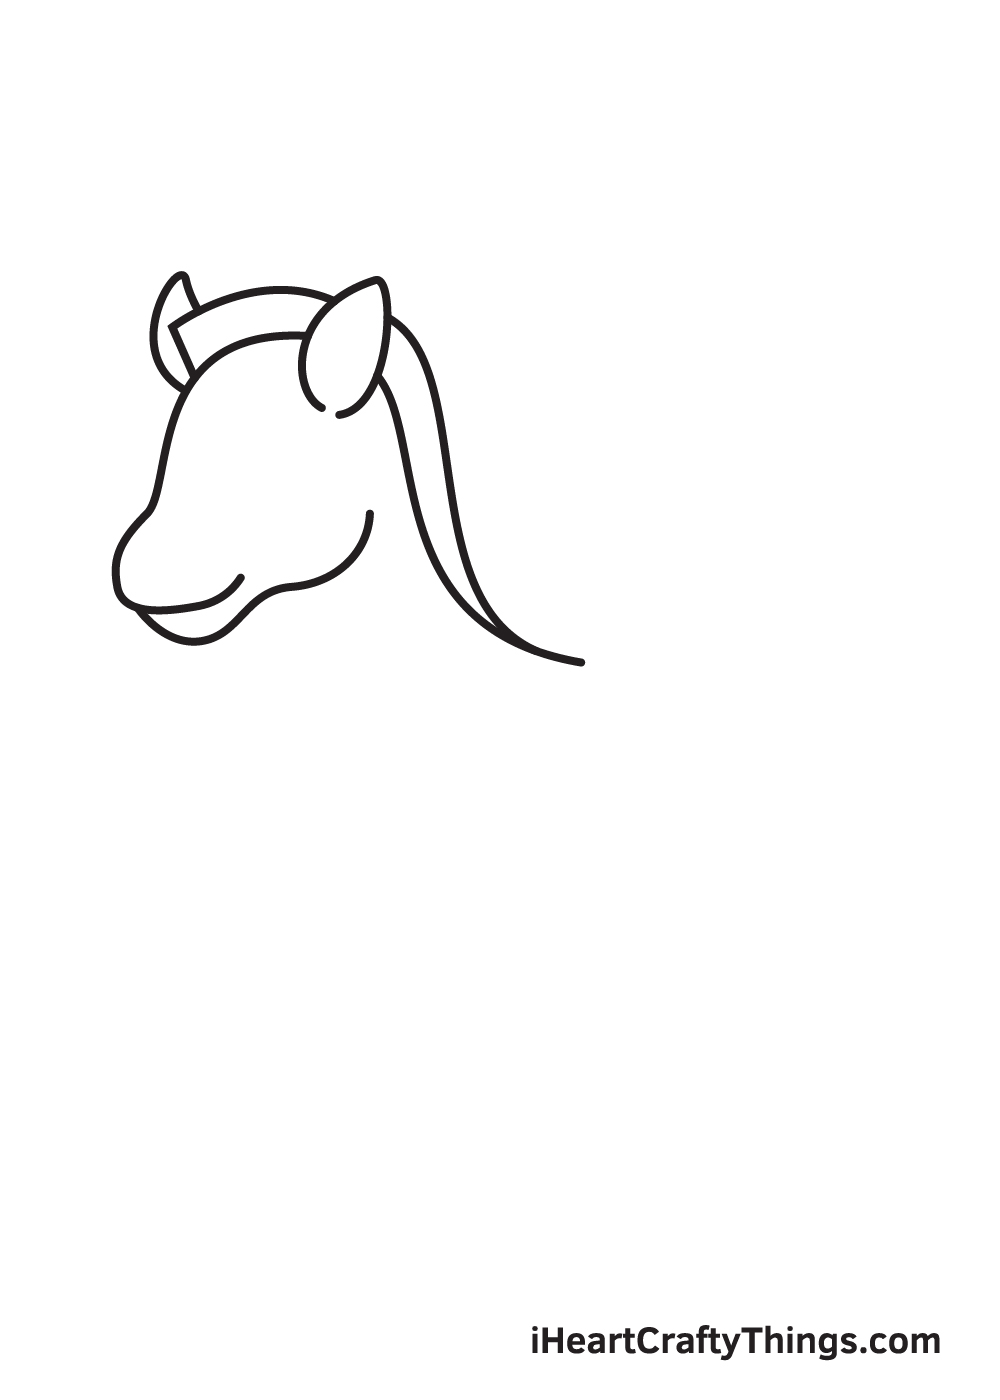
Extend the lines of the zebra’s mane at the top of its head to finalize the entire mane. Bring the line to a downward curve, outlining the shape of the mane.
Make sure that the mane is pointed at the bottom, as shown in the illustration.
Step 4 – Rough Sketch the Body of the Zebra
Draw a curved line right underneath the zebra’s head to form the neck. Afterwards, draw an irregular sideways oval shape directly connected to the zebra’s neck and head.
This forms the entire torso of the zebra.
Avoid pressing down too hard with your pencil when drawing a rough sketch of the zebra’s body.
It’s important to draw with light strokes so you can easily remove any part of the outline that you no longer need later on.
Step 5 – Afterwards, Draw the Zebra’s Front Legs
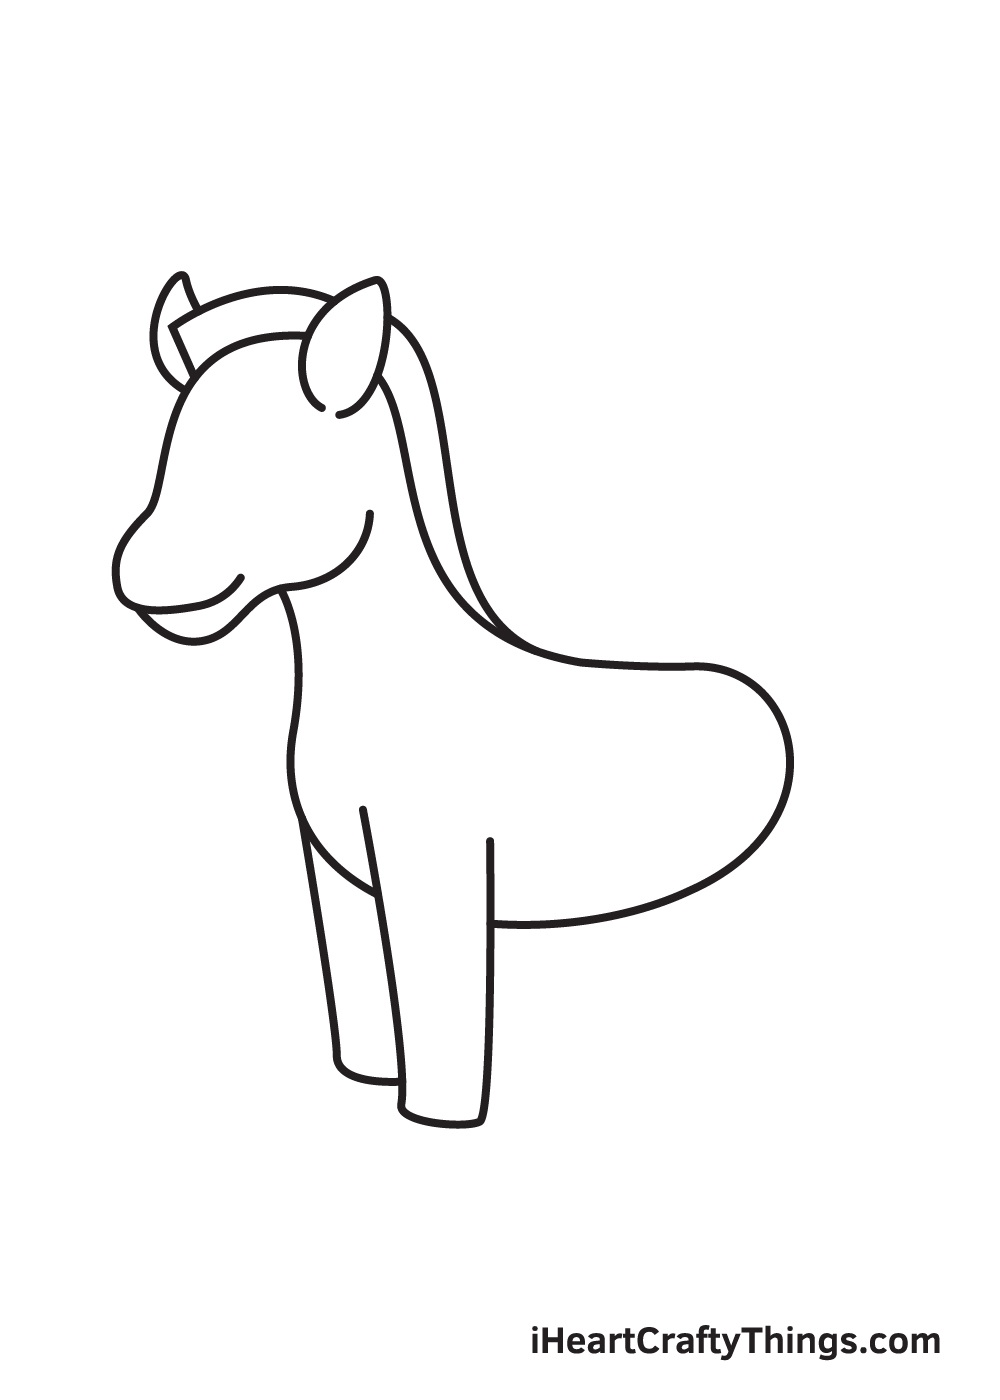
Below the zebra’s chest, draw two parallel vertical lines with a horizontal line at the bottom. This creates one front leg of the zebra.
Afterwards, draw a similar shape right beside the first front leg to complete the zebra’s two front legs. Since the zebra is facing sideways, the front leg at the back isn’t fully visible.
Don’t forget to erase any lines from the torso that overlaps inside the legs! This will ensure that your drawing looks neat, and most importantly, refined.
Step 6 – Complete All Four Legs of the Zebra
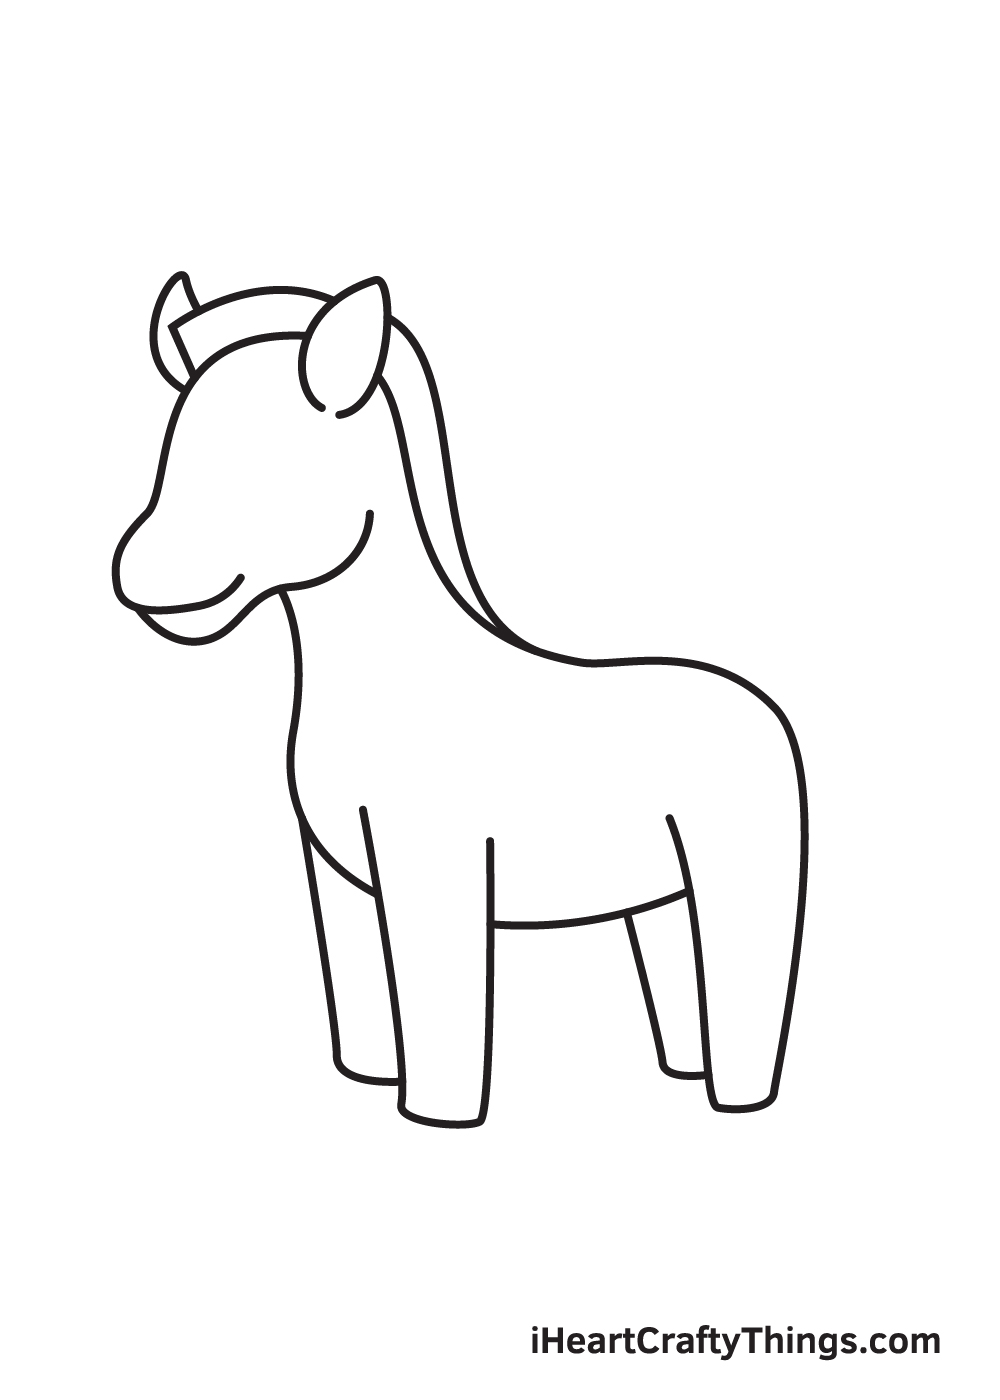
Repeat the previous step underneath the bottom back of the zebra. This creates the pair of hind legs of the zebra.
After completing this step, all four legs of the zebra should be fully formed, as shown in the illustration above.
Step 7 – Then, Add the Furry Tail of the Zebra

Draw a curved shape with a pointed tip attached on the lower back of the zebra.
This forms the zebra’s thick, furry tail.
Step 8 – Add the Zebra’s Details and Patterns
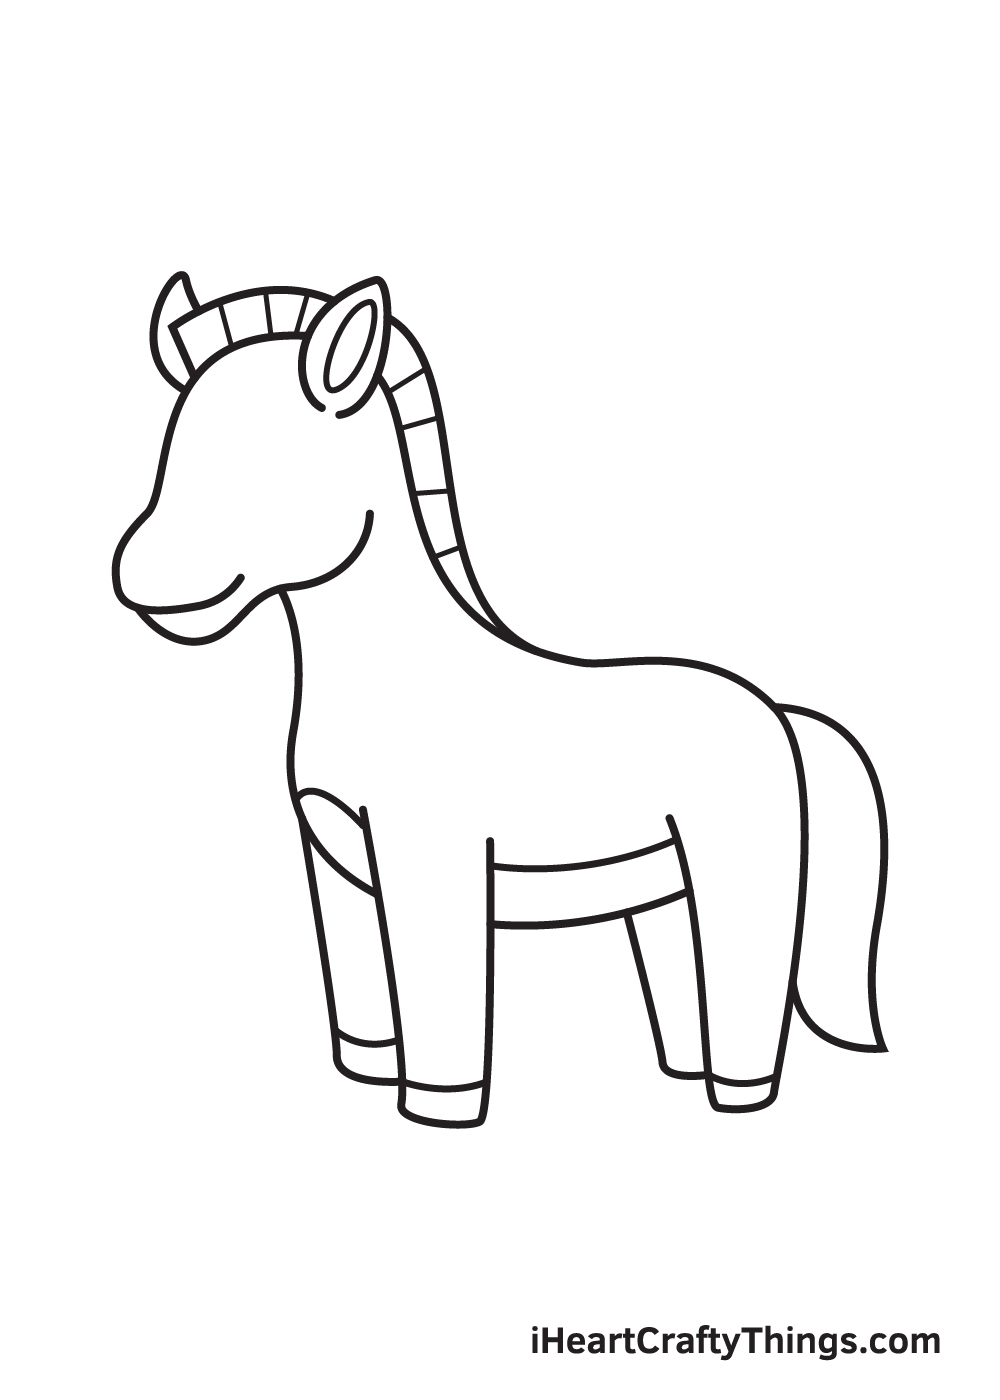
Draw multiple parallel lines across the mane of the zebra. Afterwards, draw a curve on the bottom of its body outlining the zebra’s underside.
Then, draw a line right above the edge of all four feet of the zebra to create the hooves.
Step 9 – Create the Zebra’s Distinct Stripe Pattern
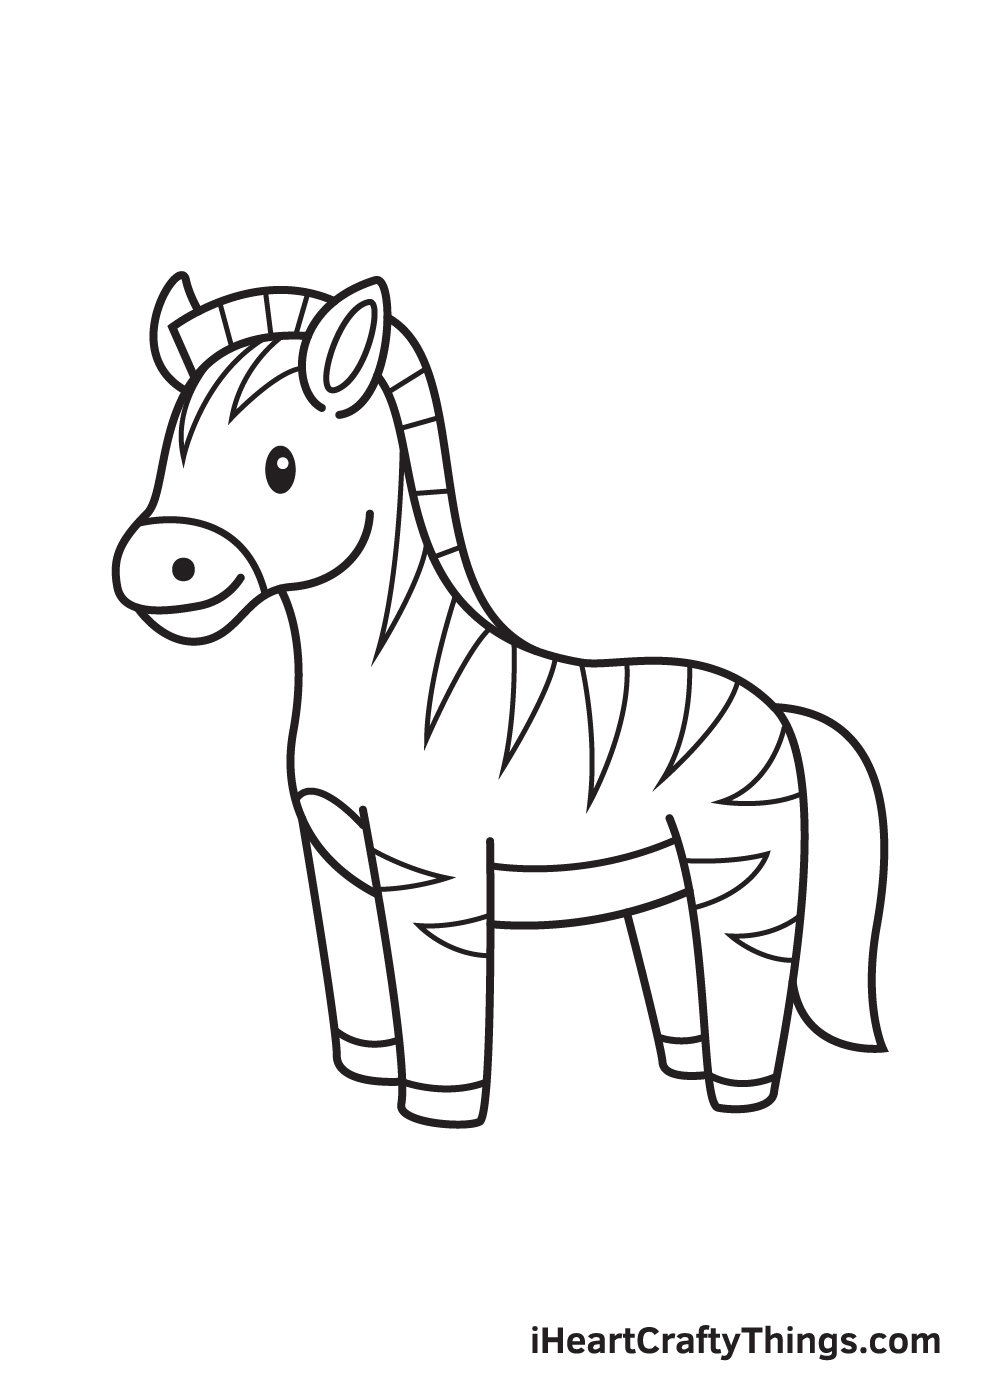
The zebra wouldn’t be complete without its unique stripe markings all over the coat of its body, so that’s what we’ll be drawing in this step.
Draw multiple pointed shapes on the upper edge of the zebra’s torso. Make sure to add similar patterns across all four legs of the zebra too!
Now, to complete your drawing, add the facial features. Proceed by drawing a standing oval shape for the eyes and a tiny circle for the nose on the muzzle.
Lastly, draw a shape inside the ear following its shape.
Here’s the most exciting part—choosing the colors and coloring the zebra! This is the part where you can showcase your artistic skills, especially your ability to mix and match various colors.
As we all know, the zebra’s coat is black and white. You can opt to color the zebra using its original colors or use a unique set of colors.
We recommend doing the latter so you can customize your drawing and make the most out of your experience!
Have fun playing with colors and watch as the zebra ultimately comes to life!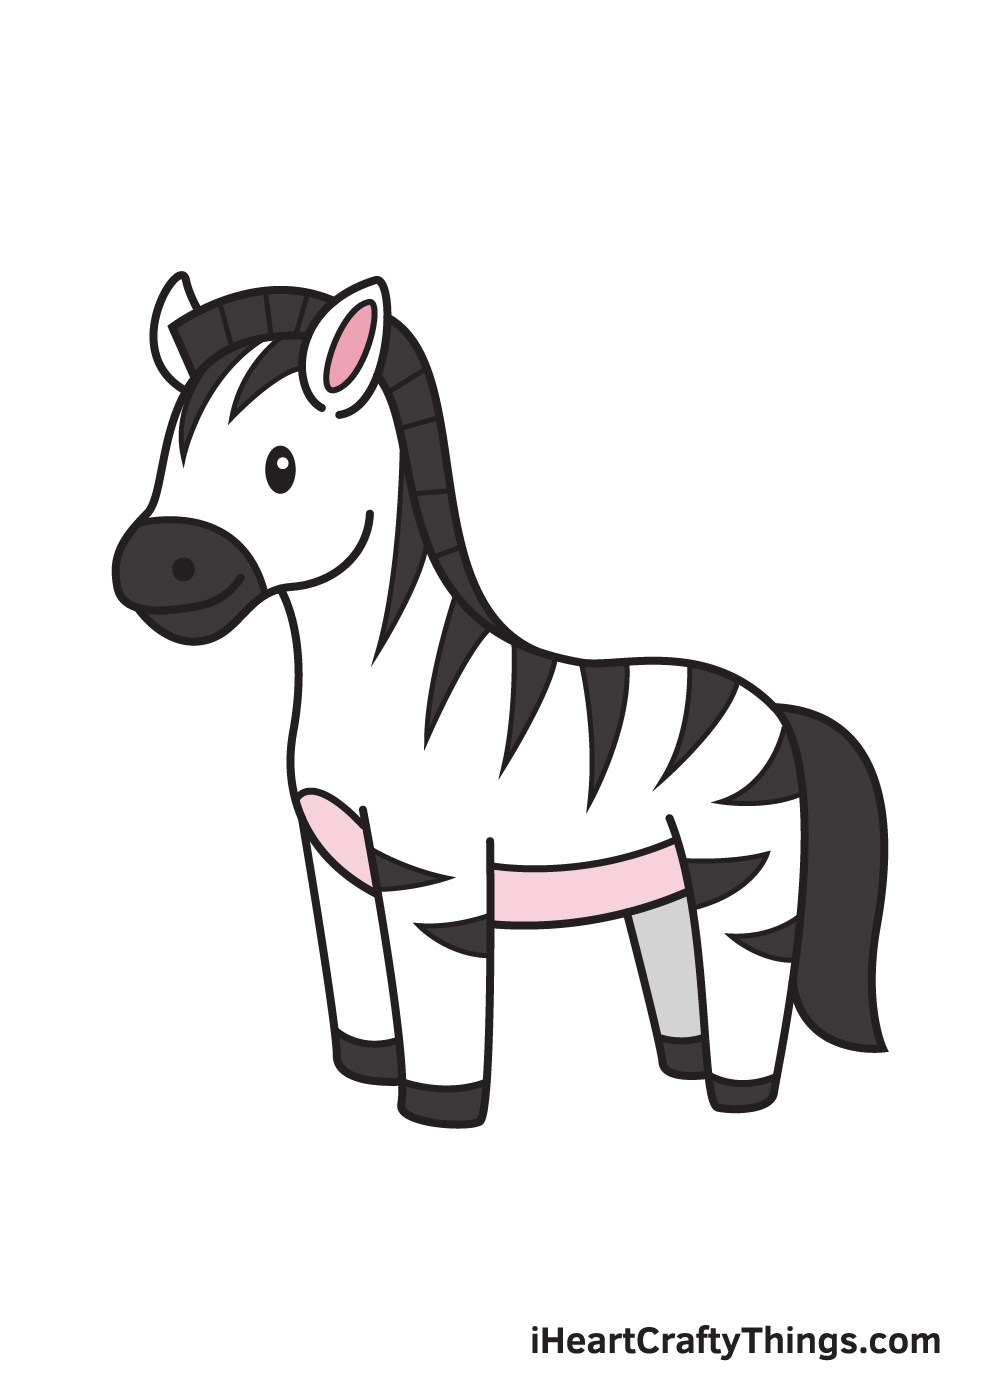
Do this to take your zebra drawing to the next level
Create a wild and wonderful picture as we show you how to make this zebra look even better!
Zebras are naturally found in Africa, and this continent is full of many amazing animals. You could add some of them to this zebra drawing to make it even more interesting to look at!
Some examples of animals you could add would include lions, elephants or some gazelles. These are just a few examples, and there are so many more to choose from!
Whichever animals you decide to add, you could draw them in a similar cartoon style to this cute zebra. What animals can you think of to add to the scene?
Whether you add some more animals to this drawing of a zebra or not, you could make it even better with a background. This could be something like an African savannah or maybe a fun zoo setting.
Alternatively, you could go for something more wild and imaginative. There is no limit to the kinds of backgrounds you could go for, and we would be interested to see what ideas you have!
As much as we love the design of this zebra sketch, you could make it even more unique by changing the style. You could do this by looking up some photos of real zebras.
Using these photos, you could then change some details to make this particular zebra look a bit more realistic. That’s one way of doing it, but you may want to go for an even more exaggerated cartoon style!
Zebras are black and white in real life, so they’re not exactly known for being super colorful. That being said, you don’t have to feel limited for this zebra sketch!
When coloring it in, you could use a whole range of fun colors. After all, the zebra doesn’t have to be realistic.
You could even go crazy with your colors and use a different one for each stripe. If you do want to keep the zebra black and white, you could use some vibrant colors for the background instead.
Your Zebra Drawing is Complete!
We hope you enjoy this step-by-step drawing tutorial. If you had a good time drawing a zebra, then you’ll surely have fun drawing other animals like a goat, sheep, and many more!
Check out our “How to Draw” catalog so you can explore more enjoyable drawing tutorials like this.
Once you’ve finished drawing and coloring a zebra, don’t forget to show off the results of your hard work.
Take a picture of your masterpiece and share it on various social media platforms. And while you’re at it, make sure to like our Facebook page too!
We can’t wait to see your incredible zebra drawing!