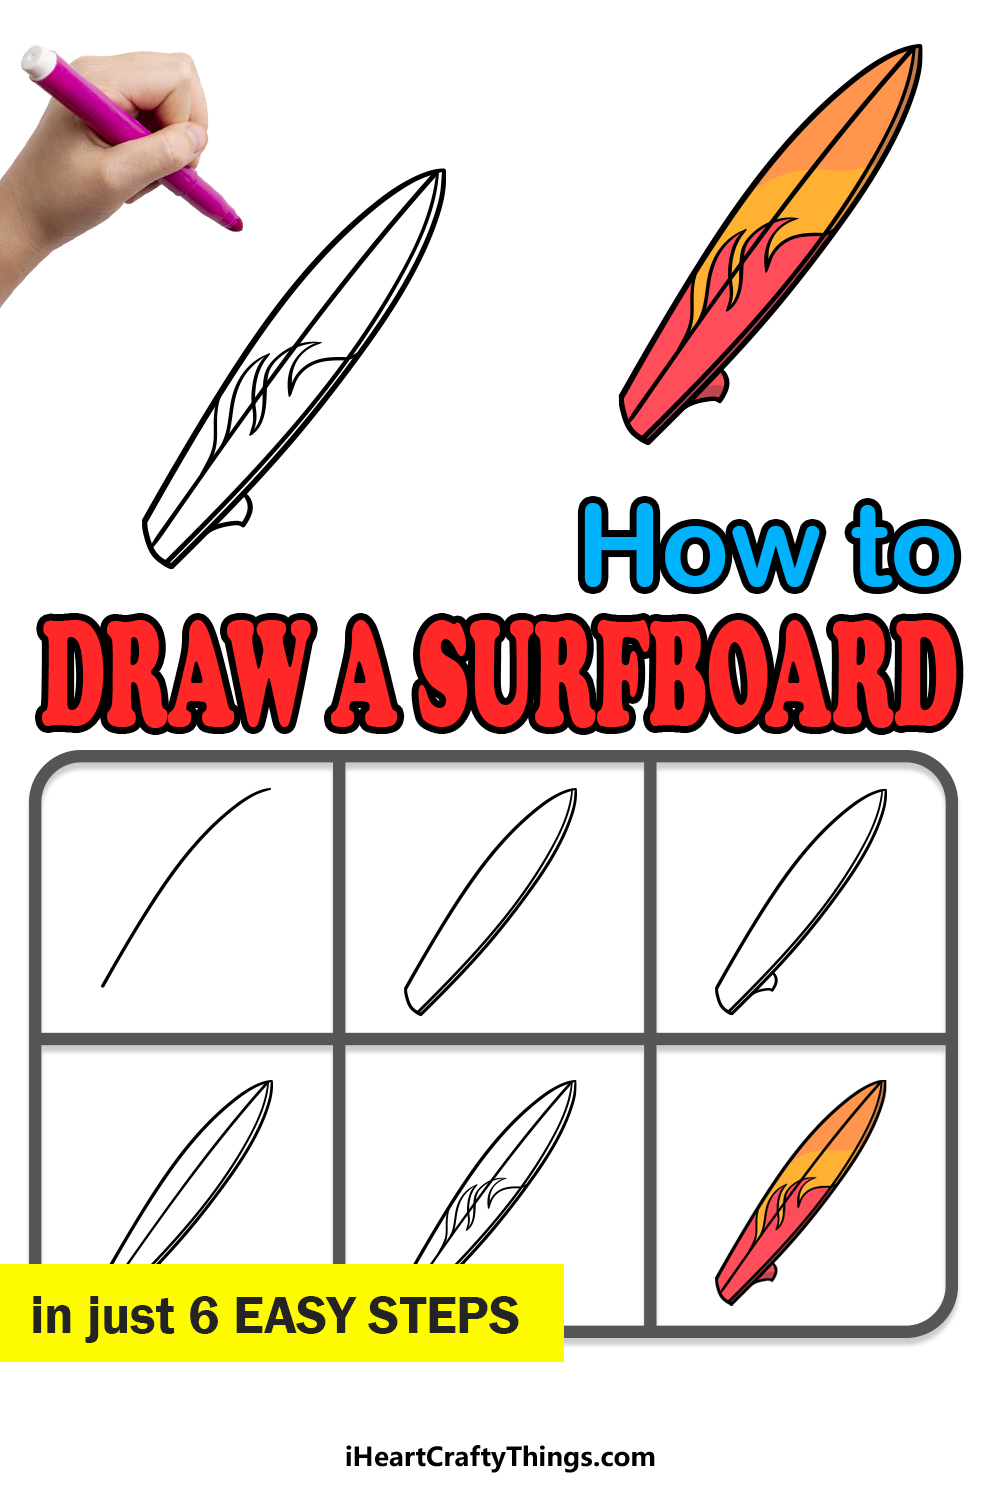
Surf’s up as we embark on this guide on how to draw a surfboard! By the end of this guide, you will see the easiest way to make your very own surfboard design.
Surfing is such a fun activity, and that’s true whether you’re watching it or participating yourself. One of the things that makes surfing fun is to see the various designs of surfboards that can be used.
There are so many creative designs and patterns to be admired, and it’s easy to imagine what it would be like to design your very own surfboard design.
In this guide, I will take you through all of the steps so that you can draw this simple surfboard design. Once you have the hang of it, you can then customize it with your own details, additions and elements.
You could even draw a character riding the surfboard, so there are many opportunities for fun in this guide.
Find Out How To Make Your Surfboard Drawing
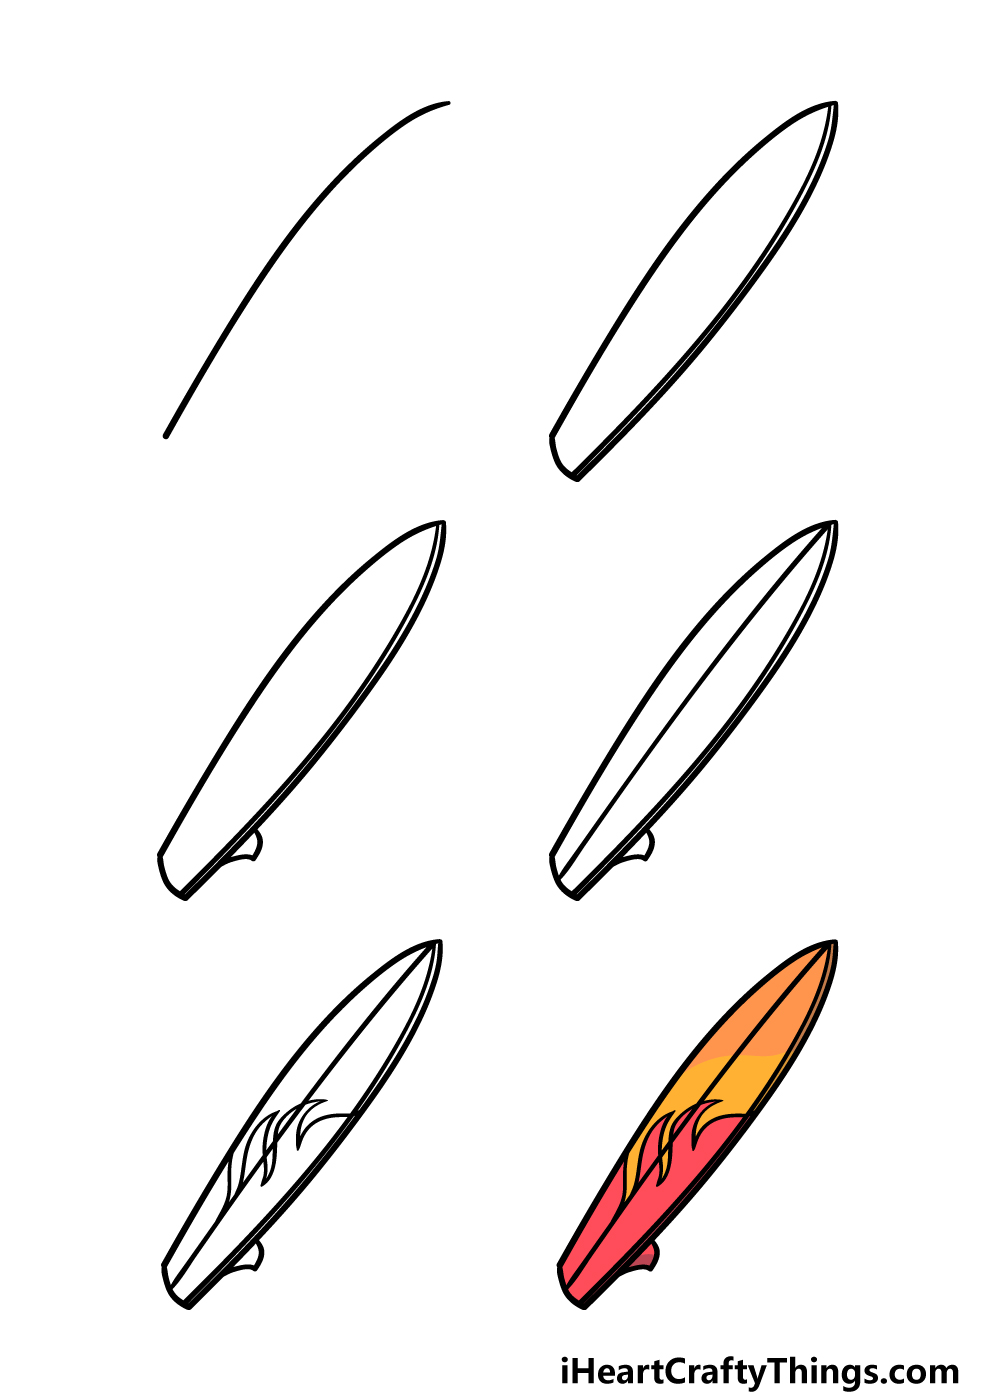
How to Draw A Surfboard – Let’s Get Started!
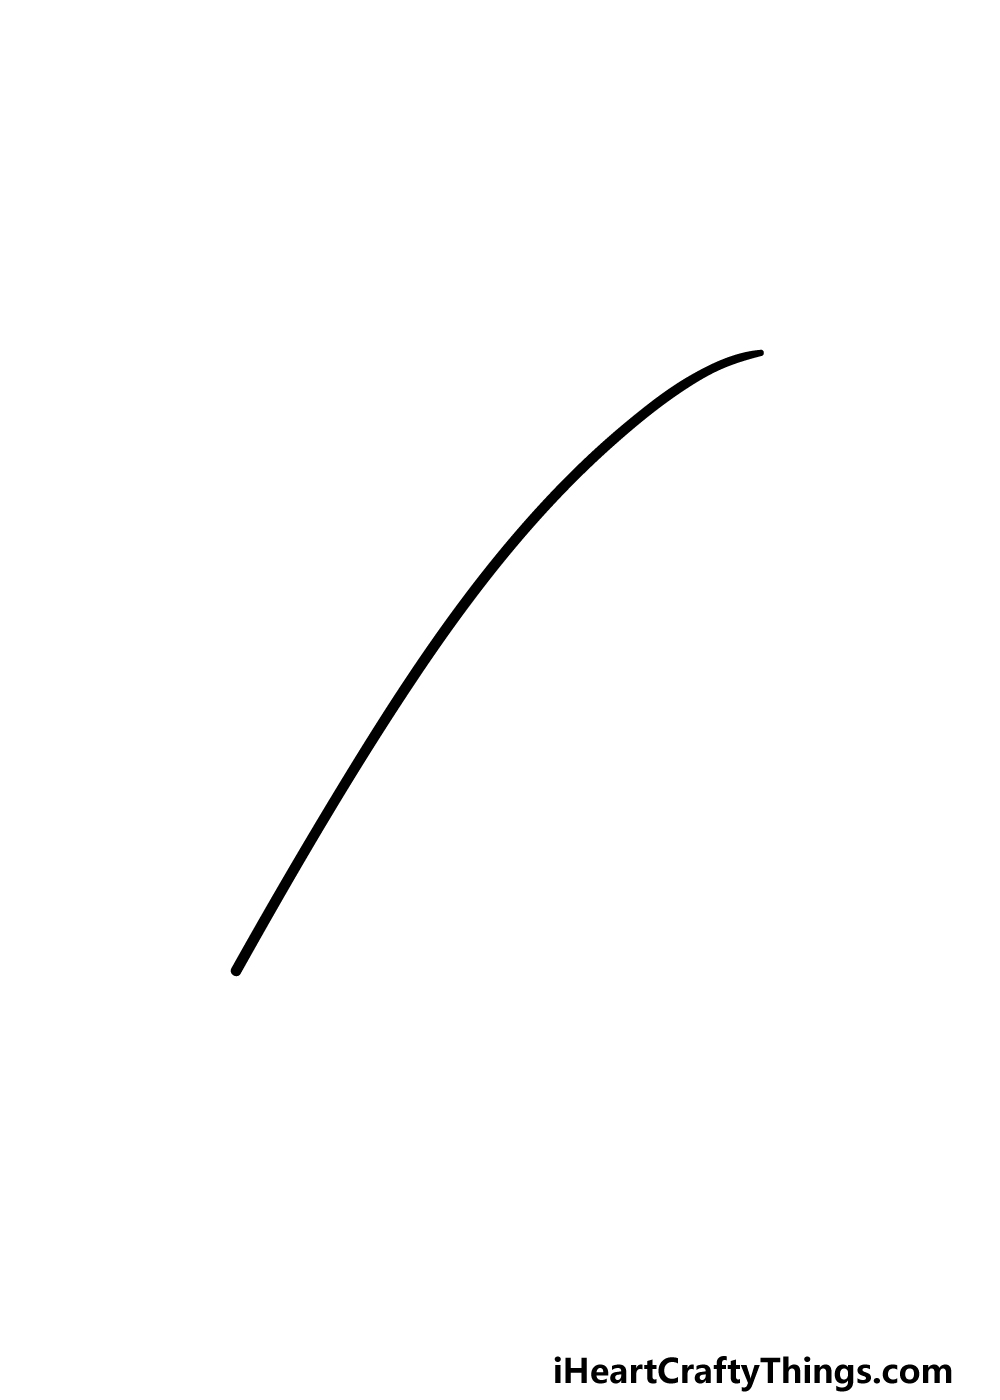
Step 1
Surfboards have a sleek and thin design, and this helps them to glide through the water and maintain speed and stability.
Surfboards can come in varied shapes, and each one has pros and cons depending on what the rider is looking for.
The surfboard that we will be designing in this guide on how to draw a surfboard will be long and quite thin, but later on you can also change the shape a bit if you wish!
For now, we will be starting really simply. We will be drawing a single, thick line that curved ever so slightly until the end on the right, where it will curve slightly more sharply.
That’s all there is to it for this step! When you’re ready to move on we shall go ahead to step 2.
Step 2 – Next, draw the rest of the surfboard outline

Now that you have the first line for your surfboard drawing, we can finish off the outline in this next step. To do this, first add a short diagonal line onto the bottom of the line that you just drew.
Then, you can extend another long line up from that, and it will curve similarly to how the first one did until it meets the top of that line at a sharp point.
Then, we will draw another line along the right-hand edge of the board to give it a look of thickness.
Step 3 – Draw the fin for the board
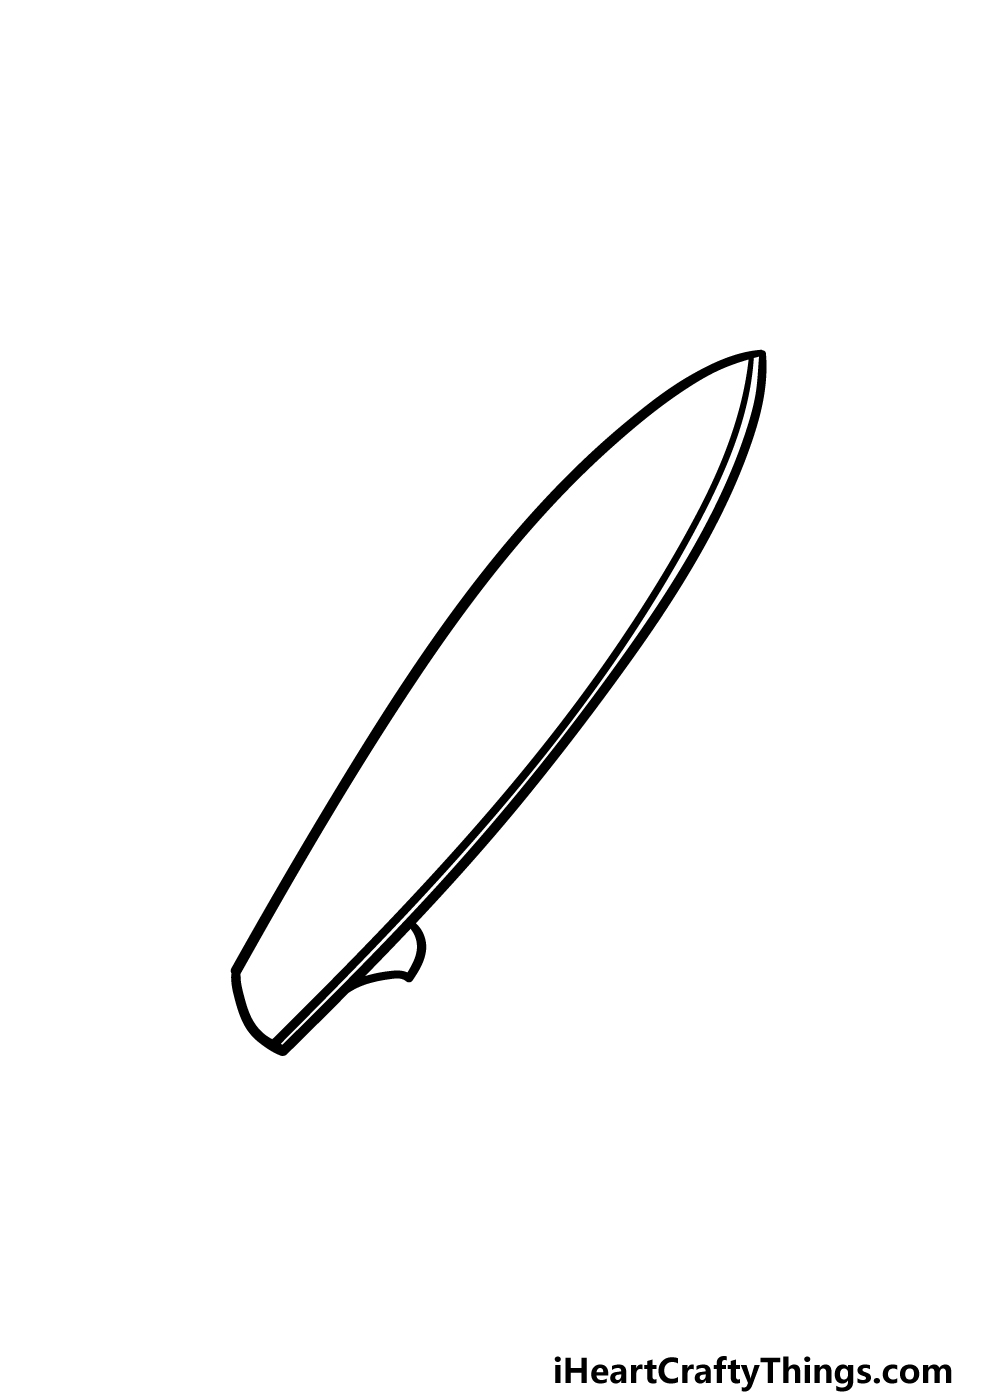
Surfboards will usually have some fins at the base which are also sometimes called skegs. These fins are used to provide more accurate stability and direction control.
We will be drawing the fin for this board in this step of our guide on how to draw a surfboard.
This should be rather easy for you to do, as all you need to do is draw two curved lines at the base of the board that meets to make a little sharp point. Then you’ll be ready to move on to step 4!
Step 4 – Now, draw the center line of the surfboard
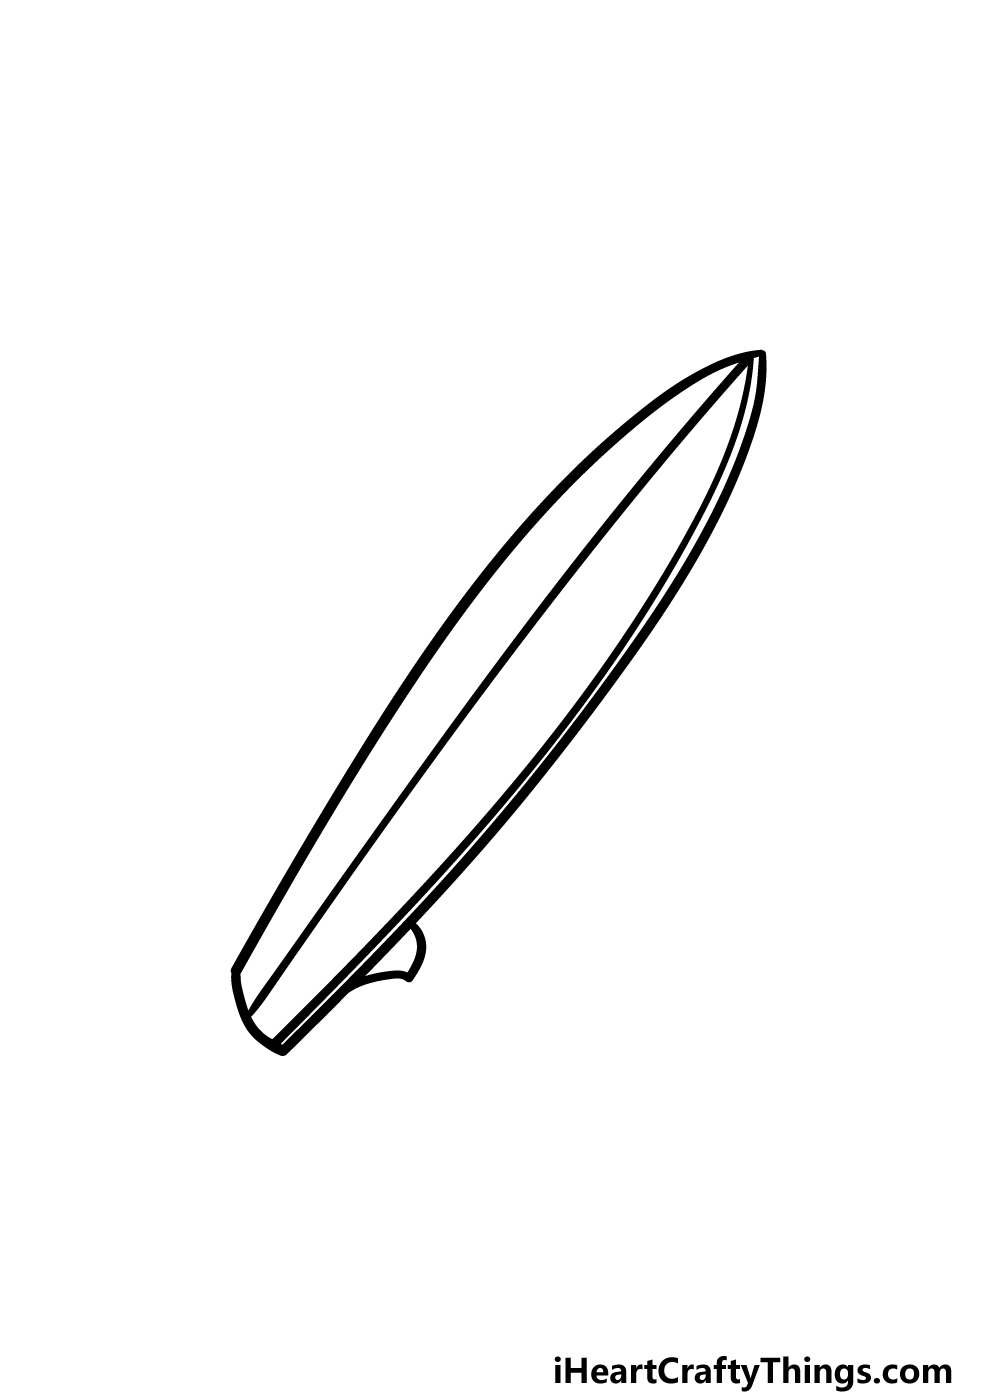
You’ve completed the general outline for your surfboard drawing, and for this step along with the next one we will be working on some of the interior details.
As for step 4, this should be a rather easy step for you to do! All you need to do is draw a straight line from the tip of the surfboard down to the base of it at the other side.
Once you have drawn that, we will move on to step 5 where you can unleash your inner surfboard designer!
Step 5 – Finish off your surfboard drawing with some decoration
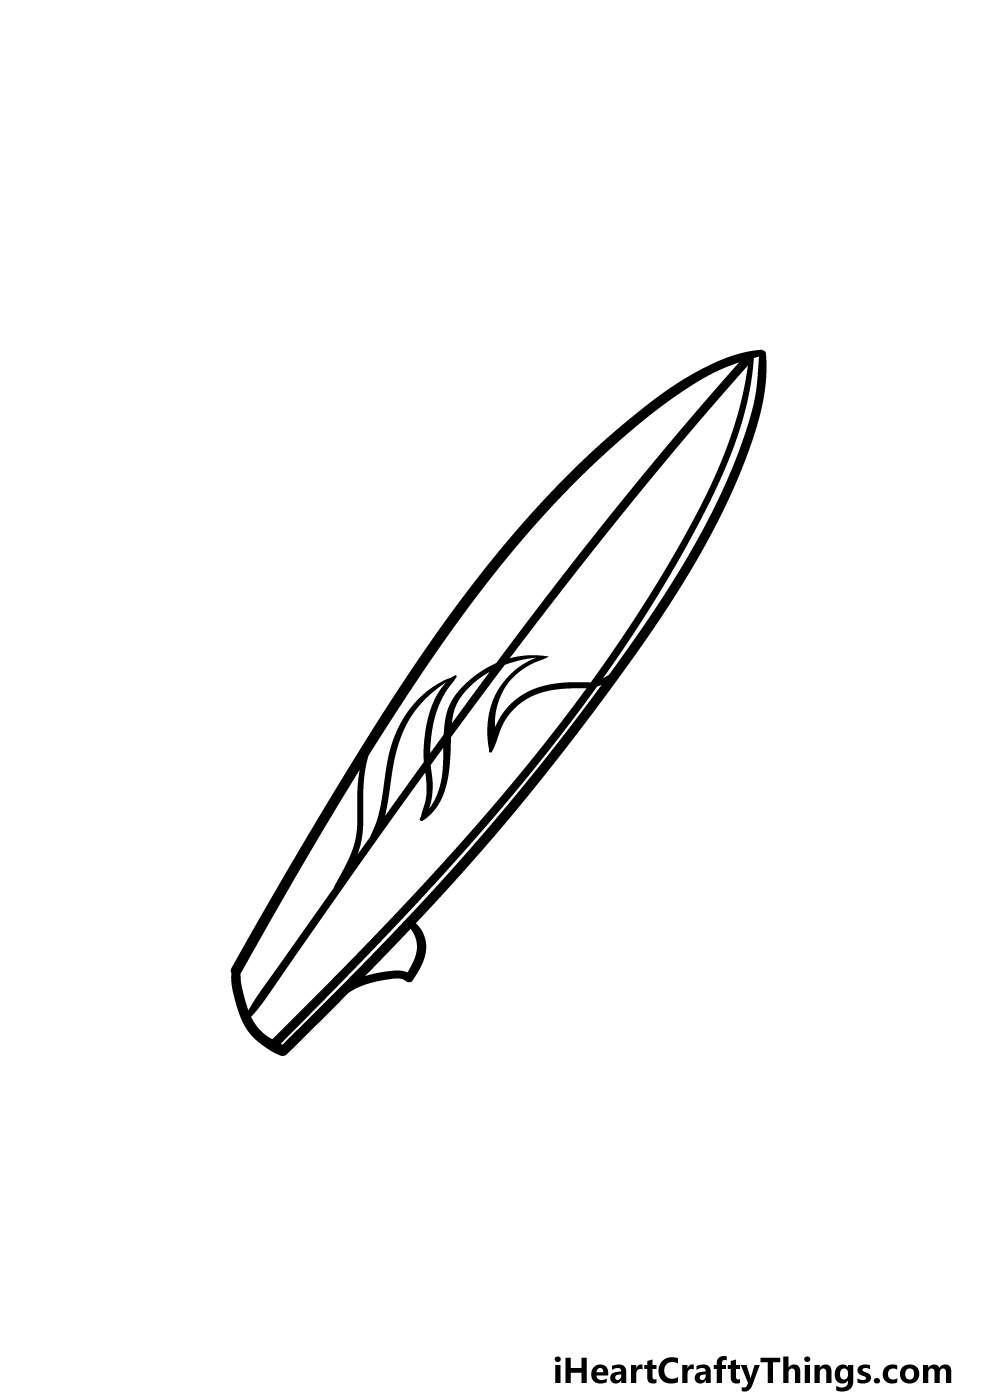
This should prove to be a really fun step in this guide on how to draw a surfboard! The surfboard is all drawn, so for this part we will focus on decorating it.
In our reference image, we went for some hotrod flames to give it a really cool look. To achieve this look, we used some curved and rounded lines with sharp points in them for the flaming look to the design.
If you like this design, you can replicate it using the image as your guide, but this is a step where you can also create your own awesome design as well if you wish!
Surfboards can come in all manner of different patterns and designs, so if you would like to show off what your ideal surfboard would look like then this is your chance.
If you are going to create a unique design for your surfboard drawing, what kind of theme or pattern do you think you will use?
Step 6 – Finish off your surfboard drawing with some color
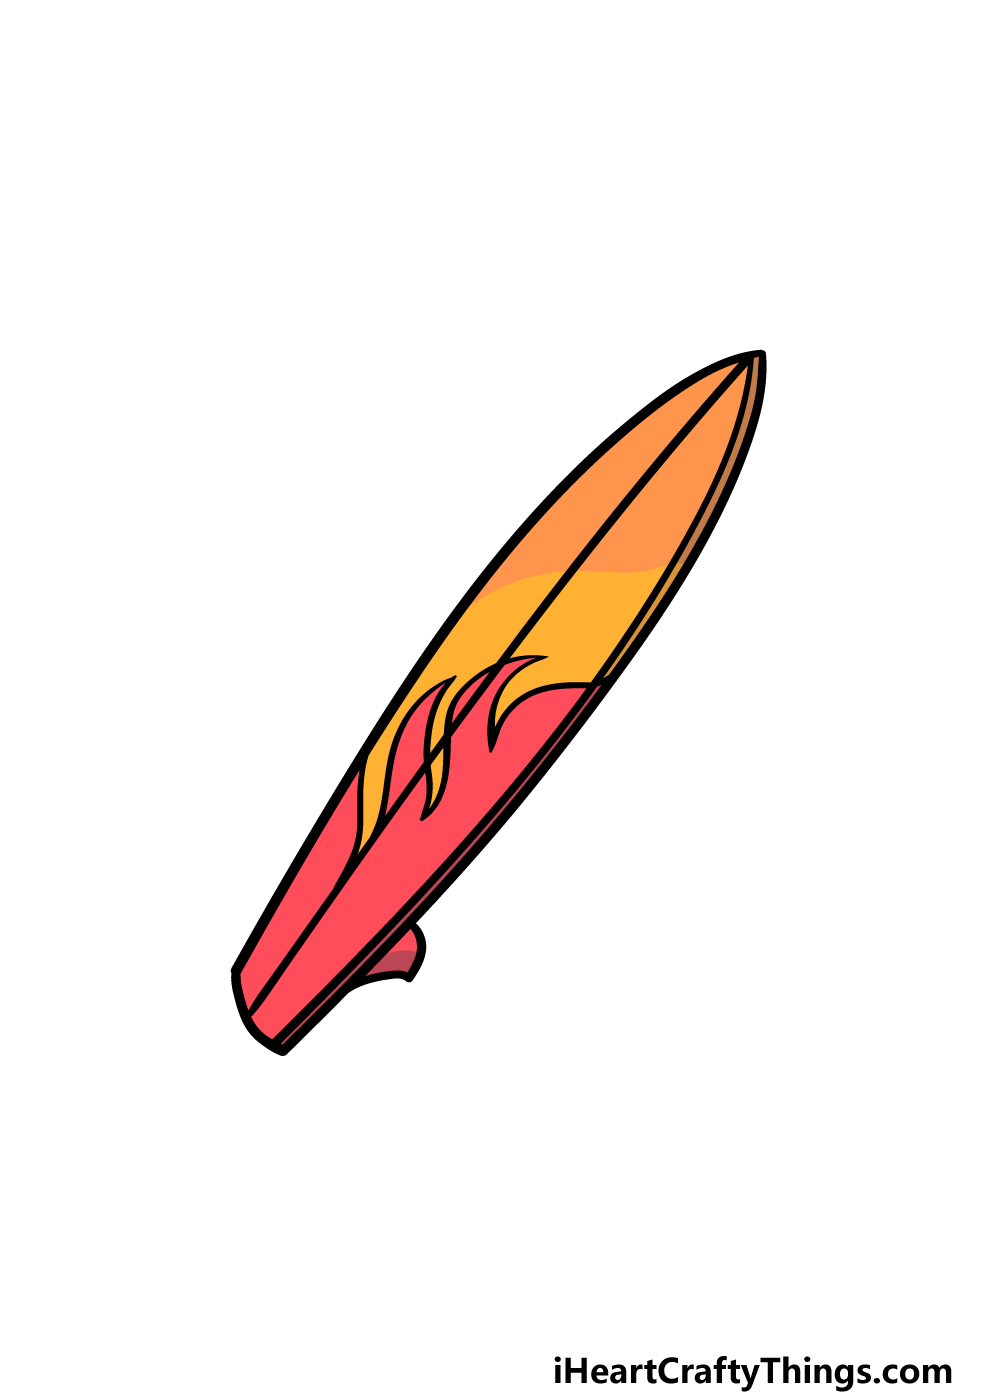
Now it’s time for the final step of your surfboard drawing, and in this one you can have some fun choosing the colors for your picture.
In the last step, we went with a flaming design for the pattern, and for that reason we went with lots of warm colors for it to suit that theme.
This is just one of many ways that you could color your drawing in, and this step is your chance to show off how creative you can be with your colors!
If you went for a different decoration theme then you could use colors that reflect it nicely.
You can also achieve different looks for the colors you choose by changing up the art mediums and tools that you use for the colors.
What will you choose to finish off your picture?
4 More Ways To Make Your Surfboard Drawing Unique
Ride the wave as we show you some fun and easy tips for your surfboard sketch!
For surfing enthusiasts, the surfing itself is just one aspect of the sport. Many like to express themselves even further with the design of their surfboard.
We showed you one possible design for this surfboard drawing, but there are so many you could use! This depends on your own preference, and you could use any pictures and patterns you like.
You may have a specific theme in mind, but you could just let your creativity take over as you finish the design. What sort of design would you like to create?
Without a person, a surfboard is basically a huge paperweight. For that reason, it could be fun to add a human character to this drawing of a surfboard!
This character could be a generic surfer dude, or you could use yourself as a model. These are just a few ideas for the human character you may want to add, but you could use anyone you like.
What sort of style would you use for this human character?
When surfing, you may encounter some ocean wildlife. Hopefully they would be ones without rows of sharp teeth!
Regardless, it would be fun to add some of these creatures to your surfboard sketch. These could be dolphins, fish, crabs or maybe even a shark.
Looking up some images online can be a great way to get some inspiration. What are some fun sea creatures that could accompany this surfboard?
Finally, you could finish off this surfboard drawing with a fun background to show where it’s being used. The most obvious setting would be to show the surfboard being used to ride a big wave.
It could also be shown with someone paddling on it searching for a wave. You could also combine this suggestion with any of the previous ones.
Adding some small islands and other ocean details would also make the background even better! What other details could you add to this background?
Your Surfboard Drawing is Complete!
Surfing is a really fun activity to try out, and we hope that working on this guide on how to draw a surfboard proved just as fun for you!
Drawing something like a surfboard can often be a bit tricky because there is a really specific shape and form to replicate. By breaking it down, we hope that it proved to be easy and fun for you to complete!
Now you can add some details of your own to create your own incredible surfboard variations.
You could look up some surfboard variations and create different shapes for more surfboard drawings as well. This is your chance to get creative and have fun with it!
Then you can surf on down to our website, where we have many awesome guides for you to enjoy! We upload new ones often, so be sure to keep checking in.
We would be very curious to see how you finished your surfboard drawing, so please remember to share it on our Facebook and Pinterest pages for us to see!