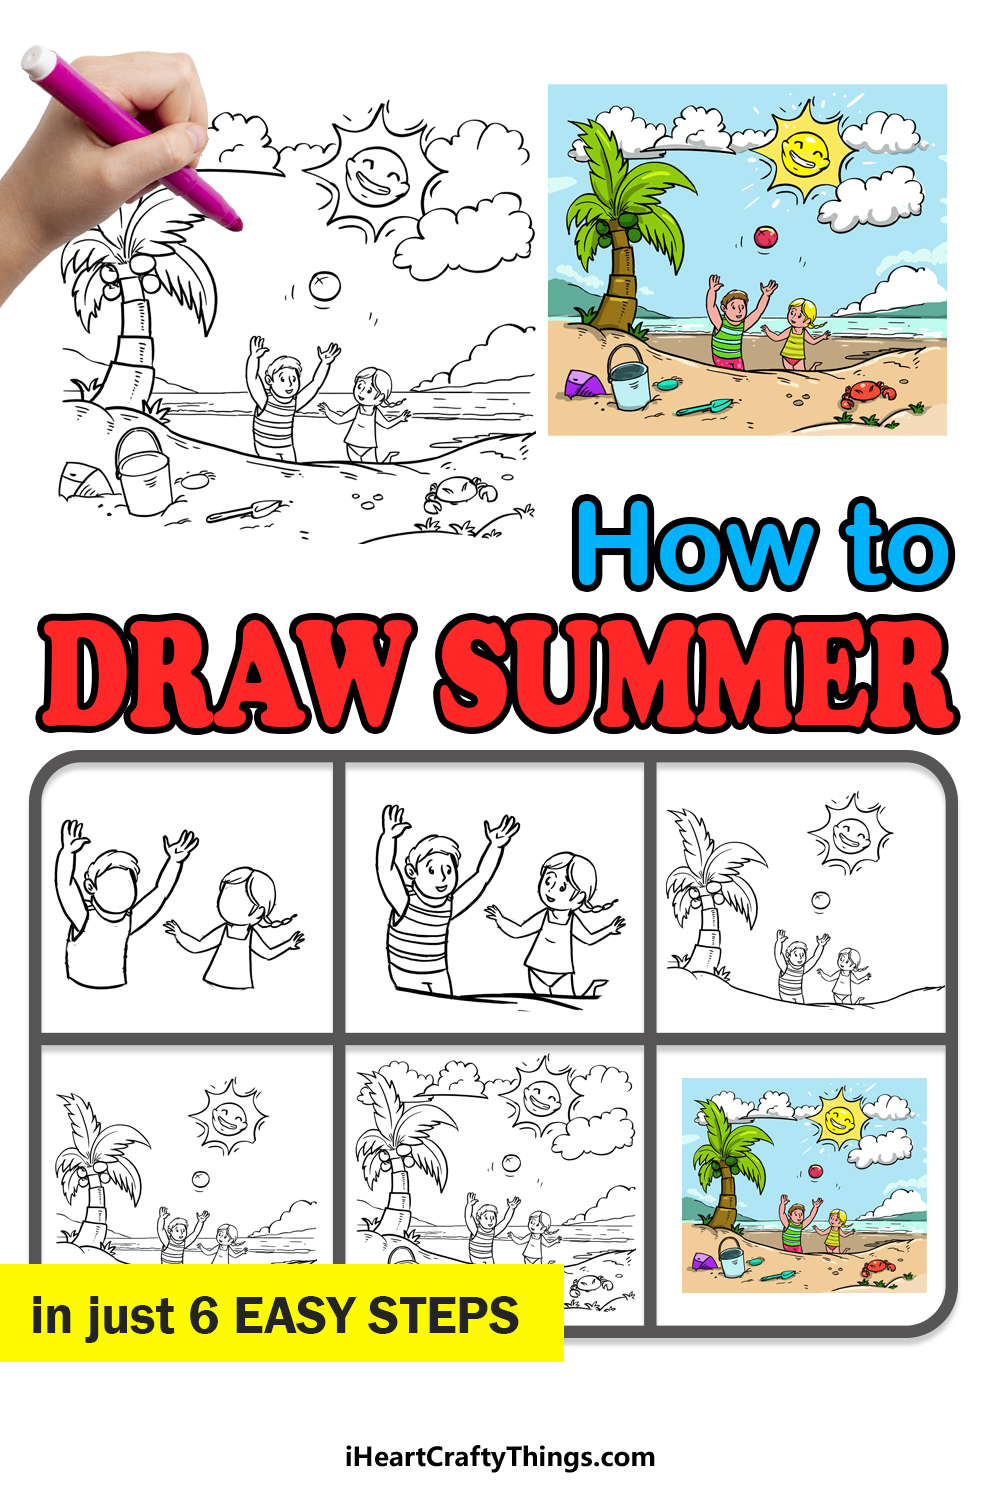
It’s time for sunny vibes no matter the time of year thanks to this guide on how to draw Summer. You’re just a few steps away from creating your own Summer paradise!
Summer means different things to each person, but everyone has an idea of spending Summer by the beach while having a lot of fun. It’s a time to relax a bit and enjoy the great outdoors!
It’s not always possible to live out that idyllic idea of a Summer day, but you can at least create it with your drawing skills. This guide will take you through the process of making a stunning Summer scene.
There are so many incredible details, and you could add even more of them if you wanted to! So let’s begin and work through this guide together.
You may be surprised by what you have created at the end!
Watch And See How To Make Your Summer Drawing!
How to Draw Summer – Let’s Get Started!
Step 1
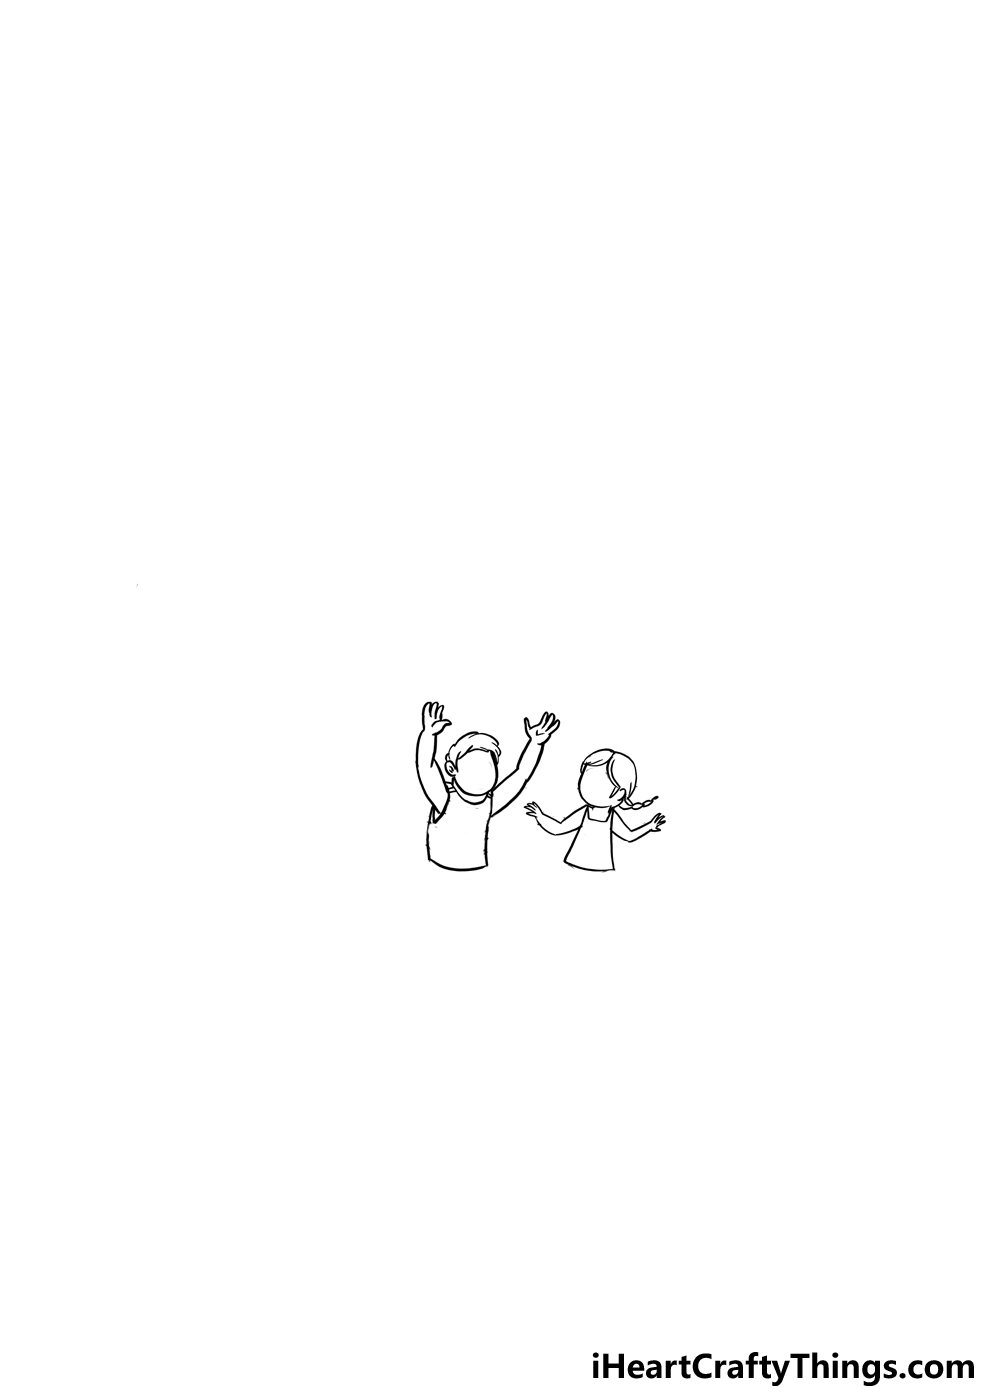
In this scene that we will be creating for this picture, we will show a cartoon boy and girl having a great time on a sunny day out at the beach.
In this first step of the guide, we will begin drawing these characters. They are drawn in a simple cartoon style, but that doesn’t mean you can’t plan it out a bit before drawing.
You could do this by drawing some simple stick figures that are posed similarly to the characters.
Bear in mind that the lower halves of their bodies will be hidden behind a sand dune.
Once you have these stick figures drawn (if you decide to do that step, that is) then we can start drawing the characters. The boy is on the left, and he is wearing a vest.
His hands are extended up as if he is leaping into the air, and he has a simple short hairstyle. We won’t be drawing details such as his face for now.
Then we will draw the little girl, who looks to be a bit younger than the boy is. Her arms are also raised, but not as high as the boy’s arms.
She has a simple hairstyle as well, and a short, thin ponytail trails behind her head.
As with the boy, there won’t be any fine details such as her face, but don’t worry if you think that looks weird, as we will attend to these details in the next step.
Step 2: Draw the finer details of the characters

As mentioned in the previous step, these characters look a bit odd without faces or any details, so let’s fix that right now and add some more character to this drawing of Summer.
When it comes to facial details, there are many ways to go about drawing them, especially when you’re drawing in a cartoon style.
In our reference image, we went for a simple approach to the facial details.
We used dots for the eyes and simple little lines for details such as their noses and mouths. You could go for a more detailed style for their faces if you prefer.
Or, you could make it even simpler and simplify the details even further, it’s up to you! However you draw the faces, we have a few more details to add before we move on to the next step.
The next detail to add will be some horizontal stripes on the boy’s shirt. Then, even though we won’t see most of their legs, we will add what we will see in this step.
Before you draw the legs, we will draw a slightly curved, wavy line underneath the characters to show the top of the sand dune that is obscuring them.
Then, we can draw their legs to finish off the characters for now. Before you move on, you can also add any additional details that you would like for the drawing, such as other details on their clothes.
Then we can move on to step 3 to keep adding details.
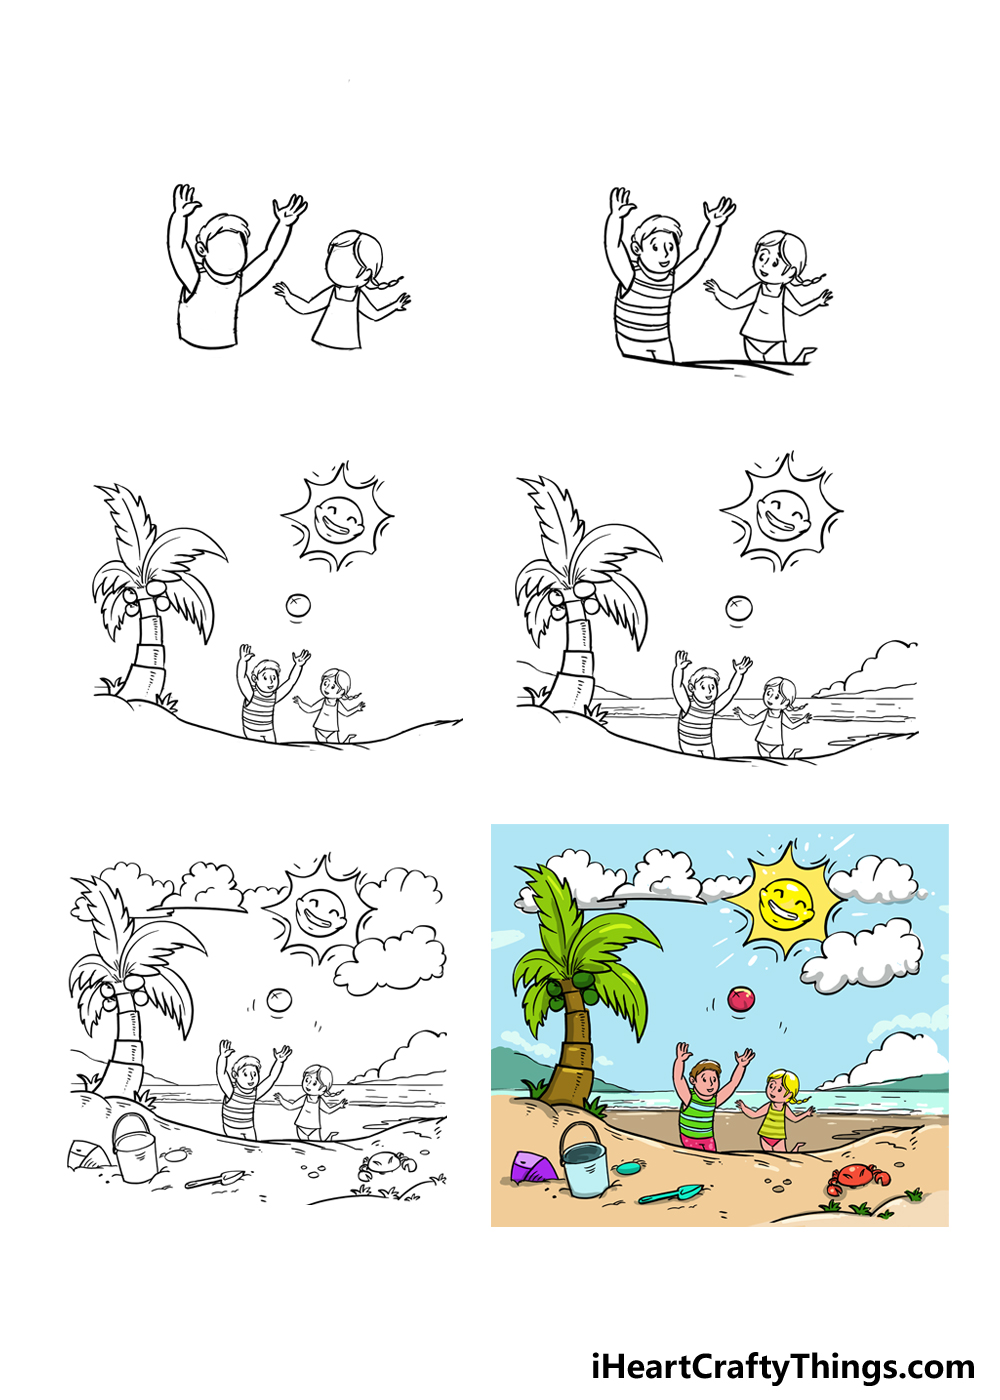
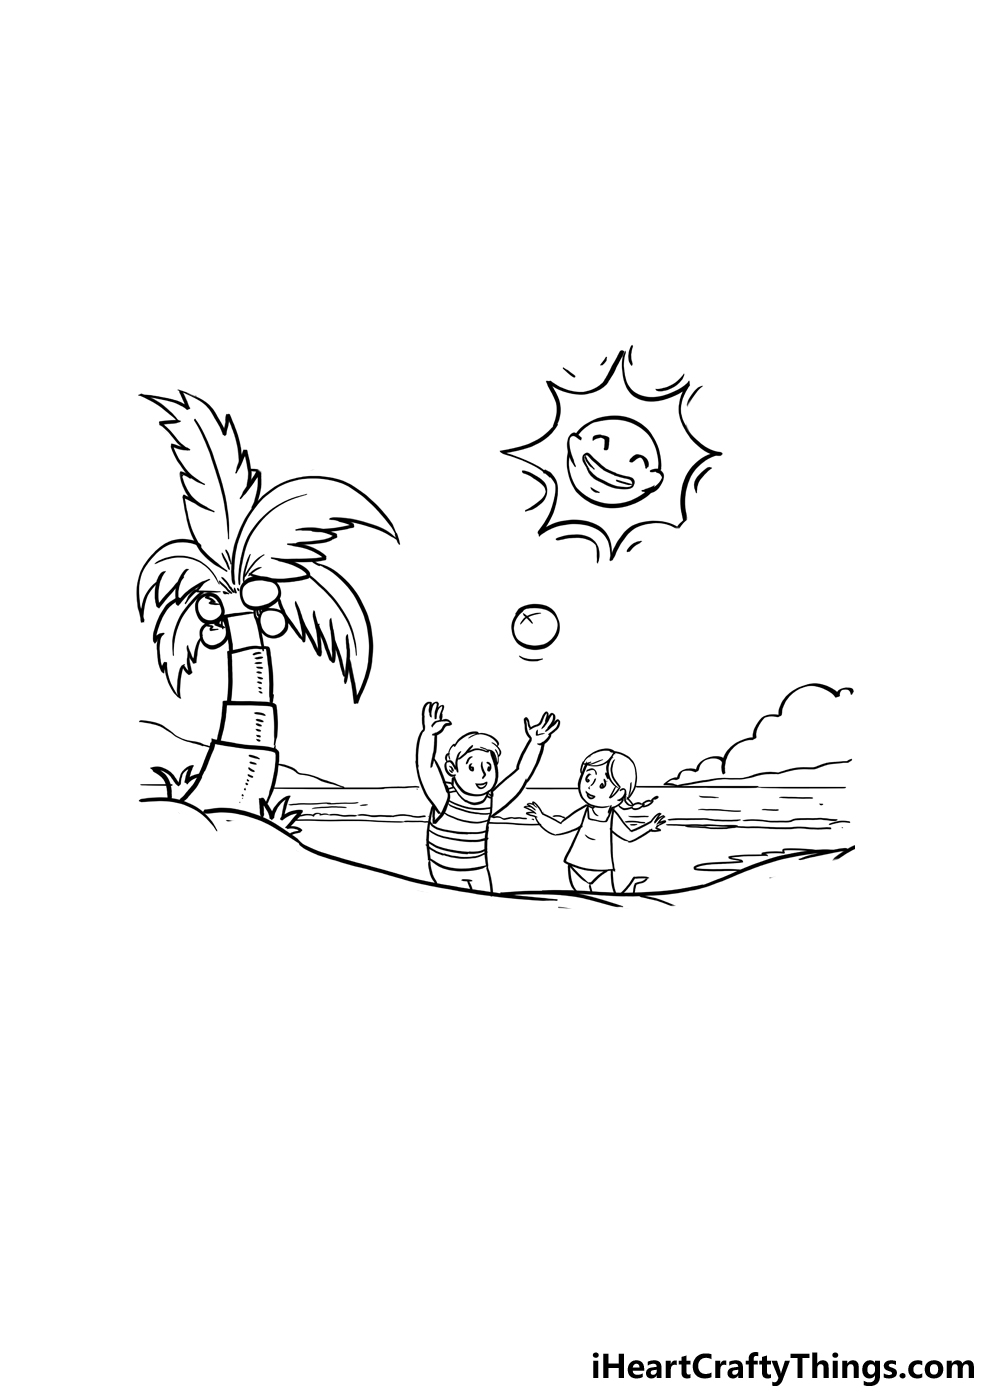
Step 3: Add the sun and a palm tree
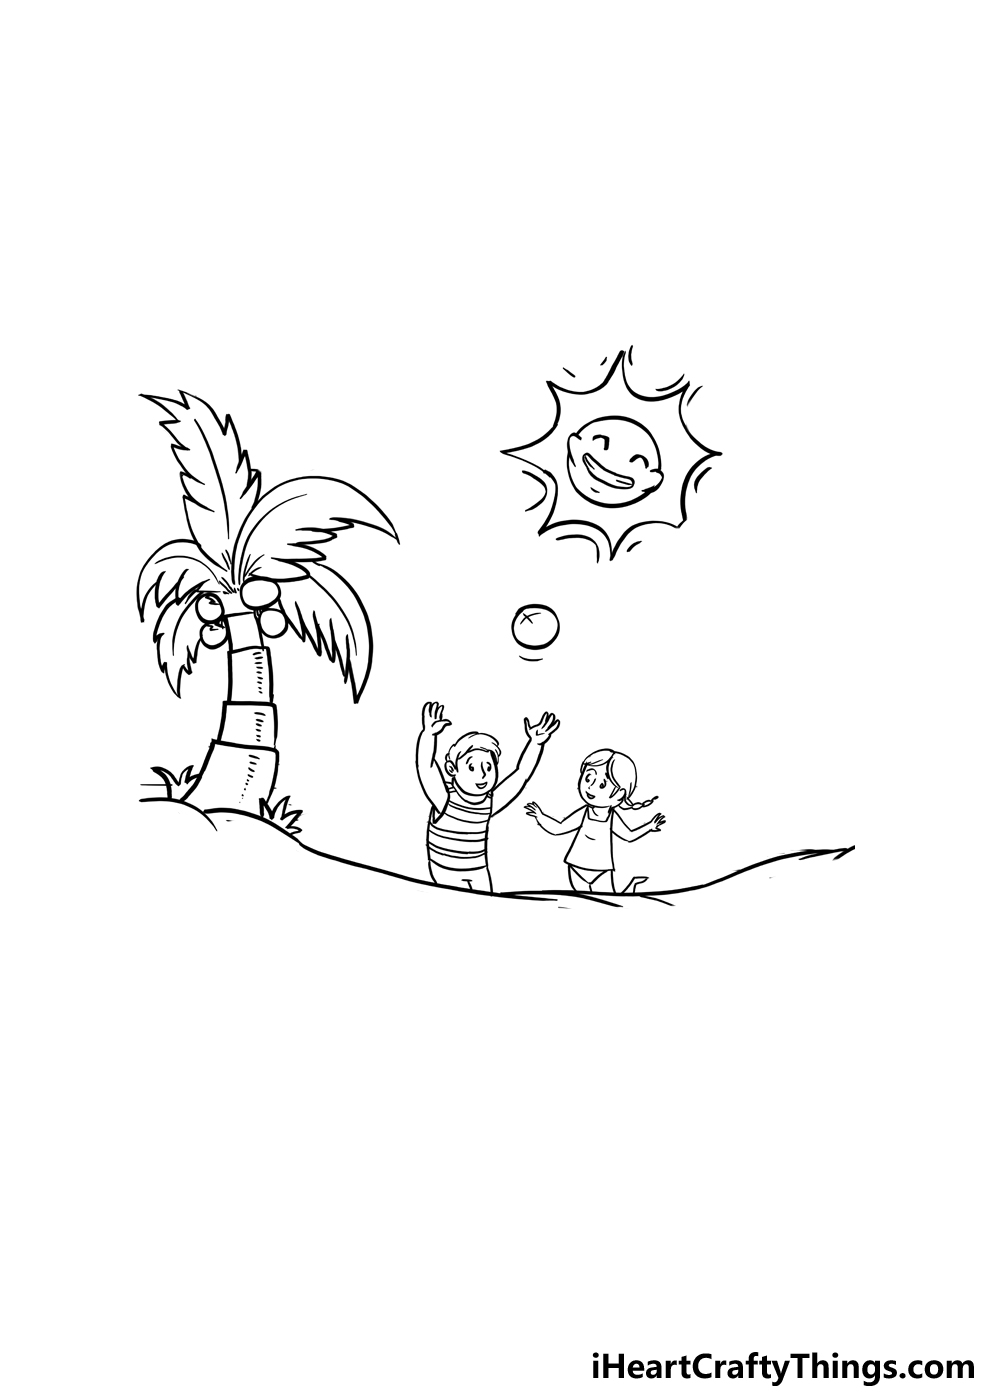
Few things say ‘Summer’ like bright sunshine and a palm tree. Palm trees make any setting immediately more exotic, so we will definitely be adding one to the drawing.
First, we will draw a simple circle above the character’s heads to create a ball that they are playing with. Then, we will draw the sun above them.
This is no ordinary sun, however, as it is a character that is joining in the fun! The central portion of the sun is a simple rounded shape.
Then, we will use some simple curved lines to create some closed eyes and a big smiling mouth for the sun. Finish it off with some pointy lines around the central circle to show the rays of the sun.
Next, we will extend that curved line we drew beneath the characters a bit further both to the left and the right.
You can make it a bit wavier if you want, or you could make it look exactly as it does in our example.
Then we will add a palm tree to the left side of this sand dune to make this scene look like more of a vacation getaway. The palm tree trunk has various squared sections stacked on top of one another.
There are some round coconuts growing at the top of the trunk, and then we will add some palm leaves. The leaves are big and drawn with lots of thin, curved sections on the outline.
Add some line details to the leaves and the trunk of the palm tree. The final detail is to draw some small tufts of grass at the base of the tree, and then we’re on to step 4!
Step 4: Now draw the ocean in the background
We’re aiming to create a real vacation getaway in this guide on how to draw Summer. For that, it wouldn’t be complete if we didn’t add the ocean to the scene, and that is exactly what we will do!
The details we are adding in this fourth step are fairly simple, but they will help add to the drawing in a big way. First, we will draw a horizontal line across the back of the scene.
This line should be drawn freehand, as we want a slight waviness to it. You can then add some more of these wavy lines underneath the horizon line, and it’s okay if the placement of these lines looks a bit random.
The reason for that is that we want it to look like some gentle waves on the ocean. You could make them more pronounced if you would like the ocean to look a bit wilder.
Once you’re happy with how the water of the ocean is looking, we can then add some more background details before moving on. First, we will draw some land in the distance.
This section will go on the left-hand side of the drawing, and it will be drawn with a curved line to make it look hilly.
On the right-hand side, we will draw a big puffy cloud looming over the ocean to finish off this scene. Then, we will be ready for step 5 where we will add a whole bunch of awesome details to the scene!
Step 5: Draw some details to finish off the scene
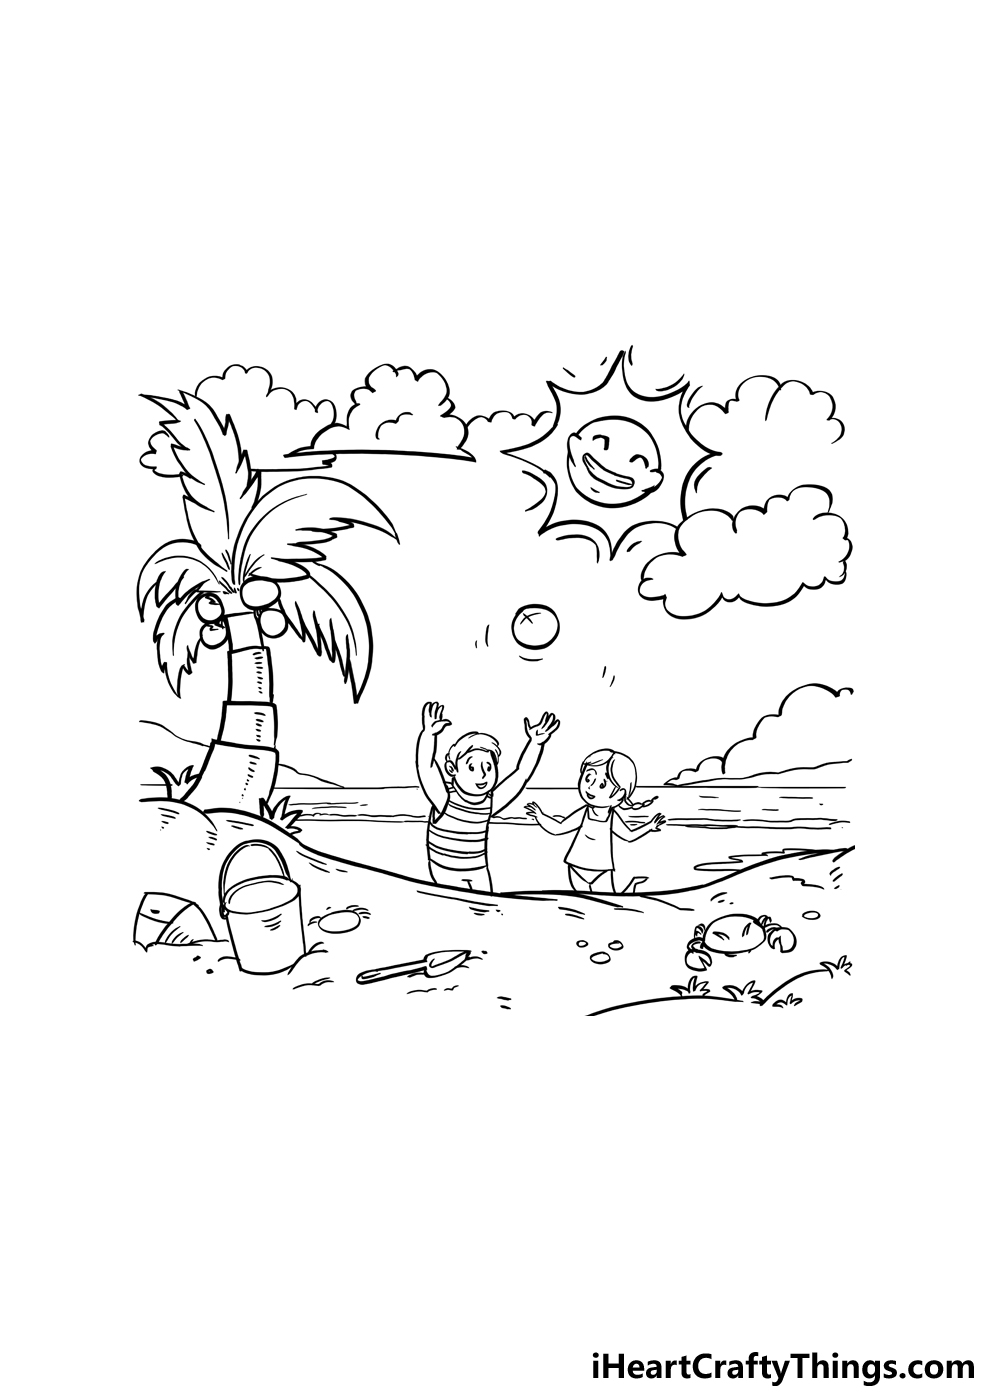
When you look at our reference image for this step of this Summer drawing, you will see a ton of awesome details that really bring the scene to life!
In this step, we wanted to show off some details that you can add, but this is also a step where you can add some of your own detail ideas as well.
First of all, we added a lot more clouds to the sky around the sun to make the scene even more idyllic.
Then, we added some details to the foreground that help to finish off that beach vacation feeling.
We added some simple details such as small rocks and stones, but then we also added a bucket and spade on the left side.
On the right side, we added a crab going about its day to add some more life to the scene.
To finish off, we added a lot of small line details to the ground to make it look more textured and detailed. These details may be small, but they make a big difference!
Now that we have covered the details we chose for this drawing, you can add some of your own as well. This is your chance to show off what your dream beach trip would look like.
You could do this by adding beach toys or maybe some wildlife you would expect to see at the beach.
If you wanted, you could also add more characters, perhaps representing your friends and family.
These are just a few ideas, but there are so many ways to take this drawing to the next level with your own details! How would you like to finish off this drawing to make it the perfect Summer scene?
Step 6: Now, finish off with some color for this Summer day
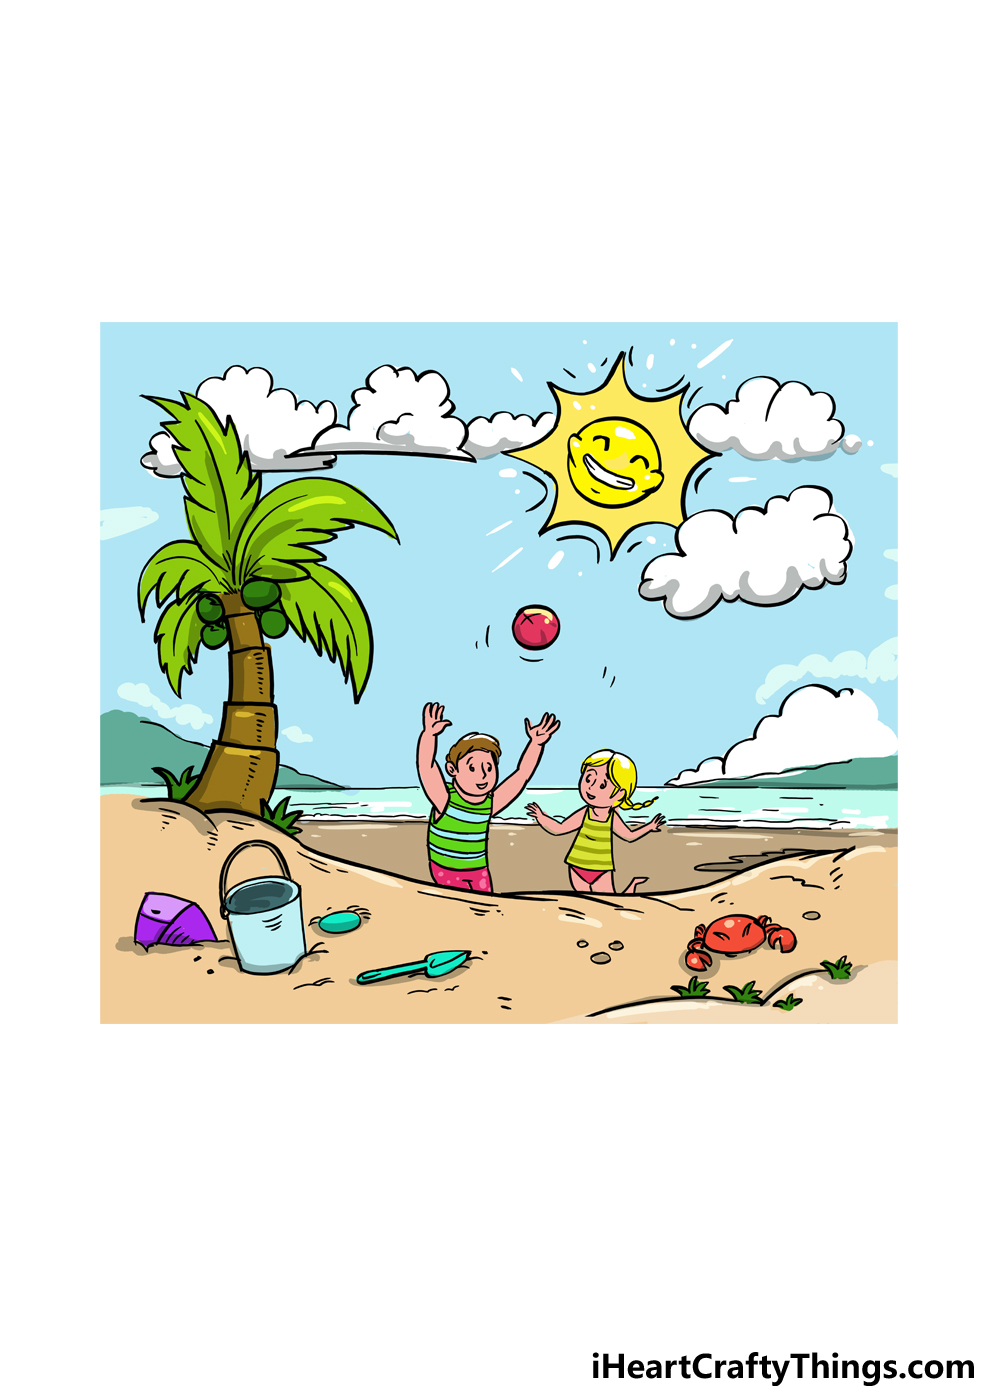
Now we’re ready to finish off this guide with some bright and cheerful color fun!
In our reference image, we show you how we would choose to color this scene, and you can use these colors for your own image if you like them.
We went for a beautifully bright color scheme that mixes cooler colors like blue and green with spots of warm colors for the sun and the crab. You can also incorporate any other colors you would like!
Then, there’s the matter of which art tools and mediums you use to achieve your color choices.
You could use watercolor paint or colored pencils to make the colors nice and mild for a more nostalgic feel.
If you want to keep the colors bright and vibrant, then colored pens and markers would make the colors pop on the page. You could also mix these different mediums to bring out the color intensities.
There are really no wrong ways to go about it, and you can have a lot of fun getting creative with it! We definitely encourage you to have fun with it as you bring some color to this cheerful scene.
Which colors, art mediums and techniques will you use for this Summer scene?
Your Summer Drawing is Complete!
Throughout the 6 steps of this guide on how to draw Summer, we brought some bright and cheery vacation fun to wherever you may be!
We hope that you enjoyed recreating this wonderful day at the beach.
This guide has a lot of great details for you to use, but you can also keep the fun going with your own details, ideas and color choices.
There are so many ways for you to put your own unique spin on the design.
Whatever you end up choosing to draw and color, we know it will look amazing and unique! When your Summer drawing is all done, you can share the joy of Summer with us.
You can do this by sharing your drawing on our Facebook and Pinterest pages for us to check out. We can’t wait to enjoy some Summer fun when we see how your artwork turned out!