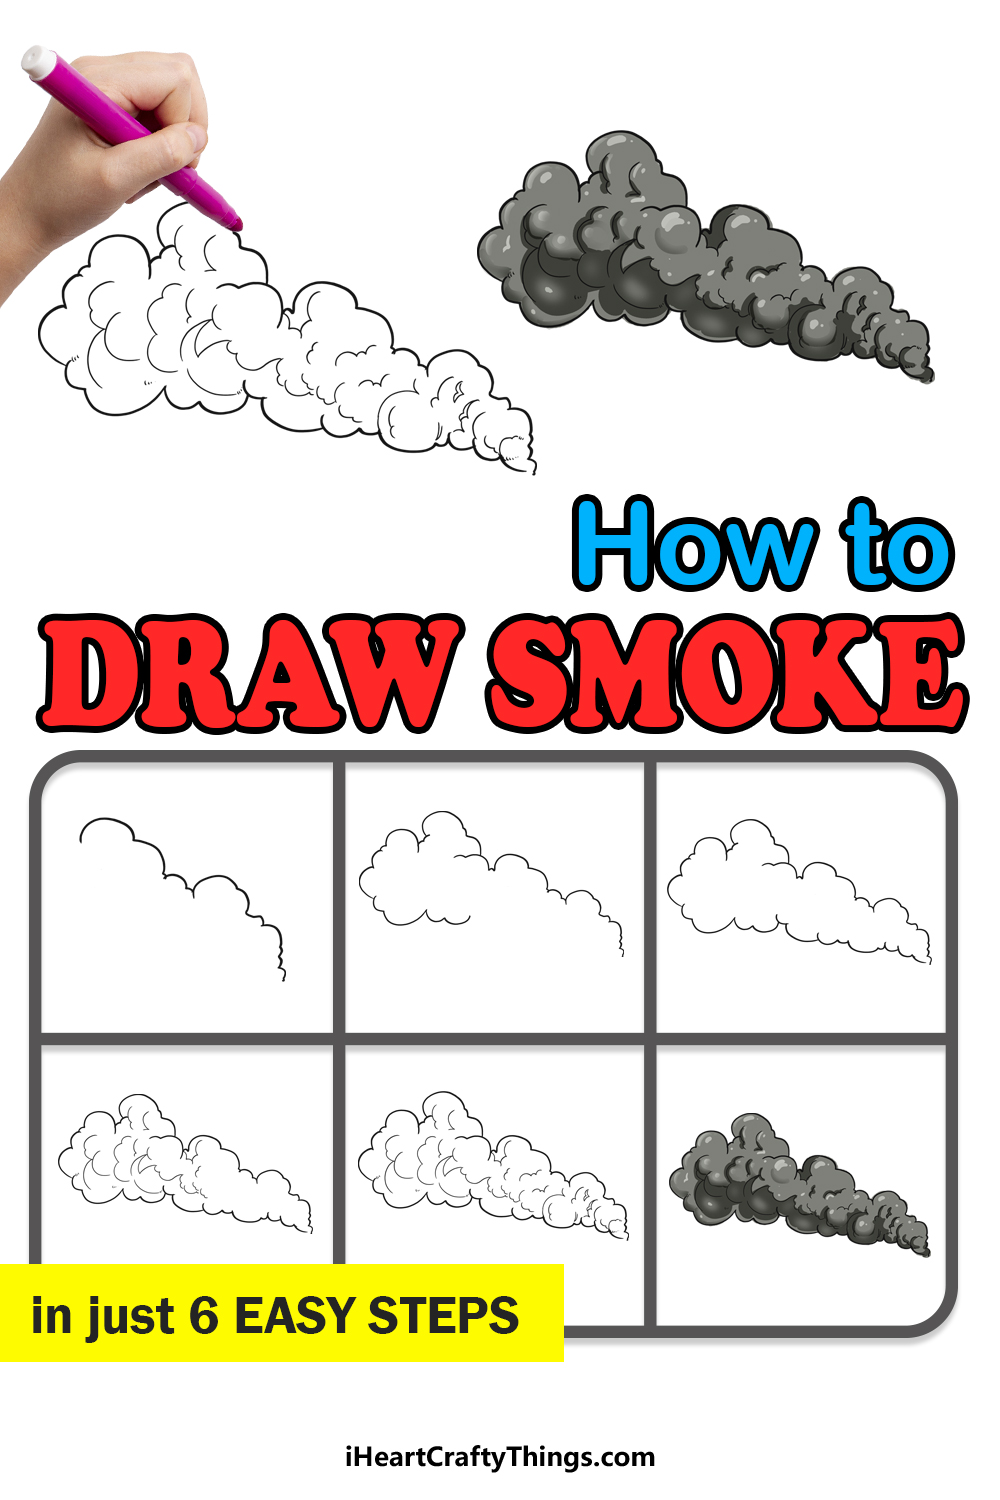
Find out how to draw smoke by following this guide for kids. These steps will make it fun and simple for you to make some cool drawings!
There’s a saying that says “Where there’s smoke, there’s fire!” Therefore, if you want to draw fire then you will need to learn to draw smoke too.
It can be surprisingly difficult to draw convincing smoke convincingly, because if you don’t get the shape and details right then it will look off.
Whether you want to draw a campfire or maybe a scene of destruction, learning to draw smoke can allow you to make your design more convincing.
I’ll take you through all of the steps and make it much simpler for you to draw it. Once you have the hang of this drawing, you could use it on so many cool designs and scenes!
Learn How To Make Your Smoke Drawing
How to Draw Smoke – Let’s Get Started!
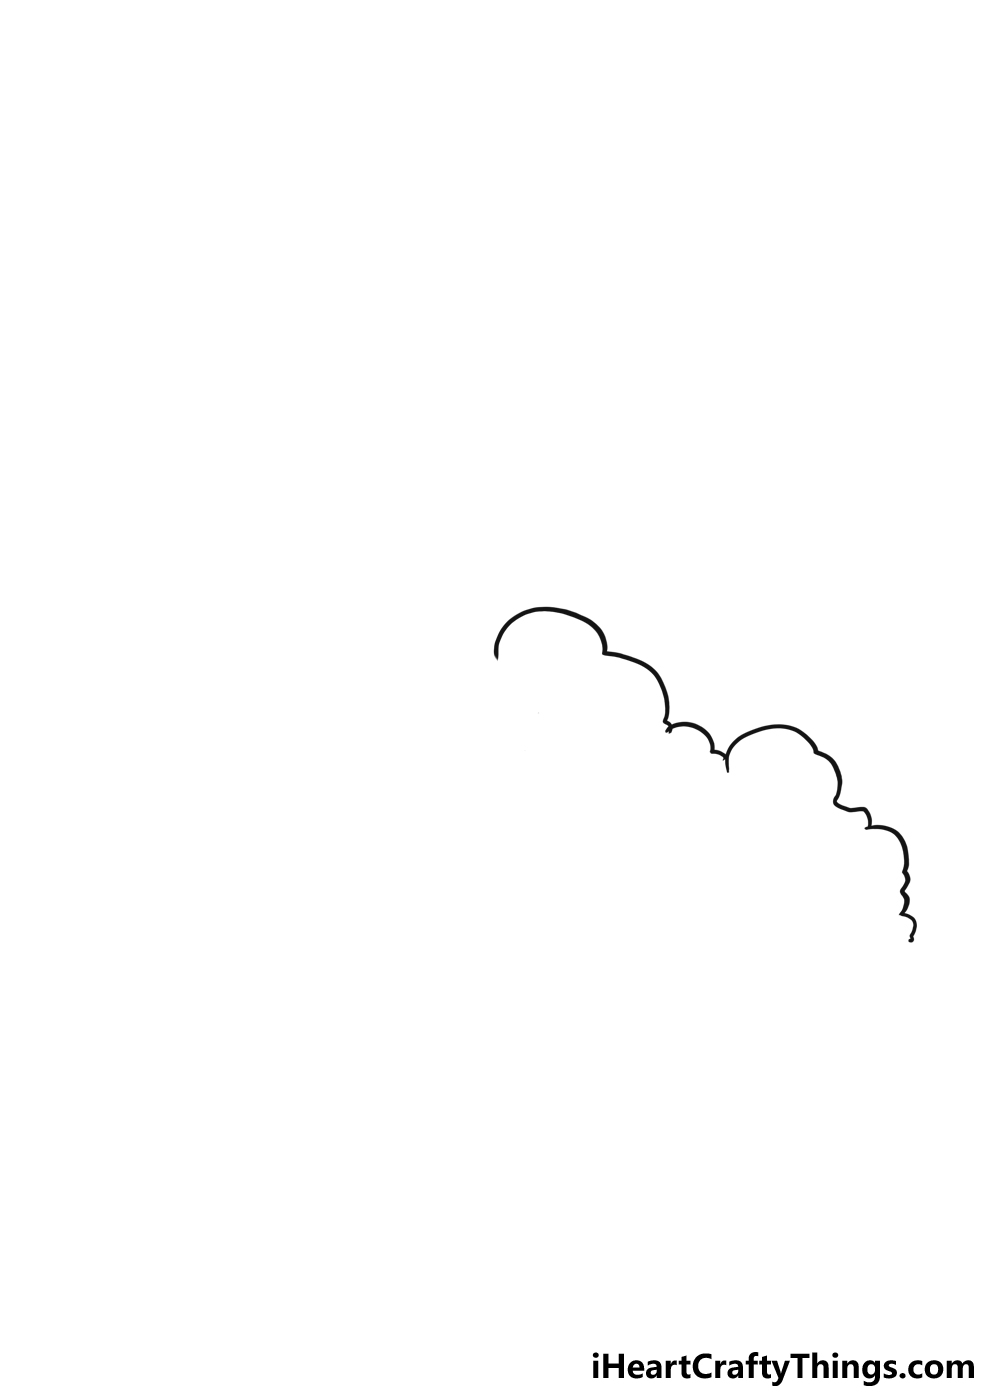
Step 1
While we will be creating a specific design in this guide, smoke can take many different forms. So this means that you can change up the design a bit if you wanted to.
For now, we will stick to the design that we’ve laid out in our guide, as that will be the easiest way to show you the method behind creating a depiction of smoke.
When you make your own additional attempts at this drawing, you can change it up in some interesting ways!
As you will see in the reference image, there will be a lot of small, curved lines in this design.
When considering smoke, you will see that there is always a point of origin. We can imagine that there is a flame that is creating this pillar of smoke, even though we won’t see it in this design.
The point where this flame would be will be the thinnest area, which we already see, even at this early stage of the drawing.
If you have a specific shape you would like this smoke to take, then you can draw out the rough shape of the plume of smoke you would like to create and plan it out that way.
Then, as we draw the final outlines they can follow the rough pencil shape that you matched out to keep it consistent.
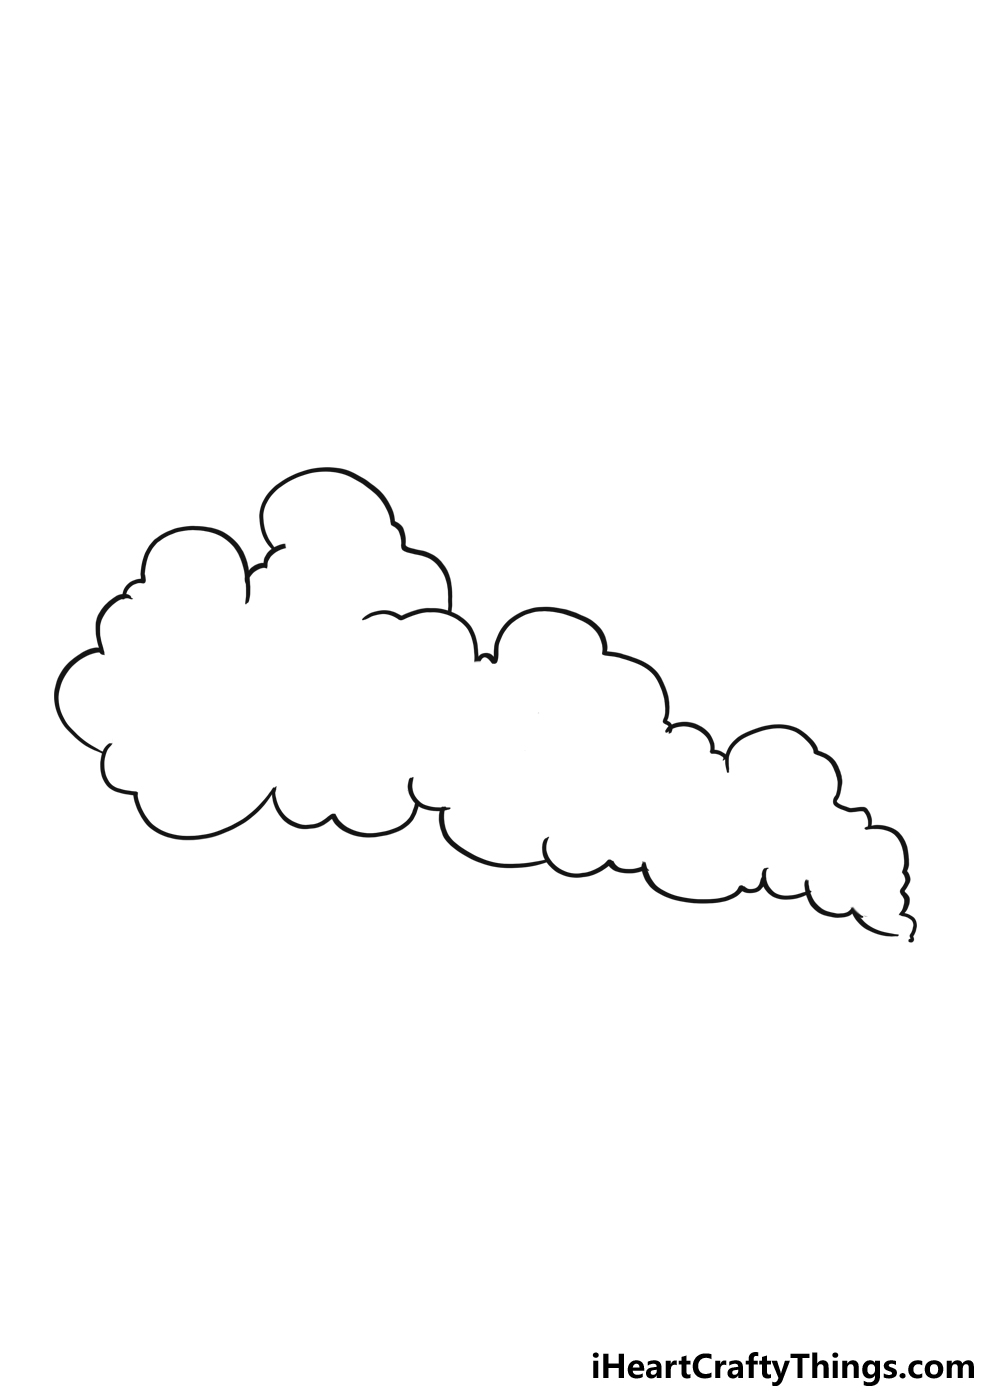
For now, we will draw just one section of the smoke, and this will be done with small, medium and larger curved lines.
You can vary the sizes of these bumps as you go, in order to make it more unique. Then, we will be ready for step 2 of the guide!
Step 2: Draw the next section of the smoke
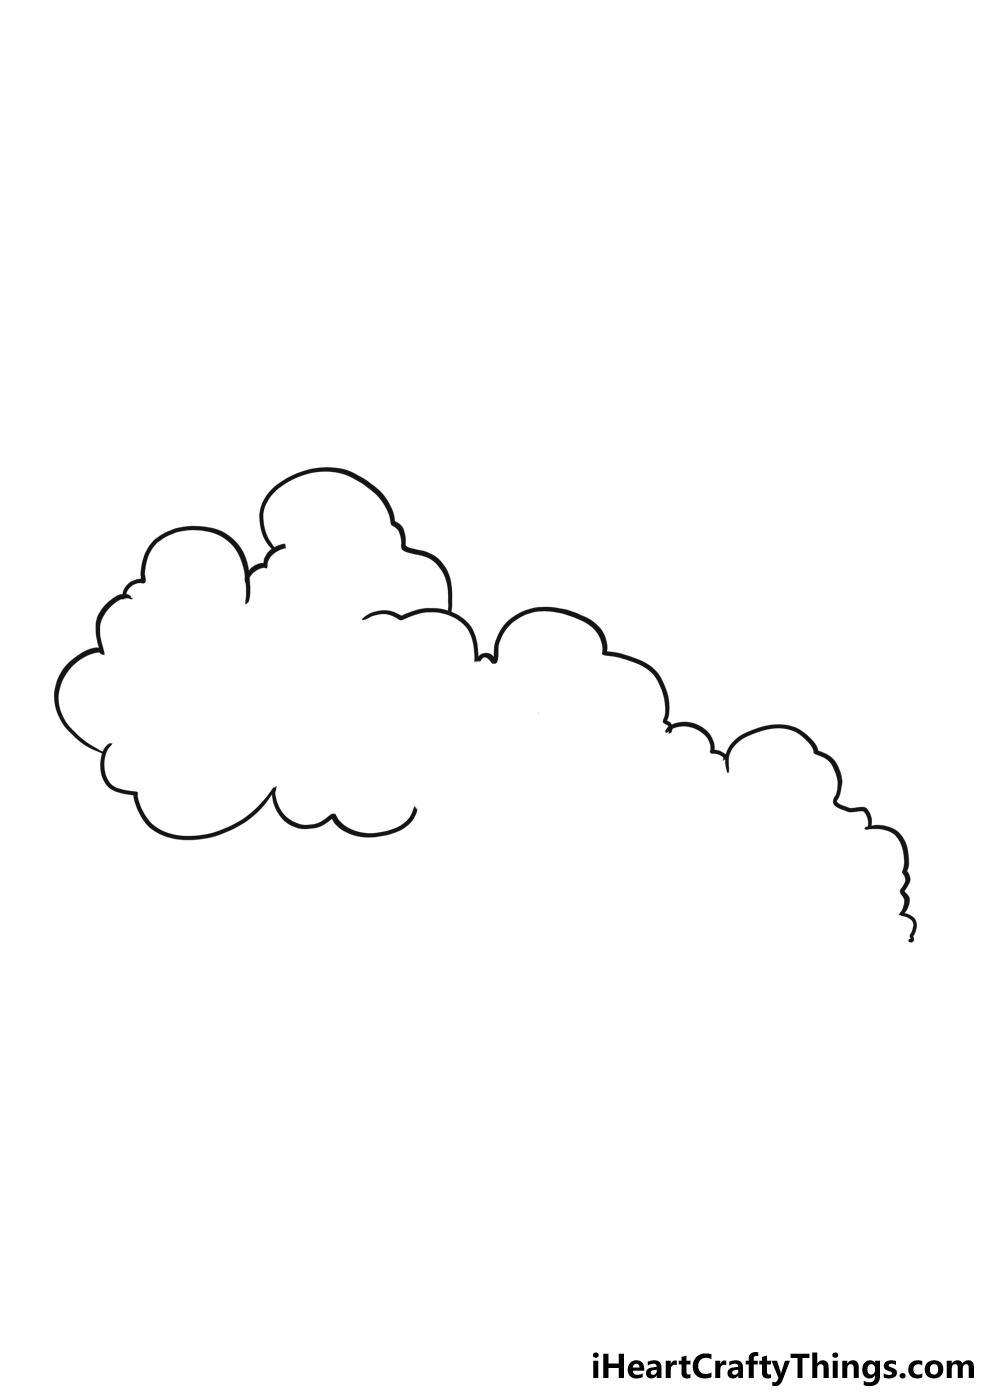
We have the first section of the smoke drawn, and now we can draw the next section.
This part will go on the left-hand side of the drawing, and it will be one of the thickest parts of this plume of smoke.
It will be drawn using the same arrangement of varied curved lines that we used for the first action of the smoke. Some of these will overlap with one another and bulge out.
As with he first step, your drawing doesn’t have to match ours exactly, as smoke can take any form you like. You could make it look even larger to suggest a bigger, fiercer fire.
If you’re sticking to this design, then we will be drawing this section on the left as a large, bulbous part of the smoke. That’s really all there is to it for this step, and we can move on.
In the third step of the guide, we will focus on finishing the outline of the smoke as a whole. After that, we will be able to add some details and final touches, but let’s take care of step 3 first.
Step 3: Add the rest of the smoke outline
In the third step of our guide on how to draw smoke, we will be adding the rest of the outline.
If you drew out a planning shape for the smoke, then you can continue following that plan that you mapped out.
As you will see in our reference image, the smoke pillar will get thinner the more we go to the right. It will end at the point of origin, which will be the smallest part of the design.
There will be a small gap at the right-hand side of the smoke, and we will cover some of the ways that you can add something there for a more dynamic image in a few steps from now.
For now, we have the entire outline for the smoke complete now! We can focus on adding some finer details and extra ideas to really bring this drawing to life as we move to the next few steps.
If you used a pencil to draw out the picture first, then you can go ahead and erase those pencil lines now, as they won’t be needed now that we have the outline completely drawn.
When erasing the pencil lines, be careful not to erase any of the final lines of the drawing if you used a pencil for the actual outlines.
If you used a pen, make sure the pen ink is dry before you erase it, as you may smudge it otherwise.
Then, we can move on to step 4 of the guide where we will start adding some inner details.
Step 4: Now draw the first details for this smoke
Now that you have the outline completed for this smoke drawing, we can focus on some smaller details.
These details will be simple, but they will really help to make this smoke look more voluminous and realistic.
Even though smoke doesn’t have ‘texture’ in the literal sense of the word, these details will help to make the smoke look more textured.
In our reference image, you will see we added lots of small curved lines connected to one another.
These look chaotic, but we would recommend putting a bit of thought into where you place them. If you add too many, it may start to look like a mess.
We will be covering different art tools and mediums that you can use in a later step, but it can be worth thinking about it now.
For example, you could draw some of these details with different colors and mediums.
This can also help to make the drawing look more dynamic. You can also add different kinds of lines and have them interact with one another in different ways.
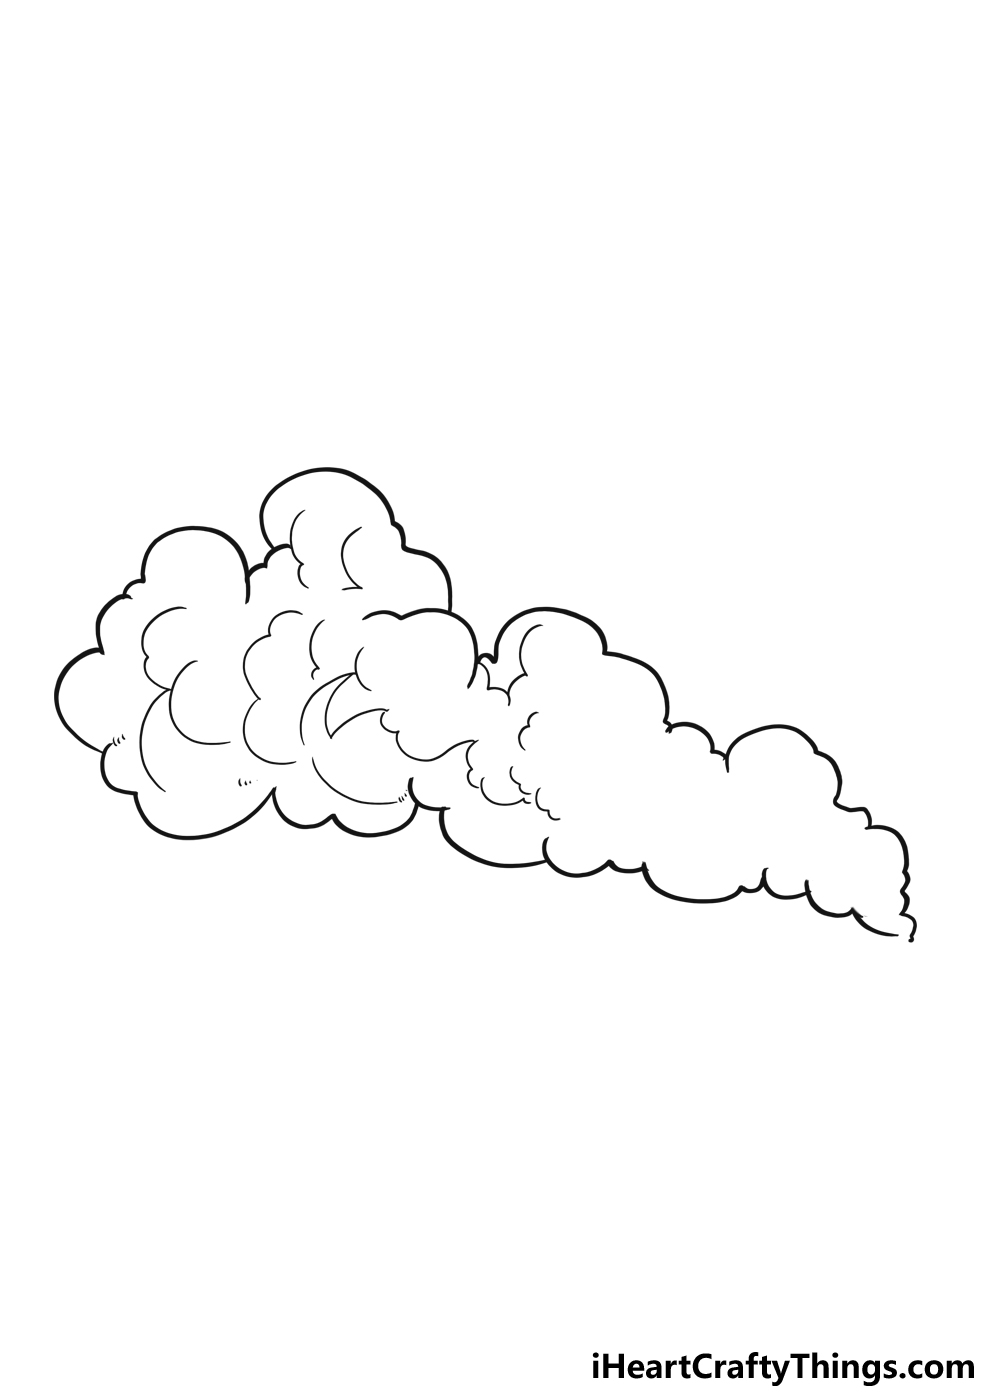
These can really help to make the drawing come alive in different ways. You will notice we only filled the left side of the outline with details for now.
In the next step, we will not only fill in the rest of the smoke with details but also add some extra ideas and details that can make your drawing a lot more unique.
Step 5: Draw the final details and any extra touches for this smoke
This step of the guide should be a fun one, as we will not only finish off the final details but also add some of your own.
This is where you can really get creative and add some fun ideas that weren’t in the guide.
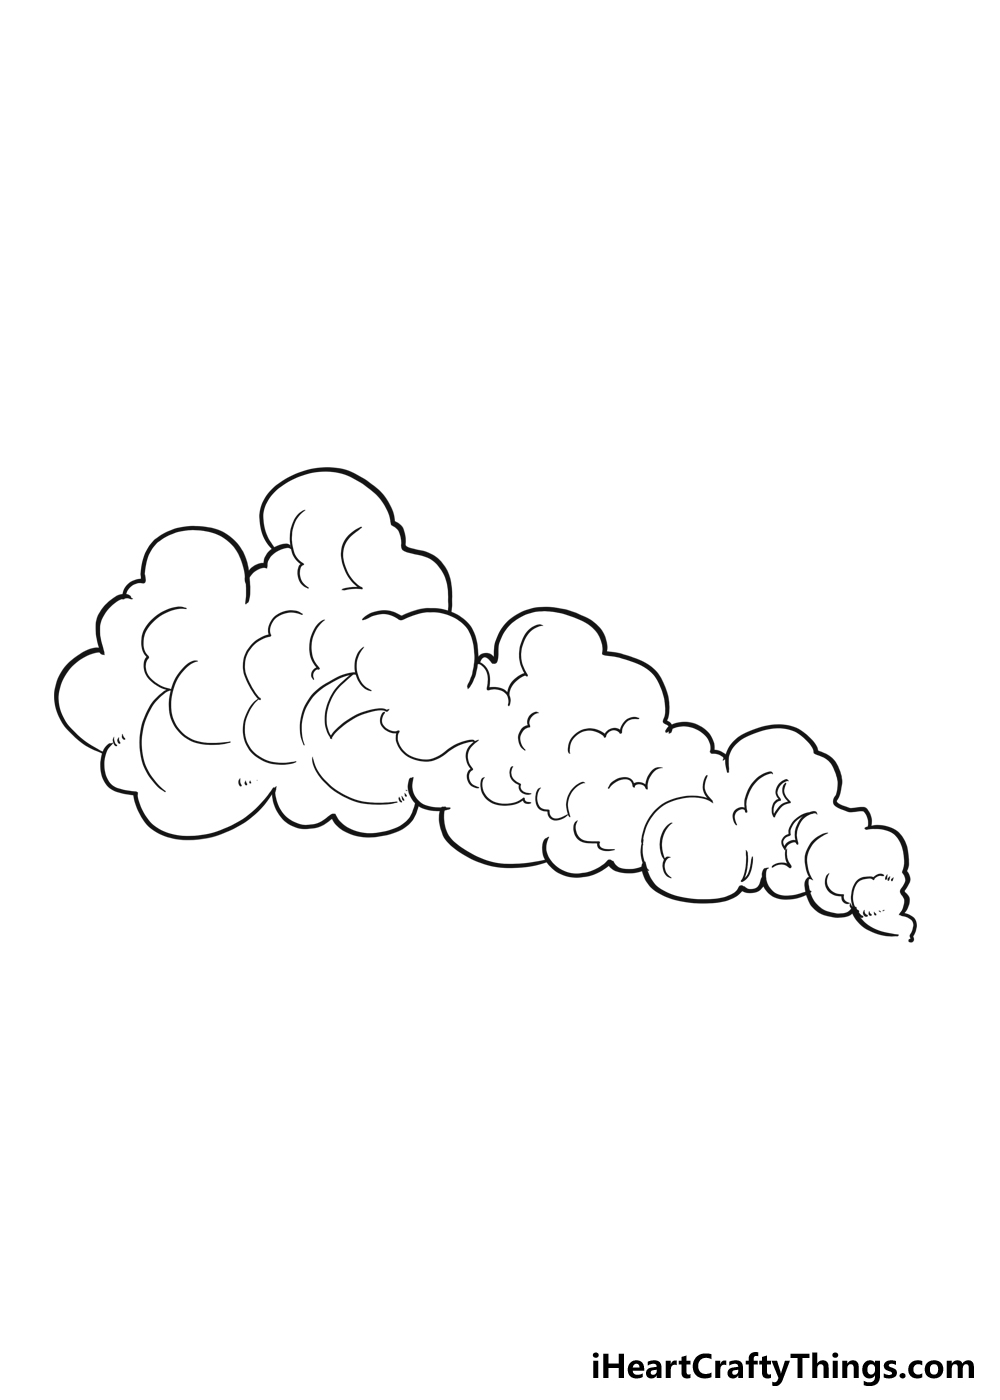
For now, let’s focus on the details that are in the guide. In the previous step, we focused on adding details to the left side of the image.
Now, we will add some detailing to the rest of the smoke on the right-hand side. These details will be very similar to the other ones that we added on the other side of the smoke.
That means that you can use similar curved, bumpy lines to add some ‘texture’ to the smoke.
Once you have added these final details inside the smoke, we can turn our attention to adding some extra touches
There are so many options for what you could add, even though it is a fairly simple image. The first and most obvious way to add to the image would be to show what is causing this smoke.
You could have a simple campfire, have a bonfire or maybe show a house on fire. If you went with that last one, you could make a dramatic scene of firefighters rushing to the scene.
These are all simple ideas, but it shows how you can take a fairly simple drawing further with just a few fun additions. Now that we have given you a few ideas, you can show us some of yours by adding them to the drawing.
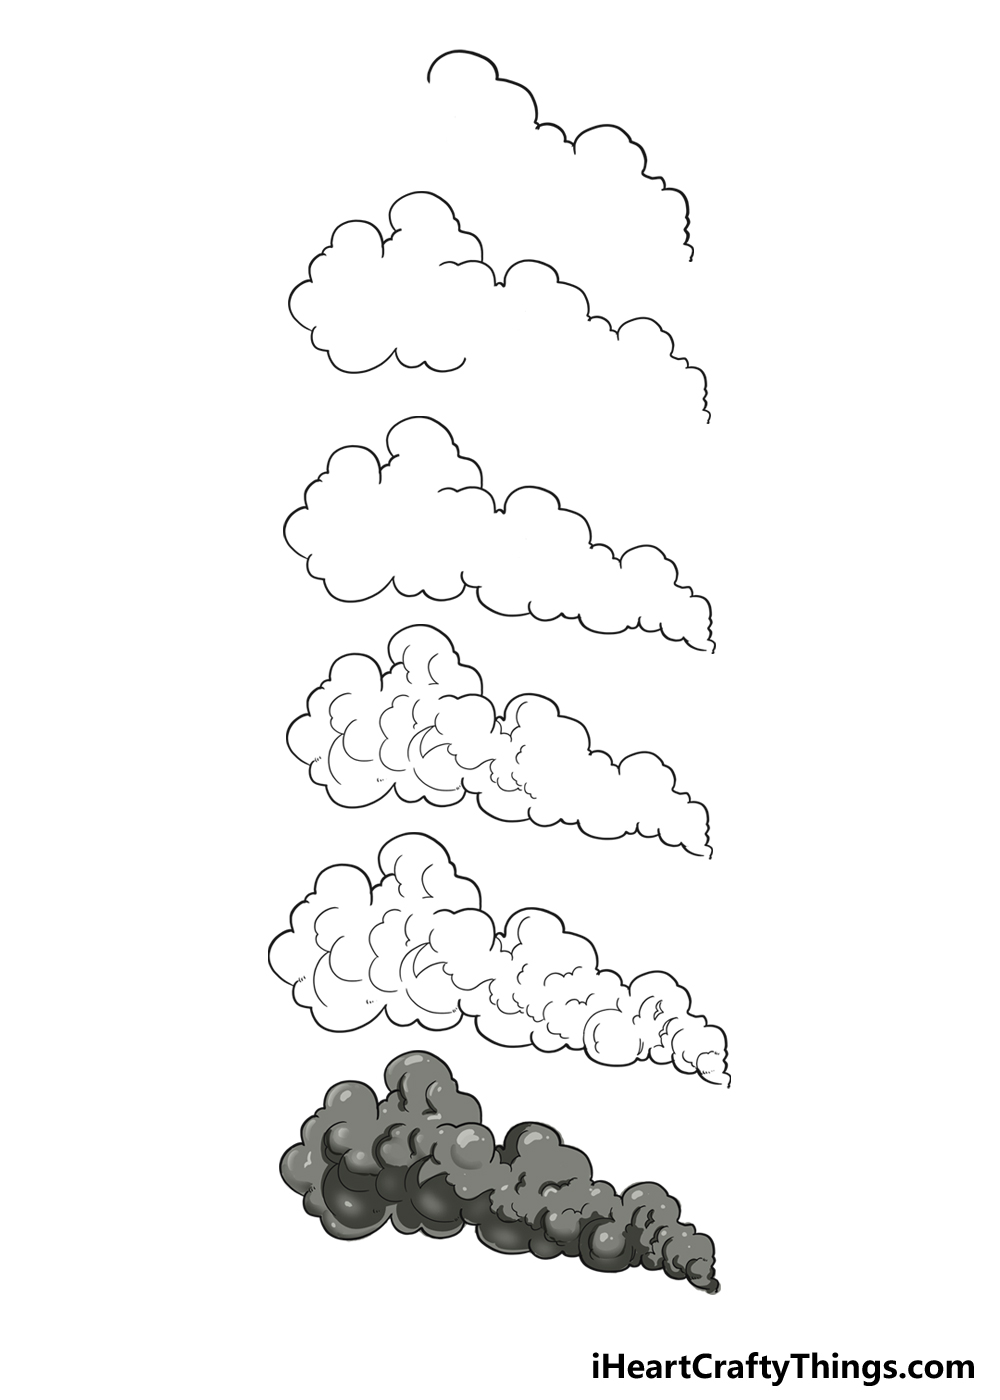
Step 6: Now, finish off with some color for the smoke
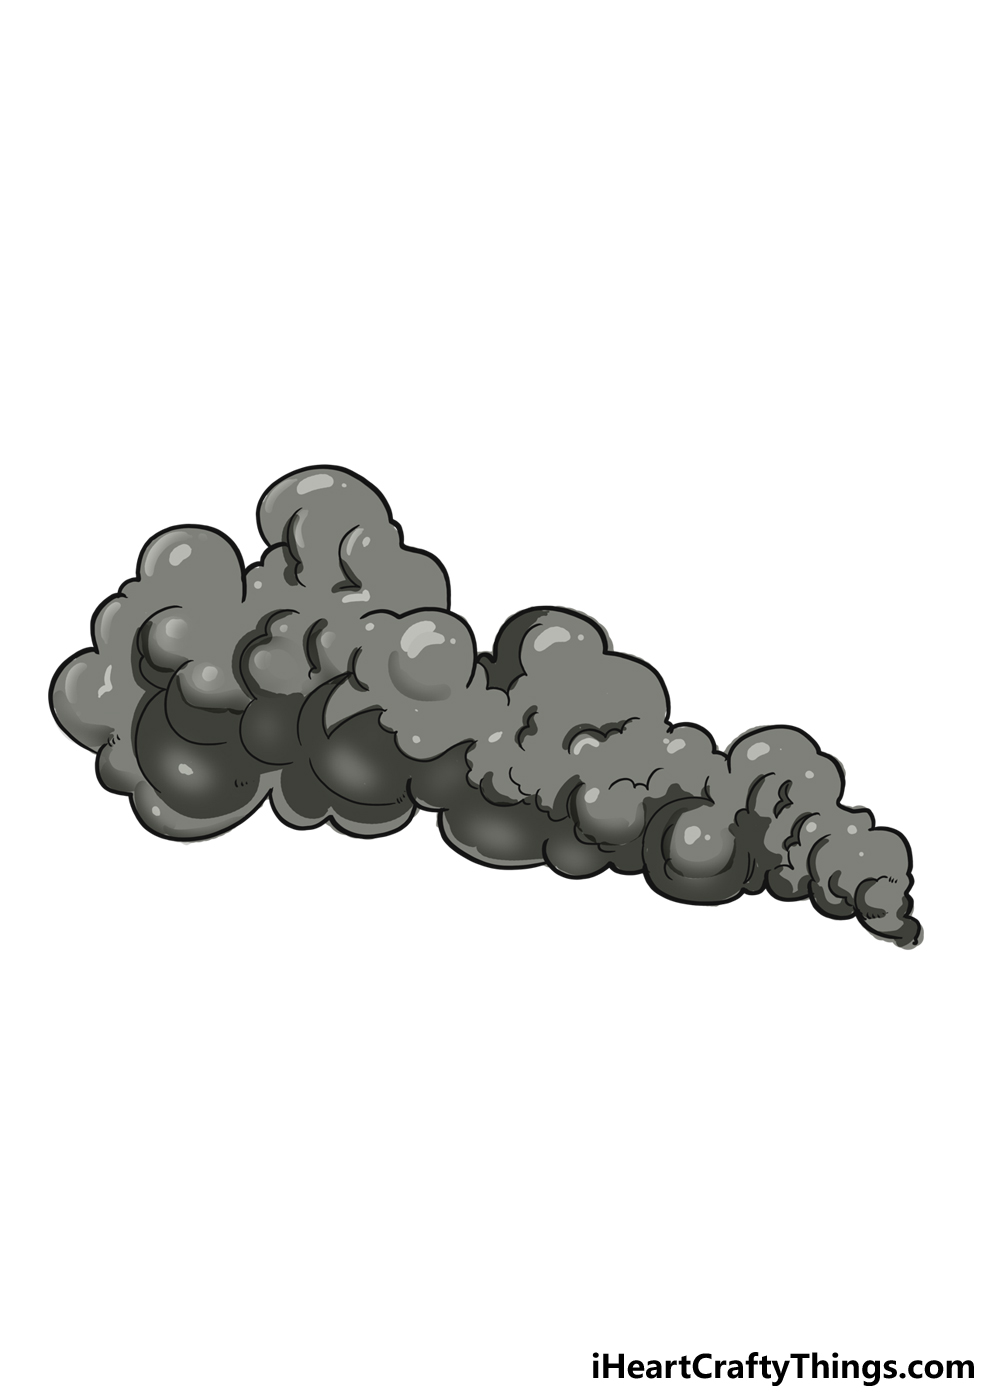
You might think that coloring in smoke would be a simple and straightforward task, as smoke is generally various shades of gray.
This may be true, but in this final step of our guide on how to draw smoke we will look at different ways it can be done.
First, there are lots of shades of gray that you could use, and these could make the smoke look darker or lighter. You could also add small bits of red or orange to show sparks amongst the smoke.
This is one way that you could add some brighter colors to the composition, but there are others as well. For instance, if you added any additional details then you can color those as well.
This is a great way to have some color variety, so it’s an extra incentive to add some of your own details and ideas.
When you know which colors you would like to use, you can also decide on the art tools and mediums.
If you want to make the smoke look soft, then you can use softer mediums such as watercolor paints or colored pencils to make the colors look milder.
Then, you could also incorporate some darker mediums for highlights and shading. There are many possibilities, and you can try out all sorts of combinations of your favorite mediums.
You don’t have to stick with realistic colors, and you can make the image more stylistic with other color choices. Hopefully, we’ve given you a lot to think about for this image.
Now you can take over and show us what you think the colors should be like. We will be interested to see how you add colors to the smoke!
Your Smoke Drawing is Complete!
You did a great job working your way through this guide on how to draw smoke. We hope that you had a lot of fun drawing this design, and that the steps made it even easier.
Even when drawing something as simple as smoke, it can be quite tricky to get it looking like the actual thing. As you have seen in this guide, it can be as simple as adding a few small line details.
We have also seen that there are loads of ways to add to the design and customize it to make your own unique scenes and scenarios. There are so many possibilities for you to try!
Let your imagination run wild in order to see what you can come up with. We would be thrilled to take a look at your finished artwork as well, as it would be great to see how it turned out.
Please feel free to share your drawing of smoke on our Facebook and Pinterest pages for us to check out.