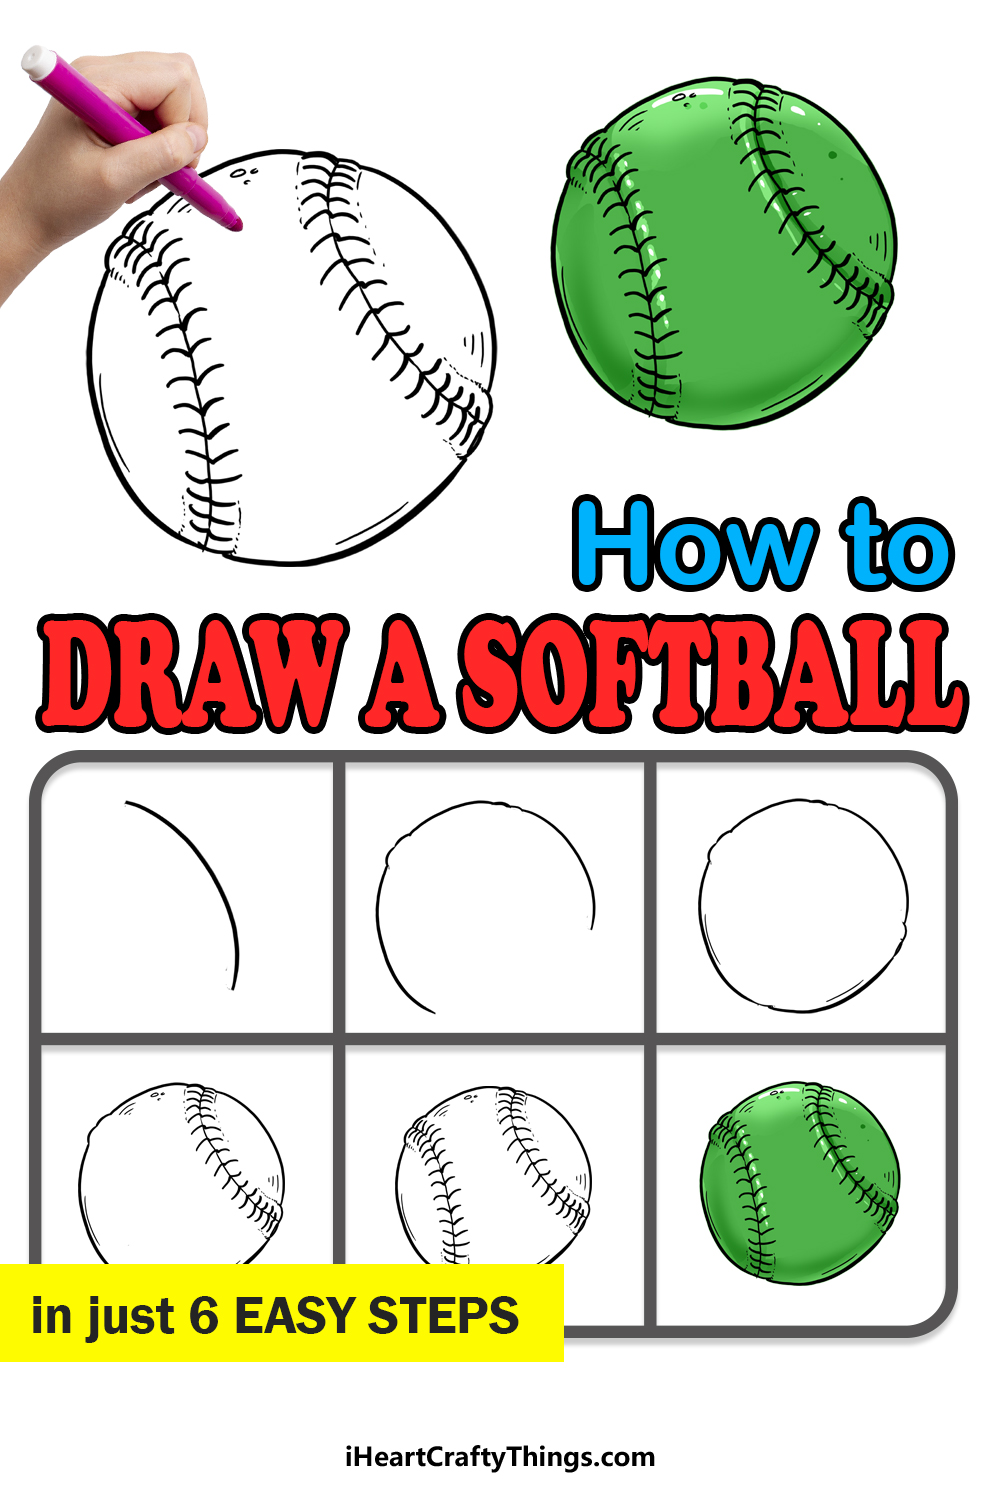
This guide on how to draw a softball will show you the easiest way to draw this ball. By following this guide for kids, you will see just how simple it can be!
There are many sports that are enjoyed in the United States, and baseball is one of the most popular. Softball is a variant of baseball that has different rules, and it provides a unique way to enjoy the sport.
It requires that you use a special ball, and that is what we will be drawing in this guide. This kind of drawing is always one that people are surprised by, as it’s more difficult than you think.
With the steps of this guide, it will be much easier, and when it’s done you can create all sorts of amazing art featuring this popular sport!

Find Out How To Make Your Softball Drawing
How to Draw A Softball – Let’s Get Started!
Step 1

As you will see in the later steps of this guide, this softball will not be a completely smooth circle. Instead, it will be quite bumpy with some details sticking off of it.
For now, however, you could benefit from drawing a perfect circle to guide you. This could be done with a light pencil, as we don’t want it in the final drawing.
Using a light pencil will make it easier to erase later on, so we would also recommend pressing very lightly with the pencil.
You can also use a device such as a drawing compass to make drawing the circle much easier.
If you don’t have a drawing compass, then you could trace around anything round that you have in your house. For instance, the lid of a jar would work nicely.
Once you have the circle, you will a blueprint of sorts for the rest of the softball design. Even though the outline won’t follow this guiding shape exactly, it will help to keep the design consistent.
Now, we can start to draw the actual outline of the softball. When doing this, you could use a darker pencil or maybe a drawing pen.
We will start with the upper right-hand side of the softball, as shown in our reference image. This will be a simple curved line that will closely follow that circular guiding shape.
Right now, it should look like we’re starting to draw a perfect circle. Then, we can move on to step two where we will continue this outline.
Step 2: Draw the next section of the softball

This next step of your softball drawing will be where some of the finer details of the outline will begin to get incorporated.
We will begin at the top of the line that we just drew and add two small bumps in the outline.
This will be the first deviation from drawing a perfect circle, and these details will be important later when we start to draw the stitching of the softball.
The next portion will be another simple curved line for the upper section of the softball. This will then lead to two more bumps in the outline.
Once again, these will be attached to some stitching we will add later.
Next, we will draw the final section of this particular step. This one will go on the lower left side of the softball, as you will see in the reference image.
It will be another part of the softball that is smooth and rounded as if you were drawing a regular circle. You will notice that there is still a large empty space on the lower right side of the ball.
That will be filled in soon enough, as we will finish the general outline in the next step of the guide. When you’re ready, let’s head on to that step!
Step 3: Add the rest of the softball outline

Now we are at the third step of this guide on how to draw a softball, and in this step we will finish off the outline of the ball.
As you see in the reference image, this isn’t as simple as drawing a section of a circle.
Even though we won’t be adding as many bumps as we did in the previous step, it’s still not going to be a perfect line that follows the circle you may have drawn in pencil to prepare.
Even though we will use that pencil circle to help us, you should draw this next section freehand while trying to follow the guiding circle at least a bit.
This will help to make the circular shape consistent while still giving that handcrafted look. At the point where this new line connects with the line from step one, we will add a small bump.
Once again, this will be where the stitching will poke off later when we draw those details. Before you move on to the next step, you can also add a few simple line details on the inner outlines of the softball.
These will add a bit of texture later on in the guide. Then, you can finish off by erasing any pencil lines you drew as a reference for the past few steps.
We won’t need these anymore from now on, but you could add some new pencil lines to prepare for the stitching details that we will add in the next step.
So let’s head on when you’re ready!
Step 4: Now draw the first row of stitching
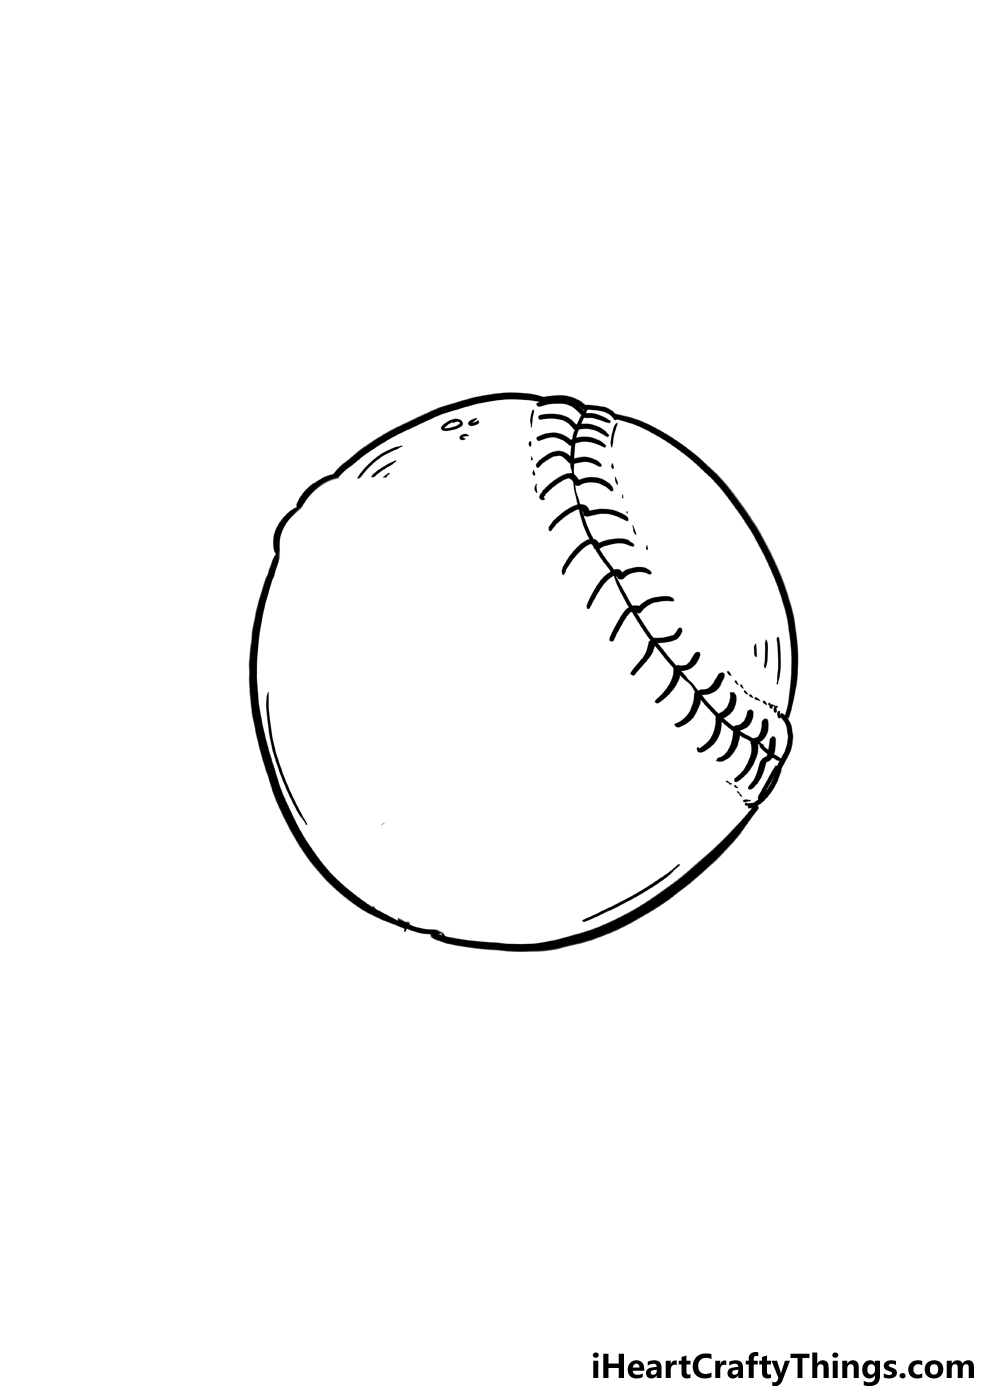
In step 4 of the guide, we will be adding the first row of stitching for this softball drawing.
Up until now, things have been pretty straightforward for this drawing, but this is where things can get a bit complicated.
No need to worry, however, as we will guide you through it! As we mentioned in the previous step, you can get your pencil out again and use it to prepare for this next detail.
We would recommend using three curved lines to prepare for it. These lines will represent the outer edge and central seam of the stitching.
Once you have these lines in place in accordance to the reference image, we can start drawing the lines of the seams themselves. We would recommend starting with the central line of the seam.
This should be an overall curved line, but it won’t be a smooth one. As you can see in the reference image, it will have lots of small bumps in it.
When drawing your own, try to replicate the way we drew ours as closely as you can. Then, we will draw rows of simple curved lines extending out from each of these bumps.
These will represent the stitching itself, as you will see in the example. Once you’ve done it for this step, it should be easy to do it for the next one!
We will add the second row of stitching in that one as well as some additional final details.
Step 5: Draw the final details and any extra touches for this softball
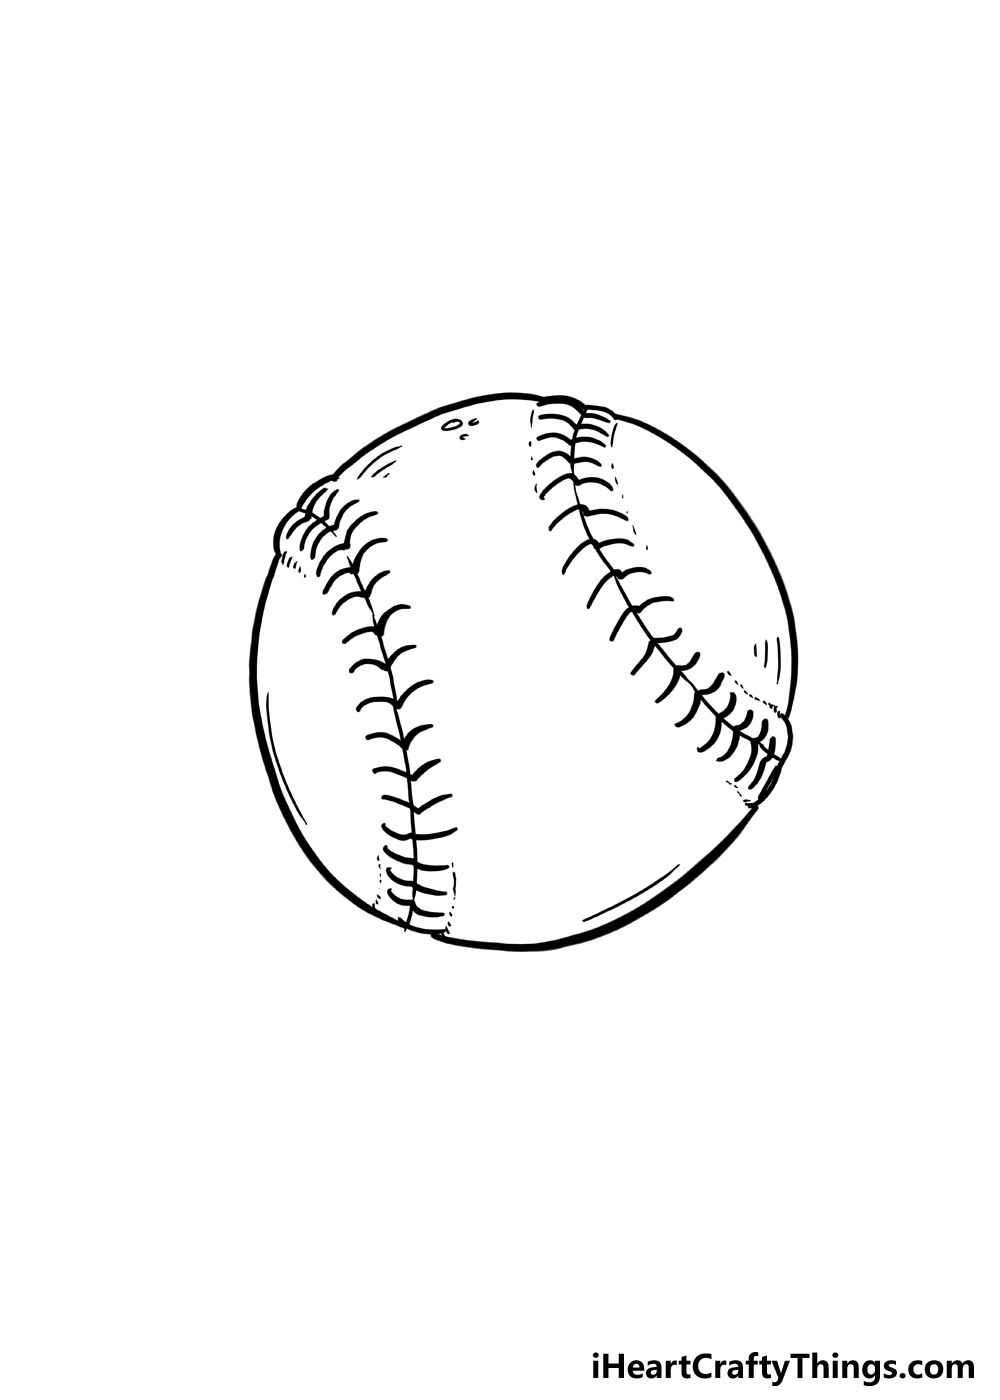
Now we’re ready to finish off the design with the final details and touches. This will get us ready for the final step where we will add some colors to your drawing.
For now, we will essentially be replicating what we did in the previous step, but in reverse. You can use the same method we did for the previous row for this one if you want to make it easier.
That means drawing three lines with your pencil that will mark the outline and central seam of the stitching. Then, you can draw the central line and add the stitches poking off.
Once you have this row of stitching, you can finish off with a few more line details on the ball to make it look more textured. You can also erase the pencil lines you may have used for the stitching.
We won’t be needing them anymore, and they will just get in the way at this point. Then, it’s up to you to take over and show off what you can do!
This will be a lot of fun, as you can bring all of your own ideas to the drawing. This could include adding details such as a logo to the softball.
Or, you could draw some more equipment that you would like to use with this softball. This would depend on what you would like to use when playing the game.
You could also draw a background setting to show where you would like to enjoy a softball game! Then we can finish off with some coloring fun in the final step.
Step 6: Now, finish off with some color for the softball
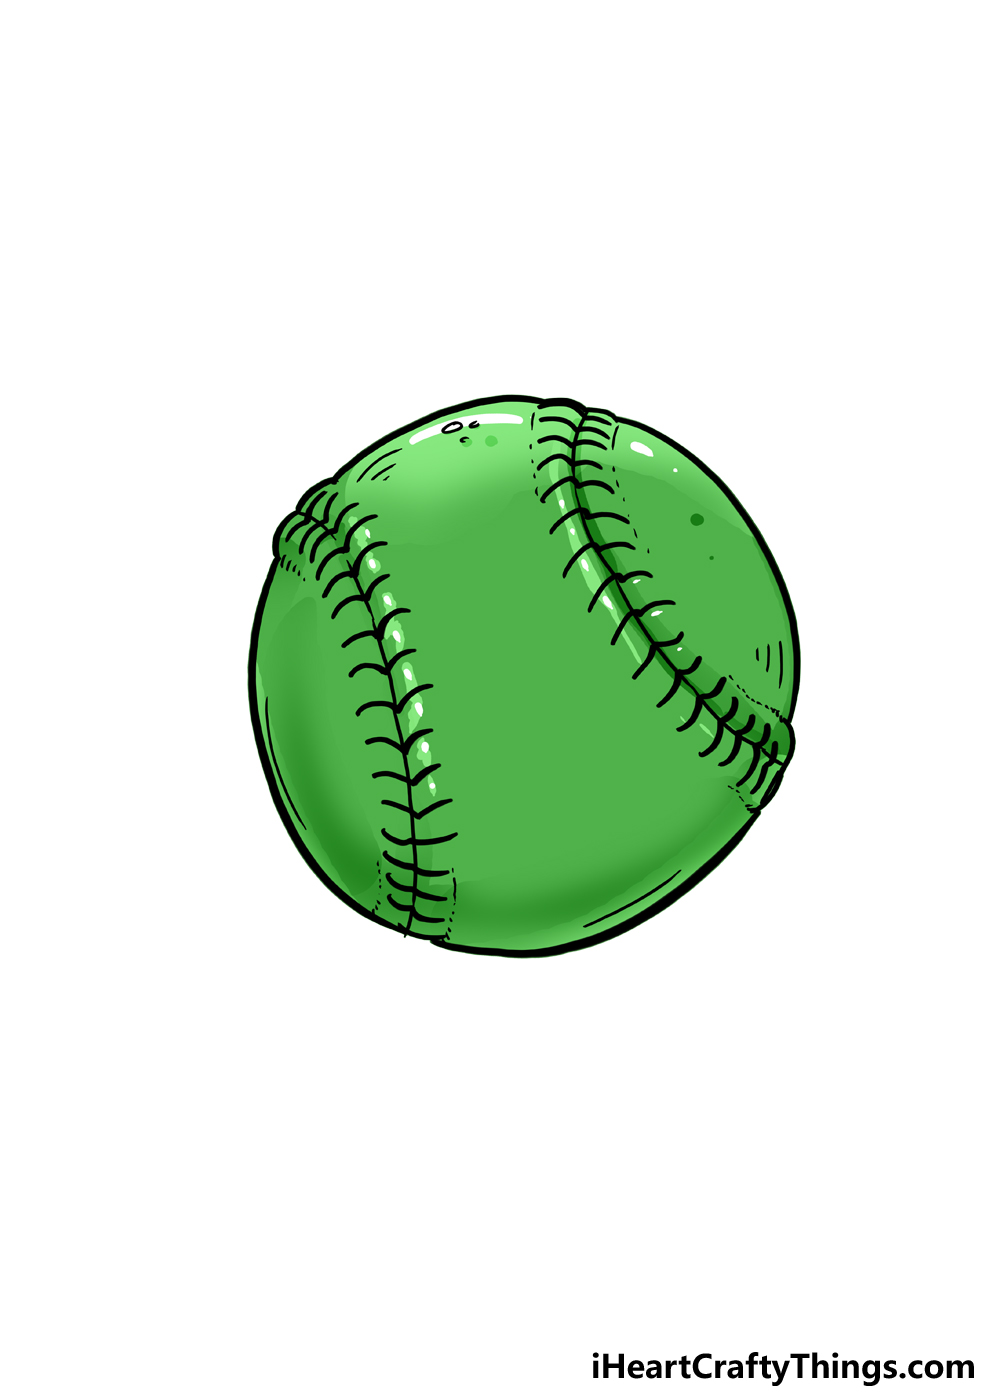
When you think of baseballs, you will probably have white in mind, as that is most standard for that game. Softballs on the other hand are typically known for their bright yellow or green color.
This helps to differentiate it from it’s cousin sport of baseball while also making the ball easier to see when playing. We went with a green color scheme for our example of this drawing of a softball.
Even though we are only using green for the image, you will notice that we didn’t just fill in the softball with solid green. Instead, we used multiple different tones.
These help to show where light is shining on the softball, and it also helps to create shading. Just using these tones helps to make the softball look even more realistic.
You could also go for any other colors you would like to make this softball more unique and suited to you. It doesn’t even have to be a color scheme that’s realistic to real softballs.
This is all about creating your very own unique softball, so you should use any colors you like. When you have chosen your color scheme, you can also have some fun with the art tools and mediums you use.
You could go for some paint such as watercolors for a softer look to the colors. Colored pencils would also help to keep the colors looking milder.
For stronger colors, you could go for some colored pens, markers or something like acrylic paints. You can also mix different mediums to create different color tones and details.
Which of your favorite coloring tools will you use to make your drawing stand out?
Your Softball Drawing is Complete!
And now, we have reached the end of this guide, and we have an awesome-looking softball drawing at the end of it! Even though a softball is a fairly simple object, it can still be rather tricky to draw.
That is because of details such as the stitching and irregular outline of the ball. Hopefully, working through the steps of the guide made it easier to depict these intricacies.
Now that you have mastered the design, you can take it further not only with your own ideas and details but also with the colors you use.
There are so many ways to make your drawing even more unique, and it will be great to see what you come up with! When you have finished your drawing, we’re sure you will want to show it off.
You can do just that by sharing your artwork on our Facebook and Pinterest pages for us to see. It would be great to see how it turned out, so we hope you will do so!