Giving and receiving gifts has been a big part of Christmas for many years.
Every year, kids around the world hang up festive stockings which will be filled with smaller little gifts to open on Christmas morning.
These stockings will usually have a festive, whimsical design to them that helps to bring some Christmas cheer to the room.
Learning how to draw a stocking is a great way to get into this Christmas spirit.
This can sometimes prove trickier than expected, but that’s what this tutorial you have before you is for!
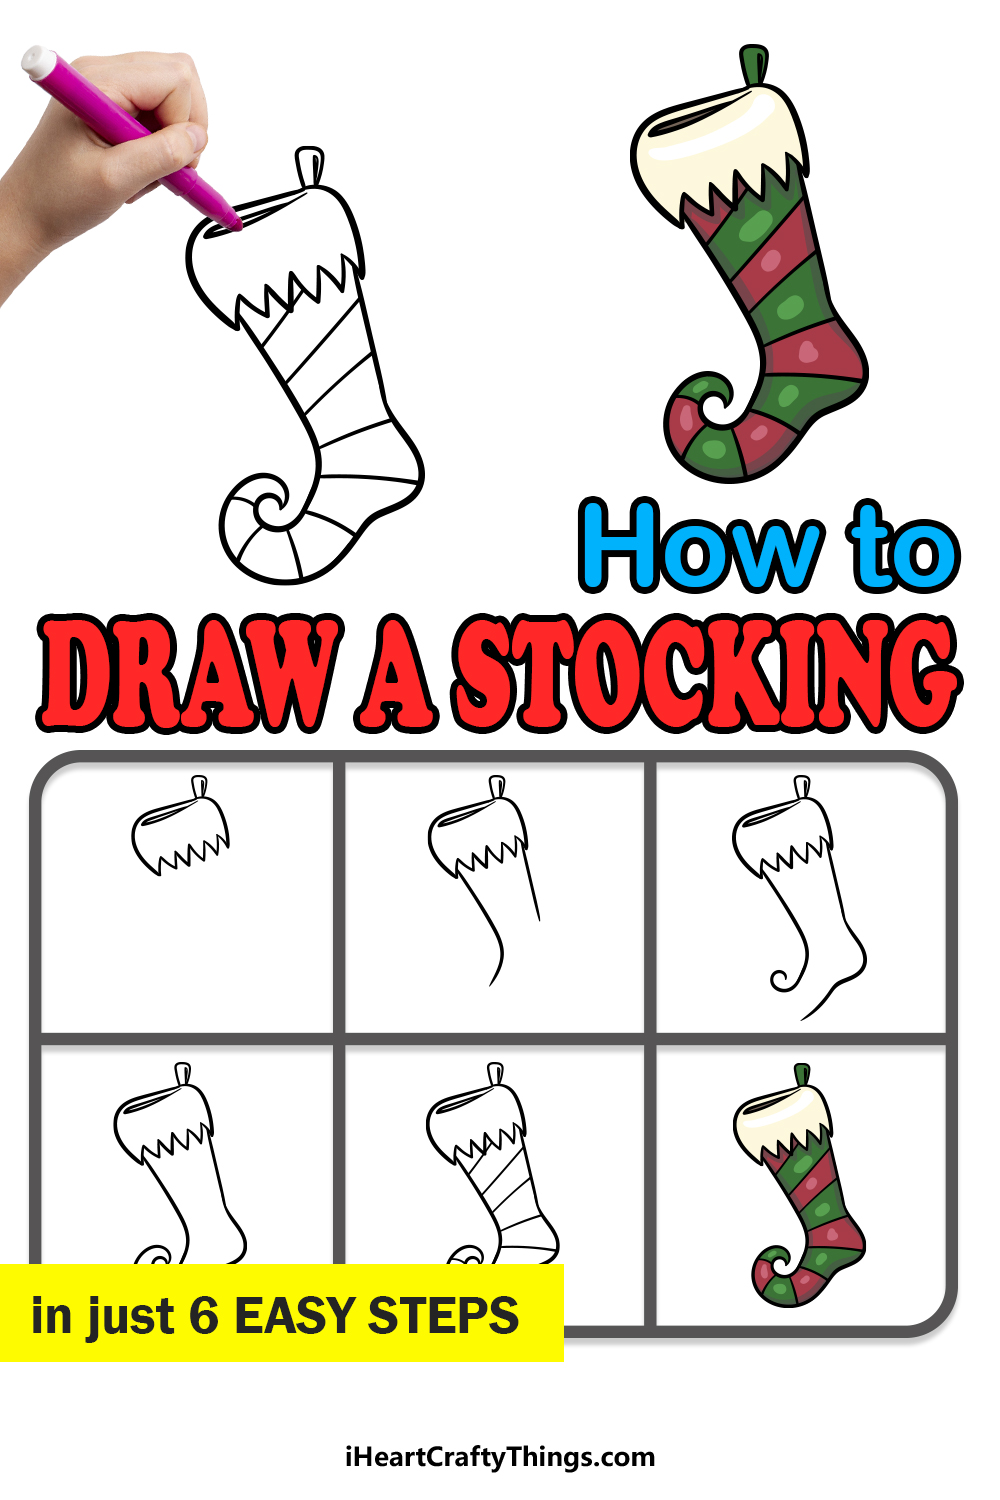
Our step-by-step guide on how to draw a stocking in just 6 easy steps will show you how to recreate this classic festive garment.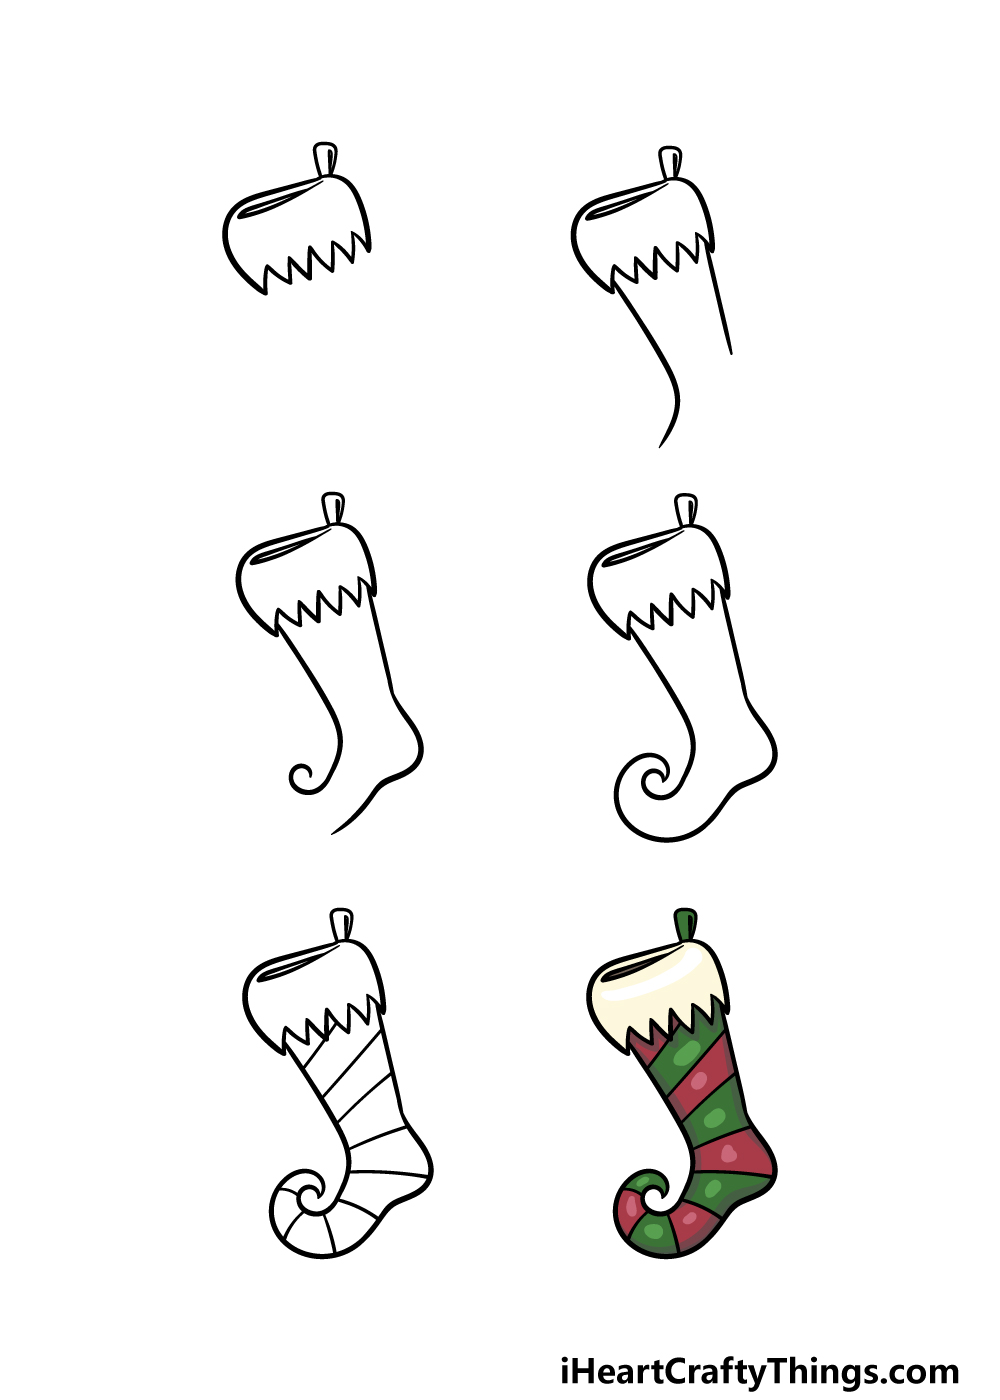
How to Draw A Stocking – Let’s Get Started!
Step 1

This first step of this guide on how to draw a stocking will see you begin with the top of the stocking. For this design, we used some curved lines for the top and the sides of the hem of the sock.
Then, for the base of this section we used some straight, jagged lines to create a pointy pattern for the base.
Christmas stockings will usually be hung on a wall or mantlepiece, so they will generally have a small fabric loop from which to hang them.
We will also add this in this step, and you can draw it with some simple curved lines on top of the stocking.
Finish off this step by drawing a thin shape for the opening of the stocking, and then we can move to step 2.
Step 2 – Now, draw the sides of the stocking

Now that you have the top section of this stocking drawing done, we can start to draw the main section of the garment.
This should be quite easy in this step! All you need to do is draw a line coming down from the front of the stocking. This line will curve fairly sharply outward, as shown in our reference image.
Then, we will be drawing one more line coming down from the back of the stocking. This one will come straight down, and this line won’t have a curve to it as the first one did.
Then, you will be ready to continue to part 3!
Step 3 – Draw the next section of the stocking
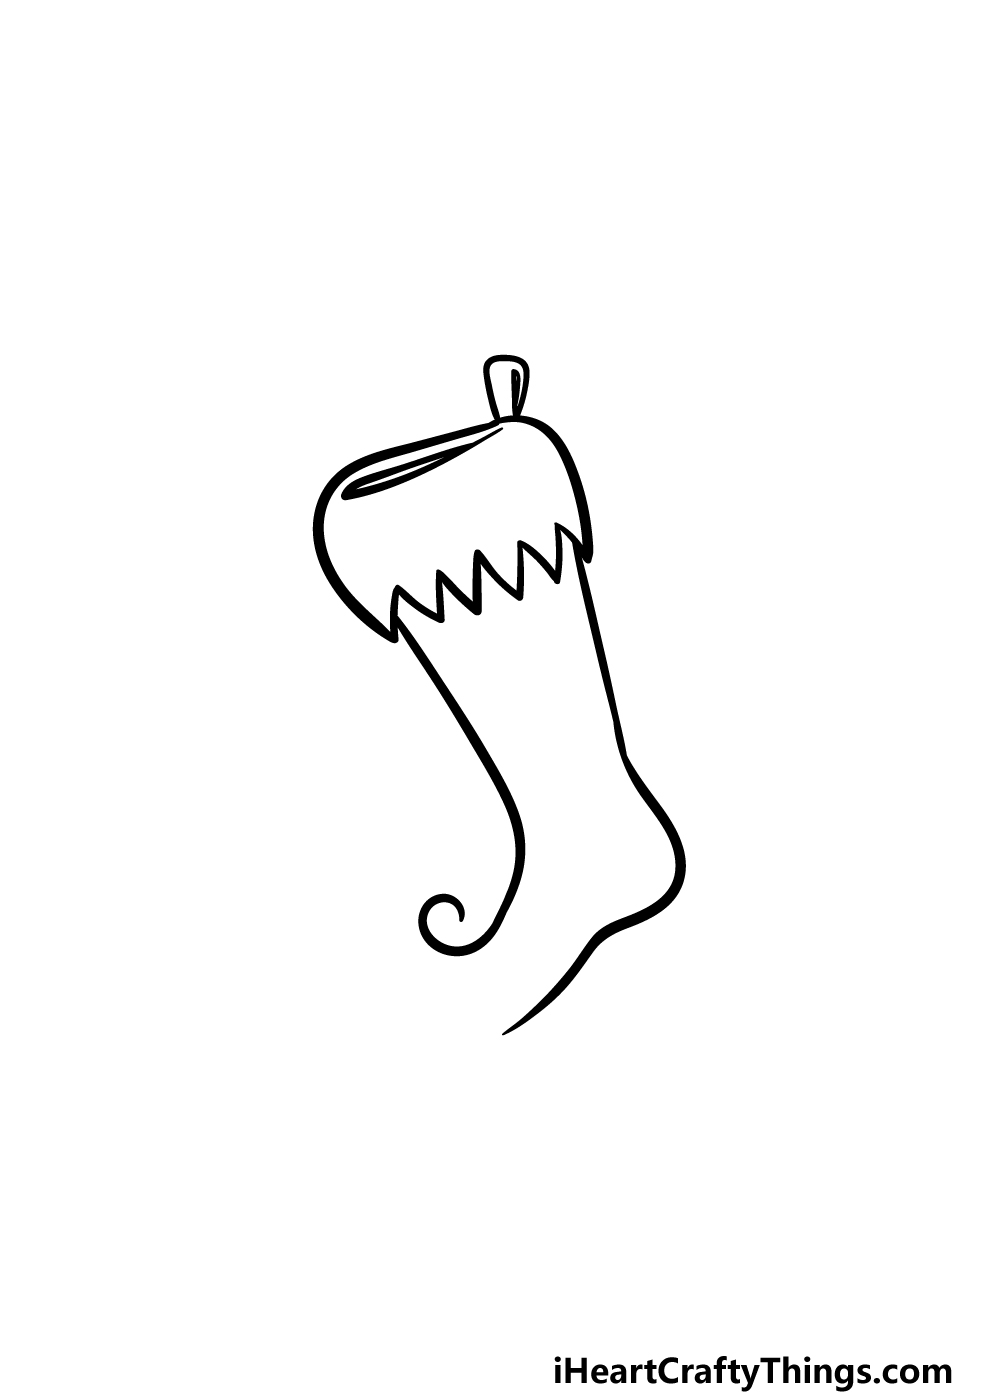
Continuing with this guide on how to draw a stocking, we will be adding another section to it now. First, draw a curved line coming from the back line of the stocking for the ankle section.
This will extend into a flatter, slightly wavy line for the base of the stocking.
Then, draw a sharply rounded line coming from the front side of the stocking. This will be really curly, as there will be a curled segment at the front of the stocking.
We will be finishing off this curve in the next step of the guide, so when you’re ready we can move on!
Step 4 – Next, finish the outline for the stocking
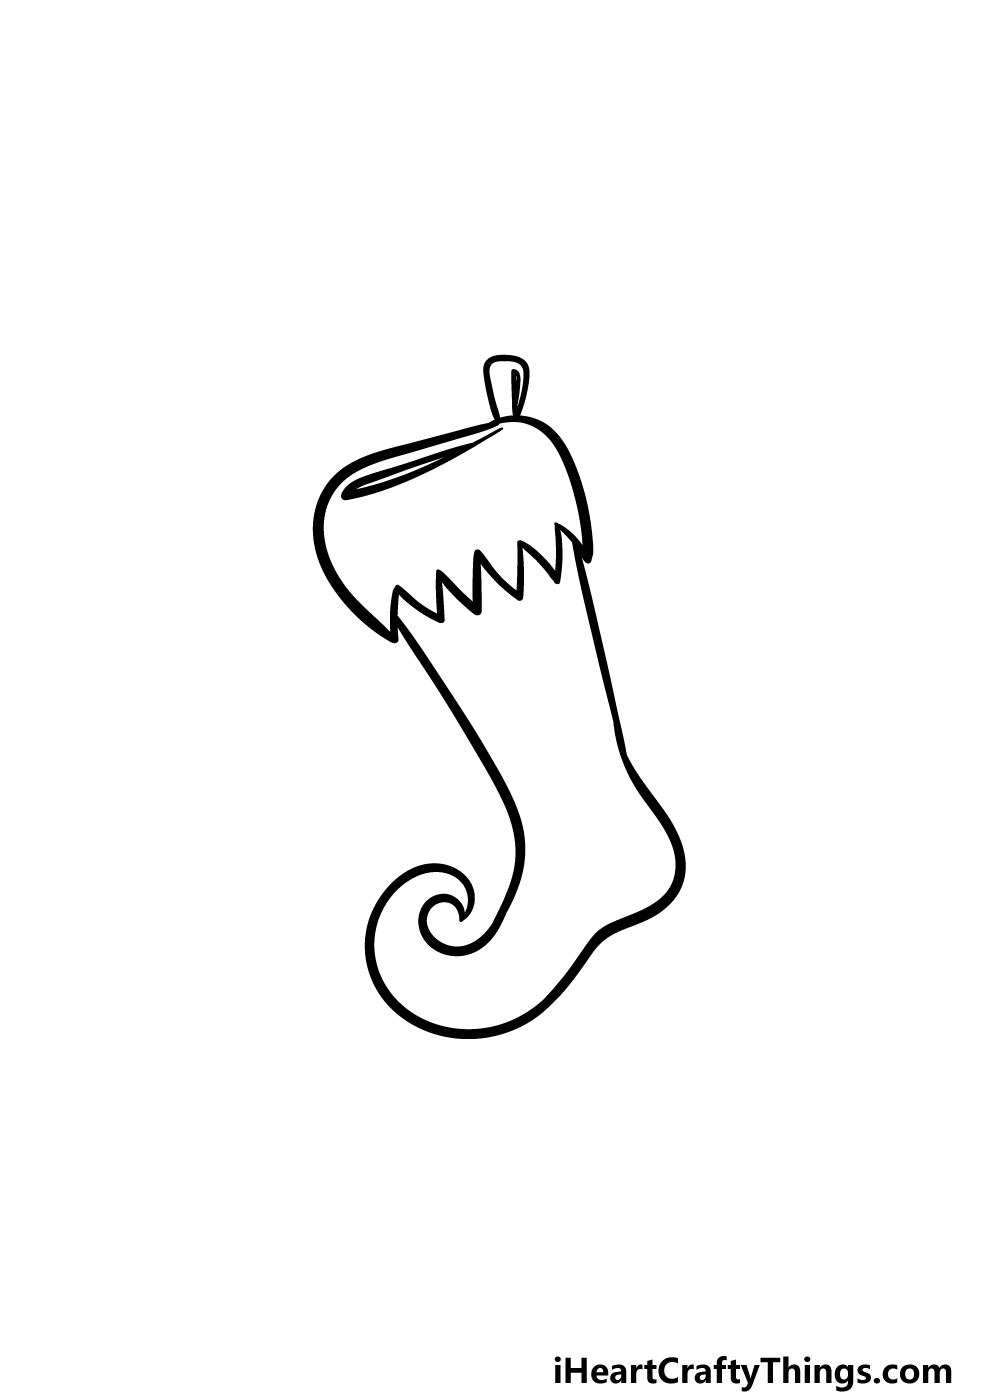
This fourth step of your stocking drawing will see you finishing off the outline, and this will have you ready for some details in the next part.
As we mentioned in the previous part of the guide, there will be a curled segment at the front of the stocking.
This is a common design for Christmas stockings, so that’s why we chose it for this drawing!
You can use some rounded lines to draw it, and be sure to refer to the reference image to get it looking right.
Once this front of the stocking is done, we can move on to the final details in the next part.
Step 5 – Add the final details to your stocking drawing

Before you add some color to your artwork, we have a few final details to add in this step of our guide on how to draw a stocking.
These will be focused mainly on some decorative elements, and in our design we drew some stripes inside the outline of the stocking.
You could also add some other patterns, designs or even elements such as little bells for your own drawing!
For some extra Christmas fun, you could even draw a background, perhaps showing the room that this stocking is hanging in. How will you finish up this stocking with your own details and ideas?
Step 6 – Finish off your stocking drawing with color

You have reached the final step of this stocking drawing, and now you can have some fun coloring your creation!
You have many different options for the colors and art mediums that you can utilize for this drawing, so you can really have fun getting creative with it.
In our reference image, we went with a classic Christmas color scheme of red alternating with green for the stripes of the stocking.
These are just a few of the colors that you could use, so now it’s your chance to show off what colors you think would be perfect for this stocking!
You could also use some creative art mediums such as acrylic paints or colored markers for extra color vibrancy. You could even incorporate some crafts such as beads and sequins.
These are just a few suggestions, but what colors will you use to finish off this wonderful image?
5 Tips To Make Your Stocking Drawing Even Better!
Unwrap these tips we have that will make your stocking sketch even better!
This drawing of a stocking alternates between red and green, and these are two classic Christmas colors. While these colors look amazing, there are so many other colors you could also go for!
These could be other traditional Christmas colors like gold or silver, or you could go for any of your favorite colors instead!
When you have Christmas stockings, they will often have small extras and decorations on them. You could add some of these to this stocking to make it even more festive!
There are a few examples of what you could for, and these could include little bells, mistletoe or maybe some candy canes. These are a few ideas, but what else can you think of?
If you have lots of ideas for stocking designs, you could incorporate some of these designs by adding some additional stockings hanging beside it!
This would also work as there will usually be more than one stocking hanging around Christmas time. They could all be of a similar design with minor changes, or each one could be unique.
How many stockings would you like to have hanging in this scene?
Once you are happy with how this stocking drawing looks, you could make it even greater with a background! A classic scene would be to show the stocking hanging from above the fireplace.
This could work if you added additional stockings as well.
These stockings can be used anywhere though, so if you have other places you would like to display it then you could use that as a background!
When bringing some color and detail to this stocking sketch, you could also use some less obvious crafts and supplies. Some materials that are common around Christmas could be used!
This could include some pieces of wrapping paper, tinsel or ribbon. Stickers and beads would also help to give this artwork some texture!
Your Stocking Drawing is Complete!
You have finished all 6 steps of this guide on how to draw a stocking, and you have ended up with an incredible portrayal of this Christmas gift receptacle!
We hope that the steps in this guide made it fun and easy for you to learn how to draw this stocking!
Now that you know the basics of drawing this stocking, you could take it even further by adding your own background or extra details, and you could even design a unique stocking.
There’s no limit to the creativity you can have fun with, so be sure to have fun as you finish up this design!
There’s even more fun to be had on our website, where you can find many more amazing drawing guides to enjoy. These guides cover a huge variety of different subjects with more on the way all the time, so be sure to keep checking in!
You can also show off your fantastic stocking drawing on our Facebook and Pinterest pages so we can see how your artwork turned out.