The Five Nights At Freddy’s series had humble beginnings with a single game, but now it is one of the most recognizable horror game franchises in the world.
It takes a concept that has probably come to mind for most people; what if the creepy animatronics you see at some restaurants and attractions came to life?
The series is full of these creepy robotic animals wreaking havoc, and one of the most terrifying is the rabbit-like Springtrap.
As one of the most recognizable characters in the series, many fans like to try and learn how to draw Springtrap.
If you are a fan of this scary robo-rabbit, then you’re in the right place.
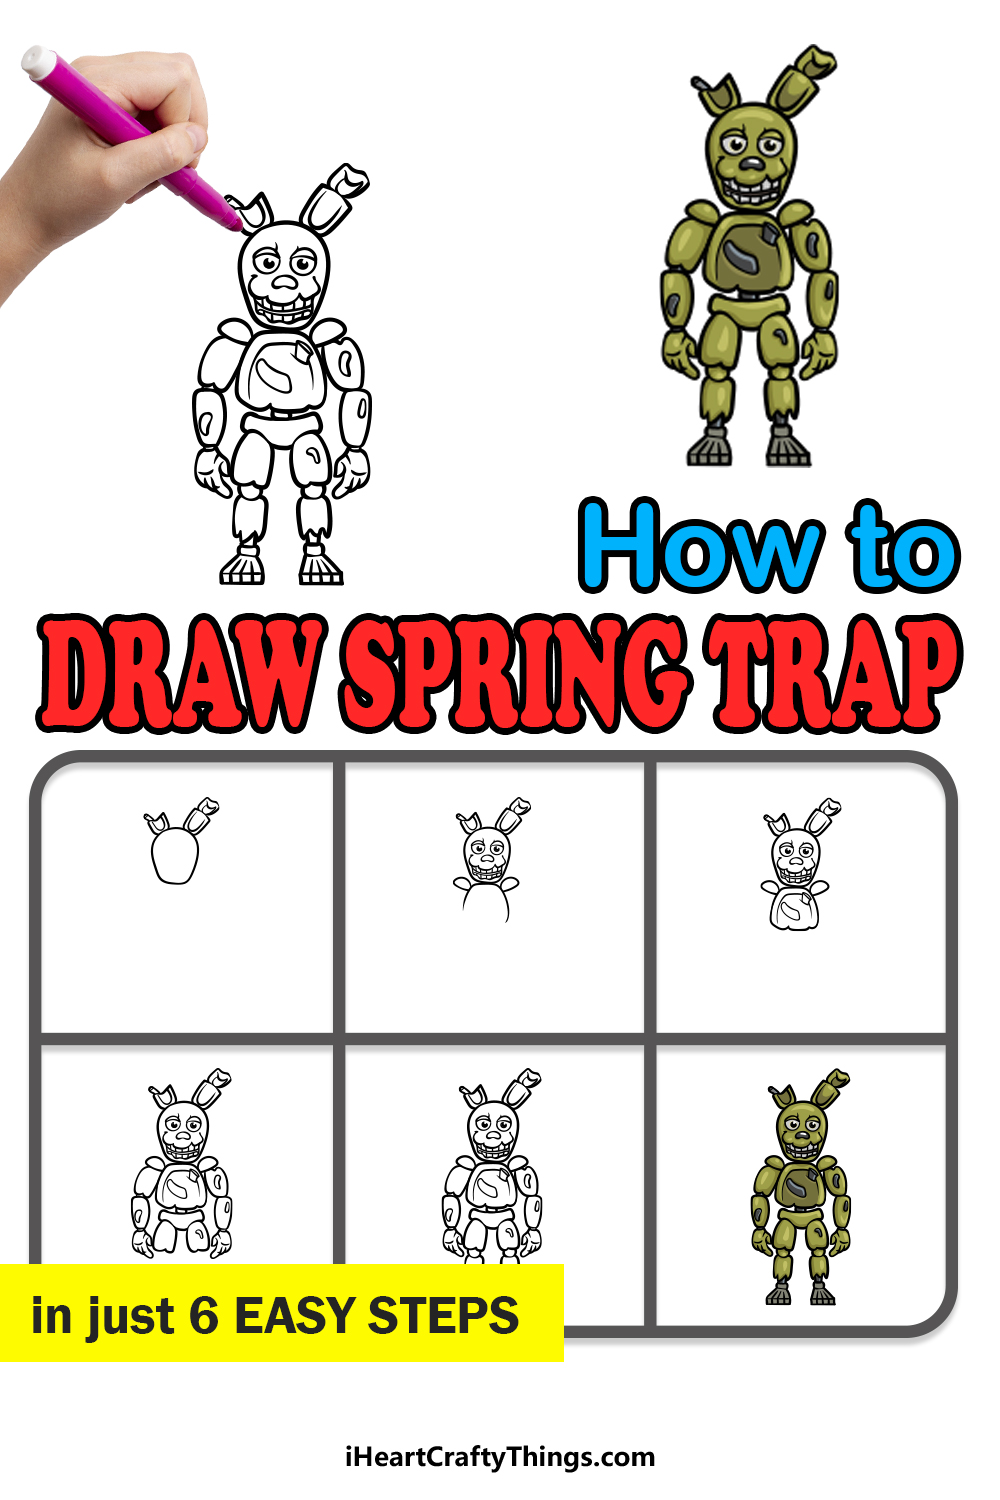
Our step-by-step guide on how to draw Springtrap in just 6 steps will show you how fun and easy it can be.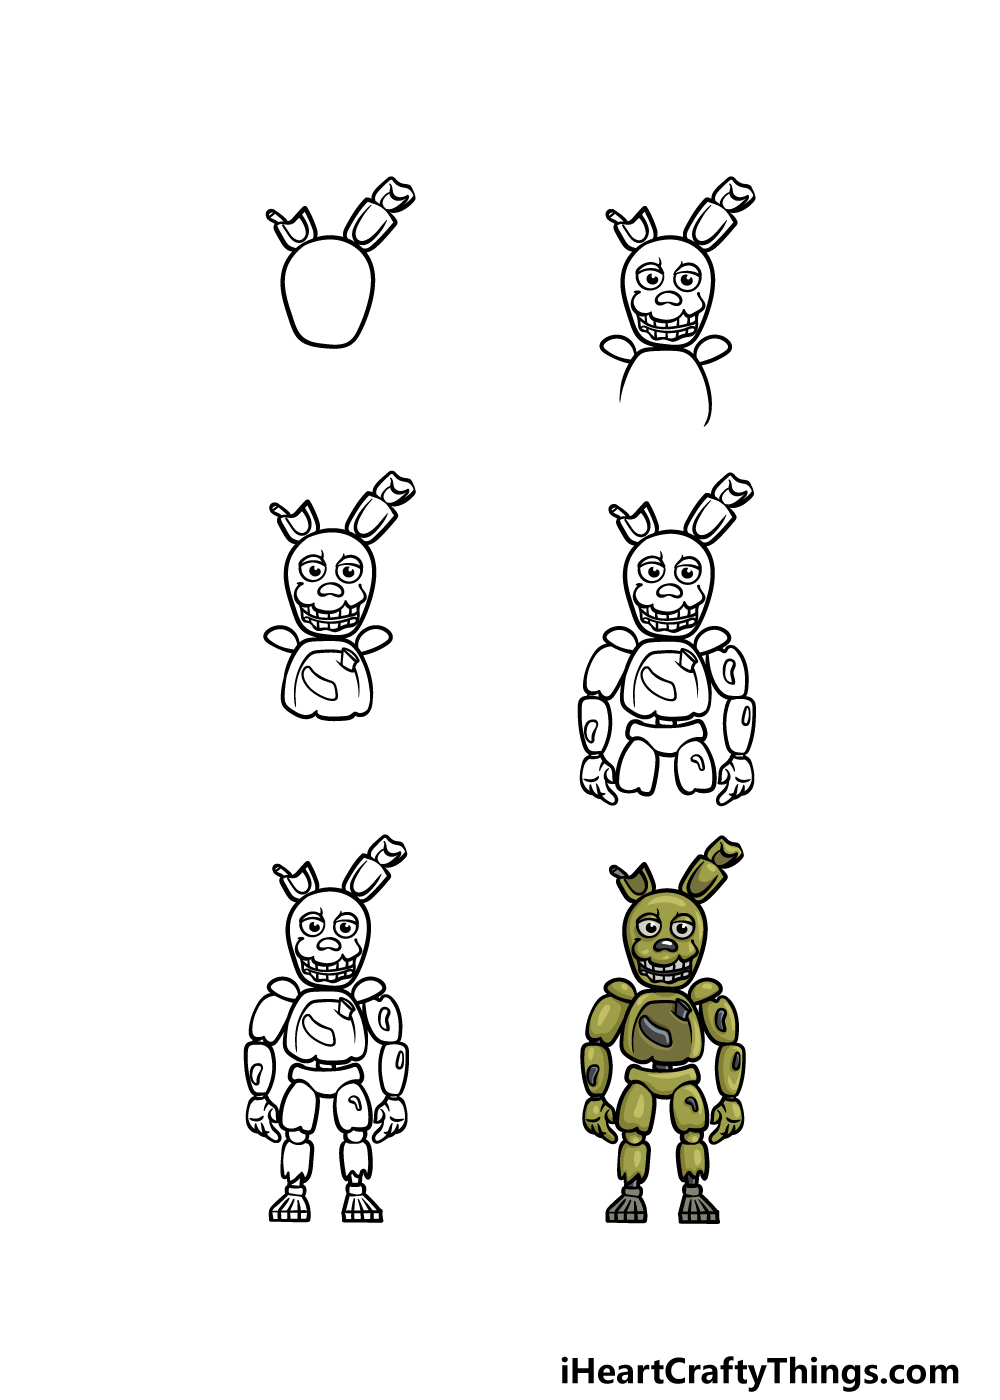
How to Draw Springtrap – Let’s Get Started!
Step 1
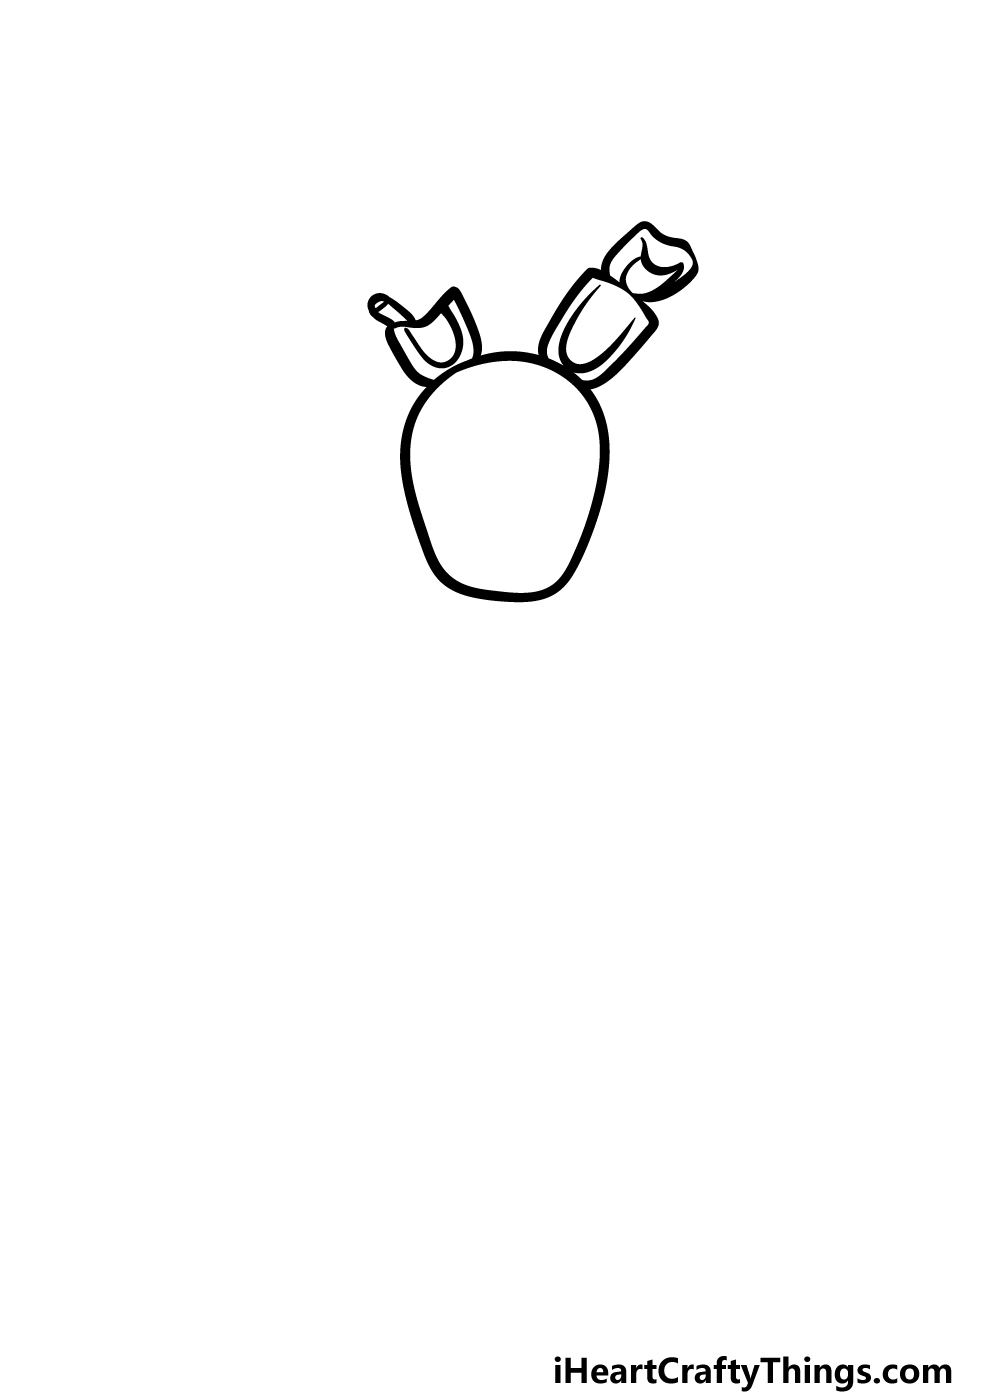
To kick off this guide on how to draw Springtrap, we shall begin by drawing the outline for his head and ears. Even though he is rather detailed, these outlines will be pretty simple.
Use an irregularly shapes smooth oval for the outline of his head as it appears in the reference image.
Then, we will be drawing his rabbit ears. Springtrap looks quite damaged and old in his appearances, and this will be reflected in his ears.
For the ear on the left, only the bottom half of it will be attached with the top half broken off. The ear on the right will be a bit more intact, but not by much.
Once these ears are drawn onto the head outline, we can move on to step 2.
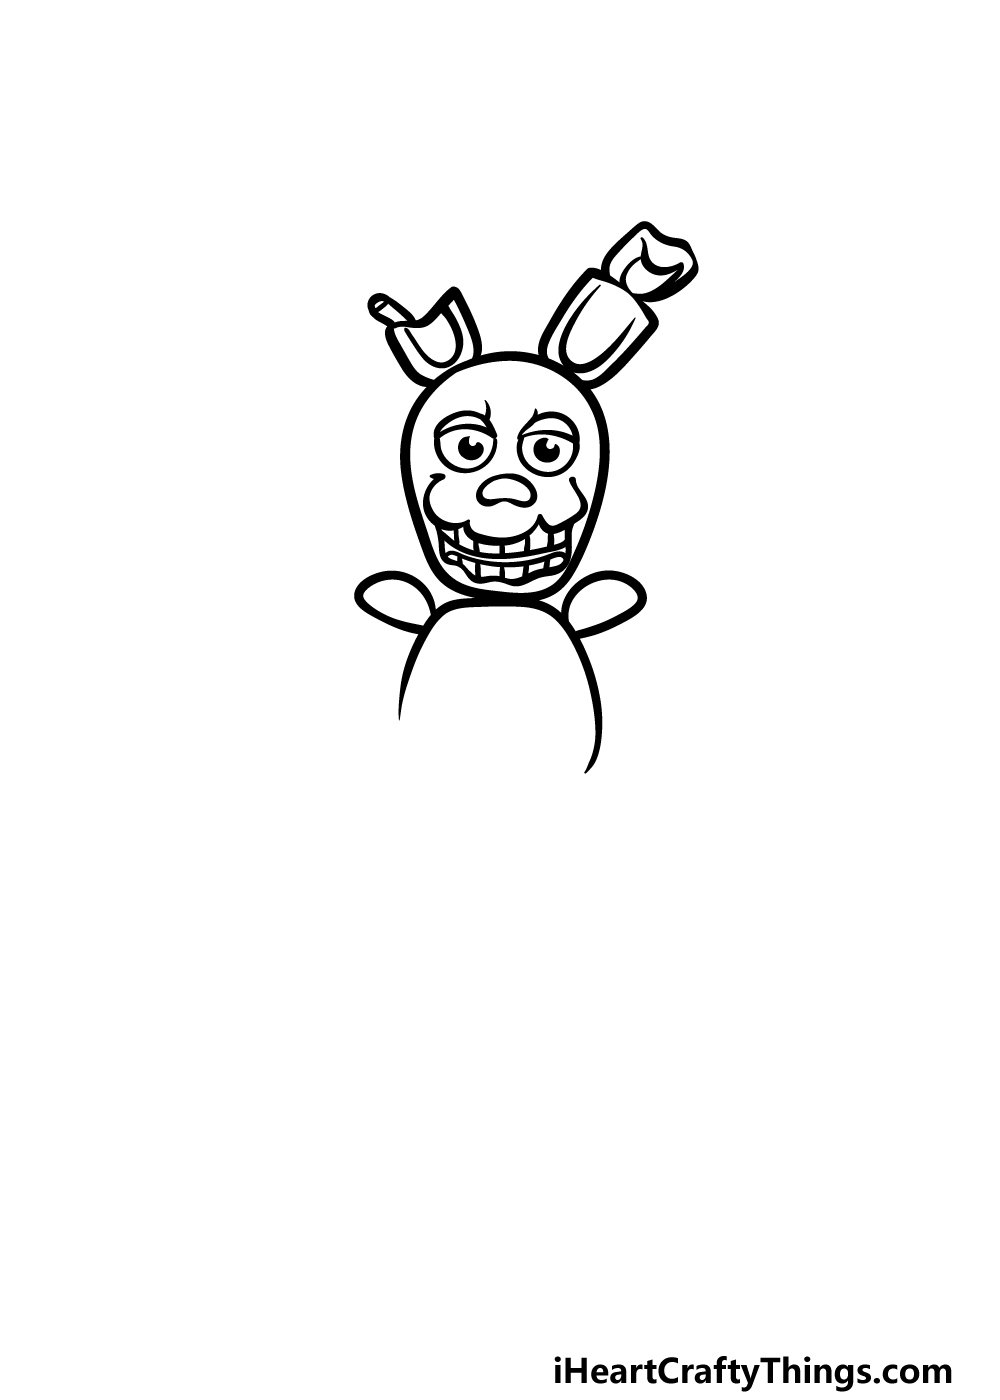
Step 2 – Draw the facial features for Springtrap
When you lose the game in this series, you will likely have the creepy face of one of these animatronics right up in your own face.
For this reason, the game makers went to great lengths to make the faces nice and creepy.
We will be drawing the creepy face for this part of your Springtrap drawing. His eyes are quite rounded with his eyelids dropping down a bit.
His nose will be quite flat and rounded, and then we will be using some wavy lines for his grinning mouth. Finish off his mouth with some straight lines for his teeth.
To finish off this step, draw some small shapes for his shoulders and then use some more curved lines for the start of his body. That will do it for now, and then you can move to step 3.
Step 3 – Now, draw some details for his belly
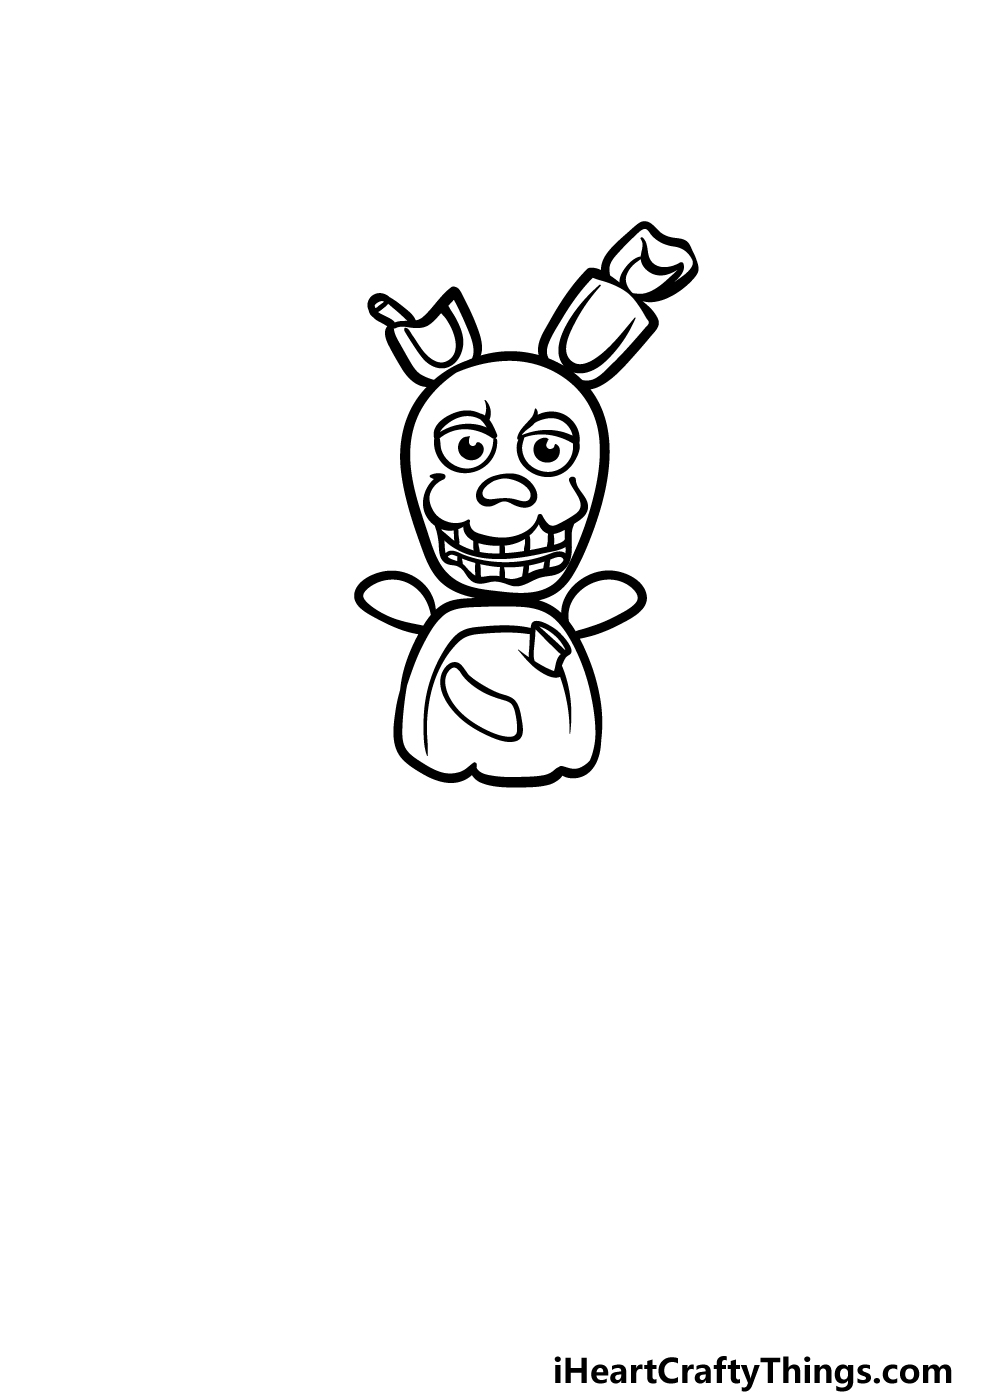
There are lots of small details to show how beaten up and damaged this character appears, and we will be drawing some of these details in this step of our guide on how to draw Springtrap.
Use a curved line for the top outline of his stomach, and then draw some small rounded shapes to show some objects poking out from inside his body.
Then, you will be ready to add some more body parts to Springtrap as we move to the next steps.
Step 4 – Next, draw his arms and more of his body
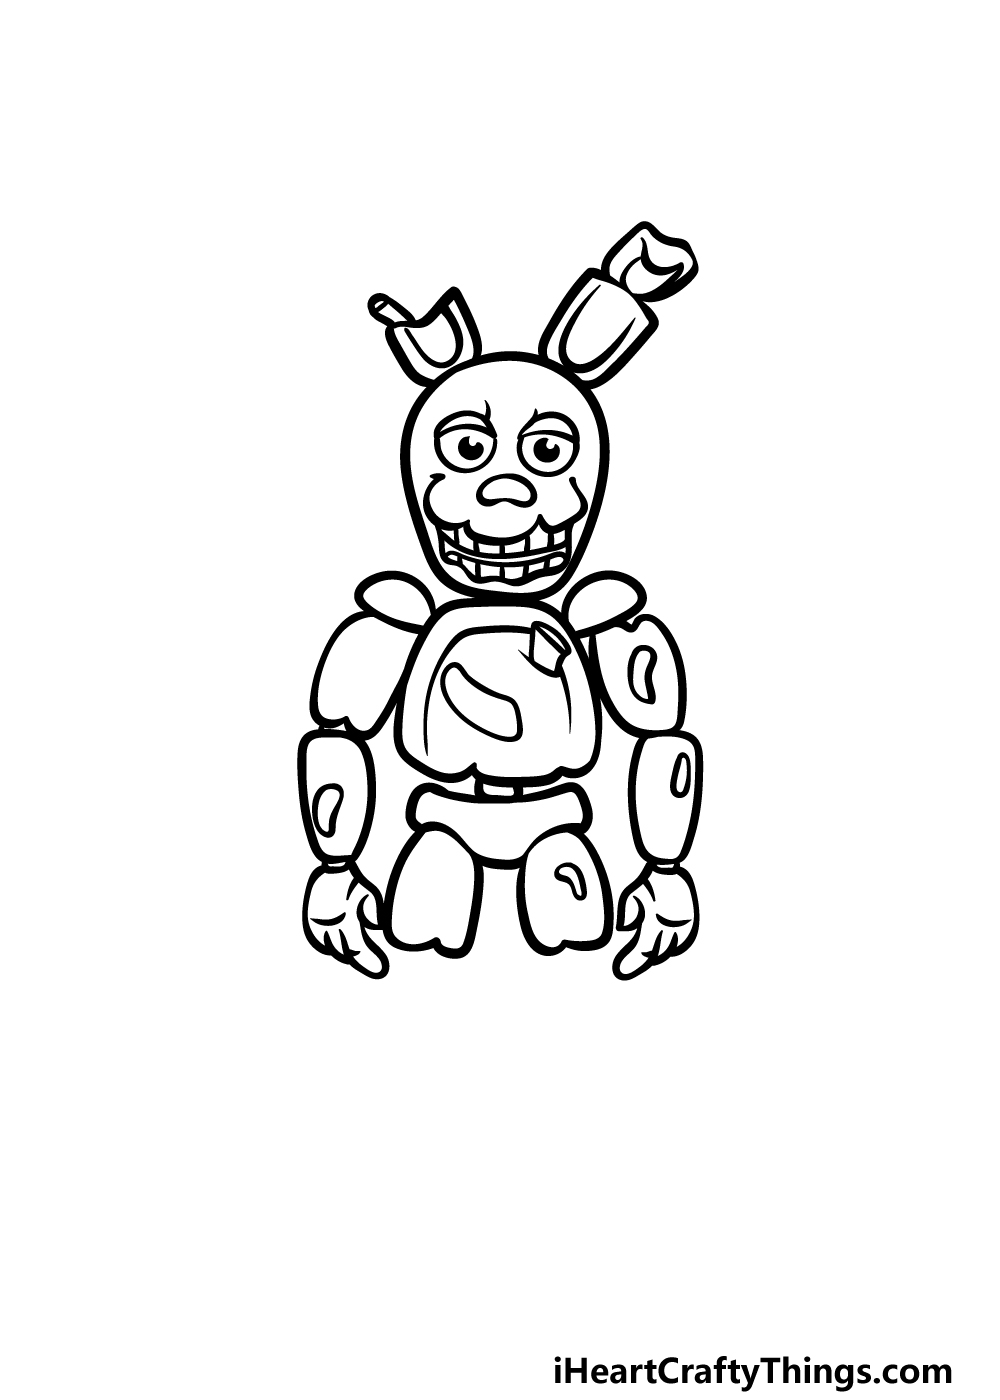
Continuing on with your Springtrap drawing, we shall be drawing his arms next.
Much like the rest of his body, his arms are made up of several smaller sections connected to one another you can draw these separate rounded shapes dropping down from his shoulder shapes, and then draw his hands at the ends of them.
Be sure to also add some more damage details to his arms as well.
Once the arms are complete, you can then draw some more shapes for his waist and the start of his legs before we move on to the final details of the guide.
Step 5 – Add the final details to your Springtrap drawing
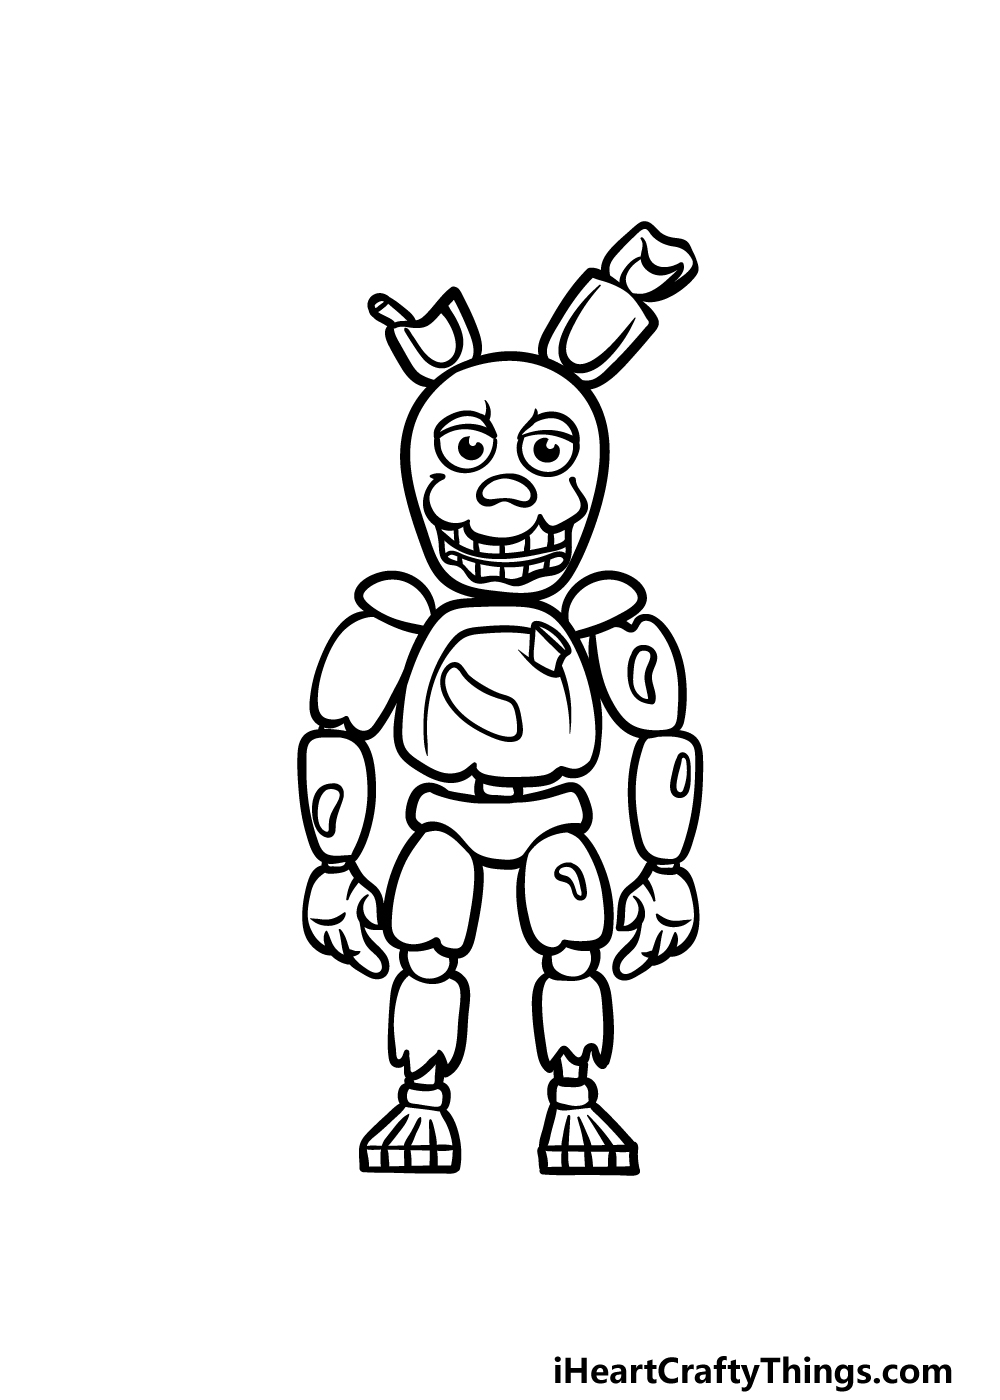
Now you’re ready to finish off the final details in this step of our guide on how to draw Springtrap. You started the legs in the previous part, and now you can finish drawing them.
Once again, these legs will be drawn as several sections connecting to one another.
There will also be some more damage details on the legs, and the feet will be drawn with some jagged lines to also make them look broken.
Before you move on to the final step, be sure to also add any extra details of your own!
You could draw a background to show your favorite stage from the games or perhaps even add some more of Springtrap’s sinister friends.
These are just a few ideas, but what else can you think of to finish it off?
Step 6 – Finish off your Springtrap drawing with color
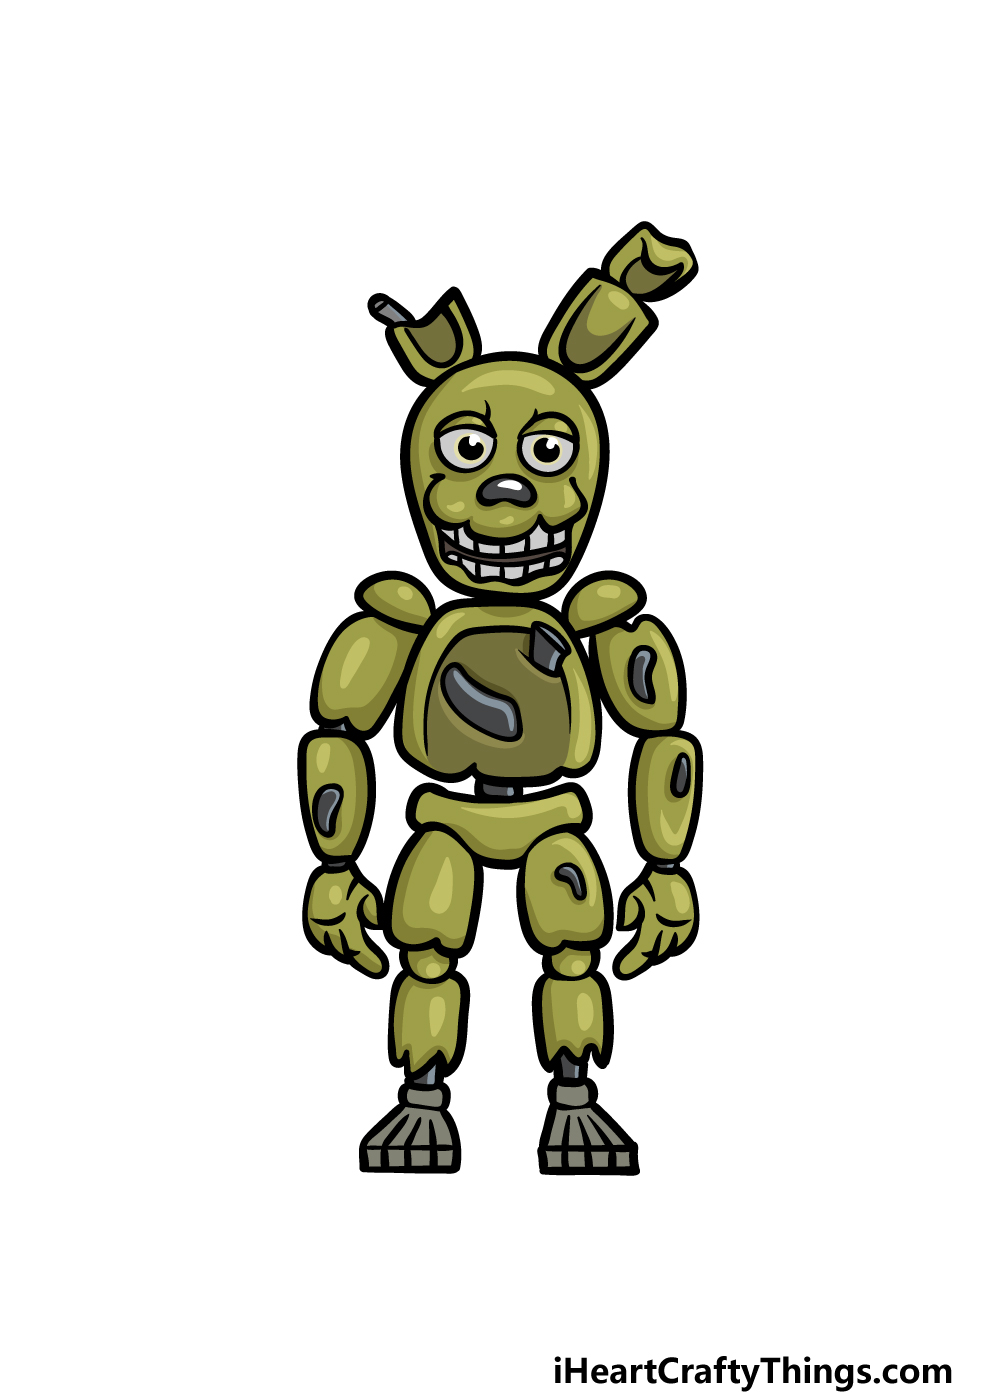
The final step of your Springtrap drawing is all about finishing it off with some color.
In the games, Springtrap is usually colored with a rather sickly dull orange color, and this is what we went with in our reference image.
We alternated using some light and dark shades of the color to give it some variation, so you could take a similar approach to your own image.
When you know the colors you would like to use, there are also loads of options for art mediums you could use.
Watercolors or colored pencils would make the colors a bit softer, which may suit the darker tone of the image. Anything you use will look great, so what will you choose to finish off your picture?
Do this to take your Springtrap drawing to the next level
Make your Springtrap sketch even greater with these terrifying tips!
This drawing of Springtrap shows him in a detailed style that looks like his appearance in the games. When you have the hang of this drawing, you could draw him in some other styles.
For example, you could draw him in a much less detailed cartoon style for one variation. Or, you could try and make him look even more detailed and realistic.
What are some alternate styles you could use for Springtrap?
This drawing shows Springtrap looking quite creepy and rotten, but he wouldn’t have always looked like this.
Another interesting variation would be to show him as he looked before becoming corrupted.
His design would be much cleaner, and he would look much friendlier in this form. You could also change his pose into something less threatening as well.
For instance, he could be giving a wave instead. What other friendly poses could you create?
The Five Nights series is filled with many terrifying villains. This Springtrap drawing shows just one of these characters, but now that you have drawn him you could draw more of the characters you love to hate!
These characters tend to be based on what should be cute animals, and there is a decent selection of characters from the series you could add.
For example, you could add Freddy Fazbear himself beside Springtrap to make this a truly spooky picture to behold! What sort of pose would you create with these alternate characters?
The series of games is also famous for its memorable levels and locations. These could be used as backgrounds for your Springtrap sketch, and there would be so many to choose from!
For instance, you could draw the famous Freddy’s Restaurant as seen in a few of the games.
You could pick other locations from the games, but it would also be an option to create a brand new location for the background.
Can you think of an interesting location for Springtrap to prowl?
Your Springtrap Drawing is Complete!
This may be a really scary character that we worked on, but hopefully this guide on how to draw Springtrap wasn’t a scary challenge to take on!
There were a lot of details to cover, but if you follow all of the steps we laid out then this drawing should be a breeze for you to complete.
Don’t forget that you can also add your own details and ideas!
We mentioned drawing a background or adding some more characters from the games, but what else can you think of to personalize this picture?
If you had fun with this guide and are ready for more, you can find tons of amazing drawing guides on our website to enjoy. We upload new ones often, so keep checking in!
Don’t forget to also go ahead and share your finished Springtrap drawing onto our Facebook and Pinterest pages so we can enjoy your creepy artwork!