When it comes to having tasty snacks that are natural and good for you, it’s hard to beat the variety that different kinds of nuts provide.
One of the most common of these to enjoy is the peanut, and it’s so popular that it can be enjoyed in other forms and variants!
Peanuts also have a rather unique appearance when still in their textured shells, and this can mean that learning how to draw a peanut can be easier said than done.
That’s what the tutorial in front of you is here for, as we will show you that it can be easy and fun to do!
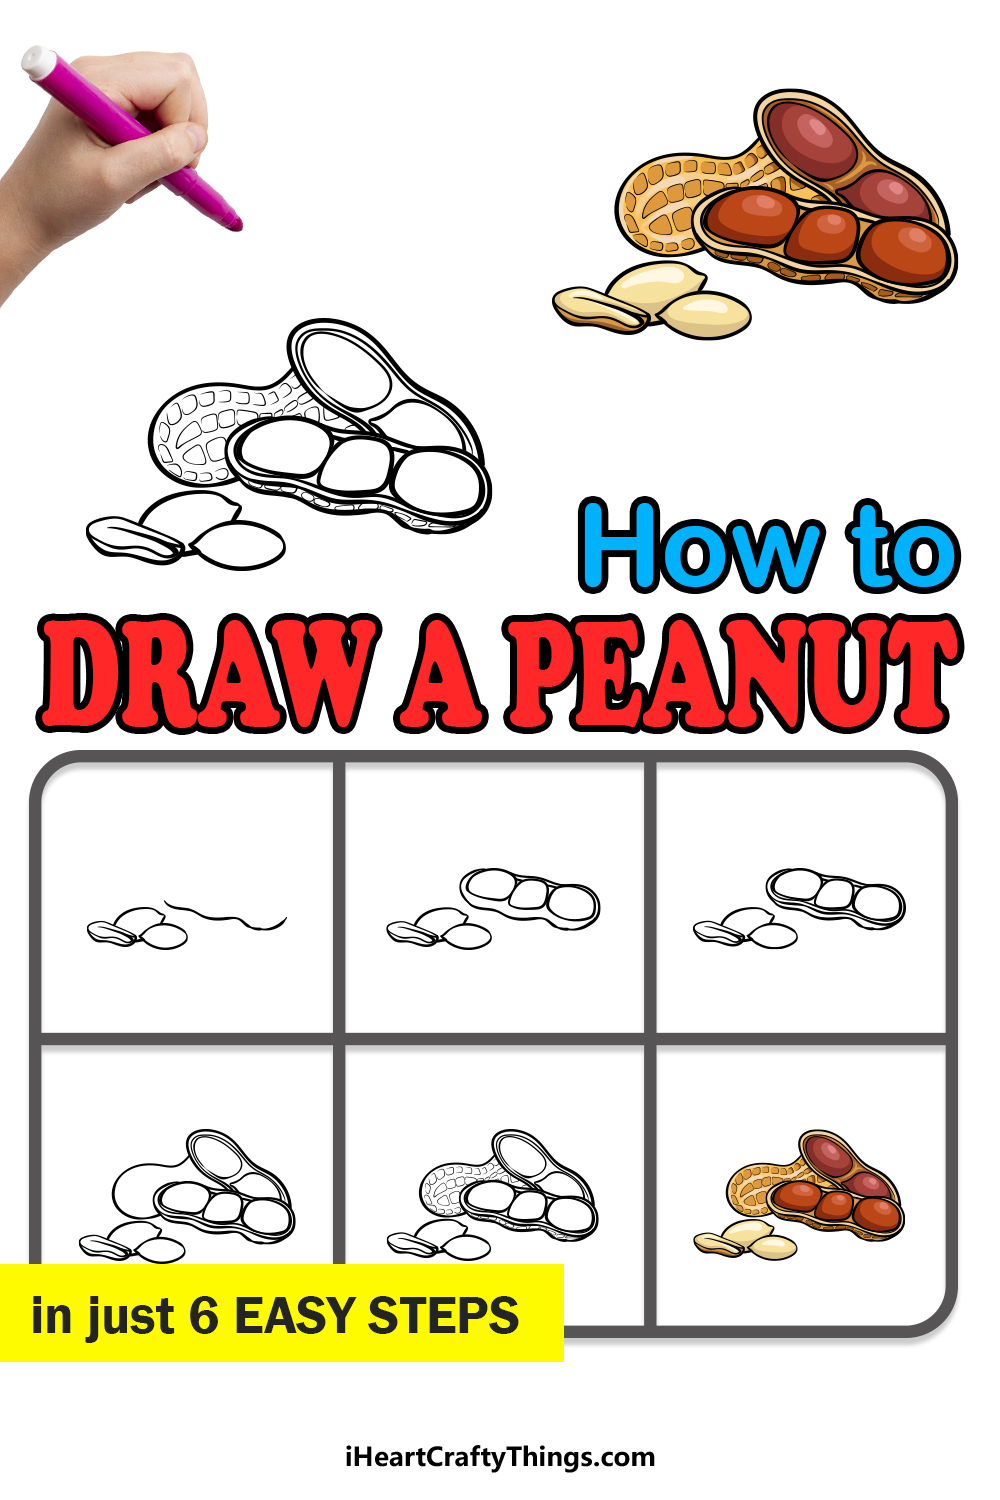
So why not grab a bowl of peanuts and enjoy our step-by-step guide on how to draw a peanut in just 6 steps!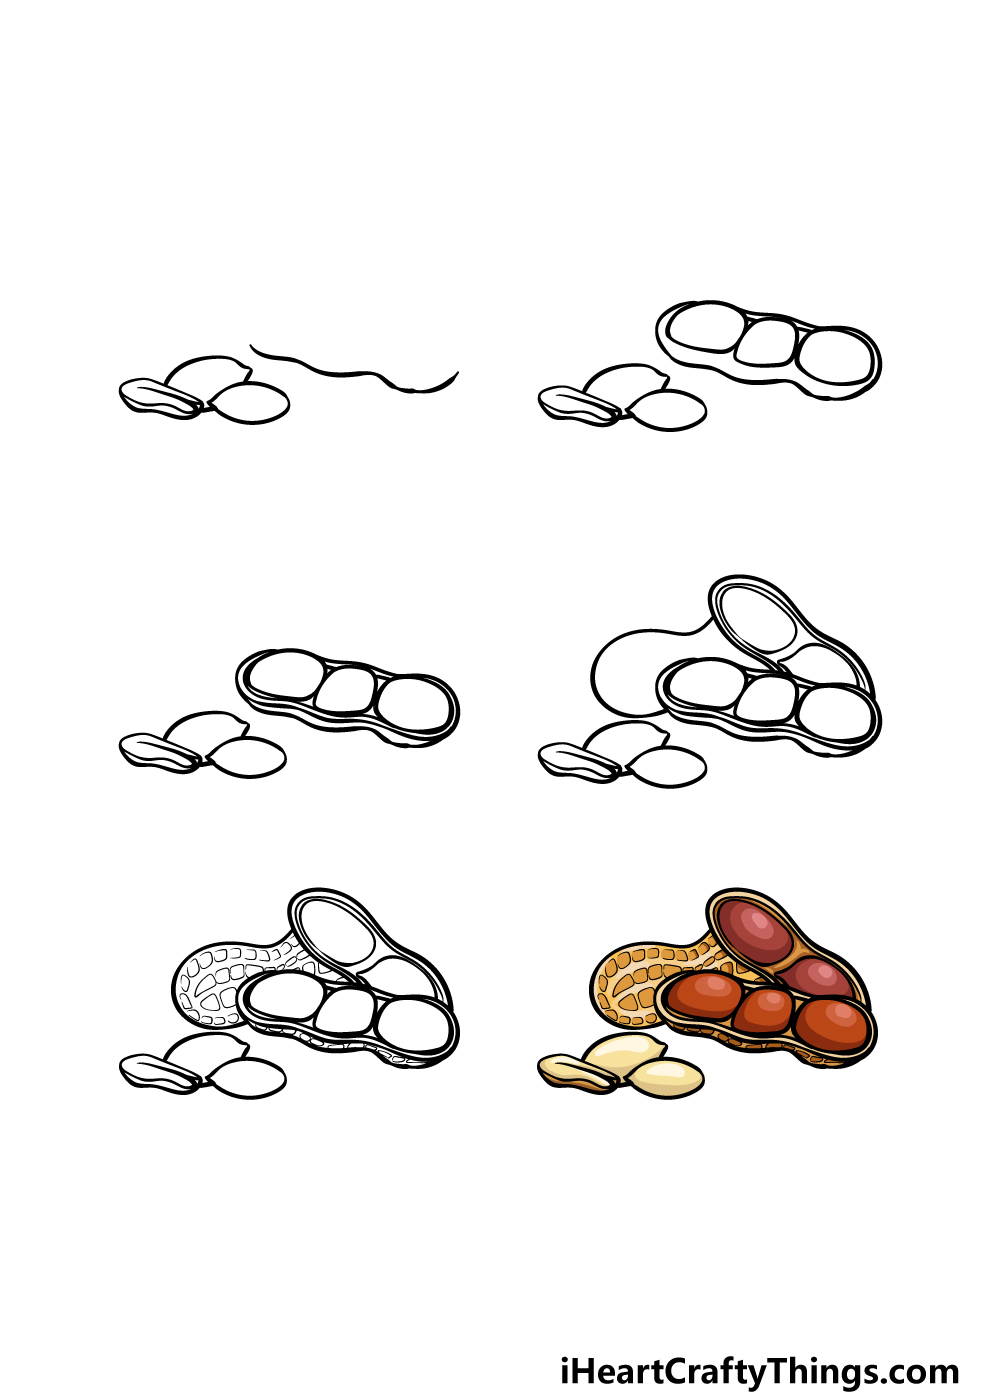
How to Draw A Peanut – Let’s Get Started!
Step 1
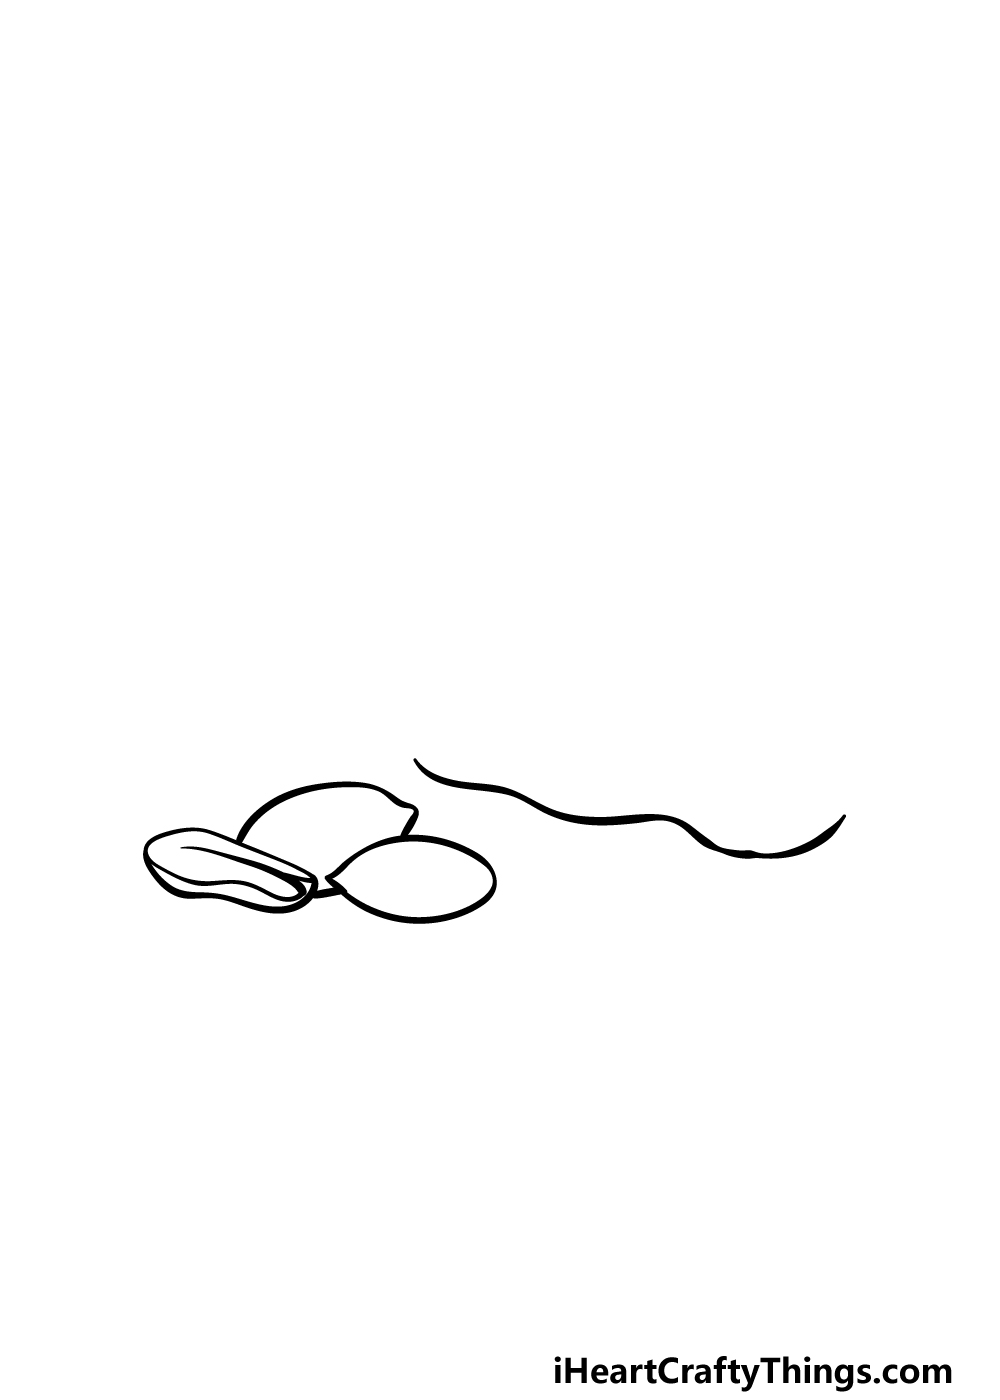
During this guide on how to draw a peanut, we will be drawing some peanuts in various forms to show the different looks that a peanut can have.
To do this, we shall start by drawing a few peanuts that are not in their shells before we start drawing the shelled variants.
These will be drawn as rounded shapes that have pointy tips on the edge. We will be drawing three of these peanuts, and the one on the left will be in half.
Finally, before you move on to the next step of the guide you can draw a wavy line above these exposed peanuts.
This will form the base of the shelled peanuts that we will soon be drawing. Then you will be ready for the second step of the guide!
Step 2 – Now, draw more of the outline for the shelled peanuts
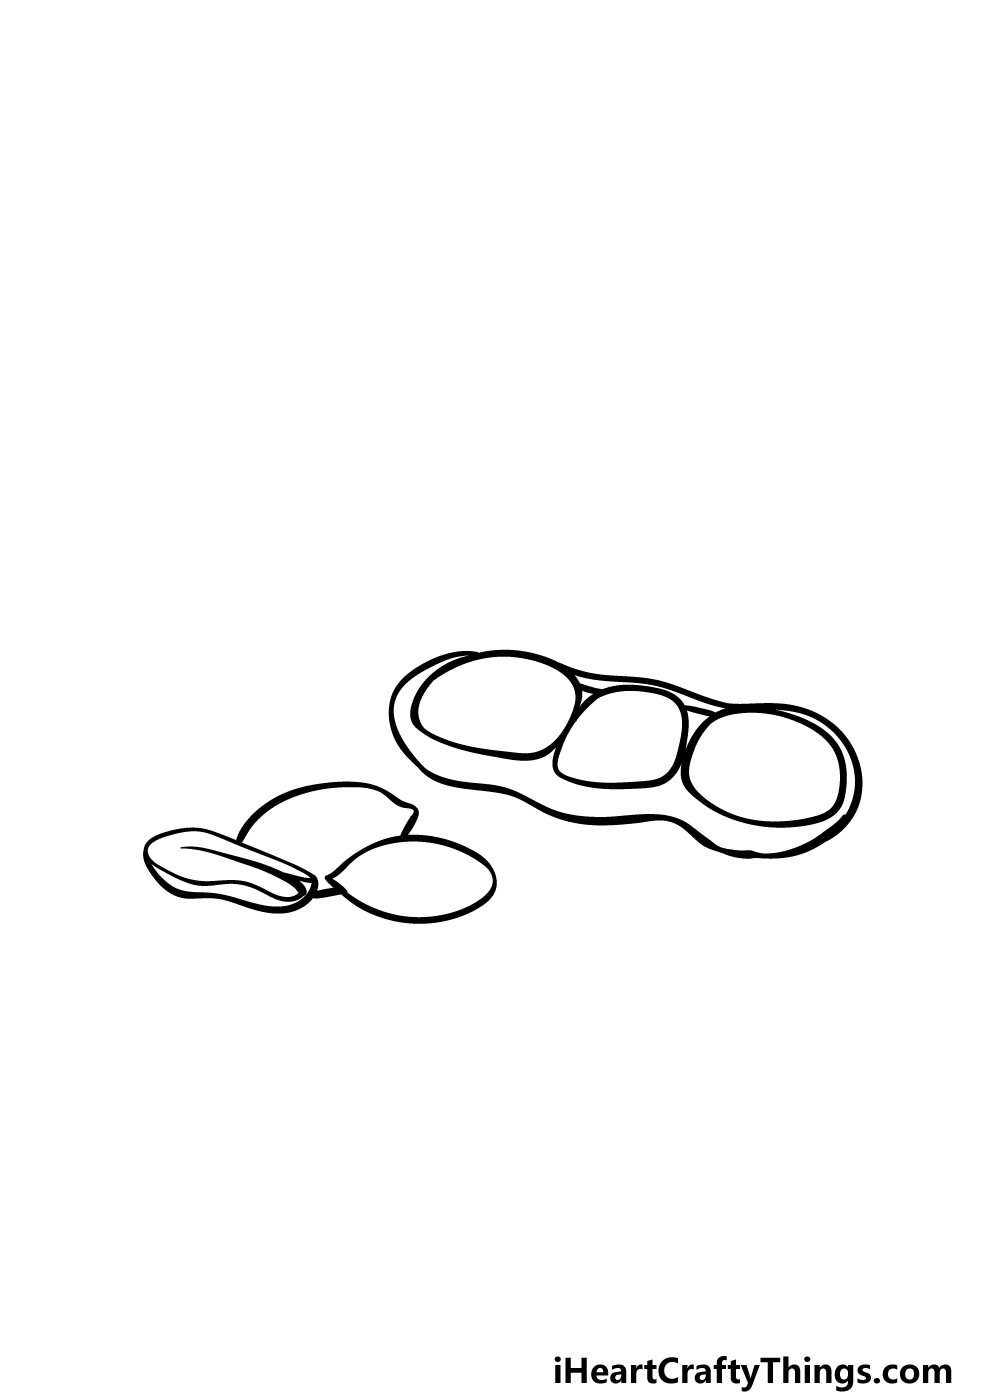
Continuing with this peanut drawing of yours, we shall be drawing some more outlines for the shelled peanuts that you started in the previous step.
Above that wavy line that you drew, add three rounded shapes for the peanuts inside of this shell. The reference image will guide you in how you should place these shelled peanuts.
Then, once you have drawn these three peanuts inside of the shell you can draw the outline of the shell surrounding them. That’s all there is to it for this step, and then you’re ready to move on!
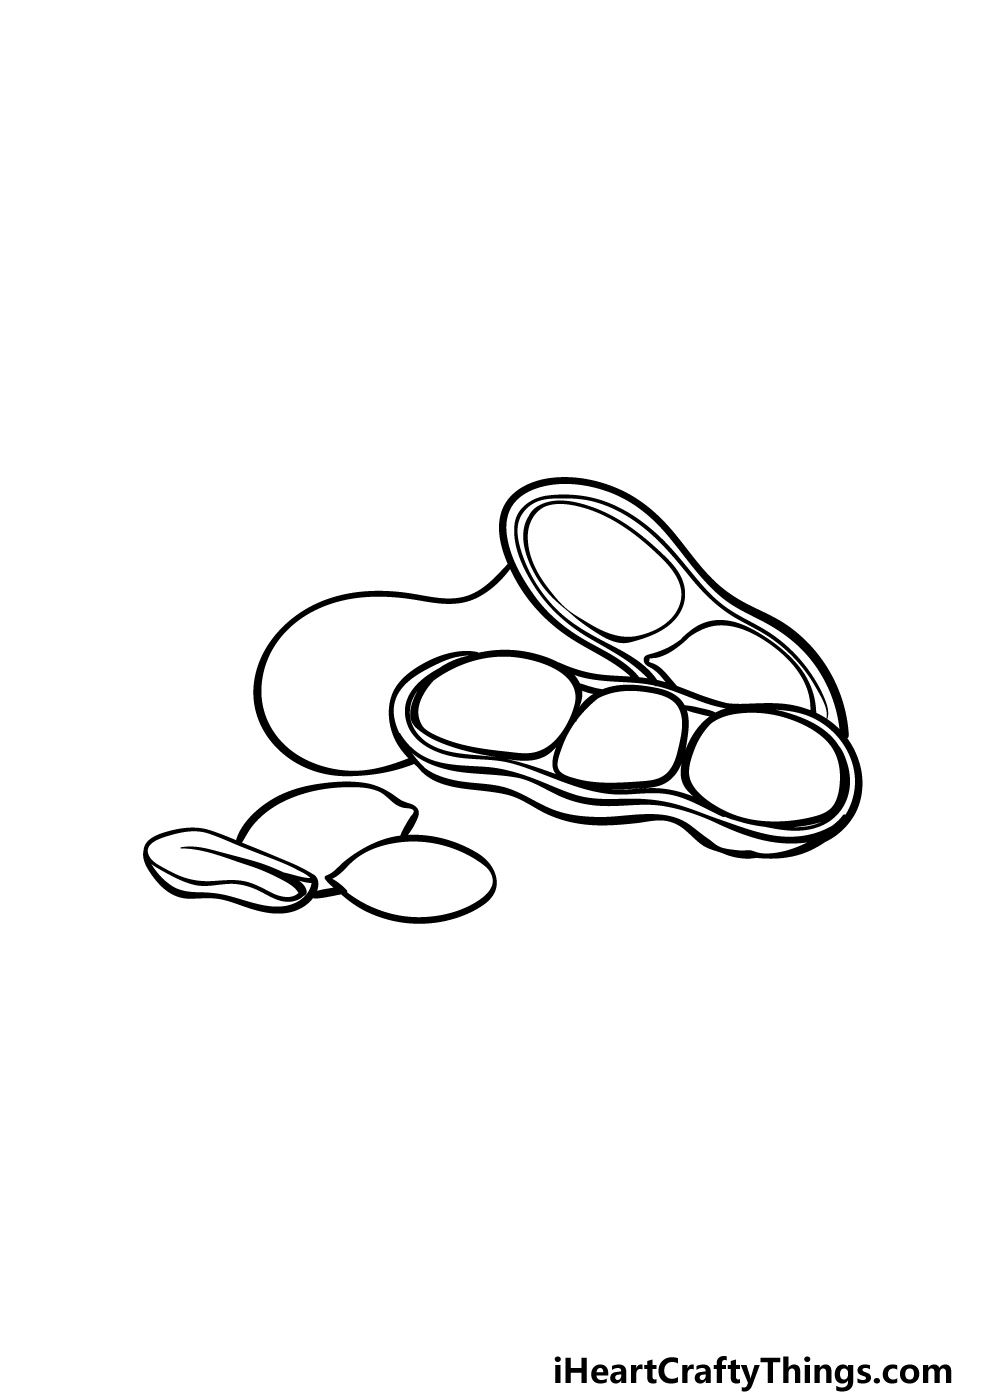
Step 3 – Next, finish off the rim outline of the peanut shell

This third step of our guide on how to draw a peanut will see you finishing off the inner rim of the peanut shell that contains the three peanuts that you drew in the last step.
Using two wavy lines, we will be creating a rim around the bottom edges of the three peanuts in the shell, and you can do this by drawing the lines carefully around them.
Once this rim is drawn and is looking like our reference image, this shell outline will be complete and we can move on to the other peanut shells in the next few steps.
Step 4 – Now, draw a couple more peanut shells
We’ll be adding some more peanut shells to your peanut drawing in this fourth step of the guide.
The first one will be leaning on the other one that you have just drawn, and like that one it will be half-open.
This peanut will only have two inside of it as opposed to the three in the previous peanut. Other than this difference, it will look very similar to the previous open peanut that you drew.
We will then be drawing one more peanut shell, but unlike the other ones this one will be completely closed up.
You can draw this peanut by using a curvy line to create the shape that we show in the reference image. Then we will just have a few final details to add in the next step!
Step 5 – Add the final details to your peanut drawing
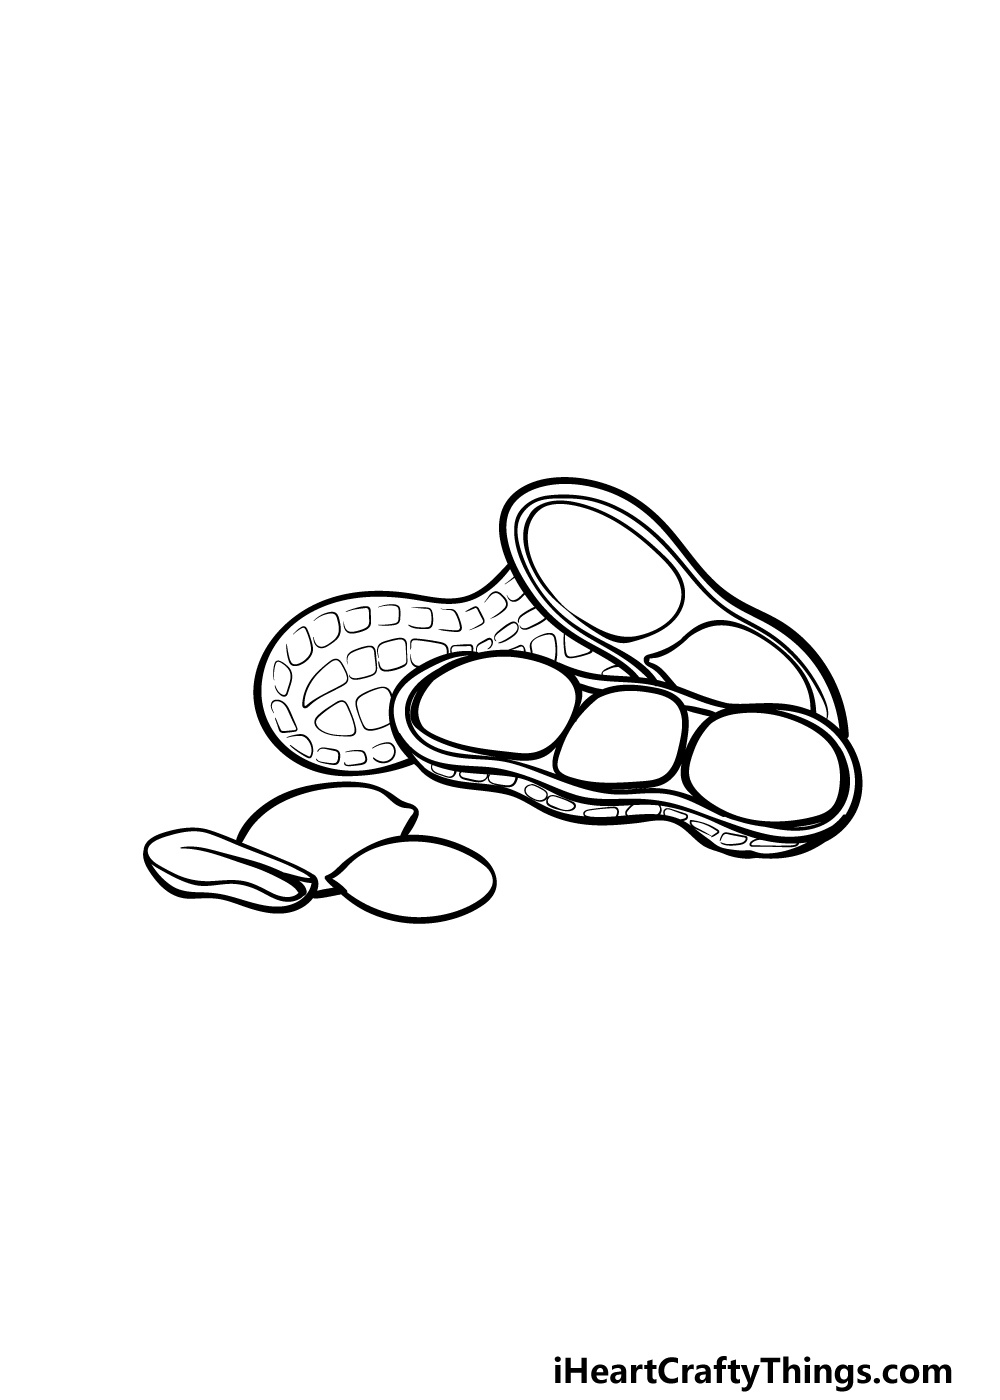
To finish off the final details in this guide on how to draw a peanut, we will be adding some texture to the outer shells of the peanuts.
If you’ve ever seen a peanut shell, you know that there will be a rough, segmented texture to the outer surface of the peanut shell.
That’s the kind of texture that we will be drawing onto the outer shell before you color your picture in the next step.
To draw this texture, we will be drawing several rounded shapes to create a pattern onto the rough outer edge of the shells.
Once you have drawn these patterns, your picture will be ready for coloring! Will you add a background or draw in some other tasty treats to finish off this peanut scene?
Step 6 – Finish off your peanut drawing with color
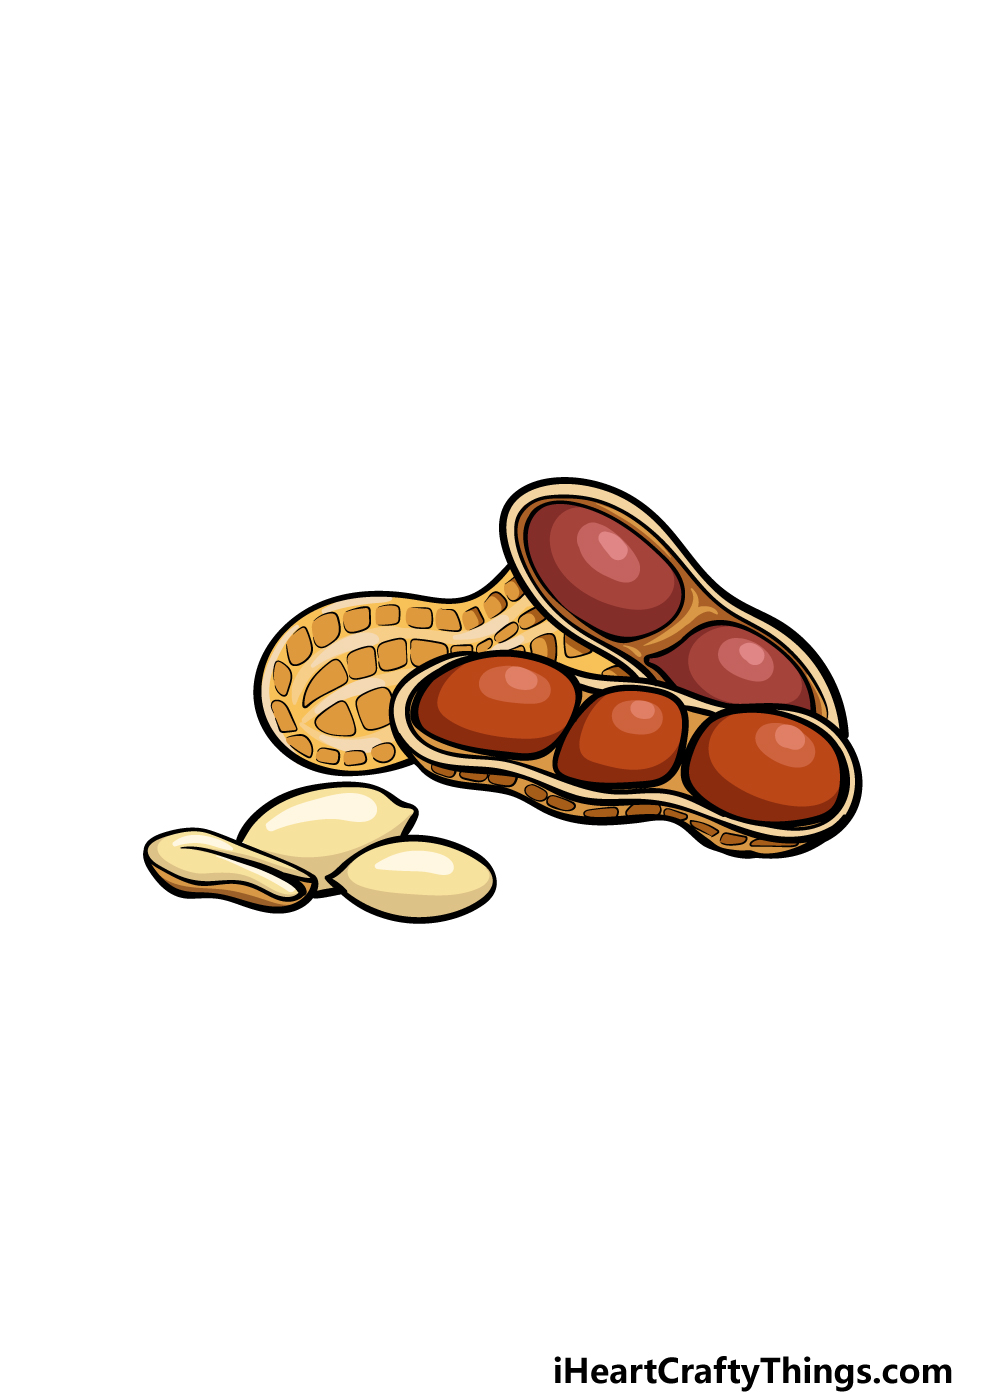
Now you’re ready to complete your peanut drawing by adding some color to it. In our reference image, we went for a more realistic, muted color scheme.
To do this, we used some darker browns for the peanuts, and we used several shades to make them look a bit shinier.
Then, we used some different shades of lighter browns for the outer shells to further enhance the textured look.
Will you use similar colors to the ones that we chose or will you pick some unique colors instead?
You could also create some great variety by changing up the various art tools and mediums that you use, so have fun getting creative with it!
3 More tips to make your peanut drawing easy!
Go nuts over these 3 tips for making your peanut sketch so much easier to draw!
This drawing of a peanut shows both a closed peanut shell and one that is open to display the peanuts inside of it.
Depending on what you find comfortable, you may find drawing one of these forms more difficult.
If so, you could make it easier by leaving out the form you find most difficult to draw. For instance, let’s say you find drawing the outer shell to be a bit too frustrating.
If that is the case, then simply stick to the open peanut shell that shows the peanuts. It’s all about playing to your strengths, so don’t be shy about leaving out parts you are struggling with!
If you want to include both forms of this peanut drawing but are having a hard time, there are other ways to get around it. One would be by changing the style of the drawing.
In our guide, we made a drawing that is quite detailed and looks fairly realistic. This looks really good, but could make it quite a bit more difficult to draw.
There are some art styles you could use to make it much easier. For example, if you like drawing in a simple cartoon style then you could use that for the drawing.
What art styles would you like to use for this drawing to make it easier on yourself?
Finally, we have a tip for your peanut sketch that you can really sink your teeth into, literally! One of the best ways you can make your drawing easier would be by using some real peanuts.
You can study the real thing both in their closed and open forms, and this can be very helpful when drawing the finer details. You could arrange them to look like the ones in our guide to make it easier.
The best part of this tip is that once you have finished your drawing, you will have some tasty peanuts to snack on!
Your Peanut Drawing is Complete!
You have completed all 6 steps of this guide on how to draw a peanut, and we hope that it was a lot of fun for you to work through!
In this guide we aimed to make sure that you would be able to easily tackle all of the details and other elements throughout this image while still keeping it fun.
Now that you have finished the drawing, you can choose some extra details of your own to add! We gave you a few ideas, so will you go with those or incorporate some of your own?
You can also check out our website when you’re ready for more drawing fun. We have tons of guides there for you, and we have many more on the way soon.
Please also be sure to share your finished peanut drawing on our Facebook and Pinterest pages for us to admire!