Some people say that breakfast is the most important meal of the day, and whether that’s true or not there are definitely many great breakfast foods to enjoy.
One of the best breakfast foods that you can enjoy is some tasty pancakes. They take a bit more effort than a bowl of cereal, but it’s worth it as you get a great, tasty start to the day.
They can be enjoyed at any time of the day as well, and they can even be enjoyed in picture form when you learn how to draw a pancake!
That’s what we are here to do in this tutorial, so make sure that you read all the way to the end of the guide.
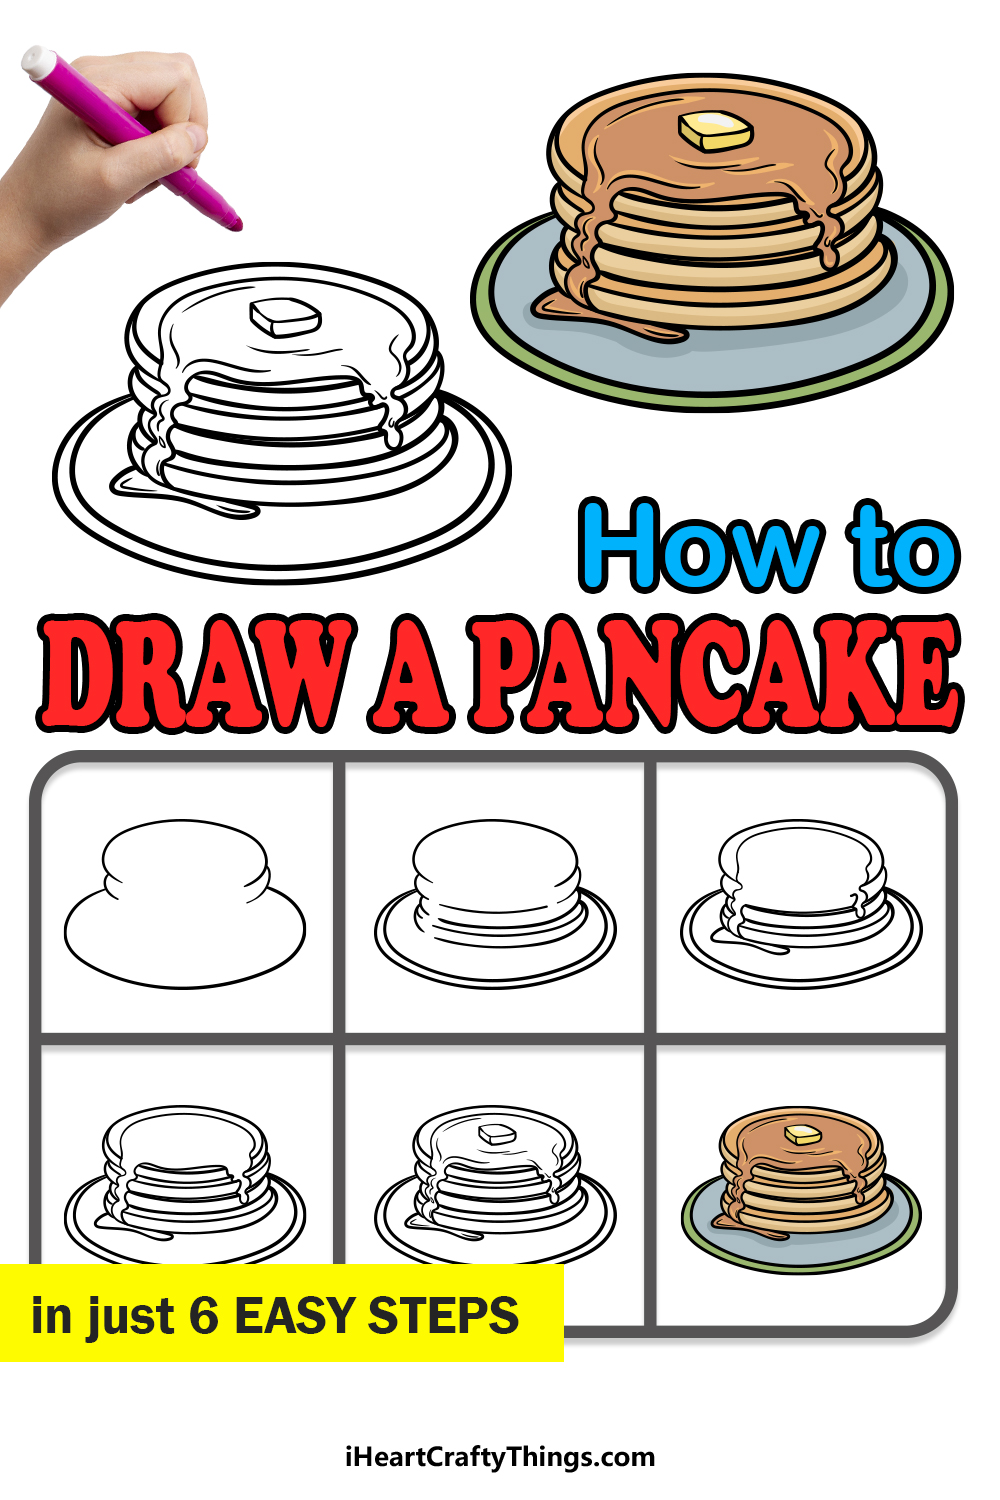
Our step-by-step guide on how to draw a pancake in just 6 steps will show you how fun and easy it can be.
How to Draw A Pancake – Let’s Get Started!
Step 1
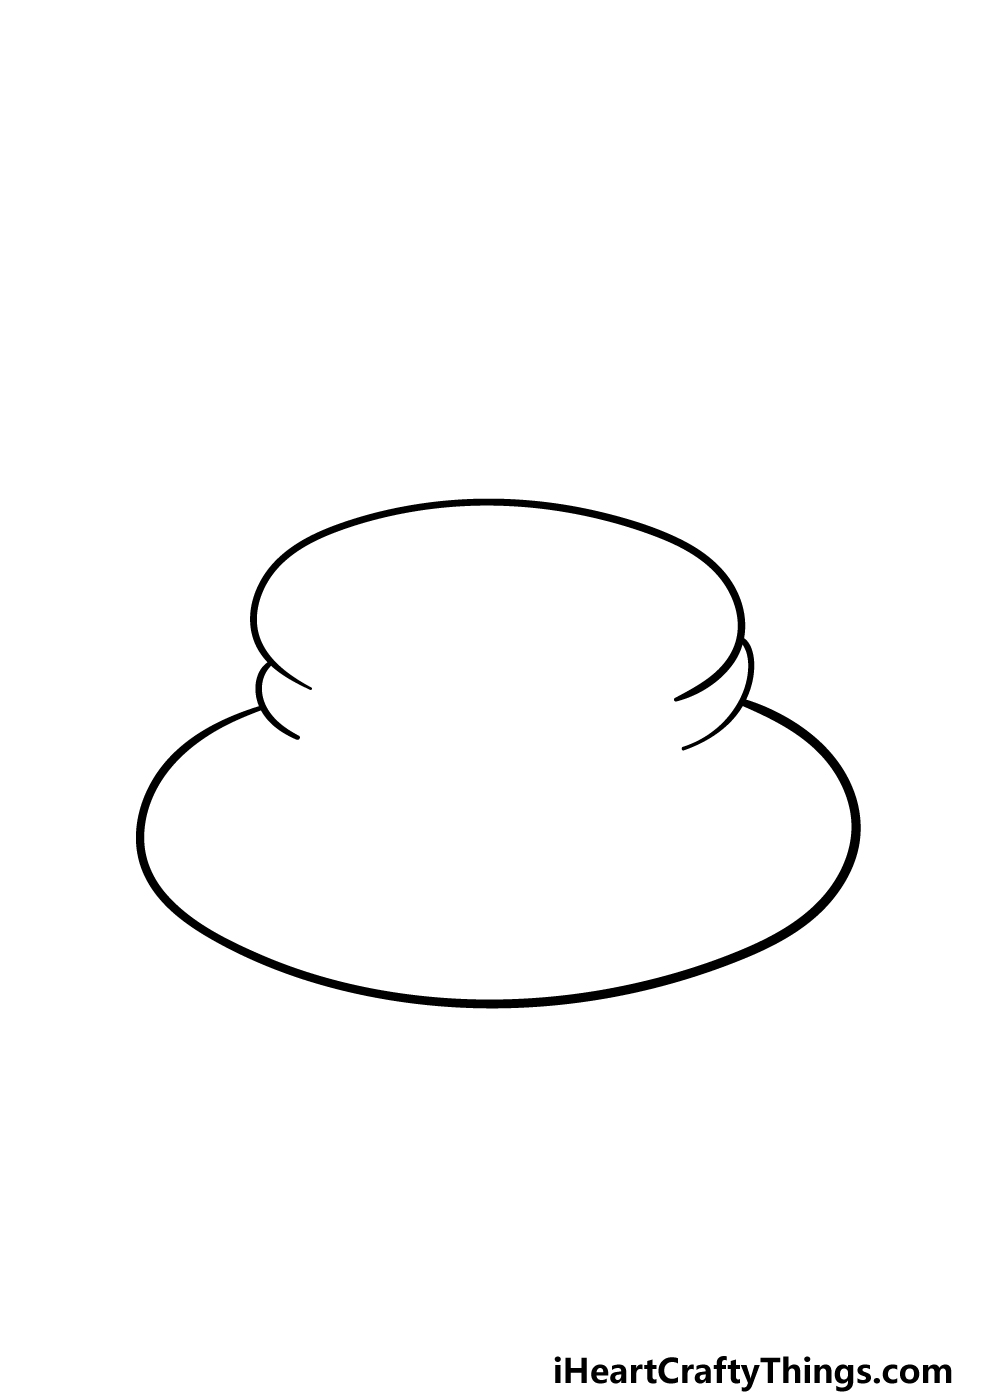
We will be drawing a nice pile of pancakes in this guide on how to draw a pancake. To do this, we shall start by drawing the outlines of the first pancakes on the pile.
First, start by drawing a curved line for the top of the first pancake. Then, you can extend some more small curved lines coming down off the sides of the first pancake.
We shall then leave the pancakes for now, and the next thing we do will be to draw another rounded line around the base of the pancakes to create the plate that the pancakes are sitting on.
Then you will be ready for the second step of the guide!
Step 2 – Now, draw some more pancakes on the pile
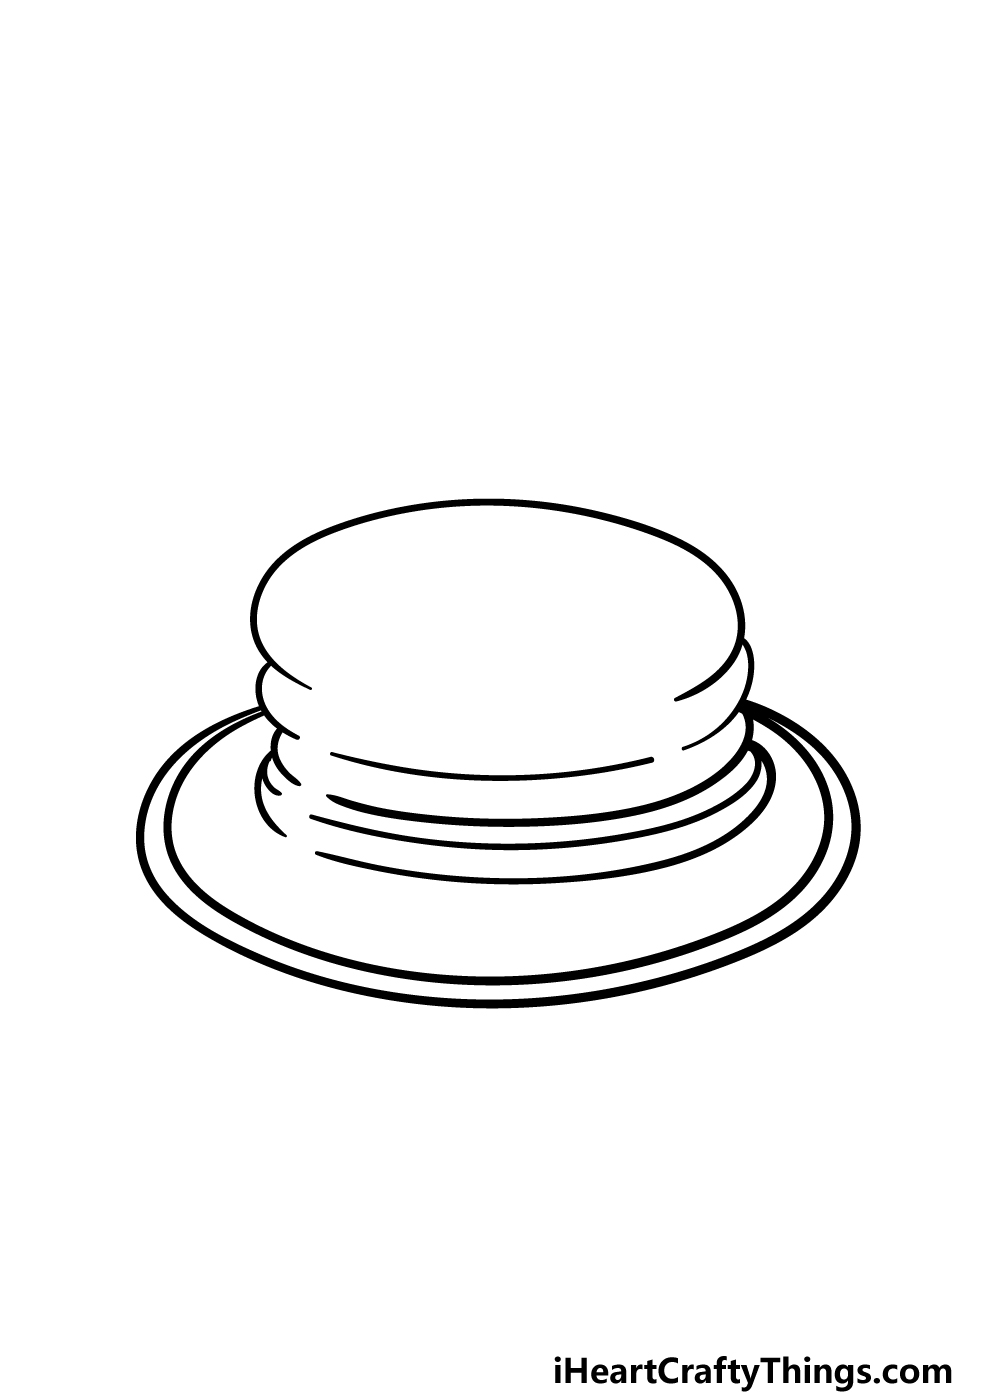
In this second step of your pancake drawing, we will be adding a few more pancakes to the pile along with drawing some more details for the plate.
For the pancakes, simply draw some more curved lines beneath the other pancakes. As you can see in the reference image, there will be two gaps on either side of the pile of pancakes.
This will be because some syrup will be drooping down the pancakes in a later step.
Once these additional pancake outlines have been drawn, you can finish off by drawing another rounded line for the rim of the plate.
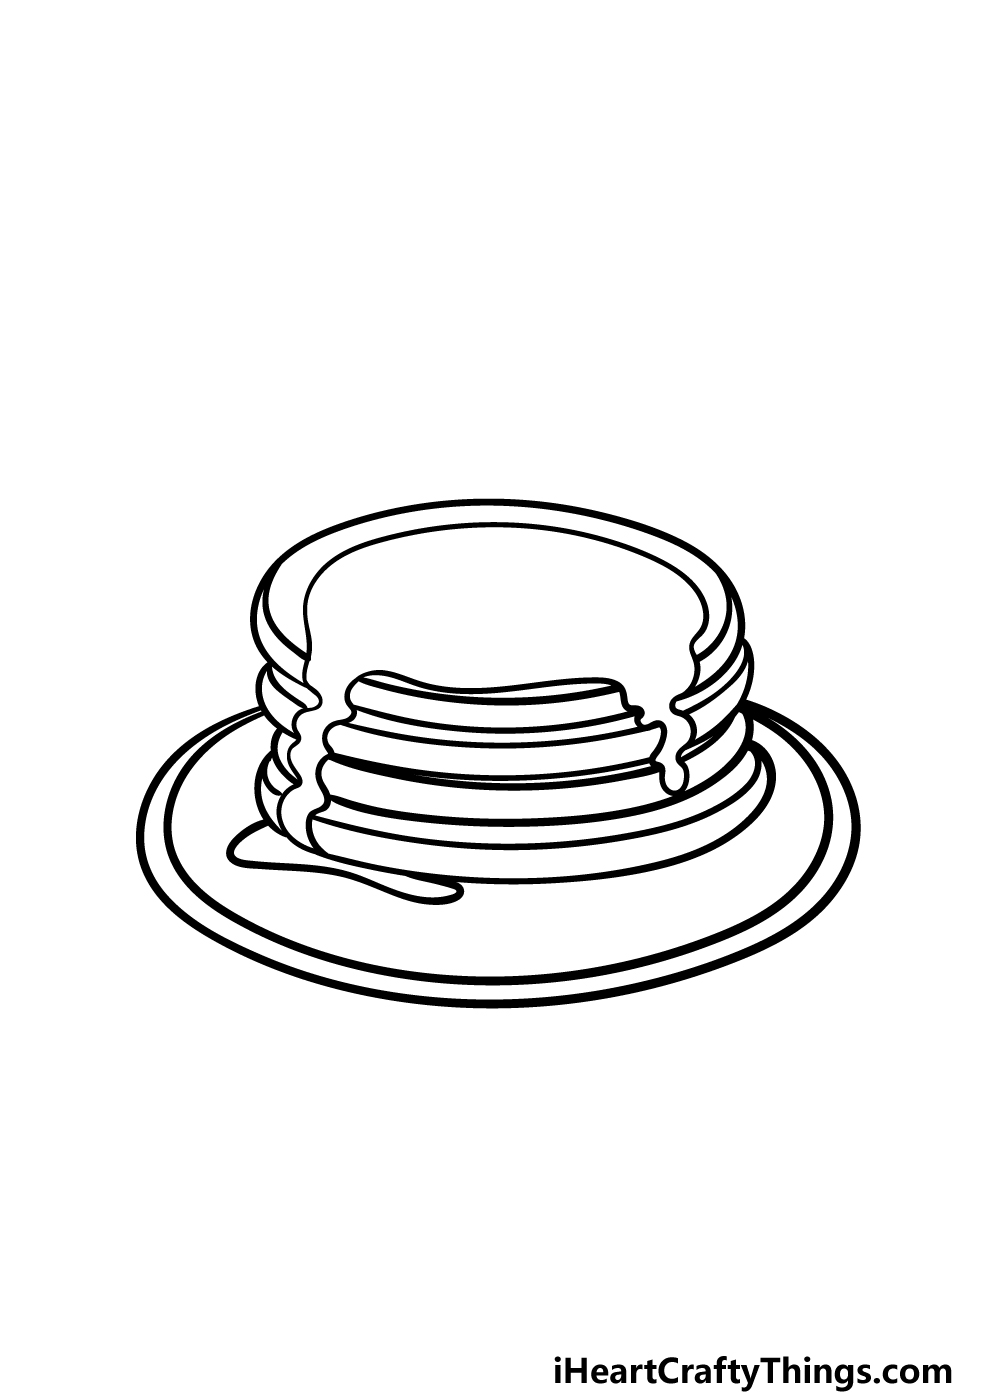
Step 3 – Next, draw the syrup on the pancakes
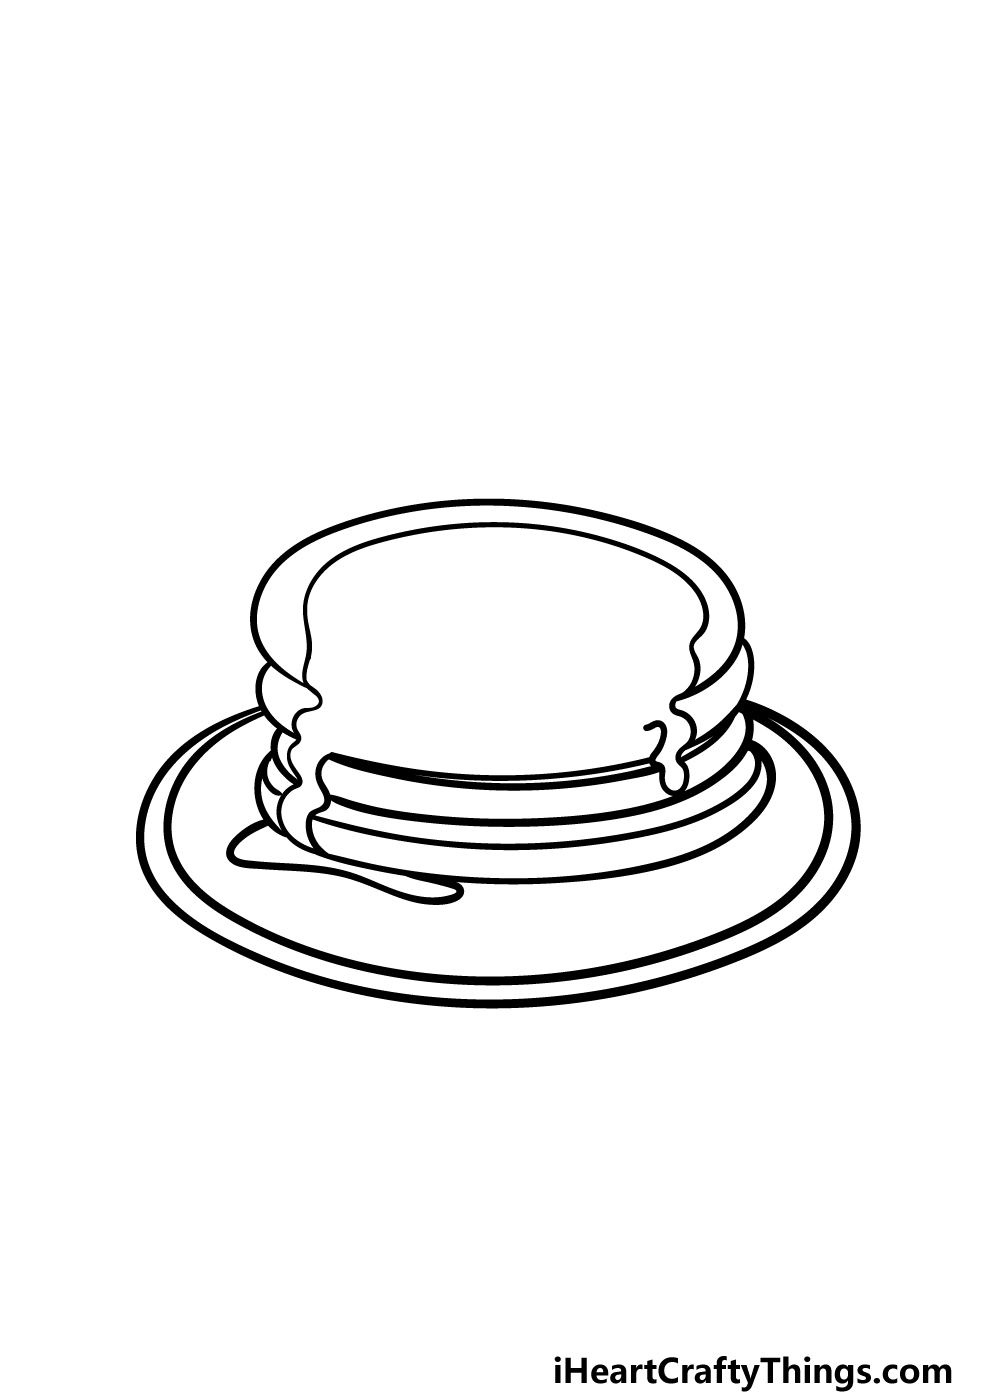
We mentioned in the previous step of our guide on how to draw a pancake that there will be syrup going down the sides of the pancakes.
You can draw a rounded line for the top of the pool of syrup sitting on top of the first pancake in the pile.
Then, use some curvy lines to show it running down the sides where you left the gaps in the pile in the previous step.
This pool of syrup may not be detailed now, but we will add some more as we continue on to the next steps.
Step 4 – Now, draw some more layers for the pancake pile
In this fourth part of your pancake drawing, you can continue adding some more details to the pile of pancakes.
This should be a pretty simple step to do, as all you need to do is draw some curved lines onto the pile of pancakes.
These lines will go onto the centers of the pancakes on top of the pile, and they will go in between the trails of syrup dropping down on the pile.
Once these details have been drawn, you will then be ready to move on to some final details in the next step of the guide.
Step 5 – Add the final details to your pancake drawing
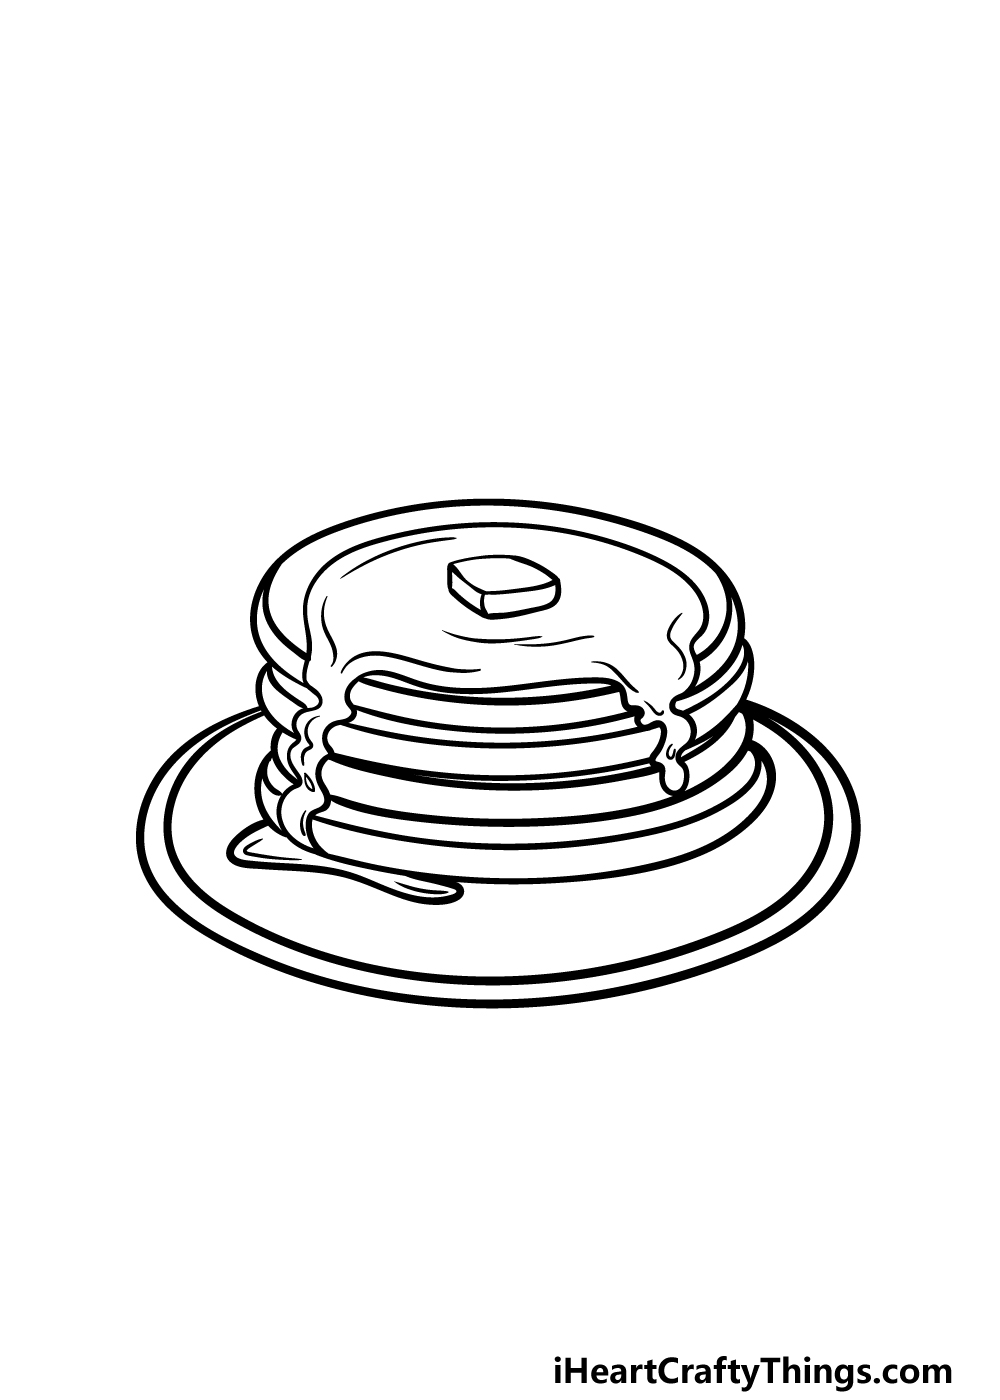
You will be finishing off the final details of the picture in this step of our guide on how to draw a pancake. These details will be primarily focused on the pool of syrup on top.
You can start off by drawing a 3D rectangle shape on top of the pike for the stick of butter. Then, simply draw some curved line details throughout the pool of syrup to give it some more form.
Once you have drawn these details, you will be ready to color your image in for the final step! But before you move on to that, you could also add some details of your own to finish it off.
Pancakes are often part of a breakfast, so maybe you could add what other breakfast foods or drinks you would like to enjoy with these pancakes.
How would you like to finish off this drawing with your own details?
Step 6 – Finish off your pancake drawing with color
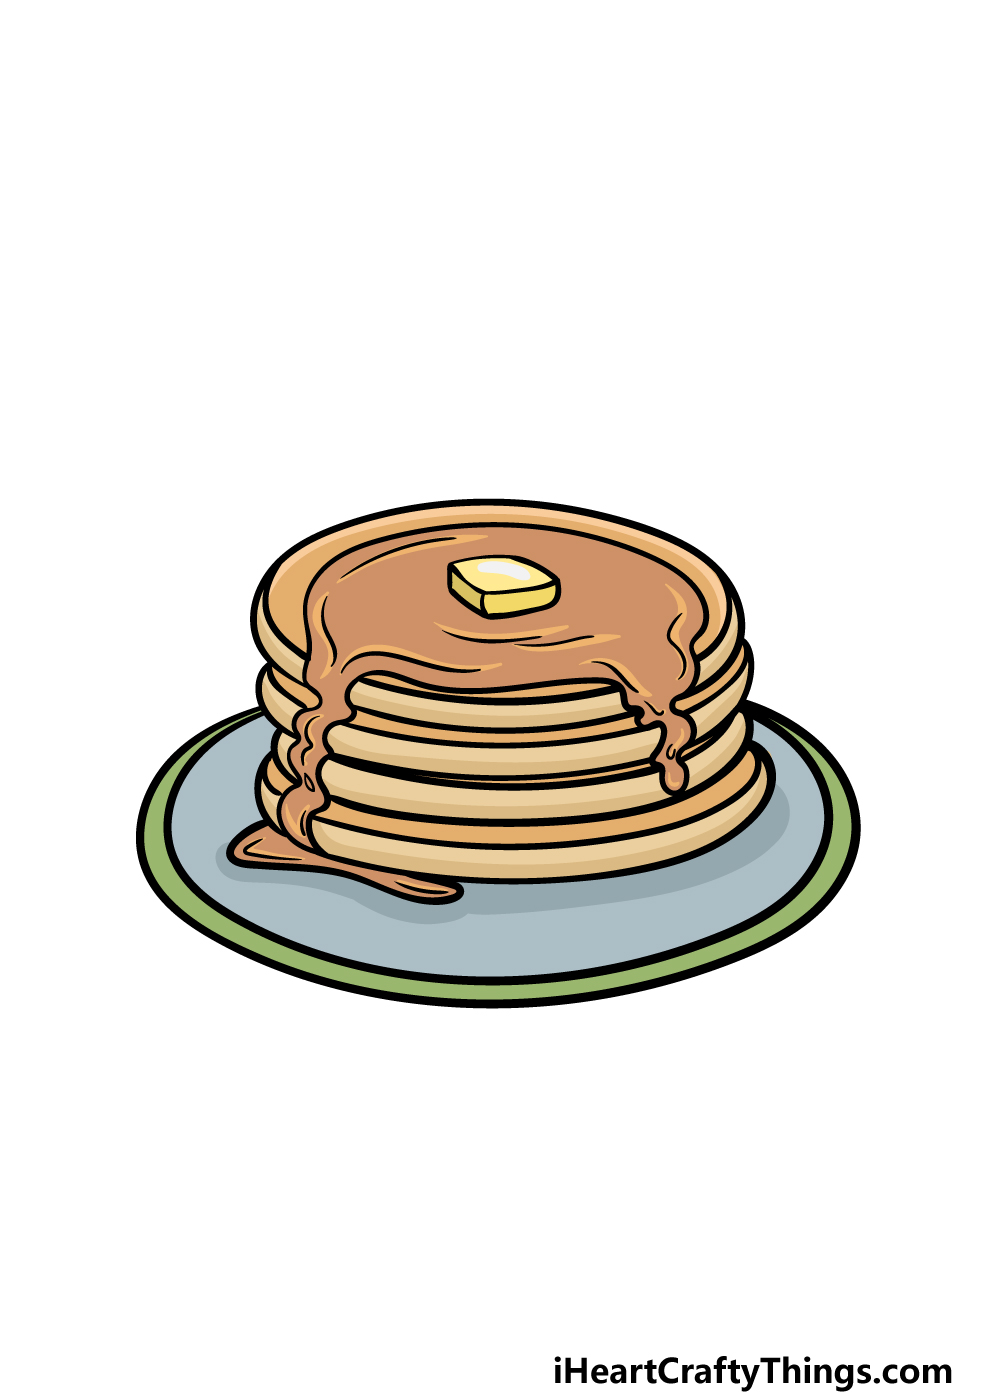
This is the final step of your pancake drawing, and in it we shall finish off by adding some amazing colors to the image.
In our reference image, we kept the colors a bit more muted, and we primarily used some light brown and beige colors for it.
You could use similar colors for the pancakes and syrup, and then use some yellow for the butter. You could also go ahead and use any other colors and shades that you may prefer instead.
Once you have chosen your colors, you can then decide on the art tools and mediums that you will use to finish it off. How will you color your pancake drawing in?
5 Tips To Make Your Pancake Drawing Even Better!
Make your pancake sketch even more delicious with these fun tips!
The drawing of a pancake that we made in this guide is covered with syrup ad a pat of butter, but there are many other toppings that you could add to this pancake.
For a few examples, you could draw some small pieces of fruit, jam or maybe some cream. These are just a few of the ideas that you could go for, but there are many others!
What would be your ideal toppings for some tasty pancakes?
Once your pancake has all the toppings you desire, you could add some extra sides to this breakfast. There are many things you may want to enjoy with some pancakes.
These could include a side of bacon, a muffin or maybe simply a cup of hot coffee. What are some others you could use?
Now your breakfast meal is complete with toppings and sides, and now you need tools to eat it with. You could add these details to your pancake drawing to make it even more complete!
A good place to start would be some cutlery. Then, you could add a fancy plate or some cool coffee cups.
This may seem like a small thing, but it will really help to make your drawing even more interesting!
Next, you may want to create a background for this picture. There are a few settings that you could go for, from a kitchen table to a diner.
Or you could picture your dream location for a pancake breakfast! This is something you can really use your imagination on, so where will this breakfast take place?
Finally, you can really finish off by showing who will be tucking into this pancake sketch. This character could be yourself for a personal touch.
Or, you may want to show off who you would like to enjoy this breakfast with. When you know who you will portray, you can then have fun picking the style you will use for the characters.
Your Pancake Drawing is Complete!
This brings us to the end of this guide on how to draw a pancake. We hope that working on this guide was as fun as enjoying a big plate of pancakes!
Our aim with this guide was to also try and make it easy for you to draw all of the details of the image, so hopefully this guide also succeeded in this goal!
Don’t forget that you can also add some details and additions of your own to make this drawing even more personalized.
We mentioned a few ideas that you could go for, but this is your chance to also add some amazing details of your own!
Then, you can head on to our website to check out the many drawing guides that we have available for you. We have more coming soon, so keep checking in to never miss out!
We would love to enjoy your finished pancake drawing, so please be sure to upload it on our Facebook and Pinterest pages!