There are many different kinds of hats that you can find to wear, and there is a hat to suit every taste.
Some hats also become associated with various countries and cultures, and the sombrero would be a perfect example of this.
This wide-brimmed hat is associated with Mexico as an iconic hat from this country. They have become popular around the world due to the protection they offer from the sun.
While they may be a rather recognizable hat, ut can still be a challenge to learn how to draw a sombrero.
If you’ve always wondered how you can learn to do that, then this will be the perfect tutorial for you!
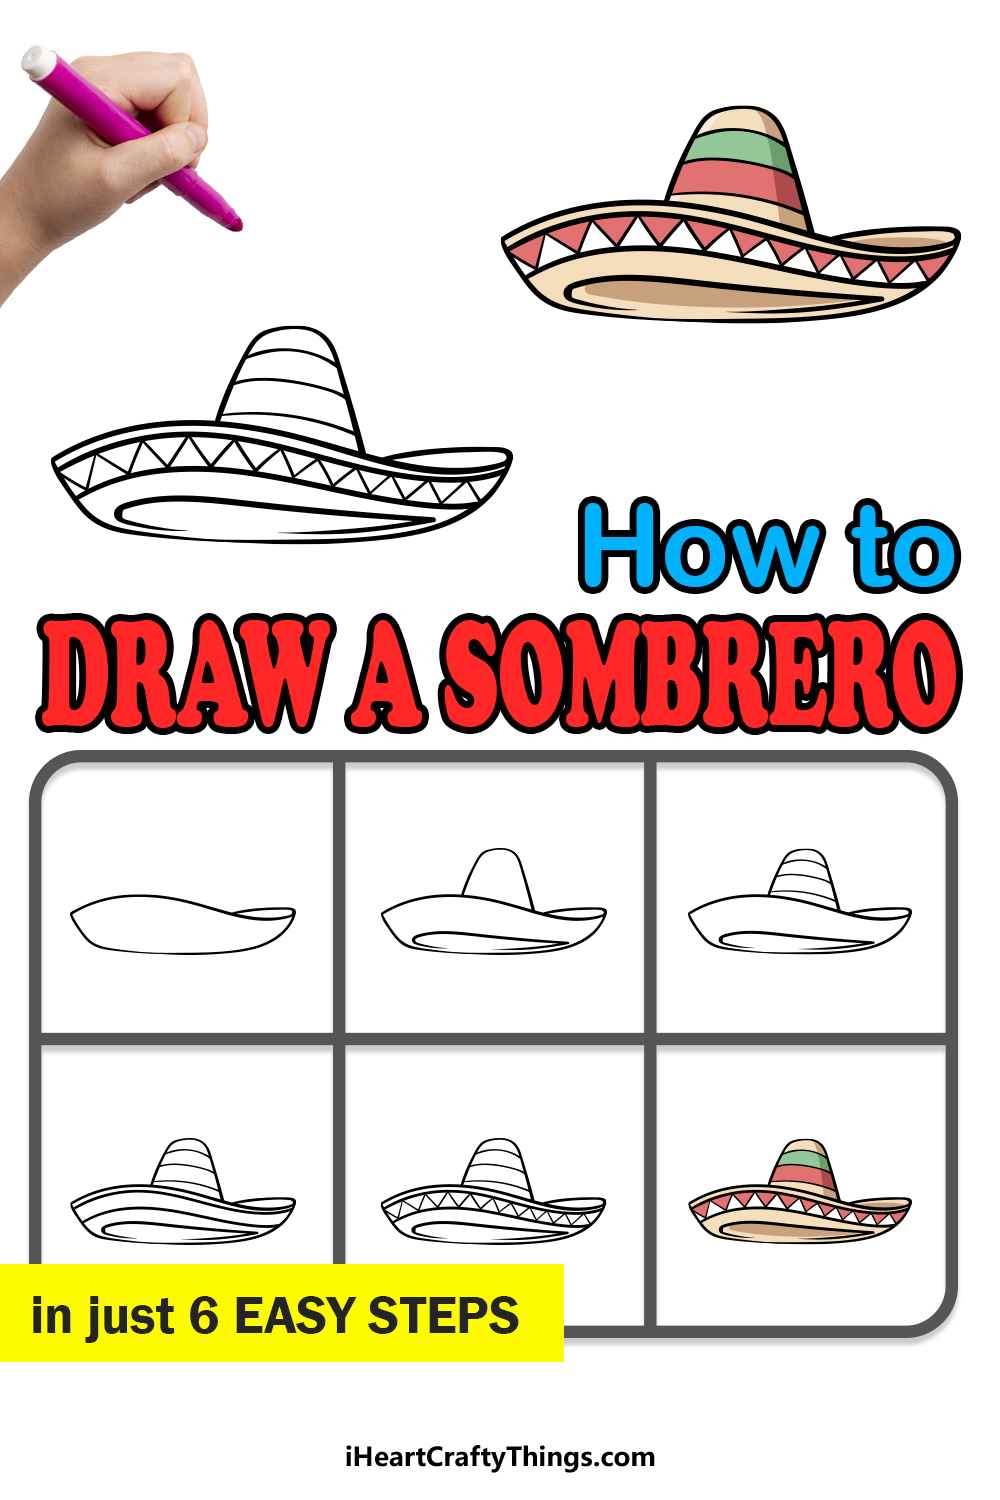
Our step-by-step guide on how to draw a sombrero will show you how to recreate this classic hat while having a ton of fun at the same time.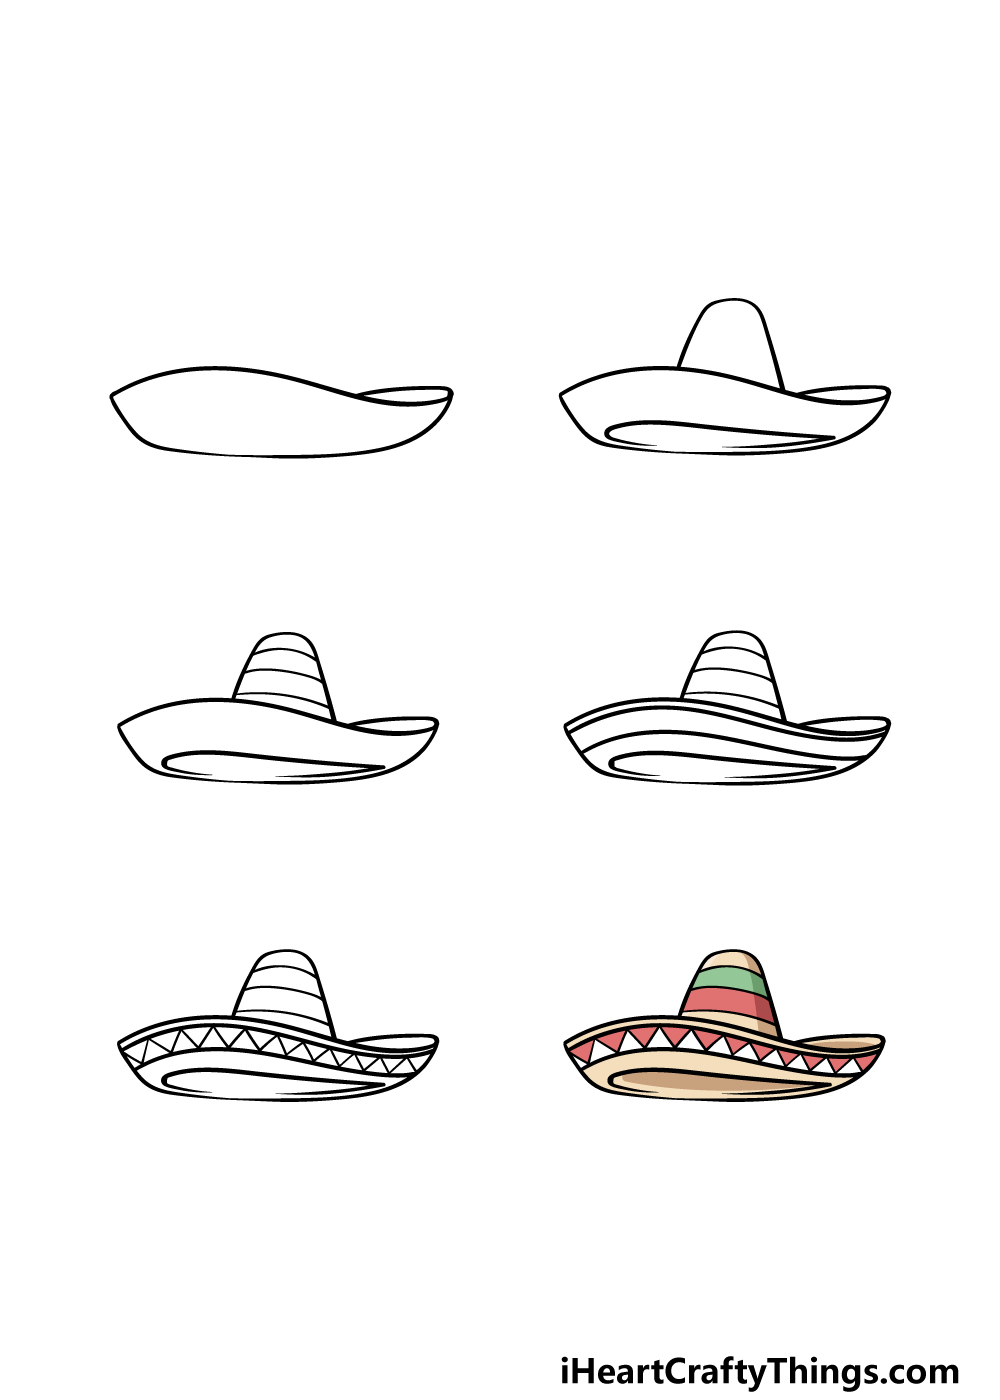
How to Draw A Sombrero – Let’s Get Started!
Step 1
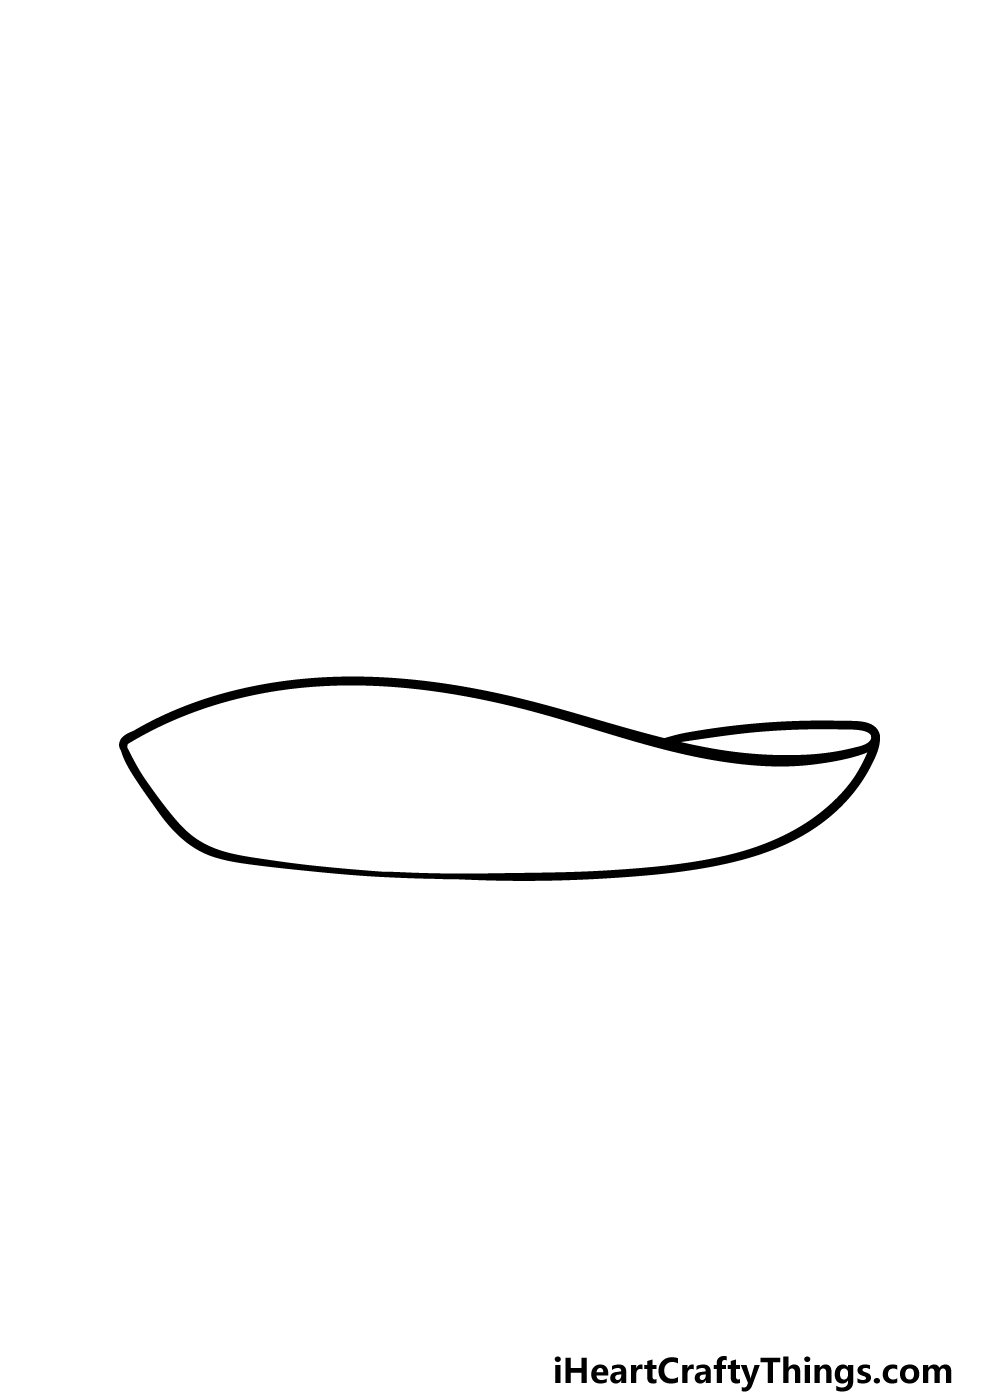
To get this guide on how to draw a sombrero started, we will be drawing the wide brim of the hat.
This rim will have a rather specific shape to it, and you can draw the top by drawing a curved, wavy line.
The sides will be slightly diagonal, and then the base of the rim will be wavy as well, only a bit less so than the top line was.
You can draw the back of the rim with a smaller curved line before you move on to the next step.
This rim can be a bit tricky to draw, so make sure to refer closely to the reference image as you draw so that you can get the curvature looking right.
Step 2 – Now, draw the top of the hat
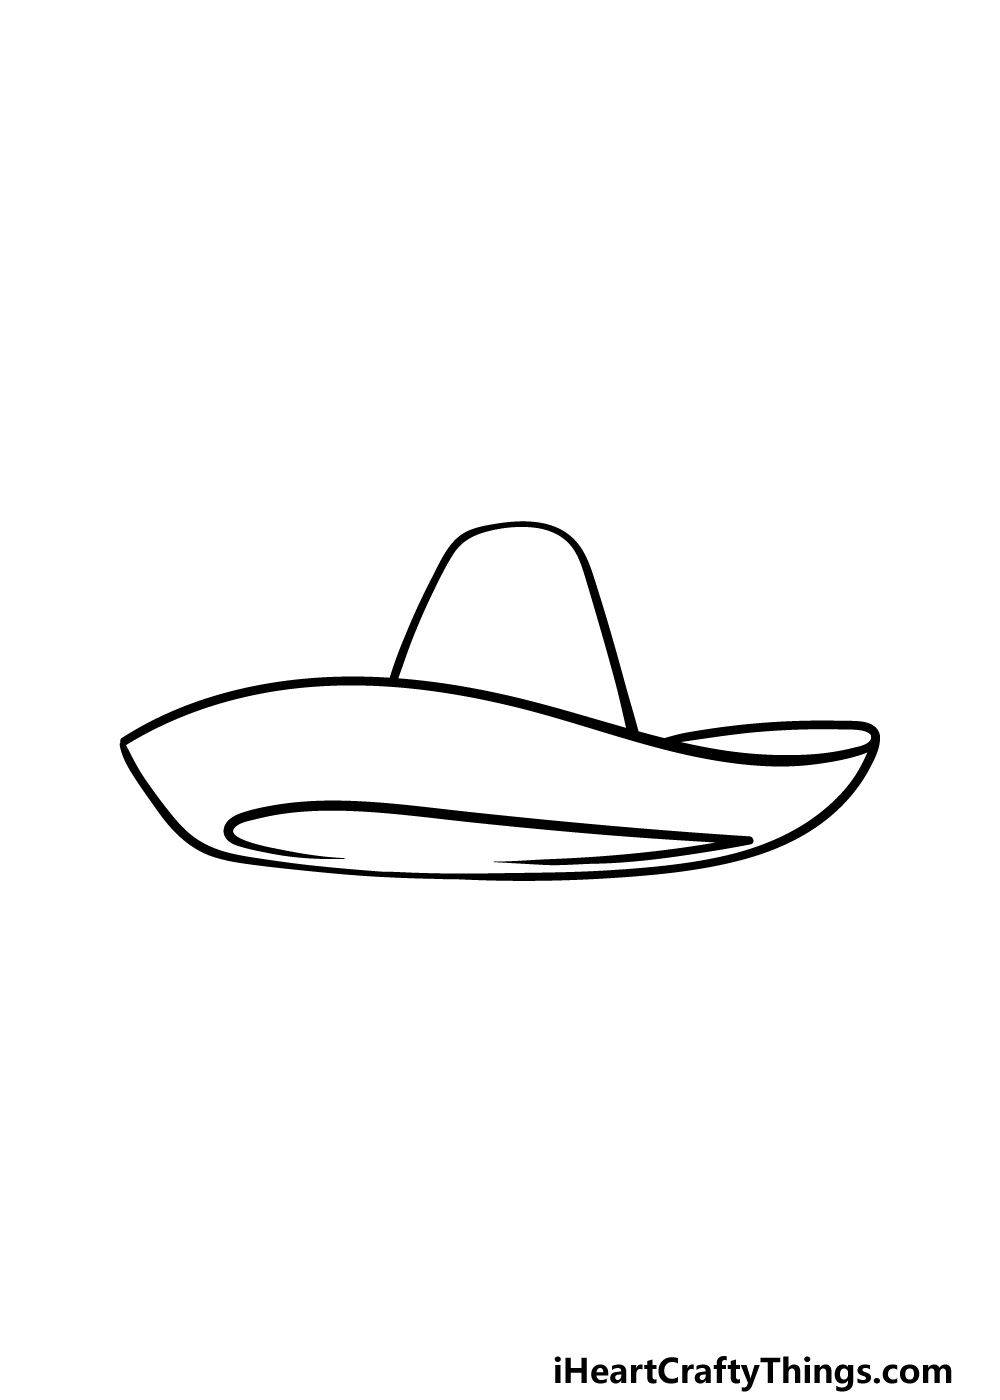
You have the rim of the sombrero drawing done, and now we can start drawing the top of the hat.
The top portion of the sombrero is just as distinctive as the wide brim of the hat, as it is quite tall and thin compared to that wide brim.
To draw this top section of the har, you can use a curved line to create this curved section. The very top of the hat will be a bit flatter but will still have a slight curve to it.
You can then finish off this step by drawing the opening beneath the brim with another curved line. Then it will be on to step 3 of the guide!
Step 3 – Draw the first decorative elements of the sombrero
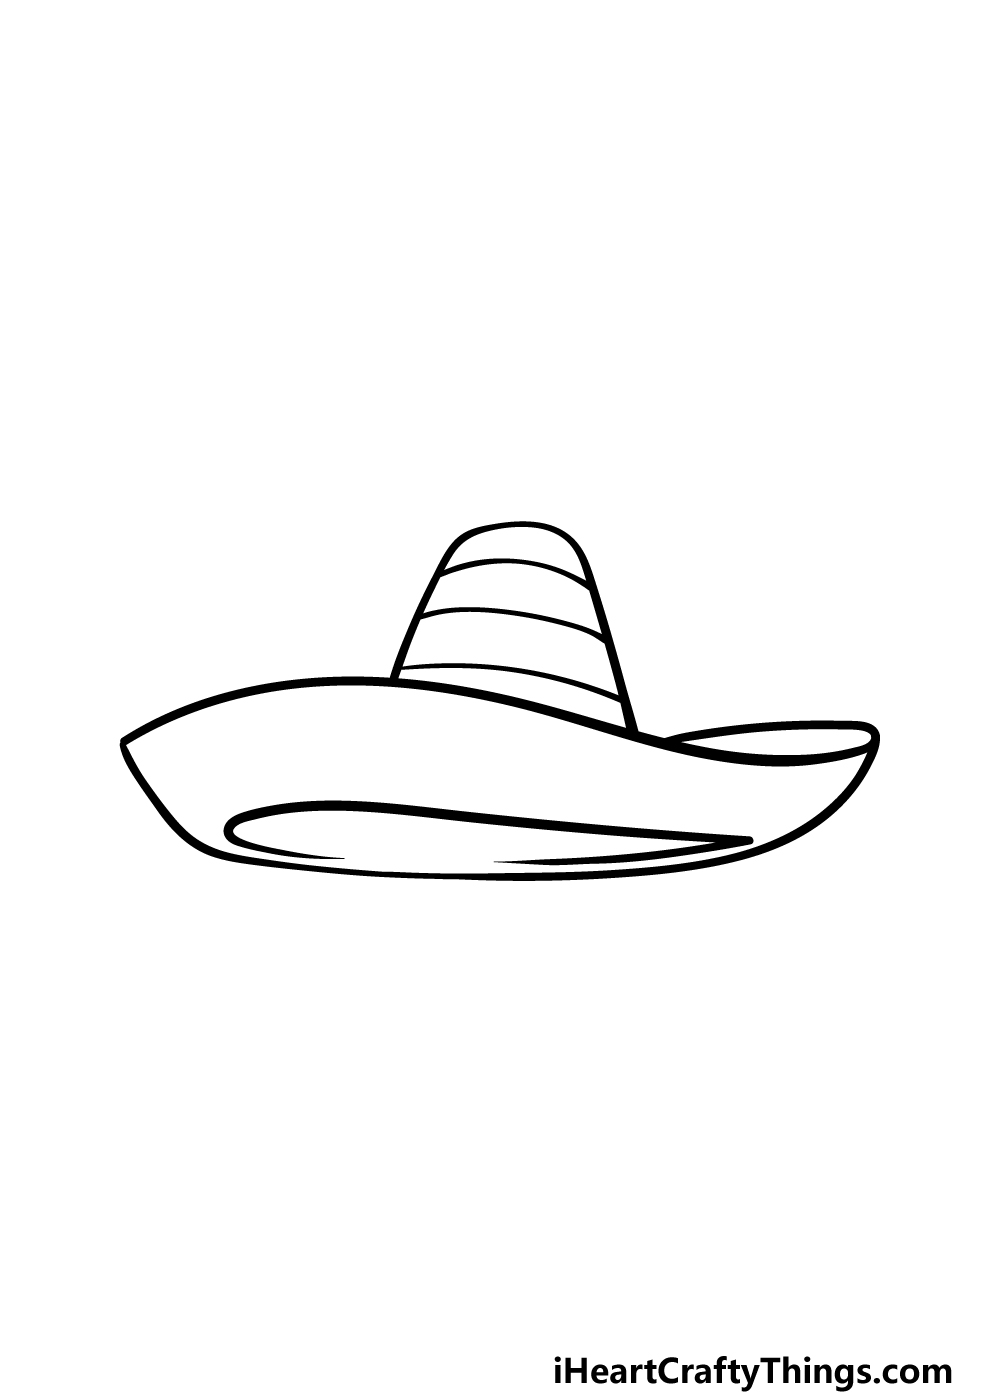
Now the outline of the hat is complete, and we can spend the next few steps of this guide on how to draw a sombrero decorating the hat itself.
To begin doing this, we will be focused on the tall top of the hat. All you need to do when doing this is draw some horizontal lines across this top section of the hat.
That’s all there is to it for this step, and now you can move on to step 4 of the guide!
Step 4 – Next, draw some more decorative elements for the hat

Continuing on with this sombrero drawing, we shall be adding some more stripy details to the hat.
These next details will be focused on the brim of the hat, and much like with the top section these lines will go horizontally along the brim.
These ones will be a lot longer and wavier than those lines were, however.
When you have added these decorative details, you will be ready to finish off the final details and elements in the next step of the guide.
Step 5 – Add the final details to your sombrero drawing
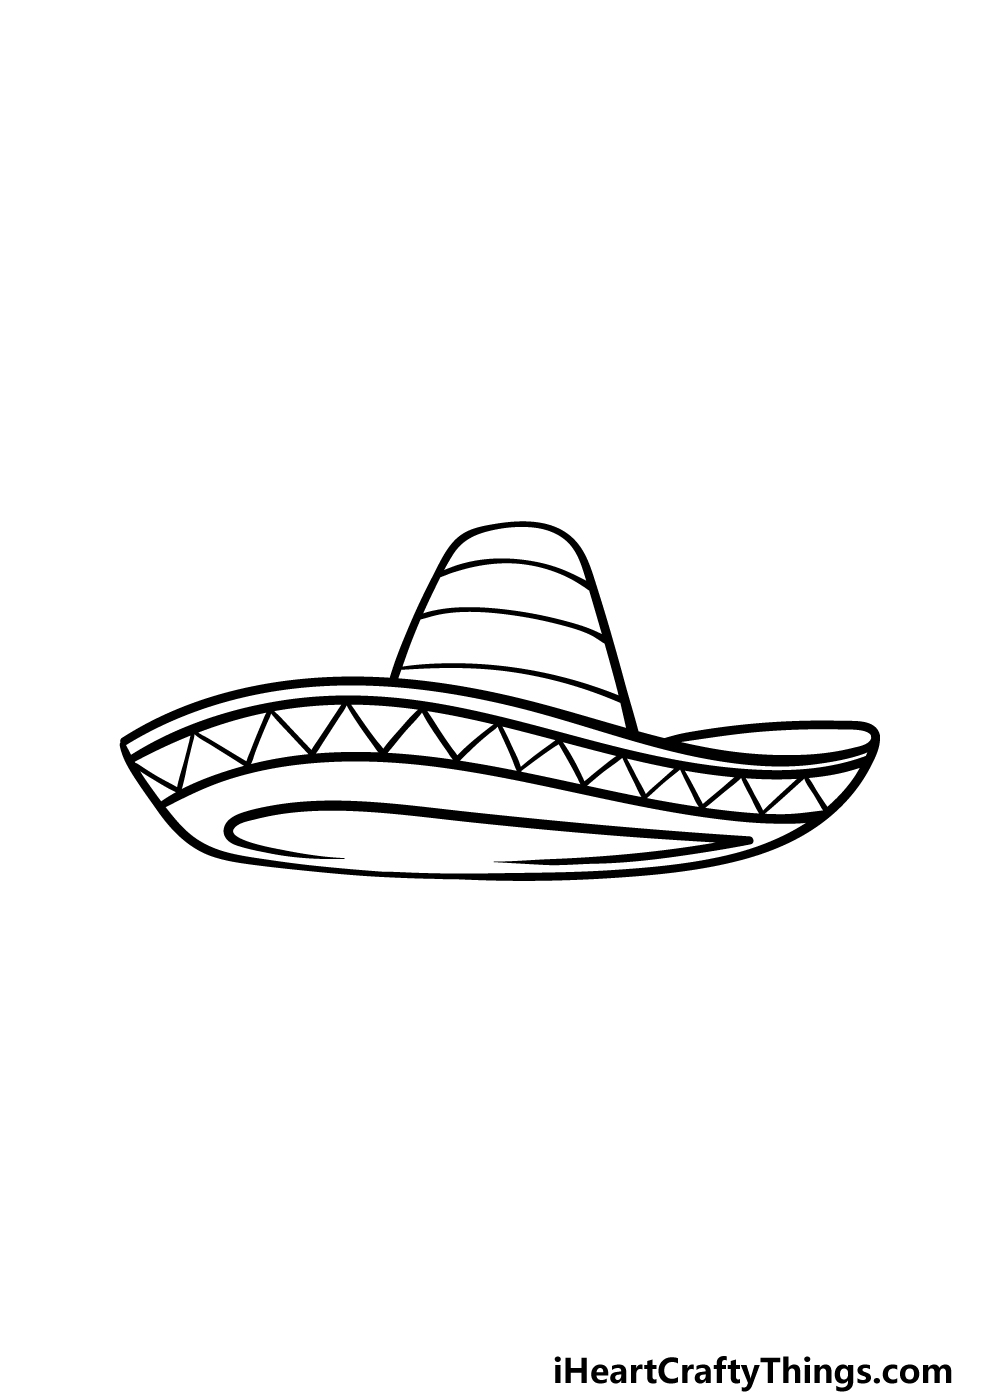
As we mentioned in the previous step of this guide on how to draw a sombrero, this step will be all about finishing off the final details and elements of the hat before you finish it off with some colors.
You will also be able to add your own additional ideas and elements, but first let’s finish off the design.
To do this, we will be drawing some jagged lines between the wavy lines drawn across the brim that you added in the prior step.
This will create a sort of zigzag pattern that adds a lot of character to the design of the hat.
Then you will be ready to finish off with some details of your own!
There are many fun ideas that you could go with, and these could include drawing someone wearing the hat or maybe designing a background behind it.
These are just two ideas, but what creative ideas can you think of to finish it off?
Step 6 – Finish off your sombrero drawing with color
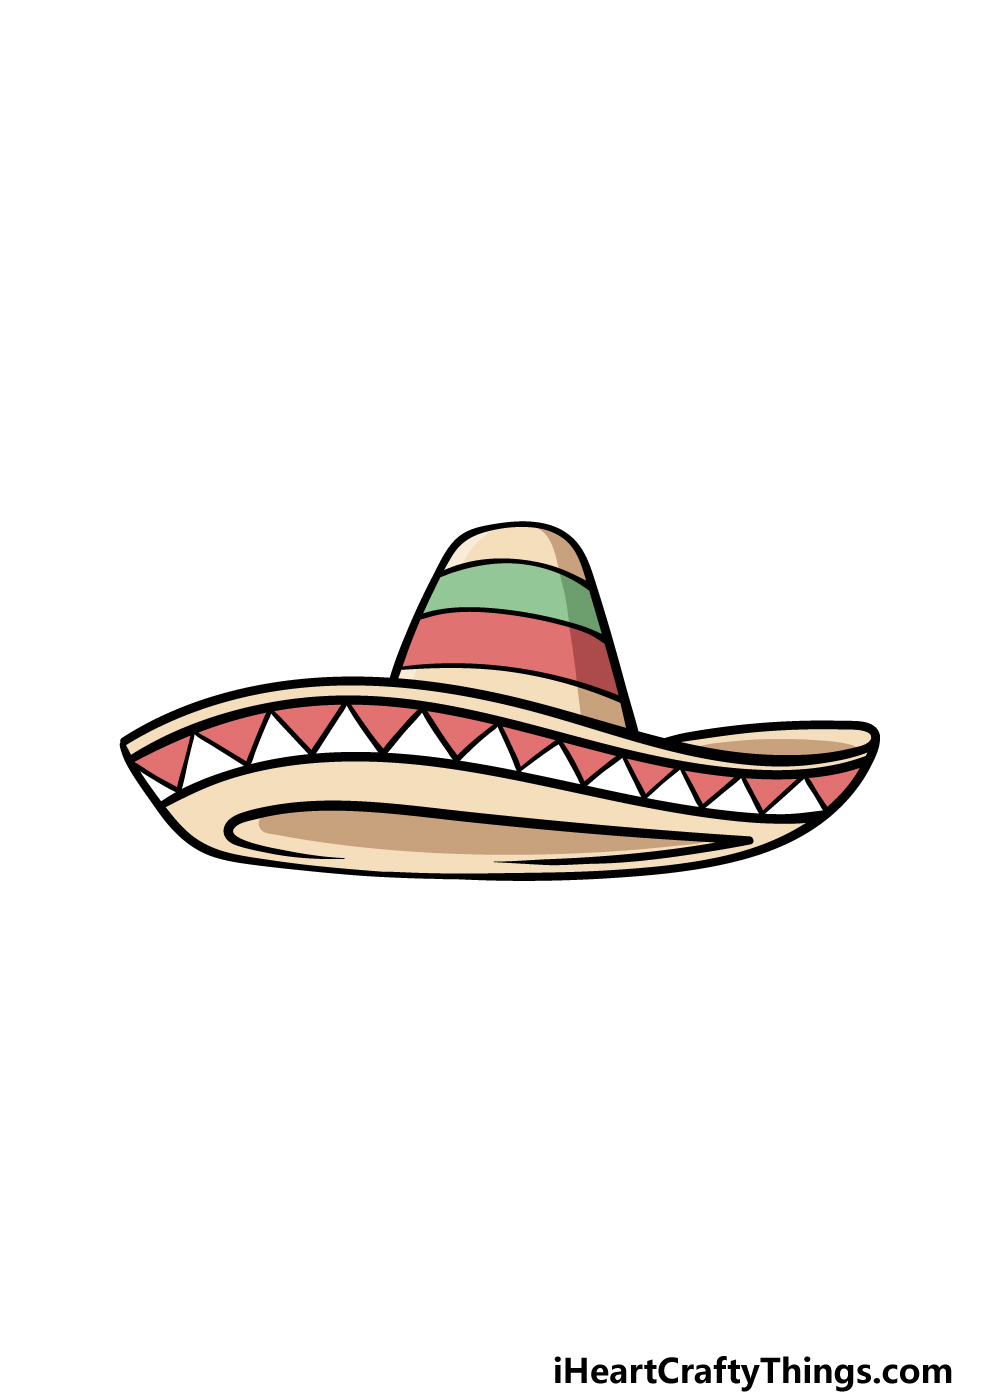
It’s time to relax with some coloring fun as you finish off this sombrero drawing.
In our reference image, we used a combination of light browns along with some greens and reds for the various decorative elements of the hat.
These are some colors that you could use, but you should also feel free to add your own color ideas or maybe even use entirely new ones!
When you know which colors you would like, you can also have some fun choosing the art tools and mediums that you will use.
There are many amazing colors and mediums that you could choose from, so have fun with it and see what you can do as you finish off this amazing picture!
5 Tips To Make Your Sombrero Drawing Even Better!
Make your sombrero sketch look even better with these 5 ideas!
This drawing of a sombrero that we created has a great pattern on it, but you could change this aspect if you wanted to. It would be a great way to make your version more unique!
Instead of a pattern, you could also create a textured look for the hat instead by using some colors and small line details. What are some patterns that you could use for the sombrero?
The sombrero is one of many hats that you can wear. To make your drawing even more interesting, you could draw other kinds of hats with this one.
These could include hats like bowlers, top hats or maybe a cowboy hat. How many other kinds of hats can you think of that you could add to the image?
If you want to keep the focus on the sombrero, you could add some other accessories that would go well with this particular hat. The sombrero is usually associated with Mexico.
For that reason, you could add musical instruments, food and items of clothing around the sombrero. This would give the picture a Mexican feeling that would suit the hat nicely!
Next, you could also add a character to the picture that could be wearing the hat. Who you would choose to put in this sombrero drawing would be up to you!
It could be a unique character, or you could base it on someone that you know yourself. Then, you could use any style you like for the character.
A cartoon style would go well with this particular hat, but what other styles could you use?
Finally, once you have added all of your ideas to the sombrero sketch, you could then finish it off with a fun background. This would be especially good with our previous suggestion!
The background could be a desert setting or maybe in a colorful Mexican town for two ideas. What other background ideas can you think of to finish this off?
Your Sombrero Drawing is Complete!
With that, you have finished all of the steps in this guide on how to draw a sombrero!
Drawing objects such as this can be rather tricky due to the curvature of the various sections and the smaller details.
Hopefully by using this guide you found it to be a fun and easy experience despite these challenges!
Now that it is complete, you can take it even further by adding your own details, ideas and elements.
We mentioned just a few ideas that you could try when doing this, but this is a step where you can let your imagination run wild!
Then, if you enjoyed this guide you can find many more on our website. There is a huge selection with more on the way soon, so keep checking in to enjoy many more guides in the future!
You can also show us how your sombrero drawing turned out by sharing it on our Facebook and Pinterest pages when it’s done!