When describing something of value, you’ve probably heard of the saying “worth its weight in gold.”
This description could be applied to all manner of substances or resources, but it would be hard to find a more accurate application than gold itself!
Gold is one of the most valuable substances in the world, and it has been coveted and even fought over for centuries.
It still holds great value to this day, and is an important contributor to the economy. Not many of us will get to hold a real gold bar, so learning how to draw gold may be the next best thing!
You won’t need to break into Fort Knox to see how to draw one of these bars, as this guide will have you covered.
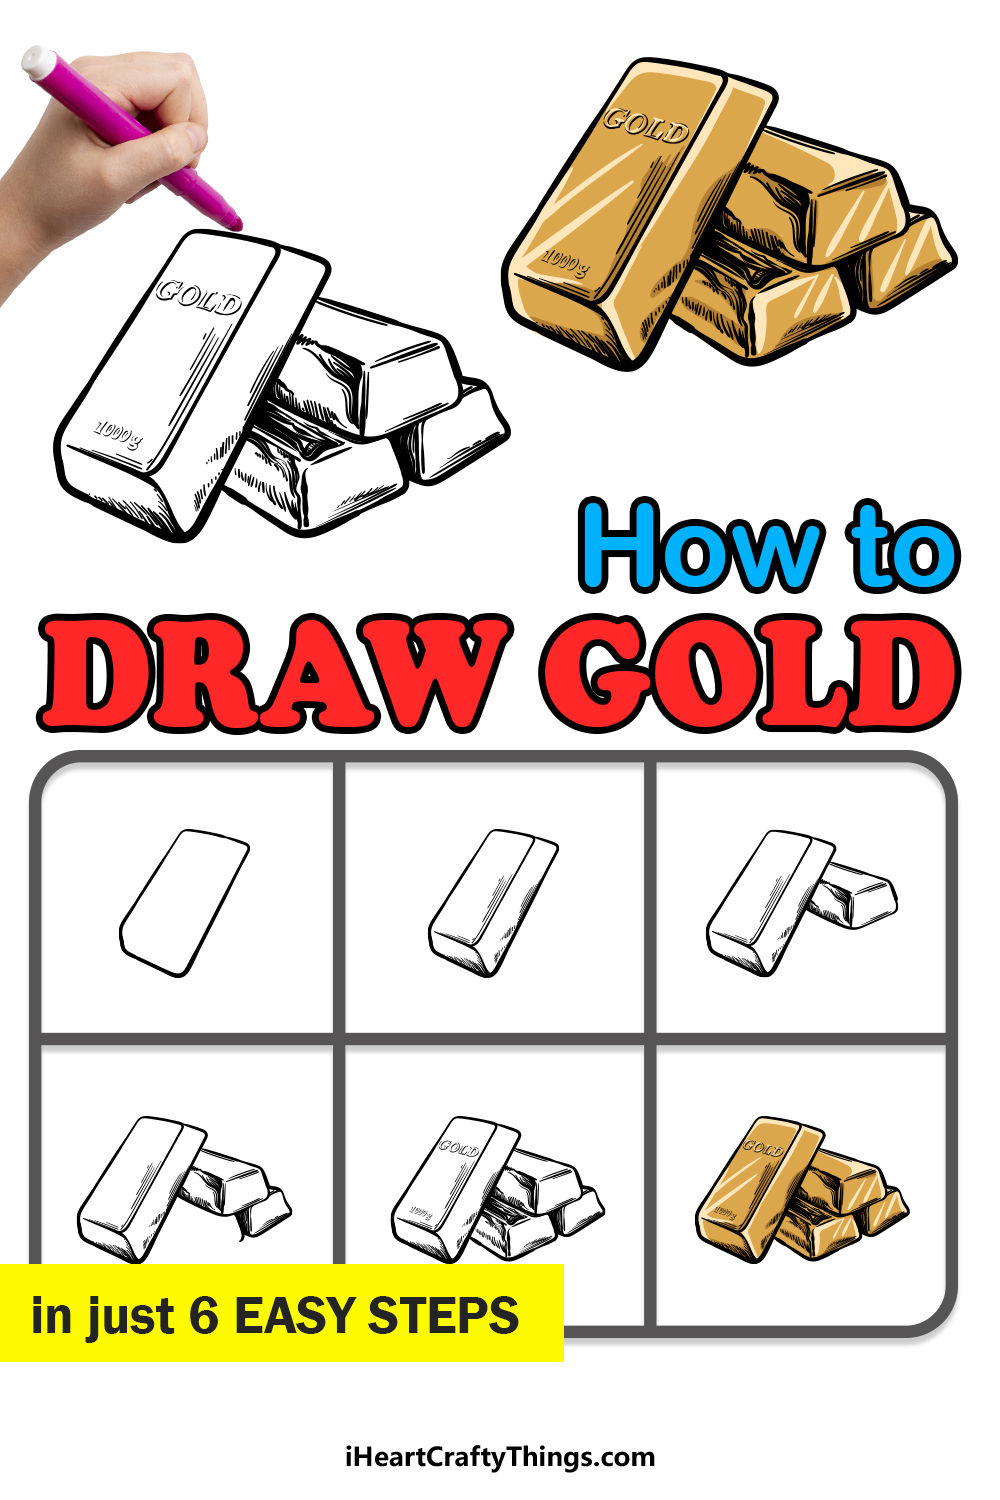
So sit back and enjoy this luxurious step-by-step guide on how to draw gold in just 6 easy steps!
How to Draw Gold – Let’s Get Started!
Step 1
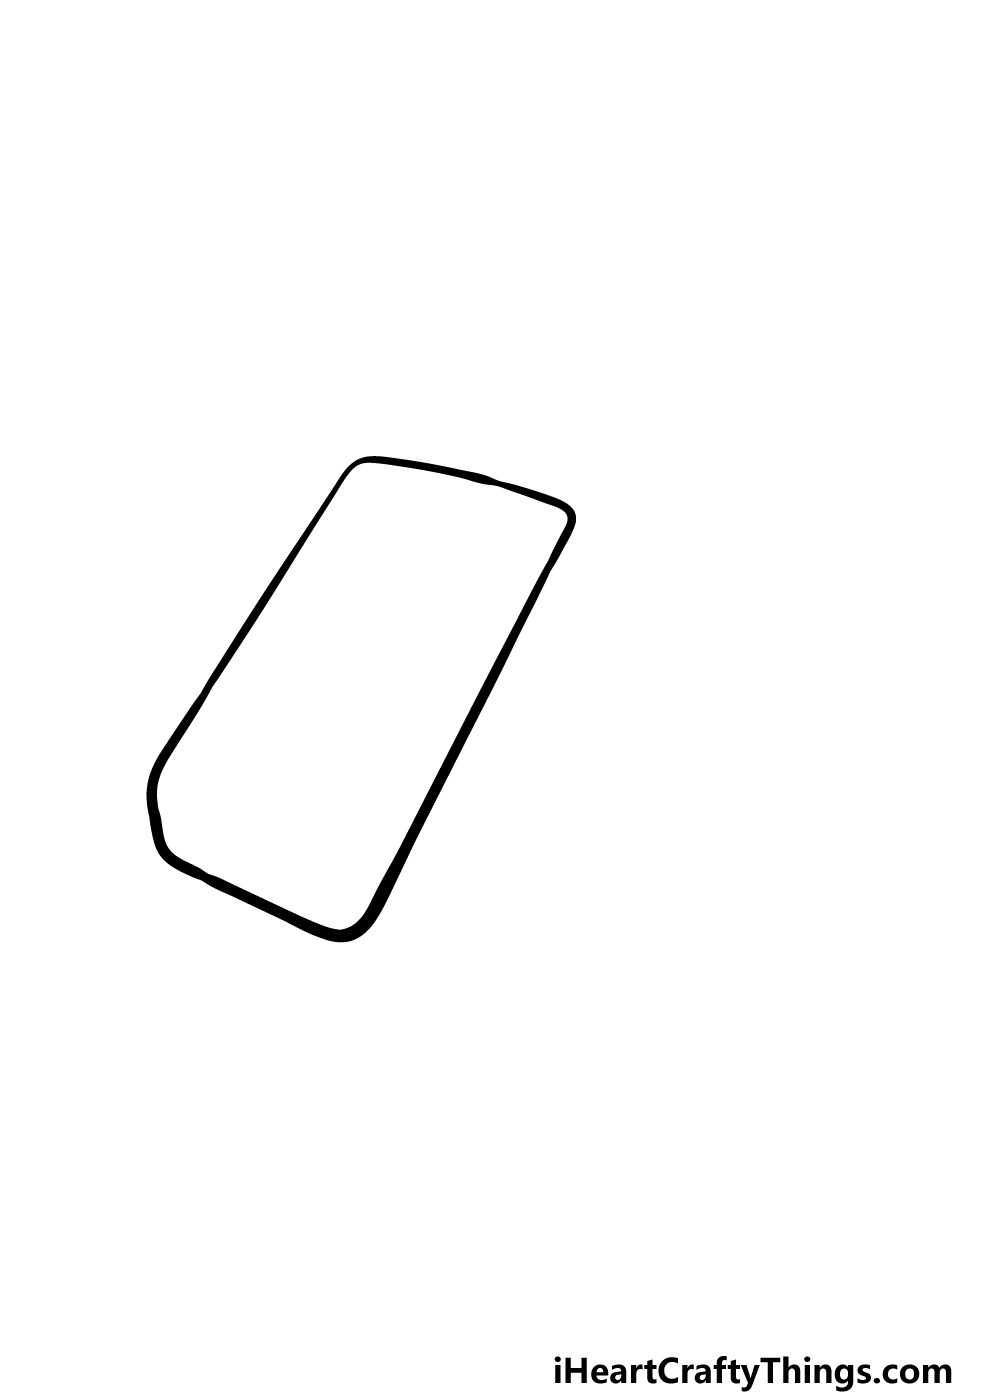
We will be drawing a few bars piled up on one another in this guide on how to draw gold, but we shall start with a single bar for now.
Gold bars are typically not perfectly rectangle in shape, and this can make them a bit trickier to draw. For now, we shall focus on the outline for this bar before we add some details later on.
To make things easier for yourself, you could use a pencil and a ruler to draw a rectangle shape at a diagonal angle.
This can serve as a rough outline, and then you can draw the actual shape using your pen. As shown in the reference image, the actual corners will be quite round.
The corner on the bottom left will be especially rounded as well.
Then, when you’re happy with the outline you can erase the pencil lines and we can move on to step 2!
Step 2 – Now, draw some dimensions for the gold
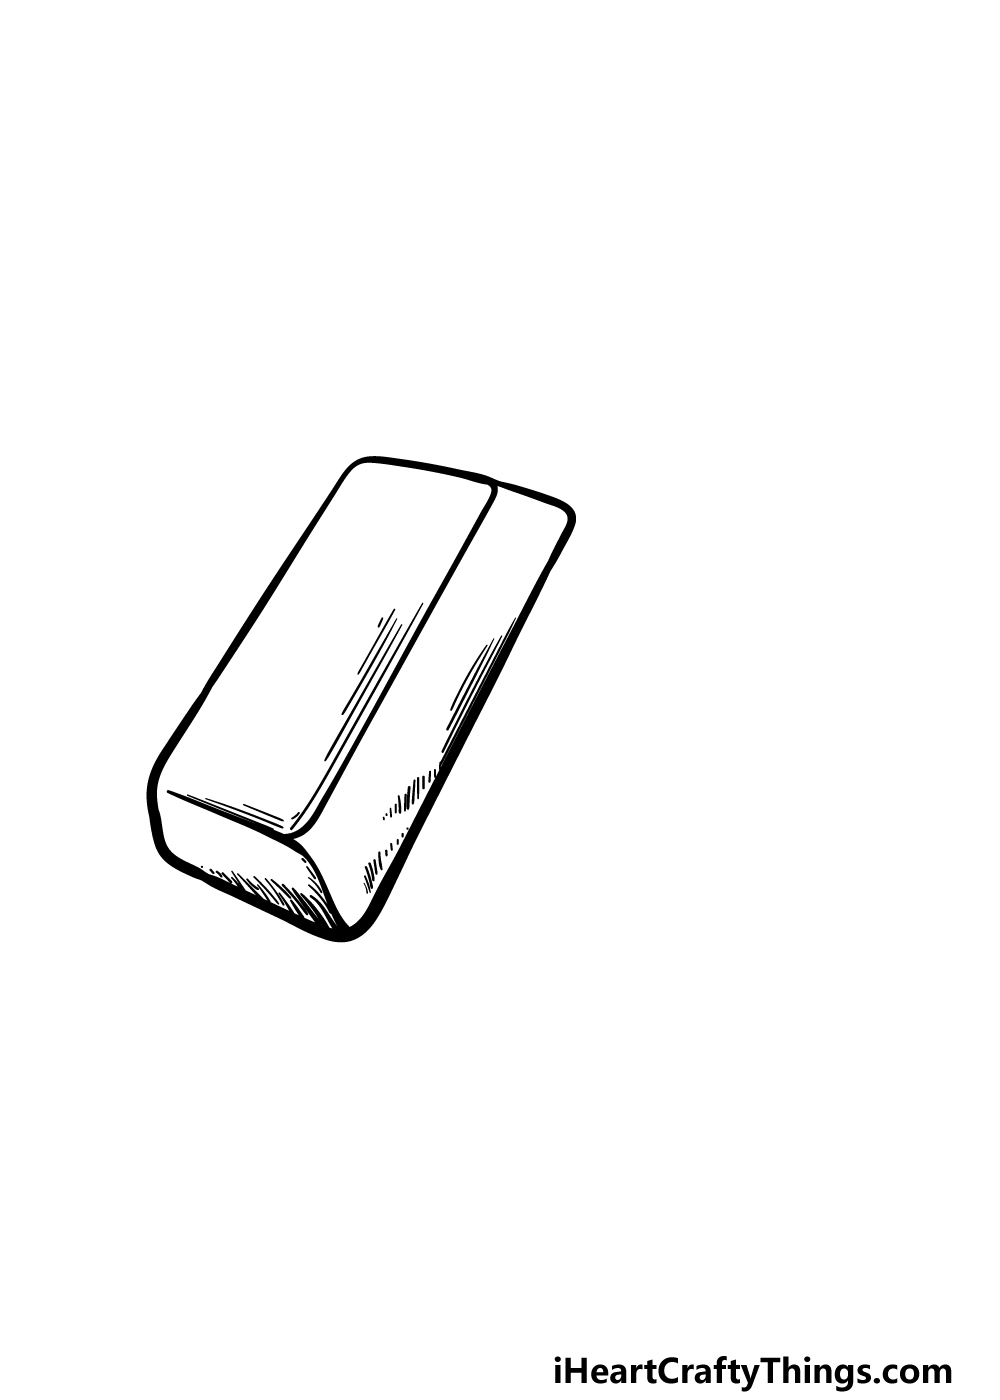
By adding some simple lines to the interior of your gold drawing, we can create some more realistic dimensions for the image.
Using the reference image to guide you, draw some fairly straight lines for the upper and side corners of the gold bar.
There will be a long top edge, and then we will also see two of the sides. Once these lines are drawn, we will be adding lots of line details around them for some shading and to make it look a bit more textured.
Then we will proceed to step 3 to continue.
Step 3 – Draw a second bar for the image
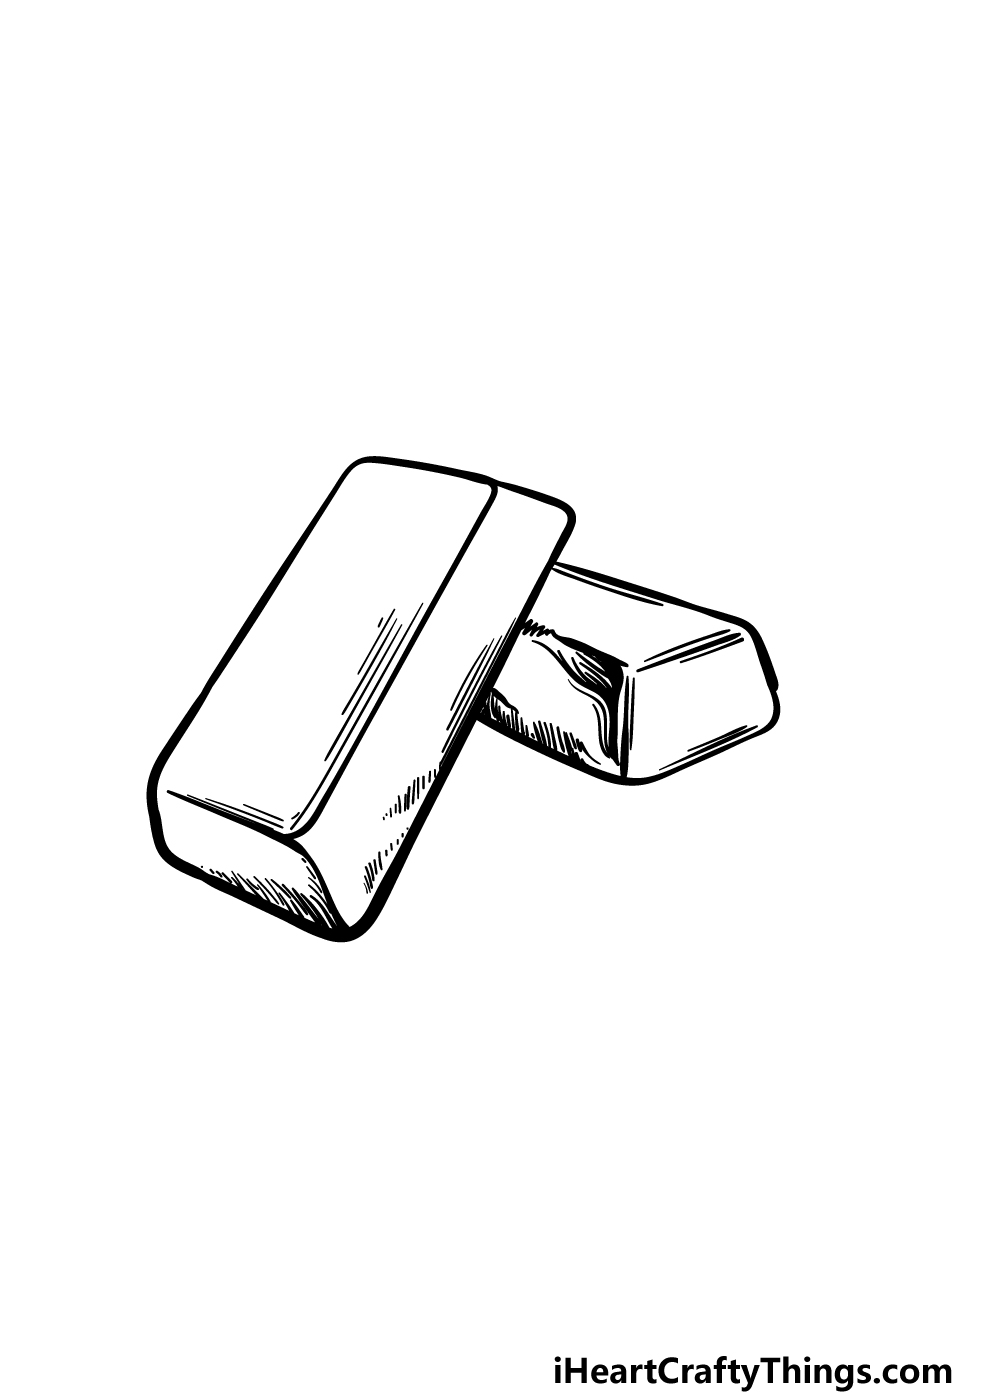
Earlier in this guide on how to draw gold, we mentioned that we will be drawing a small pile of these gold bars.
We will add some details to the first bar shortly, but first we shall draw another bar. This one will be behind the initial bar, and the first one will be leaning on this one.
Because this second bar is lying flat, the edges will naturally look a bit different.
Draw the edges of this second bar, and then add some more shading details to the edges as you did for the other one.
This one will have a little more shading than the first one did, as it is more obscured.
Step 4 – Next, draw some more bars for the image
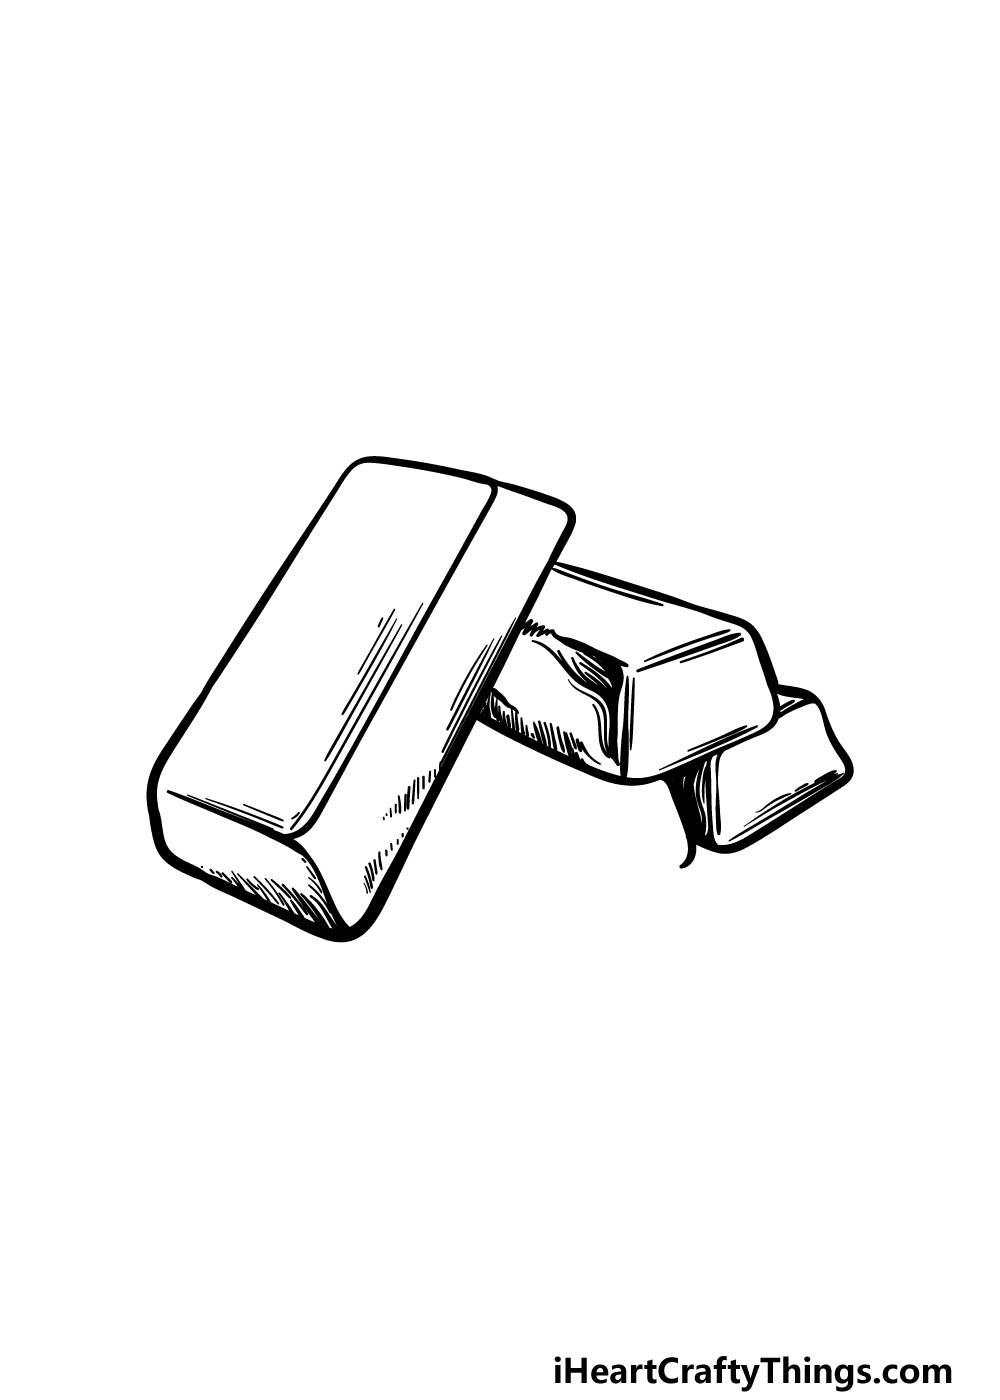
We’re not done adding bars to this gold drawing just yet! For this step, we will start drawing the final bars before you add some last details and touches in the next step of the guide.
There will be two more bars, and they will also be flat and under the bar that you drew in the previous step.
For now, we will draw the short edge of the bar that is furthest away from us as the viewer.
Start drawing the edge for the last bar, and then add some shading details to what you have drawn so far. We will finish off the final touches in the next step.
Step 5 – Add the final details to your gold drawing
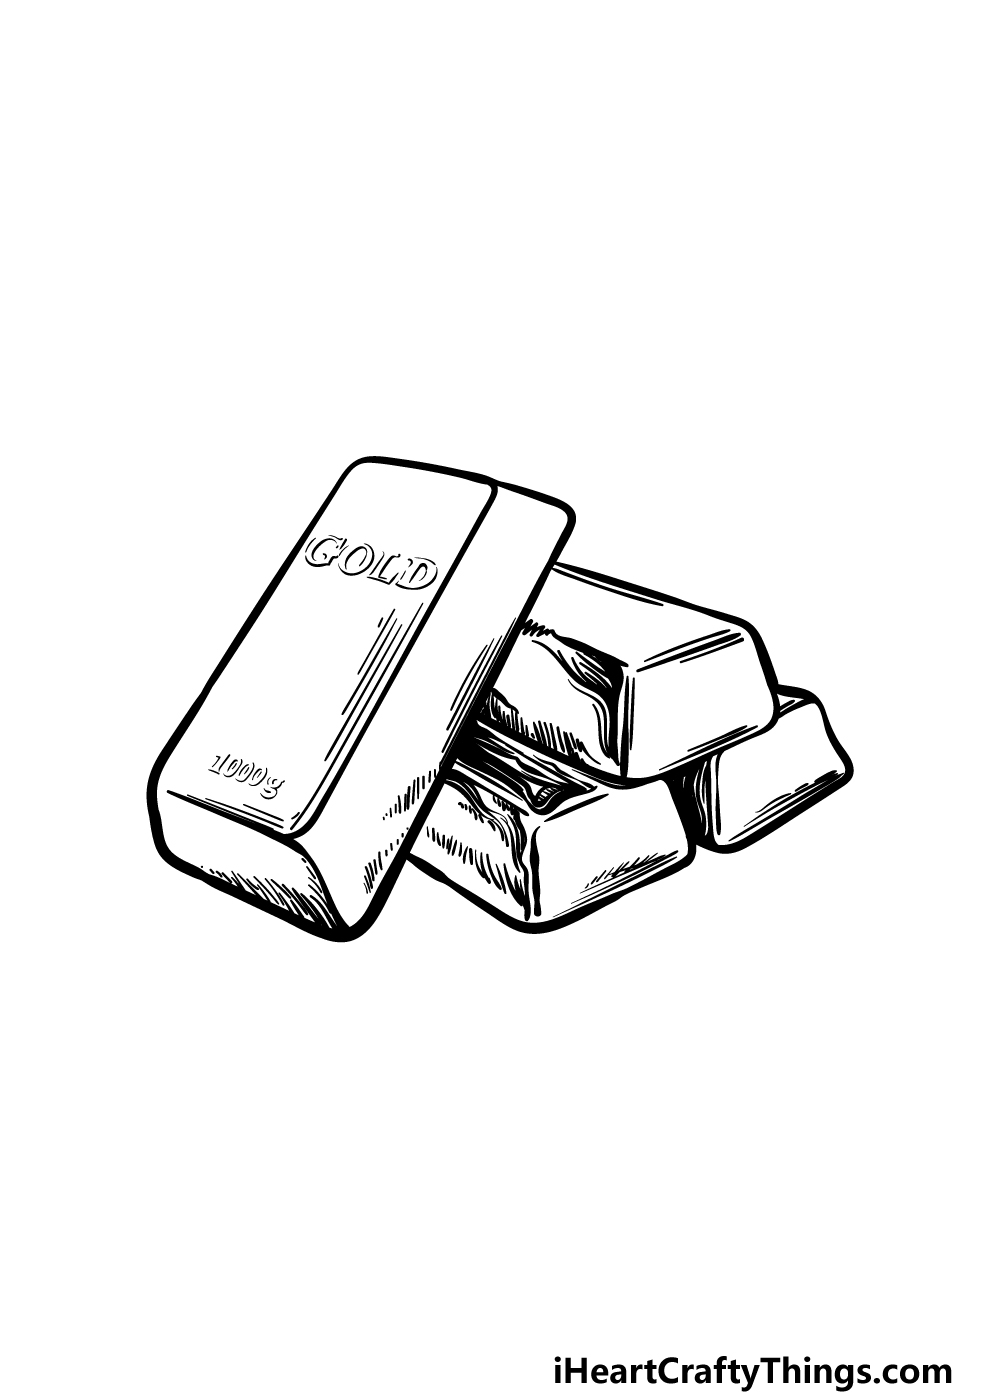
Now it’s time to finish off the final details of this guide on how to draw gold.
First, finish off the outline for the final gold bar that you started in the prior step. Be sure to add lots of shading details to this one as well!
Once that bar is drawn, we will then add some details onto the very first bar that you drew. We will draw the word gold onto it, and then at the base we will show the weight by drawing 1000g.
When you have drawn these final details, you can finish it off by adding your own details! What kind of background do you imagine would suit these gold bars?
Step 6 – Finish off your gold drawing with color
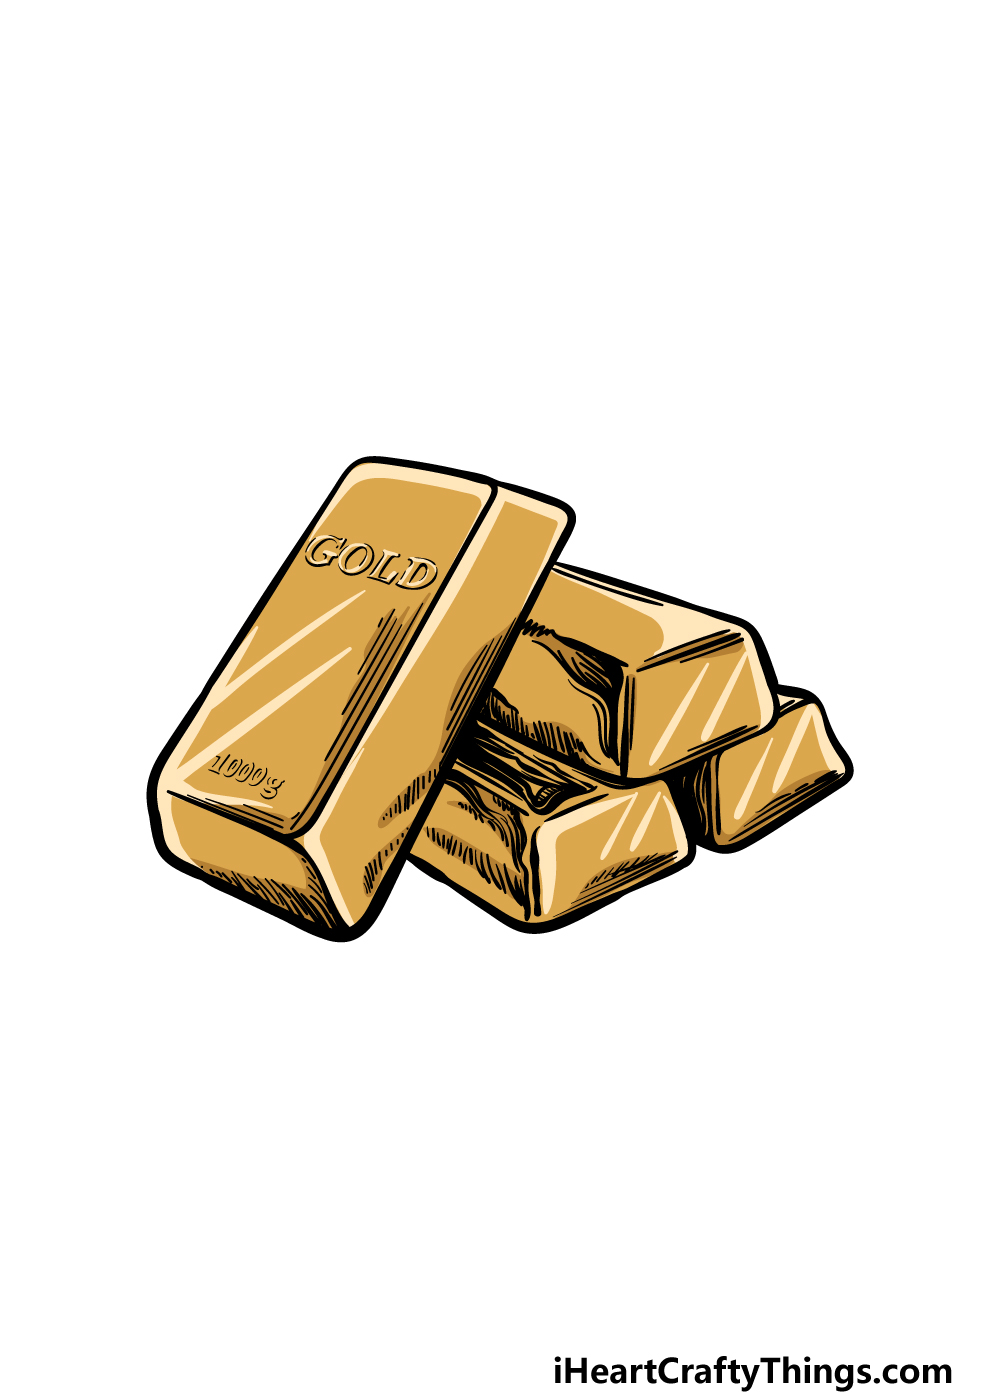
When coloring in this gold drawing, you probably know what color we will be using primarily! However, as shown in our reference image you can vary up the colors by changing up the shades.
We used dark gold coloring with lighter highlights to make it look shinier. You can also vary things by changing up the art mediums you choose.
Using some paints with colored gold markers could help to make this image look even richer. For a fun touch, you could sprinkle and glue some gold glitter onto the image to make it look sparkly!
What colors and art mediums will you use for this golden drawing?
Do this to take your gold drawing to the next level
Strike artistic gold as we make your awesome gold sketch even better with some tips!
With this gold drawing we created, we kept the pile at a reasonable size. Even though this small pile would already be worth a lot, who’s to say it couldn’t use some more?
Now that you have finished the guide, you could add as much gold as you like to the picture! Most of us wouldn’t say no to a massive pile of gold bricks, so you could fit as much as you like onto the page.
Simply repeat the steps of the guide and maybe change some of the angles of the blocks to add to the pile.
Gold is certainly valuable, but there are many other valuable objects that people desire as well. These could be fun to add to your drawing of gold!
For some common examples, you could add some piles of money or maybe diamonds or precious stones. Adding valuables such as these would really make this a treasure to behold!
What valuable treasures would you like to add to the drawing?
Once you have made the pile as big as you want with all the treasures you can dream of, you could also draw a background! For example, this pile of gold could be safely locked up in a secure vault.
It could be fun to make a whole scene, as you could have a thief dropping down from the ceiling using a rope. That’s one idea, but what else could you use for this to finish off the scene?
Finally, you can use all kinds of great art tools, colors and crafts to make this gold drawing pop! We want the gold to look as striking as possible, and you can use some tricks to achieve this.
At some art stores, you can even get metallic pens that can create a cool gold texture. If you can’t get hold of something like that, you could sprinkle some light gold glitter over the drawing to make it look sparkly!
Your Gold Drawing is Complete!
That brings you to the end of this guide on how to draw gold!
As mentioned earlier in the guide, not many of us will get to hold a real gold bar, but even if that’s the case it’s still fun to draw one, as that allows you to imagine what it would be like.
Now you can show off your creativity by drawing some more details. By adding a background, you could show off what kind of setting you can imagine this gold would be in!
Then, when you want some more drawing fun you can head on to our website. We have tons of guides covering a huge variety of subjects, and we upload new ones frequently!
We would love to experience some artistic opulence, so please share your finished gold drawing on our Facebook and Pinterest pages for us to admire!