In the various cultures around the world, there are many different religious and spiritual customs that are very important to those that celebrate them.
In Catholicism, prayer is very important, and many practitioners of the faith will use some rosary beads as an aid to them as they say their prayers.
They also have a simple beauty to them, and learning how to draw a rosary is a great way to design your own version of this important artifact.
Doing this isn’t necessarily that easy to do, but that’s what we’re here to do in this tutorial.
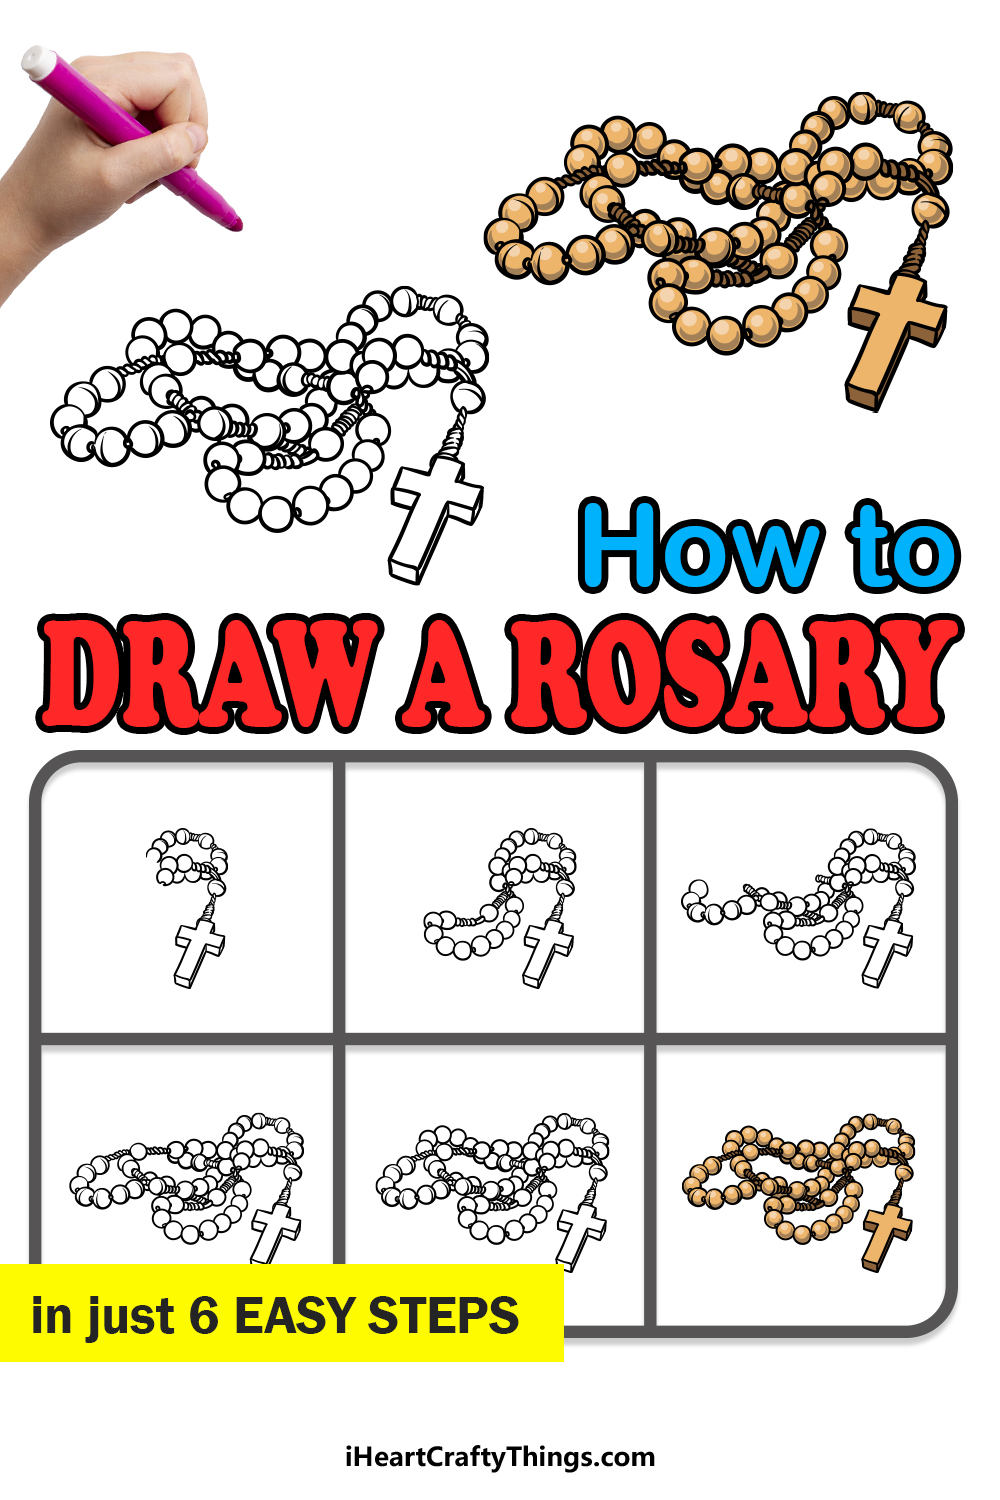
Our step-by-step guide on how to draw a rosary will show you how to do it while having lots of fun along the way!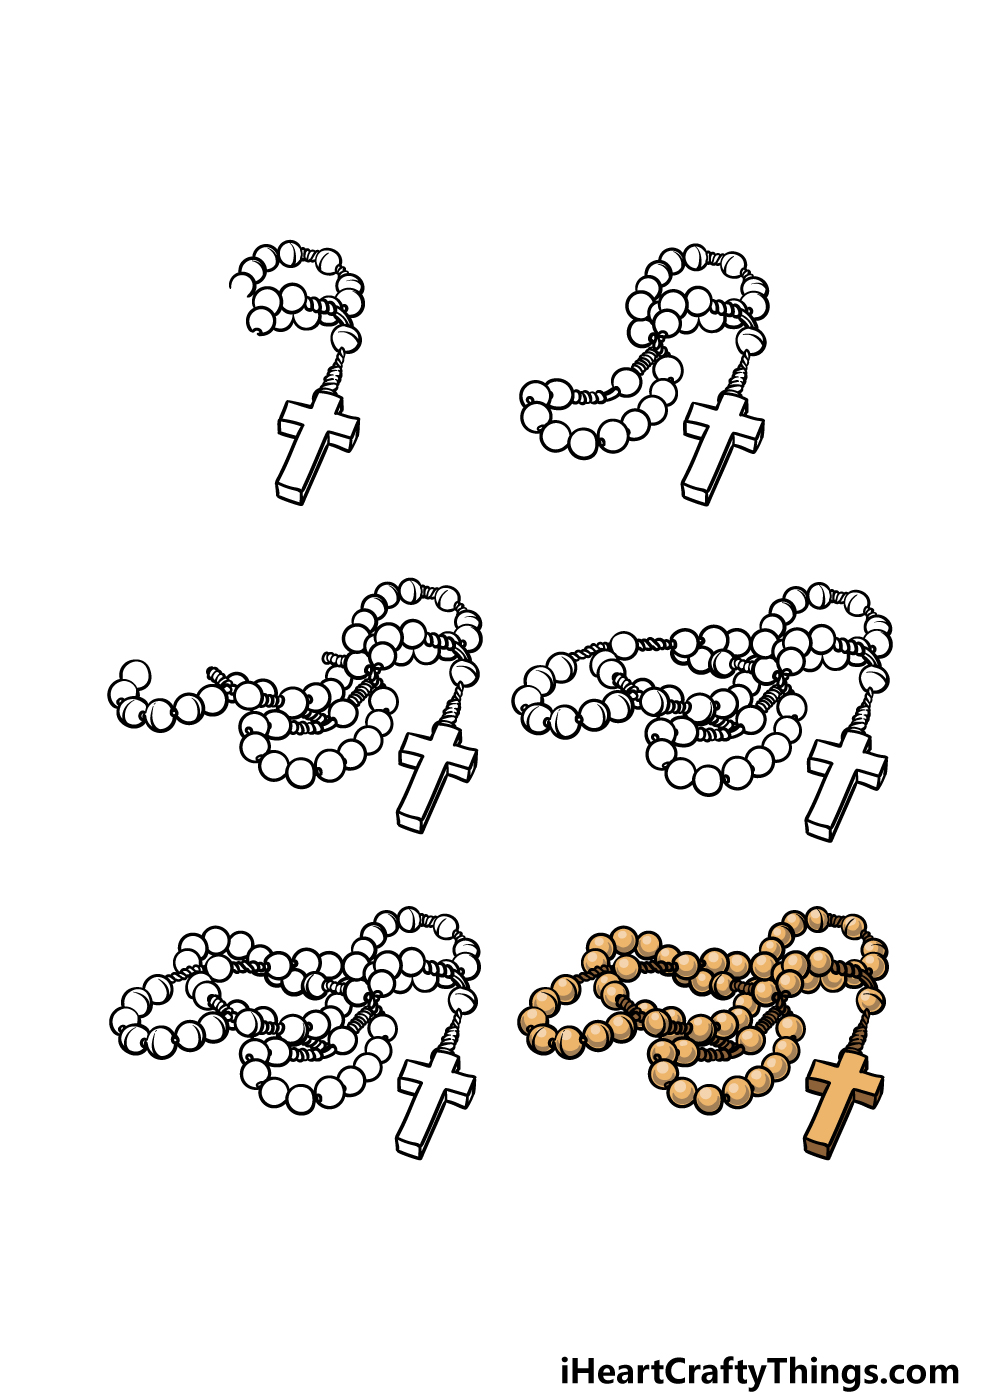
How to Draw A Rosary – Let’s Get Started!
Step 1
The reason that a drawing like this can sometimes be a bit challenging is that it is made up of lots of smaller components.
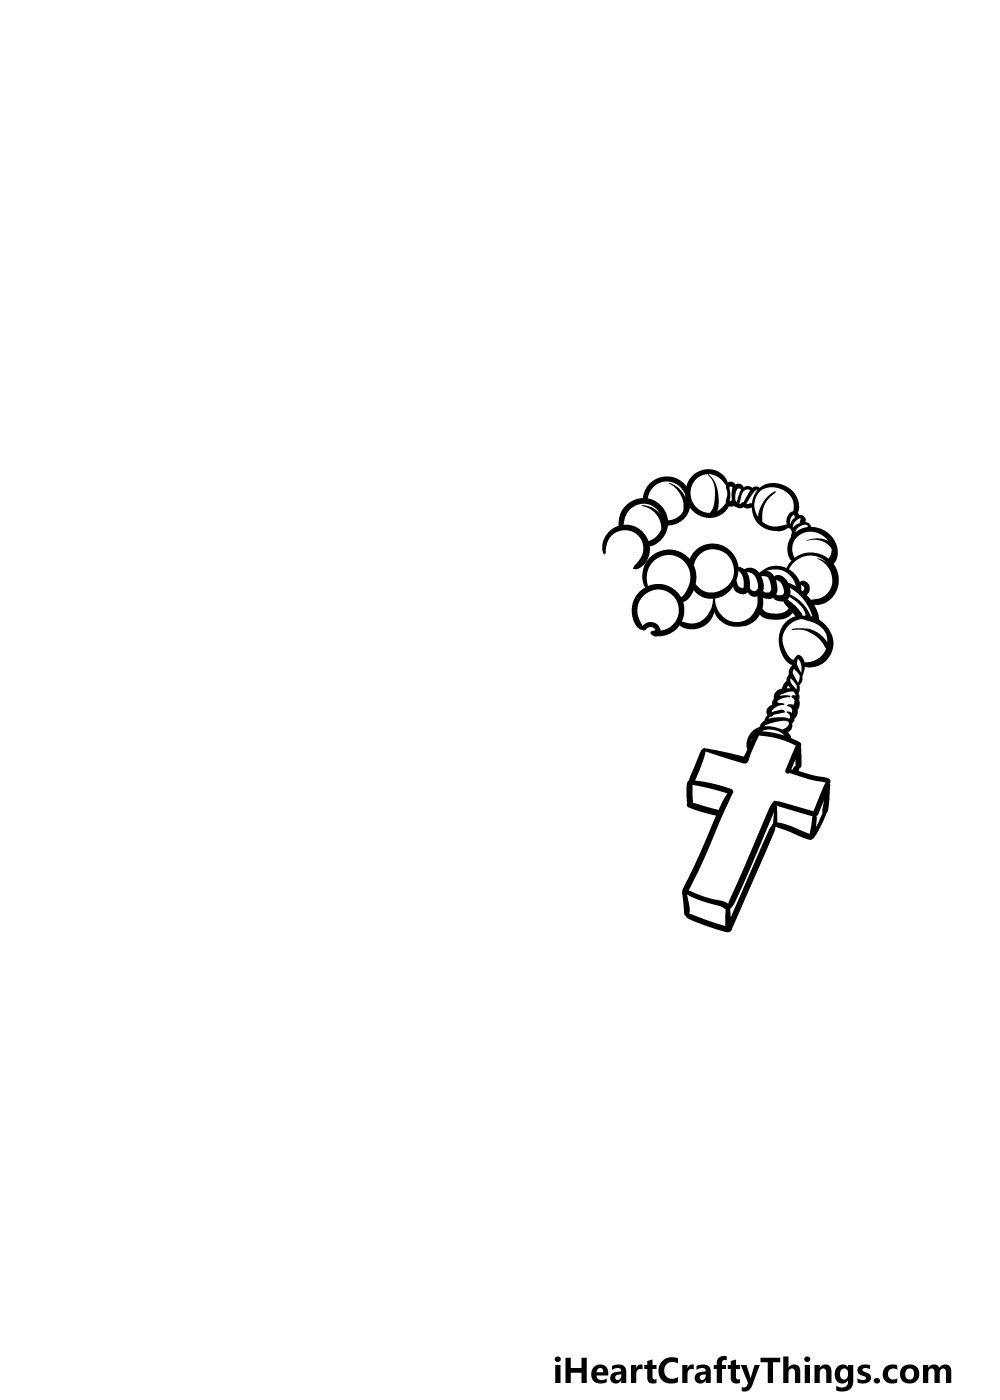
That’s why we shall be breaking it down into smaller steps throughout this guide on how to draw a rosary. To begin, we will be using some straight lines to draw the cross at the end of the rosary.
You can add some shorter lines at different angles to give it a 3D effect as well. This cross will then be attached to a small, twisty shape that will then connect to the beads.
We will only be drawing a small section of these beads for now, and the reference image will show you how they should be positioned.
There will also be some small shapes in between some of the beads.
Step 2 – Now, draw another loop of beads
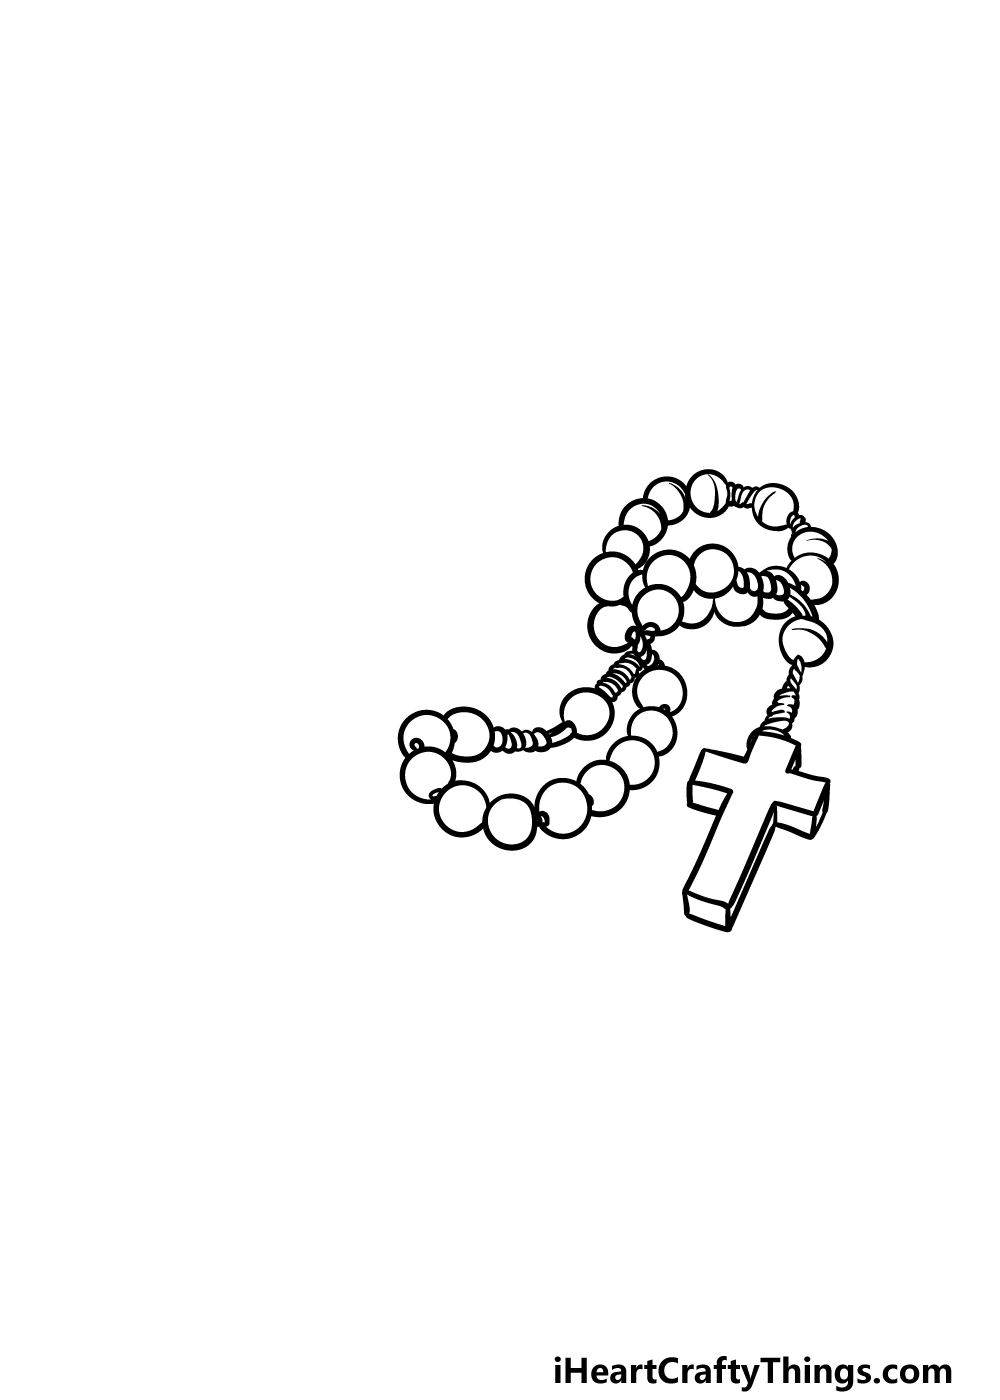
In this second step of your rosary drawing, you will be adding another loop of the beads.
This loop will begin where the previous strands ended, and you can keep it going by adding more beads and in-between shapes to form this next complete loop.
There will be some portions between the beads that are quite long and composed of twisted strings.
Once this section has been drawn, it will be on to step 3 of the guide!
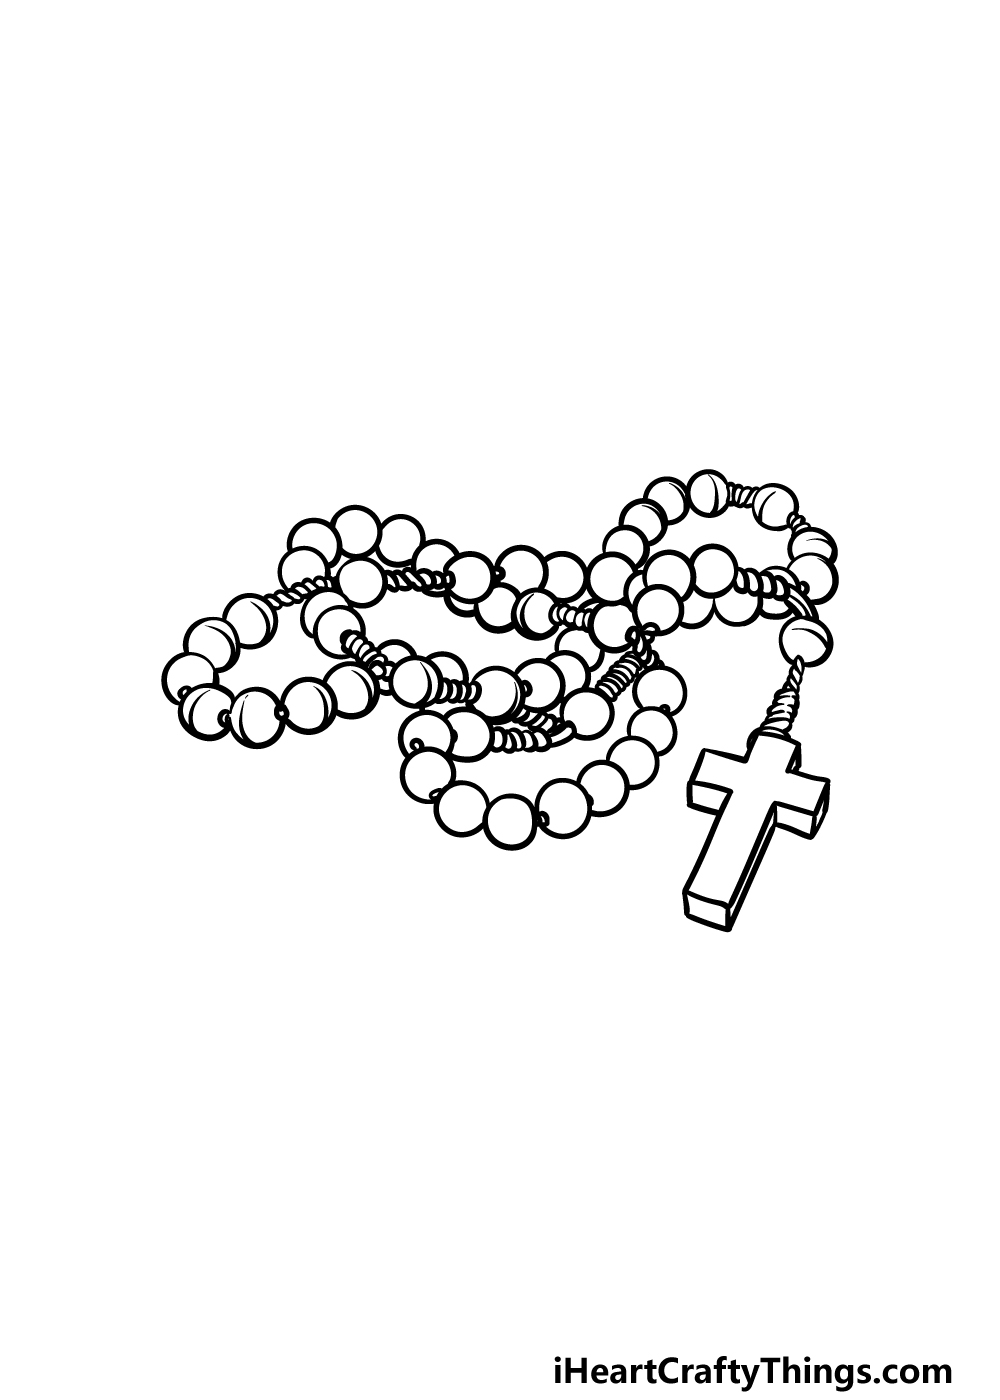
Step 3 – Draw the next section of the rosary
You’re doing a great job on this guide on how to draw a rosary! Continuing on with your picture, we will be drawing a new section of the rosary.
You drew a loop in the beads in the last step, and in this one you shall be drawing one more single section.
To do this, simply continue what you’ve been doing so far and draw more circles with the various sections between them.
This new section will have two empty ends, and one will have beads at the end while the other will have a wire section.
Once you have replicated these strands as they appear in the reference image, we will be ready to move to the next step of the guide.
Step 4 – Next, draw the next section of beads
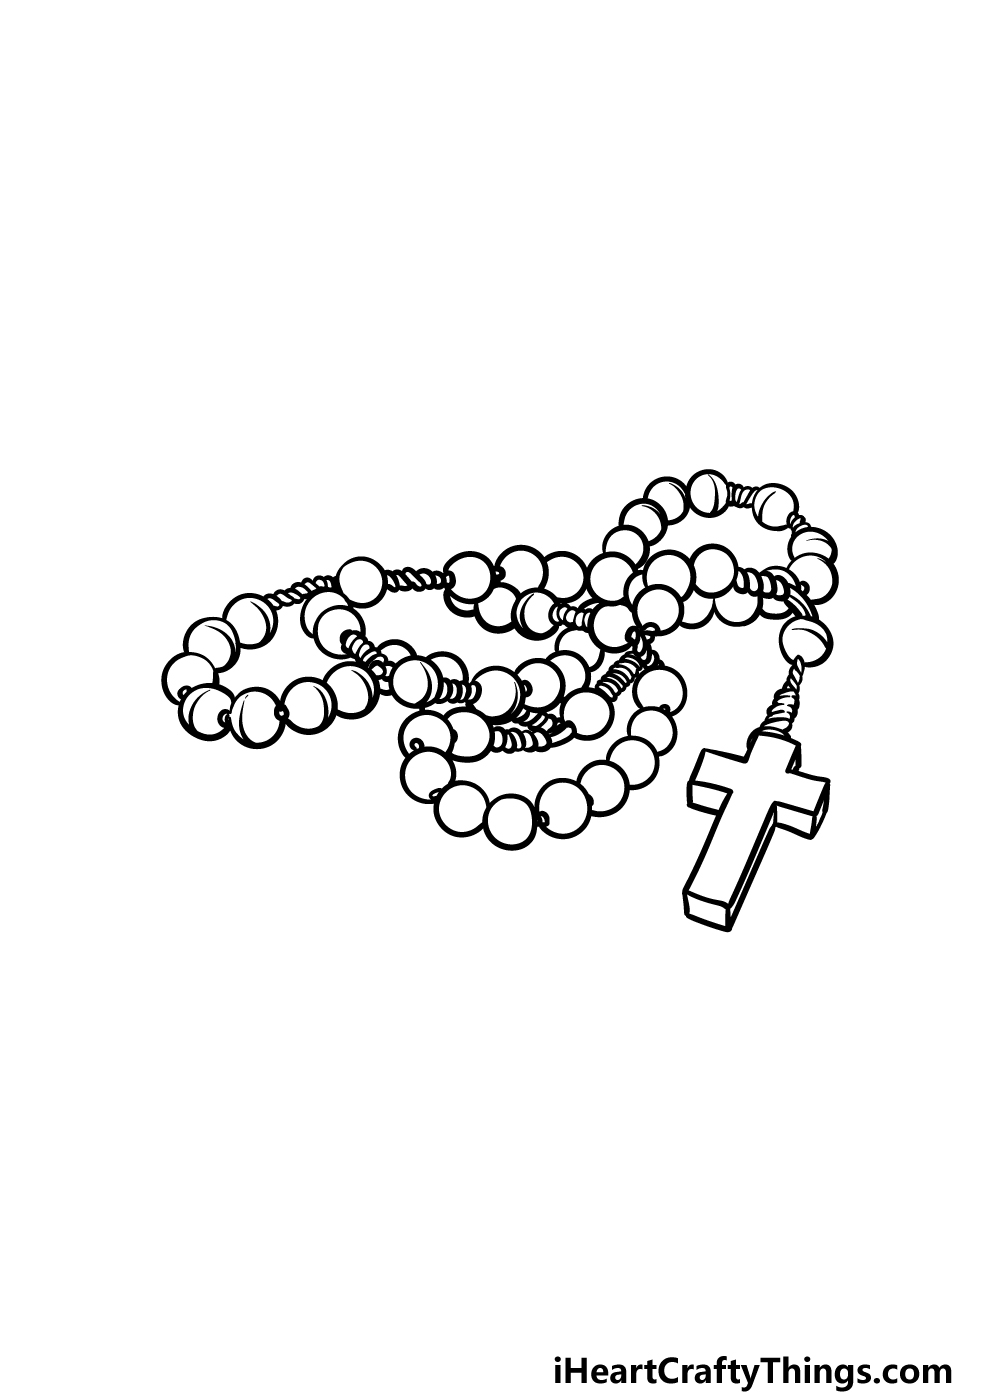
This step of your rosary drawing will see you adding to the ends of the strands that you drew previously.
There are three sections that we will be adding more beads and middle sections to, and that will form another complete loop in the beads.
Once again, you may want to refer to the reference image as you draw so that you get the correct positioning for the beads.
Once this new section is complete, we will just have a few more final details to draw in the next step.
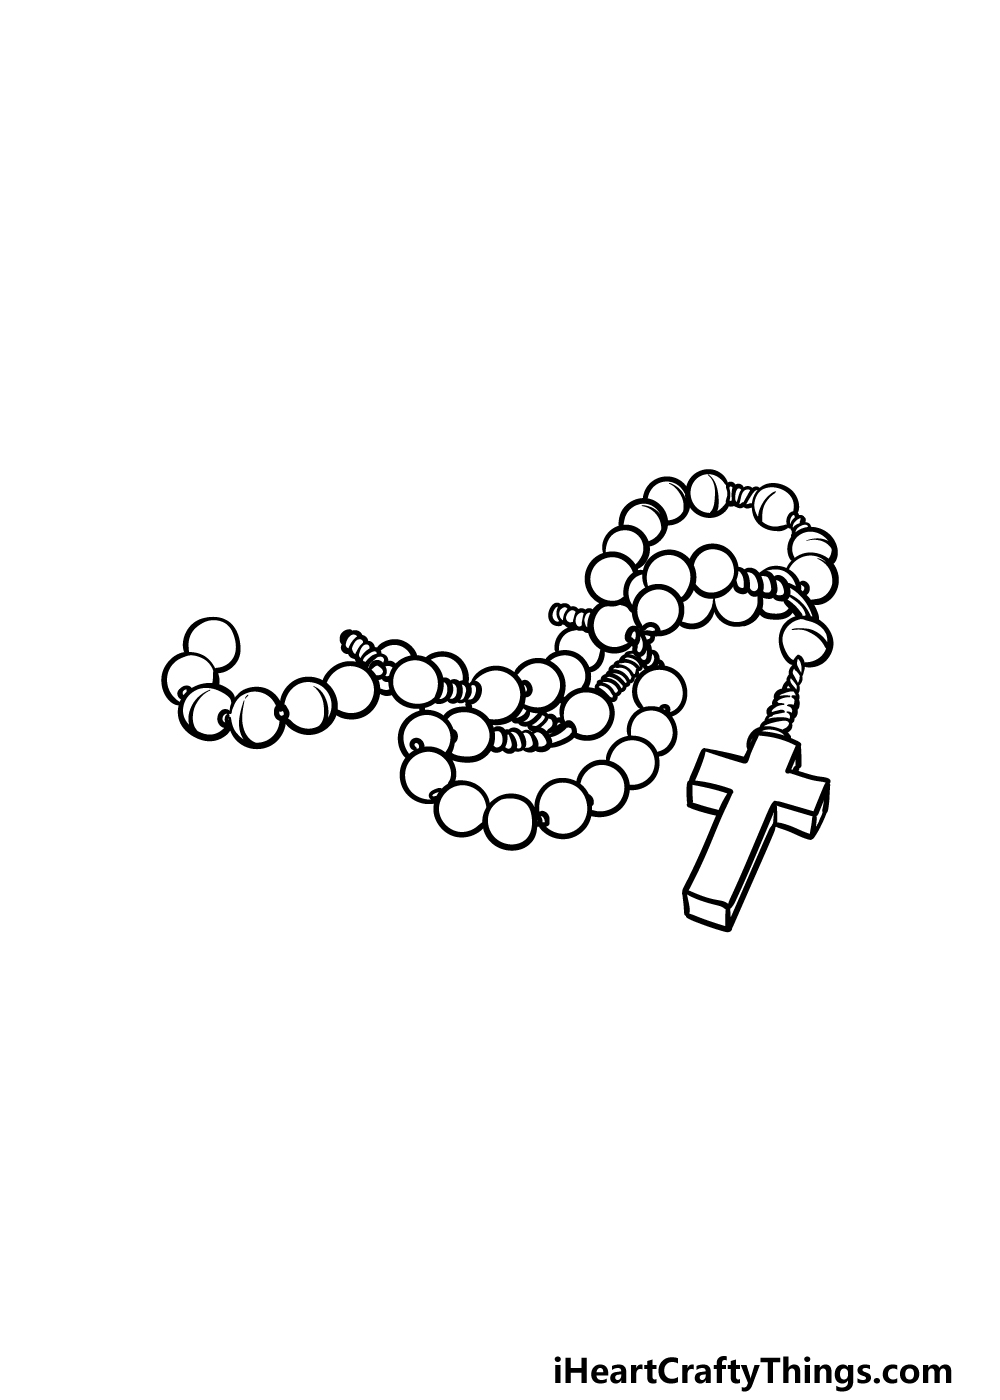
Step 5 – Add the final details to your rosary drawing
You’re almost ready to finish off this guide on how to draw a rosary with some colors, but before we move to that stage there are just a few final touches to add.
There’s one more section of beads to add, and this will fill in the final gap to complete the loop of the beads.
Once you have filled in this final section, you can move on to the next step! Before you do that, this is also your chance to add to the image.
There are loads of ways that you could do this, and one idea would be to draw a background. If you did this, you could create a nice solemn setting for the beads to be sitting in or draw someone about to use them.
These are just a few ideas, but what else can you think of?
Step 6 – Finish off your rosary drawing with color
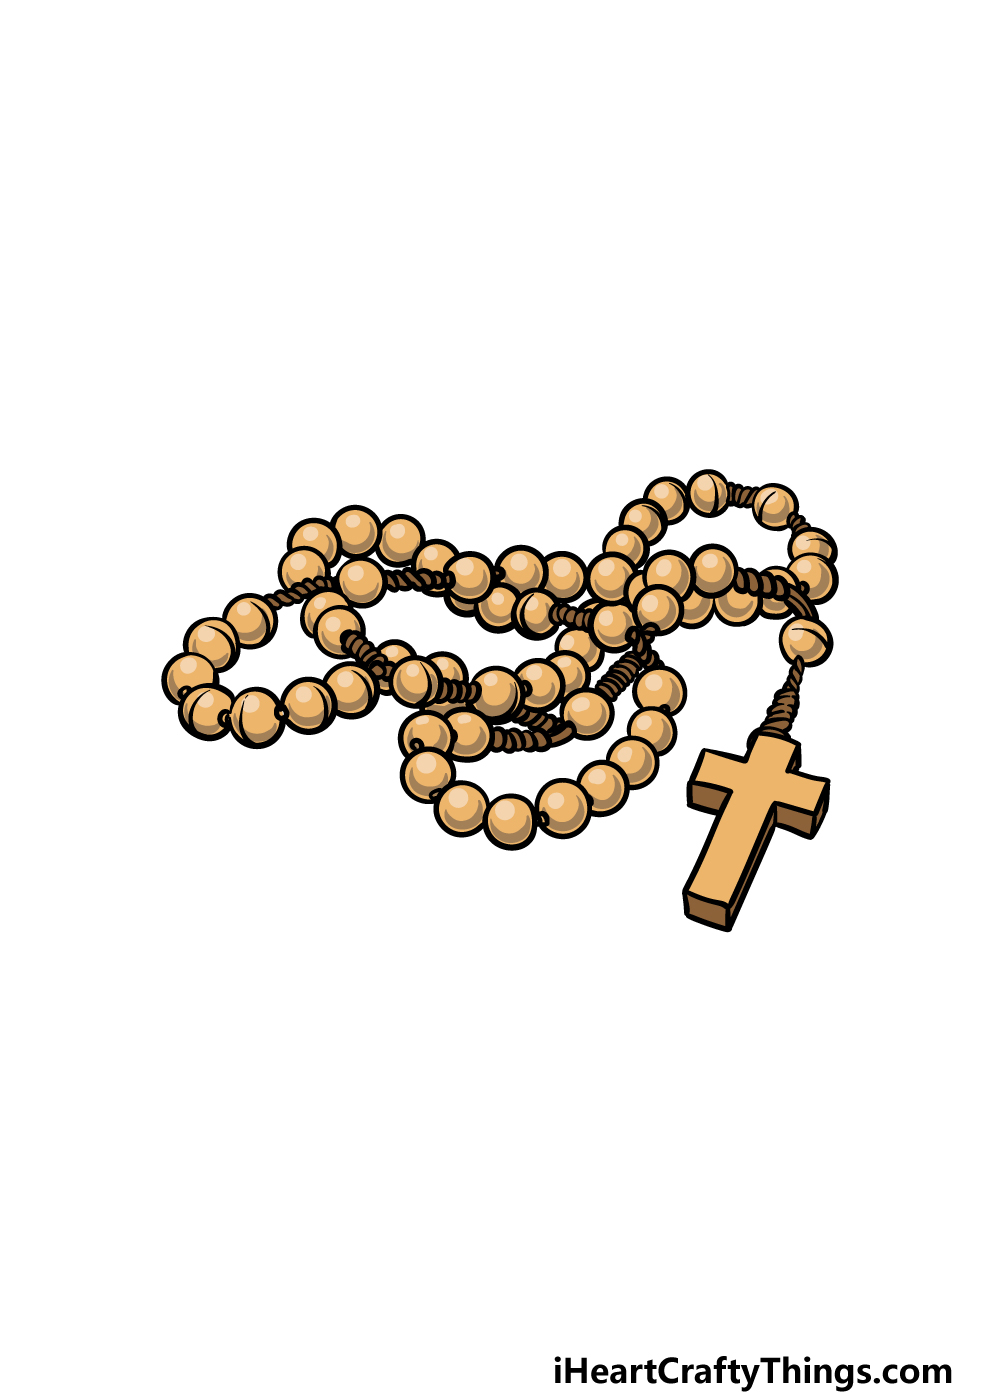
This is the final step of your rosary drawing, and in this one we shall finish off by adding some color to it.
In our reference image, we went with a typically muted color scheme, as often rosaries are designed to not be too flashy.
We used some lighter browns with darker shades mixed in, so you could either go with a color scheme that’s similar or use some unique color choices of your own.
When you have decided on your colors, you can then pick out the art mediums you’ll use. There are some small, fiddly bits on this drawing so you may want to use a medium that gives you good precision.
Some examples would be colored pens or thin-tipped paintbrushes, but what will you use to color yours in?
Here’s how you can make your rosary drawing even better…
Make this beautiful rosary sketch even better with these 4 ideas to try!
This drawing of a rosary shows a typical example of this item that has some beads.
One way that you could make this artwork even more eye catching would be to stick some real wooden beads over the ones you drew.
These wooden beads can be bought cheaply at many art and craft stores. Just make sure to use some strong glue so the beads won’t fall off too easily!
Right now, this rosary is depicted as being on a table, but there are other ways you could depict it. A rosary will often be held in the hand during prayers, so you could draw a hand holding it.
Another option would be to have the rosary hanging around someone’s neck. If you were to do this, you could base the character on someone you know or have seen with a rosary before.
What are some other ways you could have a human character interacting with this rosary?
If you prefer the static approach of this rosary drawing, then you could keep it as it is and draw a background setting. This could be as simple or as involved as you like!
For example, the rosary could be lying on a simple wooden table for a simple yet effective setting. Or, it could be with some other religious gear to tell more about the person who owns it without actually showing them.
A rosary will often have a lot of spiritual significance to those who use them. You could represent this in a few symbolic ways to give this rosary drawing even more meaning.
There are a few simple ways you could do this. For example, you could create the look of light shining on the rosary by using a light wash of paint over the rosary.
Or, you could choose a favorite line from scripture or an inspirational quote and then write it near the rosary to make it more meaningful.
Your Rosary Drawing is Complete!
You have reached the end of this guide on how to draw a rosary, and you should be very proud of your artwork!
As we mentioned, drawing subjects such as this can be quite challenging, so that’s why we aimed to break it down into easier steps for you to follow.
Hopefully we succeeded in making this even more fun and easy for you to take on!
You can also keep the creativity going by adding your own unique ideas and extra elements, so be sure to have fun with it as you finish it off!
When you’re finished with this picture and ready for more, you’ll want to visit our website for more awesome drawing guides.
We have many more we will be bringing out soon, so keep checking in to catch those!
You can then show off how your rosary drawing came out by sharing it on our Facebook and Pinterest pages. We can’t wait to see your amazing artwork!