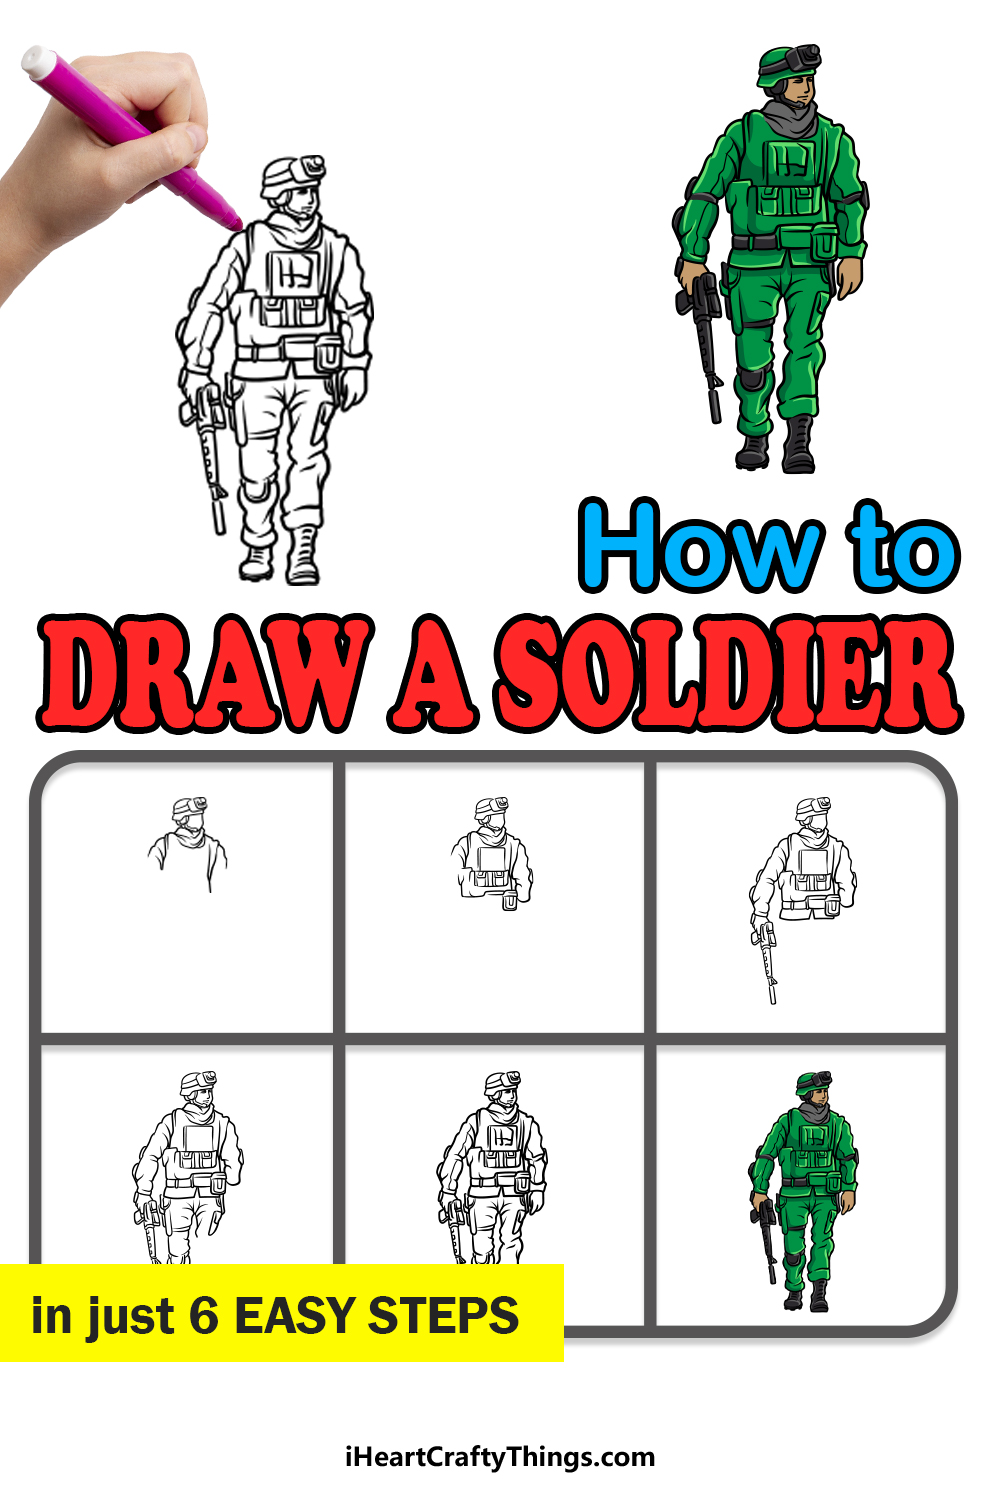
It doesn’t have to be a battle to learn how to draw a soldier when you have this guide for kids! You’re just a few steps away from creating this awesome drawing.
Soldiers have existed in many forms pretty much since the dawn of humanity. There are different eras of warfare, but this guide focuses on a modern warfighter.
Many people admire soldiers for the sacrifices they make to protect their countries, so there are many reasons why people would want to create art featuring them.
It’s always tricky to draw human characters, and it’s even more the case when they’re wearing detailed clothing. This guide will make it much easier though, as I will walk you through each step.
Then, you could draw a background to show where this solder is operating.
Learn How To Make A Soldier Drawing By Watching This
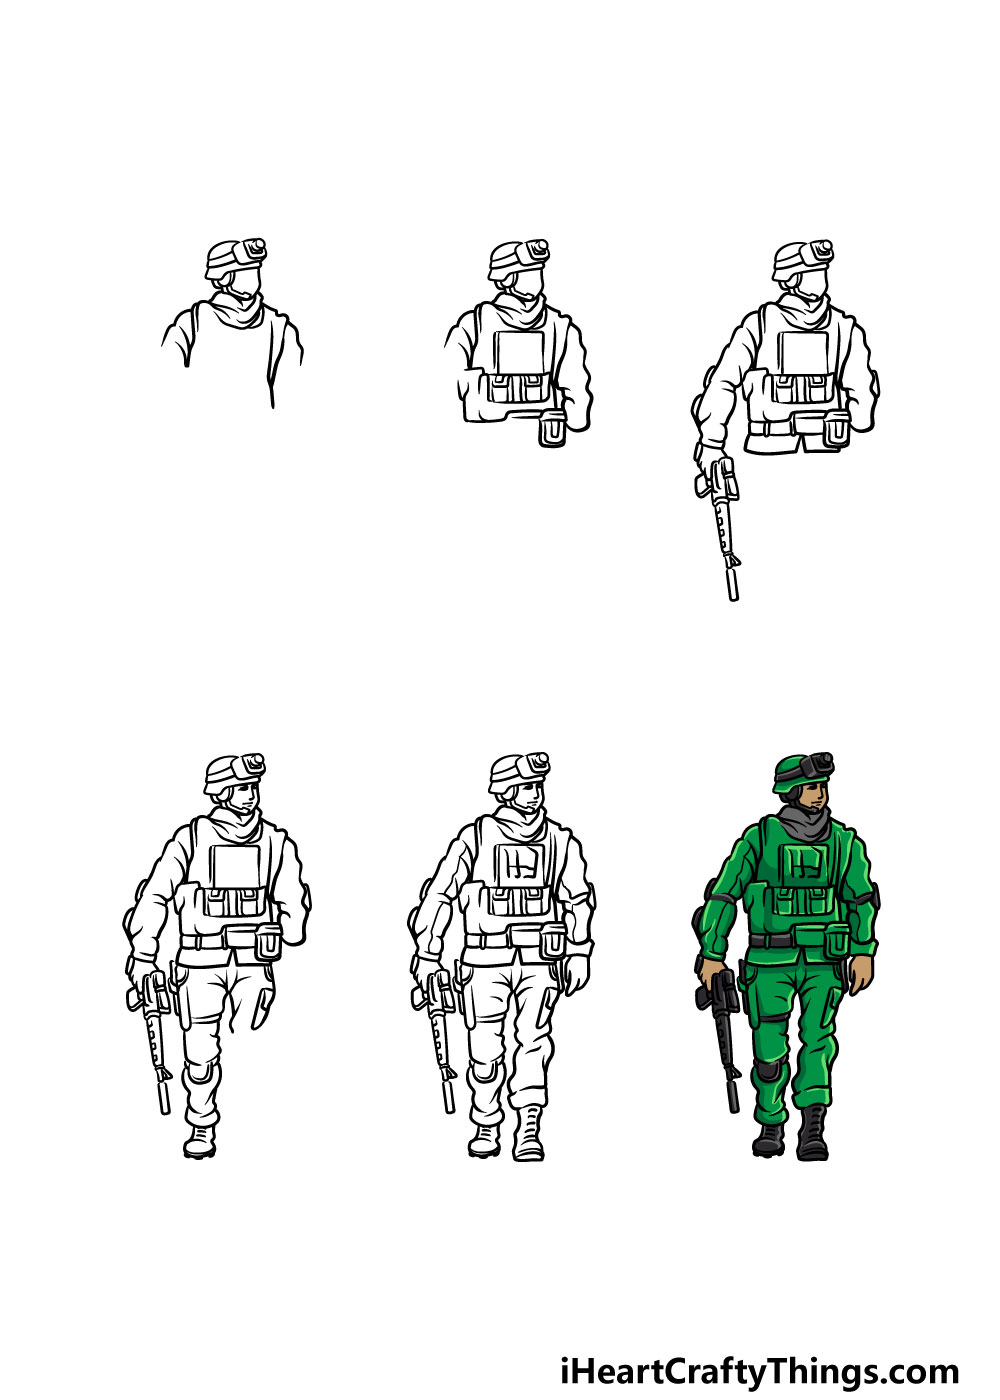
How to Draw A Soldier – Let’s get Started!
Step 1
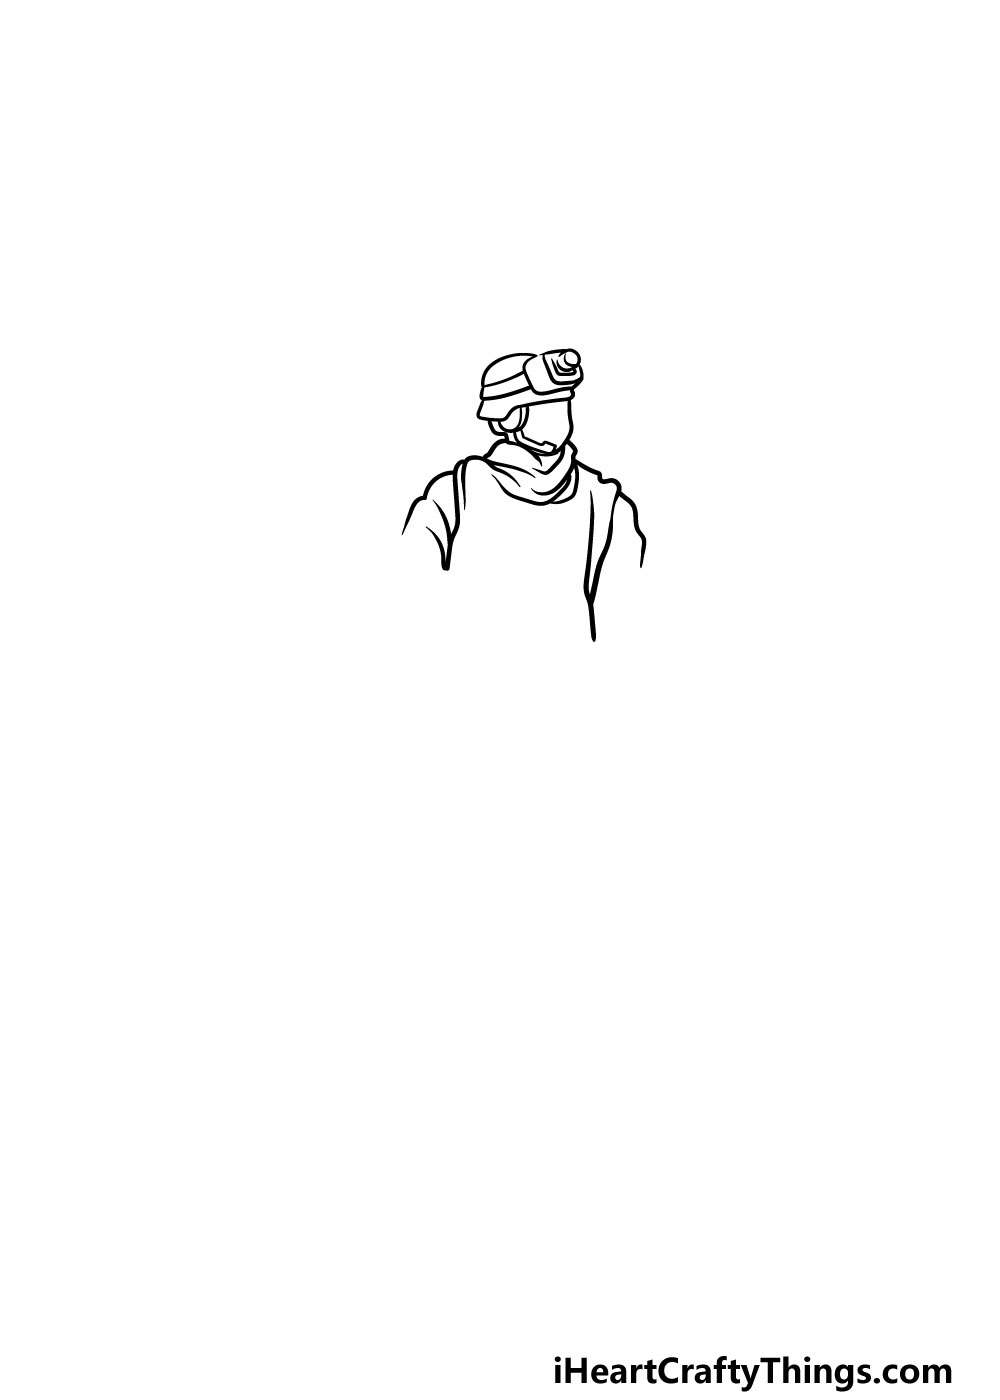
For this step of our guide on how to draw a soldier we will be starting with the head and the shoulders of the soldier.
For the head, he will be wearing a helmet with a night vision headpiece on top of the helmet. Then, you can use some lines underneath the face for the scarf that the soldier is wearing.
Finally, you can draw the shoulders and arms of the soldier with some curved lines. Once you’re happy with how it looks then you’re ready for step 2!
Step 2 – Draw the chest of the soldier
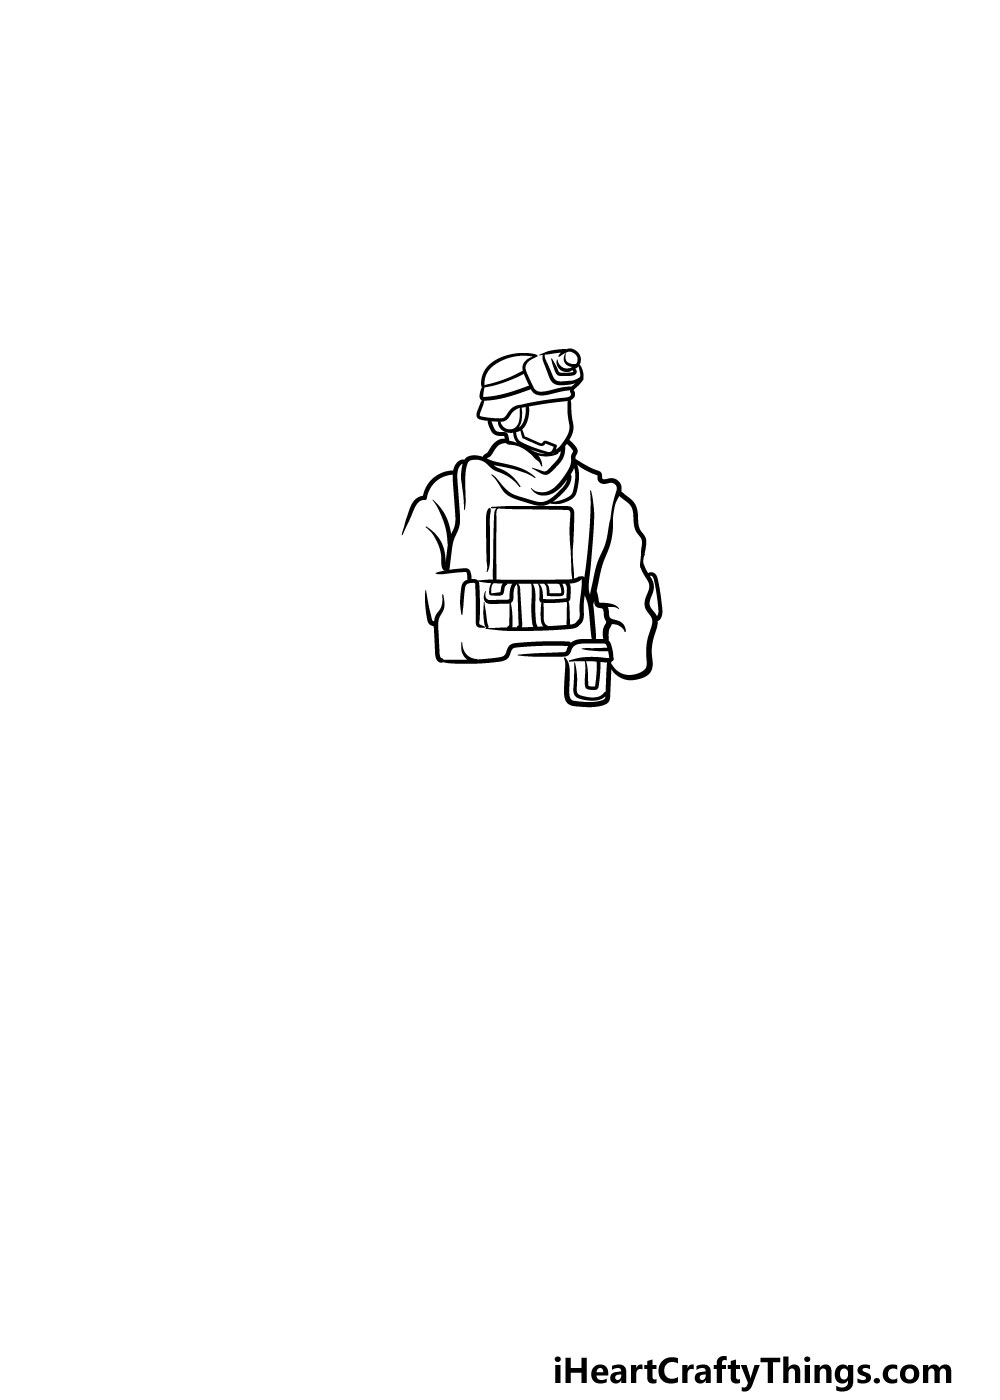
We will be adding the chest and some of the gear in this step of your soldier drawing. You can use some lines coming down between the shoulders.
You can then add some gear such as pouches and other elements of his uniform in this step.
A rectangle shape in the center of his chest will serve as some body armor for him, and you can also add the other smaller details that you see in the reference image.
Step 3 – Now, you can draw the arm on the left with his rifle
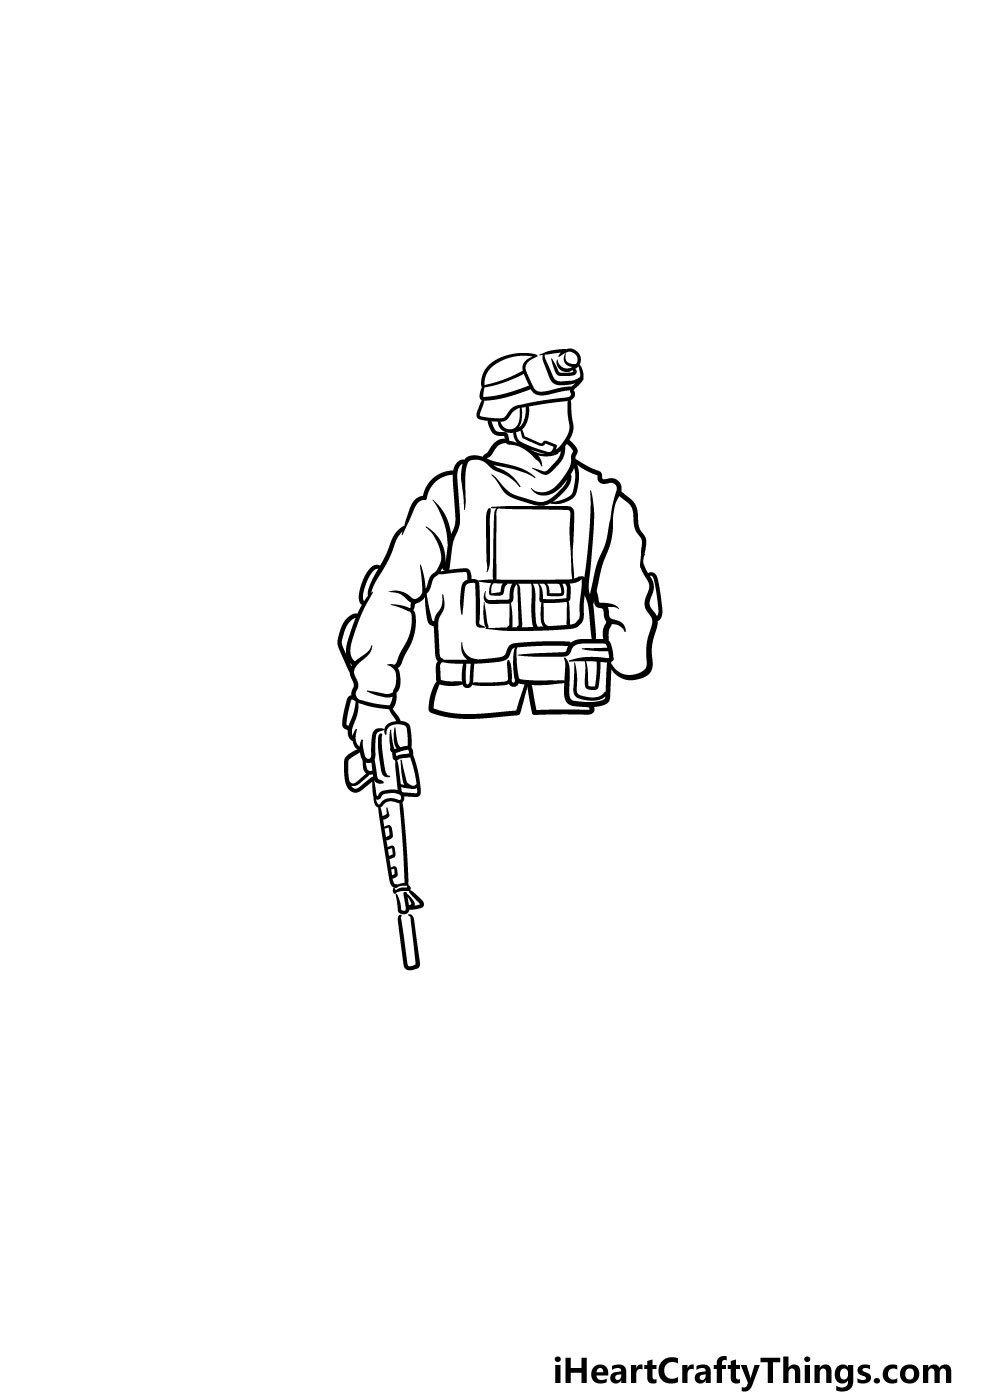
Now that you have the head and chest of the soldier complete, you can add the arm on the left that is holding his assault rifle.
You can use some bump lines coming down from the shoulders to make his arm and hand. Then, you can add some padded portions to his elbow area as shown in the reference image.
Finally, the rifle will be drawn with some straight lines coming down from his hand, and there will be some smaller details on it as well.
Before you move on, you can also draw his belt which will have the flap of his uniform underneath it.
Step 4 – Next, draw the face and leg of the soldier
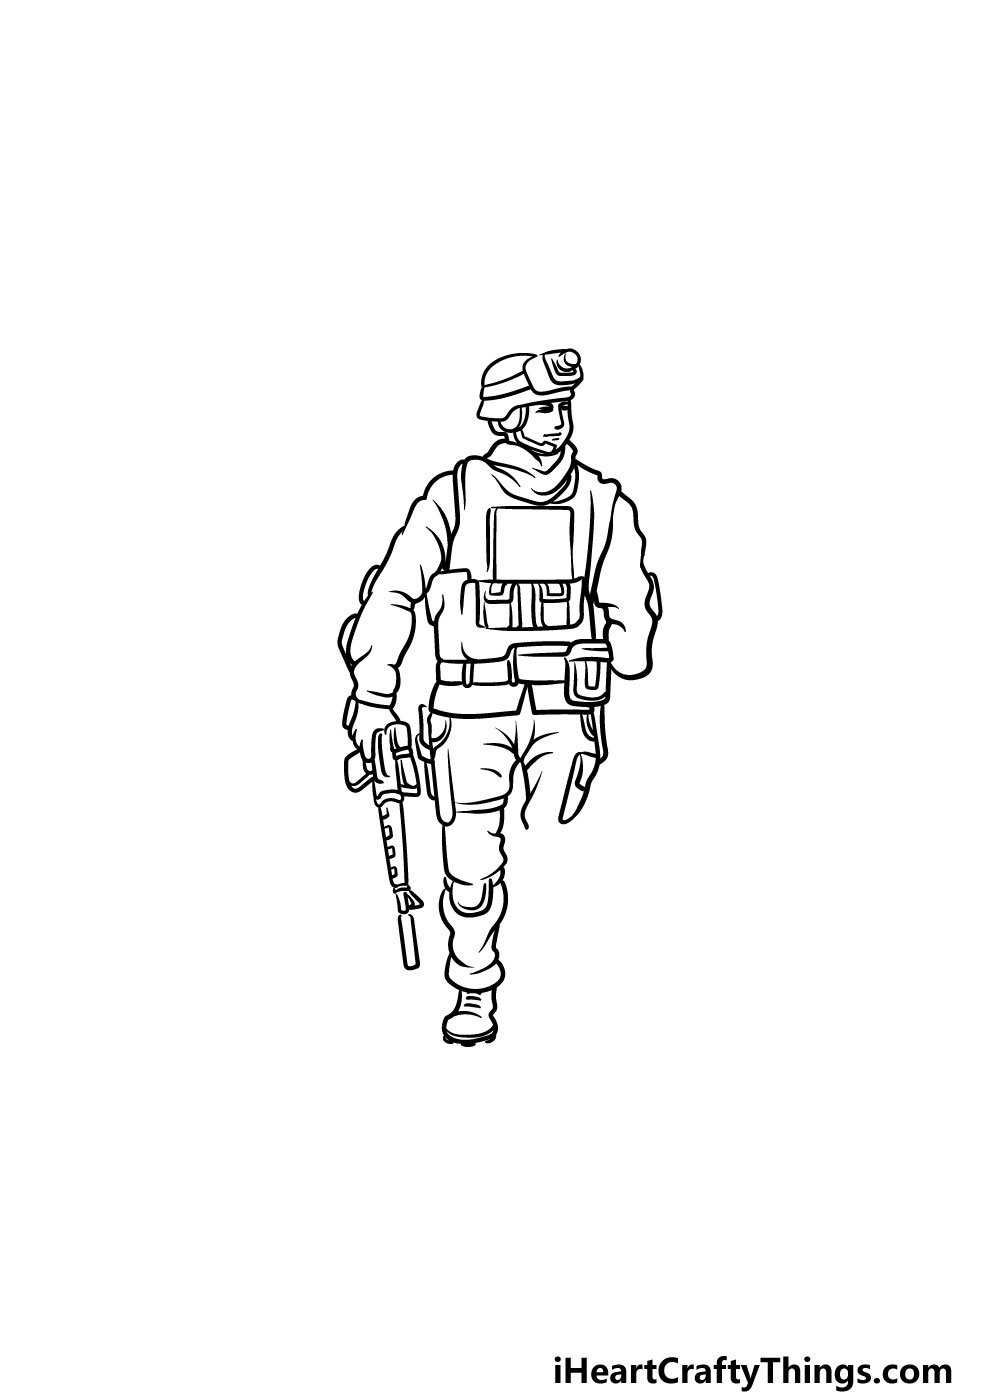
For this part of your soldier drawing, we will be adding the face and the first leg of the soldier. The face will be drawn with some fairly simple lines for the eyes and the nose.
You could change up these details a bit if you would like to create a new facial expression for him as well. Finally, you can draw his leg on the left.
This leg will be drawn with some bumpier lines to represent the fabric of his uniform. You can finish off this leg by adding a kneepad and boot as well.
Step 5 – Now, you can add the remaining leg and hand
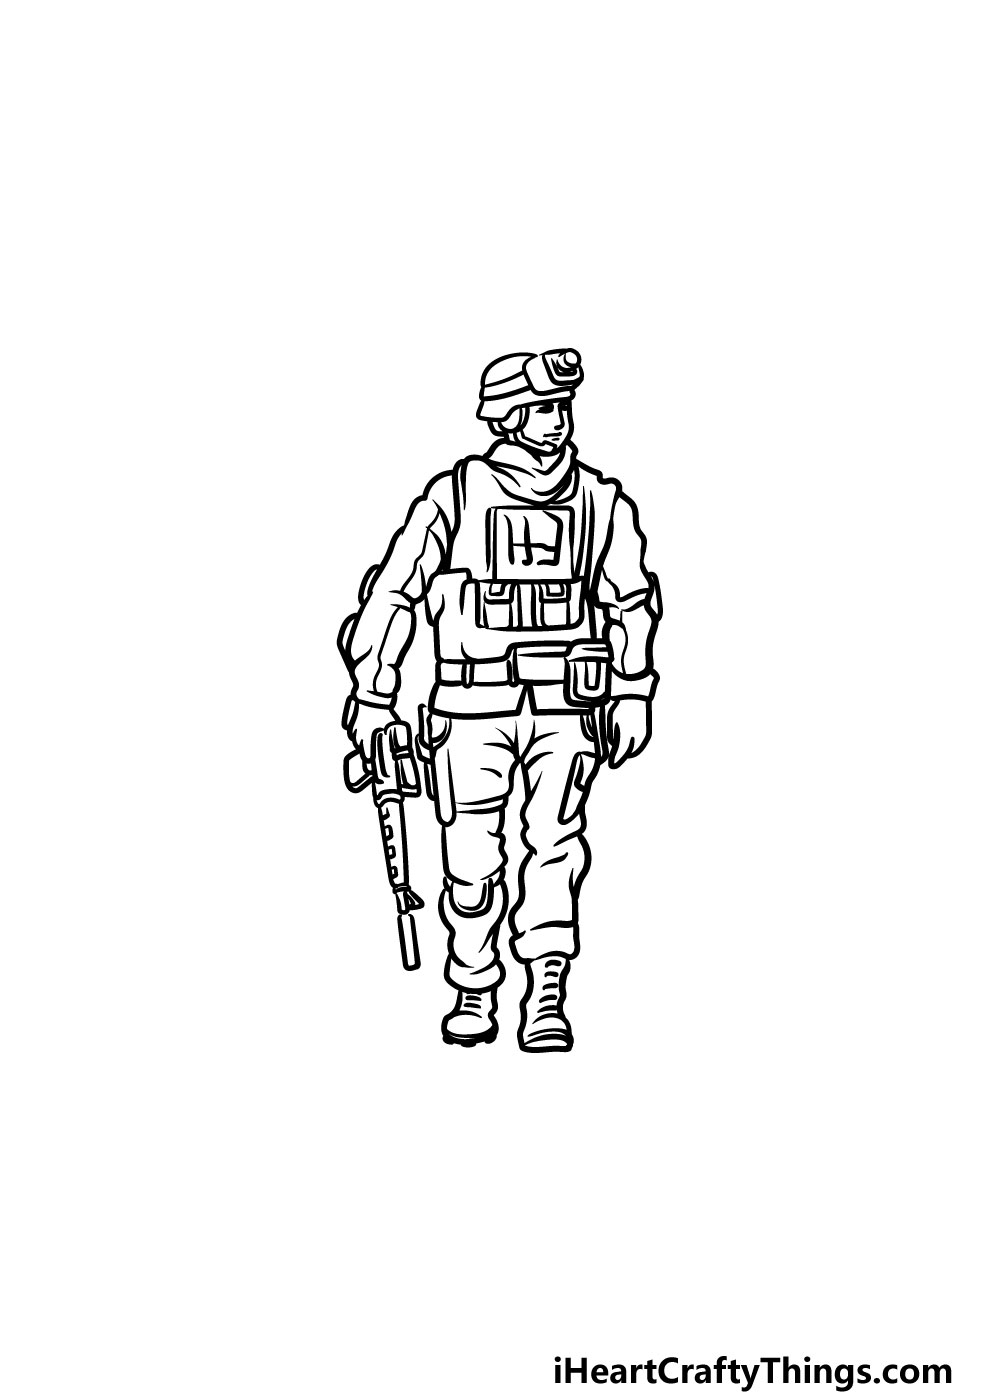
Before you move on to the final step of this guide on how to draw a soldier, we will first be drawing the final details and elements.
First, you can draw the leg on the right that will look similar to the one that you drew in the previous step.
Finally, you can complete this step by adding his gloved hand onto the arm on the right. That will do it for all of the steps of this guide, but before you move on you can also add any extra details or elements that you may want!
You could draw a background to show what kind of terrain this soldier is navigating, or you could draw something like a tank behind him.
Another idea you could go with would be to draw a camouflage shape or add some extra details to his uniform.
Step 6 – Finish off your soldier drawing with some color
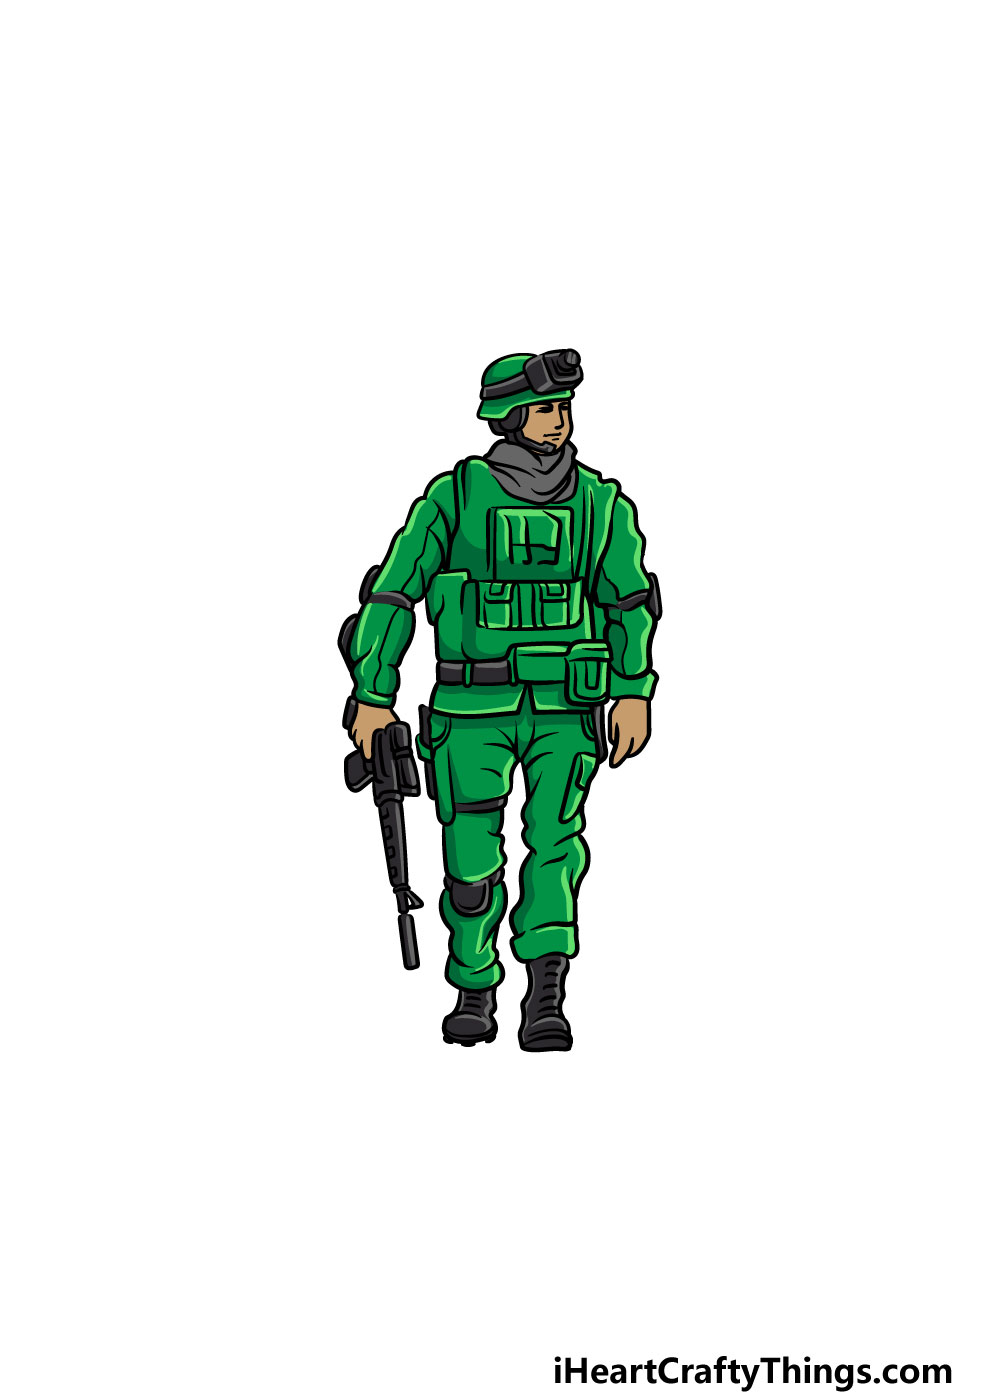
Now that you have reached the final step of your soldier drawing you can now really bring it to life using your own incredible colors! In our reference image we used some green, grey and black to color the soldier.
This is just an example that you can use, and you have many options for how you can color in this soldier drawing.
A soldier’s uniform can come in many different color combinations depending on the terrain that they will be in.
You could use whites and light blues for a snowy environment, greens and browns for a jungle setting or browns for a more arid desert setting.
Once you know how you want to color in this soldier drawing, all that remains is to decide what you will use to color it in!
You could use something like watercolors or colored pencils for a softer, more muted look to the soldier.
On the other hand, acrylic paints and colored pens would be great for brighter colors. What do you think you will use to finish it off?
Do this to take your soldier drawing to the next level
Make this soldier ready for action as we show you how to make this soldier drawing awesome.
Soldiers can be found in many different environments and places around the world. You could show where this particular one is by adding a background to this soldier sketch!
Maybe he could be in a scorching desert, a freezing snowy area or maybe a jungle. These are just a few environments that you could use to give this artwork more of a sense of place.
What other places do you think this soldier could be in?
This next suggestion for your soldier drawing will go nicely with the previous one! If you change the background for this soldier, you can also change the details of his uniform.
For instance, if you put him in a snowy environment then you can use some light greys, blues and white for his uniform.
In a jungle setting, you would probably want to use different shades of greens and browns.
Do you think you will give this soldier different camouflage details than the ones he has now?
Soldiers rarely operate alone, so you could add some fellow soldiers for this one. Now that you have mastered this drawing of a soldier, you should have no problems doing that!
Simply follow the steps of the guide and then change a few smaller details to have them in different poses. Soon enough you could have an entire squadron of soldiers on the page!
When operating, soldiers will use all kinds of different weaponry and tools to get the job done. That means that you would have many opportunities to add some cool extra elements to this soldier sketch!
These could be anything from some fancy guns and rocket launchers to even bigger things. Some examples would be some vehicles or even a tank.
Some of these may need some research to get the smaller details looking right, but that’s all part of the fun! What tools would you add for this awesome soldier character?
Your Soldier Drawing is Complete!
We really hope that this step-by-step guide on how to draw a soldier made drawing this subject much easier and more fun than you expected!
We created this guide to break it down into more manageable, simple steps, and with the help of the guide we wanted to make sure that completing this soldier was no battle!
Now that you have completed the guide, you can take it even further by adding your own awesome details and additions!
We mentioned a few ideas that you could do such as adding a background or additional elements. You could also use your favorite colors and art mediums to put your own spin on this drawing.
Once you’re ready for more drawing fun, you can visit us on our website for many more incredible drawing guides! You’ll want to visit often as we upload new guides frequently.
We would love to see your awesome soldier drawing when it’s done!
You can share your artwork on our Facebook and Pinterest pages to let us take a look. We can’t wait to see your amazing creations!