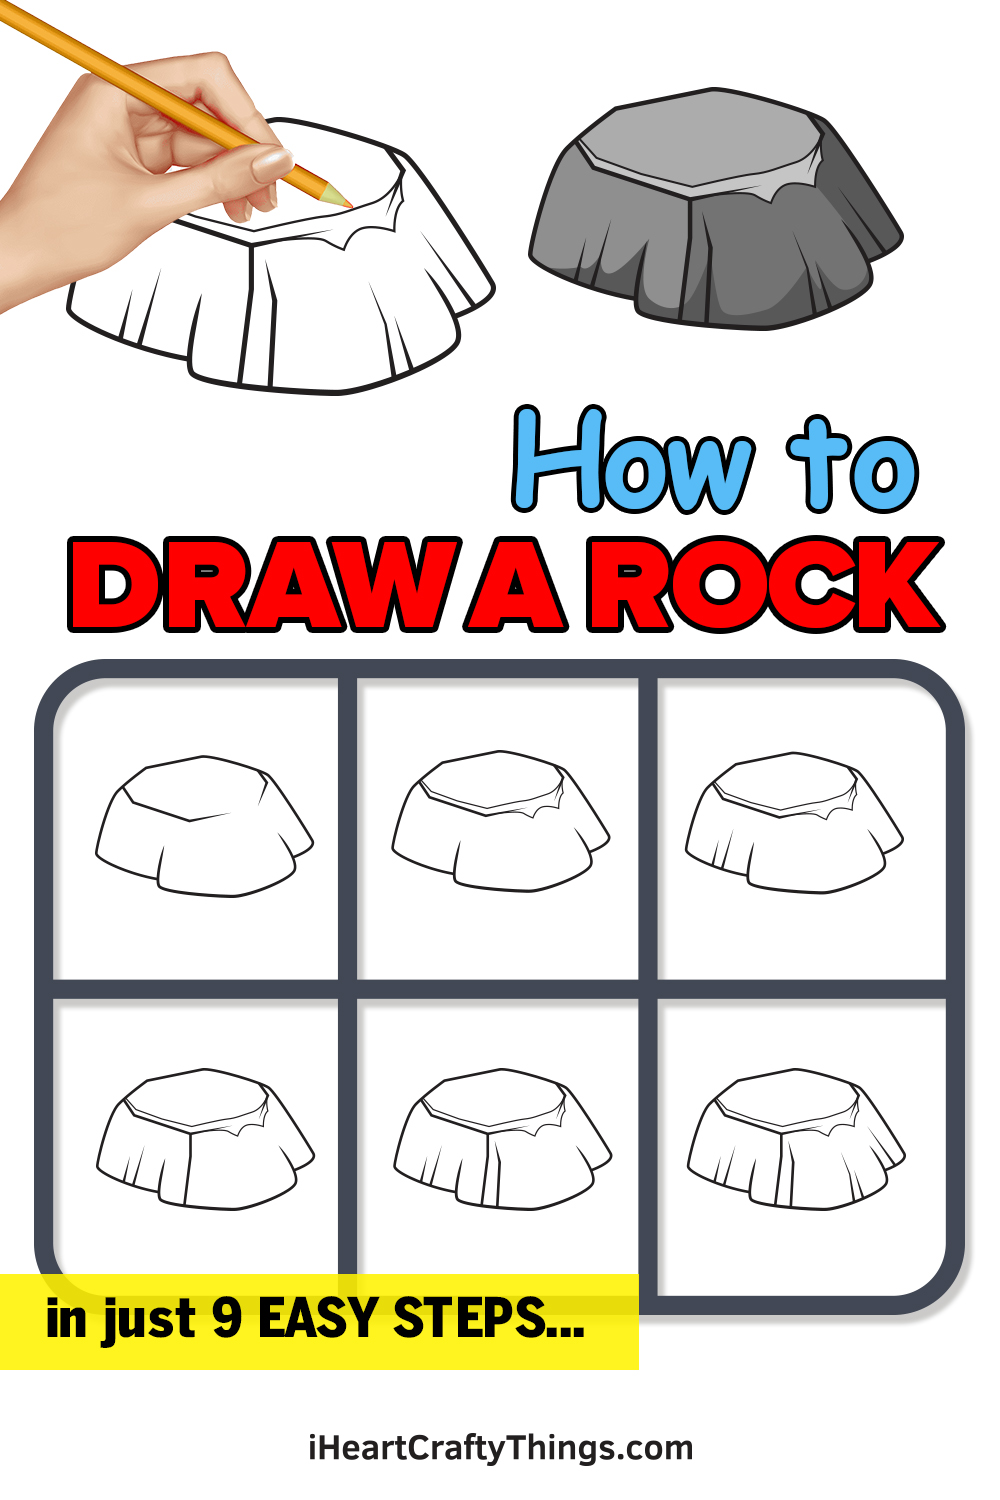
Learning how to draw a rock will be much easier with this guide for kids. Discover the best way to make this drawing so that you can change and add to it as you please.
Drawing a rock is something that you may assume would be really easy. After all, they’re incredibly common and simple!
However, when you actually get down to it, you can discover that it’s trickier than you thought. Making it look realistic is not the simplest thing to do, and many people can get frustrated because it doesn’t look quite right.
If you would like to know the secret to making a realistic rock drawing, then this guide will walk you through the whole process. Once you have mastered the steps, you could add all sorts of things to make a whole scene from this one element.
See How To Make Your Rock Drawing
How to Draw a Rock – Let’s get started!
Step 1
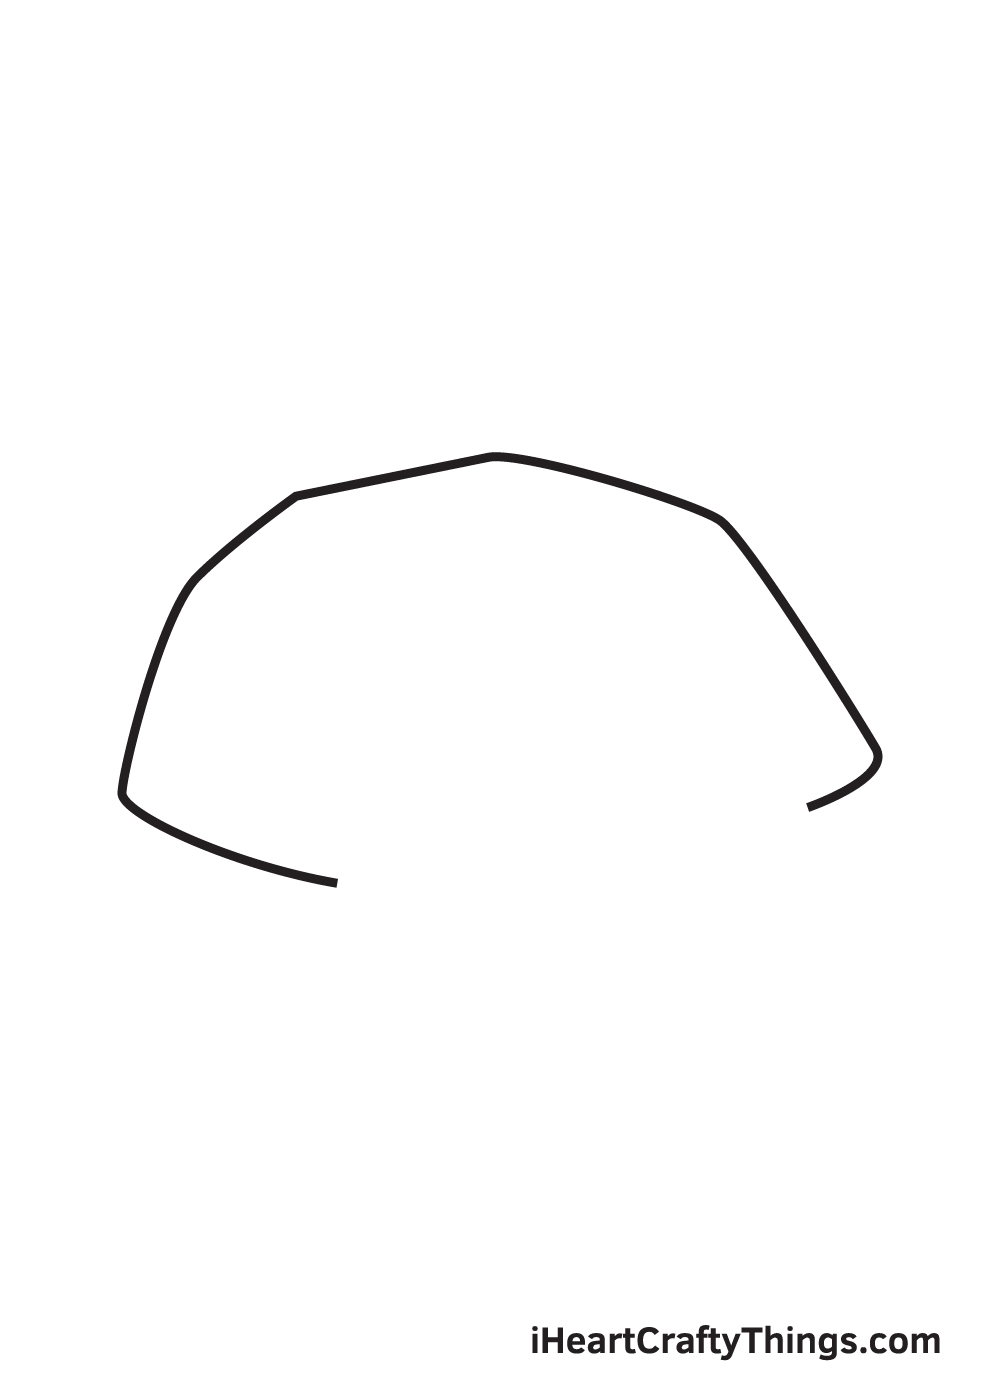
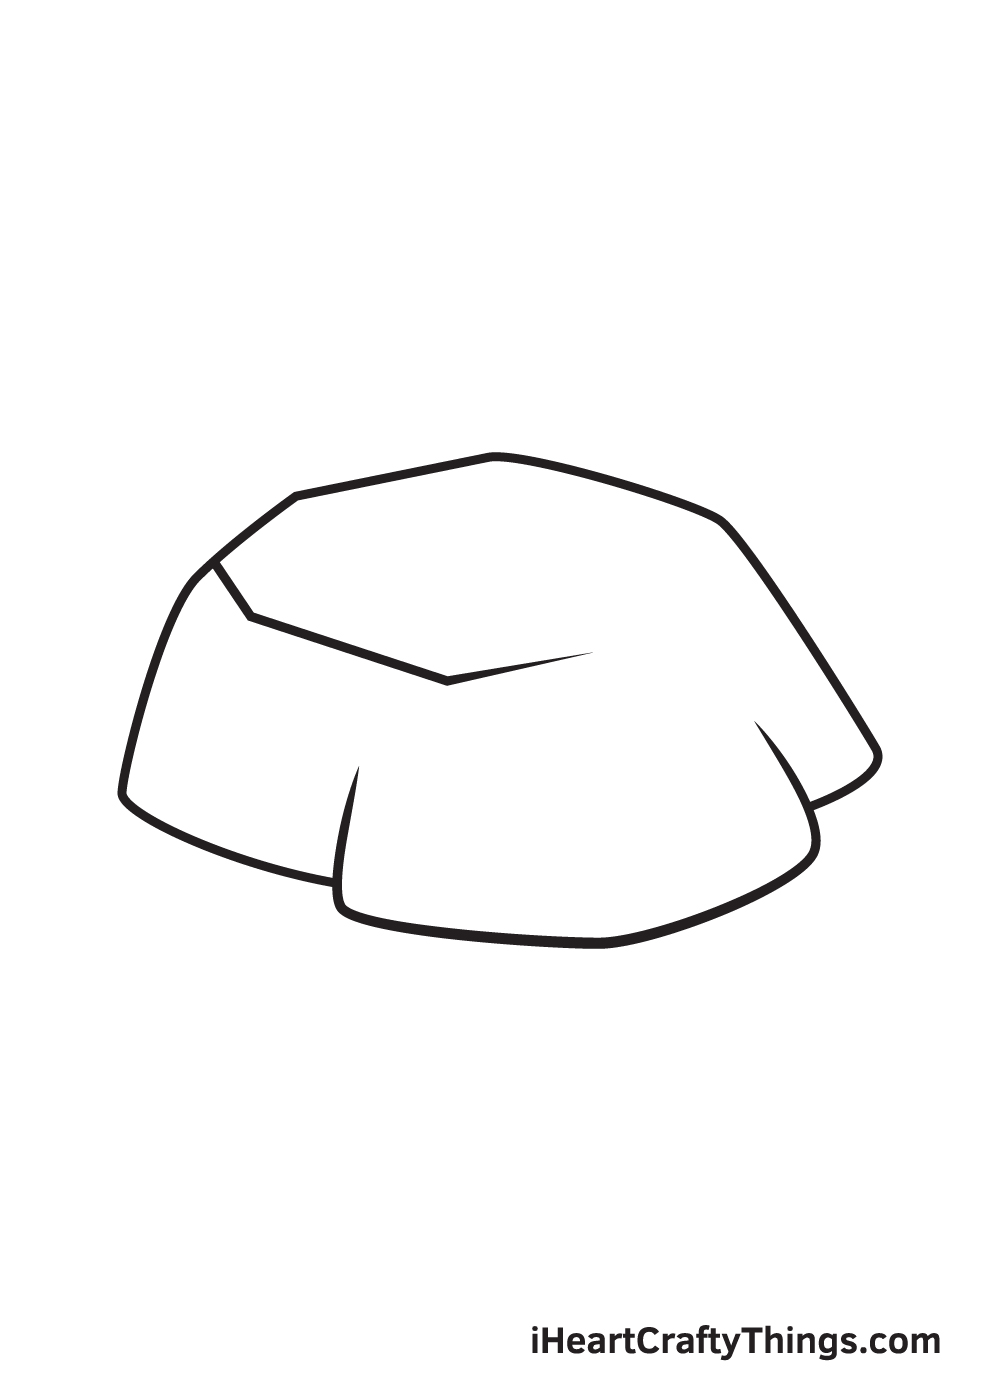
Start drawing this flat-topped rock by drawing the edge or the outline.
Draw five connected diagonal lines (this will form the top part) and two curved, unconnected lines (this will form the bottom part) as seen in the illustration.
Step 2 – Create an Outline of the Shape of the Rock
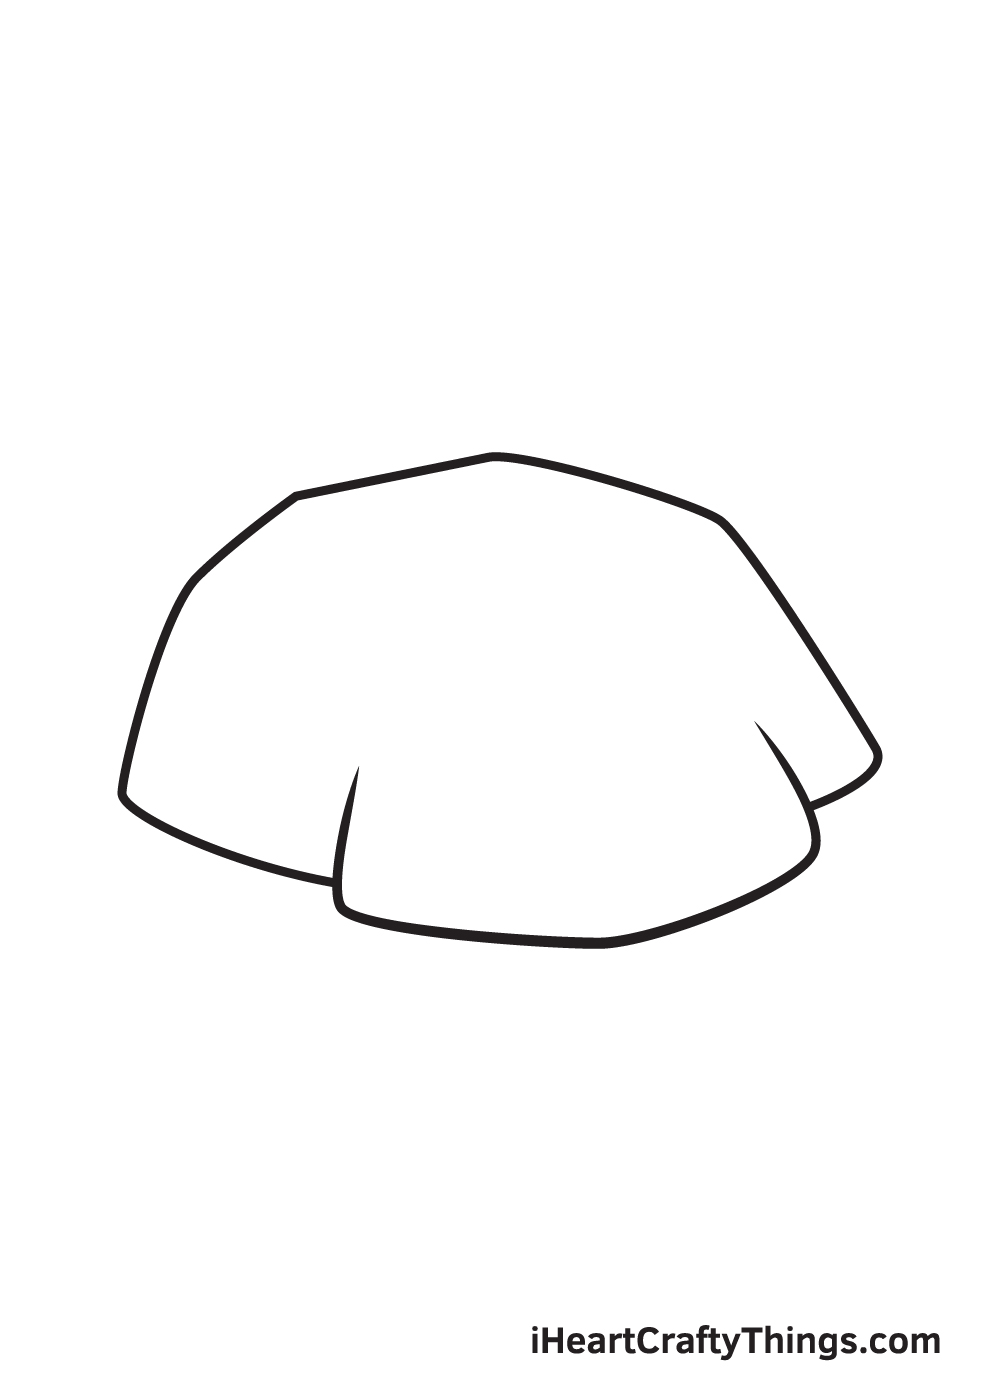
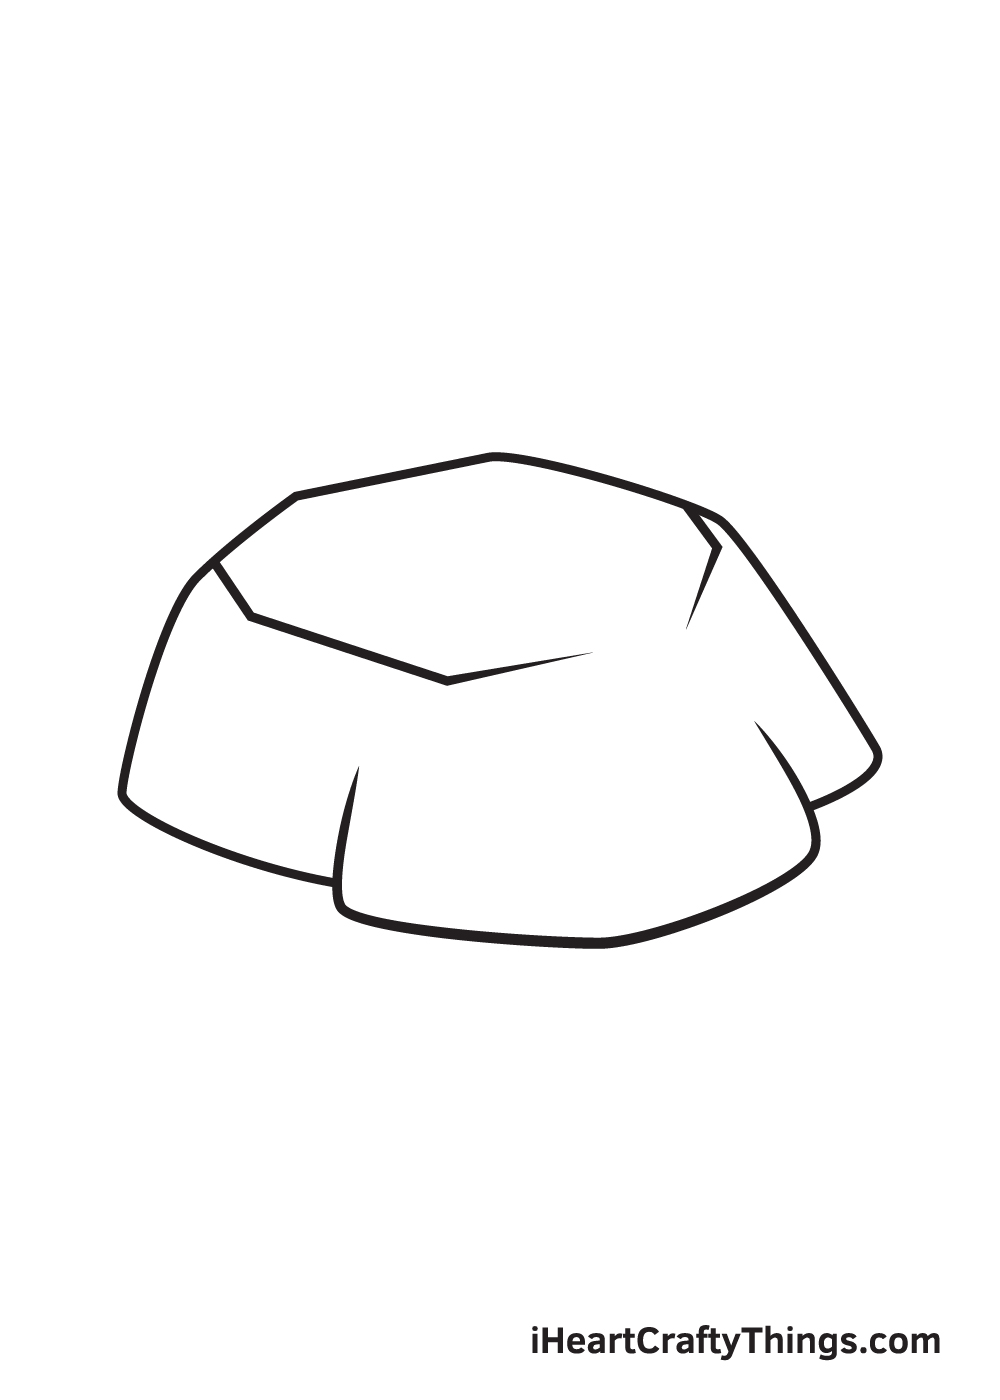
This time, you will connect the bottom part by adding the middle section.
You will draw two connected diagonal lines at the bottom and two short vertical lines (one on each side), as shown in the illustration. You have finally drawn the outline of the rock!
Step 3 – Add the Edges at the Top of the Rock
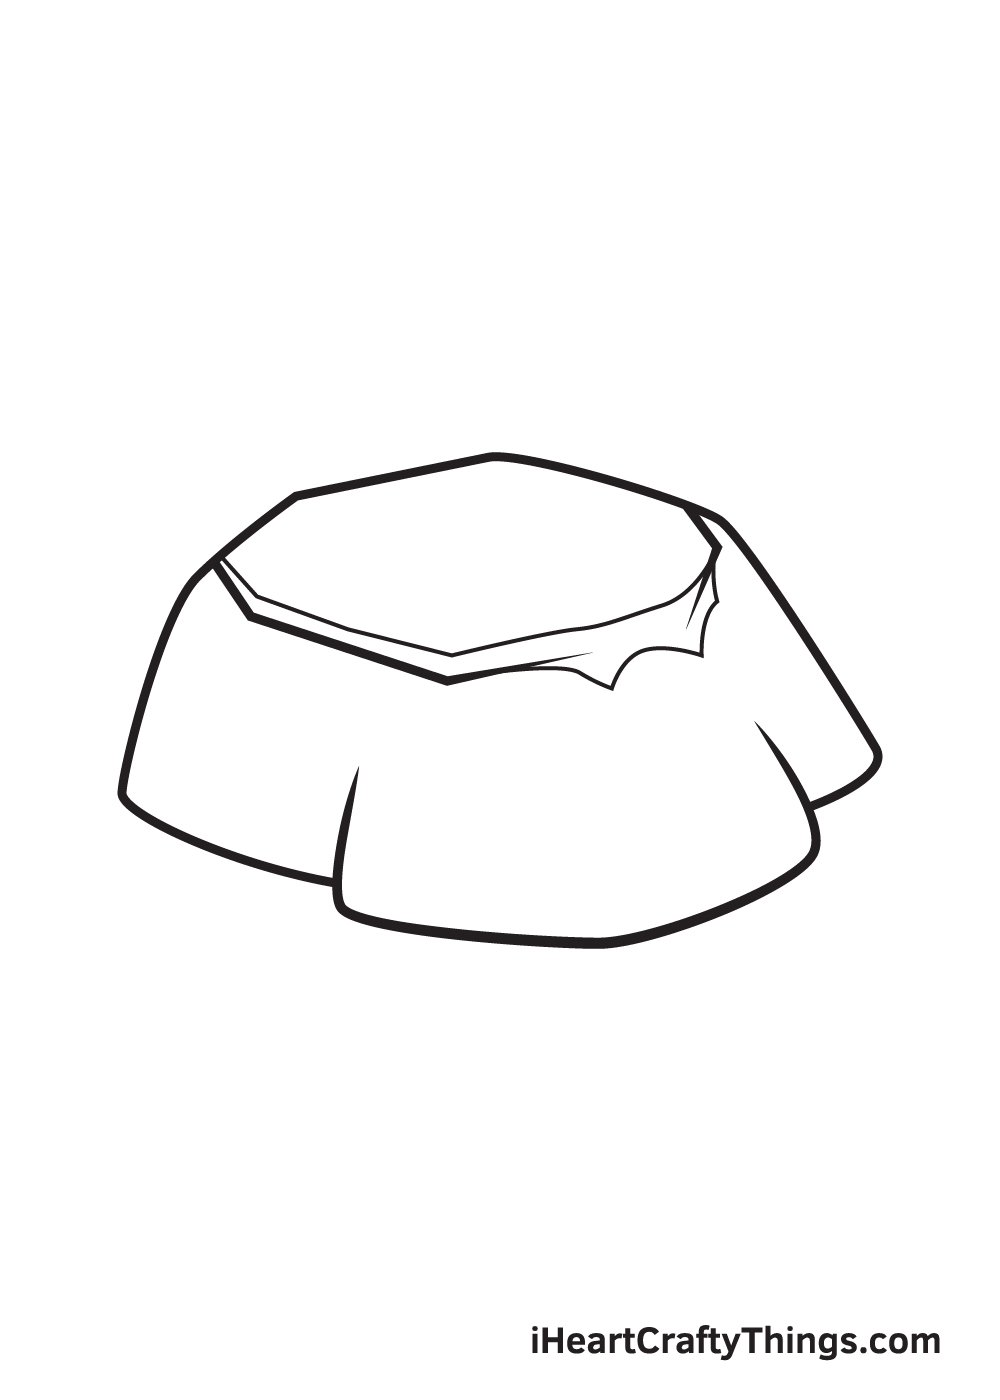
In this step, you will start making the rock look realistic!
Draw the inner part of the flat top by adding three connected diagonal lines, like the ones in the illustration. The third diagonal line will look like it’s fading away
Step 4 – Finalize the Edges at the Top of the Rock
This step is simply a continuation of Step 3. You will draw a shorter version of what you made on Step 3: just two shorter diagonal lines.
This will also have some “fading away” effect just like the one in Step 3.
Step 5 – Afterwards, Add Cracks and Ridges on the Rock
Here, we’re trying to make the flat-topped rock look more realistic.
You will add more diagonal and curved lines on the flat top section of the rock, as shown in the illustration.
Step 6 – Next, Draw Patterns All Over the Surface of the Rock
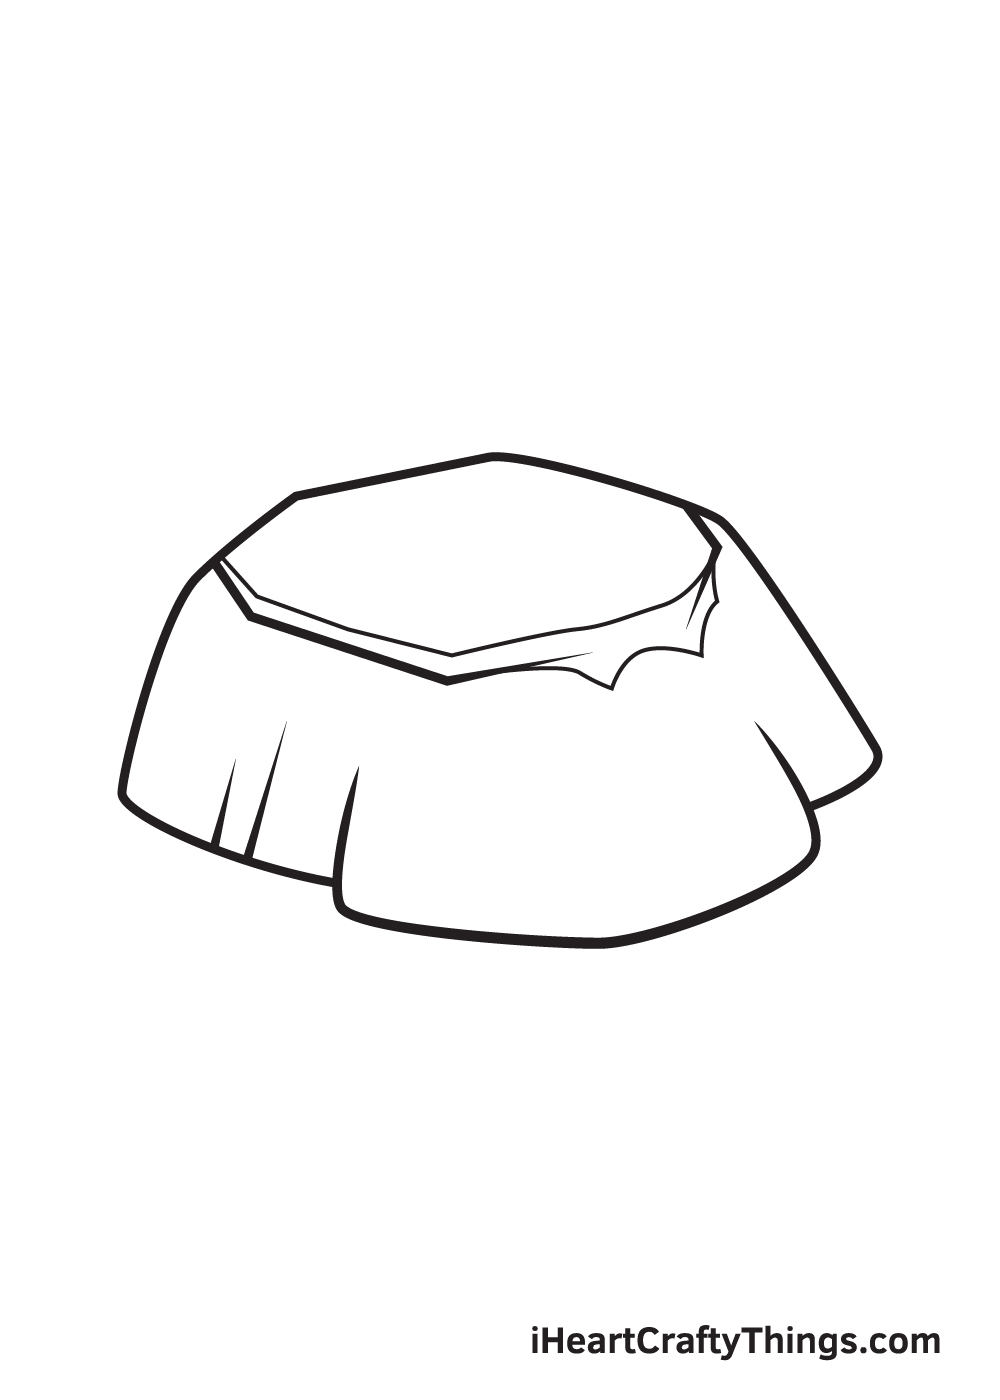
We will add more realism to your flat-topped rock in this step.
Add two short diagonal lines to the bottom-left side of the rock.
Step 7 – Then, Add the Dimensions of the Rock

Here, you will simply draw a long diagonal line.
This diagonal, near-vertical line will connect the part you drew on Step 3 to the one you drew on Step 2, as seen in the illustration
Step 8 – Add More Ridges on the Surface of the Rock
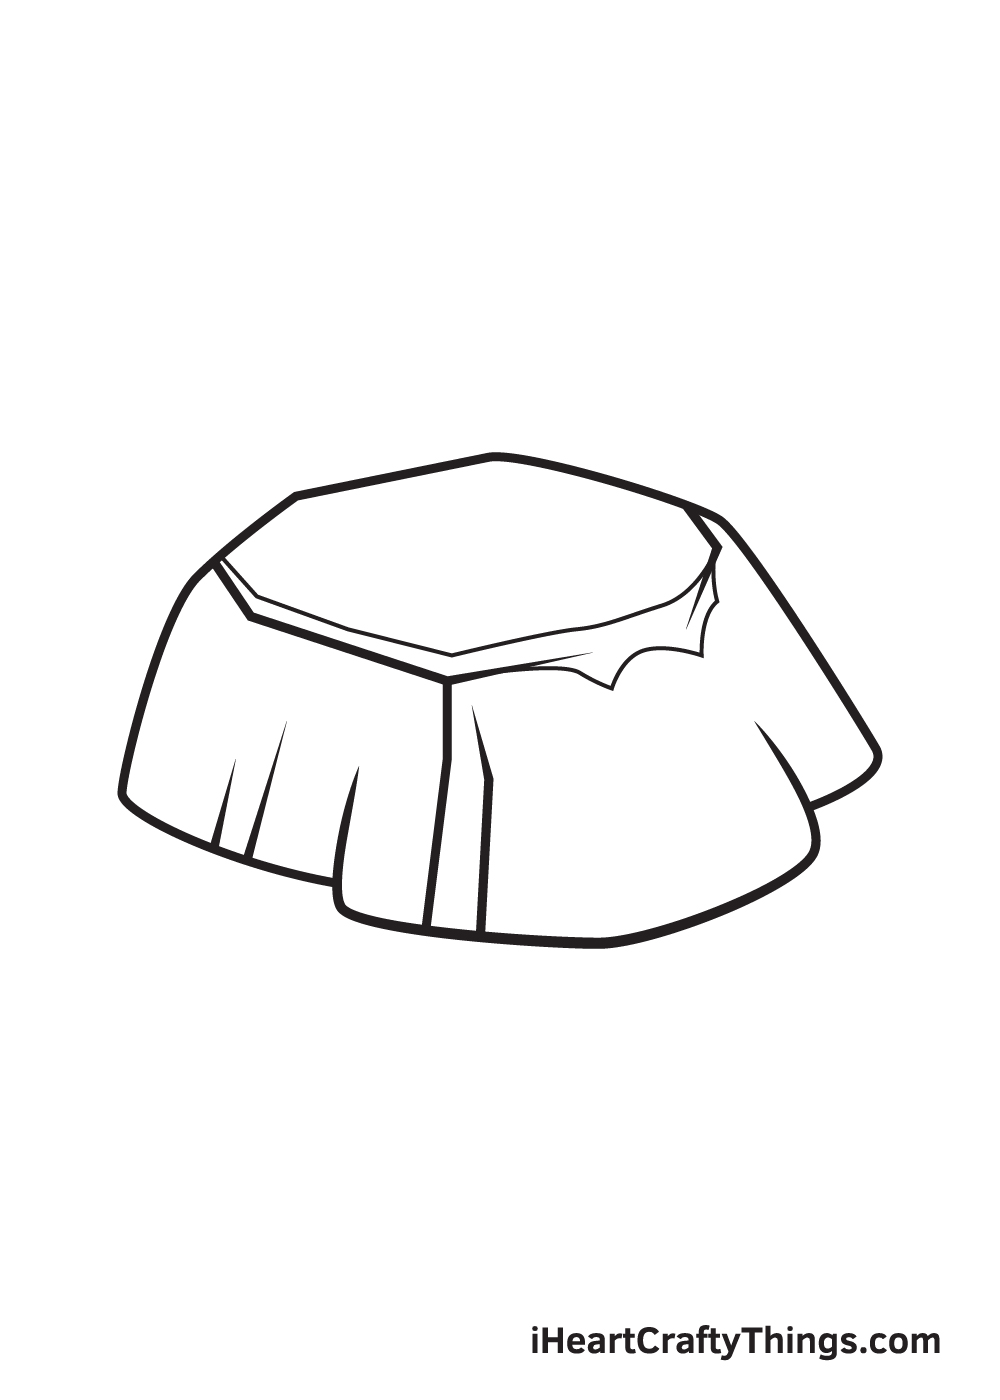
In this step, you will add two relatively shorter lines right beside the near-vertical line that you drew on Step 7.
Step 9 – Now, Finalize the Structure of the Rock
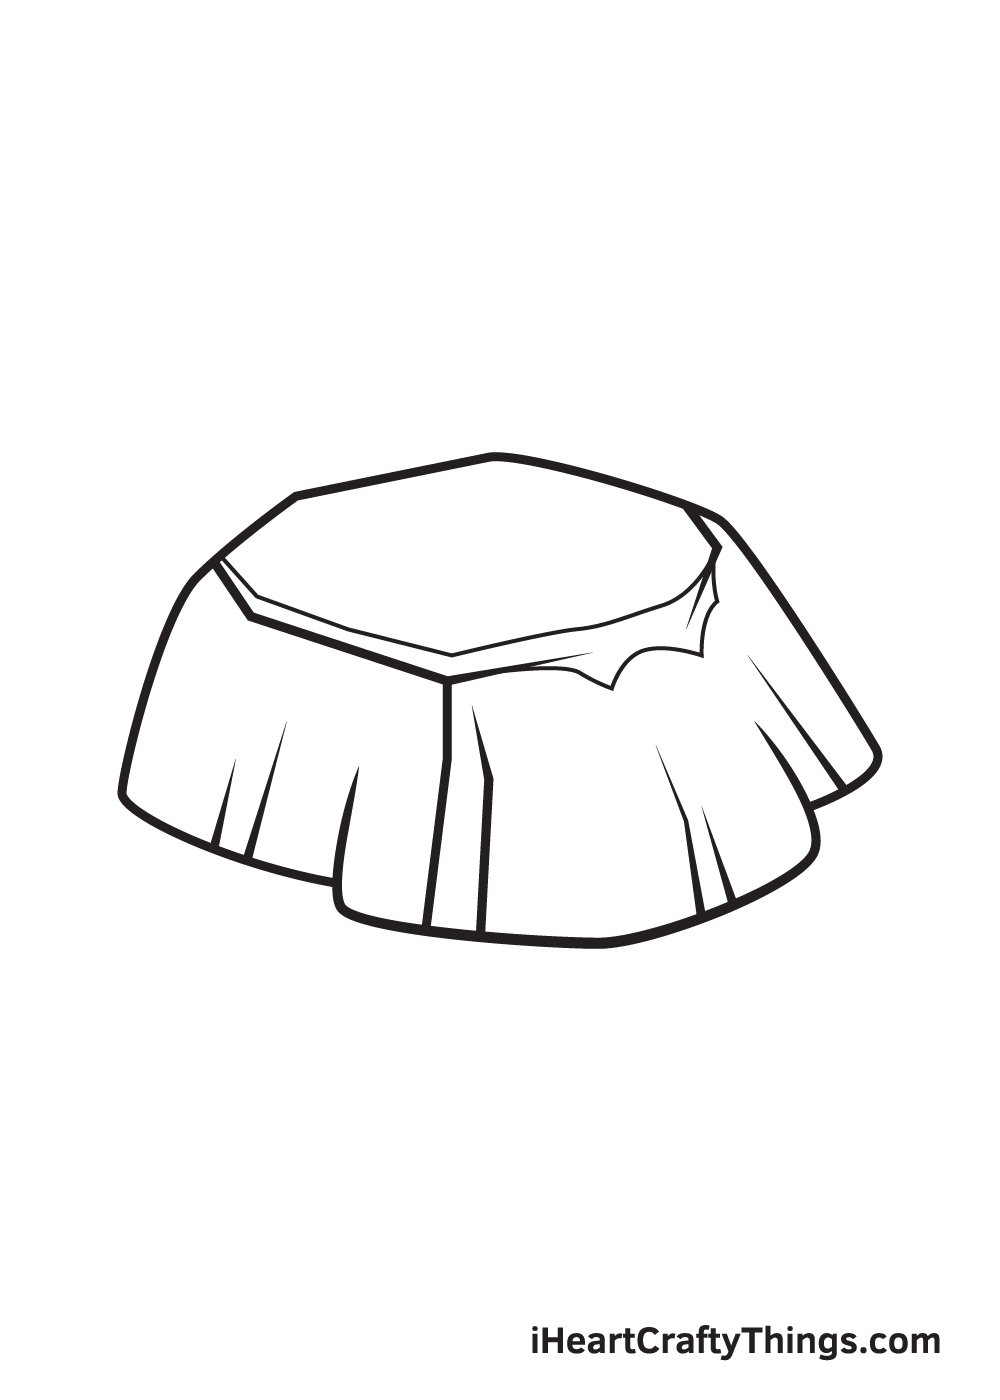
Here, you will simply recreate what you did in Step 6.
But this time, you will add those short lines two times to the right side of the rock.
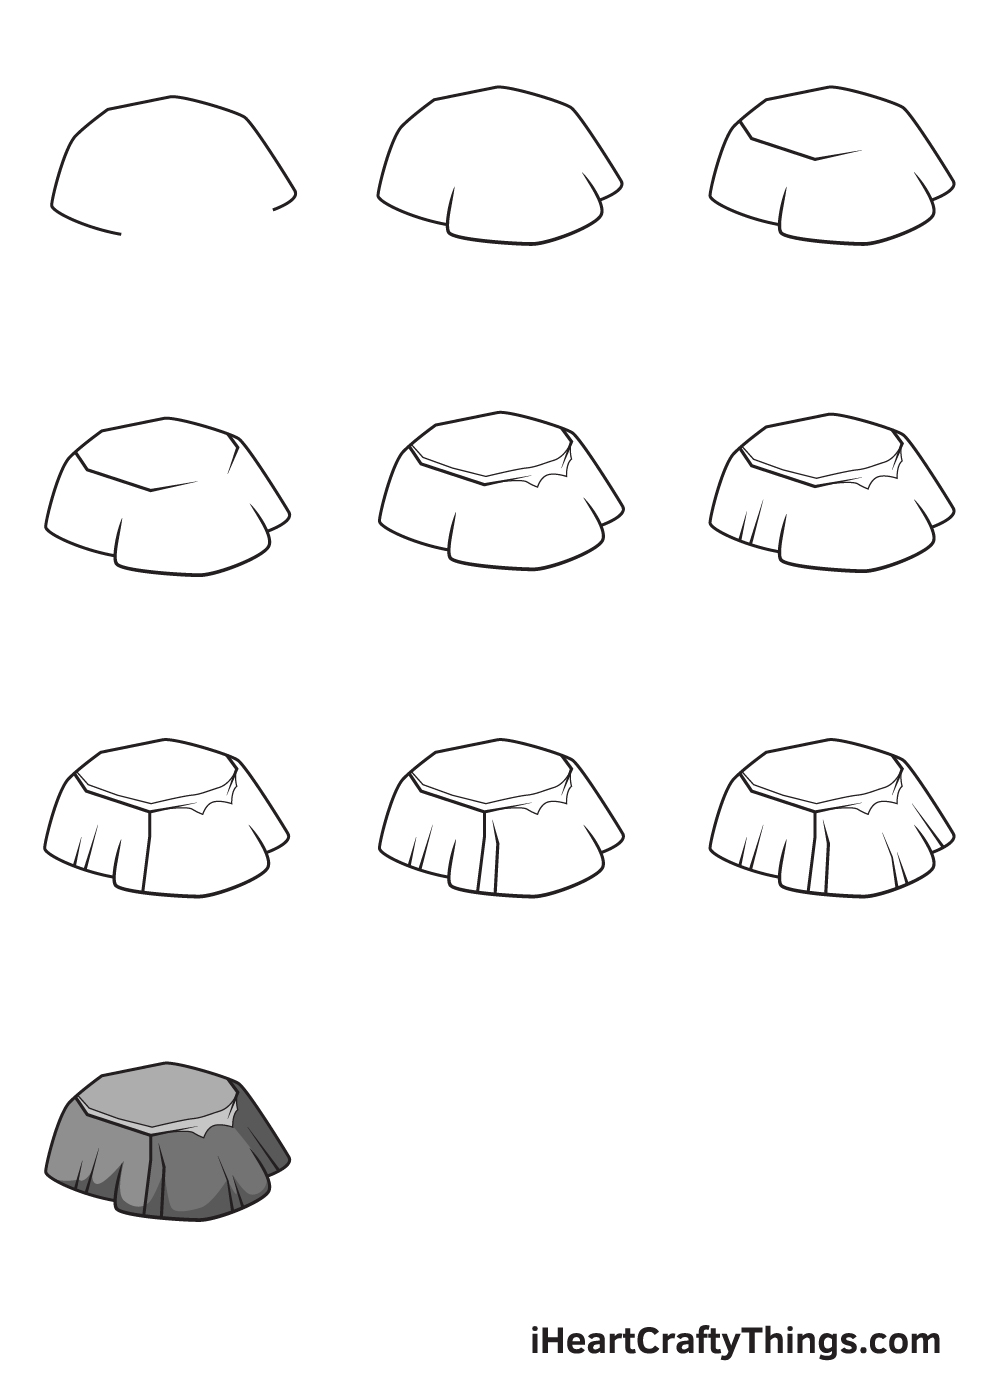
There you have it—we have successfully drawn a realistic rock! Now, it’s finally time for the most exciting part, which is choosing the colors and coloring the rock!
To make your flat-topped rock pop out, it’s time to add colors! We used various tints of gray in the illustration, but you can choose to add a few other colors or tints as well.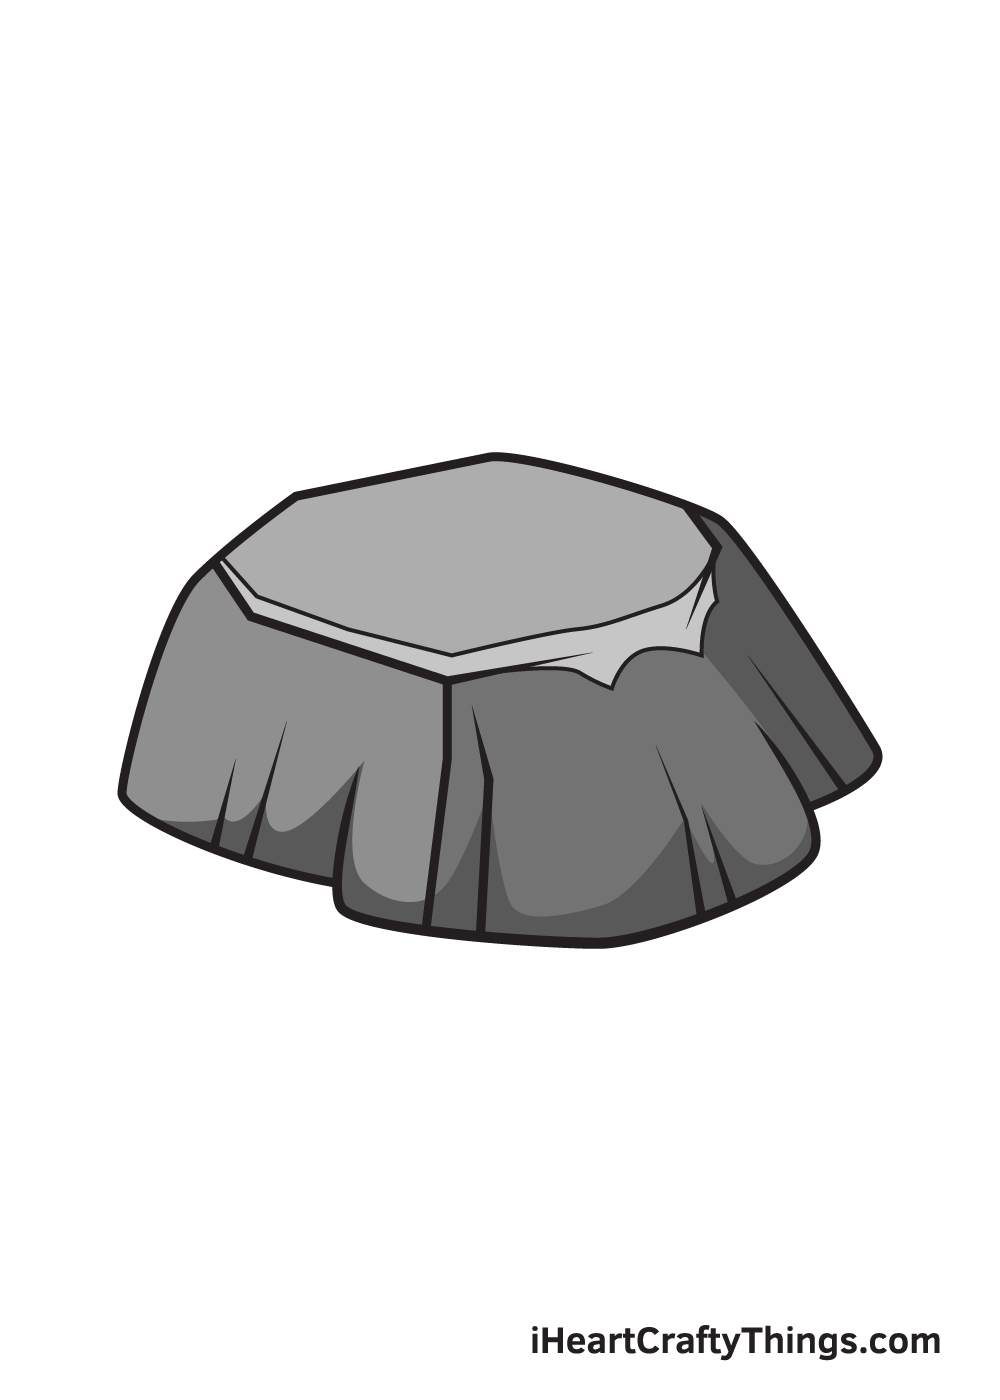
3 More tips to make your rock drawing easy!
Prepare to rock out with these tips we have for making your rock sketch even more amazing!
This drawing of a rock may seem simple, but there are some finer details even for this simpler design. The rock has a flat top with some texture lines on the sides.
These details give the rock a more realistic look, but it can also make it trickier to draw. If you find these details a bit tricky to draw, then you could simplify or completely remove these extra details.
If you want to do this, then try to focus on the parts of the drawing that are specifically proving to be too challenging. That way you can try to maintain as many of the details as you can.
Another way that you could make this rock sketch a bit simpler would be by adding something on or near it. You could choose something that you find easy to draw if you were to do this.
Adding another object or creature would help to bring the focus to this new addition instead of the rock. For example, maybe you could draw a cute frog sitting on the rock.
Not only would that cover some of the details on the rock, but it would also draw the eye to the frog instead of the rock, so any imperfections won’t be as noticeable.
Finally, you can make your rock sketch easier by using a real rock as a model. To start this process, first go out into your yard or a local park if you don’t have a yard.
Try to find a rock that looks similar to our example if you can, but any cool rocks you find will work as well. Using this real rock will help you as you draw some of the finer details and shapes of the rock.
If you found a cool variety of rocks, then you could create a selection of rocks for this artwork. Even if you can’t find a rock that looks like ours, it will still help!
Your Rock Drawing is Complete!
We hope you enjoyed drawing a rock with this step-by-step drawing tutorial. Now that you can draw a rock, what are you planning to draw next?
Beautiful natural sceneries with intricate rock drawings sounds wonderful! What do you think?
Remember, all of our drawing tutorials are 100% free for you to use as learning materials in your drawing activities.
We are regularly updating our “How to Draw” catalog, so don’t forget to keep checking back to continuously learn how to draw something new!
Drawing a rock successfully is a milestone, so you should feel proud of yourself for completing a masterpiece!
Take a photo of your artwork and share it on various social media platforms. And while you’re at it, we hope you take the time to like our Facebook page too!
We are excited to see your realistic rock drawing!