{This post contains affiliate links for your convenience. Read our disclosure policy for more information.}
Supplies needed:
- small foam cups (you can find these at the Dollar Store)
- yellow and black cardstock paper
- 1-Inch circle punch (optional)
- white feathers
- black permanent marker
- glue (we used tacky glue)
- scissors
Tutorial:
1. Cut face shapes
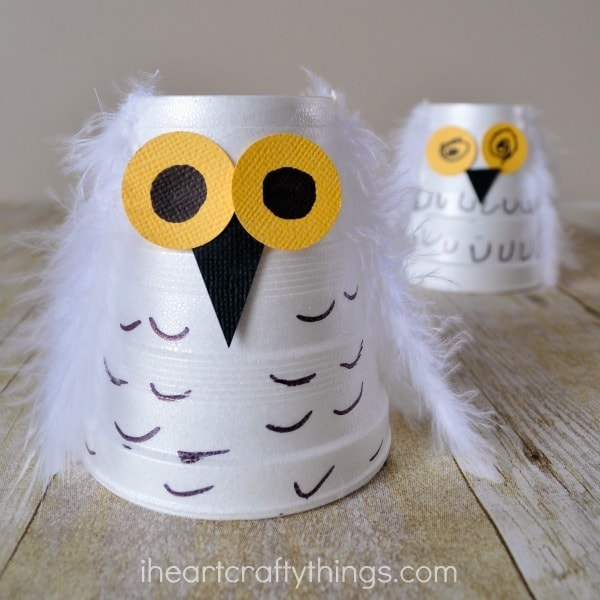
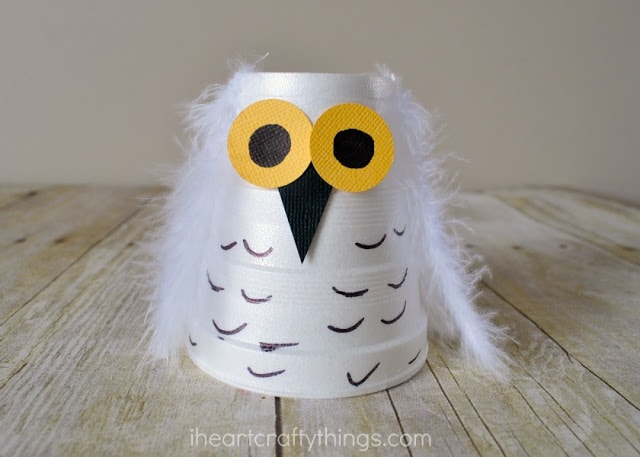
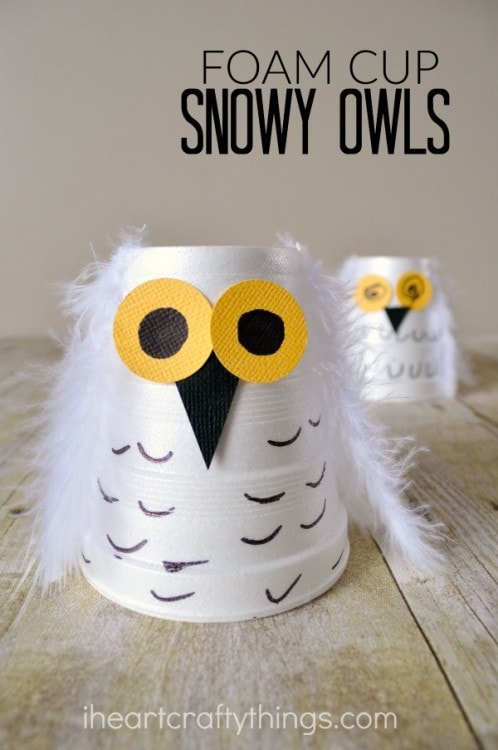
Start by cutting out two 1-inch circles from your yellow cardstock paper and a black bill from your black cardstock paper.
2. Draw markings
Use your black marker to make markings on your foam cup for your owl. Also, color in black pupils inside your yellow eyes.
3. Glue eyes & bill
Glue your eyes and bill onto your foam cup.
4. Add feathers
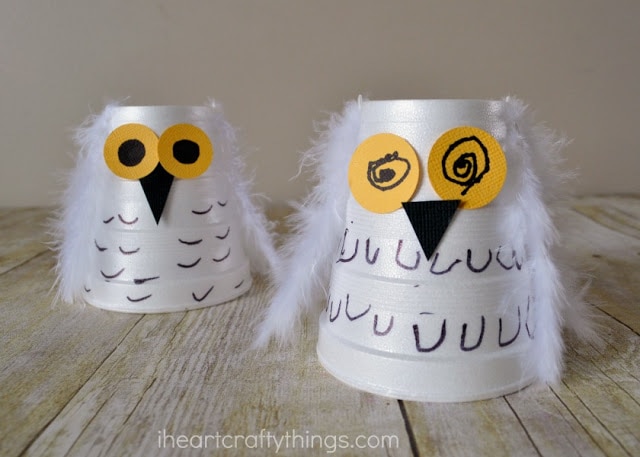
Finish your owl by gluing white feathers onto the sides of your foam cup. We used two feathers on each side but you could also just use one feather.
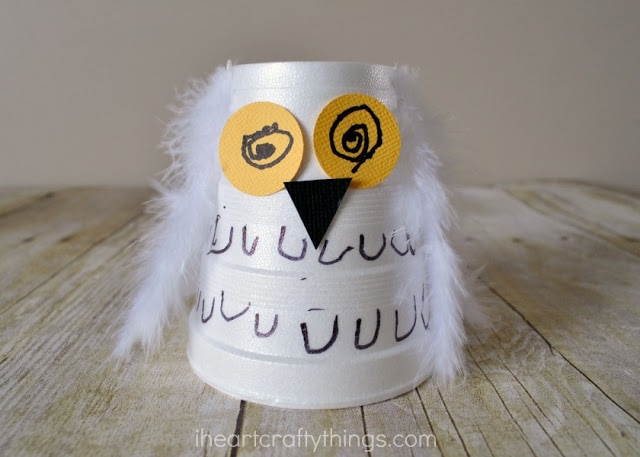
My preschooler was so cute. She told me she wanted to make her snowy owl craft have swirly dizzy eyes like it had been flying really fast and got dizzy. Her owl turned out adorable!


