-
Blue sheet Cardstock Paper (we used 12″ x 12″)
-
Brown sheet Cardstock Paper (we used 12″ x 12″)
-
White sheet Cardstock Paper
-
Several different colors of Green Paper
-
Scissors
-
Gluestick
-
White Paint
-
Toothbrush or Q-tip (depending on your preference)
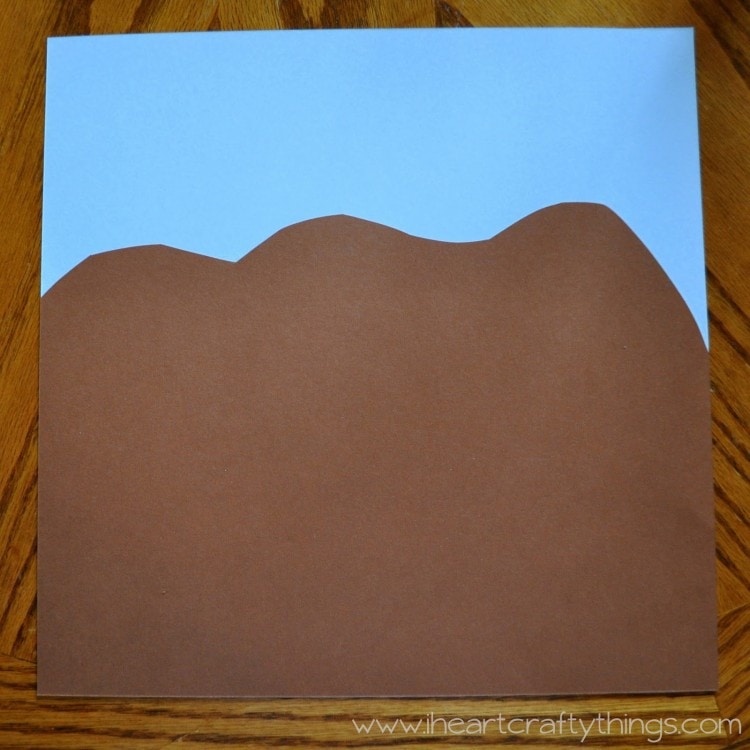
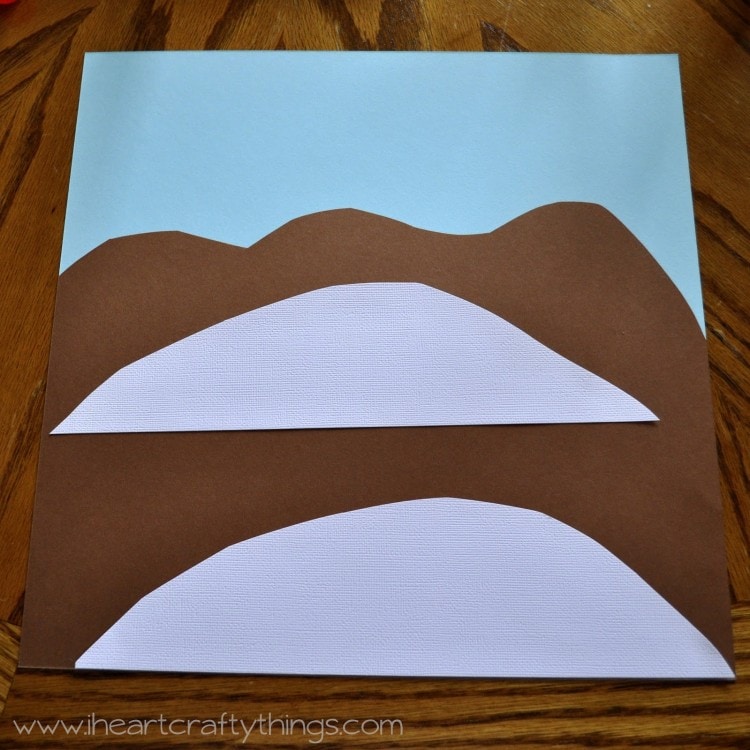
2. Cut snowy hills out your white cardstock paper and glue them onto your mountain.
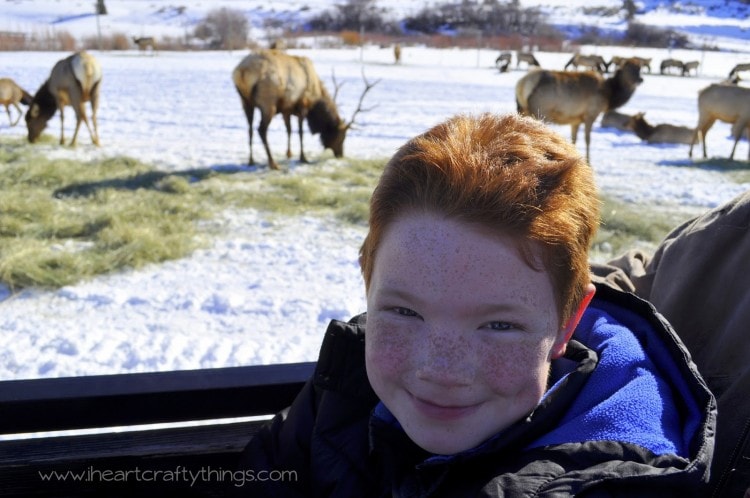
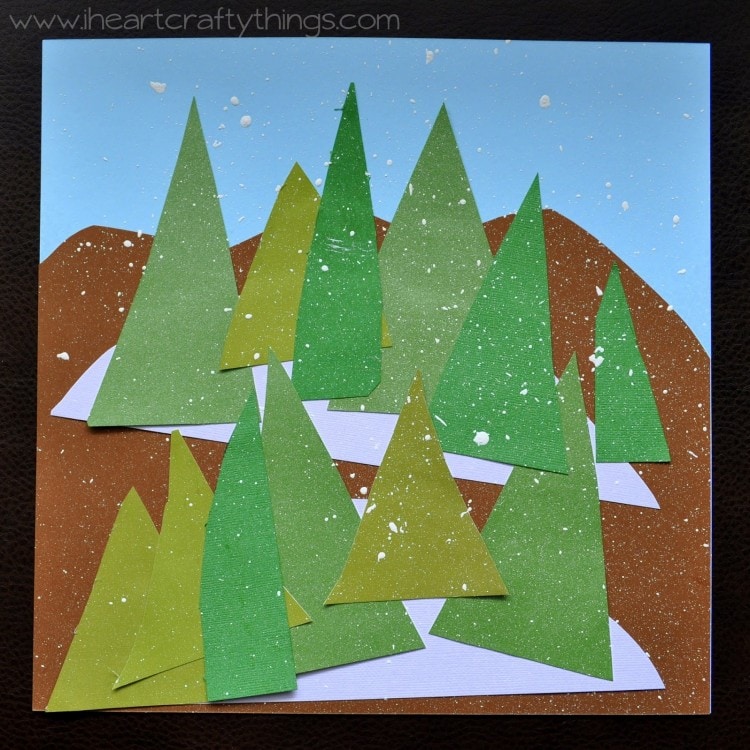
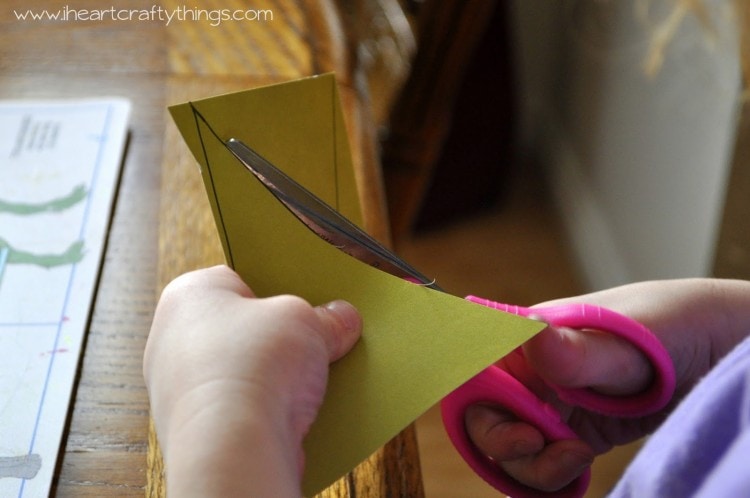
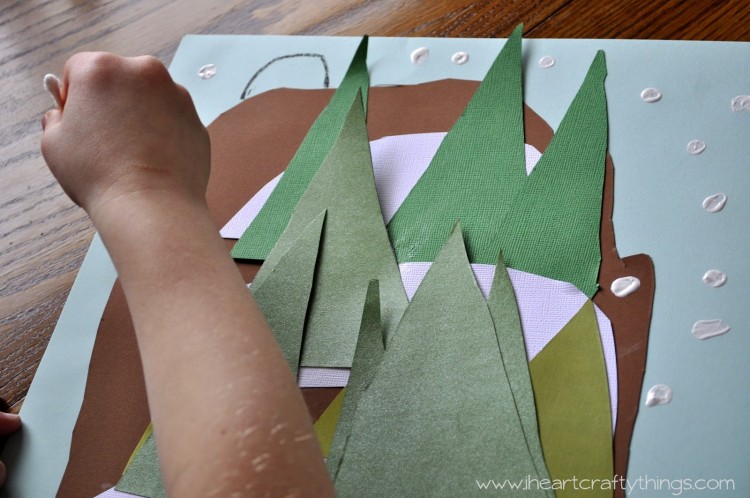
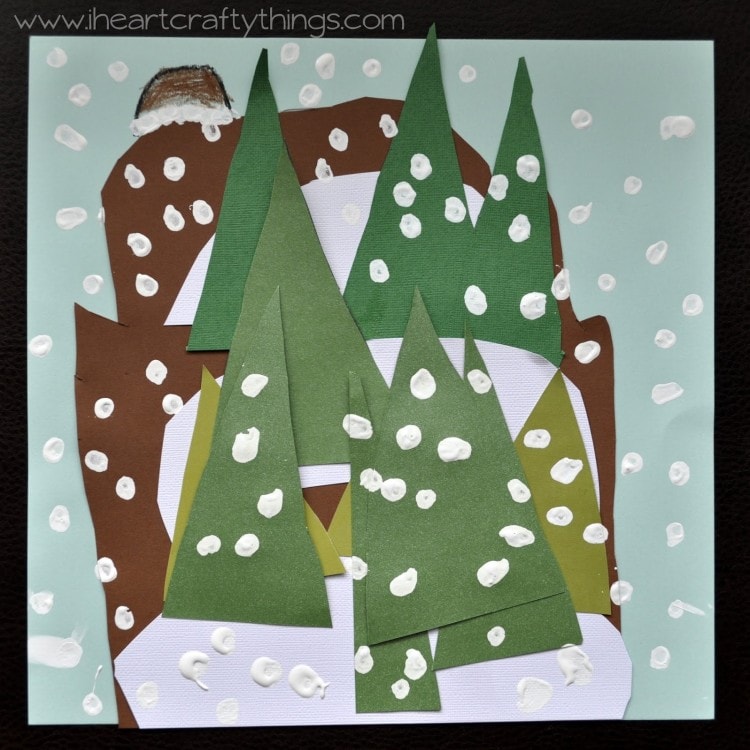
4. After you have all your trees cut out, glue them in layers all over your snow hills on your mountain. Here is my 7 year old working on his artwork below.
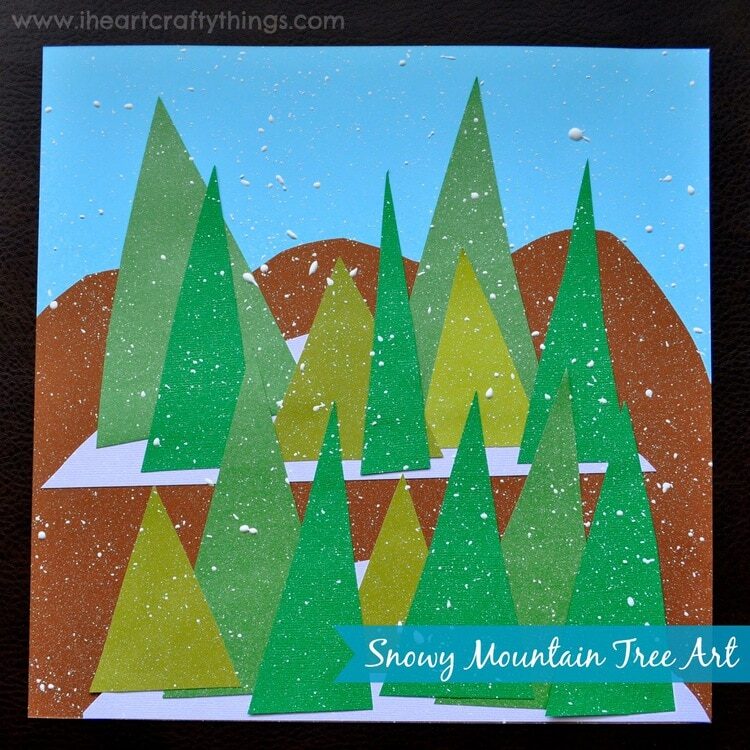
Below is his finished snowy mountain artwork. He said he wanted a cave on top of his mountain so he used some crayons and drew a cave at the top of his mountain. After I took pictures he decided to draw a couple caveman. 🙂
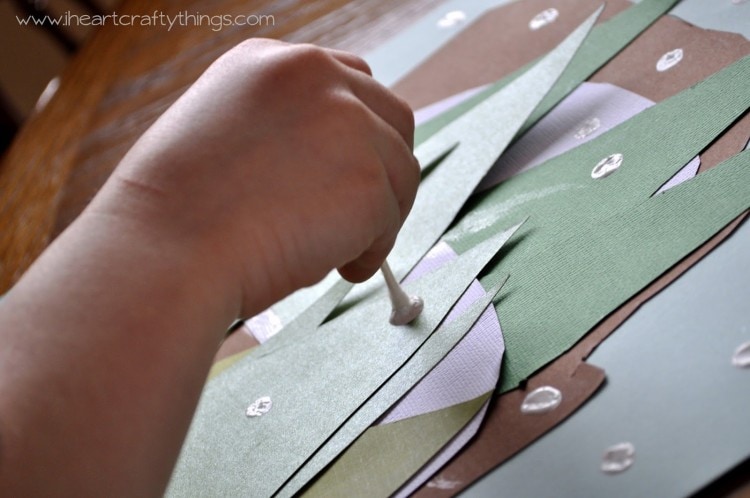
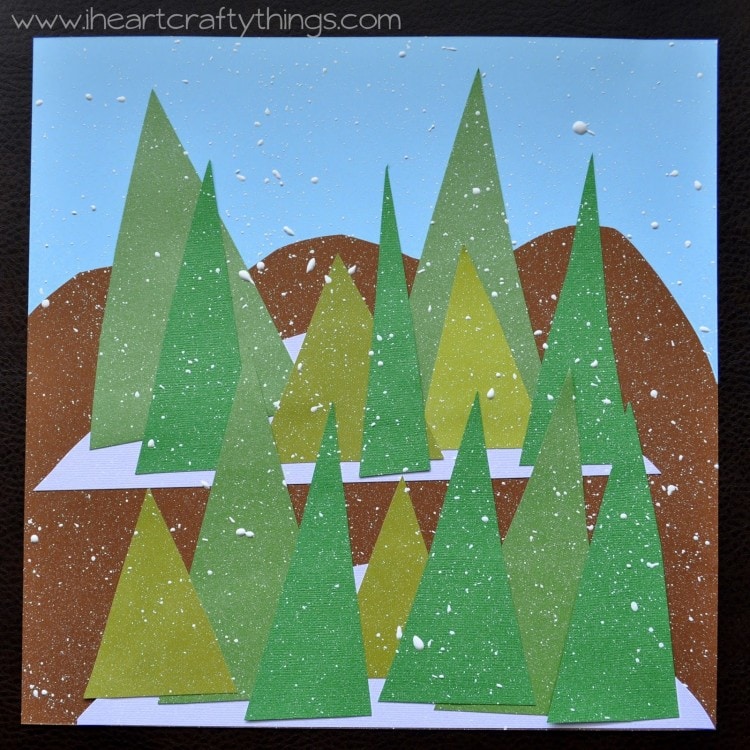
The other option for adding snow is with a toothbrush. I didn’t get any pictures of it because it was so messy and I didn’t dare get my camera near it. It is best to do it outdoors since the paint can splatter so much. Pour some white paint on a small paper plate. Dip your toothbrush in the paint and then run your finger along the bristles in a fast motion, holding it above your artwork and it will splatter white paint speckles all over your picture. Dip it back in the paint and repeat as many times as you want.
The layering of the trees and the different colors of trees really made the artwork stand out beautifully. I loved how while I assisted my 3 year old complete this project, she was able to complete mostly on her own and my 7 year old completed this project on his own, unassisted.


