The animal kingdom is full of many incredible creatures to behold, and each one is incredible in its own right.
Some animals manage to be on a whole new level, however, and the snow leopard would be a great example of this.
This animal is not only stunning to look at, but it is also unfortunately very rare in the wild with an alarmingly small amount of living examples.
This is terrible, and it makes each one even more precious. Learning how to draw a snow leopard is a great way to commemorate this amazing creature.
If that’s something you would like to do, then you’re in the right place!
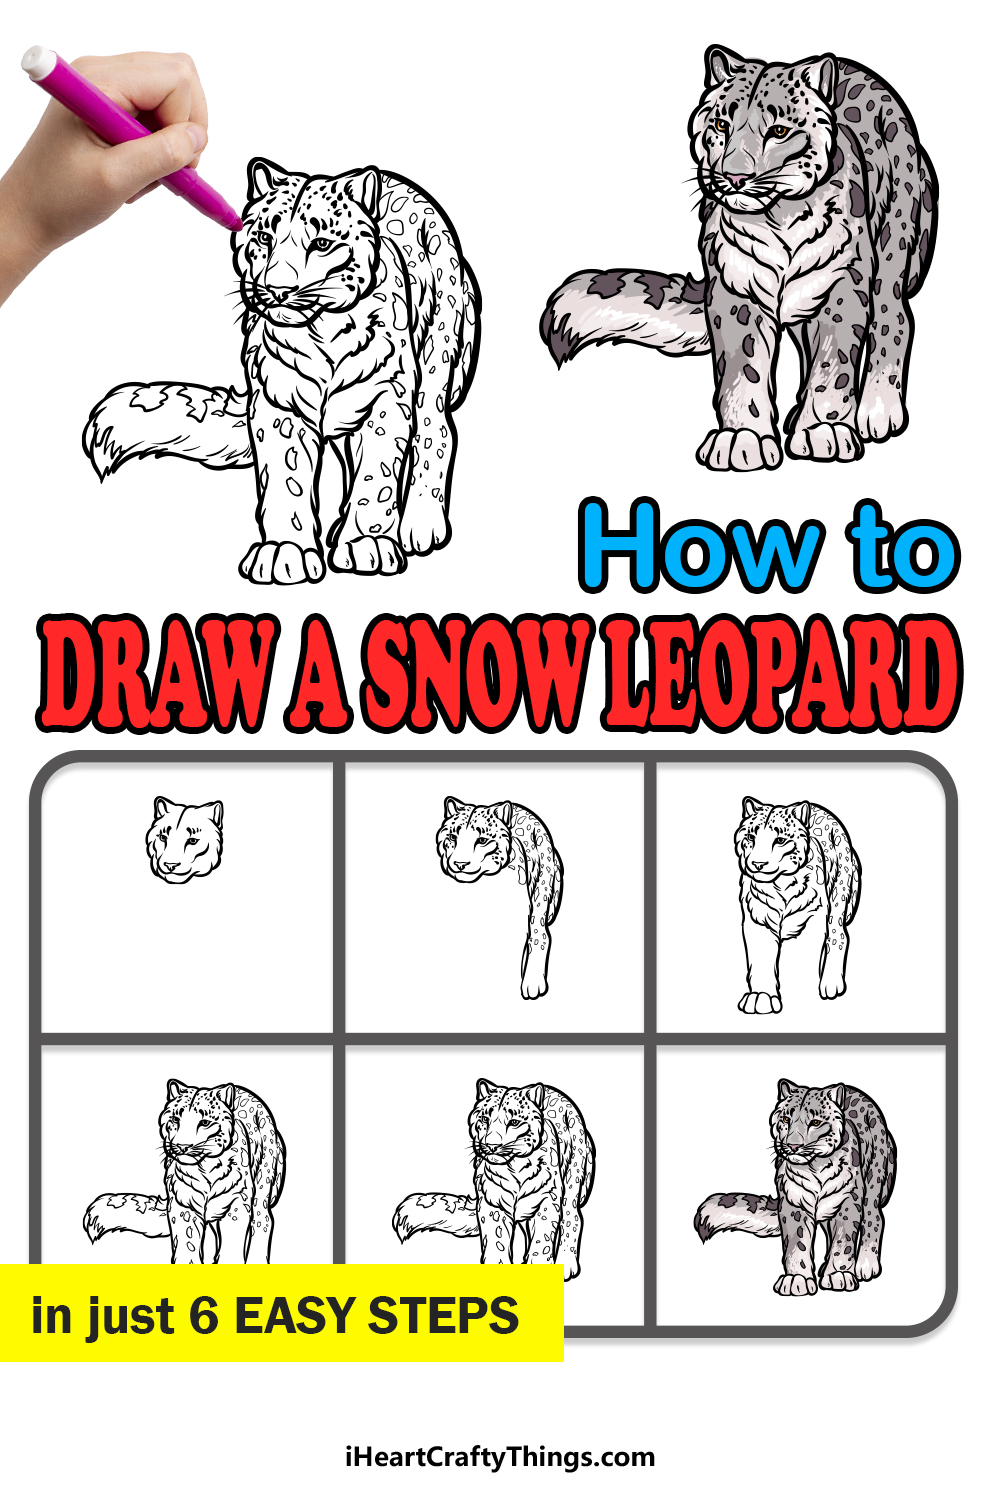
In this step-by-step guide on how to draw a snow leopard, we will walk you through everything you need to know about drawing this endangered species.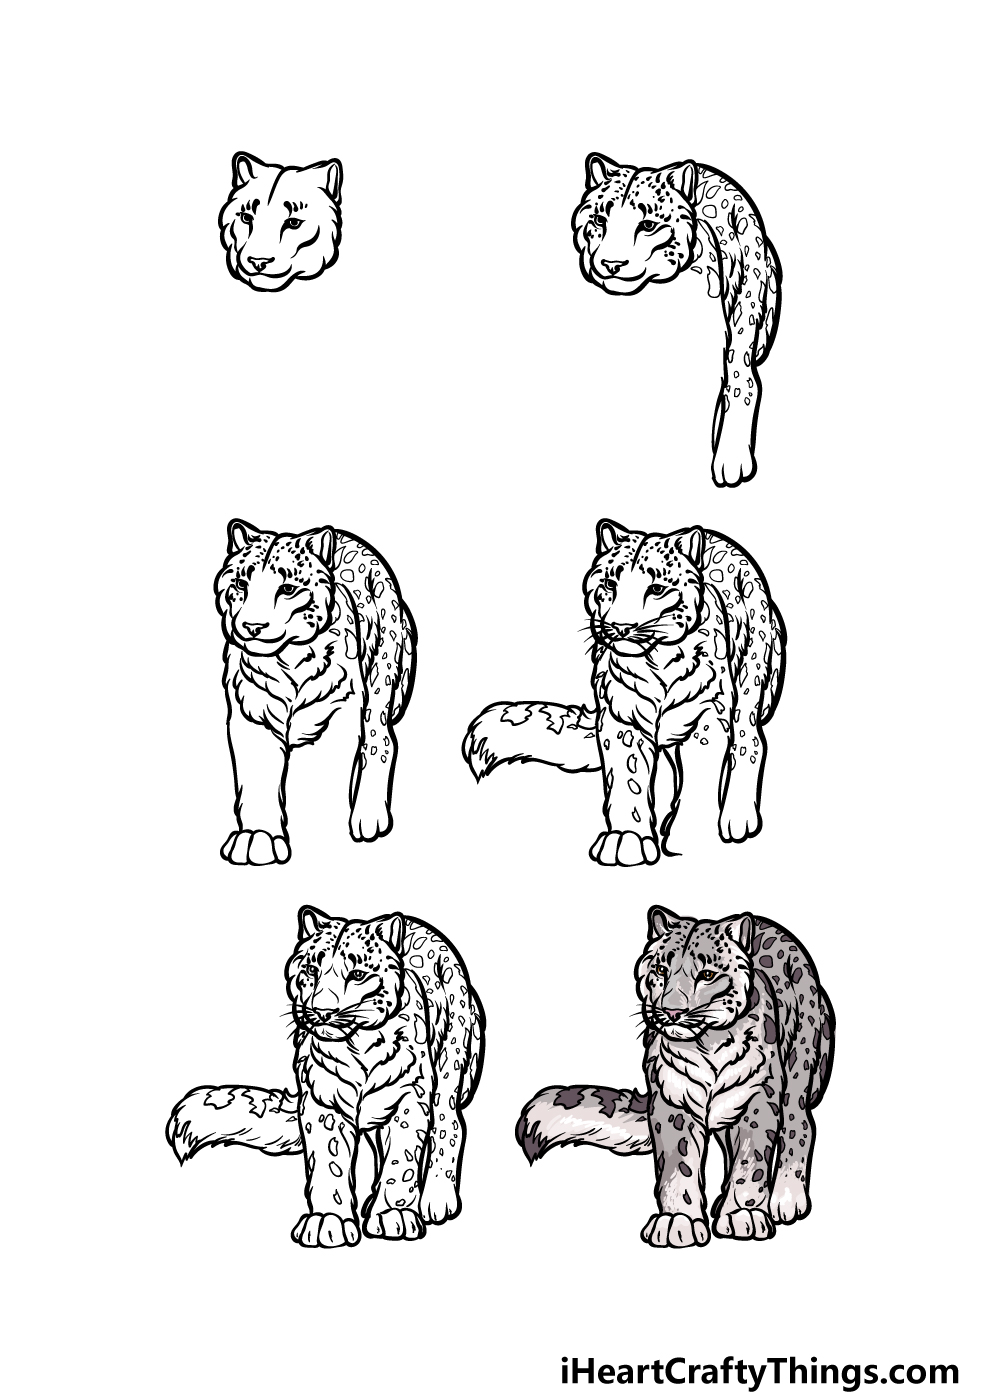
How to Draw A Snow Leopard – Let’s Get Started!
Step 1
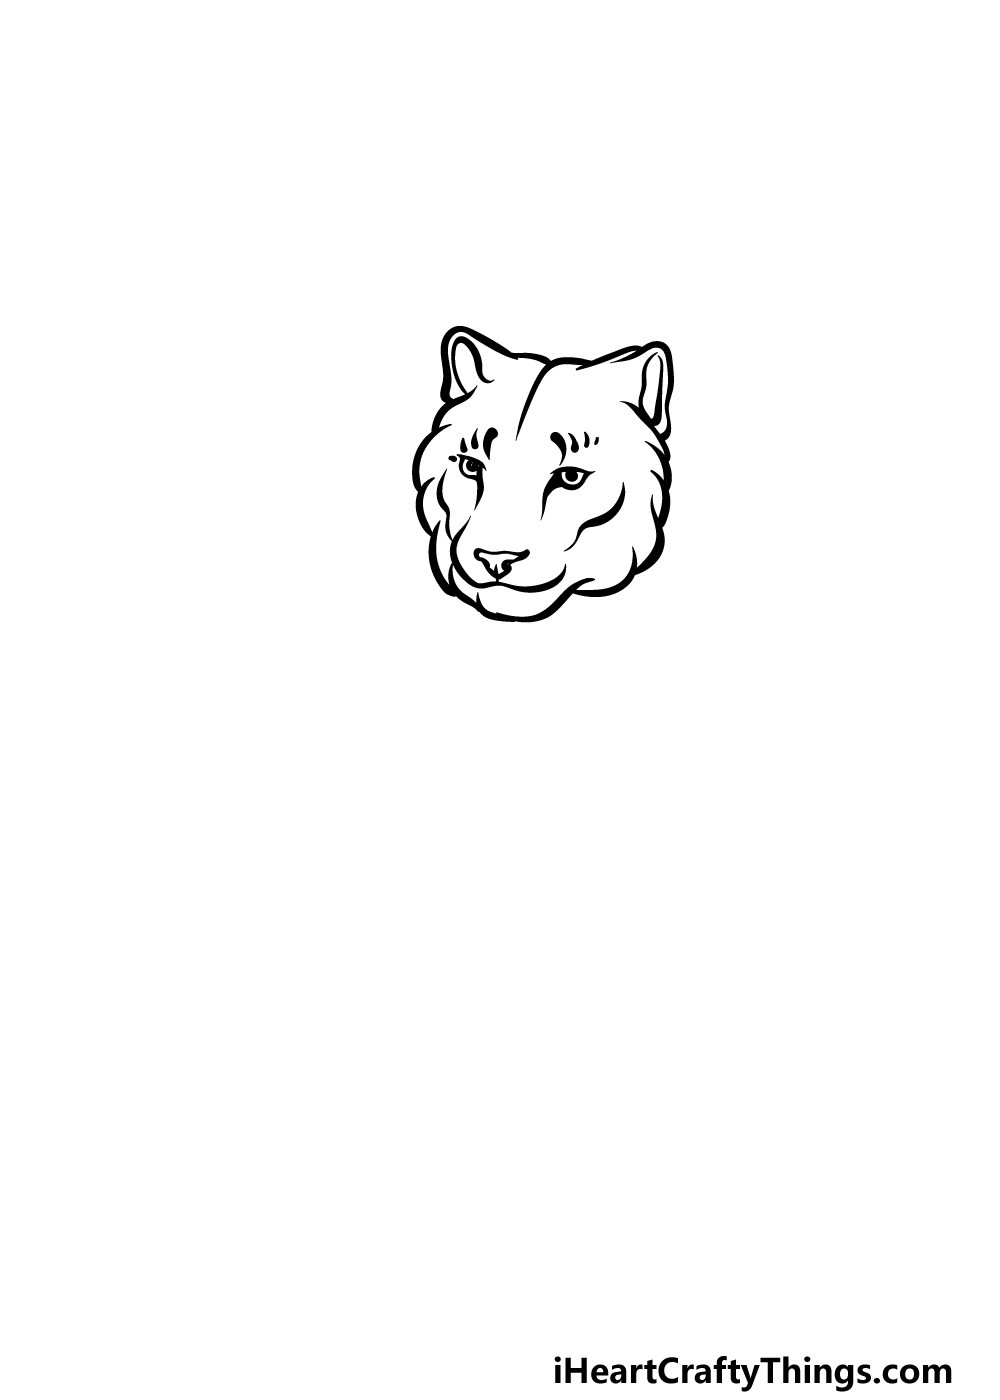
We shall start this guide on how to draw a snow leopard off by drawing the head outline and some of the facial details.
For the sides of the face, we will be using several smaller curved lines connecting to one another. This will help to make the face look nice and furry.
The ears will be pretty small, and they can be drawn with some smoother curved lines. Add some rounded shapes for the inner ears, and then we can draw some facial details.
Draw some small eyes with lines extending down from them, and then we can finish off with the nose and mouth. Once these are all drawn, we can move on to the second step.
Step 2 – Now, draw the first leg and add some spots
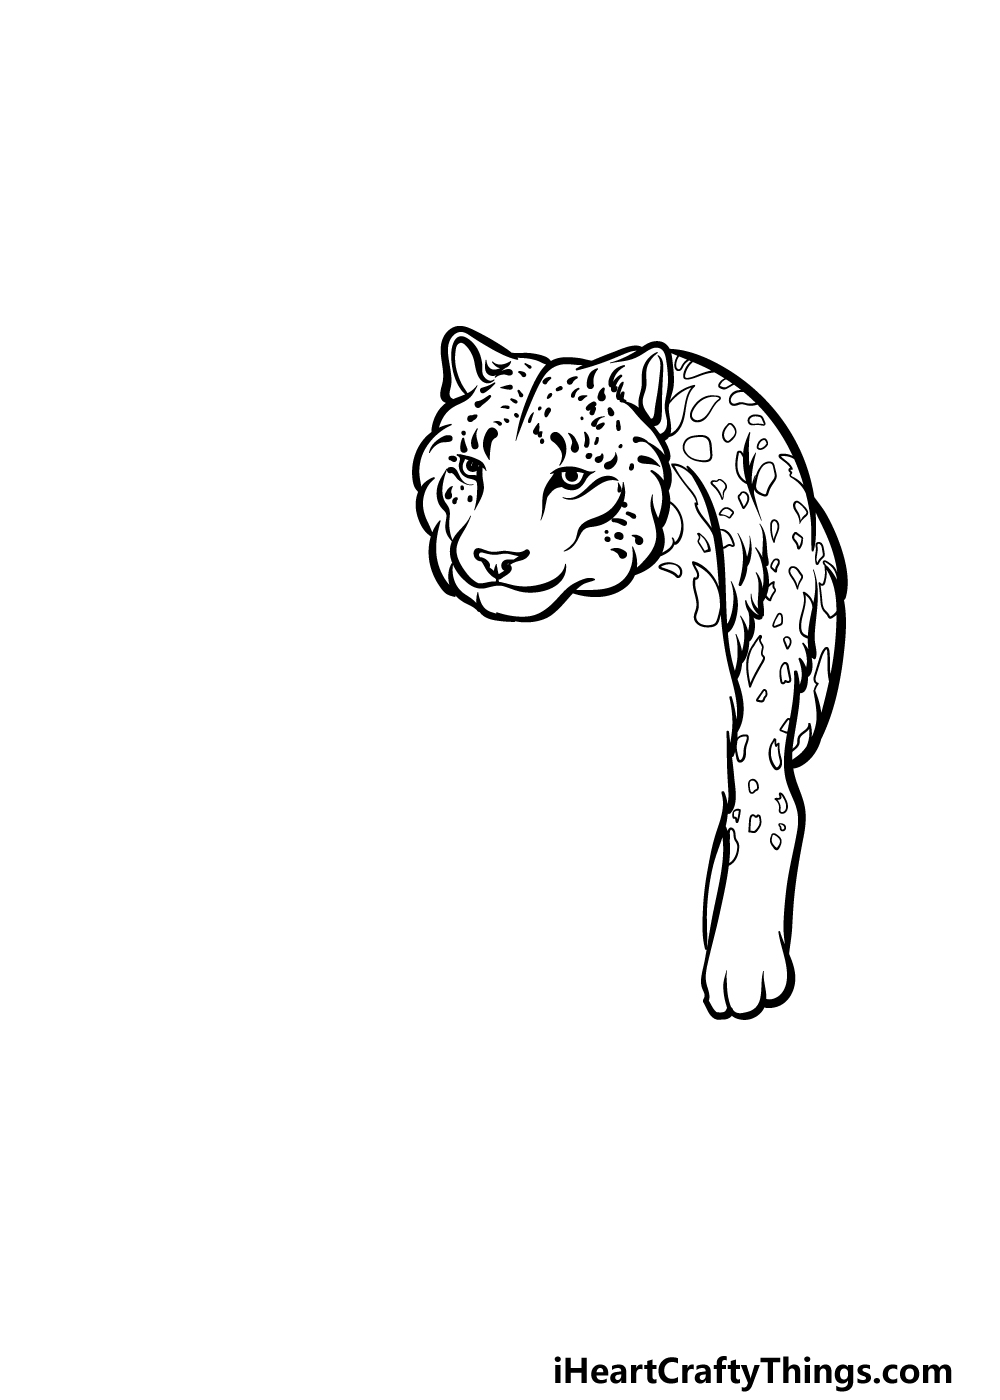
For this second part of your snow leopard drawing, we will be drawing the start of the back along with the first leg.
For the back, simply extend a smooth curved line back from the head. This will curve down to start forming the first leg.
The leg will be pretty sleek and fairly long, and it will then end in the small rounded toes of the feet.
Before we proceed, we will also start adding some spots to the leopard. These can take a bit of patience to do, so be sure to take it slowly!
Draw some dots onto the face, and then you can draw some small rounded shapes throughout the other parts of the leopard that you’ve drawn so far.
Step 3 – Draw the chest and next leg of the snow leopard
This animal has a rather furry chest that helps keep it warm, and this is what we shall be drawing along with the next leg in this step of our guide on how to draw a snow leopard.
For the chest, we will be using a lot of small, curved lines to give it that furry look we’re going for. Be sure to also add plenty of curved line details to the interior of the chest once you have the outline.
Then, you can draw the next leg. This one will be a bit further forward, so it will look larger than the previous one.
Be sure to also use a bumpy line for the outline, as we will be aiming to make it look furry as well.
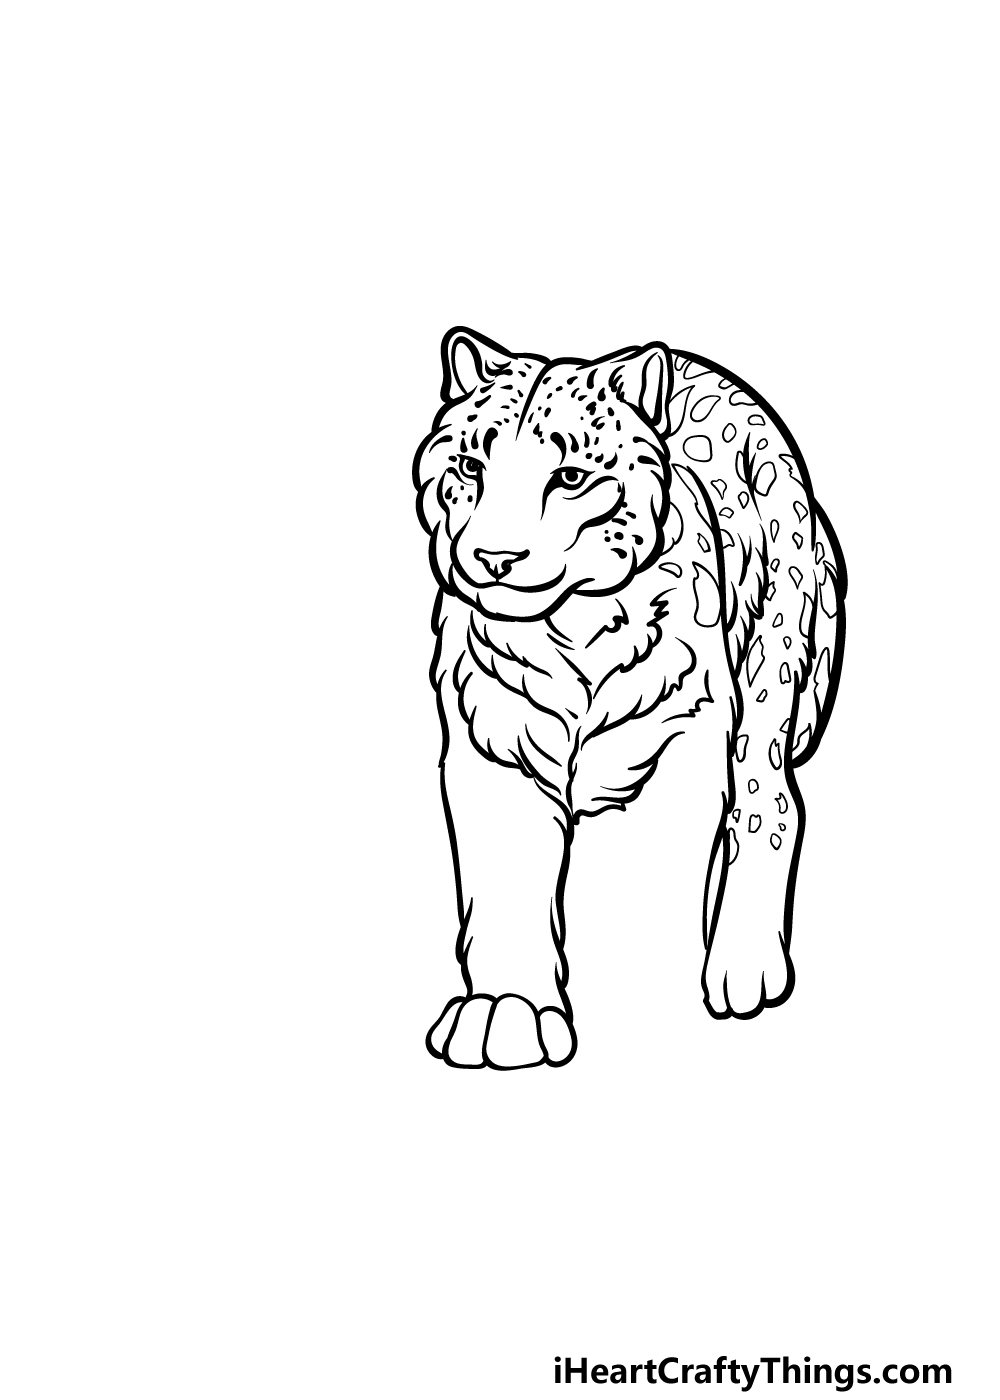
Step 4 – Next, draw the tail and the start of the next leg
We will be moving towards adding the final details of this snow leopard drawing in this and the next few steps!
For this step, the first thing we will be doing will be drawing the tail curling off to the left. Much like many other parts of this snow leopard, we will be using some bumpy lines to give the tail a furry texture to it.
Unlike regular leopards that have thin, sleep tails, this tail will be very thick. You can also add some spot details to it.
The final thing to do in this step will be to draw the outline of the final leg, and then we can move to the final touches in the next step.
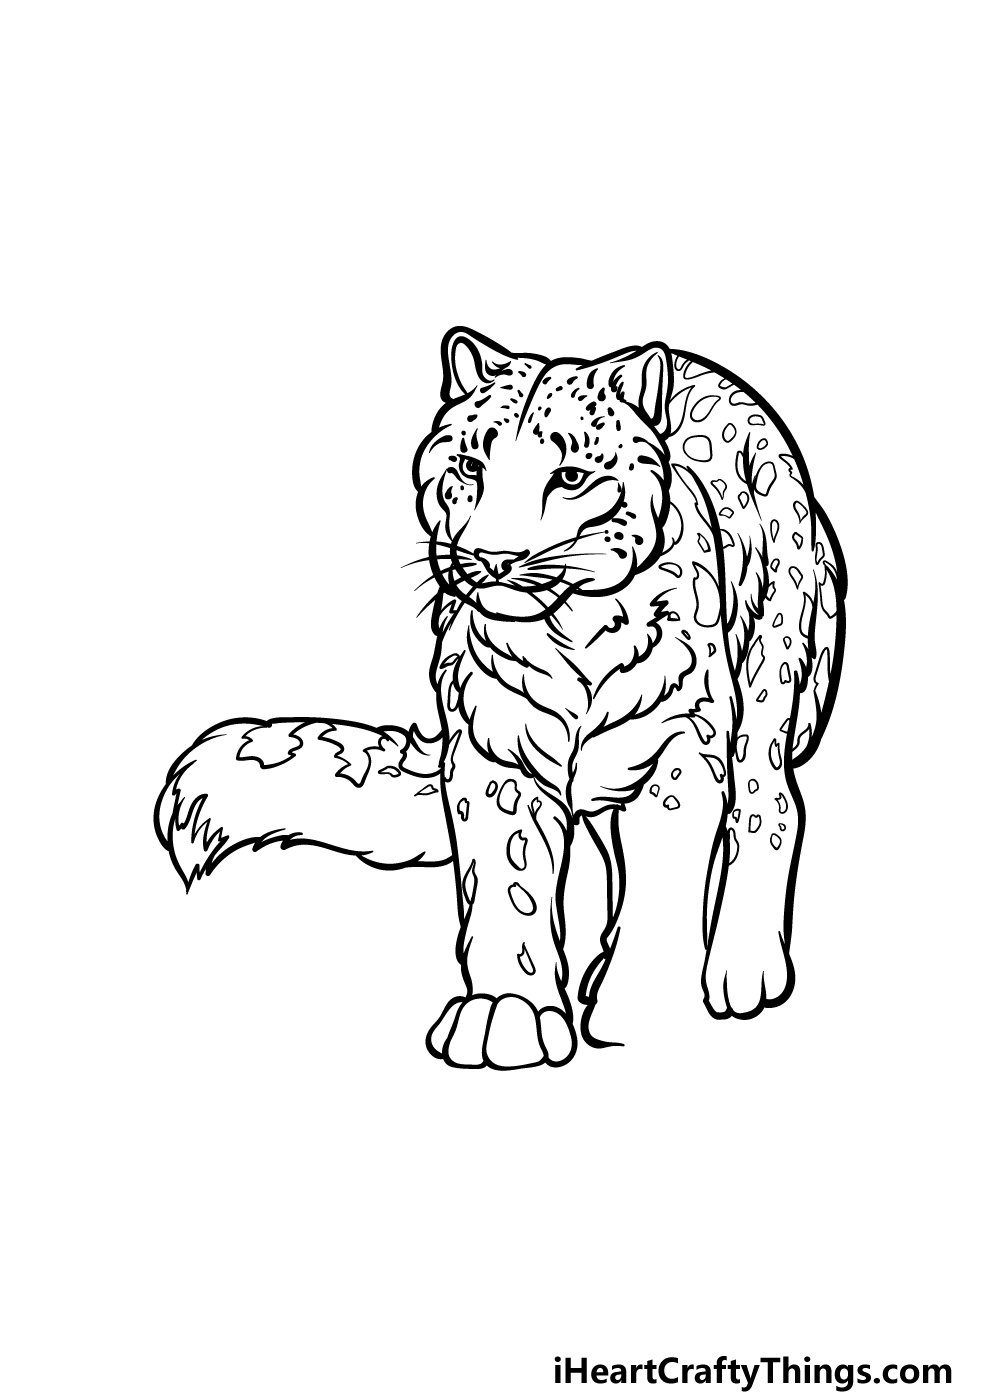
Step 5 – Add the final details to your snow leopard drawing

Now you’re ready to finish off the final details in this step of our guide on how to draw a snow leopard.
First, finish off the outline of the final leg that you started in the prior step, and then add the usual details to it.
Once that is drawn, finish off by adding a few smaller details onto the rest of the snow leopard, and then you’re ready for the final step!
Before you proceed, be sure to also add any additional elements, details or ideas that you would like. What kind of background do you think would suit this magnificent snow leopard?
Step 6 – Finish off your snow leopard drawing with color
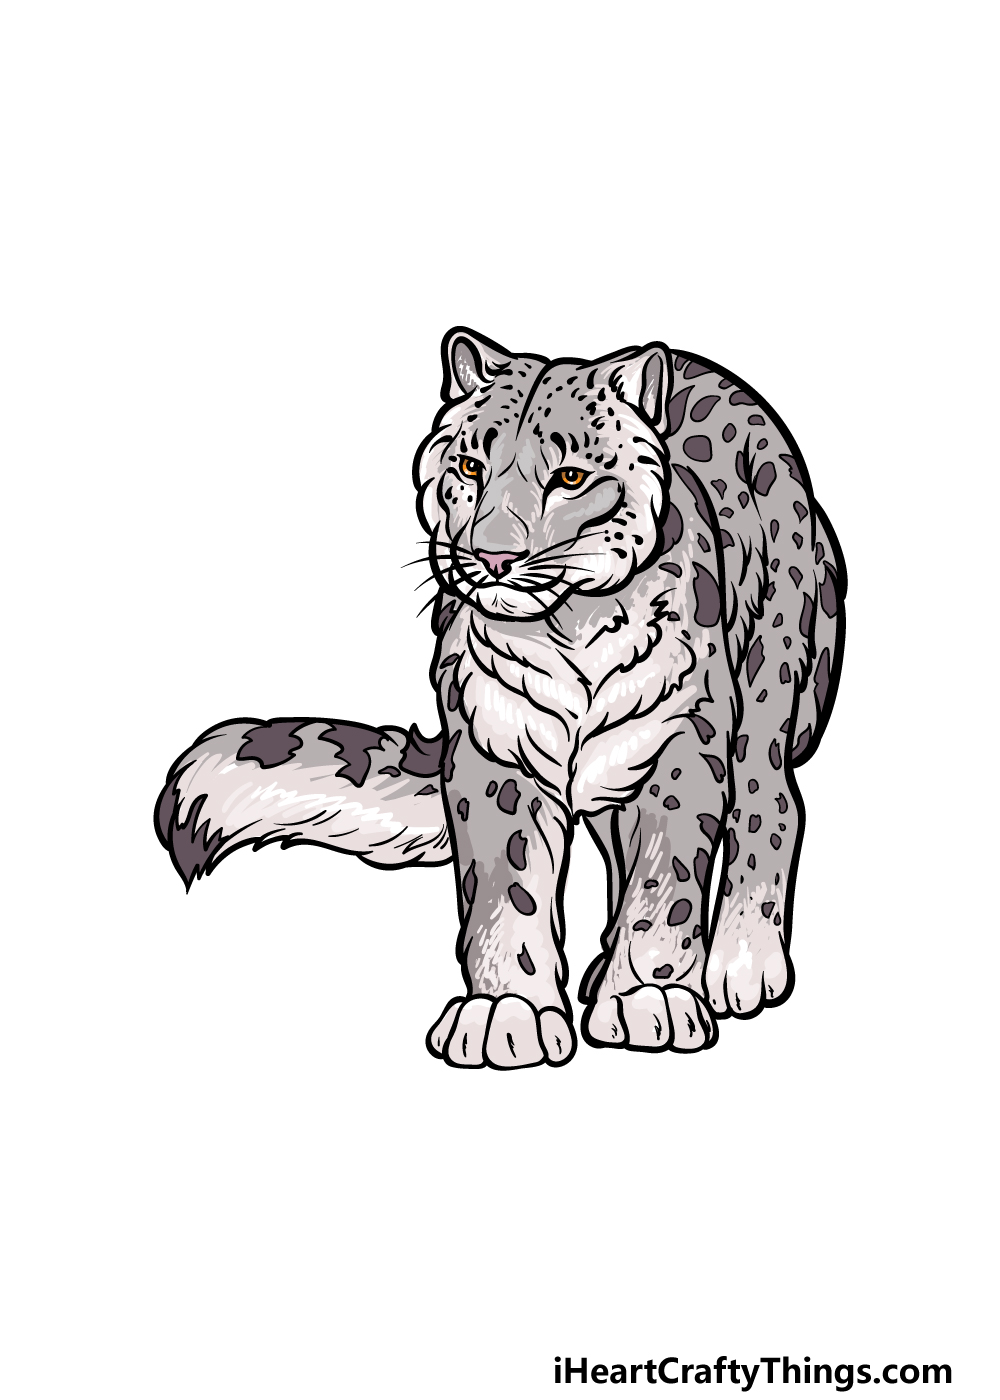
In reality, these animals don’t have the brightest color scheme, and this helps them blend into their snowy environment better.
This is the approach that we went for when coloring our example of this snow leopard drawing, and we used various grey shades for the body.
The spots are a fairly dark grey, but otherwise the greys will be pretty light.
When coloring your own image, be sure to use any color shades and art mediums that you feel would best suit it.
How will you finish off this drawing? Be sure to have fun with it and see what happens!
3 More tips to make your snow leopard drawing easy!
Make this gorgeous snow leopard sketch that much easier with these 3 tips!
This drawing of a snow leopard has loads of details included in its design. From the spots to the fur, there is a lot to get right in this design that could make it quite tricky.
If you find some of these details too difficult or intimidating, then you should feel free to simplify some of them. This could be limited to simplifying the outlines to be smoother.
Or, you could also remove some of the spots or other small details depending on what you’re struggling most with.
Once you have the hang of this simplified design, you could always try to add the details back in later attempts.
This snow leopard drawing shows this magnificent creature drawn in a fairly realistic style. Drawing in a different art style would be one way of making it easier on yourself.
Which style you choose would depend heavily on what you feel most comfortable with. You could feel more comfortable with a simple cartoony style, for instance.
Or, you may like the challenge of portraying every minute hair detail and accurate proportion. If there is a style you have in mind, try to work through the guide while adapting the steps to your chosen style.
What are some art styles you have in mind that could work for this drawing?
Finally, whether you went with our previous tips or not, we would highly recommend using photos of real snow leopards when working on your artwork.
You will find many photos if you do a simple image search online. If you’re lucky, you may even find some photos displaying a similar pose to the one in our reference image.
That would be ideal for this snow leopard sketch, but any photos would do. You can use these photos to help you as you draw the finer details and proportions of the animal.
Using these photos along with the steps in our guide will make creating this beautiful animal a breeze!
Your Snow Leopard Drawing is Complete!
We hope that you had an incredible time working on this guide on how to draw a snow leopard alongside us!
This is a wonderful animal that presents some challenges when trying to draw it. By following all of the steps, it can be made much easier and even more fun!
You can then finish off the image by adding some more awesome details and elements of your own. We mentioned a few ideas to try, but this is your chance to show off your creativity!
Then, when you’re ready for a new drawing challenge you can check out our website. We have tons of amazing guides there for you, so be sure to check in regularly!
Please also go ahead and share your finished snow leopard drawing on our Facebook and Pinterest pages so we can see how it turned out.