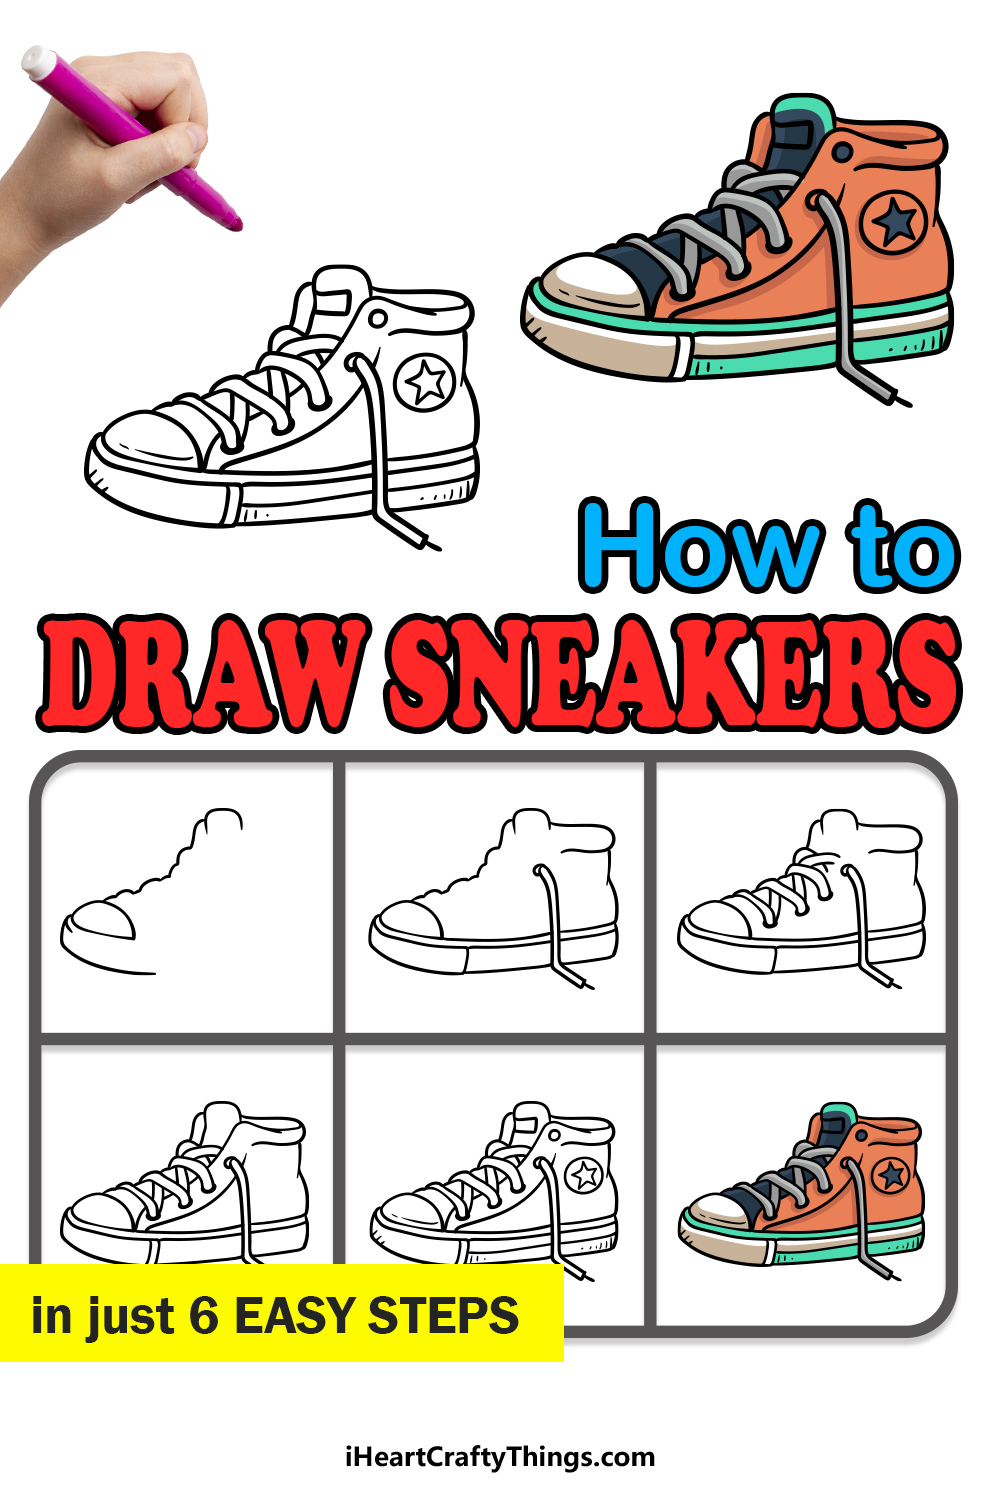
Sneakers are a very useful item of clothing, as they have many different uses. They can be essential for foot protection during sports and jogging, or they can even simply be a comfortable fashion statement.
They can come in many different styles and designs, and despite the fact that we’re all familiar with them, it can still be a challenge to figure out how to draw sneakers.
With the help of the guide you have before you, it doesn’t have to be a challenge, however!
We hope you have a lot of fun working on this step-by-step guide on how to draw sneakers in just 6 steps.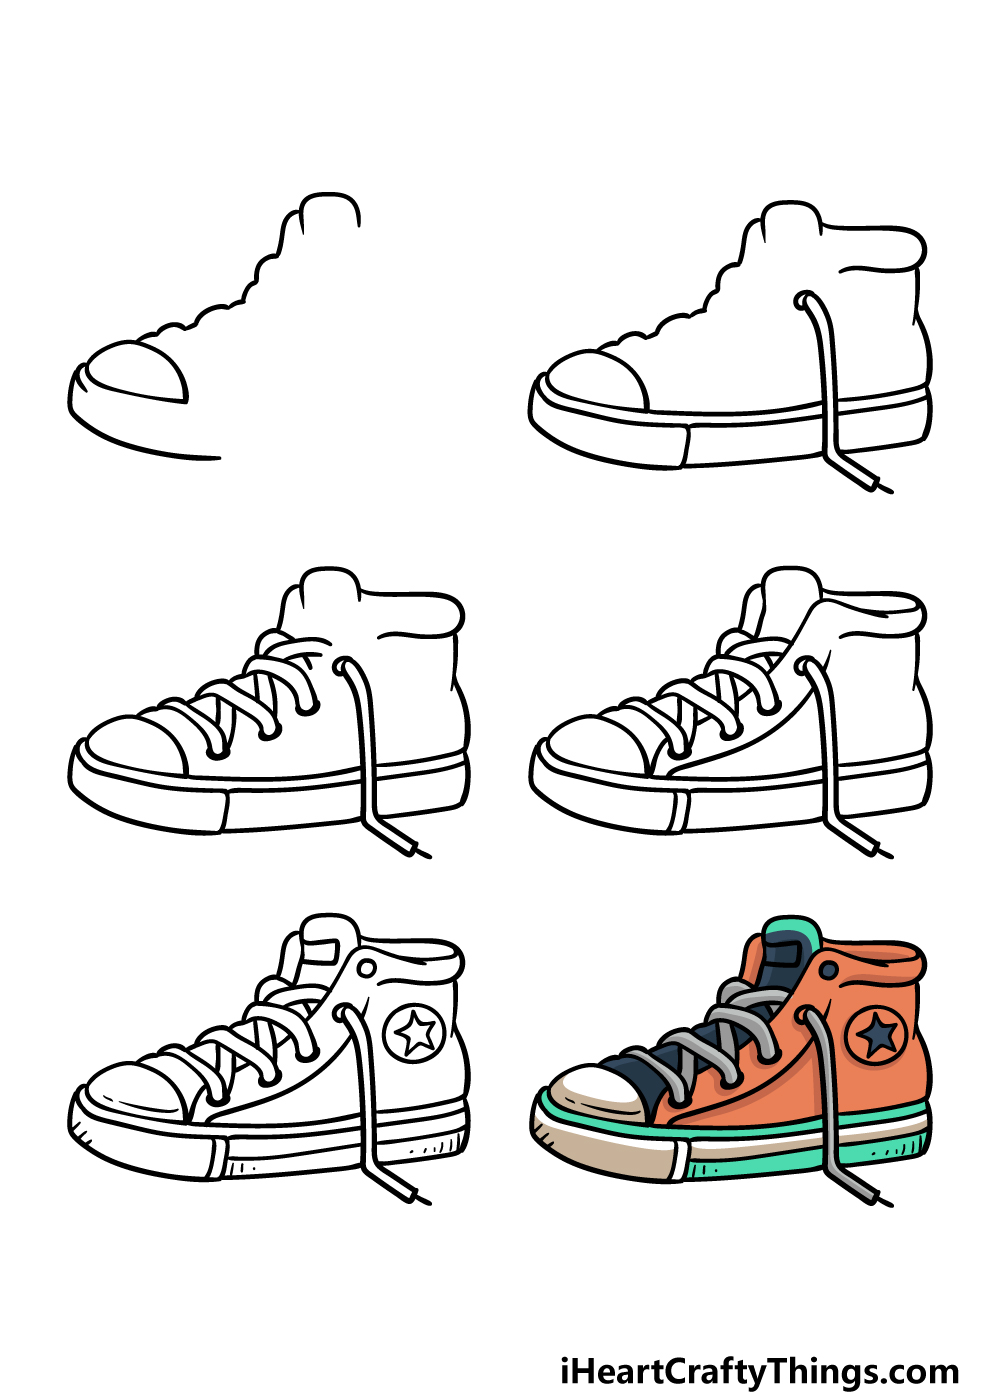
How to Draw Sneakers – Let’s get Started!
Step 1

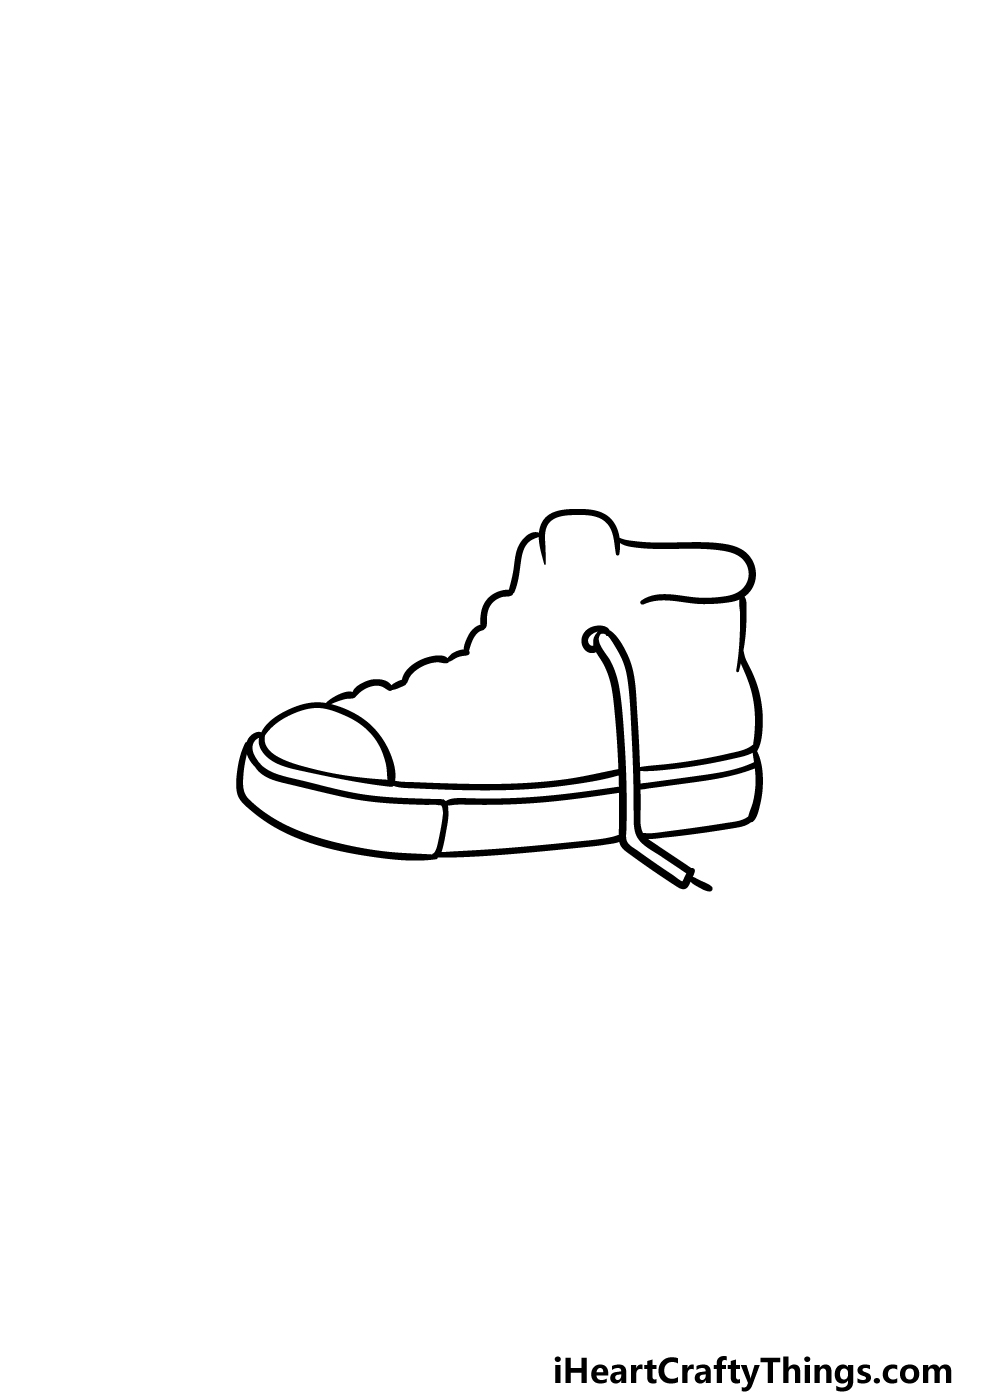
We will start with the outline of the shoe in this step of our guide on how to draw sneakers. In the guide, we will be drawing one shoe, but you will have the tools you need to draw another one by the end of the guide.
For now, we will be doing the outline of the front of the top of the shoe. You can start with a rounded triangular shape for the front section of the shoe.
Then, two curved lines beneath that will form the front of the base of the shoe.
Finally, we will be using a bumpy line extending up at an angle from the front of the shoe. It will be bumpy like this because it will be the outline of the laces later on.
Once you have replicated these details then you’re ready for the next part!
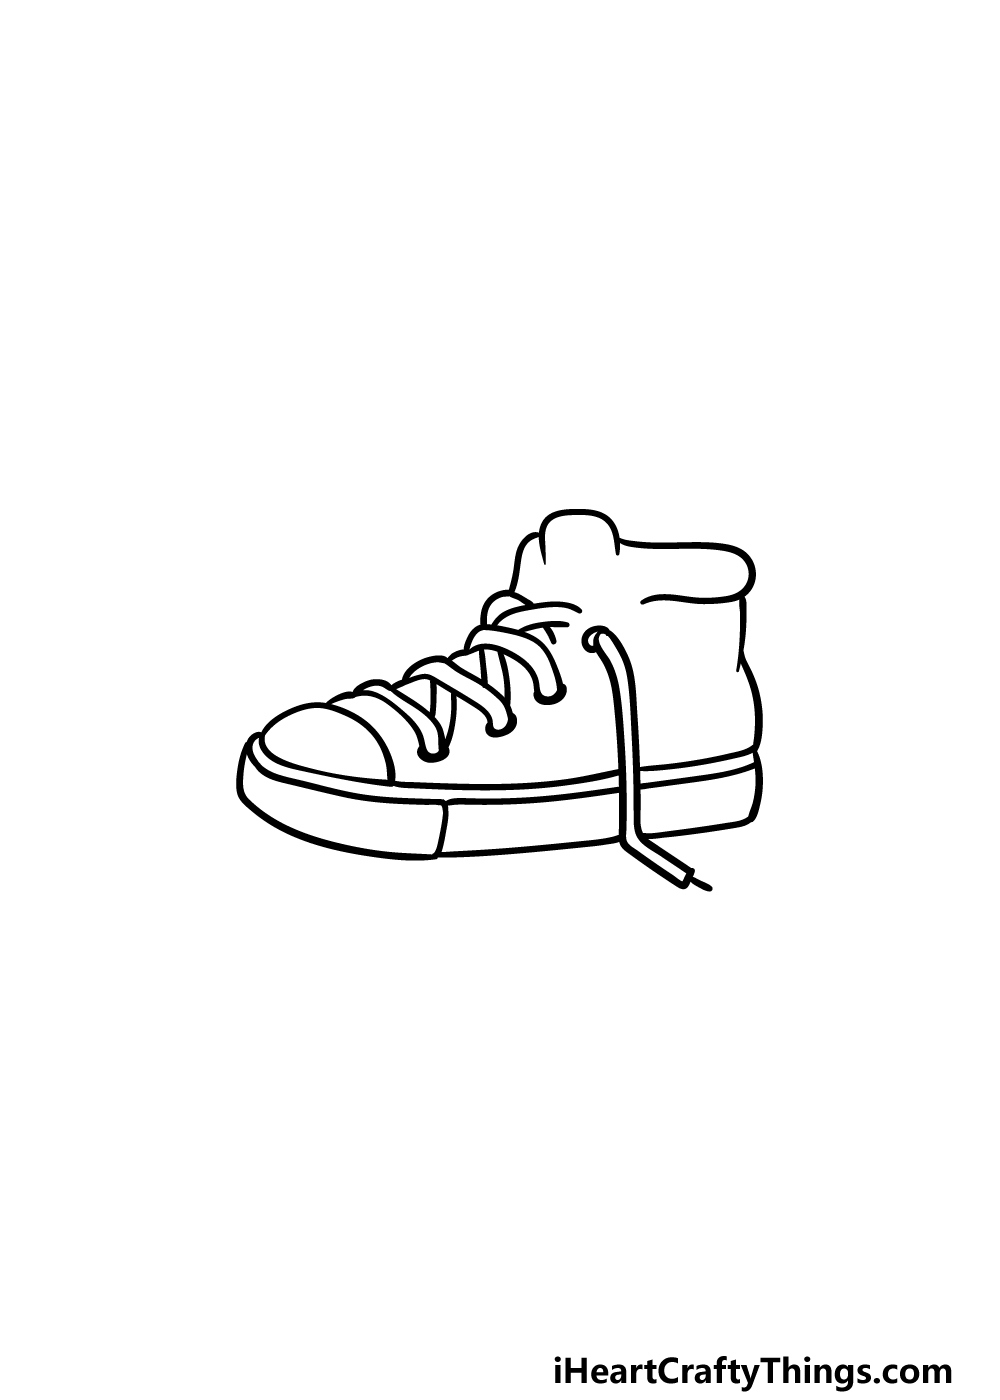
Step 2 – Draw the rest of the outline for the sneaker
In this second part of your sneakers drawing, we will be finishing off the outline of the sneakers so that you can start to add some details.
First, using the reference image as a guide, you can draw a long lace coming down from near the top of the sneaker and trailing down.
Then, use some more slightly curved lines to complete the thick base of the sneaker.
Finally, you can finish off the outline for the back and top of the sneaker, as shown in the reference picture. Then it’s on to step 3!
Step 3 – Now, draw some laces for the sneakers
This step of our guide on how to draw sneakers may look a bit complicated, but it’s not as hard as it looks!
We will be drawing the laces in this part, and it may seem a bit difficult due to how the laces cross over one another.
Simply draw some curved lines to make the thick laces, each of which will end in a slightly rounded line for the holes they go into.
Be sure to refer closely to the picture as you draw, as it will aid you as you position the laces.
Step 4 – Add some details for the sneakers

We will continue to add some details to your sneakers drawing in this next step. To do this, we will be drawing some curved lines coming down from near the top of the shoe and down to the bottom.
These lines will also surround the holes that the laces go in and out of. There will also be some minor line detail added to the base of the shoe.
Once these lines are added, you will be ready to add some final details in the next step of the guide, so let’s move on!
Step 5 – Now, you can draw the final details
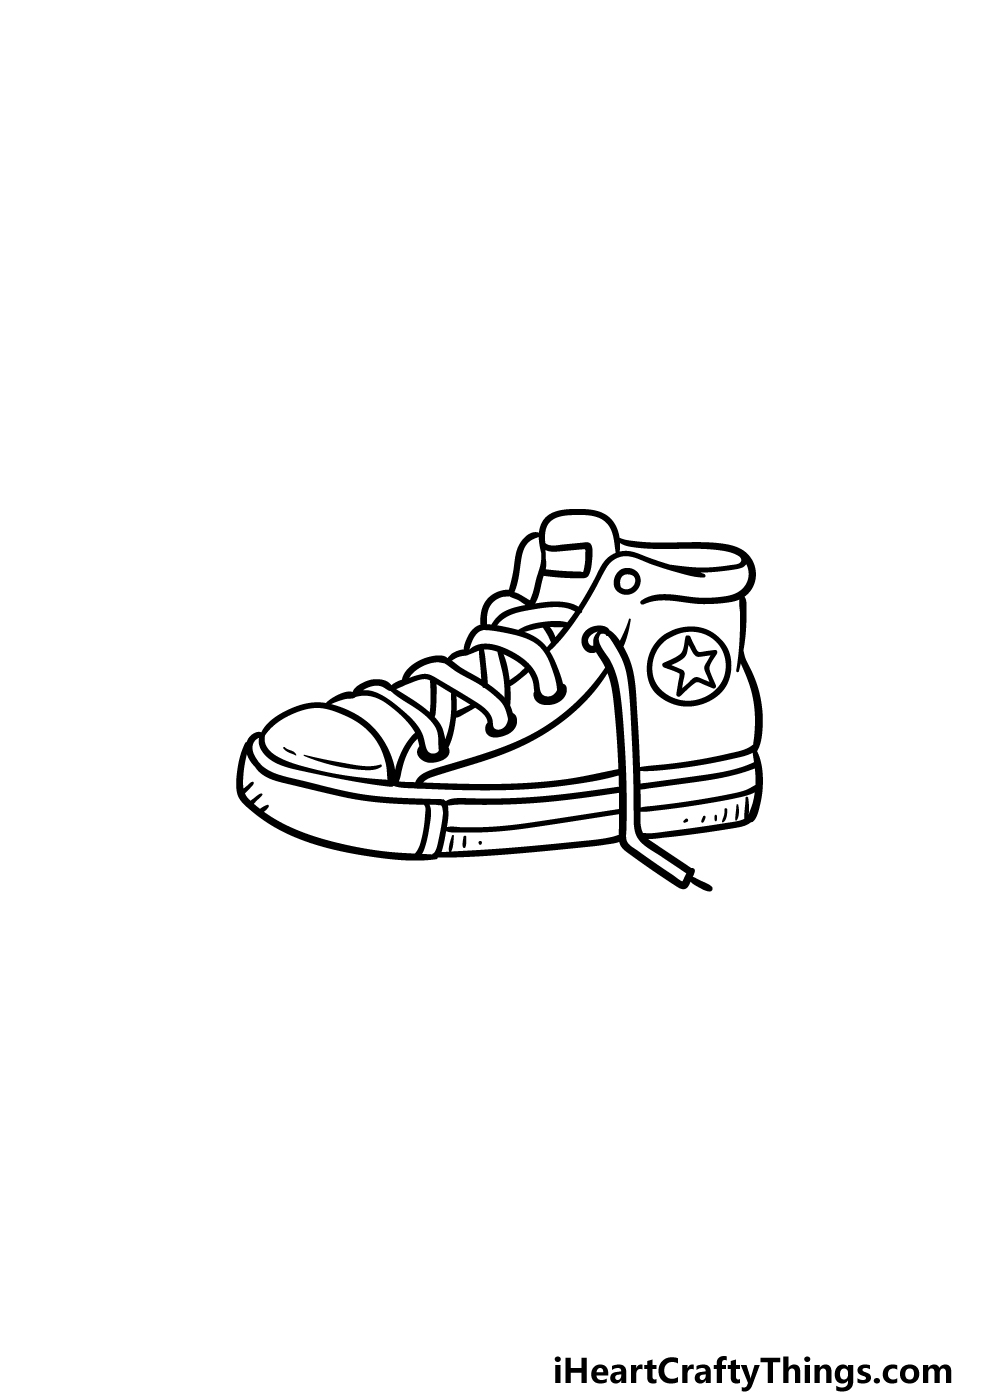
In this fifth step of our guide on how to draw sneakers, we will be adding some final details to really finish off this drawing.
We will show you a few decorative elements that we chose, but you’ll also be able to draw some extra details of your own if you would like!
First, we added a circle with a star inside of it onto the side for the first decorations. Then, we added some small circles and rectangles throughout the shoe along with some extra line details as well.
These are what we went for, but you could also add some extra details and elements of your own!
You could also draw a background or maybe take what you learned in this guide and draw a second matching sneaker next to it. What ideas will you use for this drawing before you color it in the next step?
Step 6 – Finish off your sneakers drawing with some color
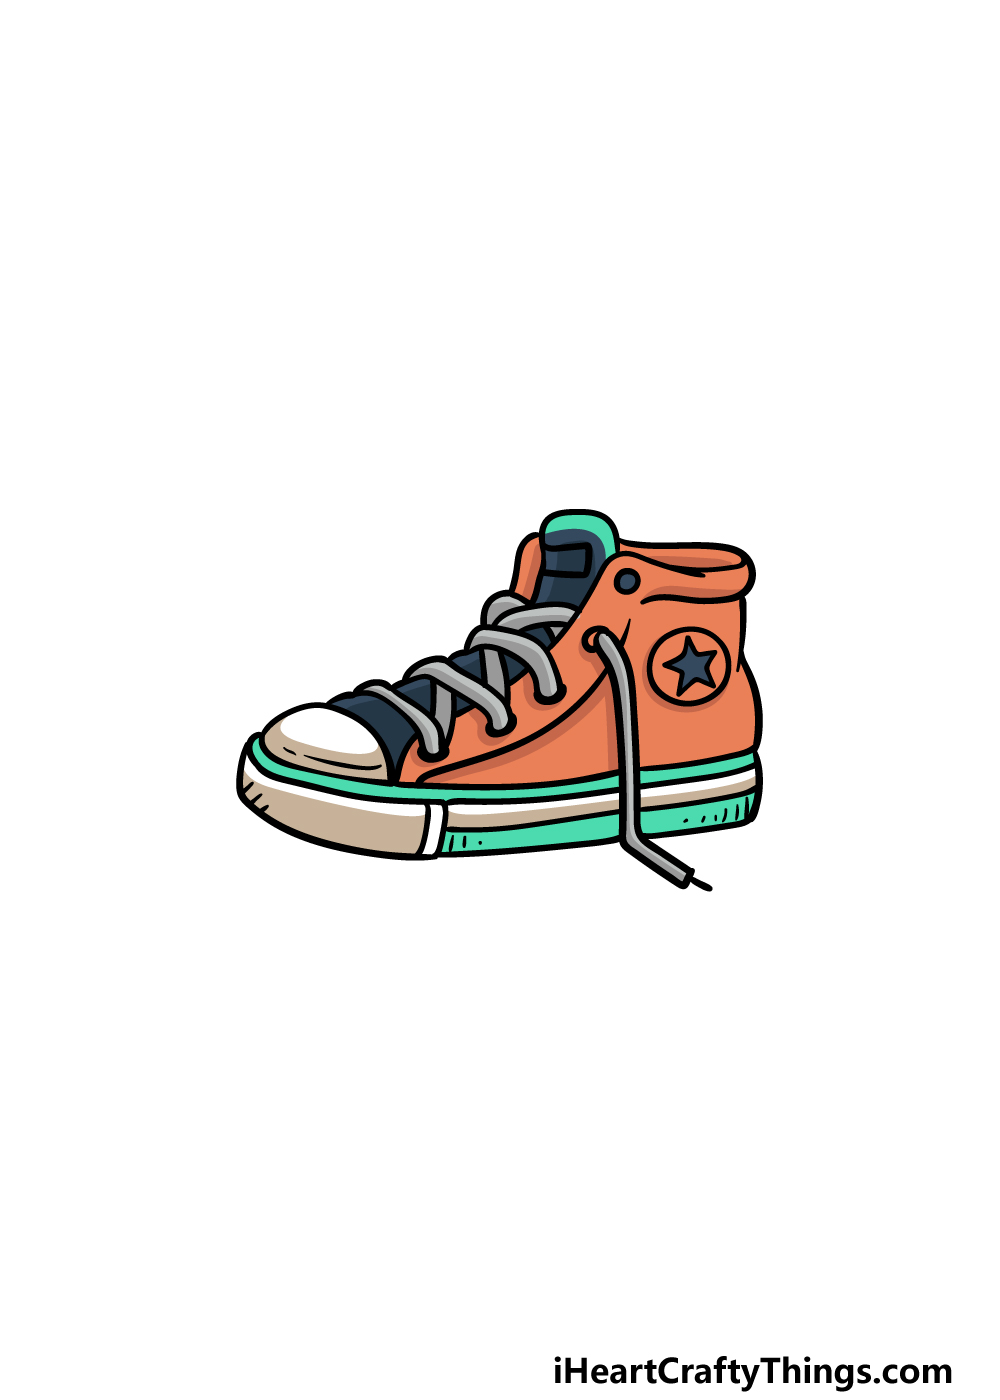
Now you can relax with some coloring fun as you finish off this image! You can add some colors to your amazing picture.
We went with orange, blue and grey primarily for our example, but this is just a suggestion for how you can color in this image!
You should really let your creativity and imagination run wild for this picture to bring it to life. You could make the colors bright and bold, make them more subtle and muted or maybe do a mixture of both!
Once you know what colors you would like to use, it’s then just a matter of picking what art mediums you will use to bring the colors to life.
You could use ones like acrylic paints or colored pens for a brighter look, or go for something like watercolors and colored pencils for something more muted.
What will you choose to finish off your sneakers drawing?
4 More Ways To Make Your Sneakers Drawing Unique
Try on these tips we have for your sneakers sketch to make it even better!
Usually, if you buy a pair of sneakers you would want to have 2. For that reason, we think it would be great to make this drawing of sneakers a pair by adding a second one!
Now that you have finished the guide, you have everything you need to add a second shoe to this drawing. It could even be behind the first one so that you would only have to draw a portion of it.
This would be an easy way of making this setting even more complete!
Any pair of sneakers will usually go best with other items of clothing and accessories. You could add some of these to your sneakers drawing!
You usually need a pair of socks when wearing sneakers, so that would be a great start. Then, you could add other clothing you would wear or use with a pair of sneakers like this.
What are some extra pieces of clothing and other items you would use with these sneakers?
Building on from our last tip, you could then add a human to be wearing these sneakers. This would make adding other items of clothing much easier as well!
If you were to do this, you could stick to showing just a portion of the legs the sneakers are on. Or, you could draw the entirety of the character. Who would you base this character on if you were to do this?
The joy of sneakers is that they can be worn in many environments and to many occasions. For this reason, you would have many options for a background setting for this sneakers sketch!
This would be a great idea if you added a human wearing the shoes, as you could show where they are wearing them.
If you have a pair of sneakers that you wear out, you could show where you would use them.
What are some locations you would wear a pair of sneakers to?
Your Sneakers Drawing is Complete!
You have completed all six steps of this guide on how to draw sneakers! Objects like sneakers can be deceptively difficult to draw sometimes, so we hope that this guide made it easier and more fun than you may have expected.
Now you can take it further with your own touches! You could decorate these sneakers any way you wish in order to create your perfect shoe.
There are so many touches you could go for, so be sure to have fun with it and see what happens! We look forward to seeing what you can come up with.
When you’re ready for more drawing fun, we hope to see you on our website! We have tons of awesome guides like this one for you, so be sure to check in often to never miss out.
We would be very curious to see your finished sneakers drawing, so please be sure to share it on our Facebook and Pinterest pages.