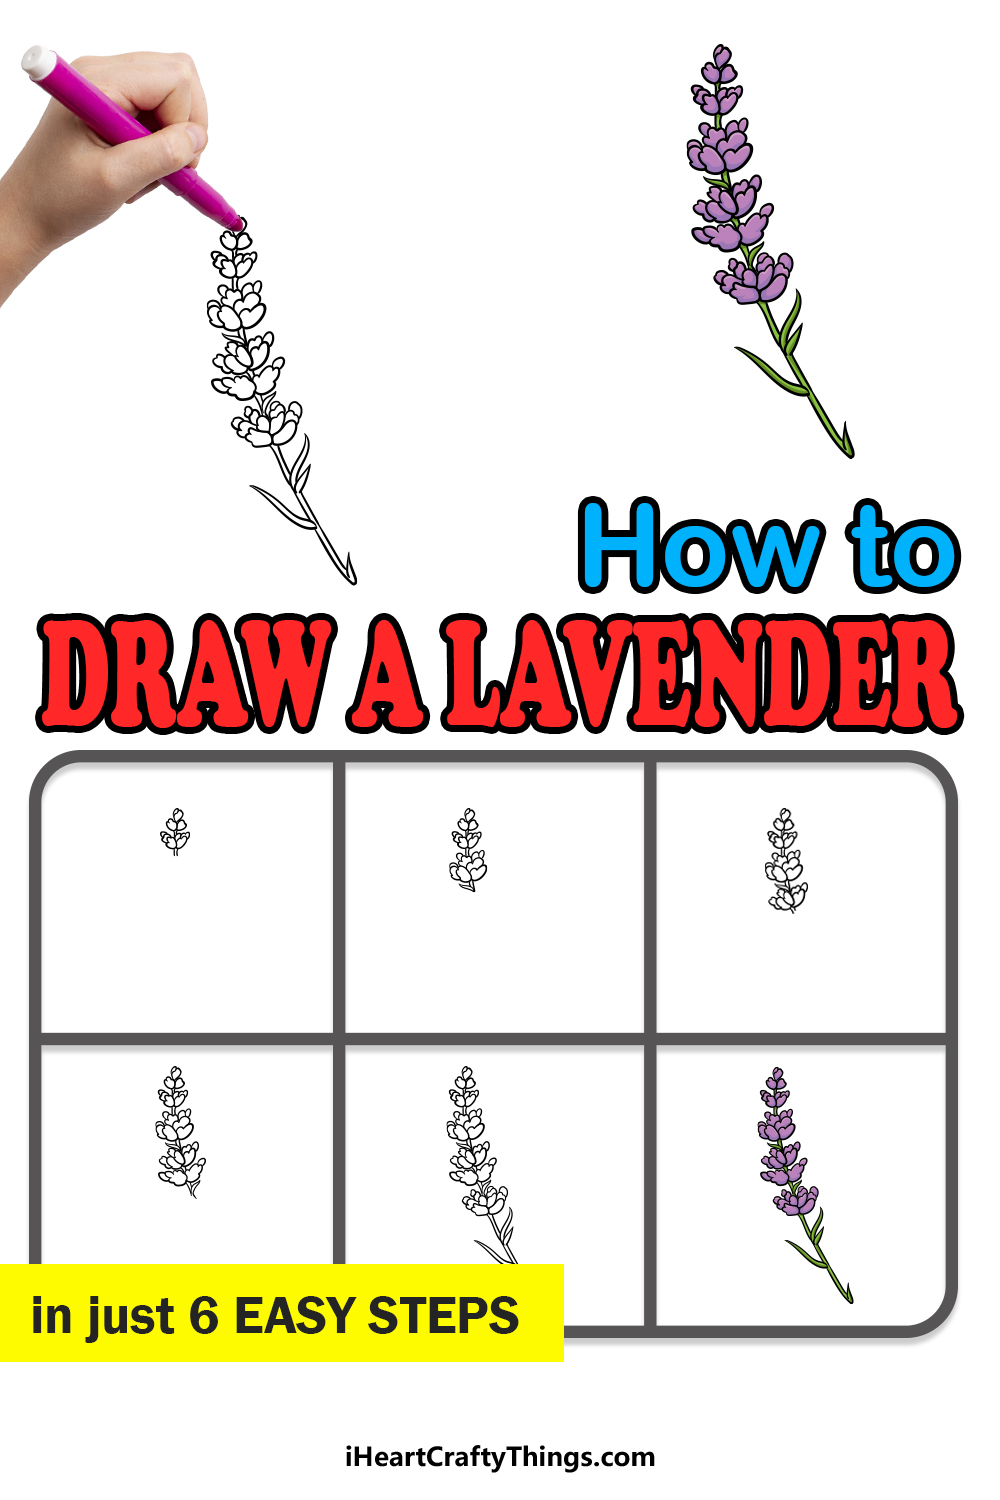
Let’s learn how to draw lavender together! Soon, you will see how to recreate this beautiful and fragrant flower.
Lavender is one of the most popular flowers in the world, and for good reason. It’s easy to see why so many people love them, as they have a beautiful purple color, elegant structure and beautiful aroma.
They’re also common to feature in many different designs and artworks, but I’ve known people to get frustrated at how tricky it can be to depict them.
If you’re one of those people, then this guide will make it much easier for you! I will guide you through each and every step to make it easy for anyone to learn.
By the end of this guide, you will see just how fun and simple it can be when you know what to do, so let’s begin.
See How To Make Your Lavender Drawing
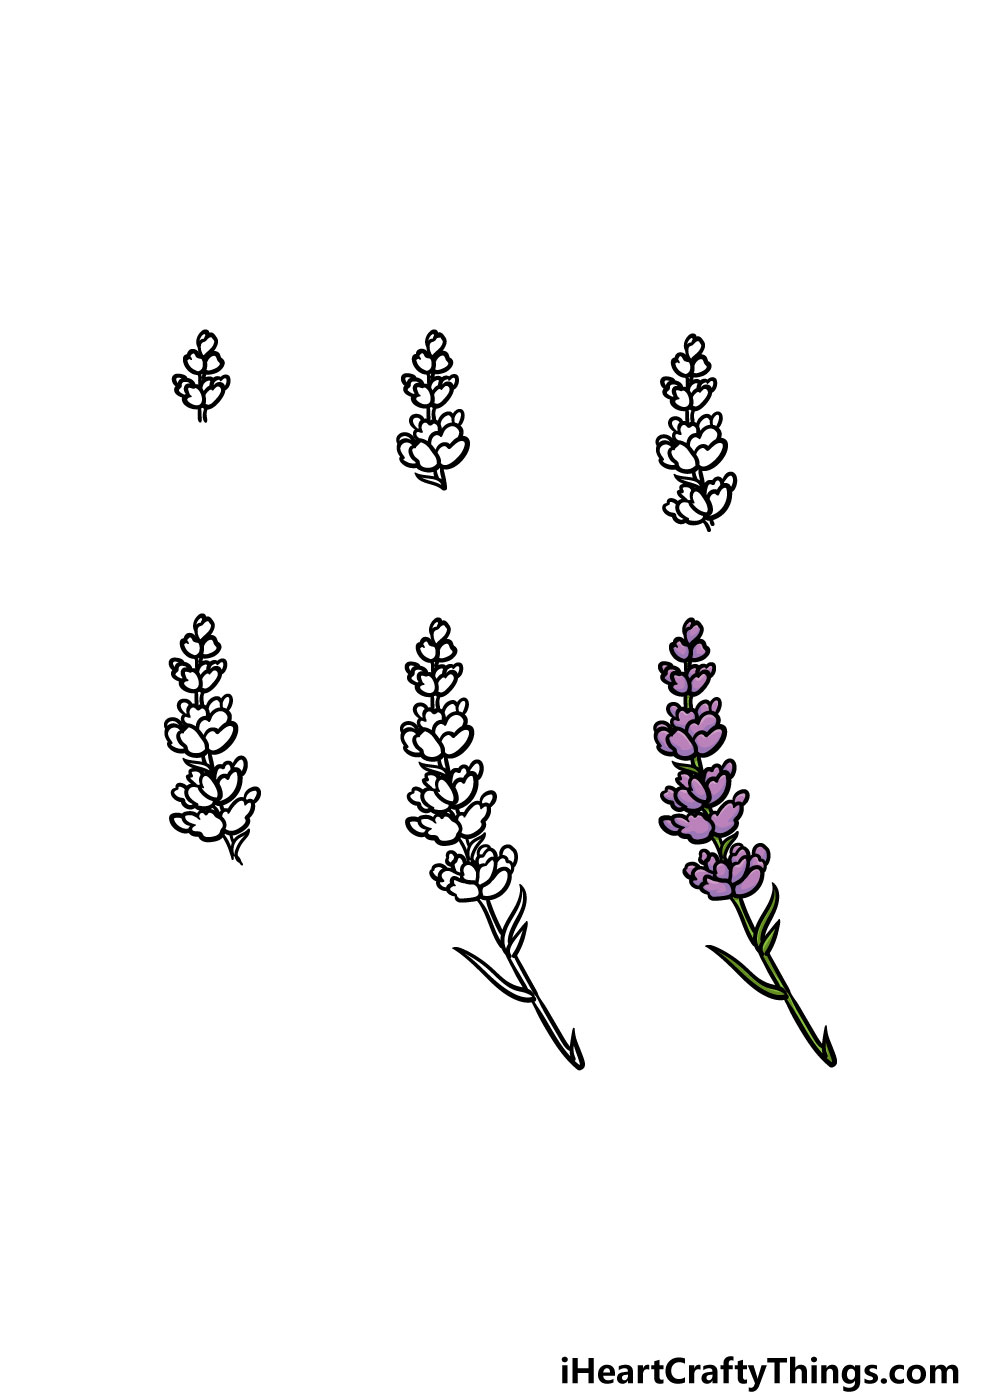
How to Draw Lavender – Let’s Get Started!
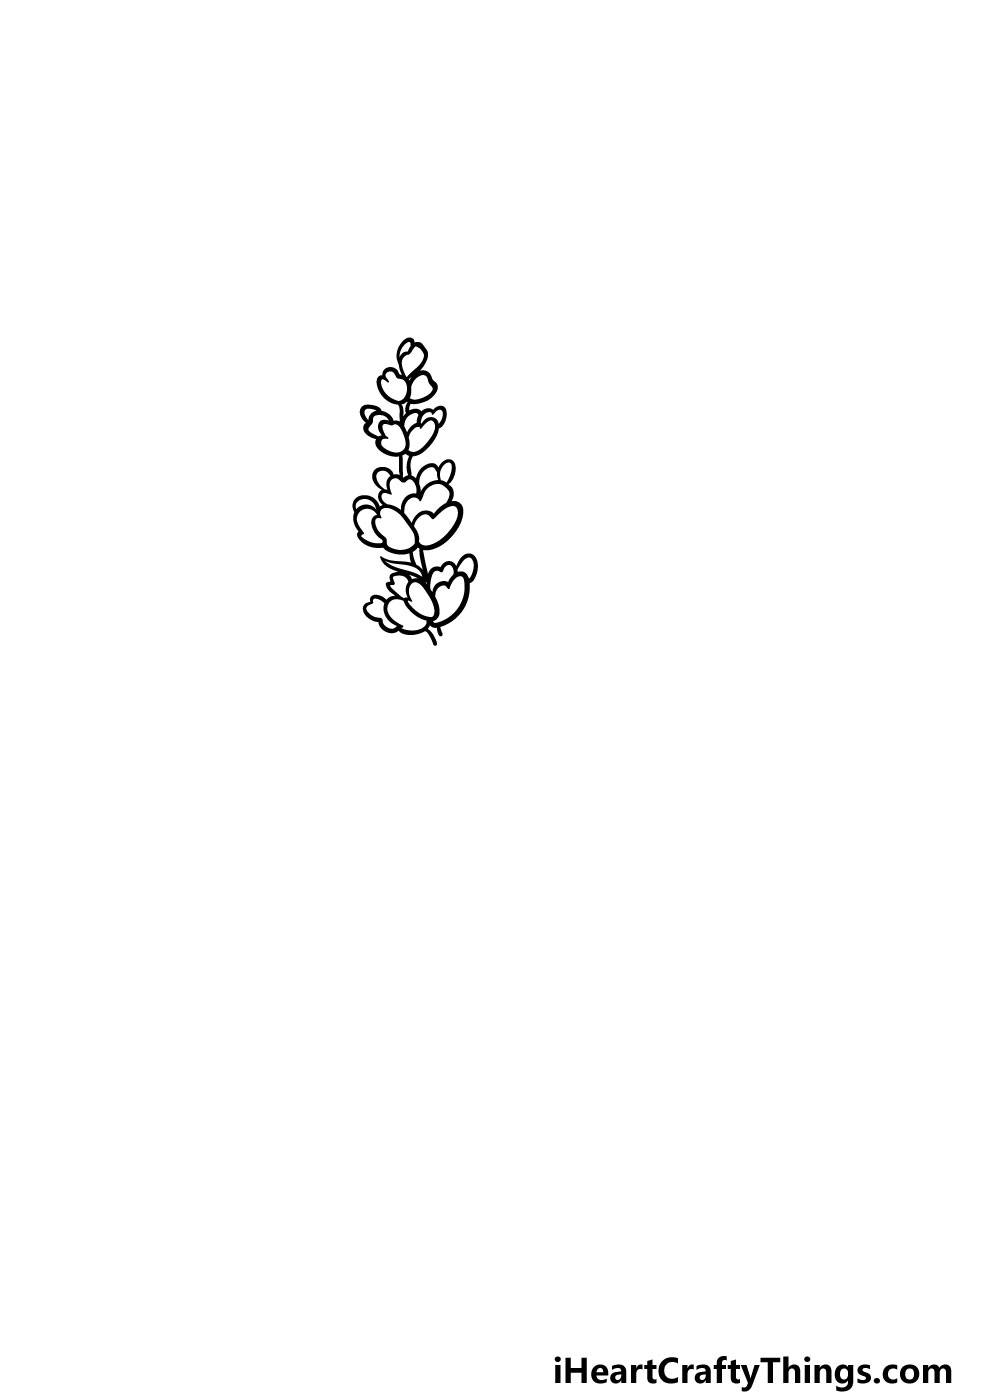
Step 1
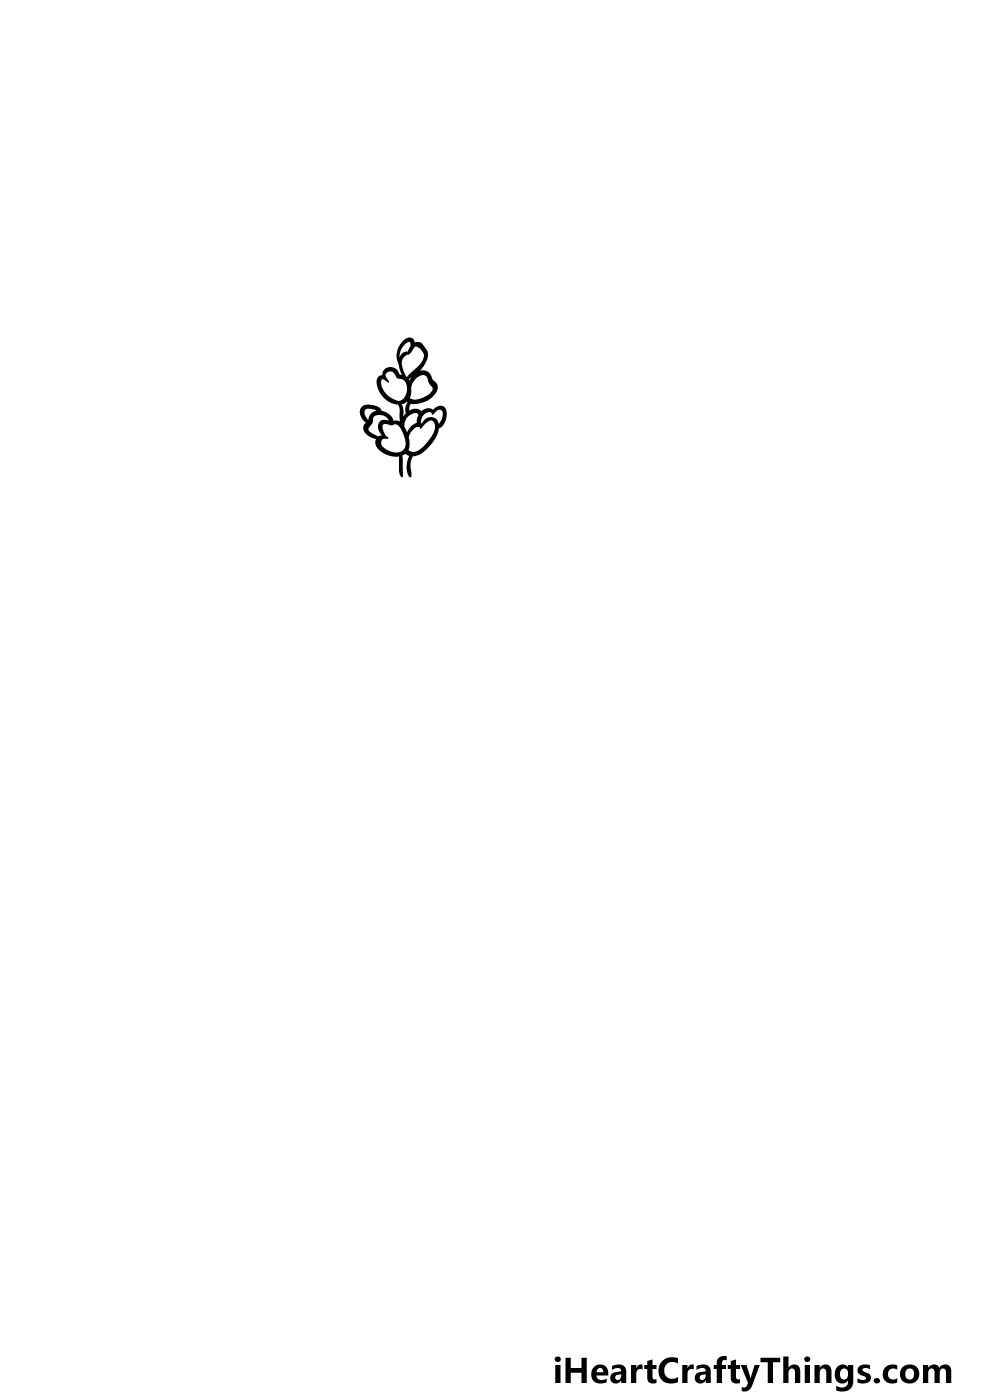
A lavender flower may look simple at first glance, but they are actually made up of some fairly intricate detailing. We will start with these small details in this step of our guide on how to draw lavender.
Taking it slowly and going step by step will be the best way to build up this beautiful flower, and for this first part we will start with the tip of the flower.
The flower is made up of lots of smaller buds attached to a central stem, and we shall draw that now.
You can start by drawing some small, rounded shapes that will form these buds. There will be a small cluster of them at the tip before we will be able to see the stem of the flower. Then, there will be a larger cluster of buds beneath this.
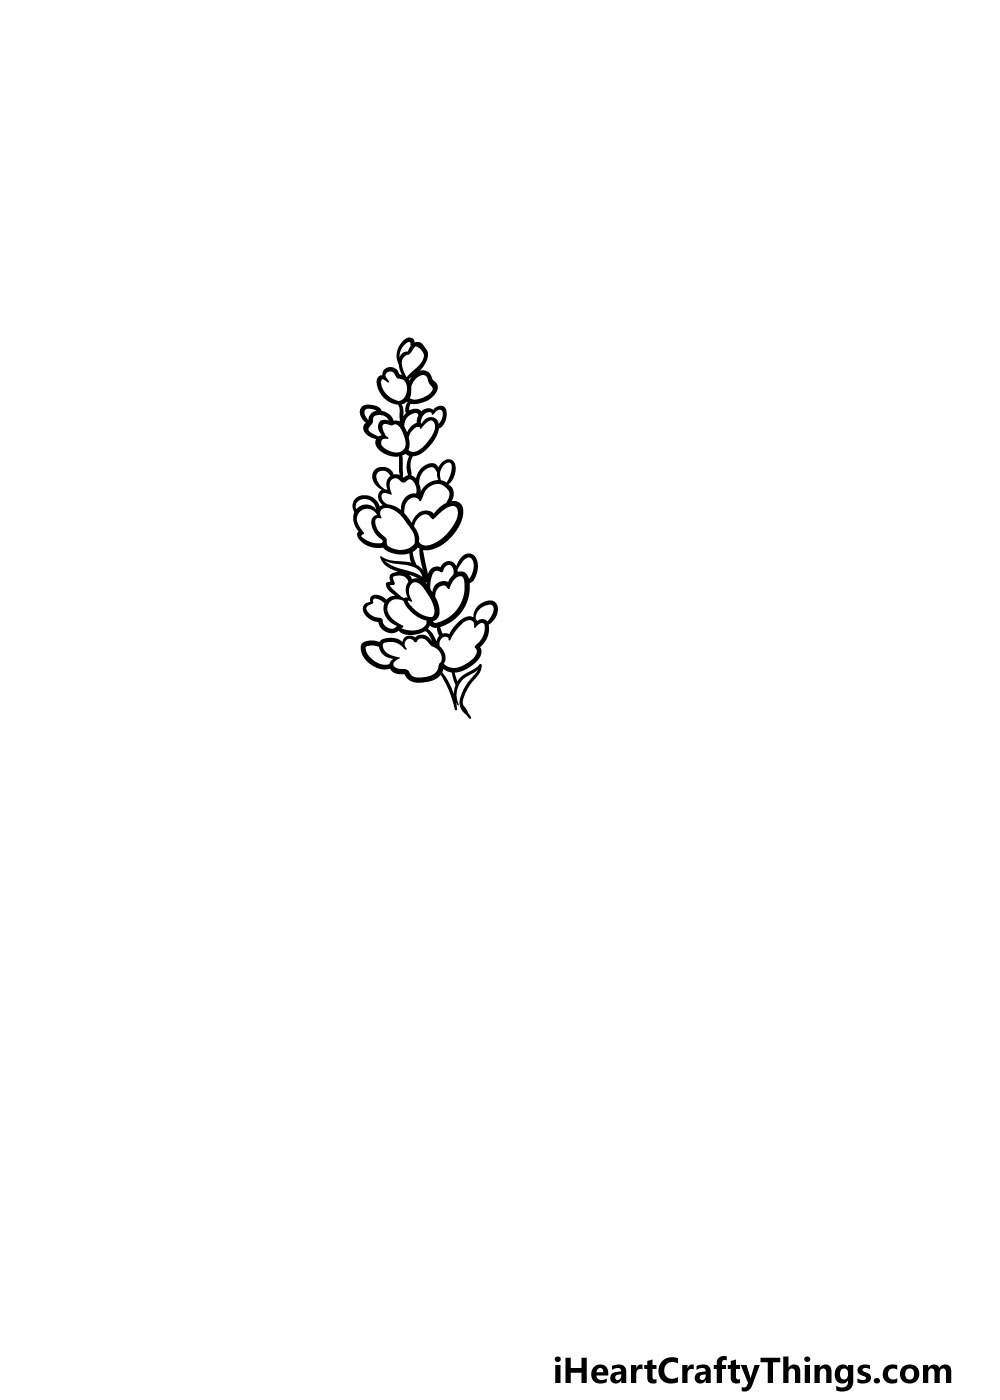
Step 2 – Add the next clump of buds
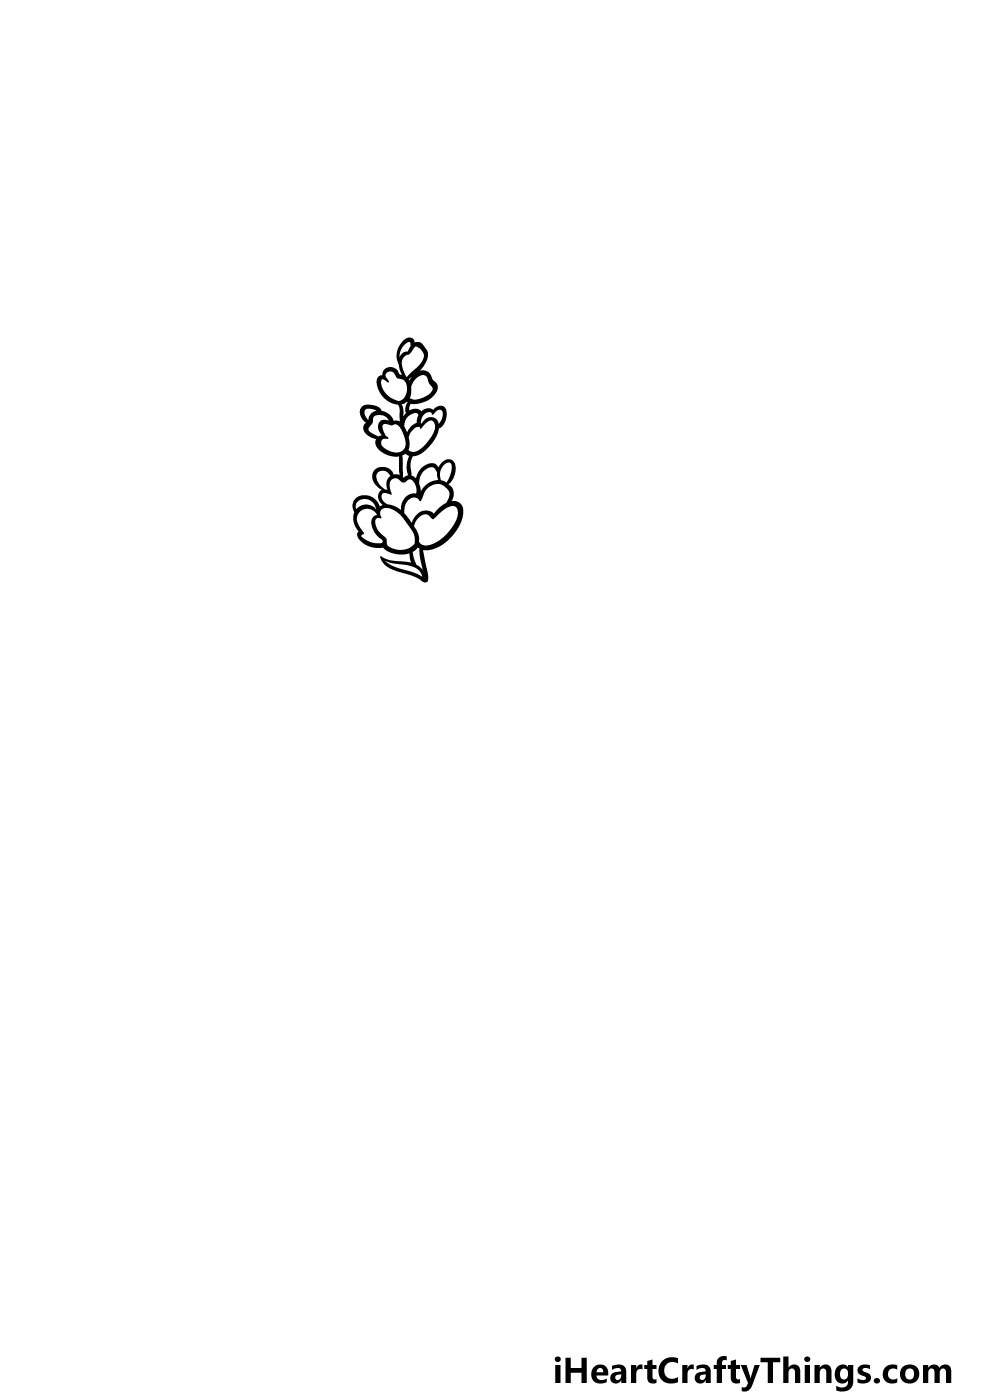
We will continue adding on to your lavender drawing in this next step. In this step, we will be adding another clump of the buds that you were drawing in the previous step.
As you can see in our reference image, this clump will be much larger than the first one was. Simply draw a big bunch of buds and then draw the stem coming down further from it.
Then, we will be ready for step 3, so let’s proceed!
Step 3 – Next, draw more buds for the lavender flower
You’re really getting the hang of this guide on how to draw lavender! For this third step, we will continue what we have been drawing for the last few steps.
That means that you will be drawing another fairly large clump of buds onto the stem below the last bunch that you drew in the last step.
Step 4 – Draw even more buds in this step
As you may imagine, we will be drawing another clump of buds in this step of your lavender drawing.
You’ll see in the reference image that this clump will look a little bit different from the previous ones that you drew. It will be one of the larger bunches on the flower, but this size will be made by making the buds a bit larger than they have been instead of drawing lots of smaller ones.
Then, you can finish off this step by drawing the stem extending down from this clump that you drew. There will also be a small leaf poking out from this stem, as shown in the reference image.
That will leave you ready to add some final details in the next step, so let’s move on!
Step 5 – Now, you can add some final details to your lavender drawing
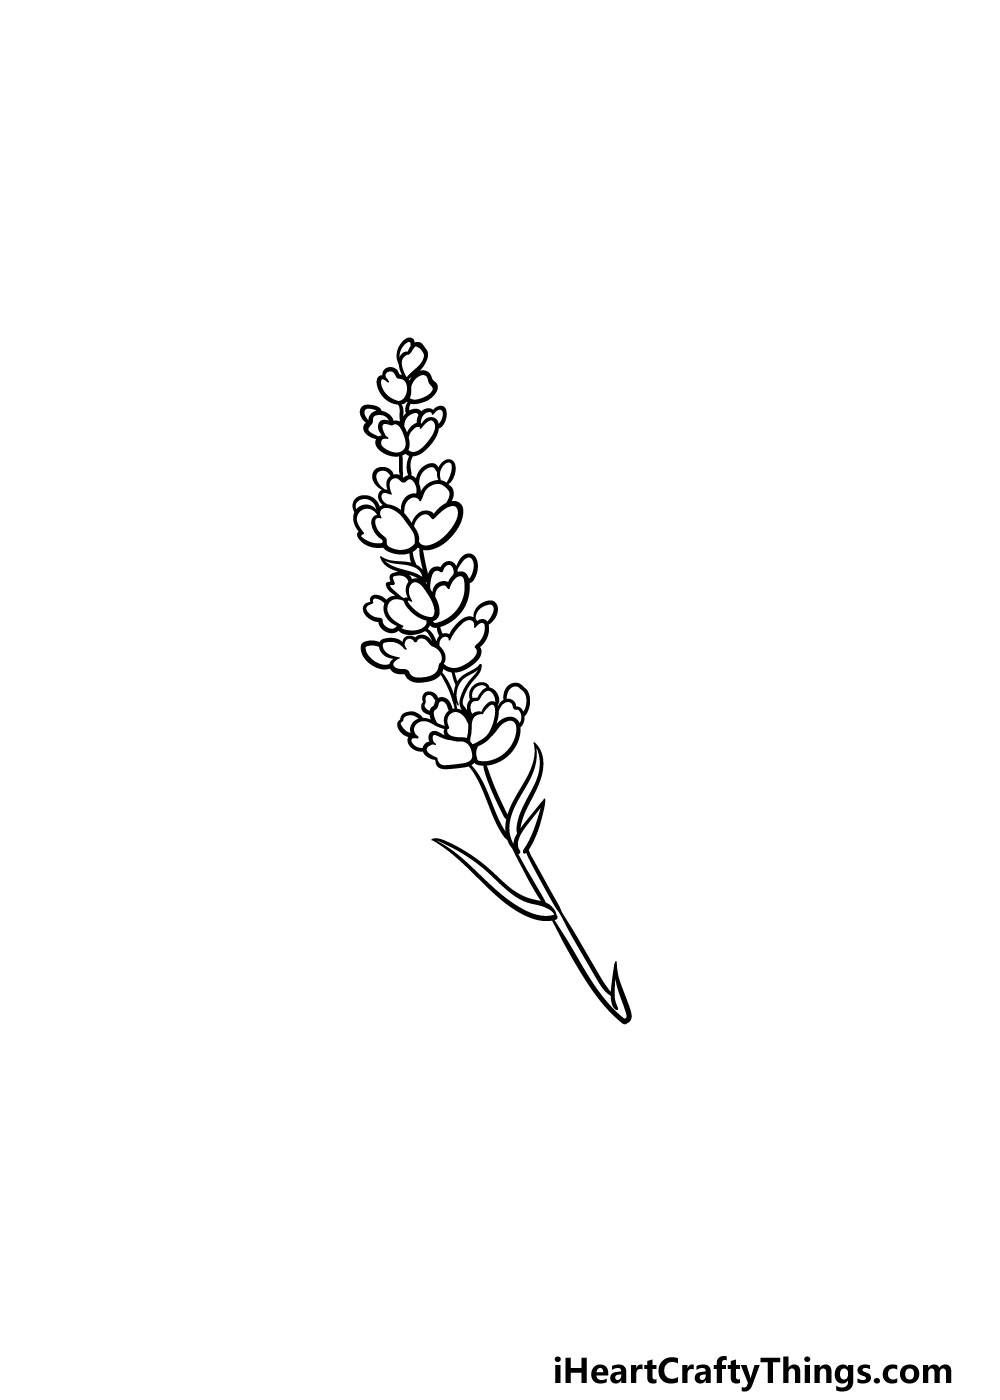
We will be moving on to the final step where you color in your picture soon, but first we have a few final details to add in this step of our guide on how to draw lavender.
First, we will be drawing another clump of buds. This one will be a bit smaller than the last one, and the buds will be smaller yet more numerous.
Then, we will draw the rest of the stem, which will be quite long and slightly curved. We will also be drawing some long, thin leaves coming off from the stem, as shown in the reference picture.
That will finish off the details in this guide, but before you move on you could add some details of your own as well.
You could draw a background, and maybe even fill it with some other flowers that you may love to finish it off. This is just one idea out of many you can go for, so what else can you think of to finish off this image?
Step 6 – Finish off your lavender drawing with some color
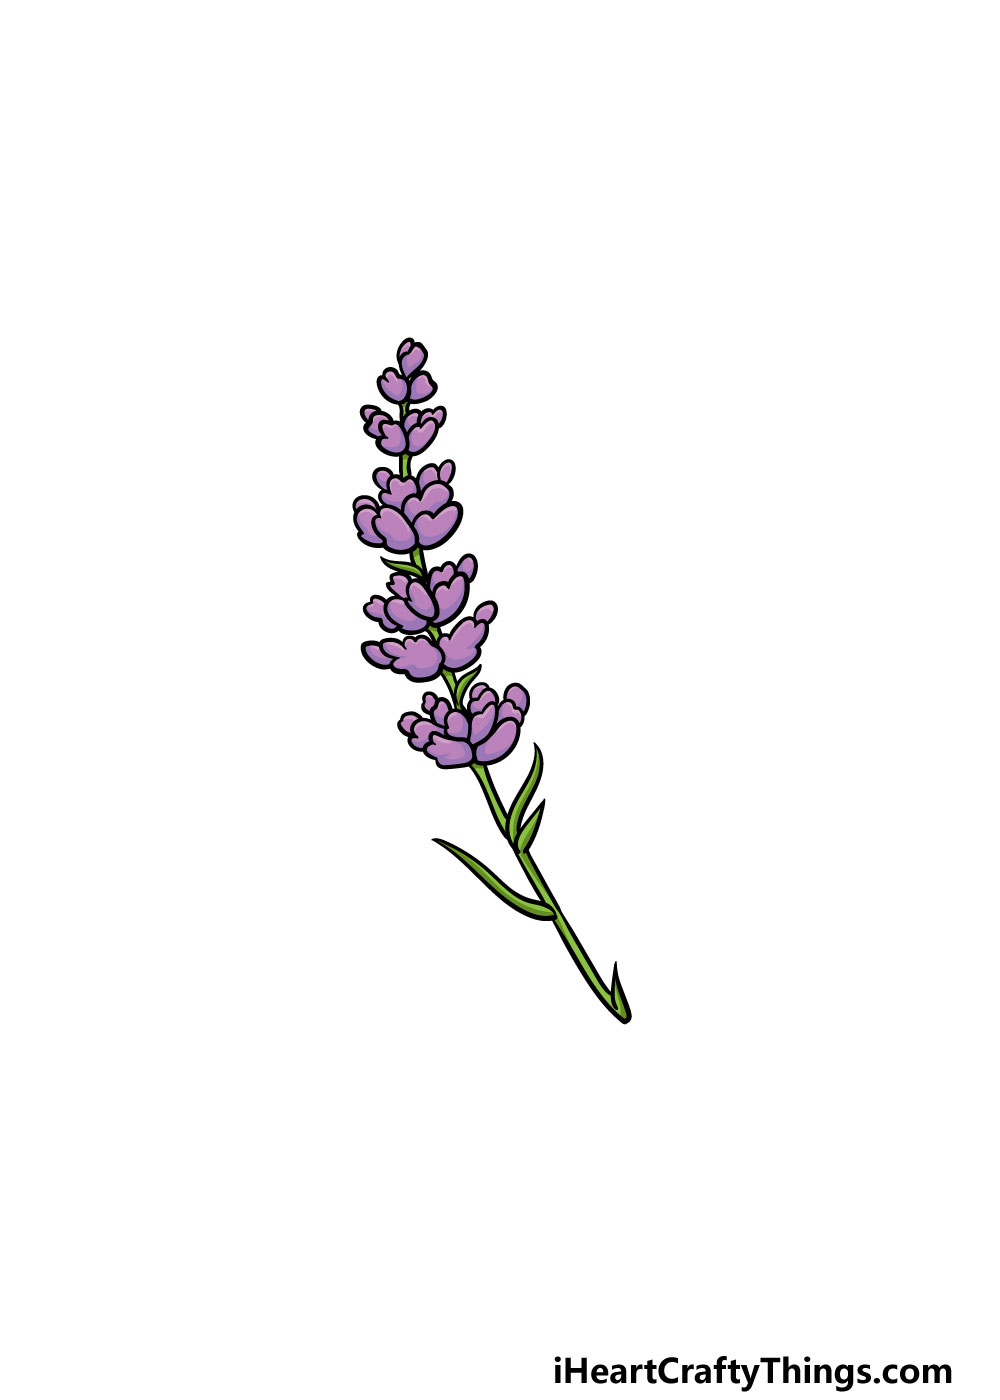
This is the sixth and final step of your lavender drawing, and this is the step where you get to have fun coloring in your amazing drawing!
Lavender has a very distinctive pretty purple color, and that is what we went for in this example image. You can use this as a reference if you would like to keep the colors realistic to how lavender looks in real life.
You could also use some of your own color choices for a more stylistic image if you prefer! Then, you can choose which art mediums you will use to bring the colors to life.
Watercolors can work very well for softer colors like these, but brighter mediums like acrylics and colored pens can work equally well.
We can’t wait to see what colors and art mediums you choose for this image!
4 More Ways To Make Your Lavender Drawing Unique
Create a beautiful flowery scene with these tips for your lavender sketch!
There are few sights as beautiful as a field of lavender, and you could recreate that sight in your drawing of lavender.
Now that you know how to draw a single lavender flower, you could add as many as you like to this image.
If you have a big piece of paper and a lot of patience, you could draw a field filled with this fragrant flower. How many lavender flowers would you like to have in this artwork?
No matter how many lavender flowers you have in this image, you could also add a background to really finish off the scene.
We think you would want to choose a background image that is as beautiful as the lavender.
Maybe some gorgeous mountains or a lush forest would make for a good backdrop to the image.
These are a few settings that could work, but can you think of any other ideas that would create a backdrop worthy of this classic flower?
Another way to create a pretty scene for this lavender drawing would be to add a human character to it. This person could be enjoying the fragrant aroma hanging around the flowers or maybe picking them.
If you were to add a person, then you could draw them in any style that you like. Plus, maybe the character can be based on yourself or someone else that you know.
Who would you like to add to this picture?
Finally, the focus of this lavender sketch is, of course, lavender, but you could also add other flowers to make it even more beautiful.
The flowers you add would depend on which ones you love the most! Maybe some beautiful red roses or yellow sunflowers would go well with the lavender.
There are so many gorgeous flowers to choose from, and you probably have a few more you can think of right now! It would also look lovely to arrange them in a bouquet.
Your Lavender Drawing is Complete!
With that, you have completed this guide on how to draw lavender! We hope that you had a lot of fun completing this pretty drawing alongside us, and we also hope that by having some steps to follow that you found it to be much easier.
Now that you have completed this guide, be sure to keep personalizing it with your own details and elements as well.
We mentioned a few ideas such as drawing a background to finish it off, and you could also draw some more of your favorite flowers with it. What will you choose to finish off this image?
When you would like a new drawing challenge, our website is full of amazing guides for you to enjoy. We upload new ones frequently, so be sure to check in often to never miss out!
When your pretty lavender drawing is complete, please be sure to share it on our Facebook and Pinterest pages for us to enjoy!