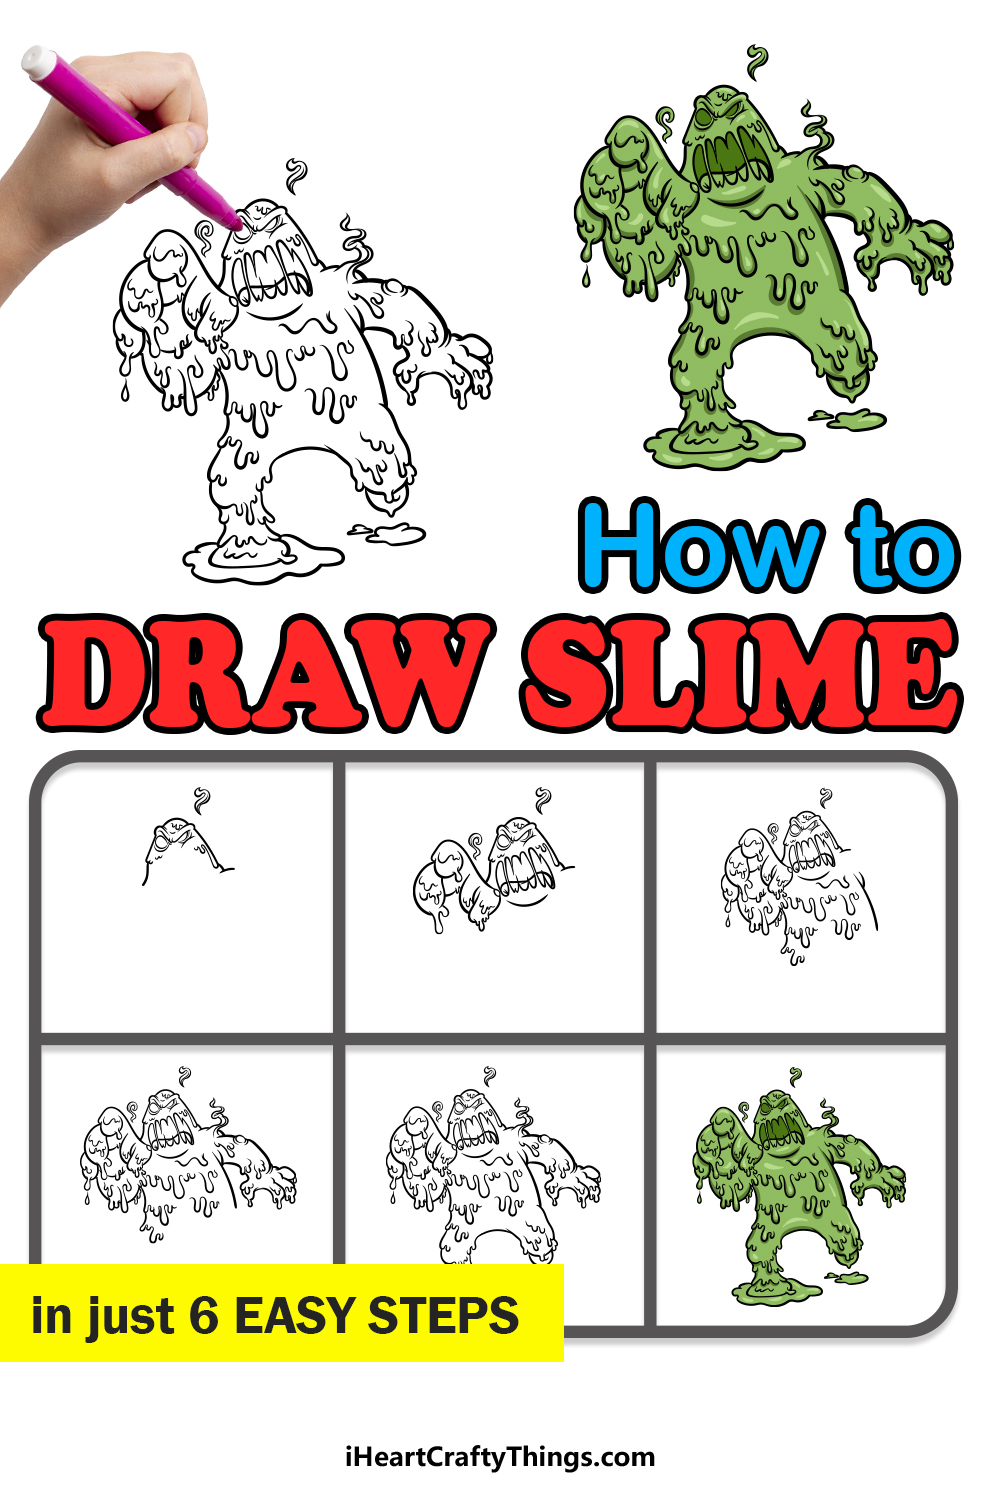
Slime may be a bit of a gross substance, but it is also kind of cool! It can come in many different forms, and it’s even possible to easily make some slime of your own that you can play with and get all over the furniture.
Slime is also often featured in movies and TV shows, and there have been a few examples of slime monsters on the rampage.
It wouldn’t be fun to encounter a slime monster like this in real life, but they are still really cool. Learning how to draw slime is a great way to design a monster like this of your very own!
If you like the idea of having your own slime monster, then this is the tutorial for you.
Our step-by-step guide on how to draw slime in just 6 steps will show you how to create a gloopy monster of your own.
How to Draw Slime – Let’s Get Started!
Step 1
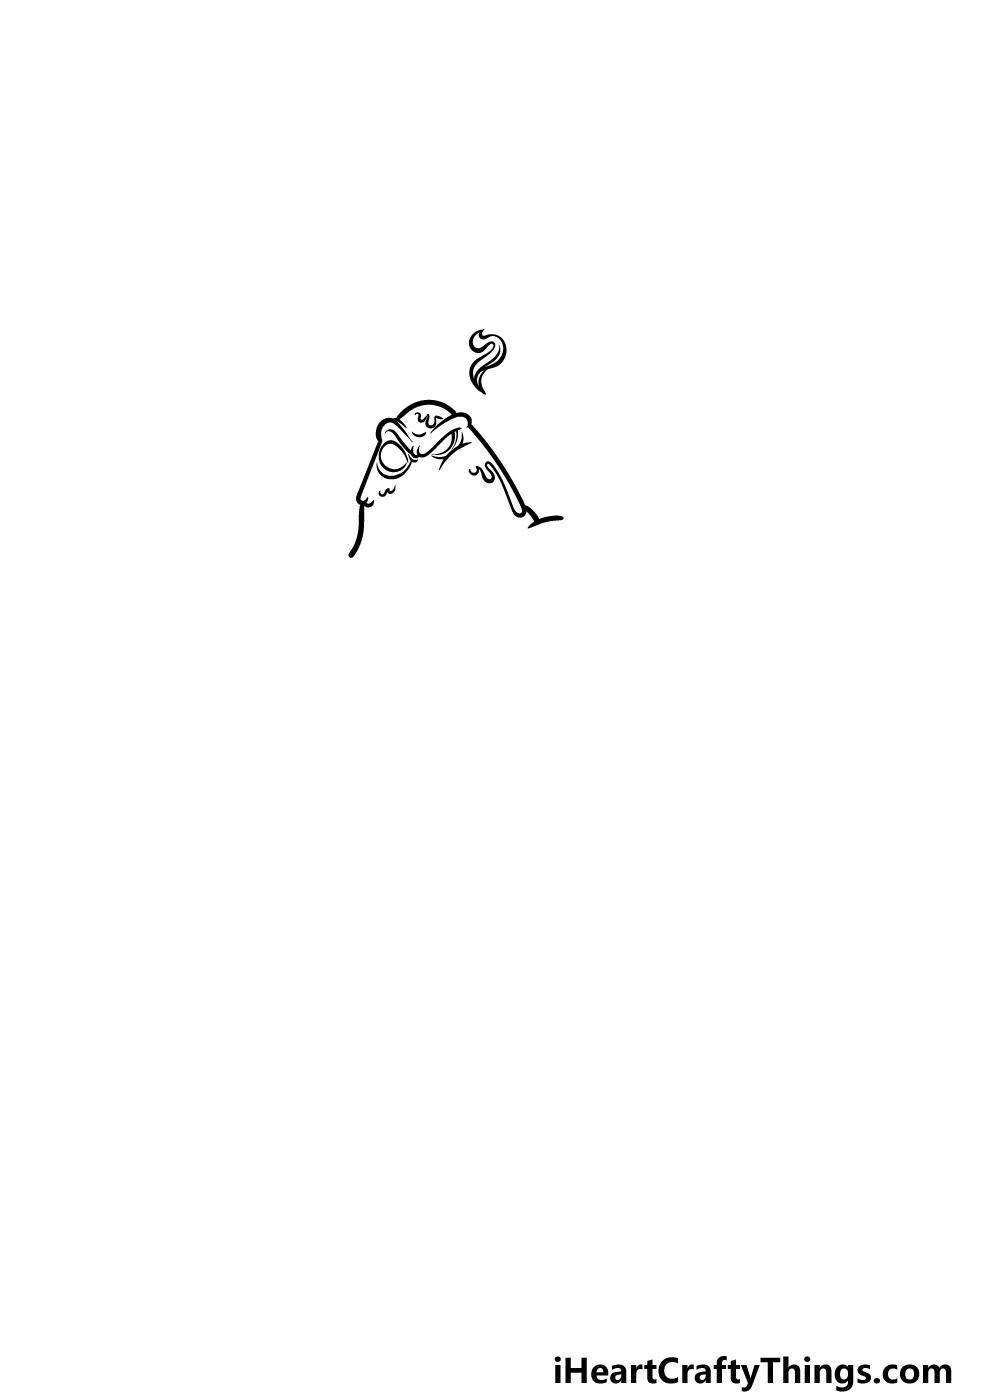
In this first step of our guide on how to draw slime, we will begin by drawing the head of the monster. The head of the monster will be smooth and dome-shaped.
While the outline will be smooth and solid, there will be two bumps in the line near the top of the head, as these will be where his eyebrows are.
You can draw some curve lines for these thin, angry eyebrows and then use some small, round shapes for the eyes themselves.
Add some more lines under the eyes, and then to finish off this step you can draw some curved lines in the head outline to make it look like the slime is dripping off of him.
Then, you will be ready for step 2 of the guide!
Step 2 – Draw his mouth and first arm
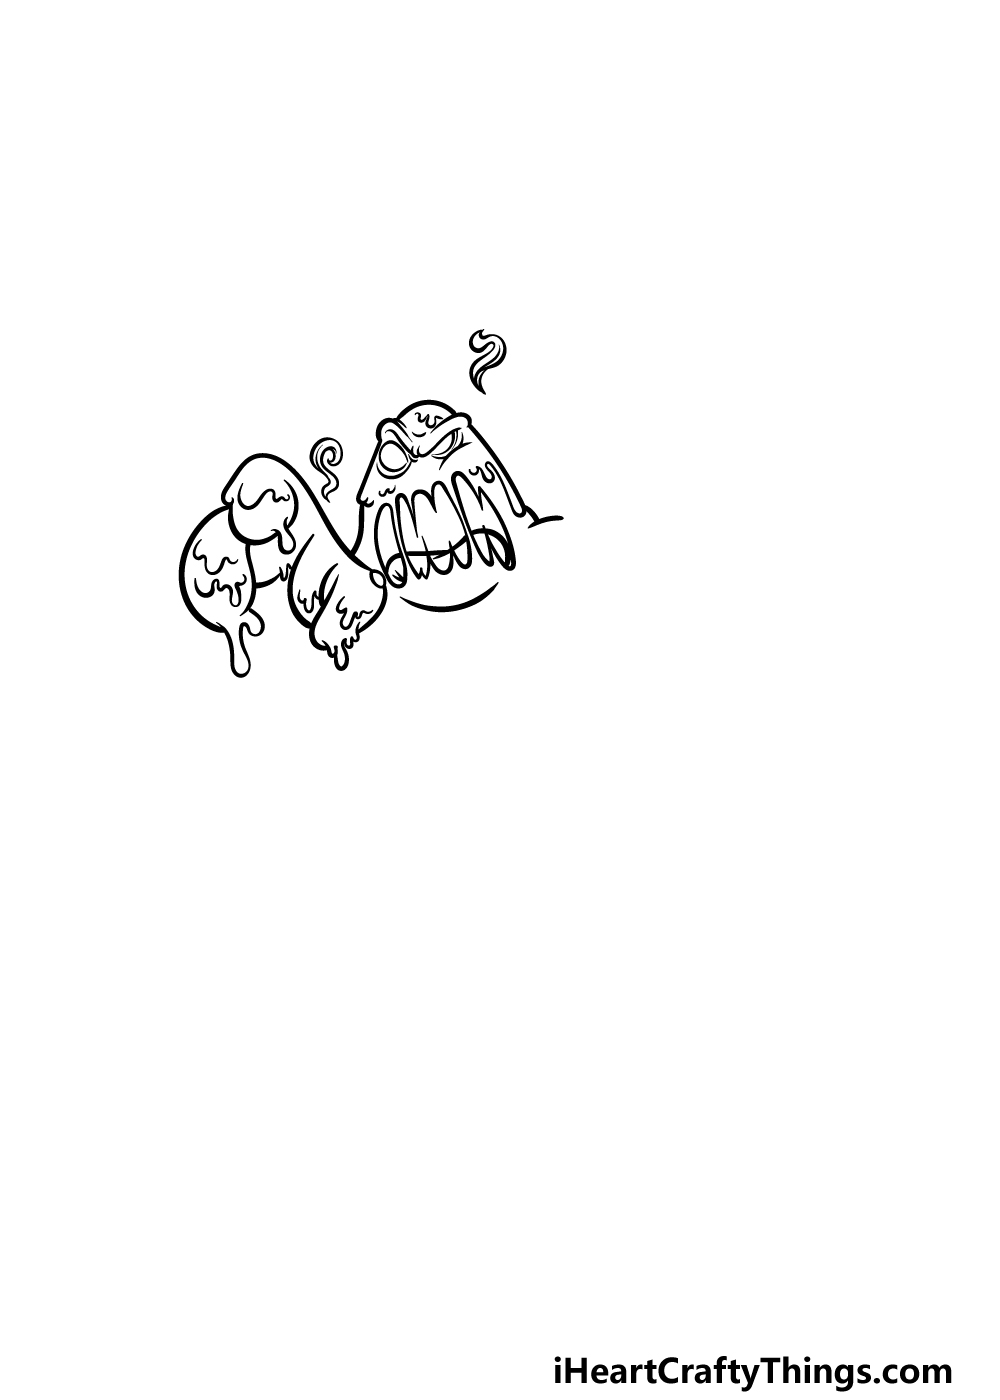
Now we will be adding the mouth and first arm of your slime drawing.
His mouth will be drawn with lots of curved lines, and there will be multiple thin sections that stretch from the top to the bottom of his mouth.
Once the mouth is drawn, the next thing we will add will be his first hand. This hand will be reaching out towards us as the viewer, and to show perspective we will be drawing it to look quite large.
Use some curved lines for the hand outline, and then add some more of those dripping details to it as well.
Step 3 – Now, draw more of his arm and body
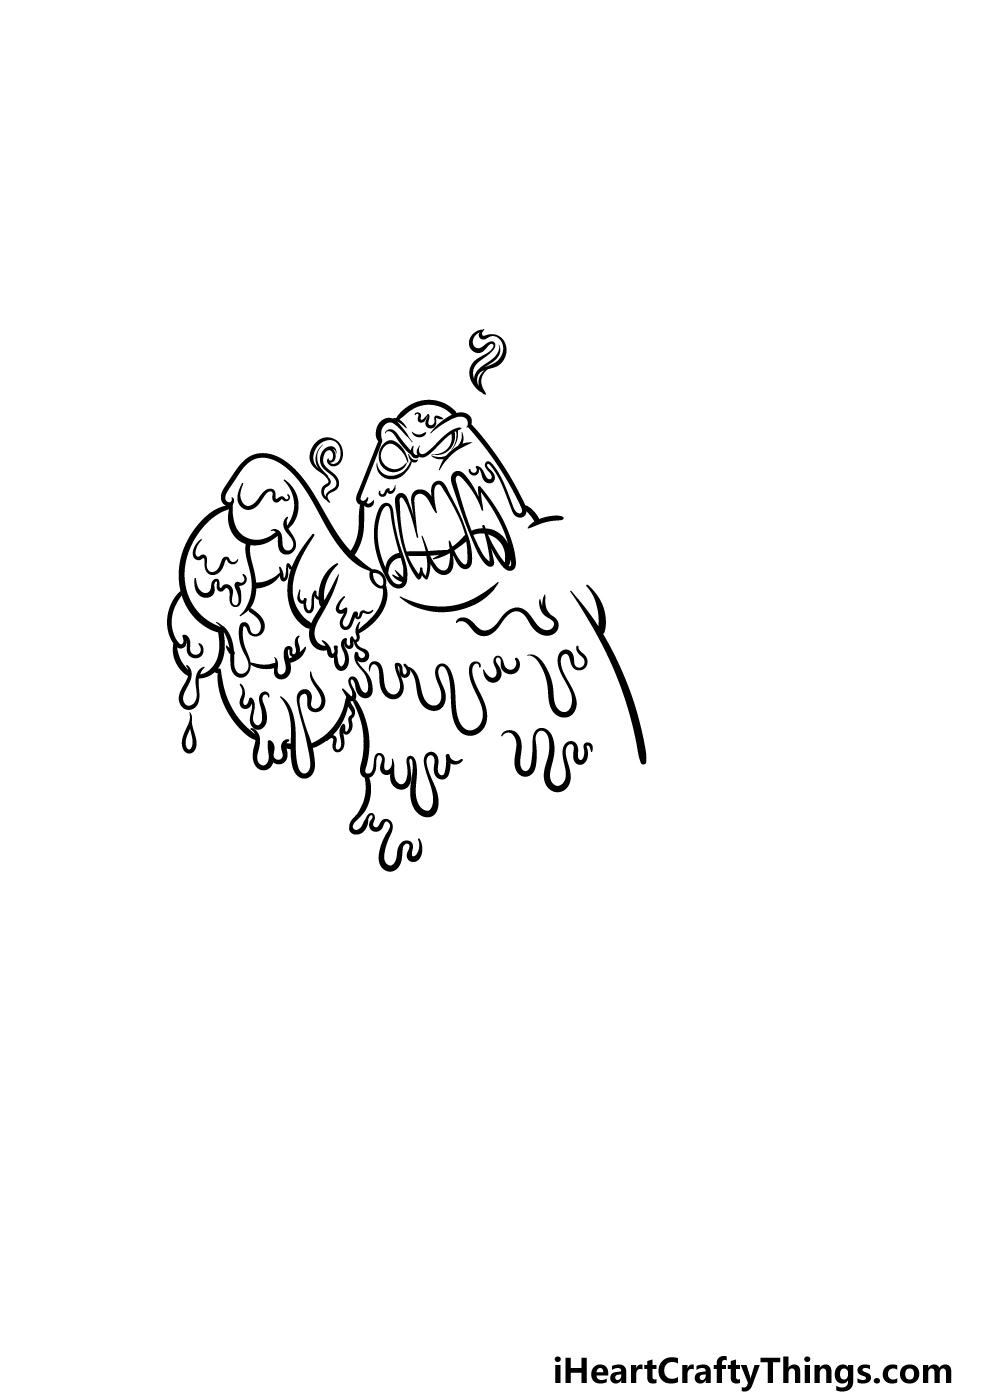
Continuing with this guide on how to draw slime, we will be adding some more to his arm and body outlines.
The arm beneath his hand as well as his body will be drawn with some smooth, curved lines, but there will be lots of drips dropping down over the outlines.
You can add a lot of these drip details to the interior of his body as well. The gloopier you can make him, the better!
When you’re finished with these details, we will then move to step 4.
Step 4 – Next, draw another arm for the slime
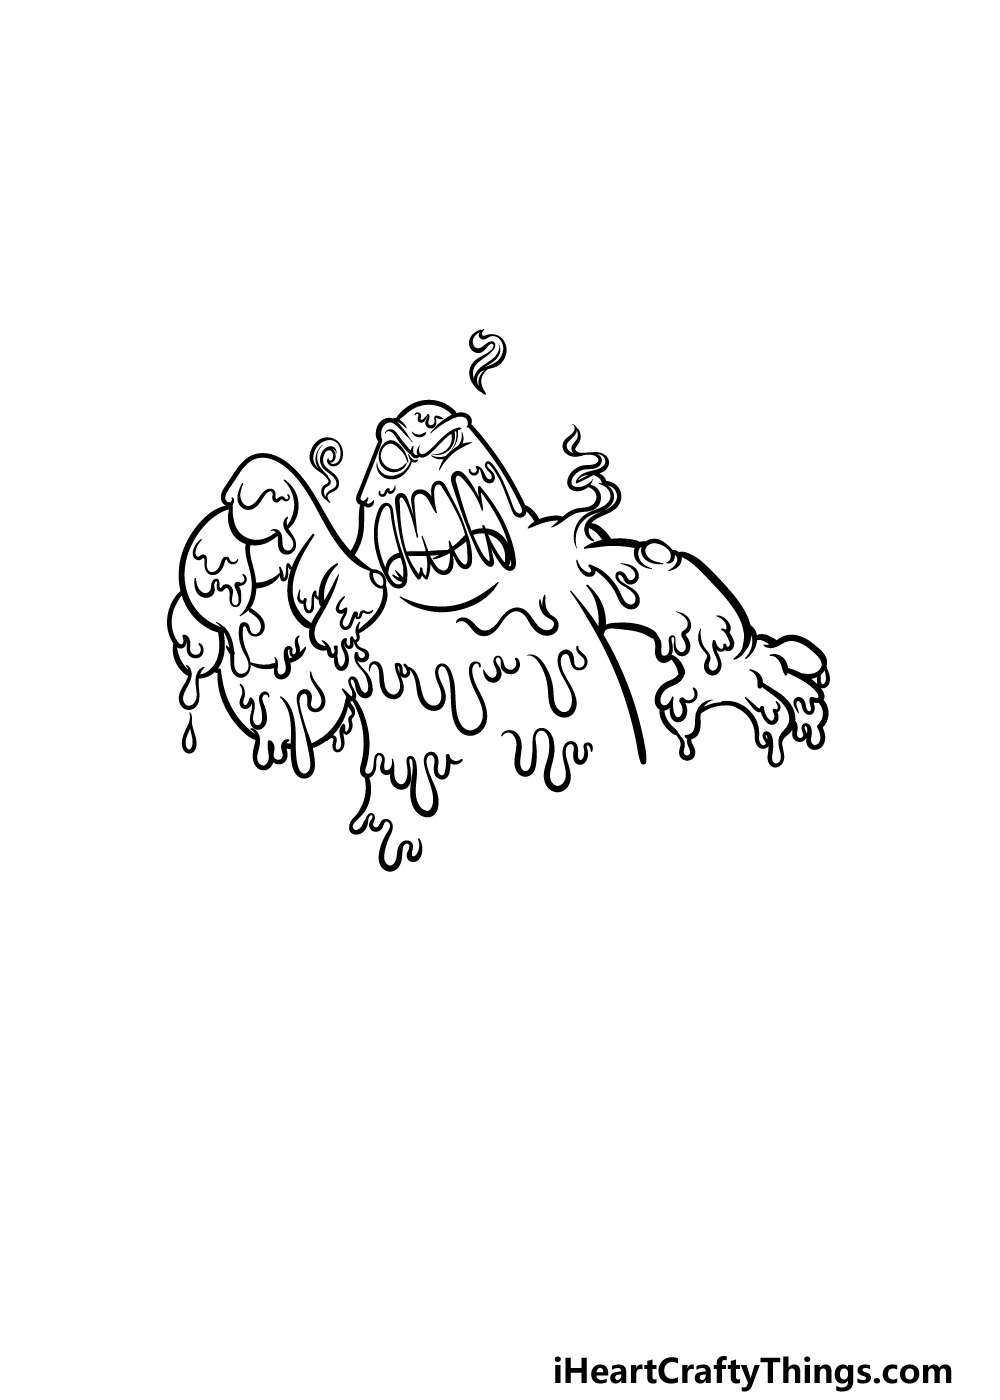
You’re now ready to add another arm for your slime drawing. This one will be extended out to the side, and it will look a bit smaller than the other one to again show some perspective.
Once again, this arm will be drawn with a combination of some smooth lines with thick drips dropping off of it. We will even draw a bubble near the top of the arm for extra gross detail!
Once this arm is drawn, we will then just have a few final details to add in the next step.
Step 5 – Add the final details to your slime drawing
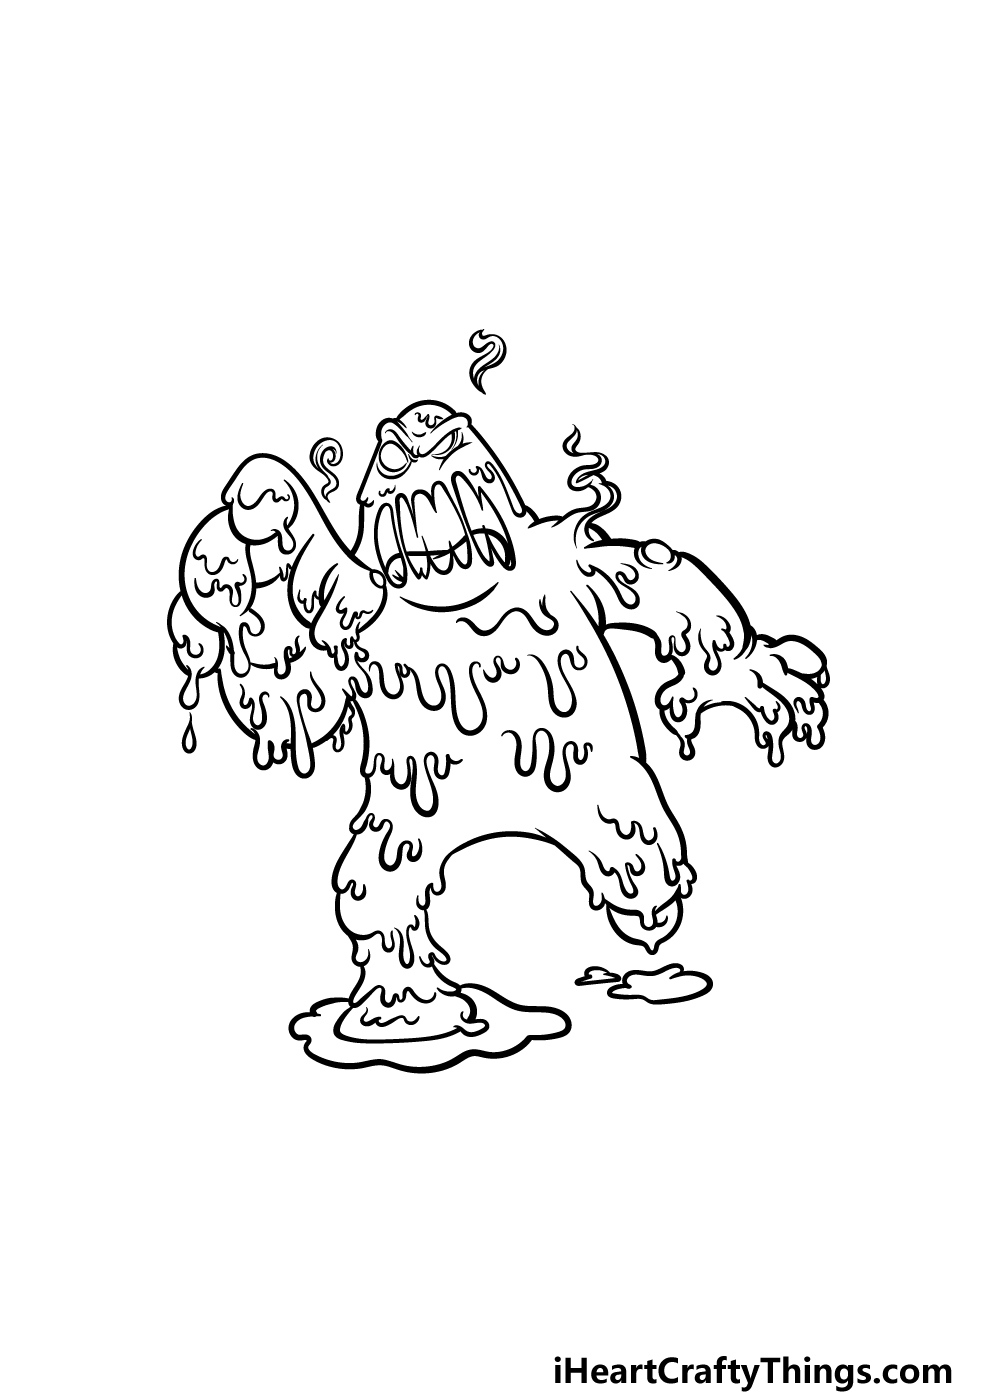
Before you finish off this guide on how to draw slime with some color, we have a few final details to add. You can finish off the outline for the monster by adding some legs.
Much like the rest of the monster, these will be drawn with curved lines that are dripping down. For another fun detail, you can draw some slimy footprints behind him.
Then, you are ready for the final step! Before you move on, you could also add some details of your own to finish it off.
One idea would be to draw a city beneath him to really make him look massive! What other settings can you think of for this slime monster?
Step 6 – Finish off your slime drawing with color
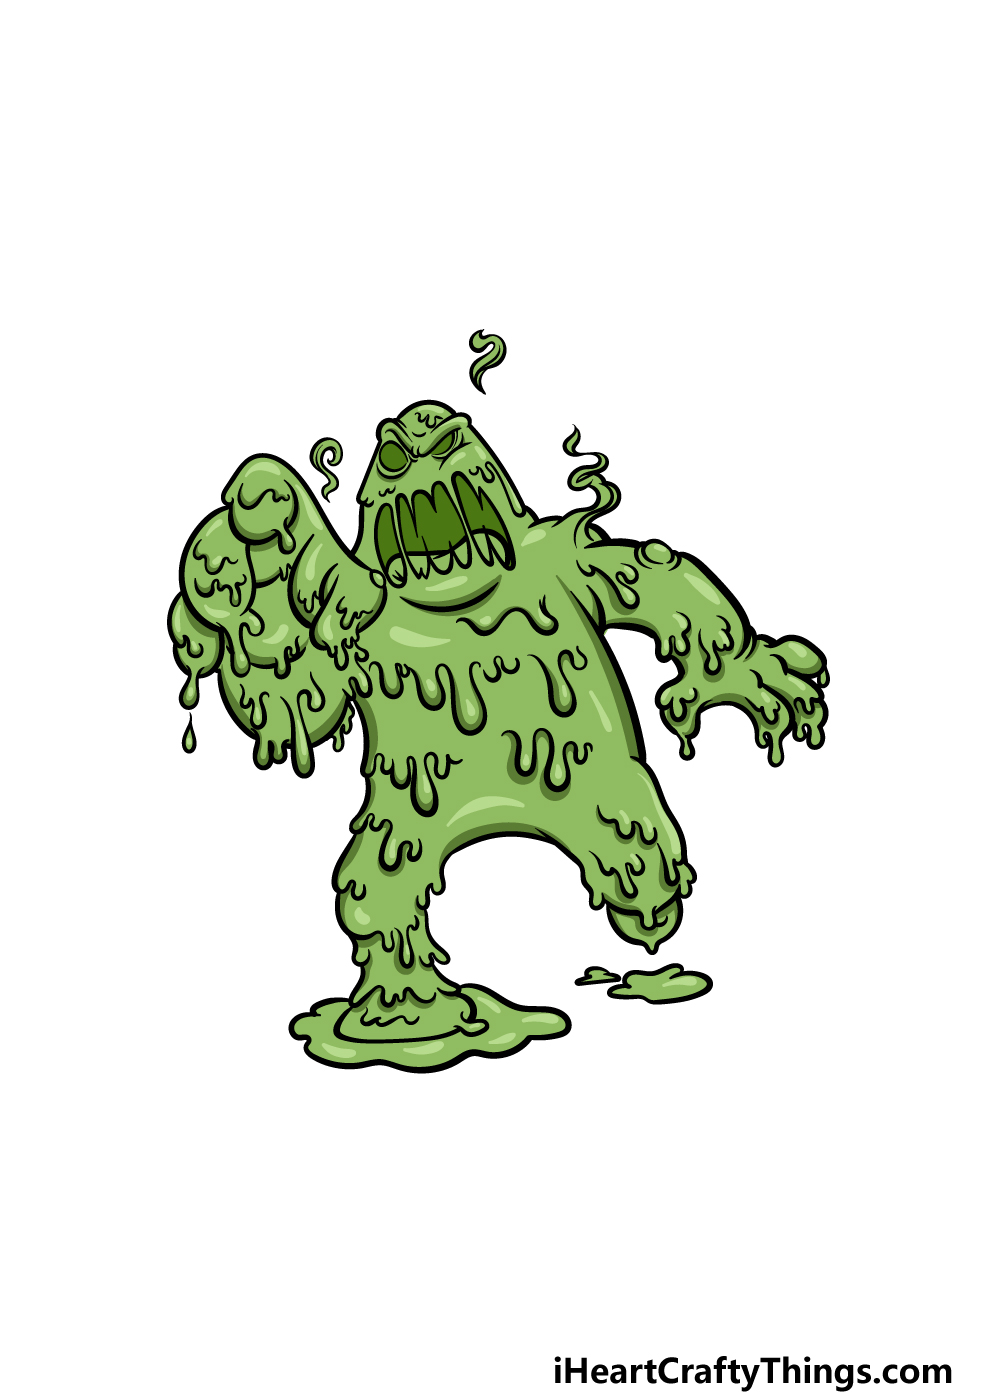
That brings you to the final step of this slime drawing, and now you can finish it off with some color!
Slime is often depicted as being green, and that is the color scheme we went with in our example image.
While it is often shown to be green, the good news is that you could use any colors you can imagine instead if you wish!
You could even use a lot of different colors together to make this slime monster look even more like a mass of gloopy slime mashed together.
Another way you could add some depth to this picture would be to use some acrylic paint and use a thick layer to make the colors stick off the page a bit.
How will you finish off this awesome slime drawing with your colors and art mediums?
5 Tips To Make Your Slime Drawing Even Better!
Make this intimidating slime sketch even cooler with these tips to try out!
This drawing of slime that we created in this guide has plenty of slimy details on it. You could make it look even slimier by adding to these details!
This could be as simple as adding more of the rounded lines that are covering this slime monster to make it look like it is oozing even more. You could also add some additional details of your own!
We certainly wouldn’t want to face off against this slime monster, but it would be even worse if there were more than one. For that reason, you could add some additional slime monsters to the image.
They could have a similar design to this first one, or you could create your own unique design. What sorts of poses could you create?
Another way that you could populate your slime drawing would be by drawing some unfortunate humans into the image. They could be some normal people running away from the monster.
Or, you could show the scientists that created it or perhaps some soldiers fighting against it. There are so many ways you can create an exciting scene by adding additional characters!
A story can be told with just a few background elements, and you could do that for this slime monster. You could suggest how it was created with just a few added elements.
For example, you could draw a lab setting and show a barrel of toxic waste that the slime monster has escaped from. That is just one example of a cool setting that you could create!
The different art tools and mediums you have at your disposal can help to make your slime sketch even better. For example, you can use them to make it look like the monster is actually dripping.
A great way to do this would be by using some slightly watery paint. You could add a blob of this paint and then tilt the image to make it run down the page.
Your Slime Drawing is Complete!
A real-life slime monster would be pretty terrifying to behold, but hopefully this guide on how to draw slime was anything but terrifying to take on!
We aimed to show that drawing this detailed monster can be not only easy but also lots of fun to do, so we hope that we succeeded in this goal for you.
Earlier in the guide, we went over a few ways that you could put your own spin on this drawing.
These ideas included drawing a background, adding some details and using some creative colors and art mediums. These are just a few ideas, but what else can you think of to finish it off?
This guide you have just finished is one of many that we have in store for you on our website! Be sure to visit us there often to never miss out on the guides we upload frequently.
When your slime drawing is all done, we would love to see how this monster turned out! Please be sure to share your creation on our Facebook and Pinterest pages so we can take a look.