Golf is one of the most popular sports in the world. Whether it’s by watching it or playing it, millions of people around the world settle down to this slow-paced, relaxing game.
You can’t play golf without a golf ball though, and it can be harder to learn how to draw a gold ball than you may assume!
While it may not be easy as expected, it can be made much easier when you have a guide to follow!
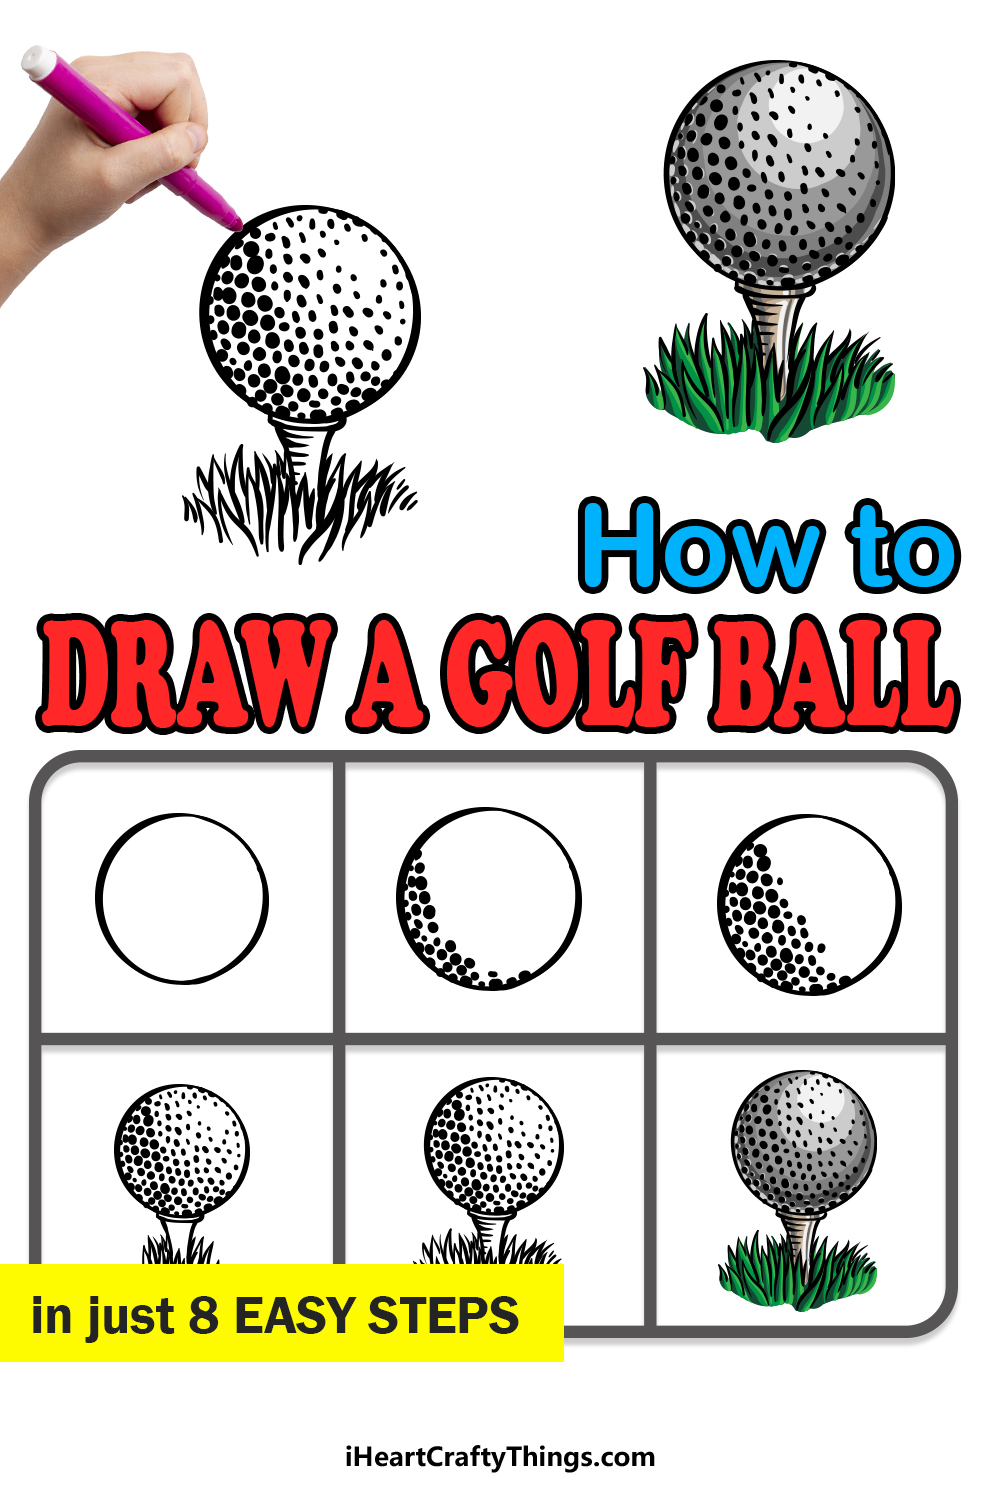
We hope that you enjoy this step-by-step guide on how to draw a golf ball in just 6 easy steps!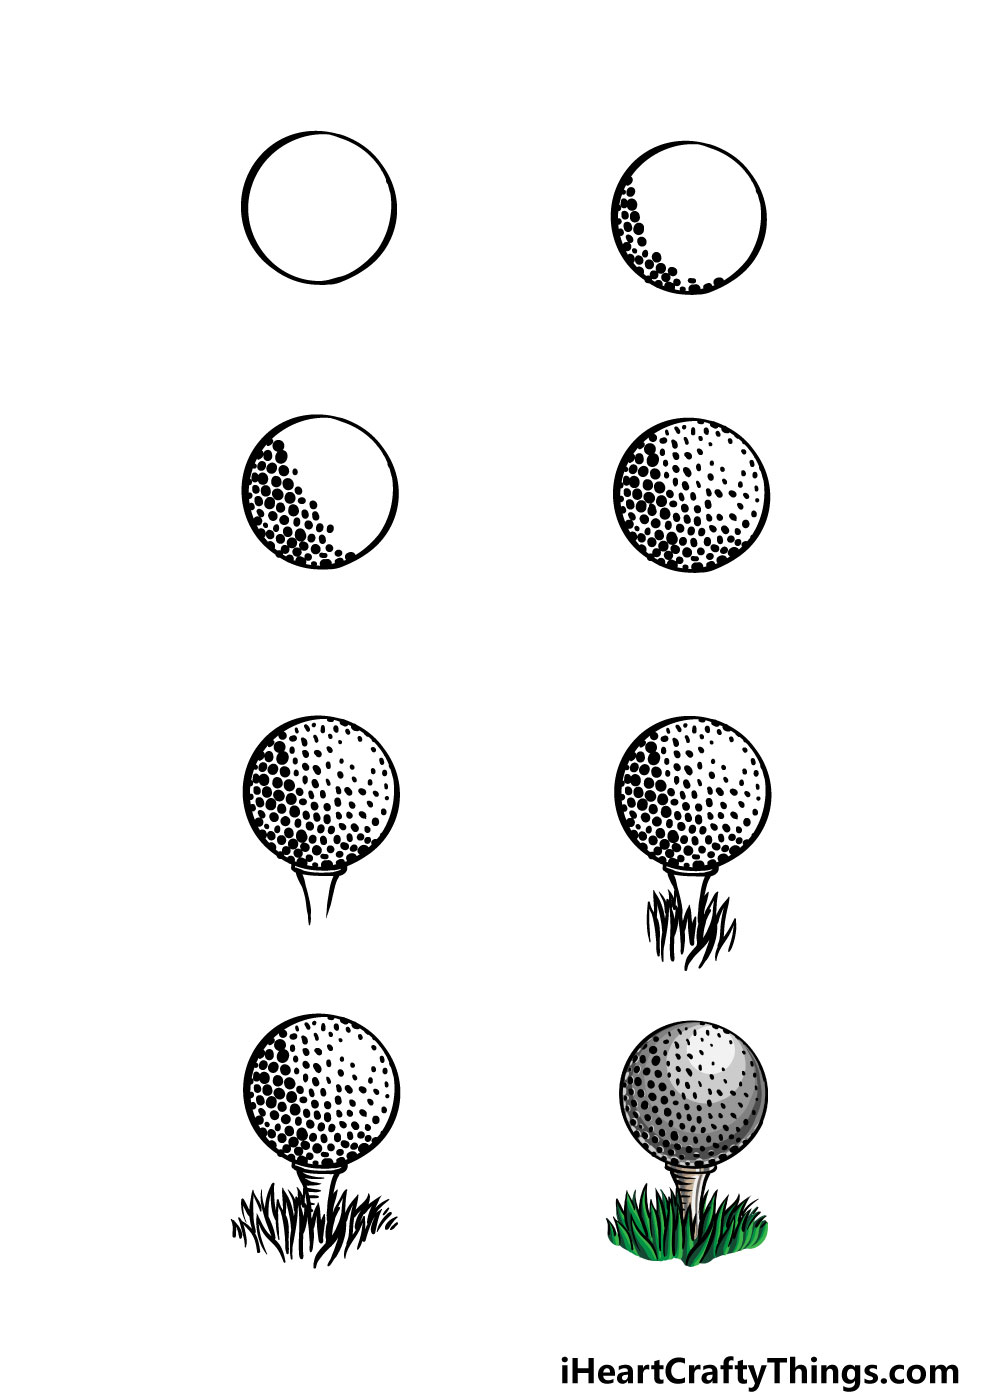
How to Draw A Golf Ball – Let’s get Started!
Step 1
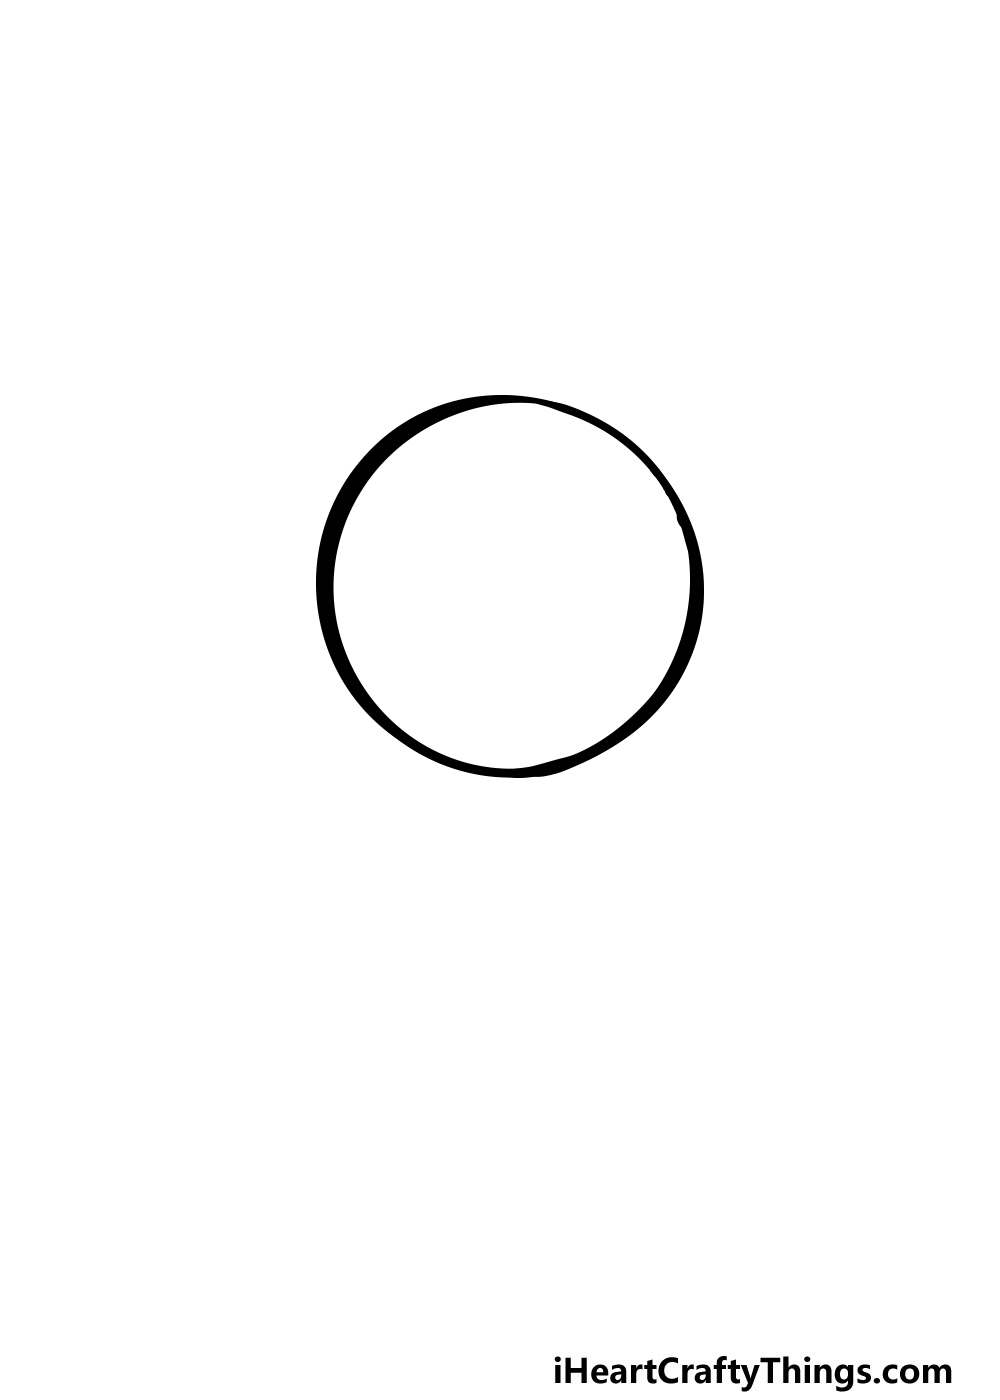
For this first step of our guide on how to draw a golf ball, we will be using a pencil to draw some rough outlines to help you out as you draw.
Using your pencil, start by drawing a circle in the center of the page.
You can use a tool like a drawing compass to help you with this if you have a hard time drawing it freehand.
Then, you can draw some lines coming out from the bottom for the tee. Once you’ve drawn that, you can add some lines around the tee for the grass.
When you’re happy with how it looks, you can use your pen to go over the round ball.
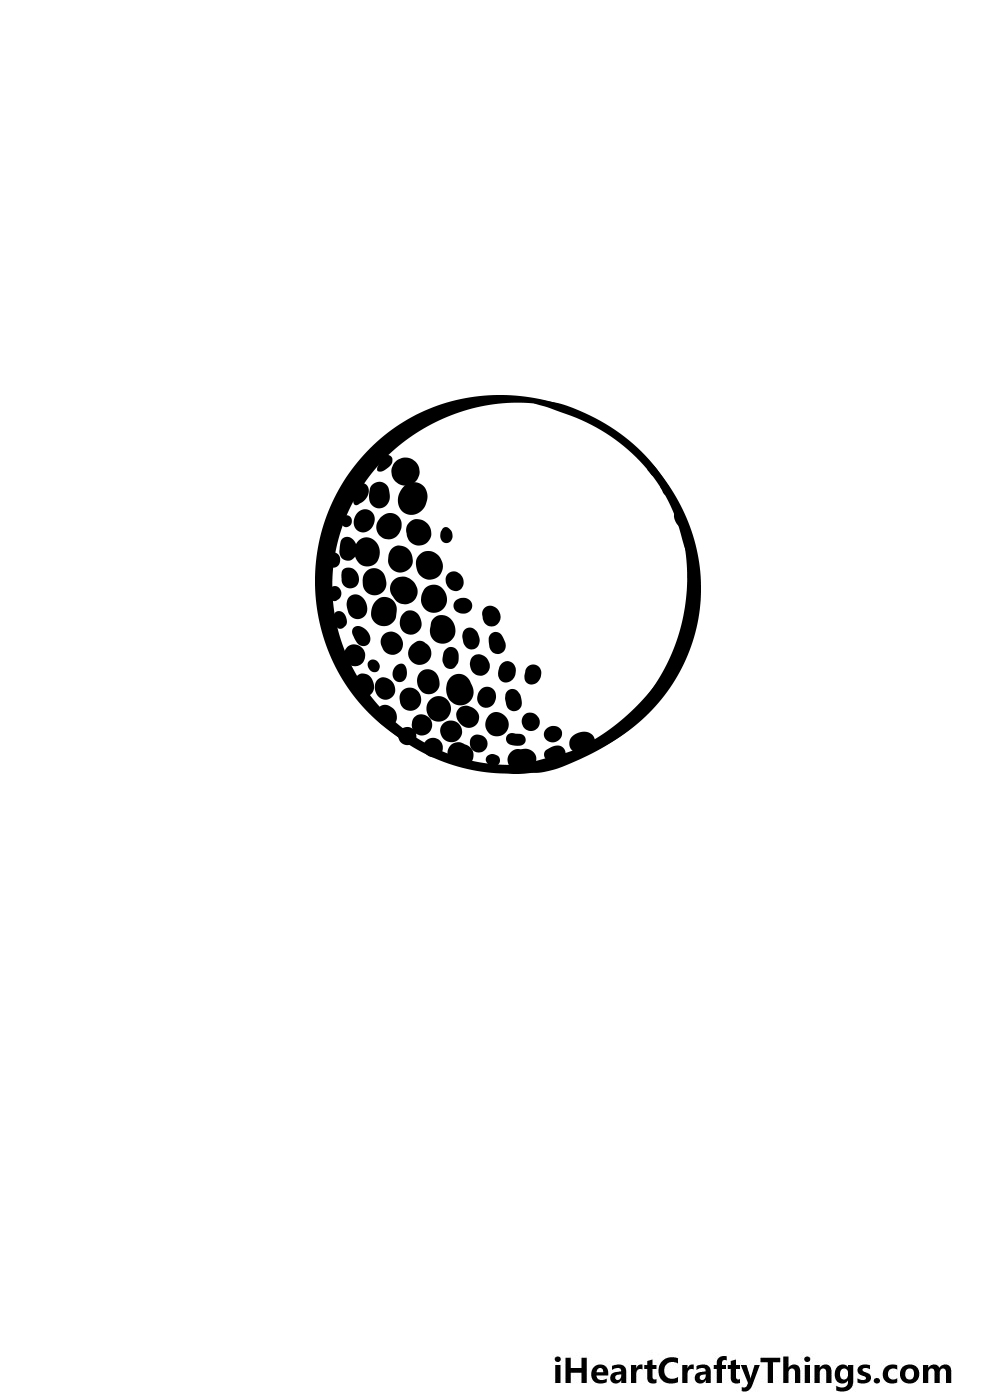
Step 2 – Next, start drawing the little dimples on the golf ball
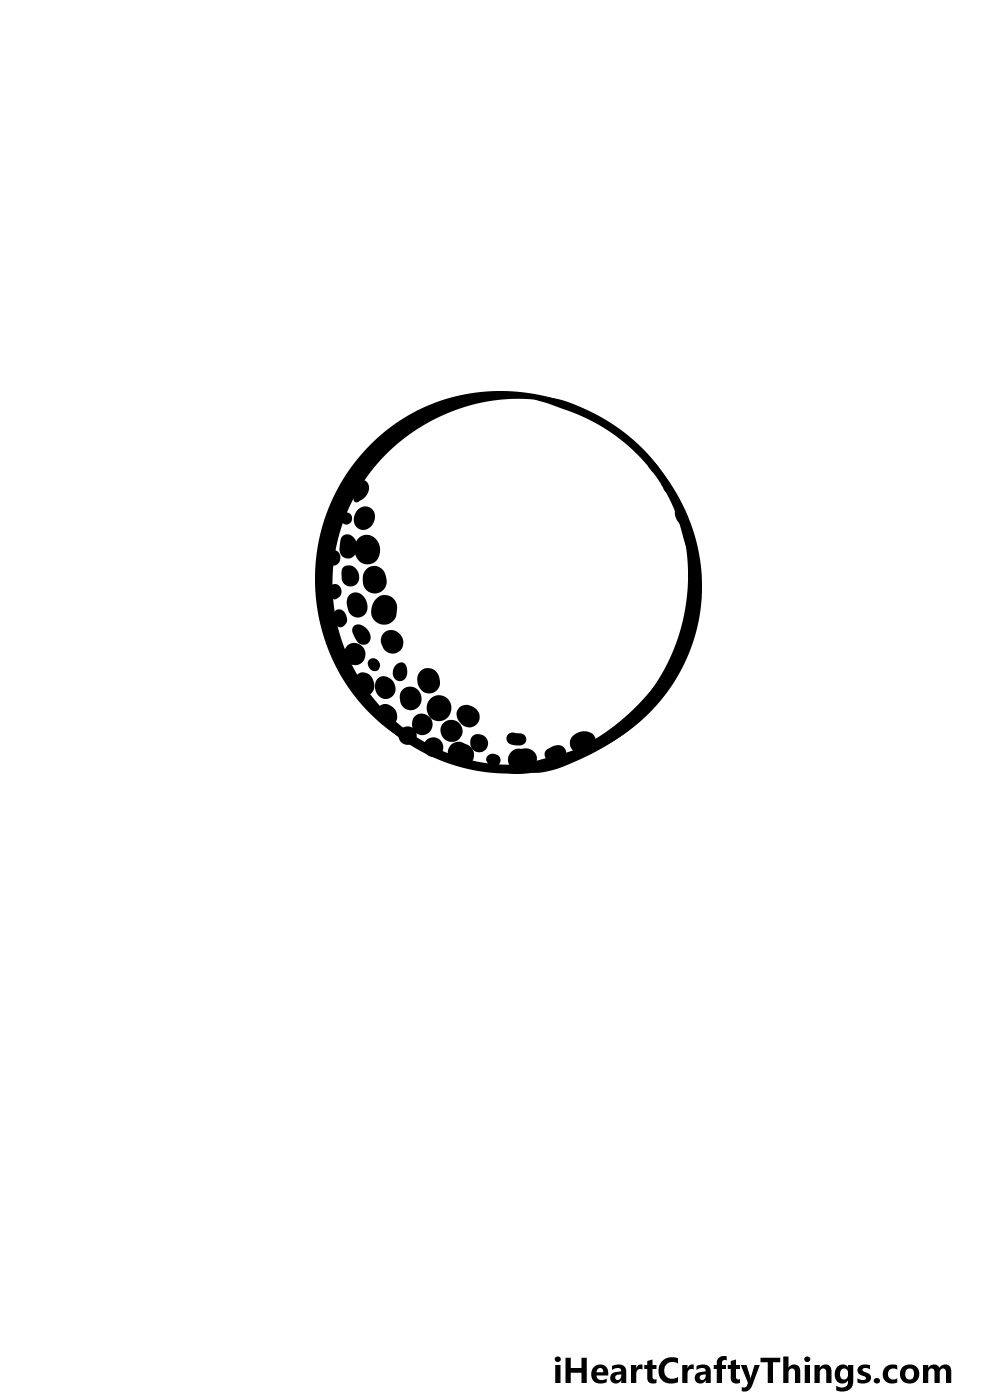
Golf balls are covered in lots of small indents called dimples, and we will be drawing these for this part of your golf ball drawing.
To do this, use your pen to start drawing some dots on the ball that are of various sizes. For now, we will just be doing the left-hand side of the ball.
Step 3 – Now, keep drawing more dimples on the ball
In this part of our guide on how to draw a golf ball, we will be drawing some more of the dimples that you started in the previous step.
Simply keep adding more dots extending to the center of the ball as you were doing in the previous step.
Step 4 – Next, draw the final dimples for the golf ball
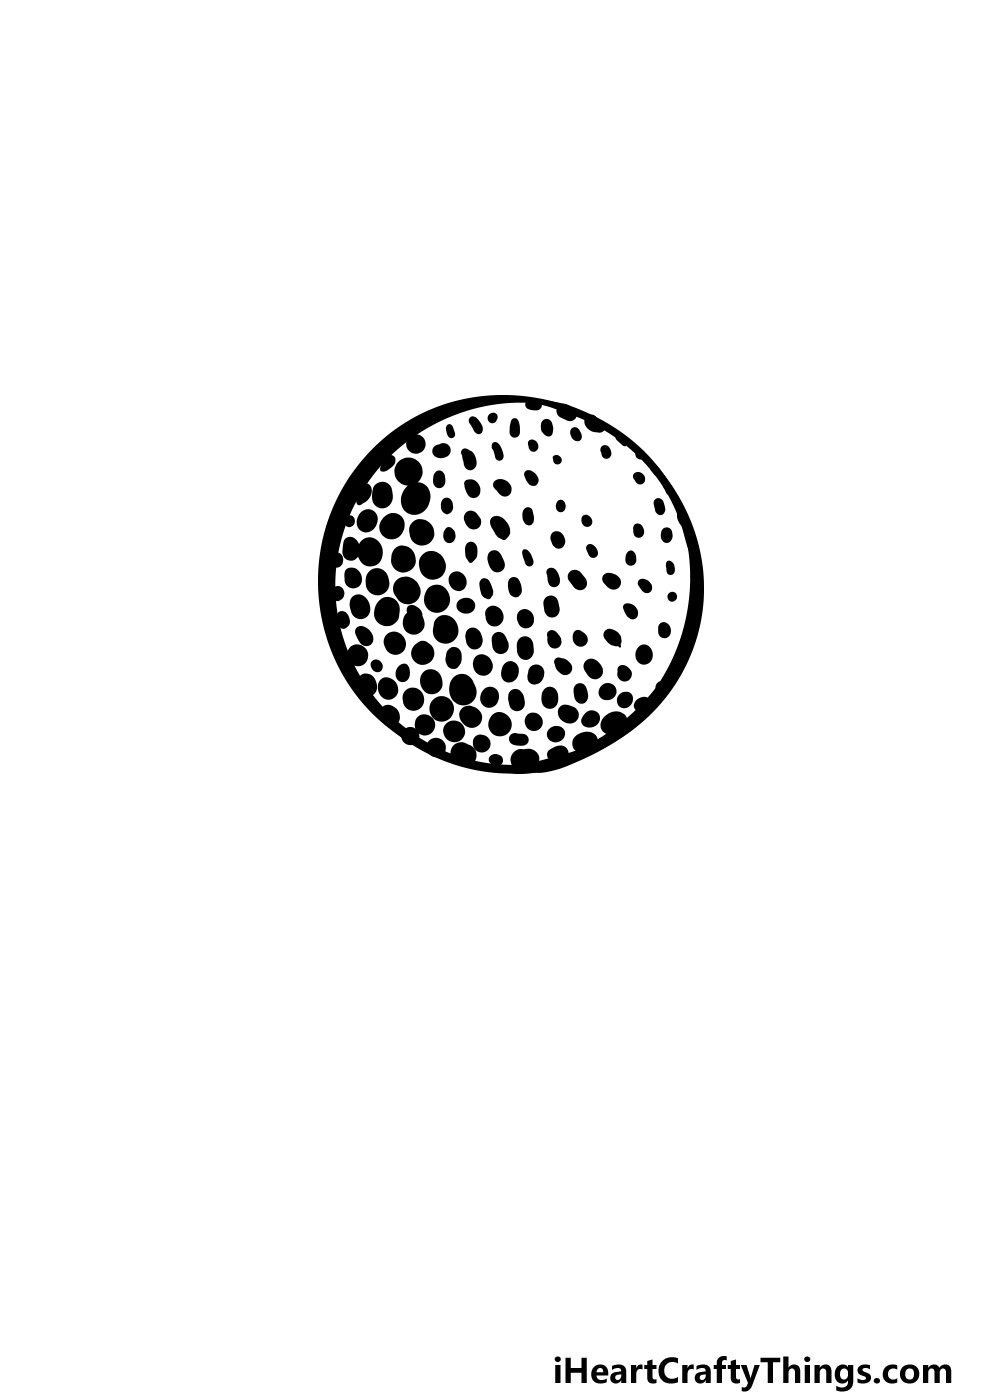
You can finally finish off the dimples in this part of your golf ball drawing. These will fill up the rest of the ball, yet there will be a bare spot near the top right of the ball.
That will finish off the dimples on the ball, so we can focus on more elements for the next few steps.
Step 5 – Now, you can draw some details for the tee

We’re finished with the ball for now, so in this next step of our guide on how to draw a golf ball we will be adding some detail to the tee.
To do this, simply go over the pencil lines for the tee that extend down from the bottom of the golf ball.
Step 6 – Next, draw some grass detail in this part
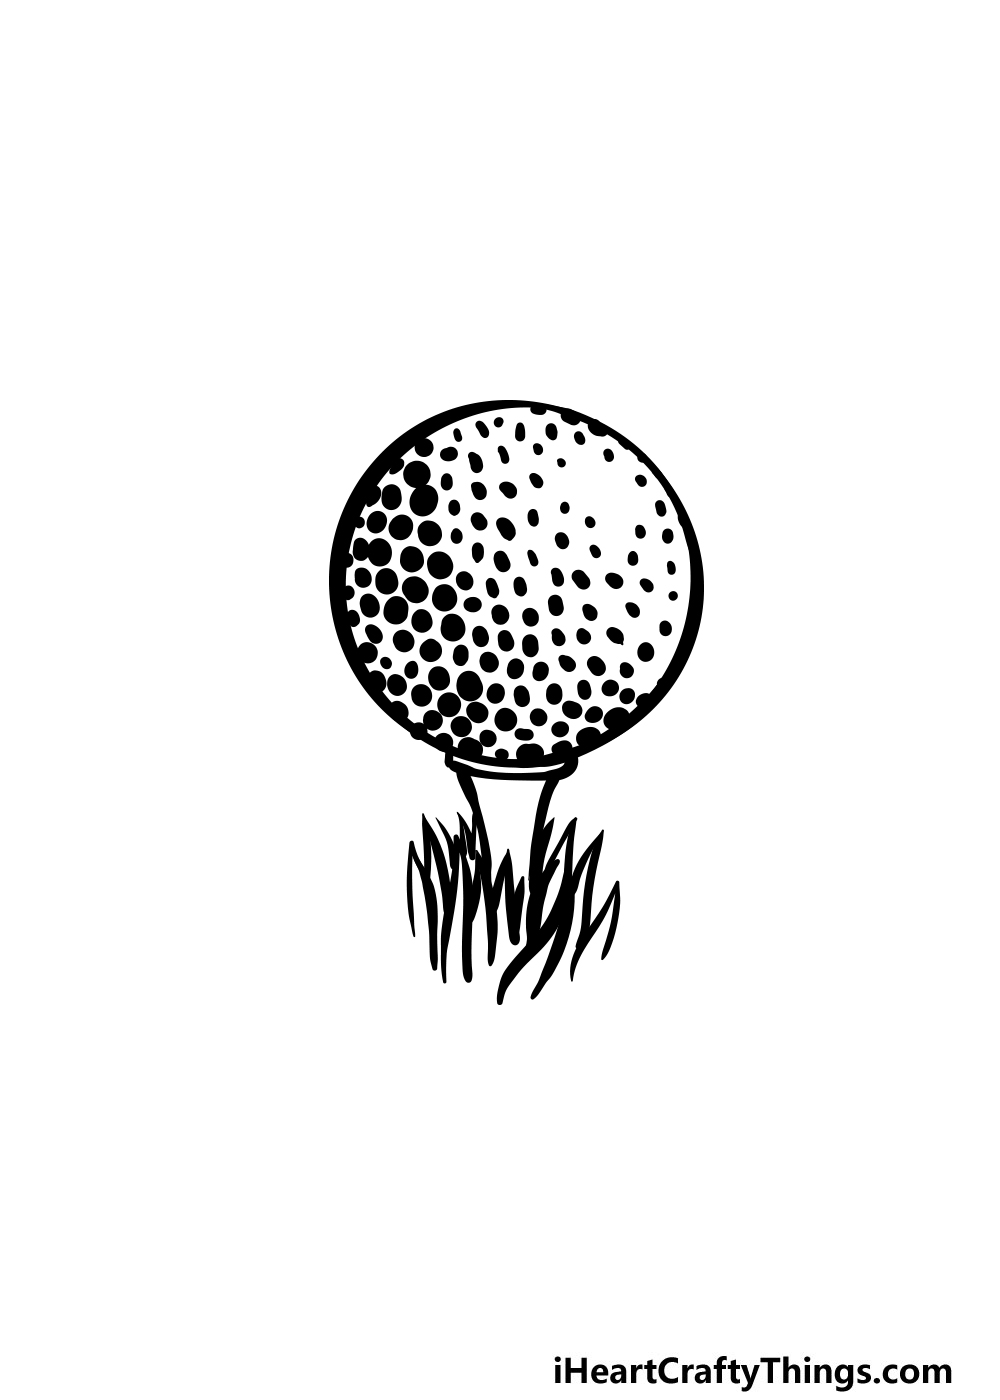
Now that you have the ball and the tee drawn, you can start adding some grass to your golf ball drawing in this step.
To do this, all you need to do is draw some sharp lines around the base of the tee as you can see in the reference picture.
Once you have these first blades of grass drawn then you’re ready for the final few details in the next step!
Step 7 – Next, draw the final details of your golf ball drawing
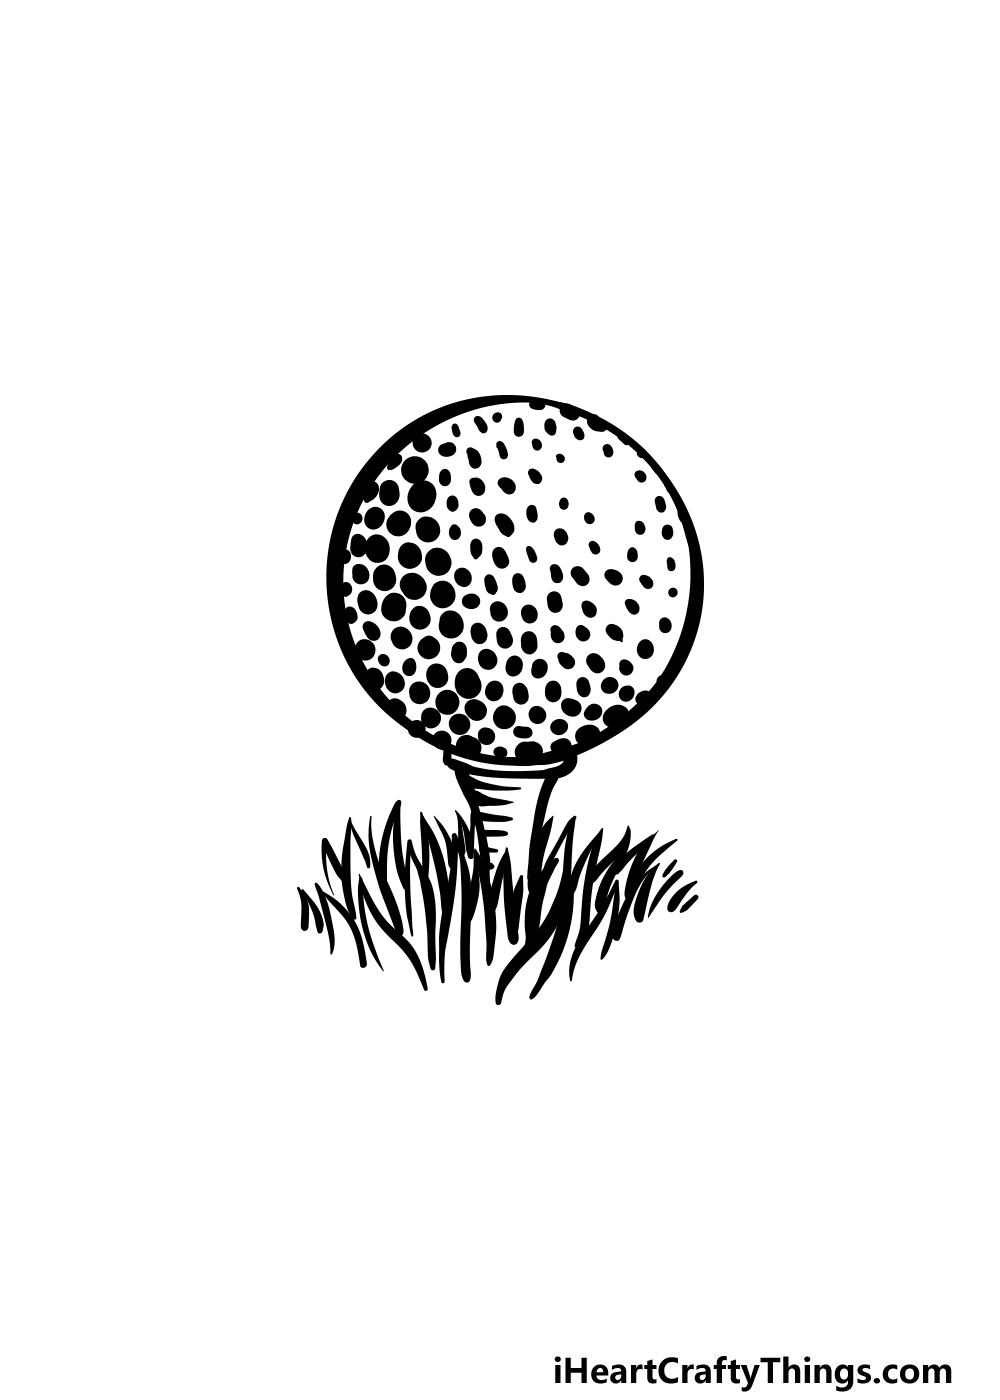
In this part of our guide on how to draw a golf ball, we will be adding some final details before you start to color in your picture.
First, you can finish off by drawing even more blades of grass around the tee. You could add even more or less if you prefer for your picture.
Once you have all of these details drawn, you can then erase the pencil lines from the first step if you haven’t already.
Before you move on, you can also add any details of your own that you like! Some examples are drawing the end of a golf club beside the ball or a background to show where this game of golf is being played!
What can you think of to finish off this golf ball drawing of yours?
Step 8 – Now finish off your golf ball drawing with some color

This final step of your golf ball drawing is all about adding some beautiful colors to your picture! In our example, we used green for the grass and some shades of grey for the ball.
This is just one way that you could color in this image, however, and you should feel free to be creative with it and add any details of your own!
A golf ball can come in all manner of different colors, so that gives you a lot of freedom for how you can color it in.
Once you know which colors you would like, you can also have some fun choosing some art mediums and tools to use to bring it to life.
Acrylic paints, colored pens or markers can help to create a vivid, colorful image, whereas some watercolors, colored pencils or crayons work for a more muted, soft image.
Which colors and mediums will you use to bring your golf ball drawing to life?
5 Tips To Make Your Golf Ball Drawing Even Better!
Score a hole-in-one with these tips for your golf ball sketch!
One of the tensest moments in a game of golf is when the end of the club is hovering near the ball, ready to strike. You could recreate that moment in this golf ball drawing!
You could do this by simply drawing the end of the golf club near the ball. If you have a golf club in your house, then you have the perfect model!
Otherwise, you could certainly find some images online.
Next, you could add to this drawing of a golf ball with more of a background. You have the beginning of one with the grass details around the tee, but you could add a lot more!
You could show some more of the golf course and add features like a lake and maybe some trees. What other background details can you think of?
We portrayed the ball in this golf ball sketch on the tee, ready to be struck. If you wanted to capture a different moment, you could easily do so!
By removing the tee from the drawing, you could show the ball soaring through the air. That would also be a good chance to show some more of the golf course from a higher view.
In the first tip, we spoke about adding the golf club to the image. You could take it even further by showing even more of the person playing this golf game!
You could show as much or as little of the character as you like, and it could be their shins or whole body. How much of the character would you like to draw?
This golf ball drawing is fairly realistic, but you could also make it sillier and more cartoony. This could be done by drawing a pair of eyes and a facial expression onto the ball.
Maybe you could also add a speech bubble above the head with a fun phrase inside of it! That would be a great way to put a fun spin on this image.
Your Golf Ball Drawing is Complete!
That beings you to the end of this guide on how to draw a golf ball! We hope that you found this guide helpful in your quest to learn to draw this golf ball, and we also hope that it was lots of fun for you to work through as well.
Taking on a new drawing is always made more fun and easy when you break it down into more manageable steps, so that was our goal when creating this guide.
When you’re ready for more drawing challenges, we have some incredible drawing guides for you on our website. We upload new ones all the time as well, so be sure to visit frequently to never miss out!
Once your golf ball drawing is complete, we hope that you will share it on our Facebook and Pinterest pages for us to enjoy. We can’t wait to see your creative artworks!