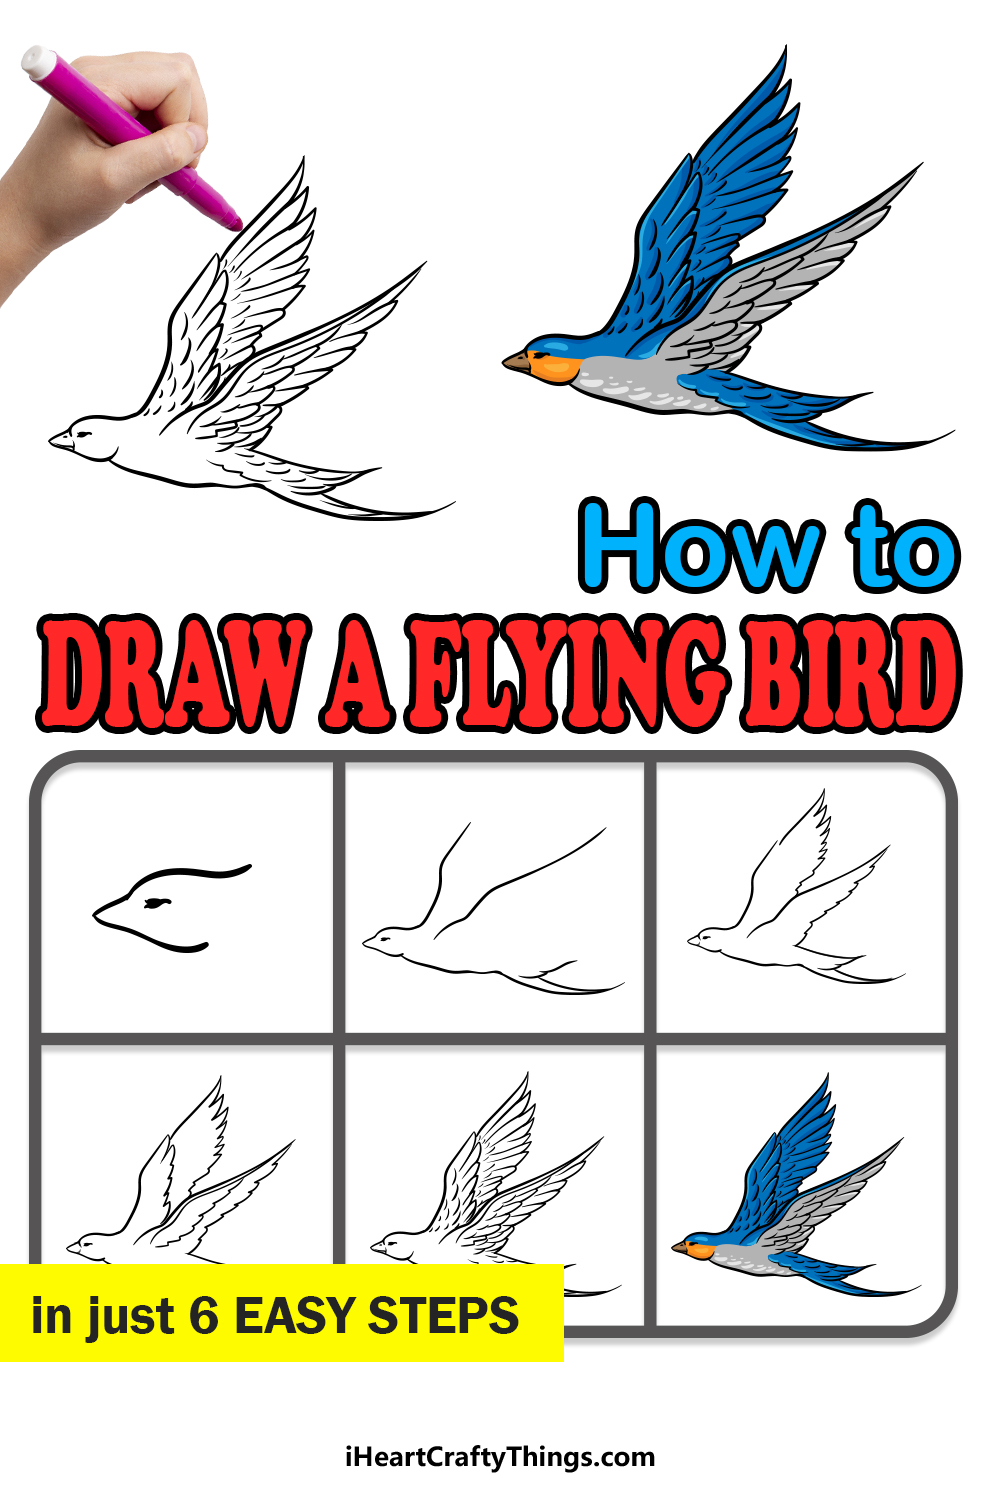
It’s easier than ever to learn how to draw a flying bird thanks to this guide for kids! You’re about to have a lot of fun as you learn the simplest way to make this beautiful drawing.
There is something enchanting about seeing a bird flying in the sky. It’s easy to wonder what it would be like to fly as they do, but traveling in a plane is the closest we can get to that.
Another option is to draw a flying bird, and that’s what I’m here to help with! I’ll take you through all of the steps so that we can create this amazing drawing together.
Once you have completed it, you could add a background to show where this bird is flying or even add a few more birds to join this one.
The sky is the limit, so let’s get started!
Learn How To Make Your Flying Bird Drawing
How to Draw A Flying Bird – Let’s Get Started!
Step 1
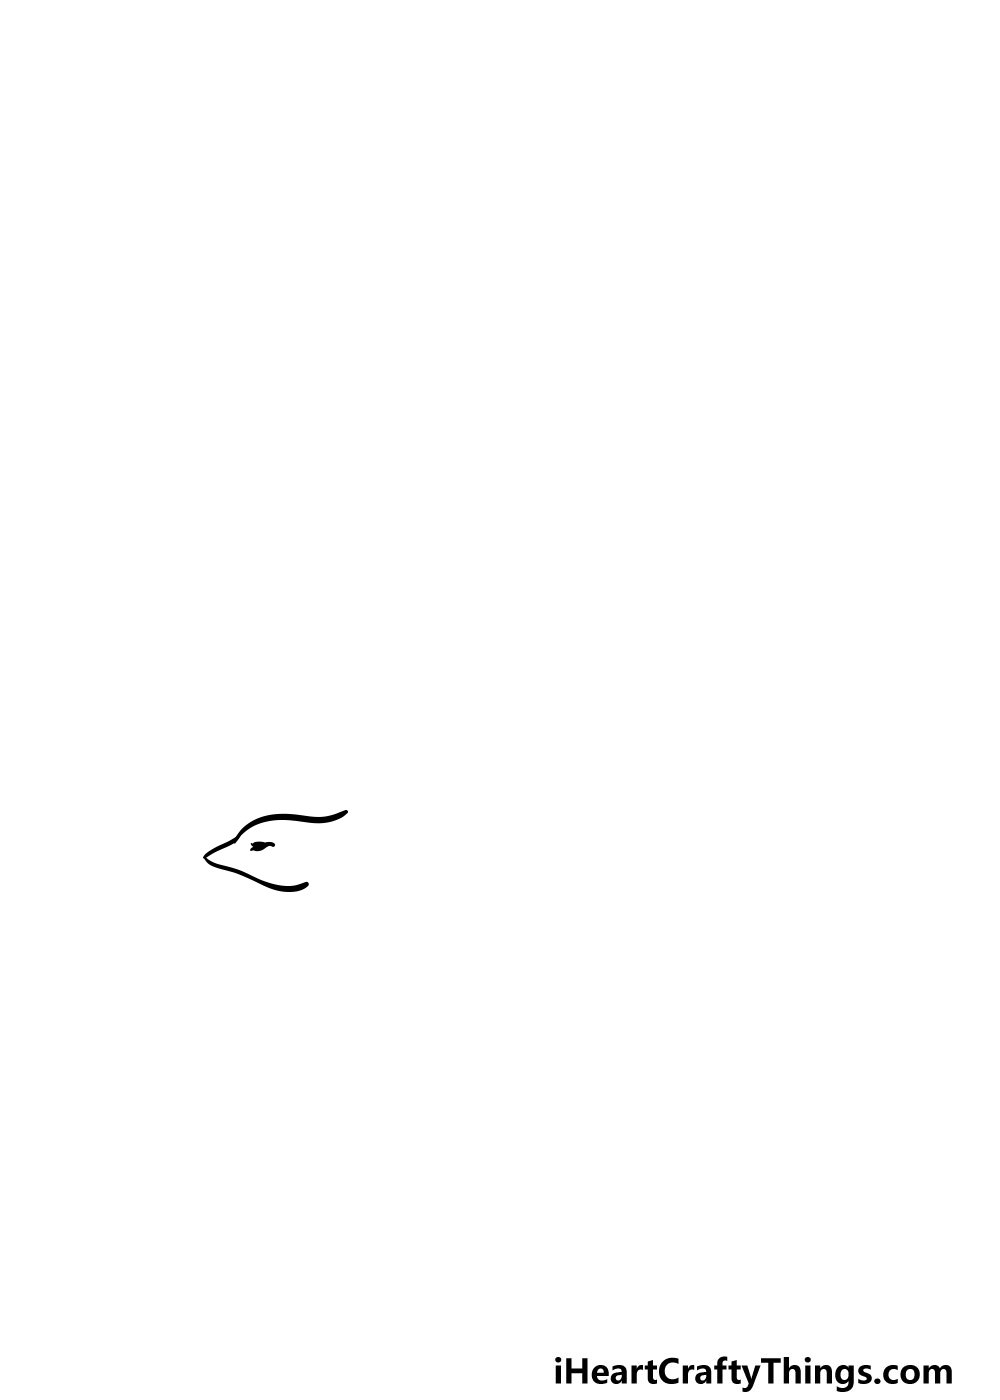
In this first step of our guide on how to draw a flying bird, we will be using a pencil to draw some rough outlines for the bird.
The lines and the shapes will be quite basic for now, as we will be adding lots of detail in later steps of this guide. For the outline now, you will be drawing the head, body, wings and tail.
Then, once you have all of these pencil outlines you can then use your pen to draw over the face and beak of the bird.
While doing this, you can also draw in some elements like the eyes and mouth onto the beak. When you’re happy with how it’s looking you’ll be ready for step 2!
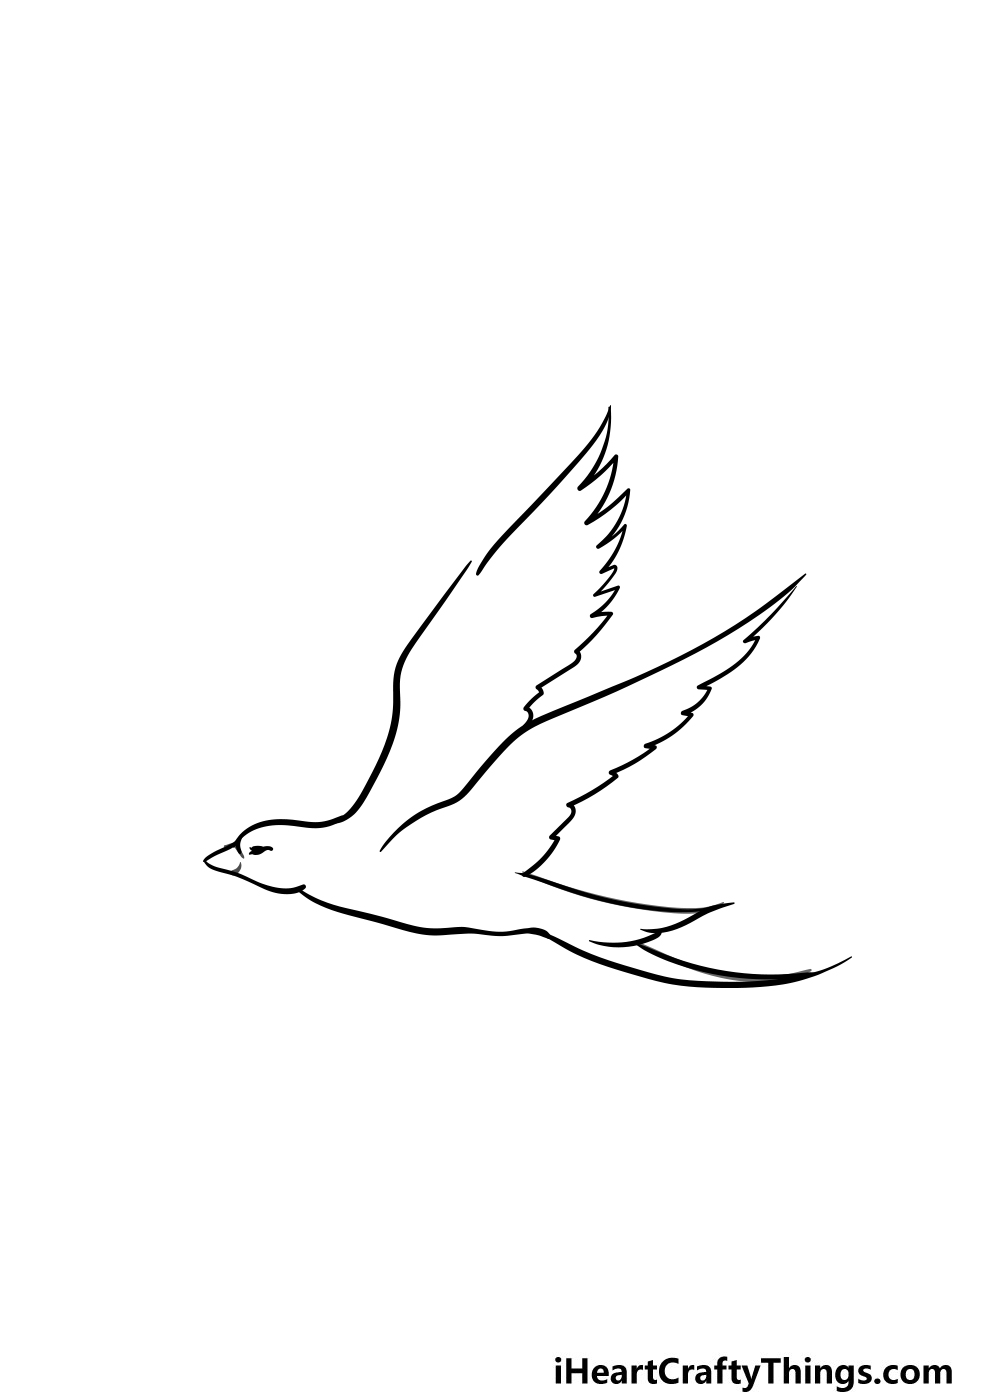
Step 2 – Start drawing some more pen detail
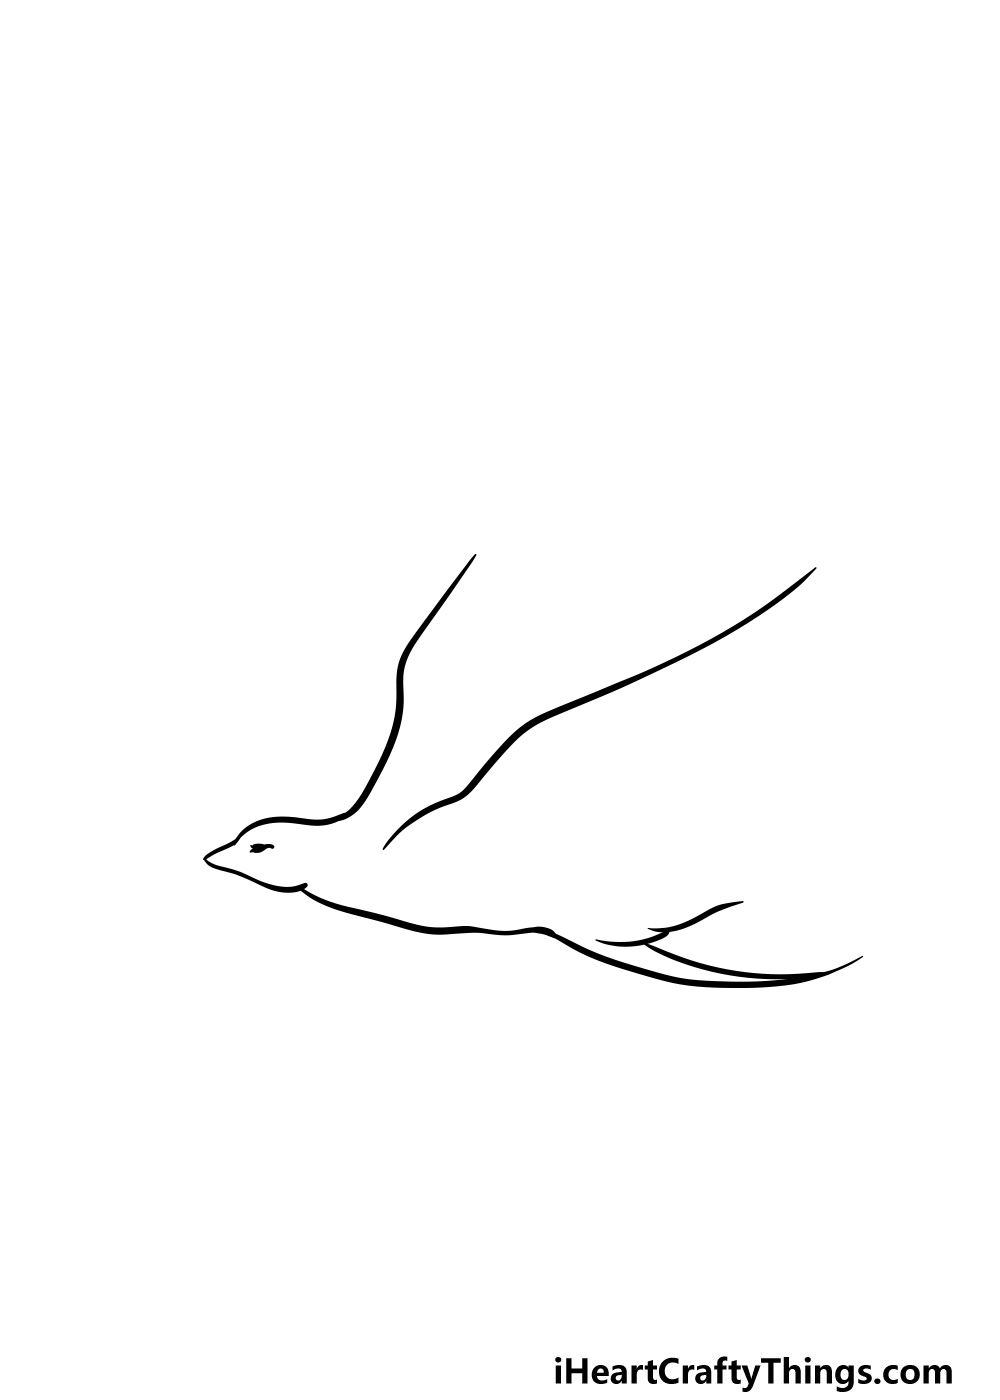
This second part of your flying bird drawing will see you adding some more pen line details to your bird.
For this part, we will be focusing on some of the lines on the wings and also some of the body. For now, you can go over the bottom line of the bird.
You can also go over the tail of the bird while adding some more fine details as you go along.
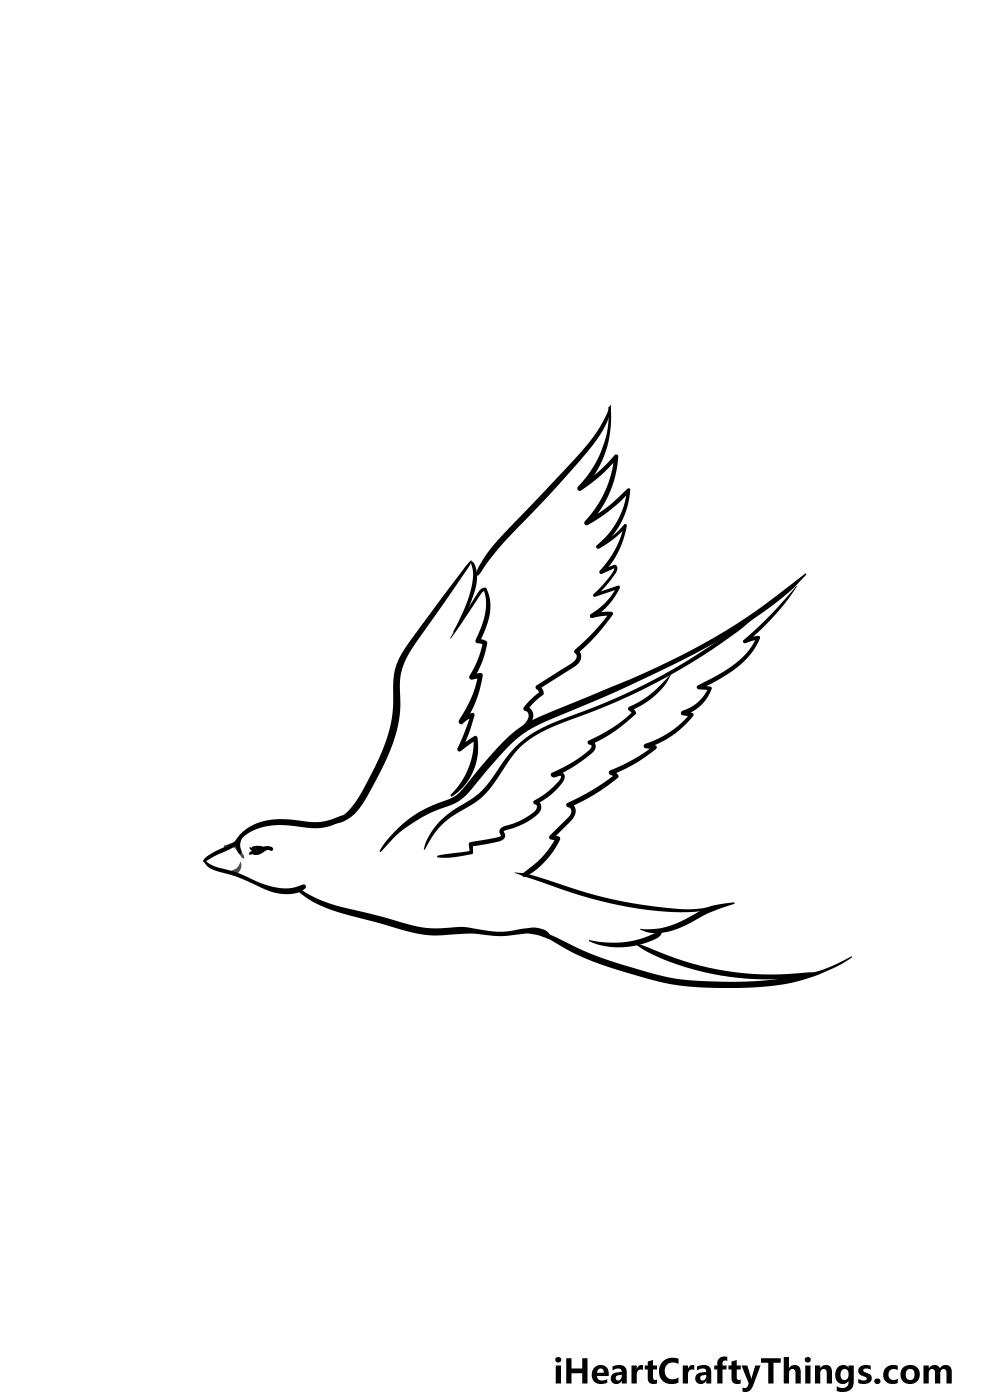
Step 3 – Start adding feather details to the wings
In this third part of our guide on how to draw a flying bird, we will be finishing off the outline of the bird.
For the most part you will be focusing on the feather tip details of the wings. To do this, you can use some sharp, jagged lines along the wing. This will make it look like the wings are nice and feathery!
Step 4 – Draw some more details inside of the wings
The outline of your flying bird drawing is pretty much done now, so for the next few steps we will be drawing some details inside of the wings.
Using the pencil lines that you replicated in step 1, carefully draw some sharp feather lines along the line inside of the wing.
This will really help to create some texture to the image. Once you have that drawn, you’re ready for the final details in the next step.
Step 5 – Finish off the final details of your flying bird drawing
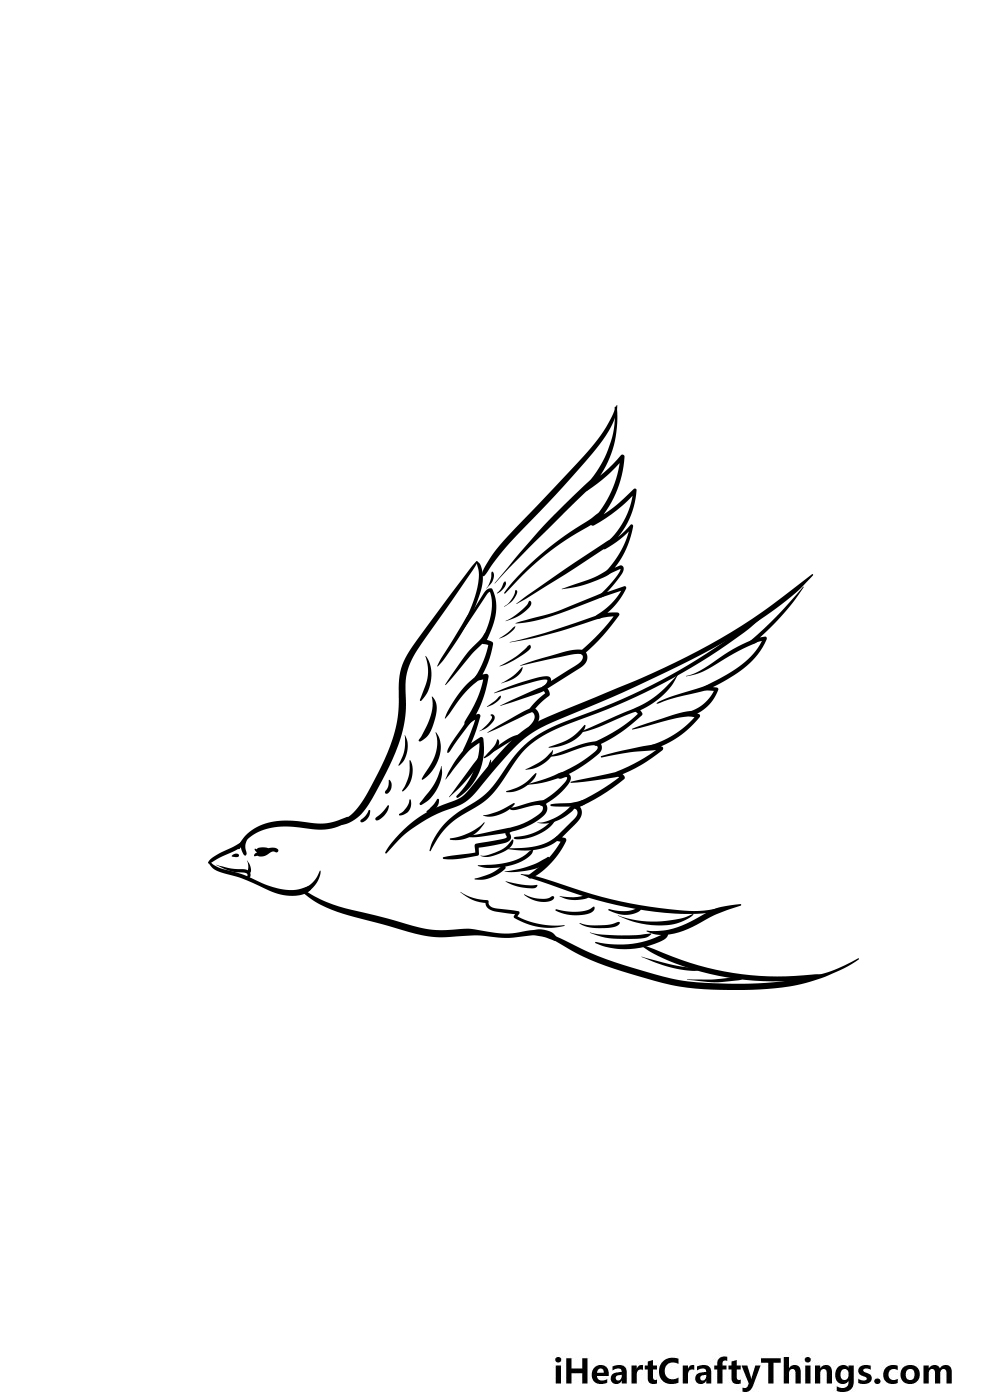
This step of our guide on how to draw a flying bird will be all about adding some final details to really finish it off.
These details will be going mainly on the wings, which you can add even more feather details to.
Then, you can add any last pen lines that you may have missed out from the previous steps.
Once you’ve drawn all of the pen details that you want for your image you can erase all of the pencil lines from the first step as you won’t be needing them anymore.
When you’re erasing, be cautious as some pen ink can take a while to dry fully! Once all of these details have been added, you can also add any other elements or details that you would like.
Some ideas you could include would be to have some other birds flying alongside this one. You could also draw a lovely background to really finish it off nicely!
By drawing a background you could show what kind of weather conditions or terrain this bird is flying through.
You can also look up pictures of various landscapes as inspiration for some backgrounds you could draw!
How will you put your own spin on this image before the final step?
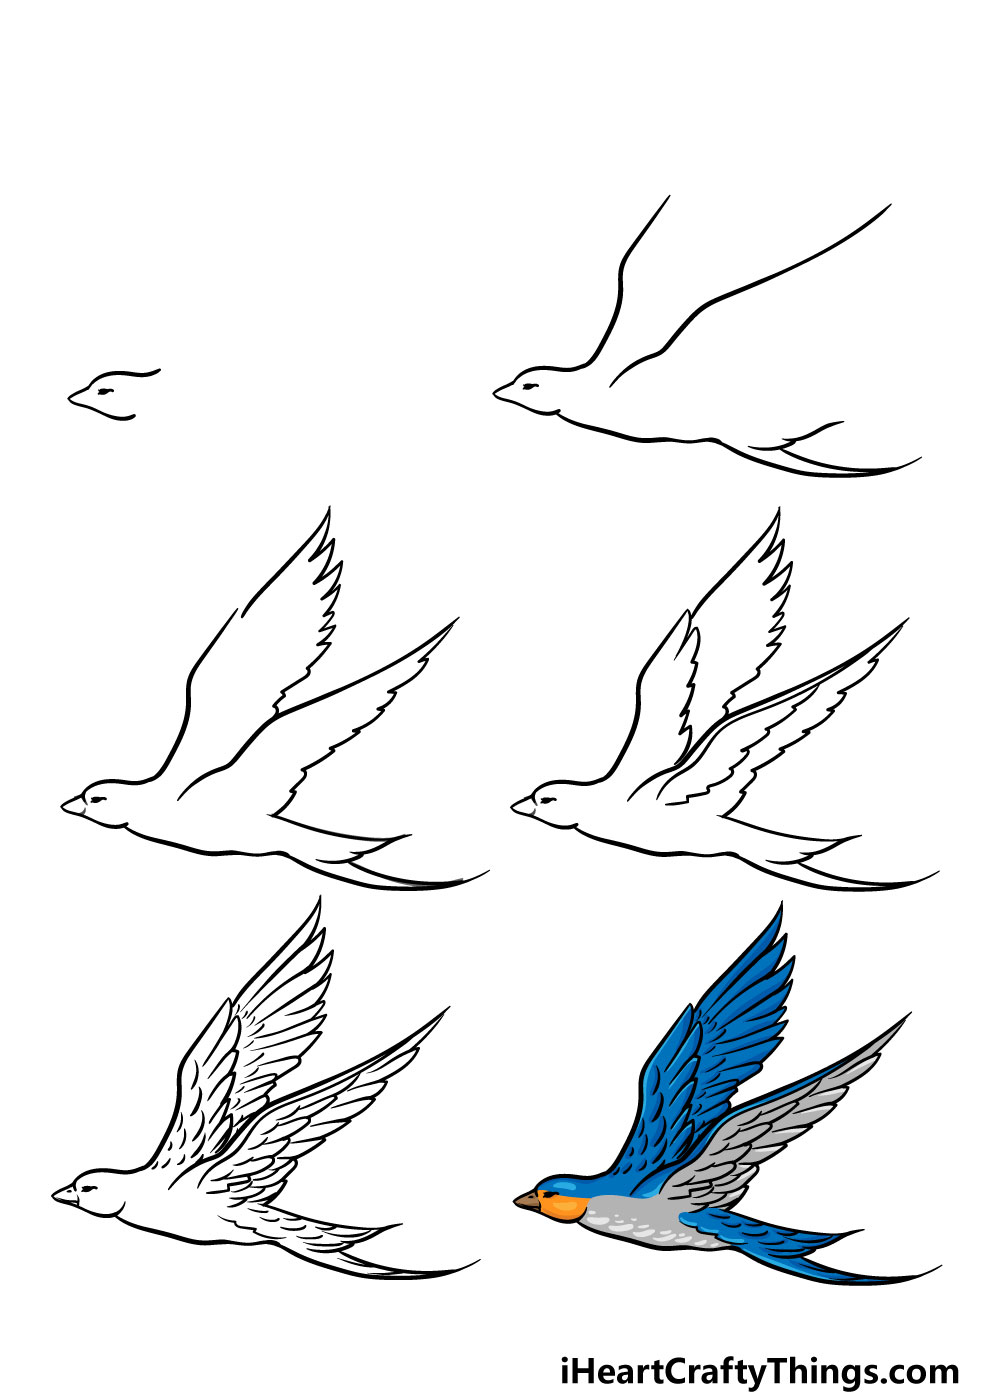
Step 6 – Finish off your flying bird drawing with some color
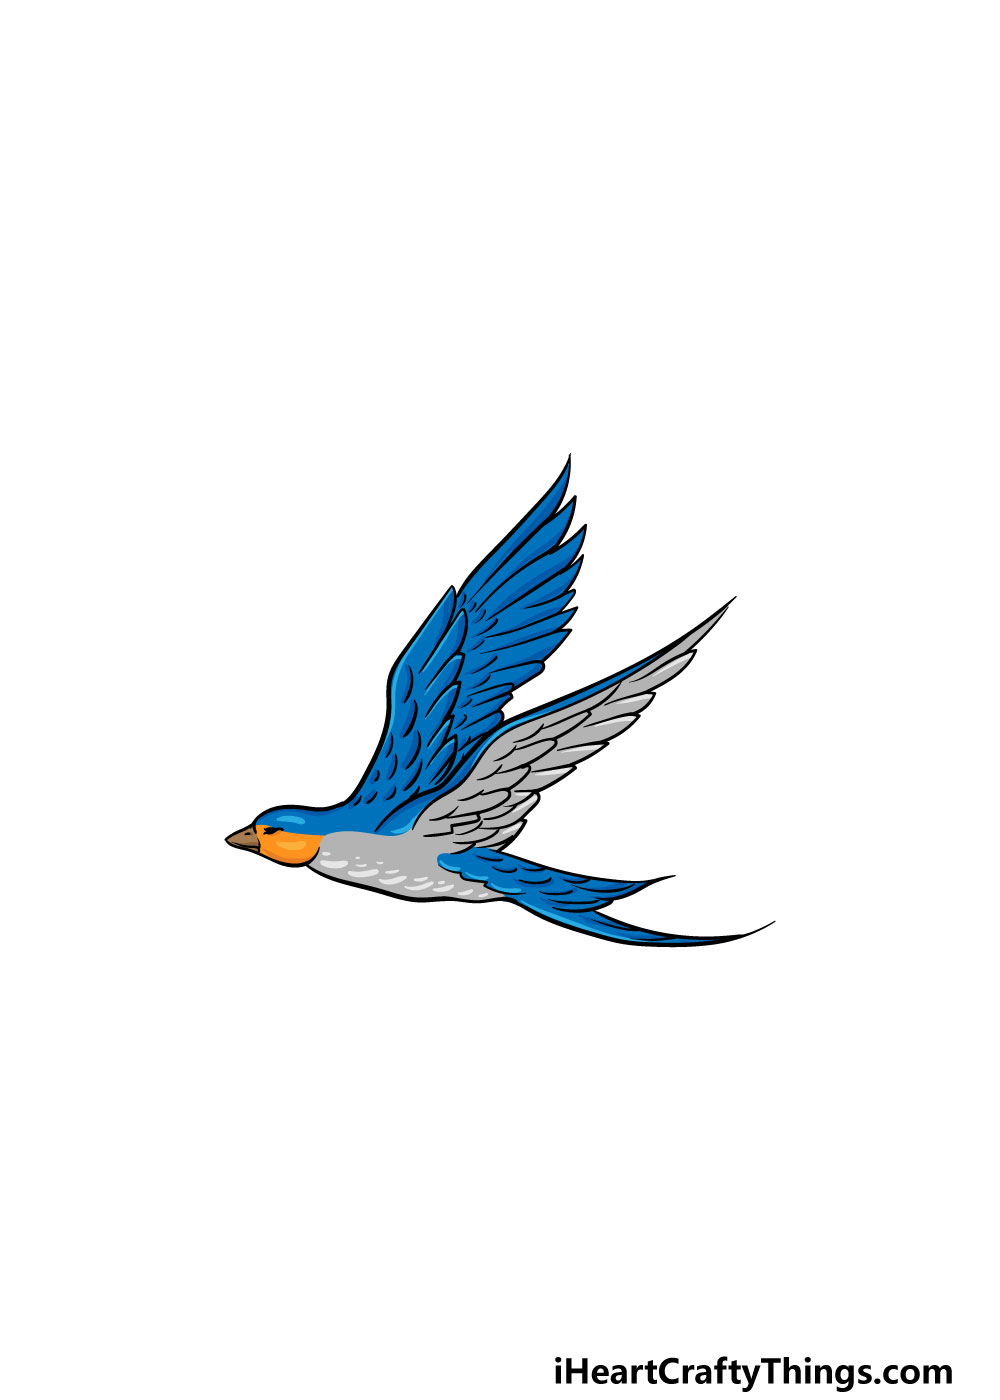
Now that you’ve finished your flying bird drawing, it’s time to relax with some fun coloring to really finish it off! In our example, we used blue, grey and yellow for the coloring of the bird.
When you’re coloring in your own drawing you should feel free to use any colors that you would like for it!
Birds can come in all manner of bright and beautiful colors so you have many options for how you can finish it off.
You could keep the colors more muted and dark if you prefer, or you could make it bright and vibrant with colors that pop off the page!
If you drew a background or any extra elements then you can also color those in for even more color variation.
Then, once you know which colors you would like to use then you can choose which art mediums and tools you would like to use.
You could mix tools like paint, watercolors and colored pens to name a few, and each one will bring an amazing element to the table.
5 Tips To Make Your Flying Bird Drawing Even Better!
Take flight for some drawing fun as we show you how to improve your flying bird sketch!
When flying through the sky, birds will often be in large flocks. Adding more birds to your flying bird drawing would be a great way to create your own flock!
You could do this by following the steps of the guide as you add lots of different birds around this one. By changing just a few details, you could also make each one unique.
Adding more of the same bird we created in this guide is one way to do it, but you could also add different kinds of birds! These could be any birds you like from crows to hummingbirds.
Whatever you choose will look great in this flying bird sketch, and you could look up various pictures to help you.
Next, you could also add a background to your drawing of a flying bird. This could be something to try whether you added more birds or kept this one on its own.
This bird could be flying through the sky with some clouds behind it. Or, it could be sitting on a branch.
These are just a few of the ideas you could go with, but what other background settings can you think of?
We love the design of this drawing, but it could also be fun to create some variations on it. It would be easier than you think to do this!
The change could be as simple as showing the wings flapping downwards, or you could add the legs of the bird. Maybe you could draw a few different variations on the same bird.
Finally, you can have some fun experimenting with the colors that you use. We showed you one way to color this drawing of a flying bird, but you could really use any colors you love!
When you know which colors you would like to use, then you can try out different art mediums to make them look exactly as you imagine them.
Your Flying Bird Drawing is Complete!
That brings us to the end of our guide on how to draw a flying bird! We hope that this guide was helpful for you and showed you that by breaking a drawing down into manageable steps you can make it so much easier for yourself.
Also, we hope that it was lots of fun for you to work through!
Your drawing doesn’t have to stop with this guide, however, as you can keep it going with your own details and elements.
Whether you draw some of your own details, add a background or even draw more birds alongside it there are many ways you can make this your own!
When you’re ready for more drawing fun, you can visit our website where we have tons of amazing guides for you to enjoy! We upload new ones often as well, so you’ll want to visit us often!
We would also love to see your finished flying bird drawing, so please do feel free to share it on our Facebook and Pinterest pages for us to enjoy!