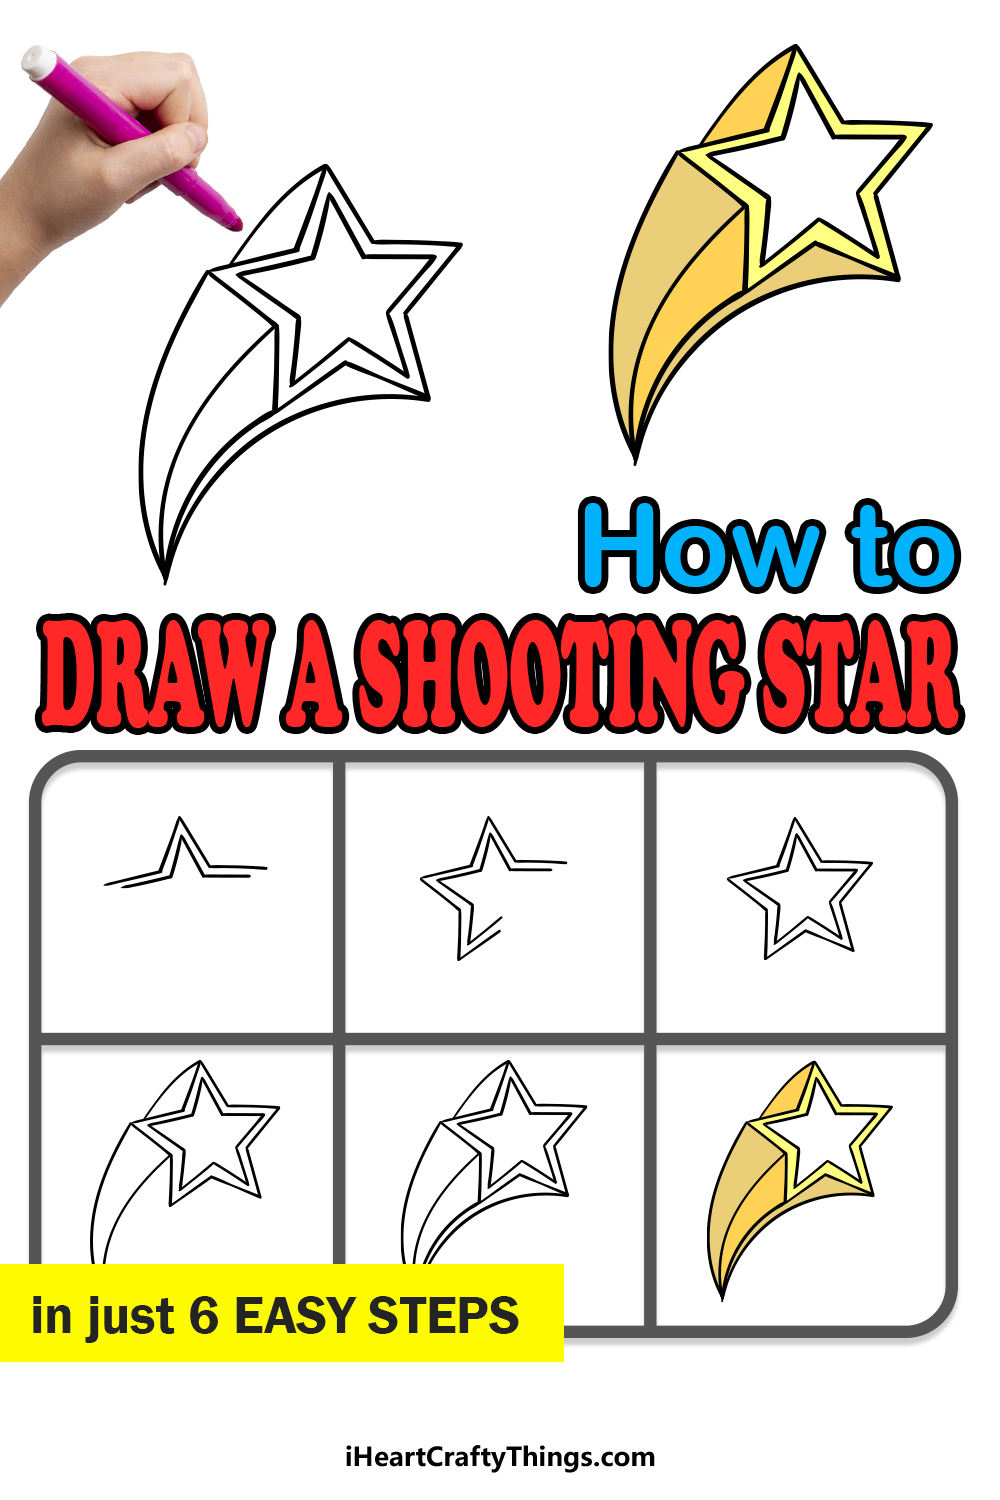
Anyone wanting to learn how to draw a shooting star will love this tutorial for kids! You can have a great time while replicating this special celestial occurrence.
Seeing a shooting star is something that anyone would be lucky to experience. They’re exceedingly rare, and many people like to make a wish when they see one.
Not everyone is lucky enough to see a shooting star though, so creating one that you can look at whenever you please is the next best thing! This guide will show you how to do just that.
By the end, you will be able to make your very own magical shooting star, and you can add some fun crafts and effects to make it even more incredible.
I will guide you through each of the steps so that you can get started with making one of your very own.
See How To Make Your Shooting Star Drawing
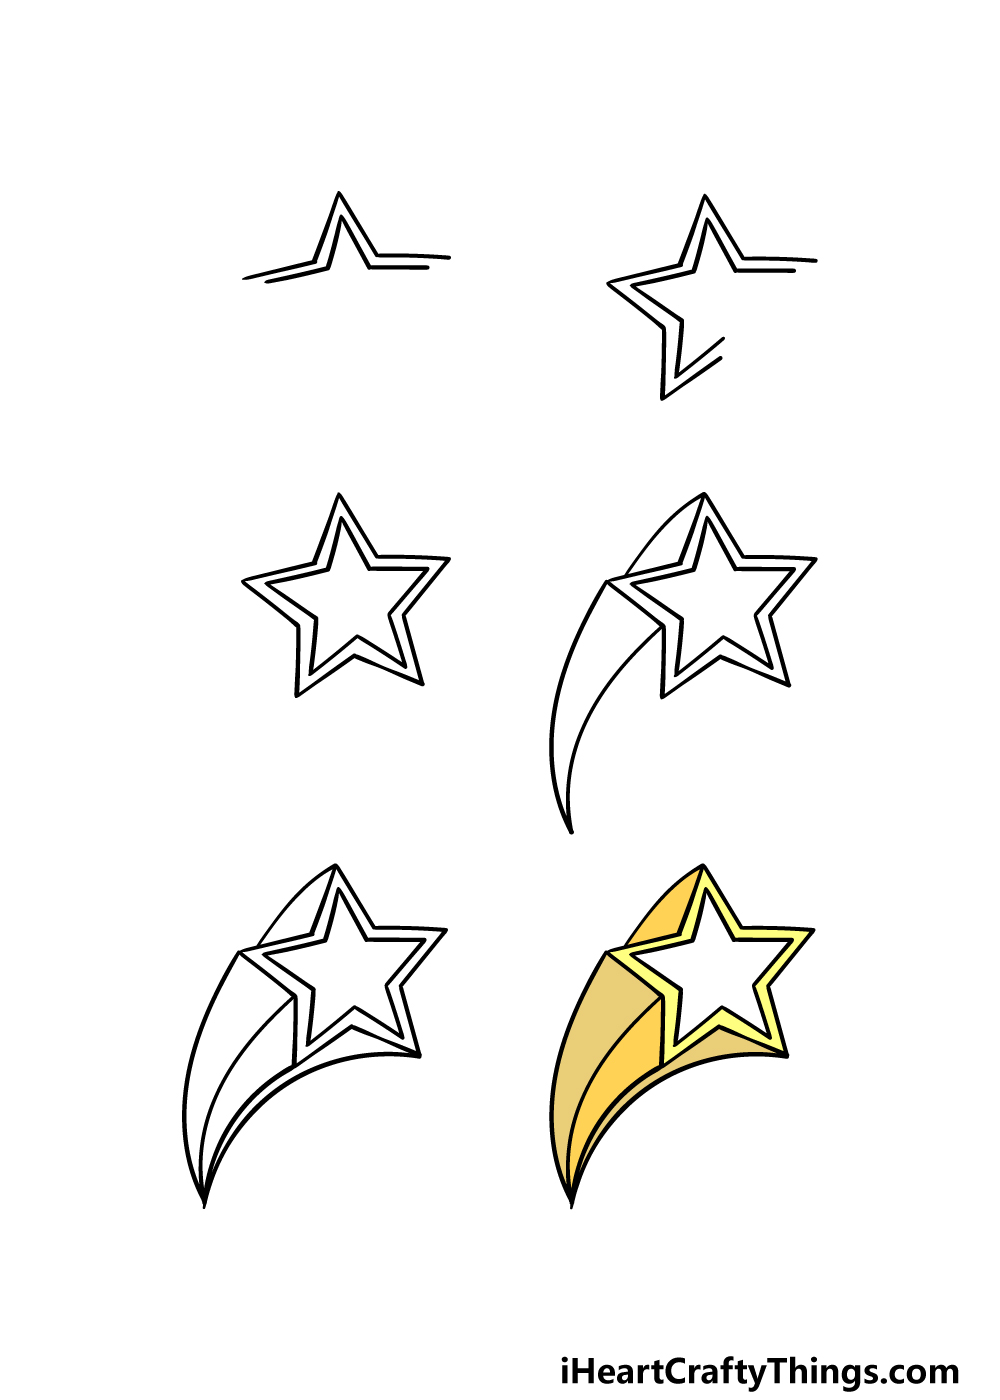
How to Draw A Shooting Star – Let’s Get Started!
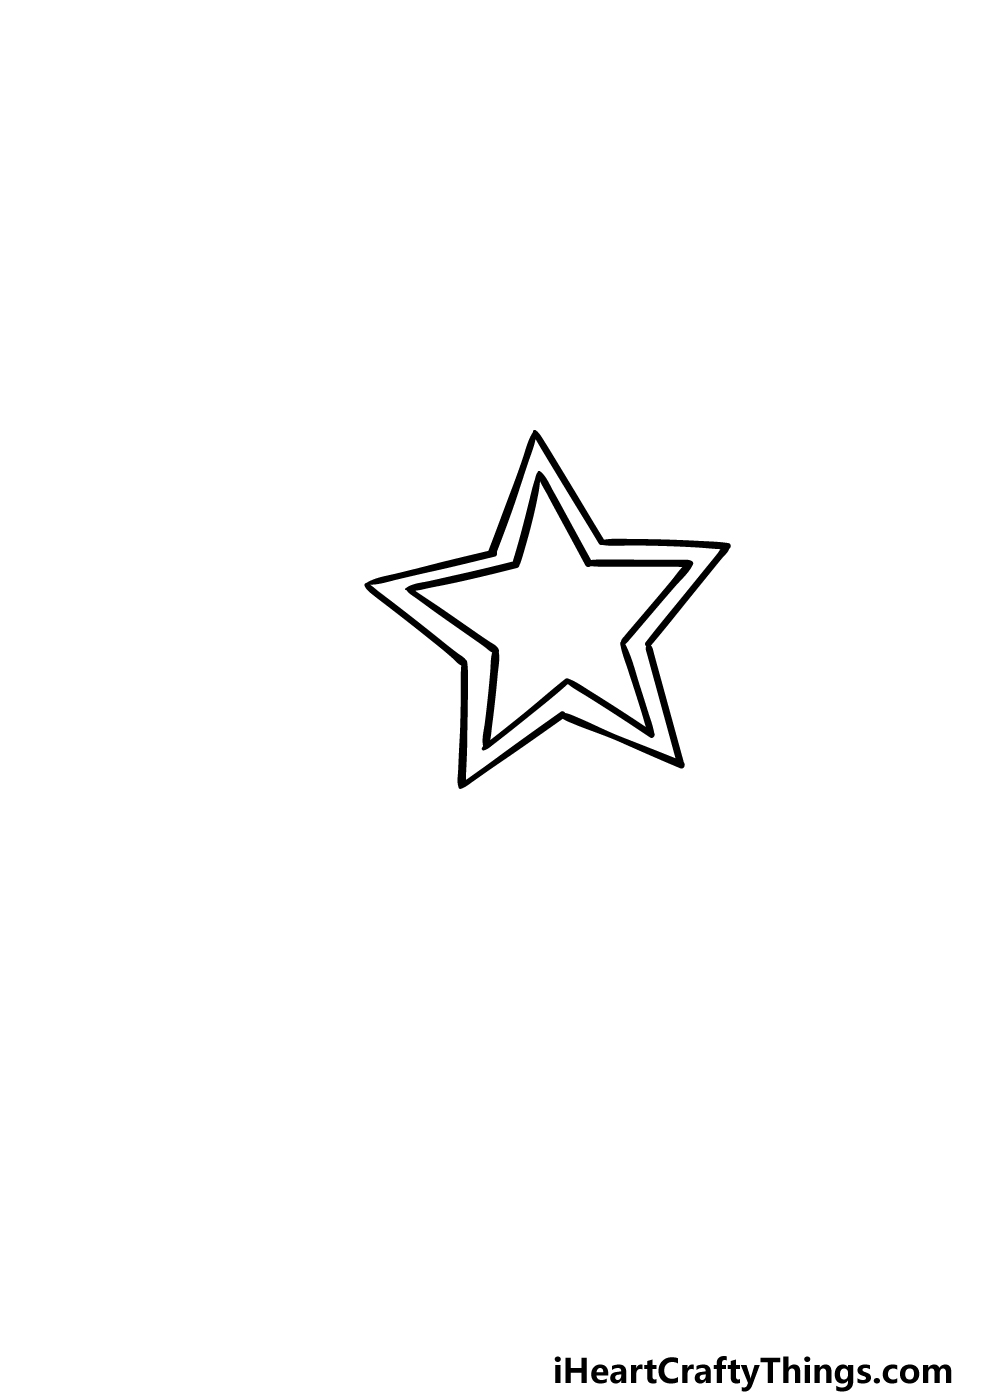
Step 1
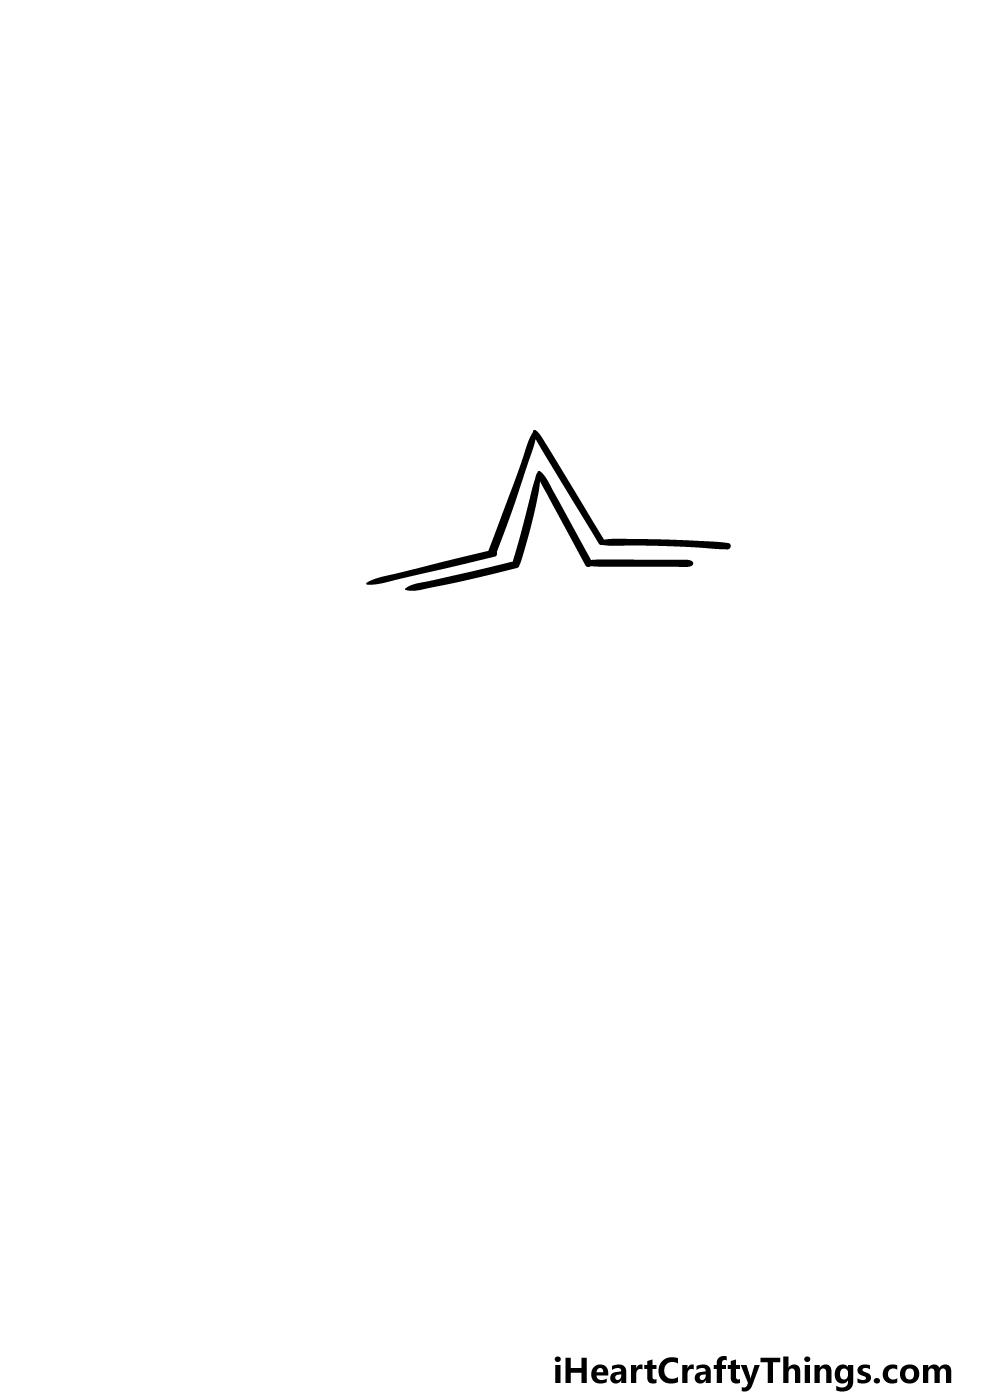
As you work on this guide on how to draw a shooting star, you will find things much easier if you have a ruler on hand to help you out.
With that in mind, we shall start drawing the top of the star in this first step. Using your ruler, draw two lines connecting to each other in a sharp point.
Then add another line coming out at a slight diagonal angle from the base of each one. Once you have drawn these lines, you can draw some more underneath, running parallel to the others.
If that sounds at all tricky or confusing, be sure to follow the reference image closely as you draw!
Step 2 – Next, draw some more points for the star
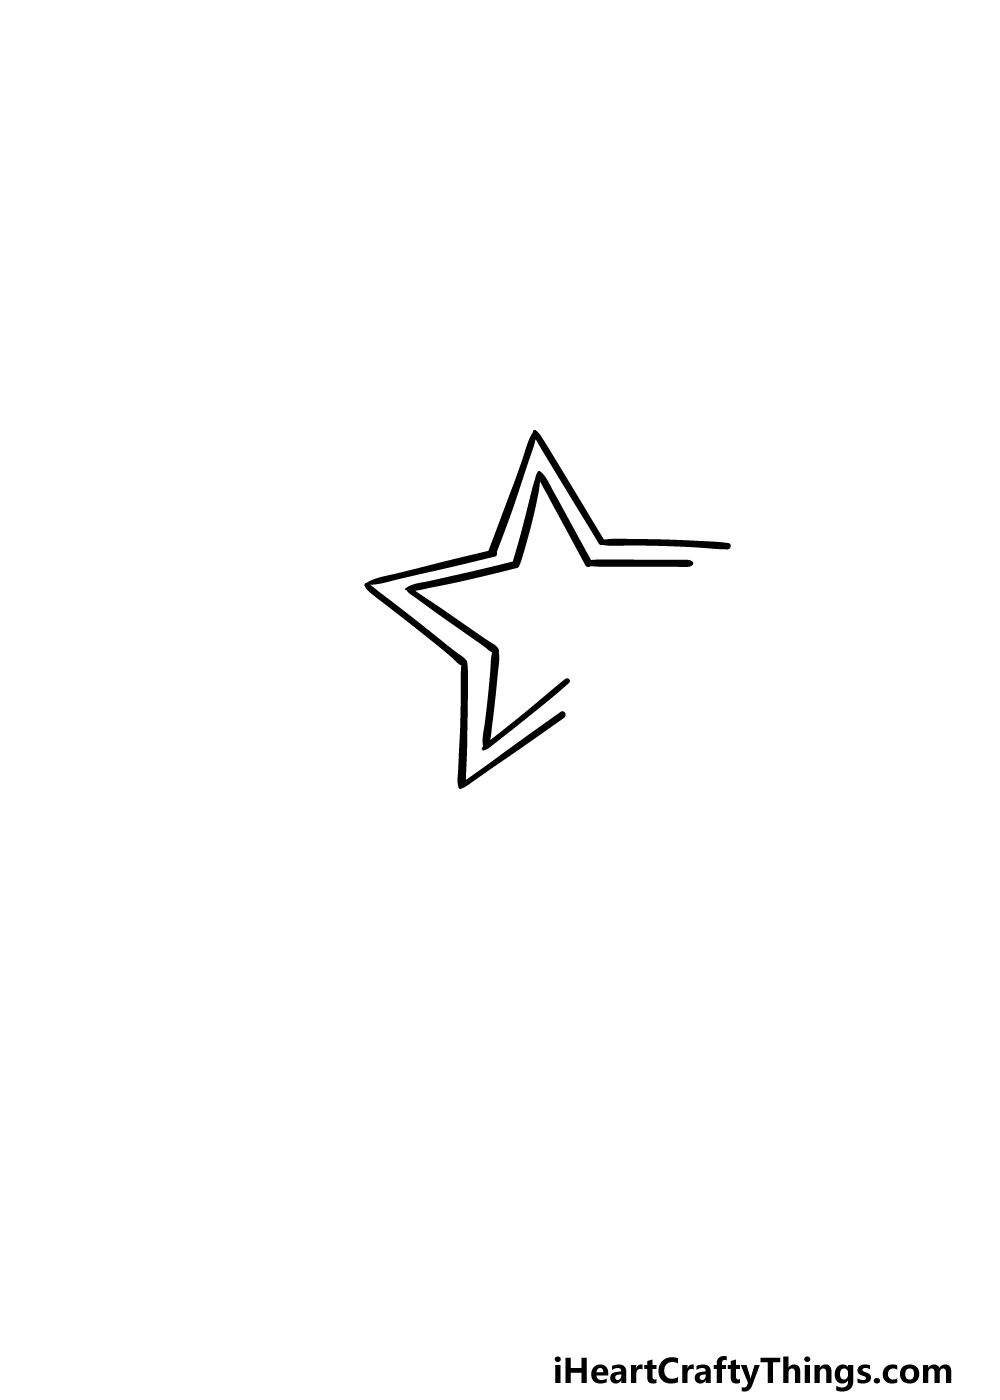
This second part of your shooting star drawing will follow a very similar process as the first step, with the only exception being that it will be ad a different angle.
Using your ruler, you can add more to the point on the left-hand side of the star, and then add another point at the bottom left-hand side.
Once again, you will also add some more lines running parallel to these ones that you have just drawn.
When you’re happy with how it looks, you will be ready to move on to step 3!
Step 3 – Finish off the outline for the shooting star
For the third part of our guide on how to draw a shooting star, we will be finishing off with the rest of the outline for the star itself.
Once again, we will be using a ruler to add another point onto the star, and then some more lines connecting this new point to the prior one.
That will complete the outline for the star, and in the next few steps we will be adding the trail that it is leaving behind as it flies through the sky.
Step 4 – Now, draw the trail for the shooting star
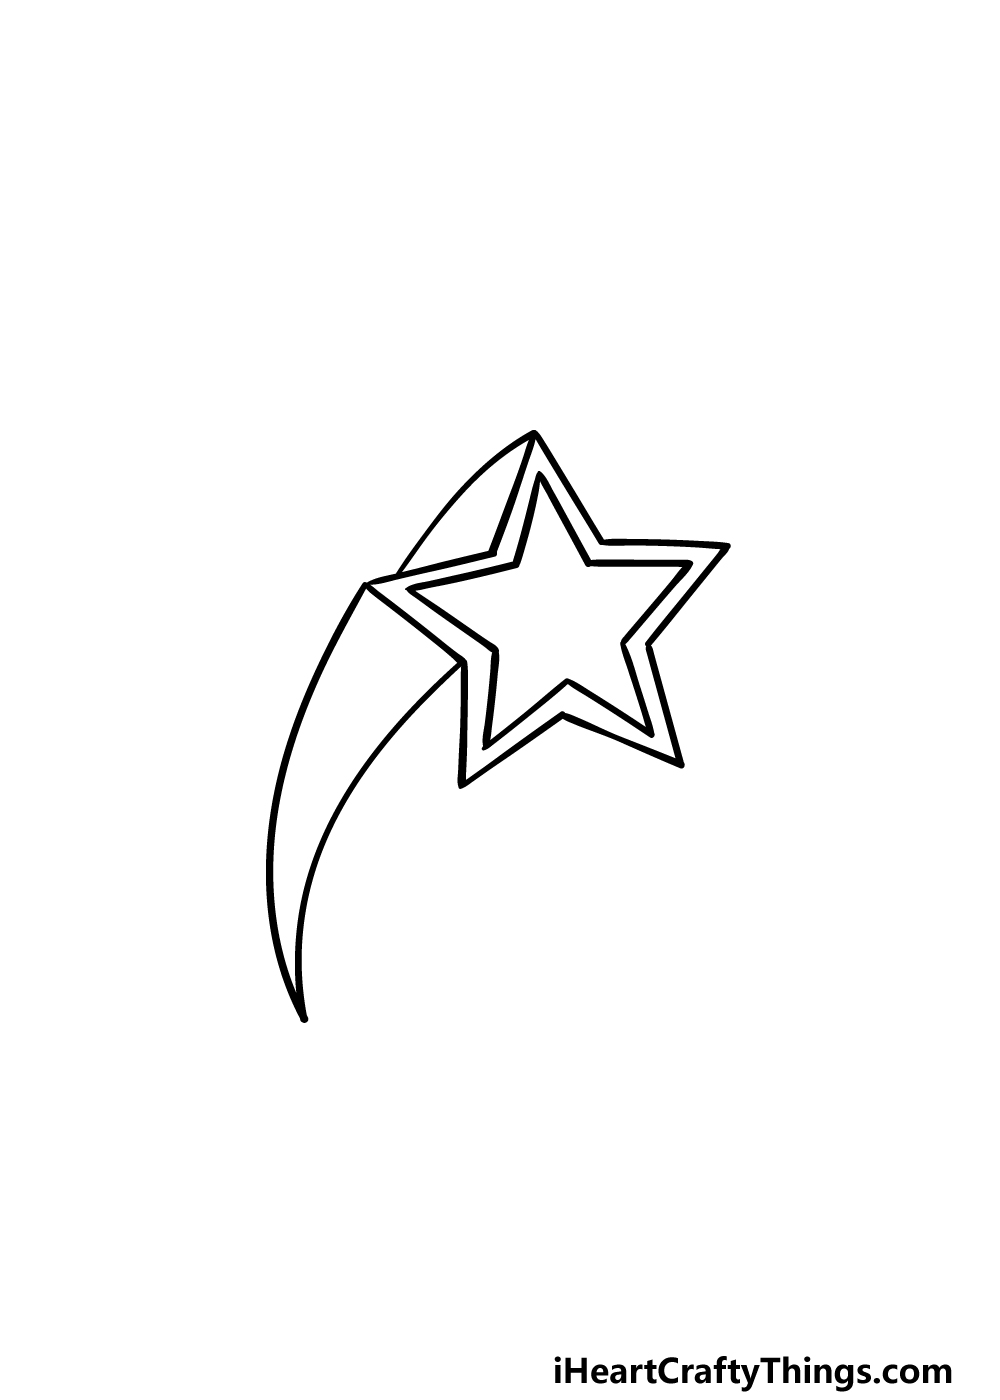
As we mentioned in the previous step of your shooting star drawing, we shall begin adding the trail that it leaves behind in this and the following step.
To do this, you can put away your ruler as you won’t be needing it anymore. Instead, we will be drawing some curved lines from here on out, and this can require a bit more patience and a steady hand!
Start by drawing a curved line coming down from the top tip of the star to the arm on the left. Then, extend another much longer line down from the tip on the left-hand side.
Finish off by extending another line from the inverted tip on the left and then have it connect with the previous curved line that you drew.
Step 5 – Finish off your shooting star drawing
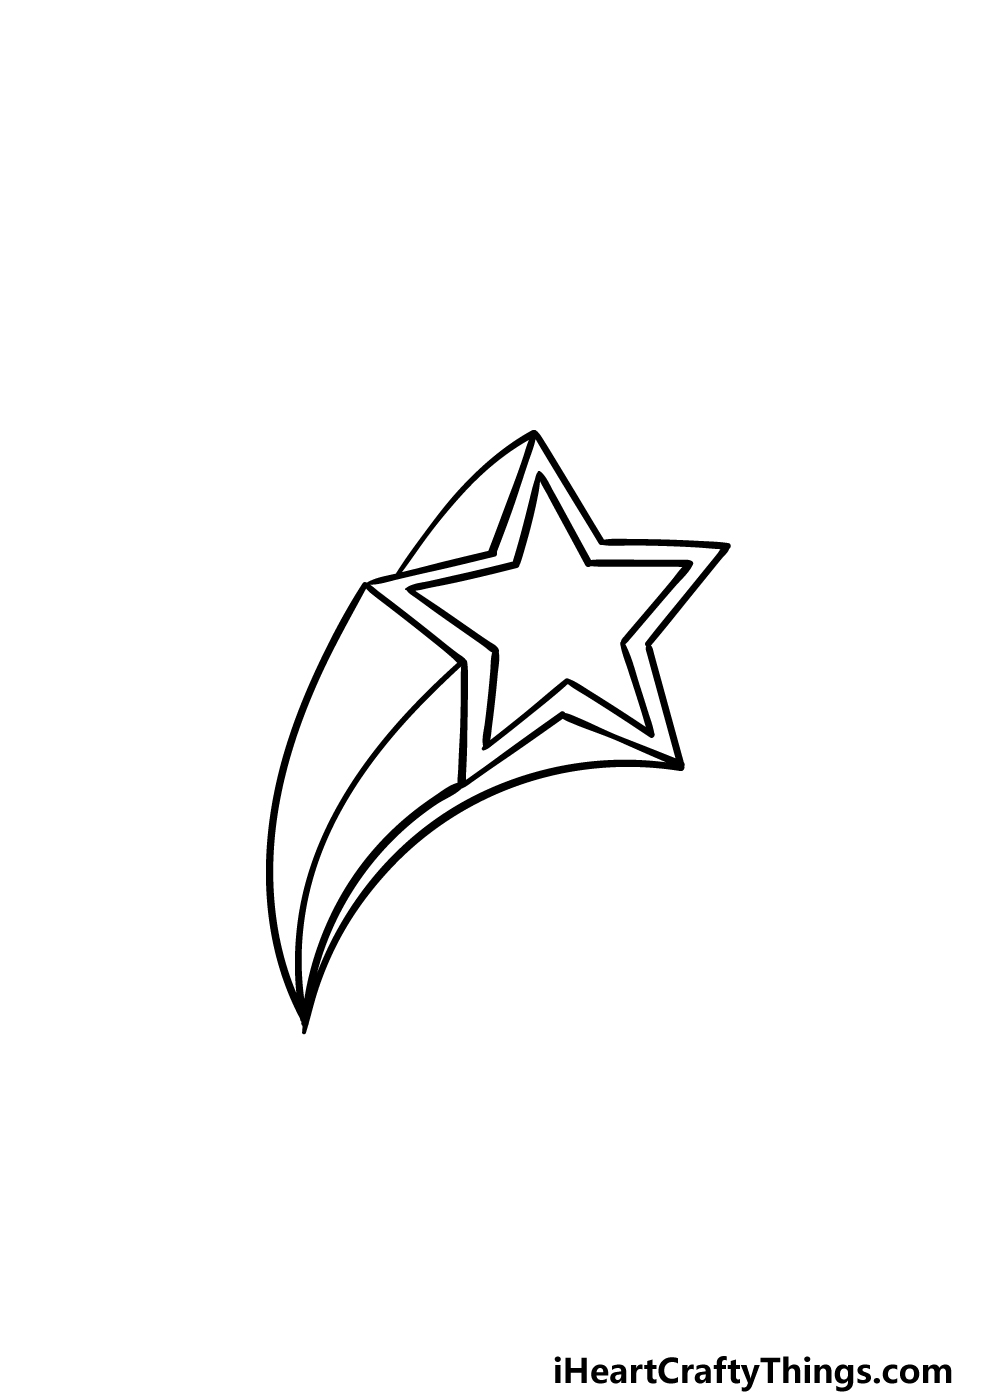
Before you add some color to your artwork, we will add the final details in this step of our guide on how to draw a shooting star. To do this, we will be adding two more curved lines.
These lines will both extend from the two lower points of the star, and they will then connect at the tip formed from the two curved lines from the previous step.
Once you have drawn these trail lines, you are ready for the final step! You can also add some details of your own as well before you move on.
These could include some sparkly star details in the background or even something fun and creative like an alien spaceship!
Those are just a couple of ideas you could try, but what else can you think of for this image?
Step 6 – Finish off your shooting star drawing with some color
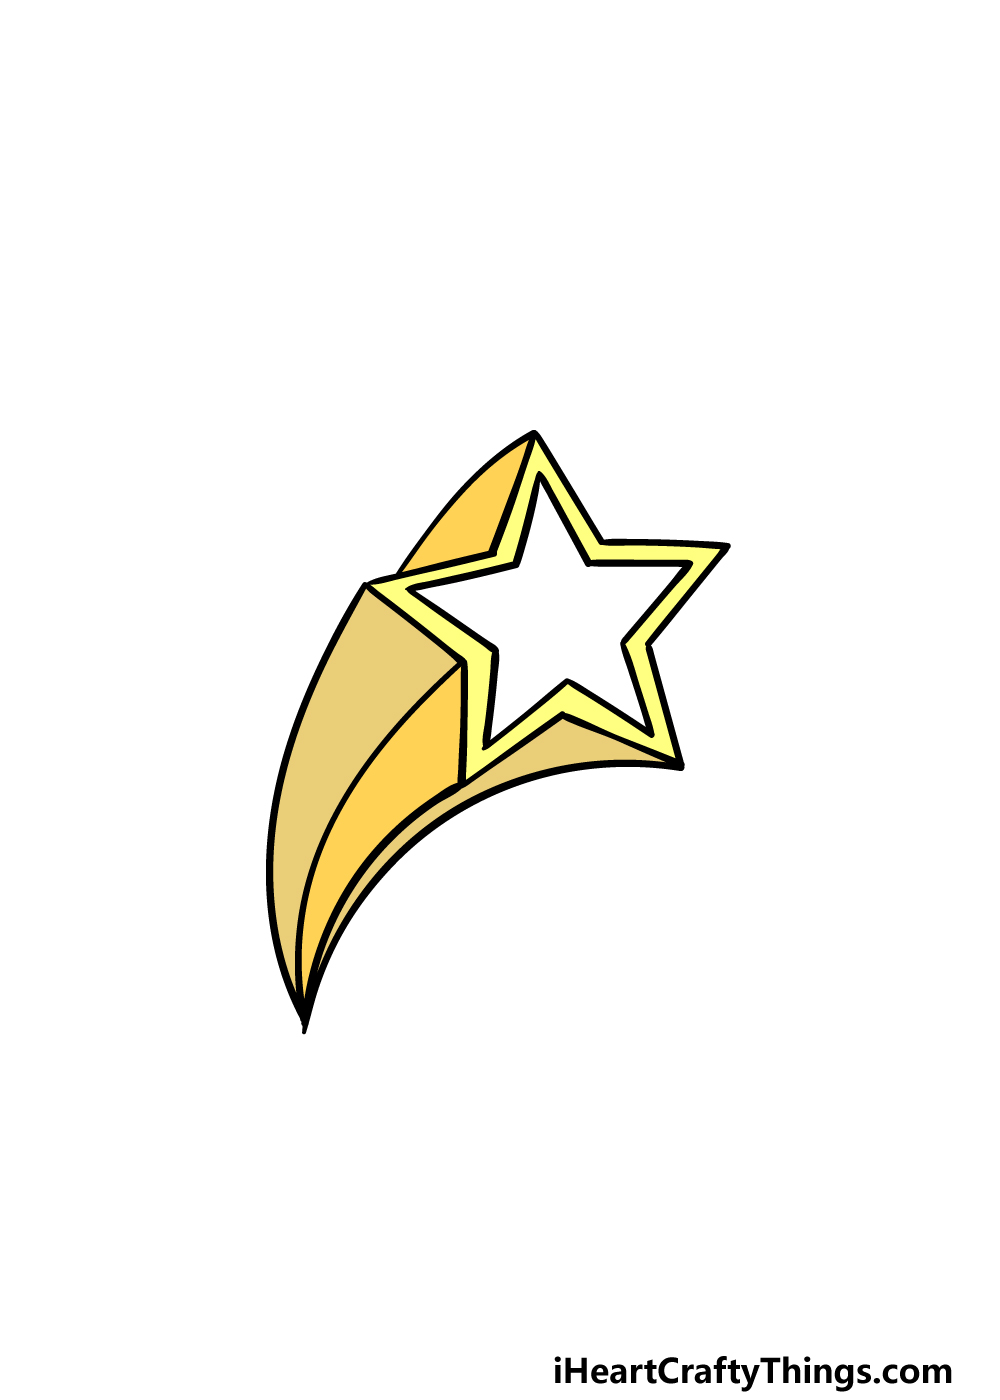
That brings you to the final step of your shooting star drawing, and for this one you will be finishing it off with some amazing colors!
In our reference image, we went for various shades of yellow for the different sections of the shooting star. This helps to give it a suitable bright look!
There are some mediums that you could also use in order to accomplish the colors that you desire.
Colored markers and acrylics can be great for bright and intense colors, but a more subtle approach would work just as well. It’s completely up to you, so have fun expressing your creativity!
4 More Ways To Make Your Shooting Star Drawing Unique
Shoot for the stars as we show you how to make this shooting star sketch even more amazing!
If you’re lucky enough to see a shooting star in the sky, you will likely see many other incredible celestial sights. These would be perfect to add to your shooting star drawing!
For some examples of what these could be, you could add the moon, and some more stars surrounding the shooting star. Maybe you could even add the Milky Way!
These are just a few elements you could add, but what other features of the night sky could you add?
Adding realistic night sky features is one thing to try, but you could also add some less realistic features. Maybe you would want to have a NASA rocket ship zooming behind the shooting star.
Or, a creative alien spaceship could be just what this drawing of a shooting star needs. There are really no wrong answers when it comes to adding some cool extra features, so let your imagination run wild!
We went with a classic star design for this shooting star sketch, but once you have the hang of it, you could also change the design. There are a few different approaches you can take if you’d like to do this.
For example, you could make the shooting star more rounded in order to make it look a bit more realistic. Or, you could make the shape even more cartoony and stylized to make it pop even more.
How would you change the design of this shooting star?
You can also use some interesting colors, art tools, mediums and techniques in order to enhance it even further.
We covered a few ways you can color in this shooting star drawing in the guide, but there are so many options!
You can stick to a single medium such as paints or colored pens, but it can also be effective to mix these various mediums together.
Don’t be afraid to experiment as you discover the perfect colors for your creative vision!
Your Shooting Star Drawing is Complete!
You have finished all of the steps in our guide on how to draw a shooting star, and now you have ended up with an incredible drawing because of it!
Images like this can present unforeseen challenges even though they seem simple at first, so we hope that this guide made it fun and easy for you to work on.
You can keep the fun going as you add your own spin to this drawing as well. We went over some ideas for how to do this, and they included anything from adding additional details to experimenting with colors and mediums.
This is your drawing, so you can have a lot of fun as you get creative and add your own touches to it!
This guide that you just completed is one of many that we have for you on our website. This list of guides gets updated frequently, so be sure to keep visiting so that you never miss out!
We would love to see how you finished this shooting star drawing of yours, so please do share it on our Facebook and Pinterest pages when it’s ready.