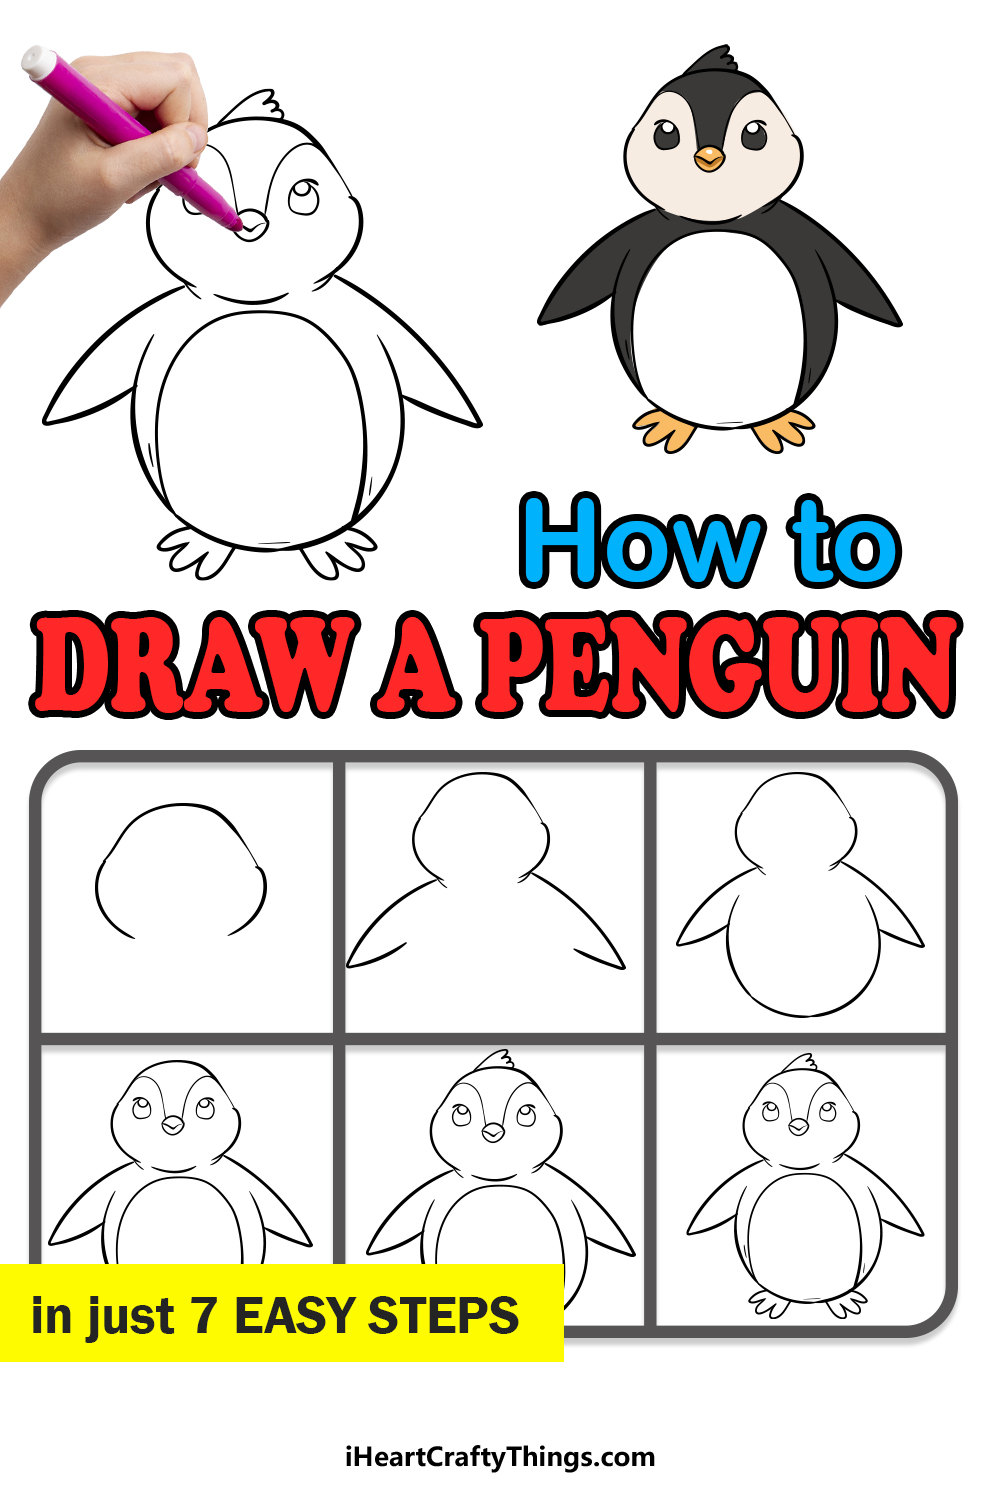
Anyone wanting to learn how to draw a penguin is in the right place! These easy steps will make it easy for kids of all ages to make their own adorable little penguins.
The design of this penguin is cartoony and simple, but there are still some great details on it. Even though it may seem a bit tricky at first, I’ve broken it down into some very simple shapes and lines that will guide you through.
Once you have finished the guide, you could then draw a snowy home for the penguin and add some details such as some fish for it to eat. Drawing a big group of penguins would also be really cute!
You’ll have the ability to do this and much more once you have finished the guide, so let’s dive right in and see how fun and simple it can be to recreate this lovable character.
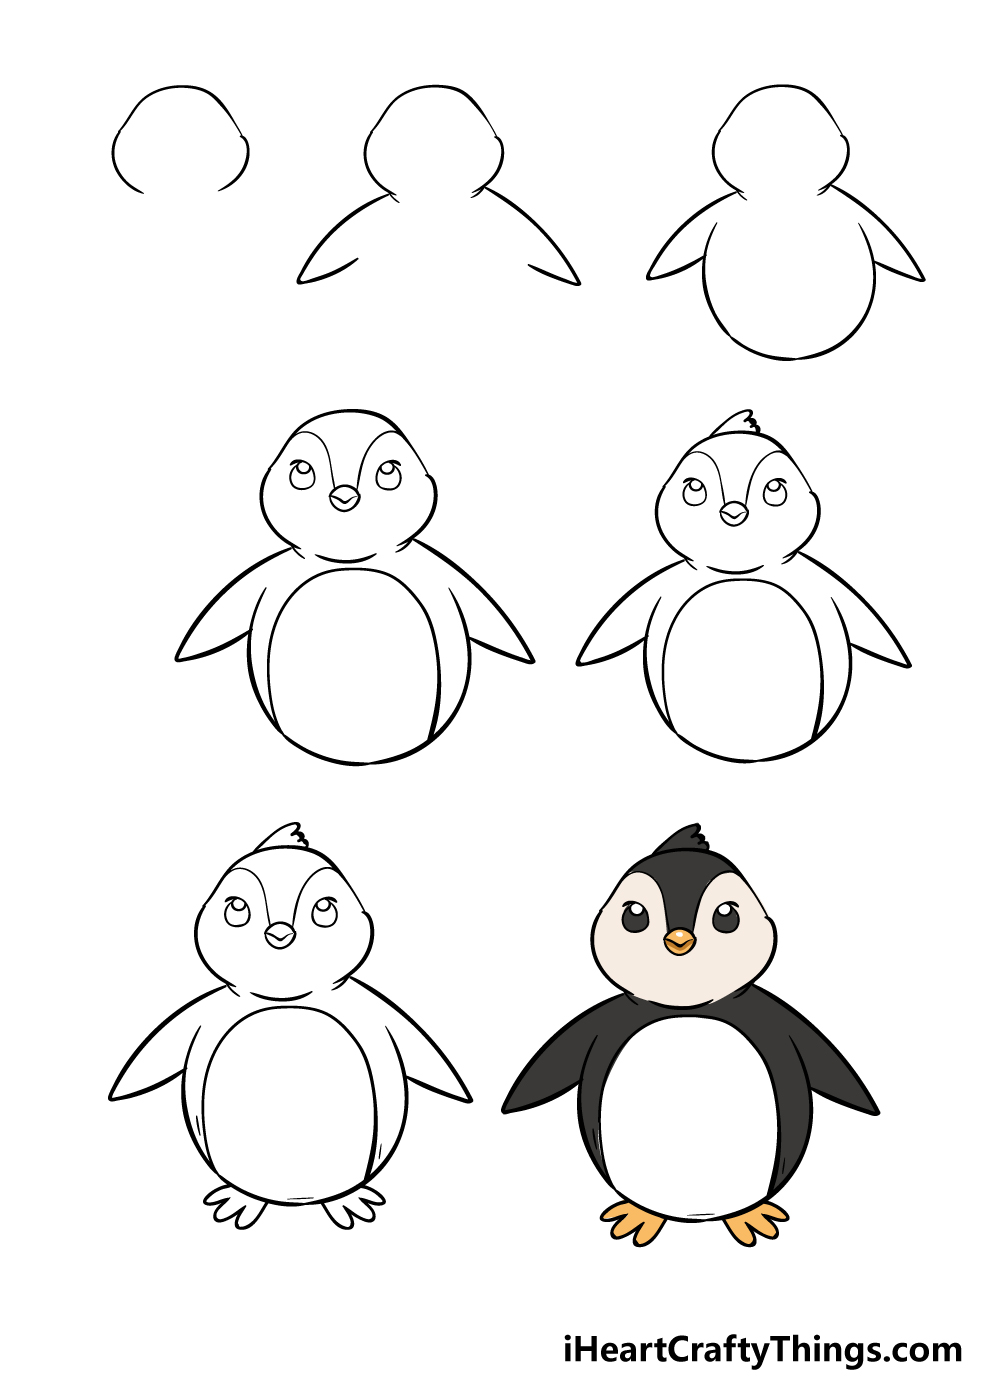
Watch These Steps On How To Draw A Cartoon Penguin
How to Draw A Penguin – Let’s get Started!
Prepare For This Penguin Drawing Before You Begin
In each step of this guide on how to draw a penguin, we will be guiding you through all of the necessary steps and things you need to know to complete the drawing.
However, we also thought it would be great to cover some ways that you can better prepare yourself for the drawing ahead to make it as easy and good as it can get!
The first would be to get all of your drawing and coloring tools ready to go. Nothing gets in the way of the flow of a drawing like needing to stop because you don’t have the tool you need.
Try to have a good range of pencils, pens, erasers, rulers and other tools. You can also start thinking of the coloring tools you will be needing, and then you can get those ready as well.
It could also be good to gather some additional references to use as you follow the guide. These could include some photos of real penguins that will help you to enhance this drawing.
You could also look up some cartoon penguins to give you some ideas for other details and poses. If you may like to draw a background, then getting that ready now could also be helpful.
The more resources you use, the better the details and proportions will be. You may be surprised by how much of a difference it can make, and it’s something that even professional artists will do.
Also, we would recommend reading through each step of the guide before you begin the first one, and also looking closely at each image in the guide.
This will help you to be better prepared and will let you have a better idea of the tools you may need for the drawing.
Step 1
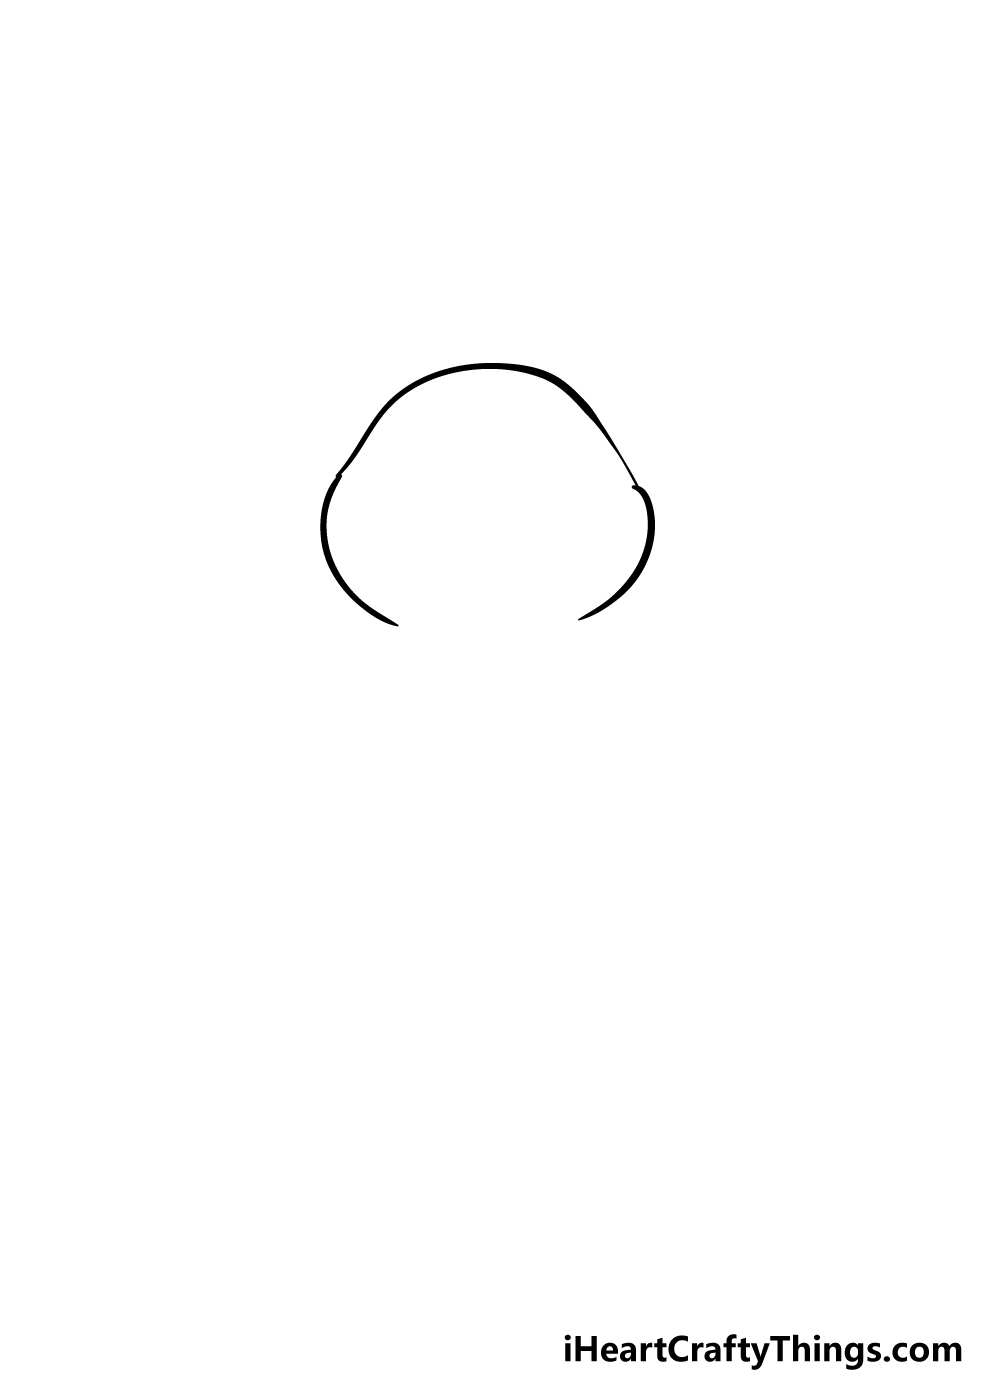
We’ll be starting from the top in our first step of this guide. To begin your penguin drawing, we will be using a rounded shape for the head.
The head will be made up of two curved vertical lines joined by a horizontal line at the top.
The result will be an almost circular shape without a bottom as you can see in the reference picture.
Step 2 – Give your penguin some wings
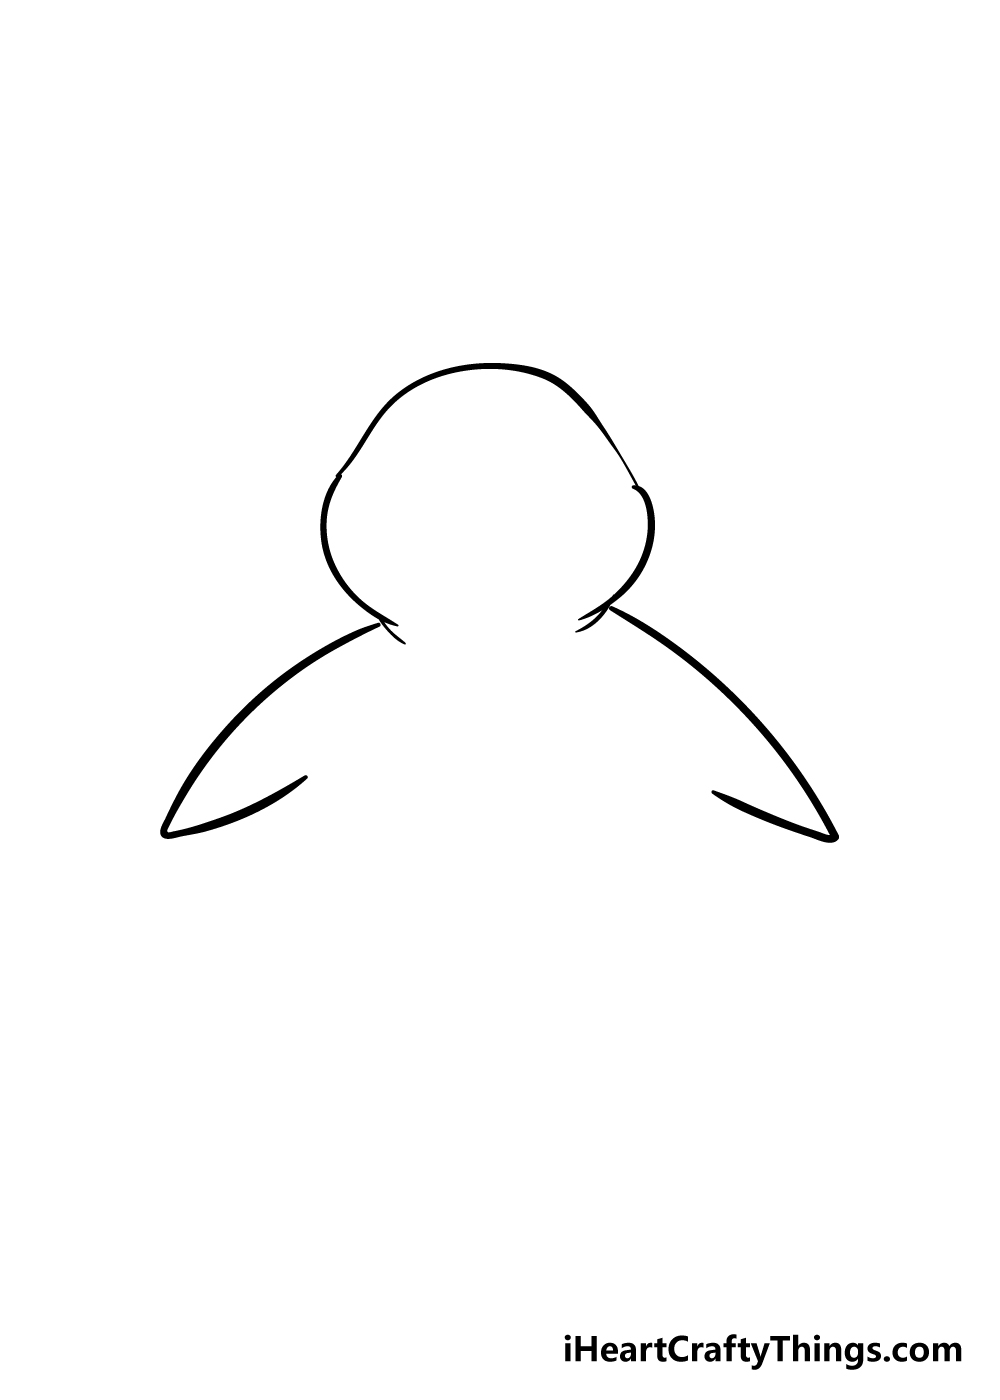
Penguins have short little wings that function more like flippers than wings.
They are short and pointed to help propel them through water, and we will be drawing them in for this step of our guide on how to draw a penguin.
To give your penguin drawing its wings, you can use two curved lines that end in a point, like the ones in the picture.
Step 3 – Now, draw in a body
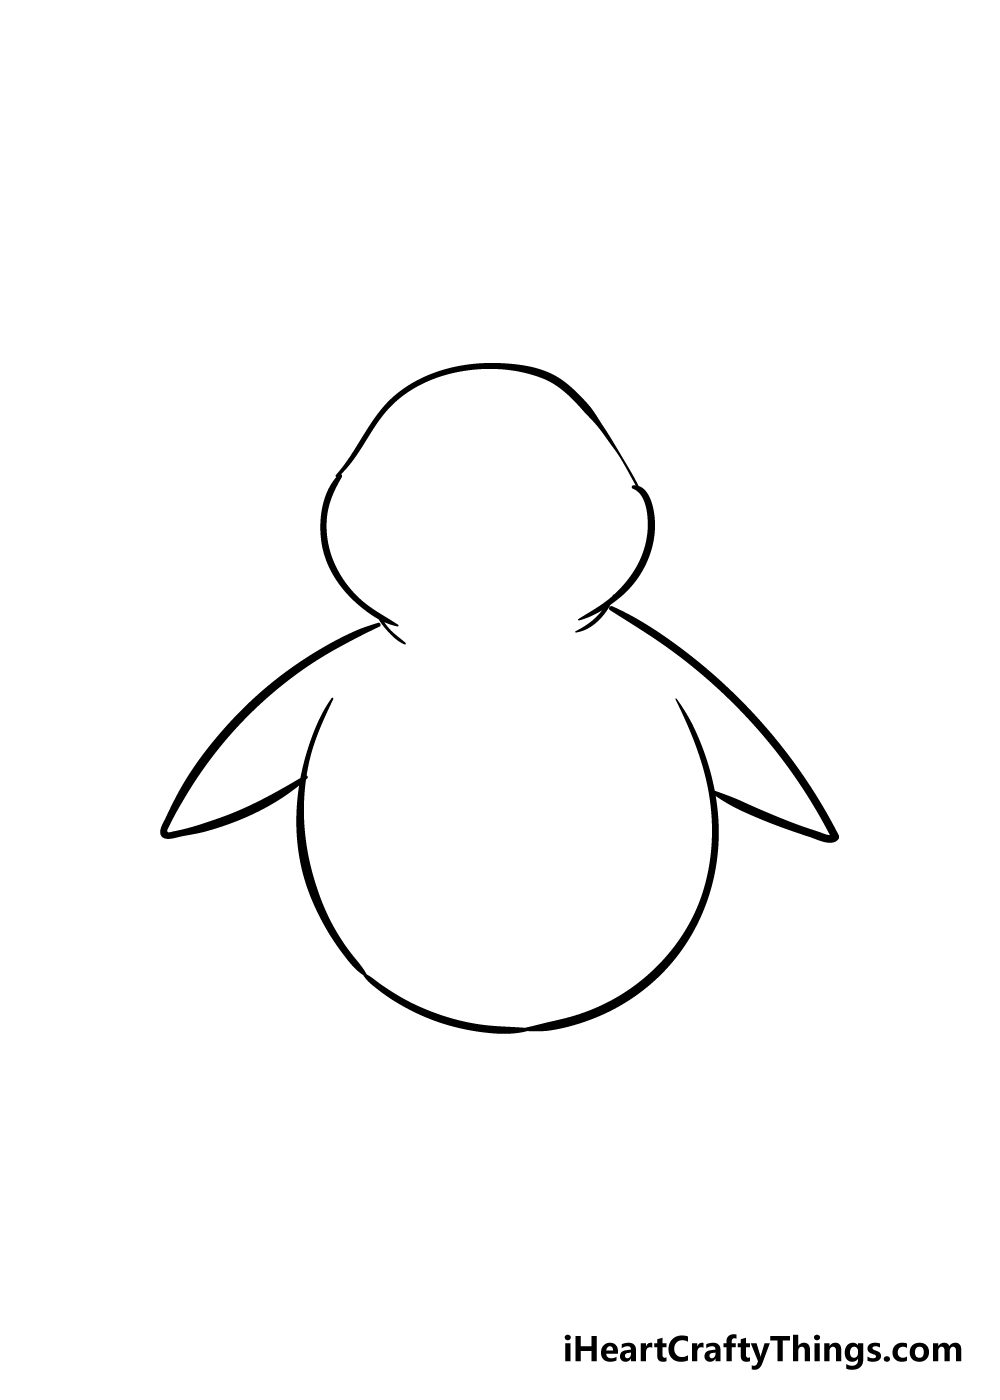
Your penguin drawing has a head and wings, so now it needs a body. Penguins have short, squat bodies, and we will be giving your one a very rounded one.
The body will start just above the wings and extend downward in a circular shape to form the body. Once you’re happy with how it looks, you can move on to the next step.
Step 4 – Next, add in some facial and body details
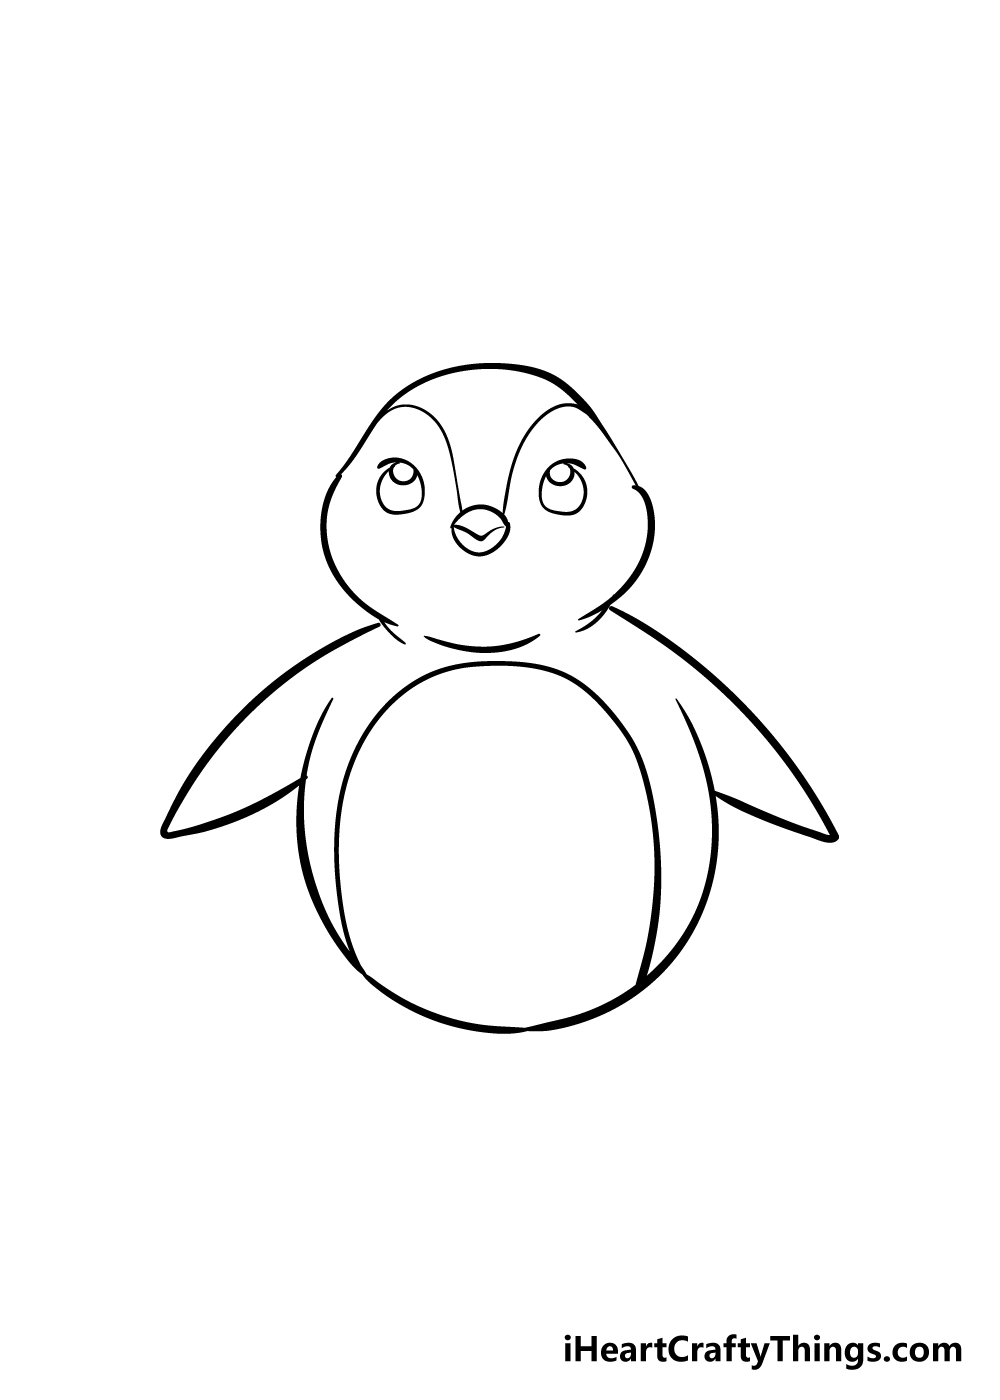
For this next step of our guide on how to draw a penguin, we will be adding in some facial and body details.
For the eyes, we shall be using some circular shapes with smaller circles within them as you see in the reference image.
Do draw in the little beak, we shall use another circular shape with a sharp line inside of it. Two curved lines coming out from the beak towards the top of the head will finish off the face of your penguin.
Lastly, we shall add some detail to the belly of the penguin using a long, curved line.
Step 5 – Now, draw in a crest for the penguin
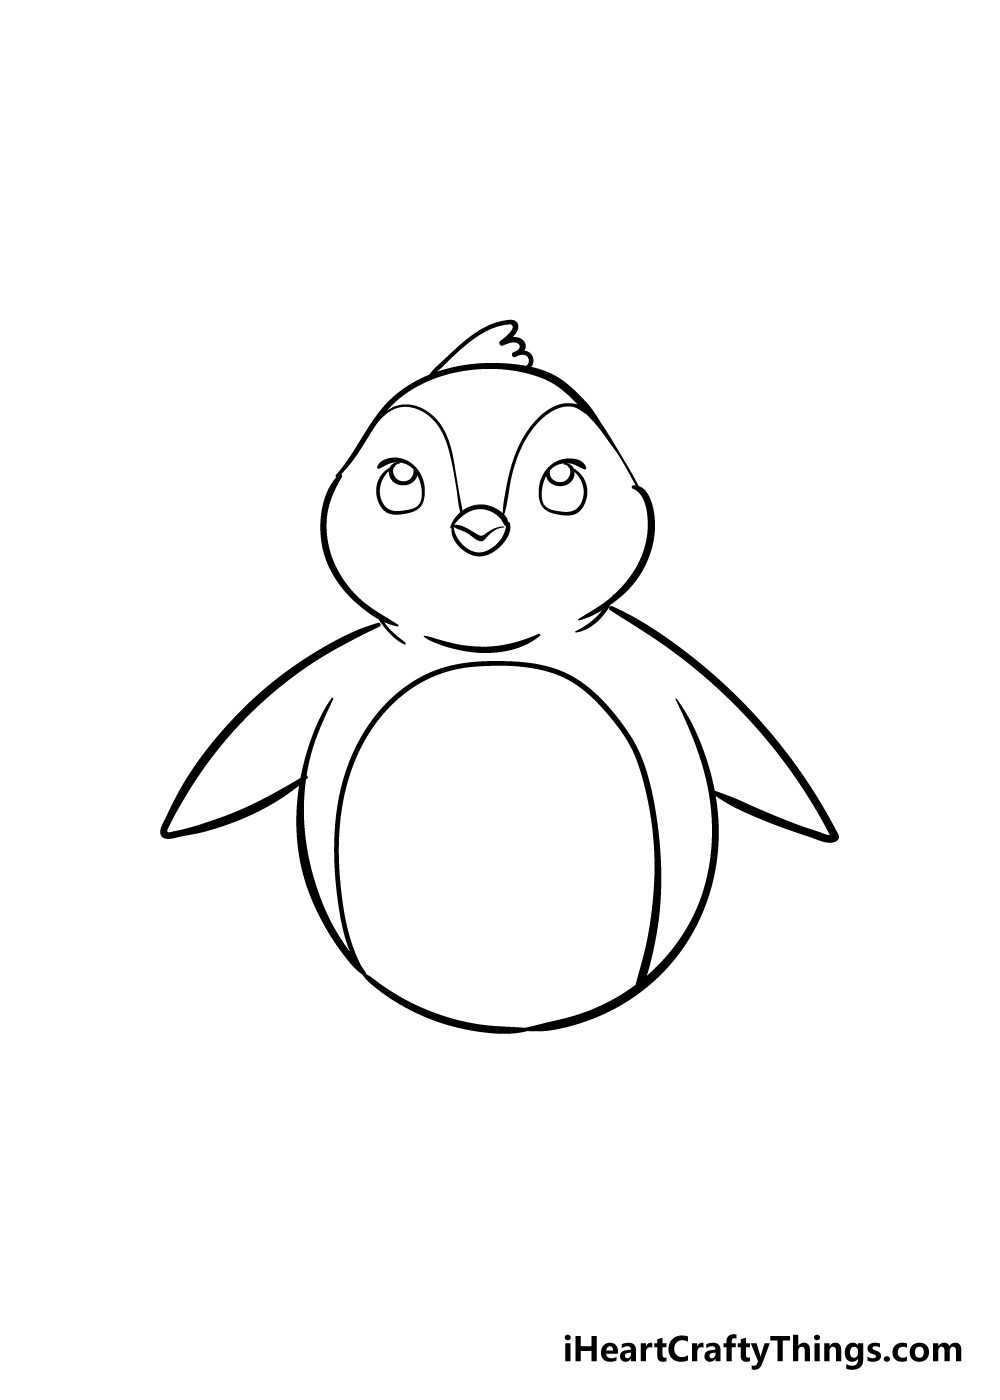
You have most of your penguin drawn in at this point, so for the last few steps we will be adding some final details to your penguin drawing.
For this step, your penguin needs a bit of a hairdo, so you can draw in a little crest for it. To give it this crest atop its head, you can use a line with three rounded points.
You could also get a bit creative with this part and give your penguin another cute look by using a different crest!
Step 6 – Give your penguin some final details
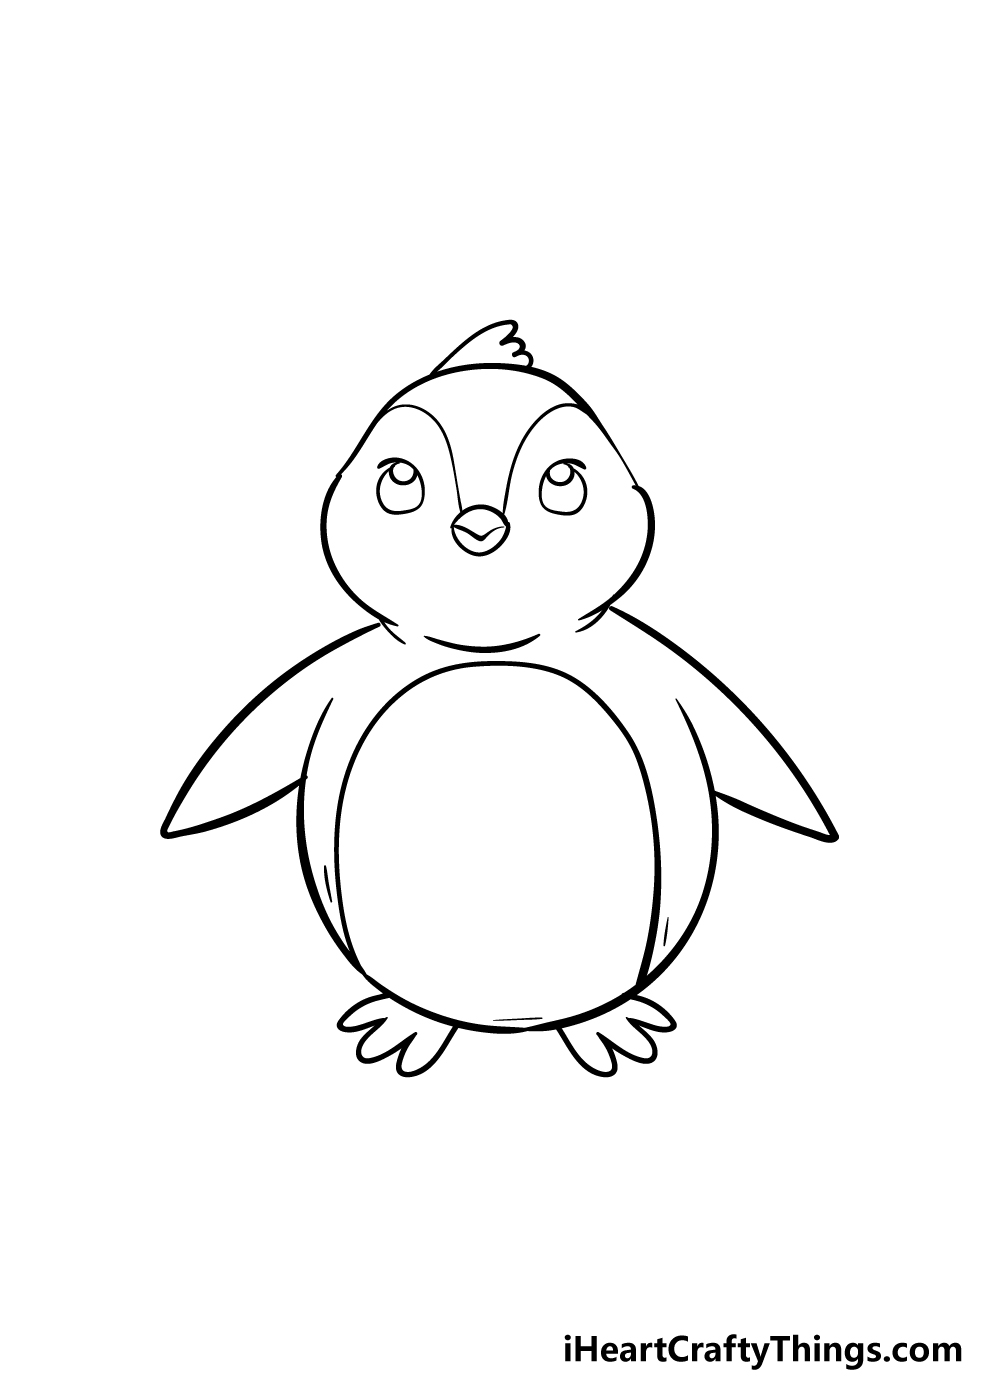
You have almost reached the end of this guide on how to draw a penguin, so for this next step we shall finish off the drawing with some final details.
Penguins have very short, squat legs, so for the feet of your penguin, you can add some feet directly onto the body of the penguin.
These will be made with some sharp lines like you can see in the image.
Lastly, you can use some small lines on the body to add some texture to your penguin. We’ve shown you one way you can add in details, but you can add in some details of your own as well!
Step 7 – Finish off your drawing with some color
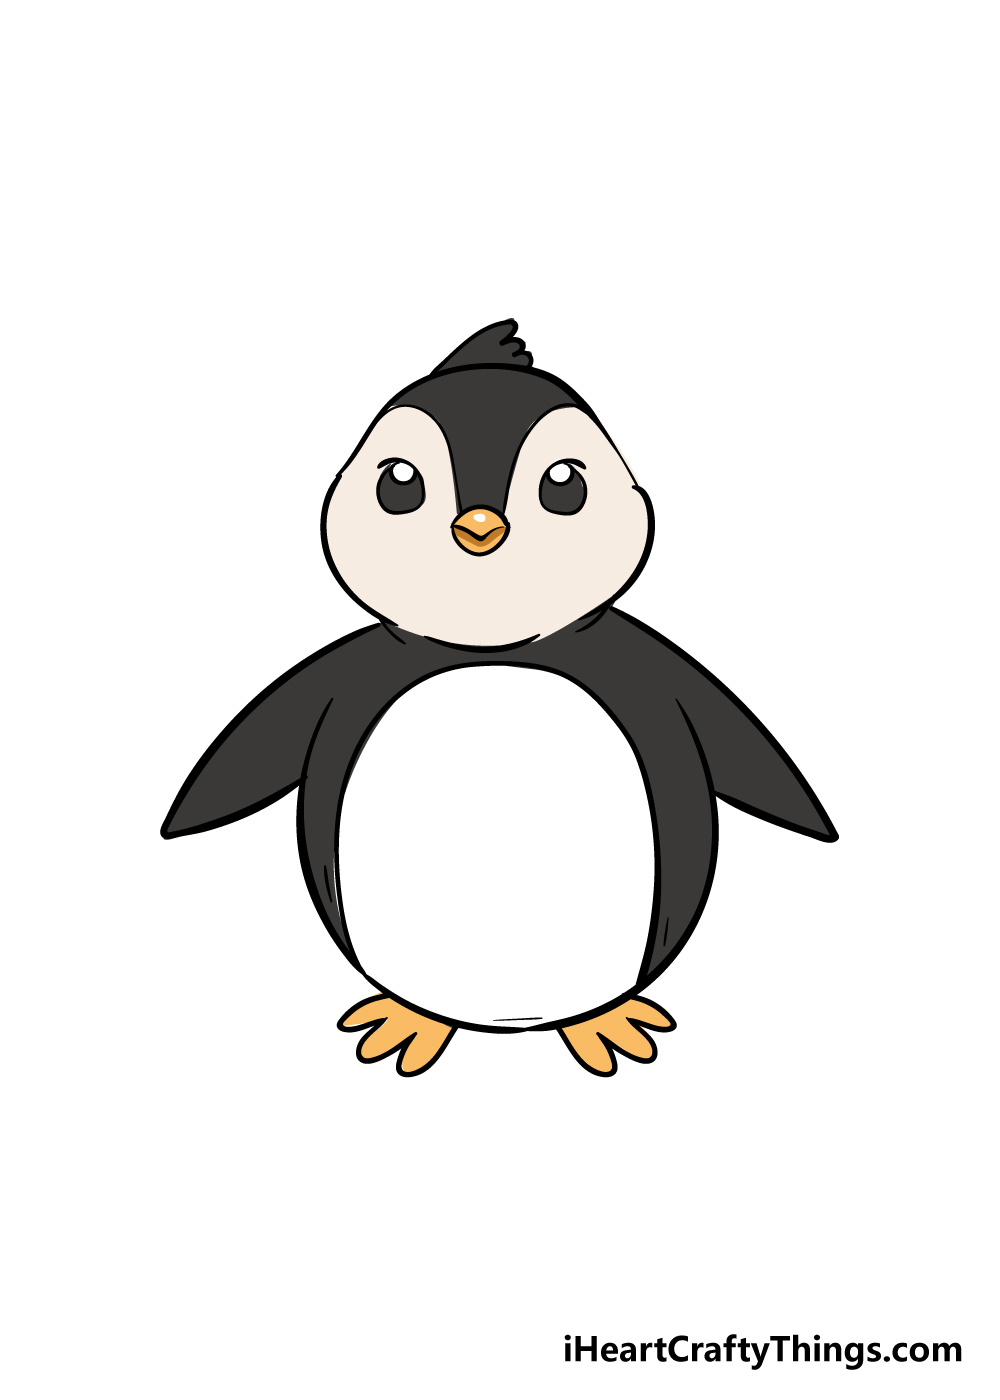
This is the final step of your penguin drawing, and it may be the most fun of all the steps! You’ve followed the guide to draw your penguin, yet for this step you can really show off your creative side!
Penguins aren’t exactly known for their intense colors, as they mainly come in black and white.
Despite this less vibrant color scheme, there’s still room to get really creative! For example, you could draw in a fun background for your penguin. You could choose something like an icy mountain region to keep it more realistic, but you could use any kind of fun background as well!
You could also use your favorite bright colors to give your penguin a more abstract look. Also, you can have some fun using your favorite art mediums!
These could include mediums such as acrylic paints, watercolors and colored pens for some incredible color variations to your drawing.
Here’s how you can make your penguin drawing even better…
Have some fun making your penguin sketch even better with these 4 tips we have for you!
The only thing cuter than a penguin is more than one penguin! With that in mind, it could be fun to add some more of these cuties to your penguin drawing.
If you wanted to do this, you could simply follow the steps of the guide again and draw as many as you like. By changing a few small details on each penguin, you can also make each one unique.
If you want to stick to just one penguin, you can also make it more unique with some fun details. These don’t have to be realistic, either!
For instance, you could give this penguin a beanie and a scarf to make it extra cute. Or you could change the pose or facial expression for a more unique penguin.
What are some other fun details you could add to this adorable drawing? There are so many ways you can make it even more unique!
When you have changed this drawing of a penguin as you please, you could then think about a fun background. This could be simple, such as a snowy setting with lots of whites and blues.
Or, you could create a more elaborate winter wonderland setting. This is completely up to you, and it depends on the kind of setting you have in mind.
Be sure to try out any ideas you have and then see which one you like the best!
Penguins are black and white, and so they are not exactly known for being brightly colored creatures. That doesn’t mean that you can’t have some fun with colors, however!
For example, if you added any extra details you can bring some brighter colors to those elements. Another way to get some interesting colors would be by using some fun and unusual art tools and mediums.
From paints to colored pens and pencils, you have so many options for bringing color to your penguin sketch!
Your Penguin Drawing is Complete!
You’ve drawn your penguin, you’ve colored it in, and that means that you have reached the end of this guide on how to draw a penguin!
This guide was made especially to make it much easier for you to learn how to draw this adorable bird.
With these guides, we try to break it down into several steps that are broken down into simpler lines and shapes that come together to form a great drawing.
We really hope that you had a lot of fun drawing your new penguin pal using this guide! Following this guide is just part of the fun, though, as you can now use your own creativity to put your own spin on it!
There are a few ways that you can do this, and once you have the hang of drawing it, you could change out a few details such as the pose of your penguin or the facial expressions to make some fun variations.
You could also choose some fun backgrounds to draw in for your picture to have your penguin in some fun environments, and it could be fun to put it in some environments that you wouldn’t normally see a penguin in.
There’s no limit to the creative possibilities for your drawing, and we can’t wait to see how you express yourself!
This guide is one of many we have coming out soon, so please be sure to check in to our site frequently to never miss out on any of our step-by-step drawing guides.
Lastly, we would love to see your completed penguin drawing, so please be sure to share it to our Facebook and Pinterest pages for us to see and enjoy!
Here Is A Penguin Sketch For Kids To Inspire You!
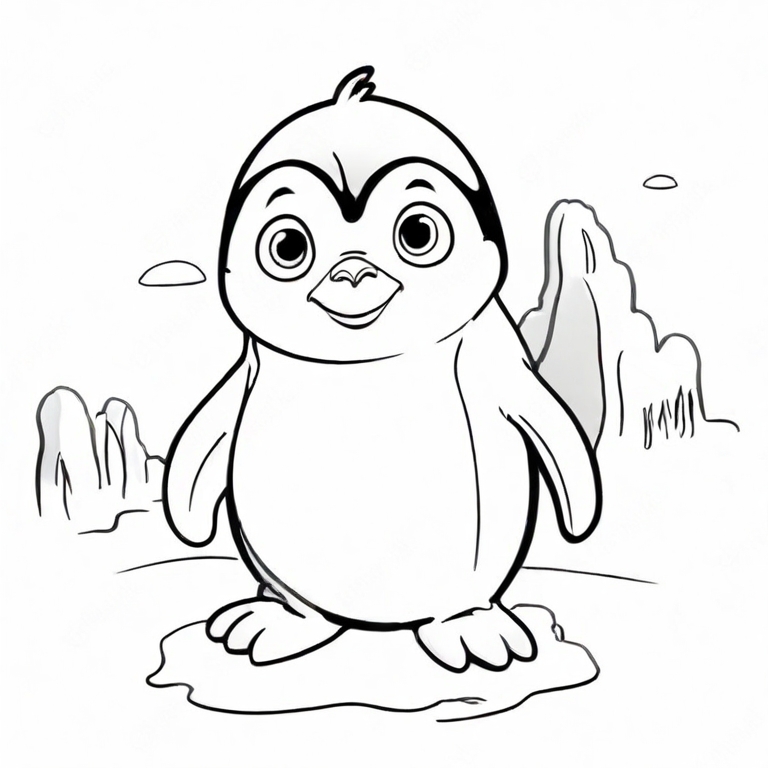
Penguins are so cute, from the way they look to the way that they waddle around in such a distinctive way.
This penguin sketch for kids was drawn by our artist Amanda to give you some inspiration!
She drew this wonderful cartoon version of a penguin, and you can use it in any way that you need. If you want to replicate the drawing exactly as it is, you’re free to do so!
You could also use it to inspire your drawing and use it to build your own design from it. Amanda also added a chilly background to the scene, and it really looks great even though it’s so simple.
It would be fun to add even more details and features to this background if you wanted to! What kinds of background details would be good for this background setting?