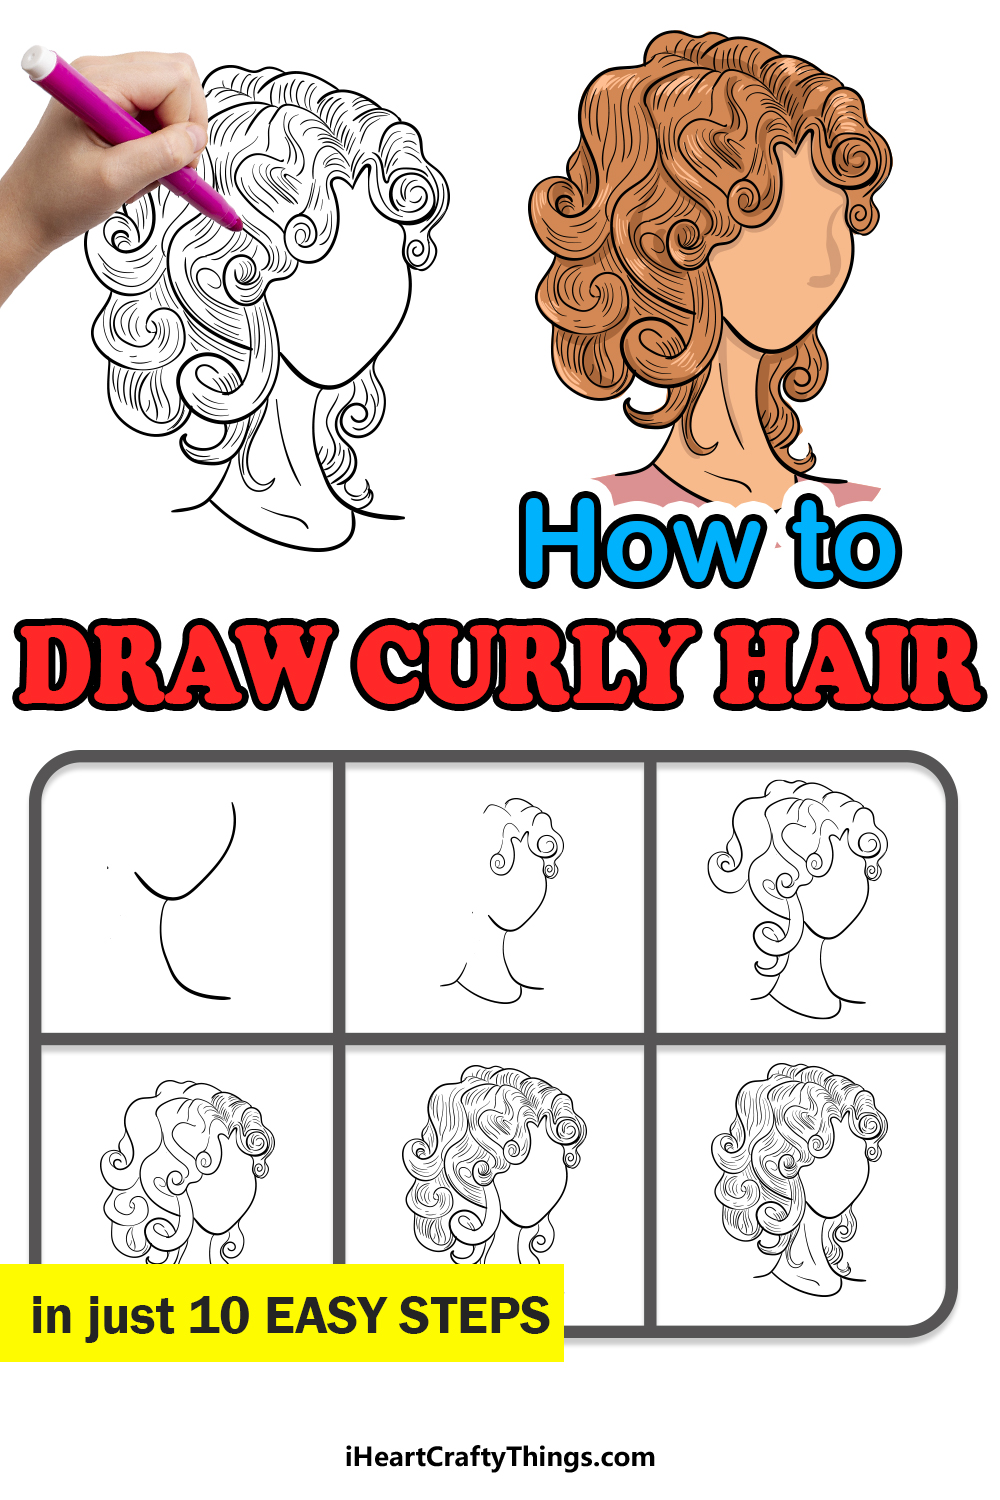
Discover the easiest way to learn how to draw curly hair by following this guide for kids. By the end, you will be able to draw this tricky design with ease!
When you draw people in any style, depicting realistic hair is something that a lot of people struggle with. You’d think it would be really easy, but getting it right is no easy feat.
Luckily, I am here to show you the simplest way to get it done. I will walk you through all of the steps you need to know to depict some realistic and stylish women’s curly hair.
Once you have finished the guide, you can take what you have learned and apply it to your own designs and ideas. You could even add a face for this character and create a background to show where she is spending time!
Find Out How To Make Your Curly Hair Drawing Here
How to Draw Curly Hair – Let’s get Started!
Step 1

To begin this guide on how to draw curly hair, we shall start with the jaw of the head the hair will be on.
To make things a bit easier for the next steps, you could use a light pencil to draw in a rough head shape that you can use to help orientate where you will place the hair.
Once you’ve used two curved lines to create the jaw and neck of the head, you’re ready for step 2.
Step 2 – Begin drawing the hair itself
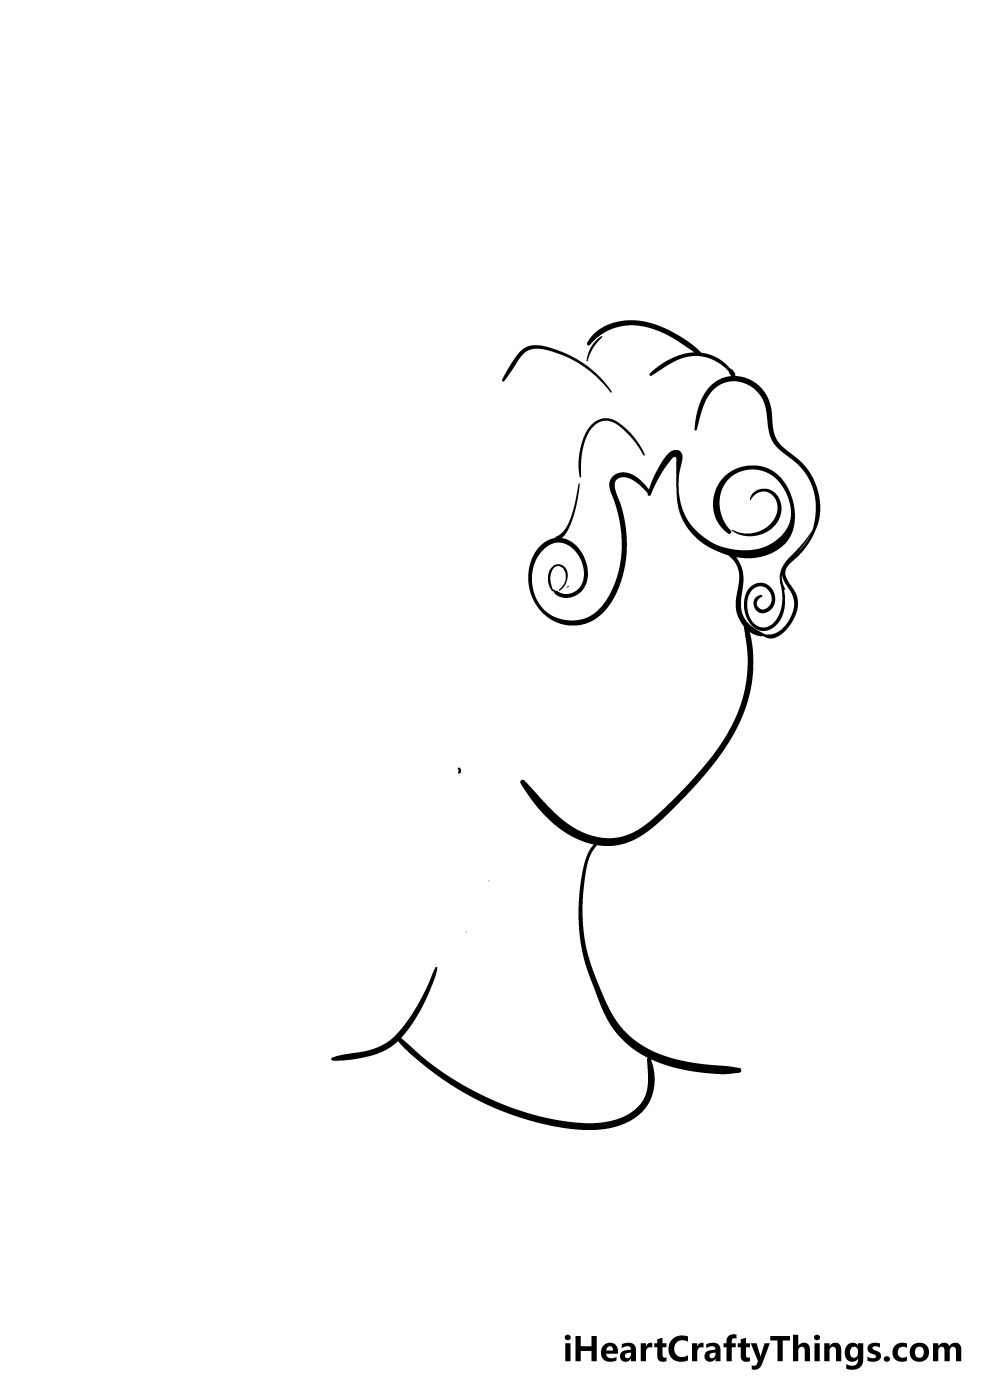
Before you start adding in the hair of your curly hair drawing, you should first use a curved line to draw the other side of the neck.
Once that is there, you can use a line beneath and between them.
Now you can start drawing the hair itself. This may look complicated, but if you take it slow and follow the reference picture closely you’ll do a great job!
To make things easier, you should start by drawing in an M shape on the forehead of the head. You can then use that to extend lines into the first twisty curls. Finally, use some curved lines above the curls to form the top of the head.
Step 3 – Next, draw in some more of the hair
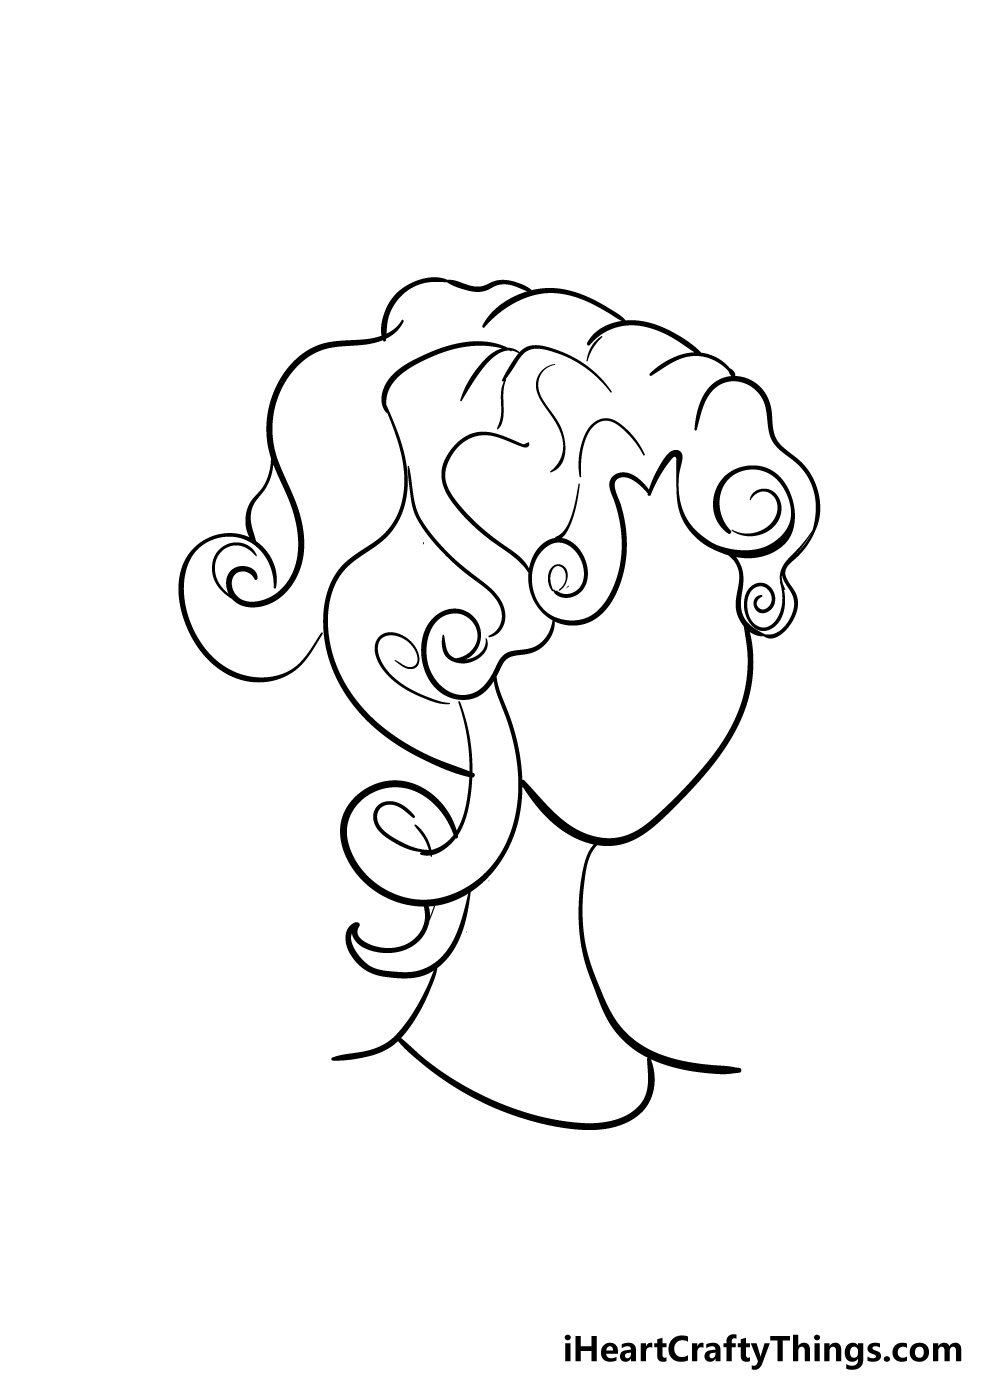
Now that you have the start of the hair on your curly hair drawing, you can start to work in more. I would recommend working from right to left from the hair that you drew in the previous step.
Following the guide image carefully, you could use lots of curved lines to make more curls and the top of the head.
Once again, for this step I would recommend using a light pencil to draw in this and the next few steps before going over in pencil.
Also, don’t worry too much about getting it to look exactly like it does in the image! You can change up some of the details and hair structure and it would still look great.
Step 4 – Now draw in some more curls
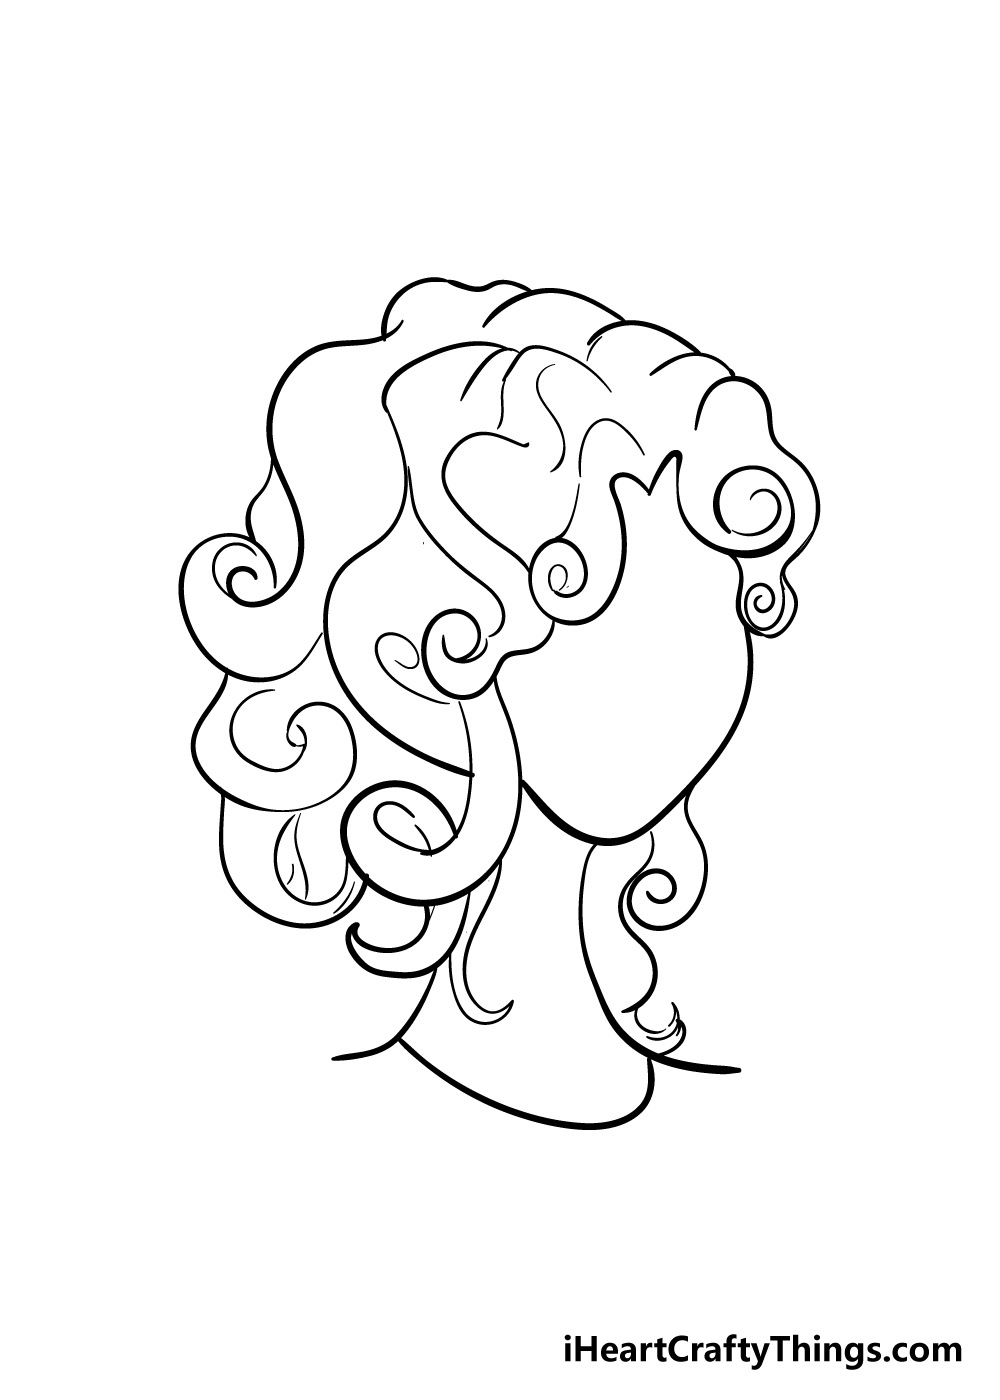
The steps coming up next for your curly hair drawing are a bit easier than the previous few.
In this step, we shall be adding some more curls underneath the hair that you drew in the previous step.
Step 5 – Start to add some hair details
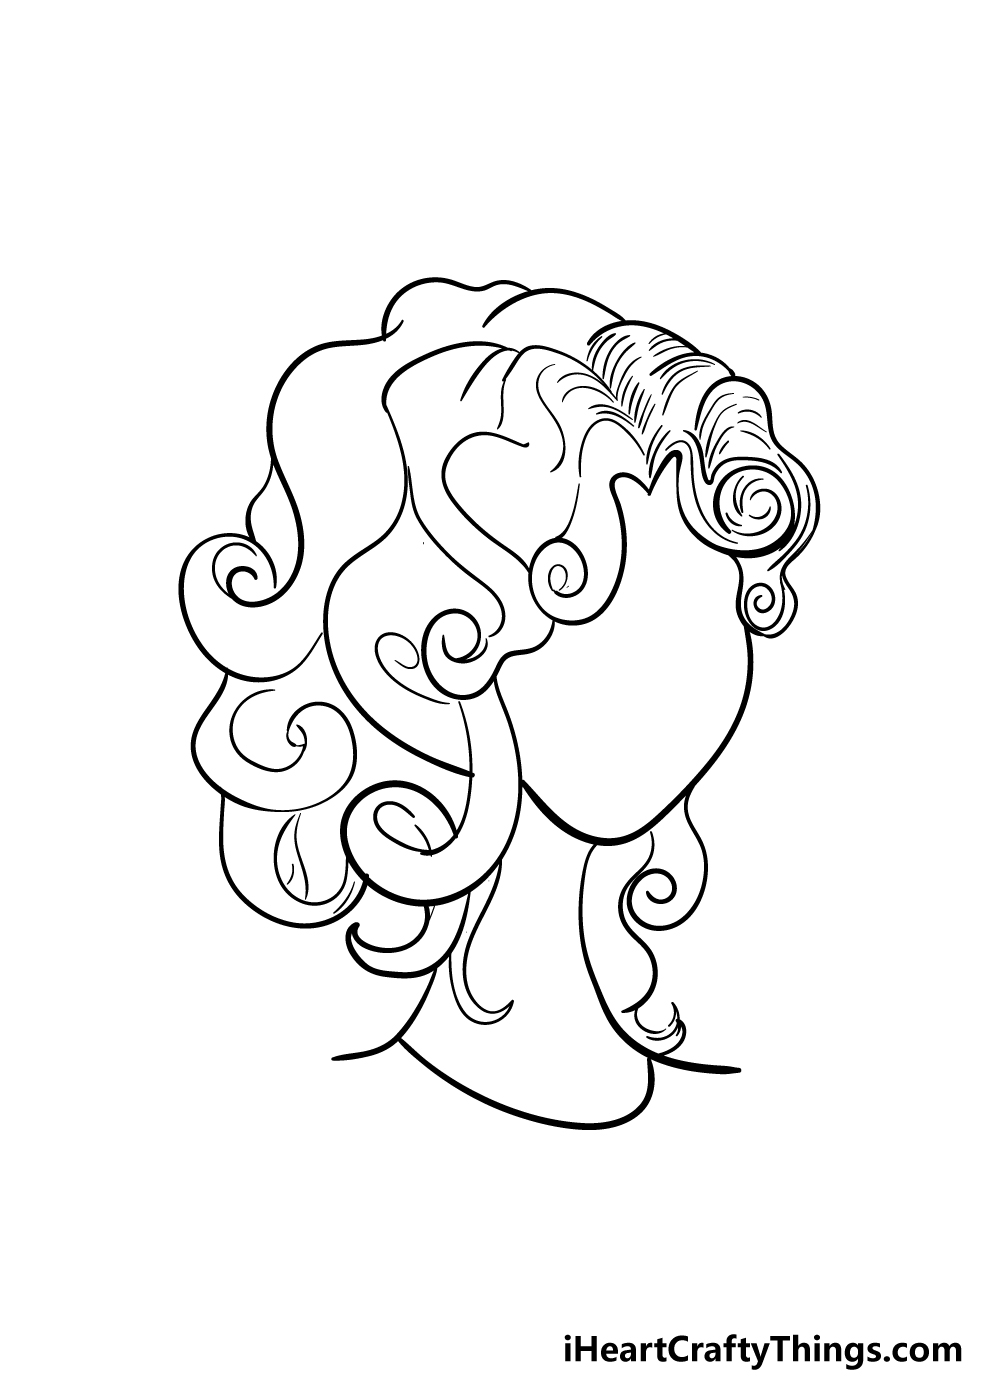
I have good news for you because you’ve finished all of the tricky parts!
However, as you well know, hair isn’t one solid piece, and so in the next few steps we will add some details to make it look like it’s made up of many strands of hair.
Starting with the section of hair on the right, you should start to draw in lots of thin, twisty lines to give the look of hair texture.
Step 6 – Next you will be adding some more hair texture
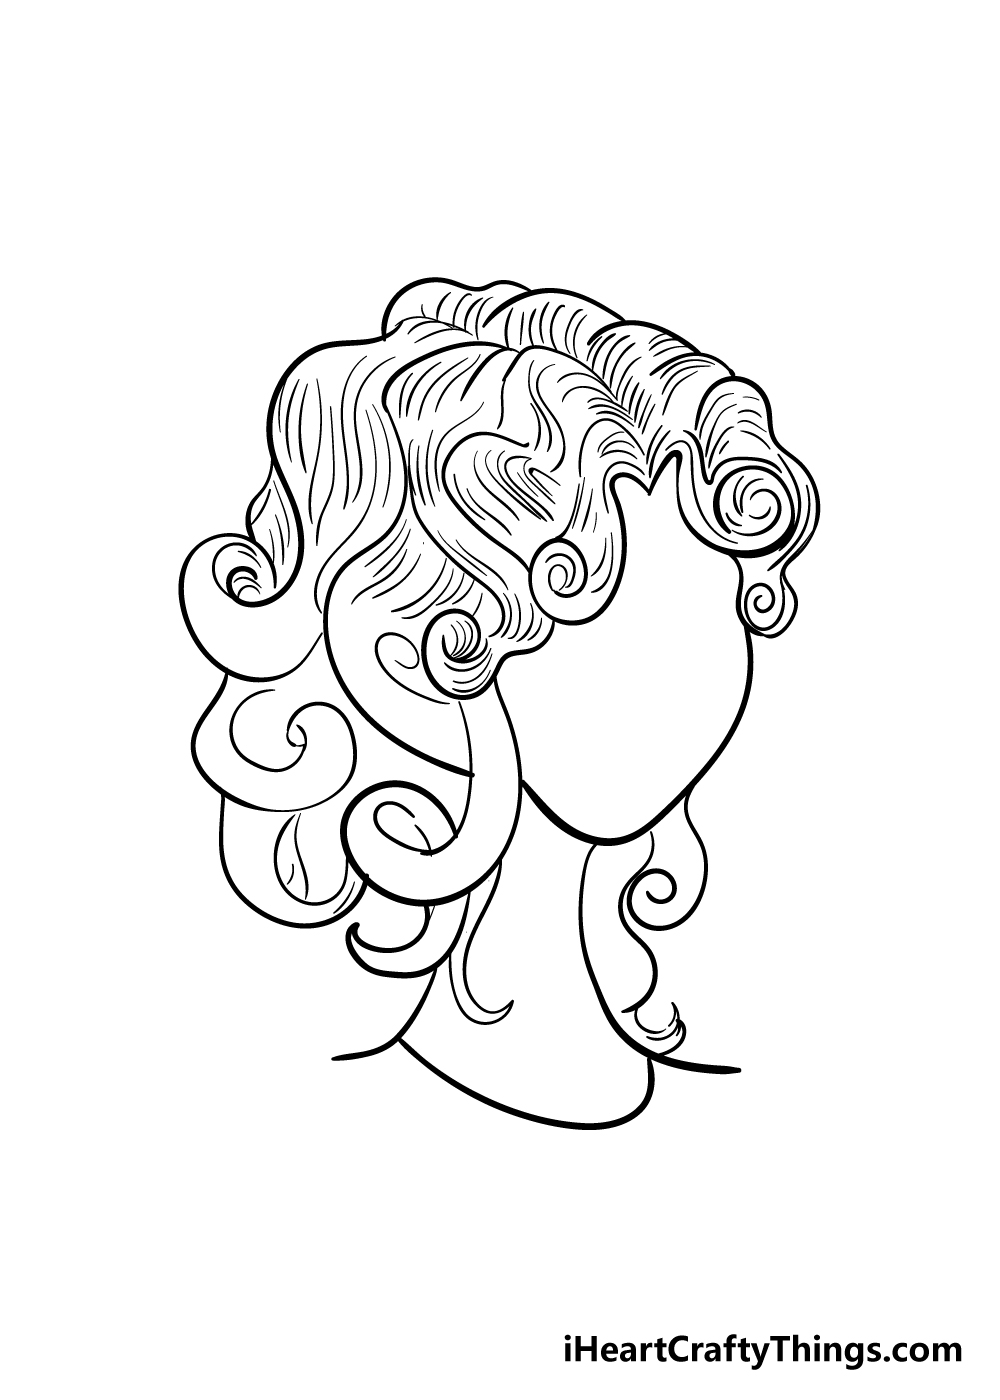
Now that you’ve drawn in your first bit of hair texture, you can start to add in even more.
For this step of our guide on how to draw curly hair, you can start to move further left on the head, adding in lines to the hair on the middle of the head.
Step 7 – Now you can keep adding more texture lines
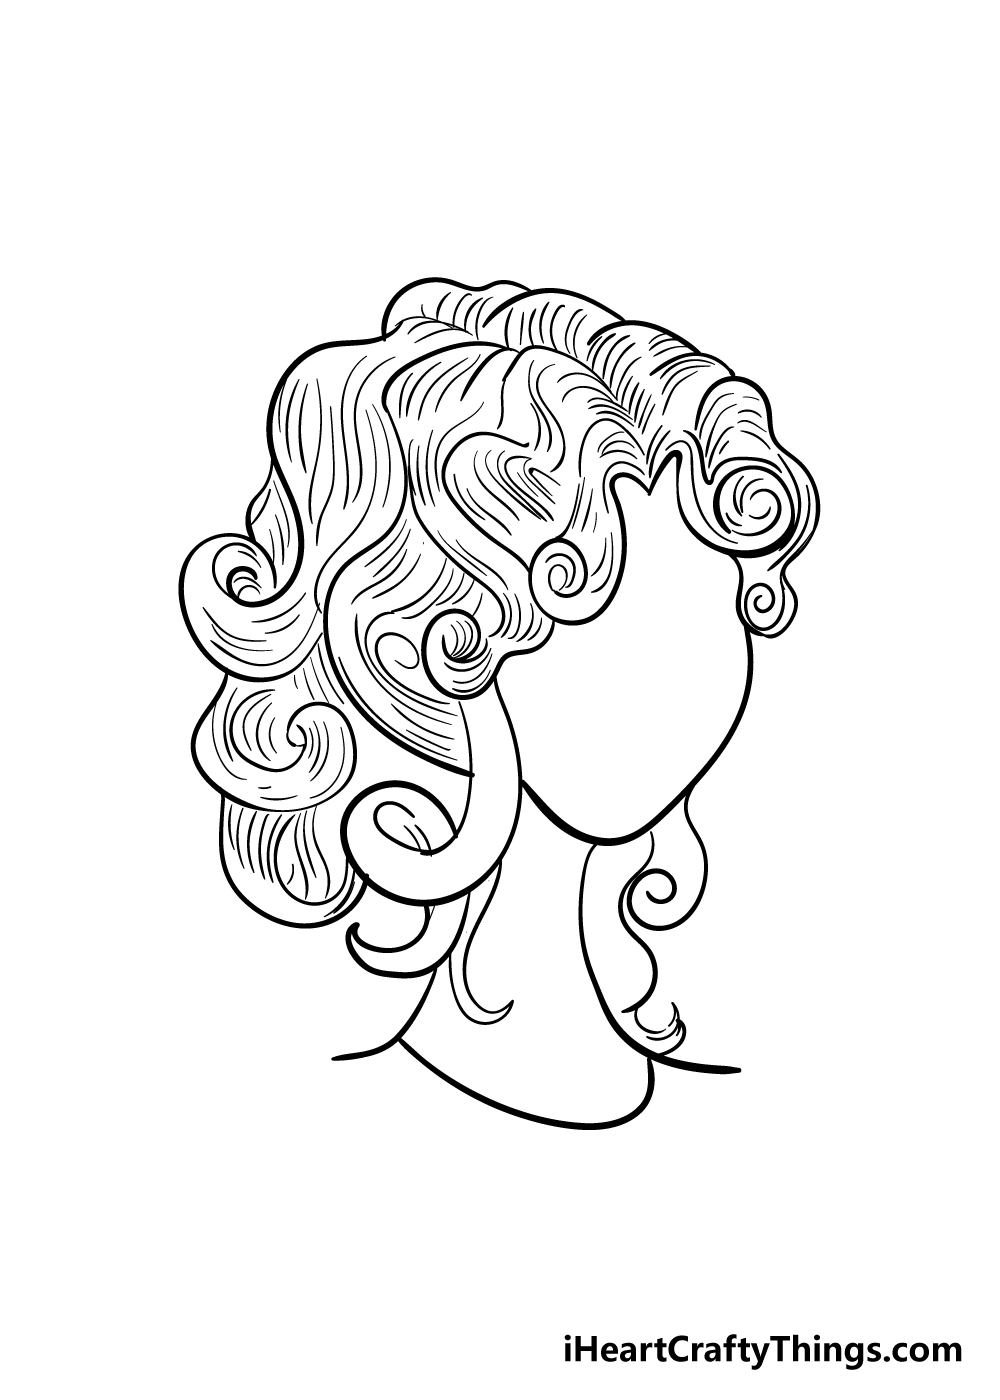
You know the drill at this point, so for this step of your curly hair drawing, simply keep adding in lines to the lower back portion of the hair.
Step 8 – Keep on adding some detail

You’re almost finished with your curly hair drawing, so just keep adding more texture lines, this time to the large curl near the side of the head.
Step 9 – Now, draw in the final details
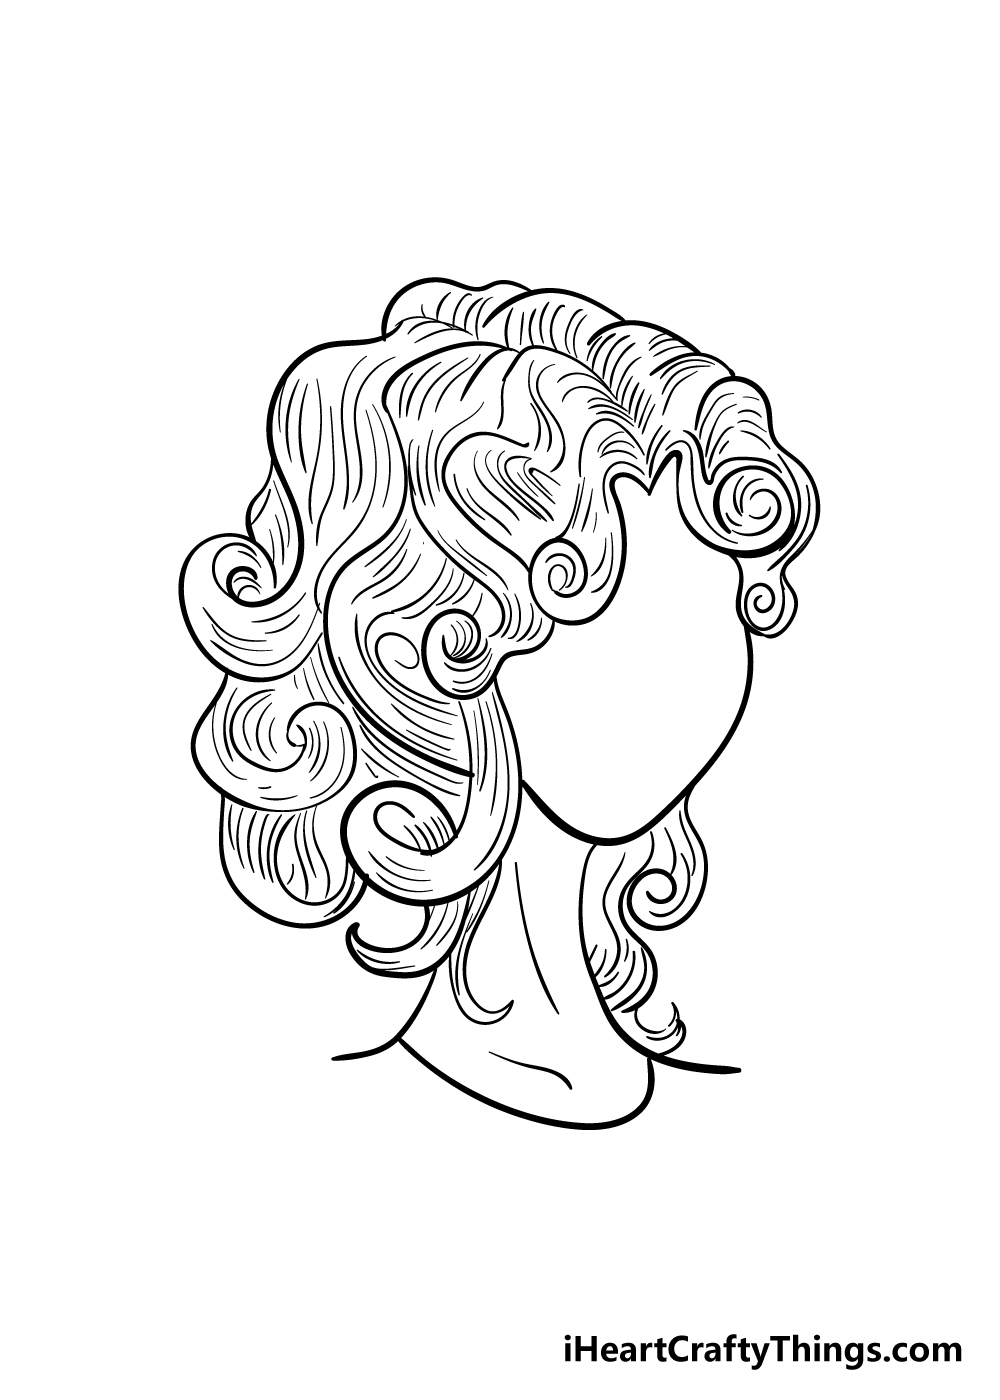
With this step of our guide on how to draw curly hair, you can start to add in the final details!
Just a few more lines will be needed for the remaining portion of hair, and you can add in some lines to make the collarbone under the neck.
Once you’ve added in those details it’s time for the last step!
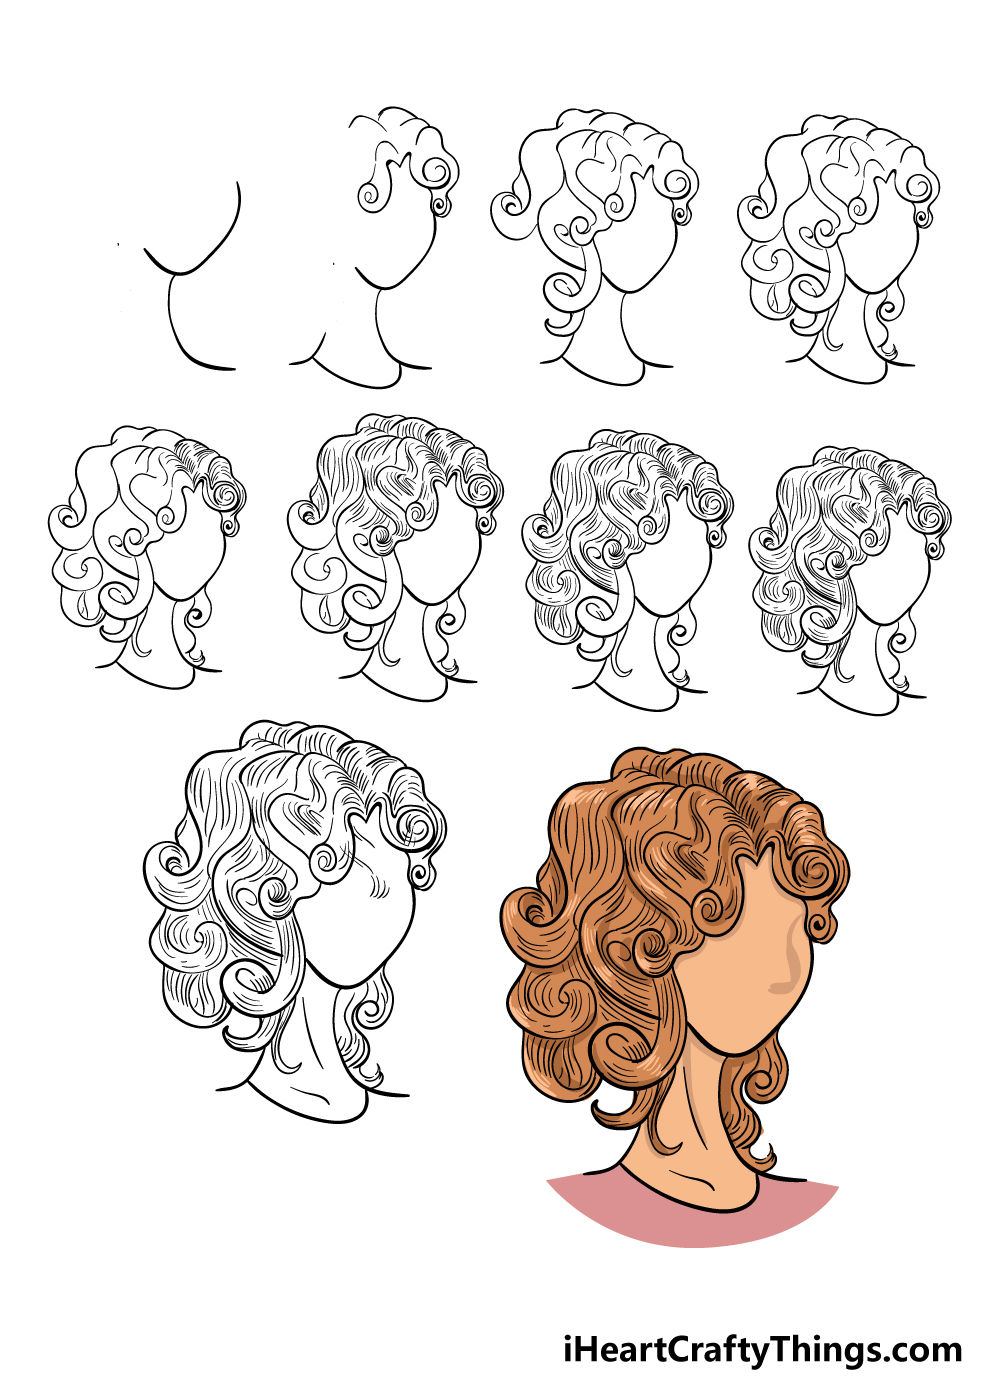
Step 10 – Finish off your curly hair drawing off with some color
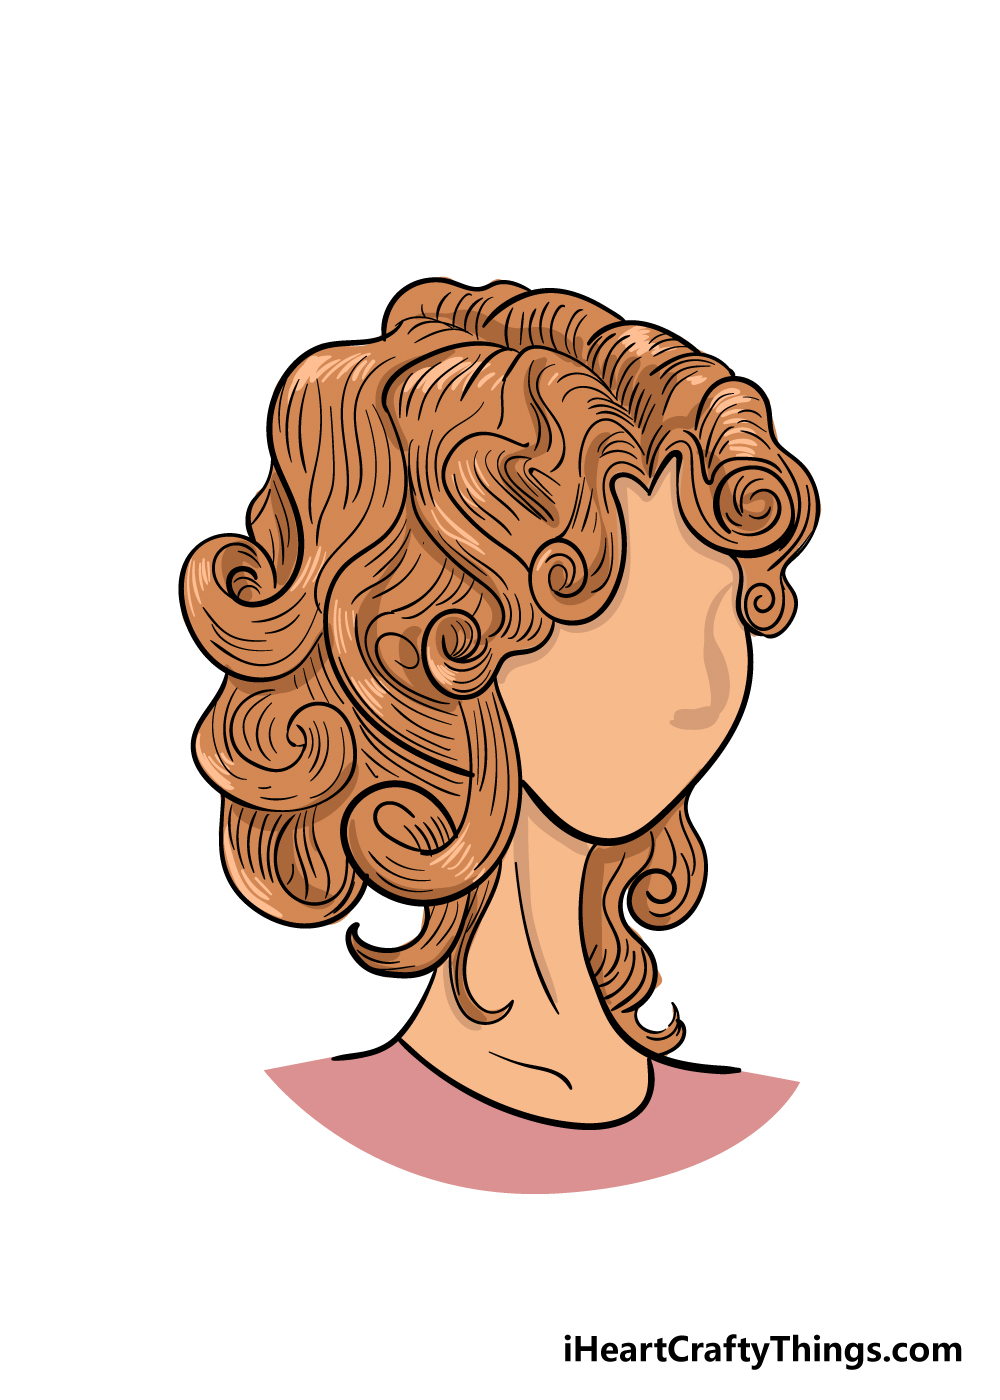
This was a trickier drawing to take on, but you’ve done an amazing job getting this far!
Now that your curly hair drawing is complete, you can let loose with your creativity and add in some color to your drawing!
We have shown one way you could color in your drawing, but for this step you should let your creativity run wild!
It could also be fun to color in the hair to be the same color as your own!
Once you’ve decided on what color to make your hair drawing, you can have some fun with your favorite art mediums and tools to create an amazing finish for your drawing!
3 More tips to make your curly hair drawing easy!
Make this tricky curly hair drawing a bit easier with these 3 helpful tips.
The design of this drawing of curly hair is more complicated than it looks. There are loads of details and intricate lines to do, and you could look into removing some of these details to make it easier.
This should ideally be done sparingly, as these details do add to the image. That being said, if there are aspects you’re really struggling with, you should feel free to remove or simplify them.
It’s all about playing to your own strengths, and changing the image will not make it worse. As long as you’re not getting frustrated as you draw, the artwork will be all the better for it!
Another way you could make your curly hair drawing a bit easier would be by looking at photos of curly hair. You may know someone with similarly curly hair that you could use as inspiration.
Otherwise, you can find many images online of similar curly hairstyles to the one in our example. If you do this, try to find one that is as similar to our example as possible.
Even if it’s a bit different, you could still see how the texture and flow of the hair looks which you can then adapt to your drawing.
Finally, if you’re still having a hard time with the details of this curly hair sketch, you could alter the hairstyle a bit. For example, it could be more manageable if the hair was tied up in a ponytail.
That way, you could still portray the curly hair, but it would be more constrained and easier to control. It’s just one example of a hairstyle that might be easier, but you may have a favorite hairstyle you would prefer.
Try to find some pictures or references for this new hairstyle and then go through the guide again with the new style in mind.
This may not only make it easier, but you may even create a style you like more than the one we created!
Your Curly Hair Drawing is Complete!
You took on quite a challenge with this drawing, and you should be very proud of finishing your drawing!
While this is a trickier drawing, we really hope that our step-by-step guide on how to draw curly hair made it easy and fun for you to learn.
If you follow each step closely and take it slow, you’ll have an incredible drawing in no time!
Once it’s done, we can’t wait to see what colors and art mediums you’ll use to finish it!
Paints, watercolors, colored pens and pencils are just a few examples of what you could use for your picture, so we can’t wait to see what you go for!
Please be sure to check out our site frequently to have access to many more awesome step-by-step drawing guides that we’re going to be bringing out constantly!
Lastly, we would love it if you could share your amazing curly hair drawing on our Facebook and Pinterest pages once it’s done! We can’t wait to see your amazing, colorful drawings.