When it comes to drawing, coloring and marking, there are many different tools you can use to get the job done.
Pens come in many different shapes, sizes and brands, and everyone has their go-to drawing tool.
The Sharpie brand is one that has become famous worldwide, and many people rely on them for its great pen products.
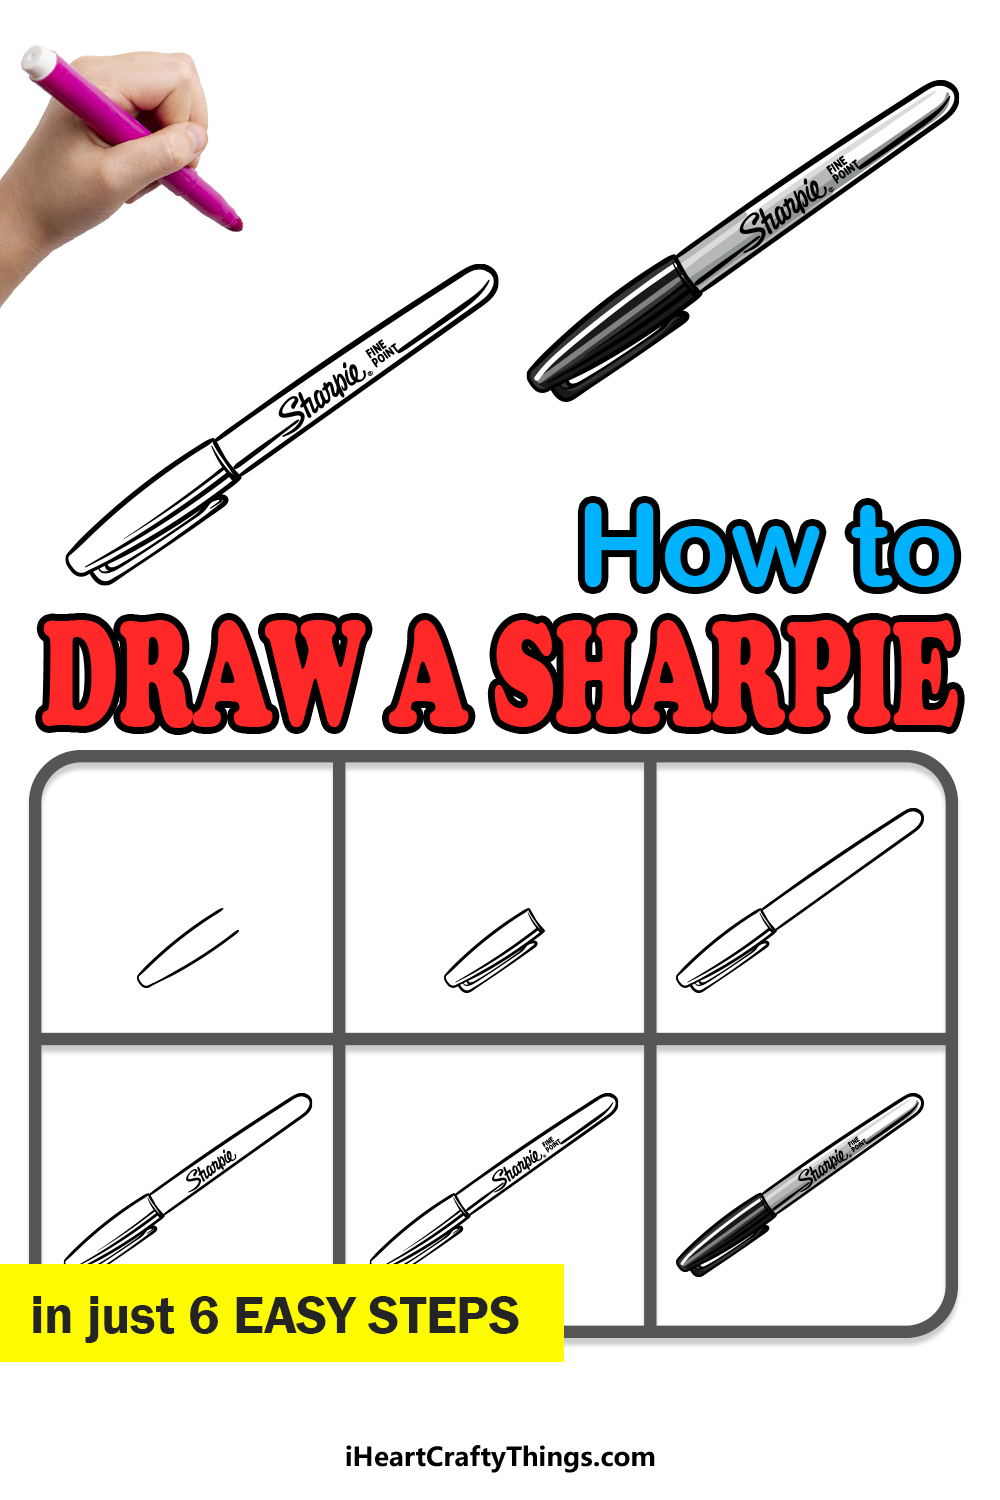
In this guide on how to draw a Sharpie, we will cover how you can draw one of these permanent markers.
You will get to use all sorts of different drawing tools to create the picture and color it in, and you could even use a real Sharpie on this drawing!
With that, we shall begin this awesome step by step guide on how to draw a Sharpie in just 6 fun and easy steps.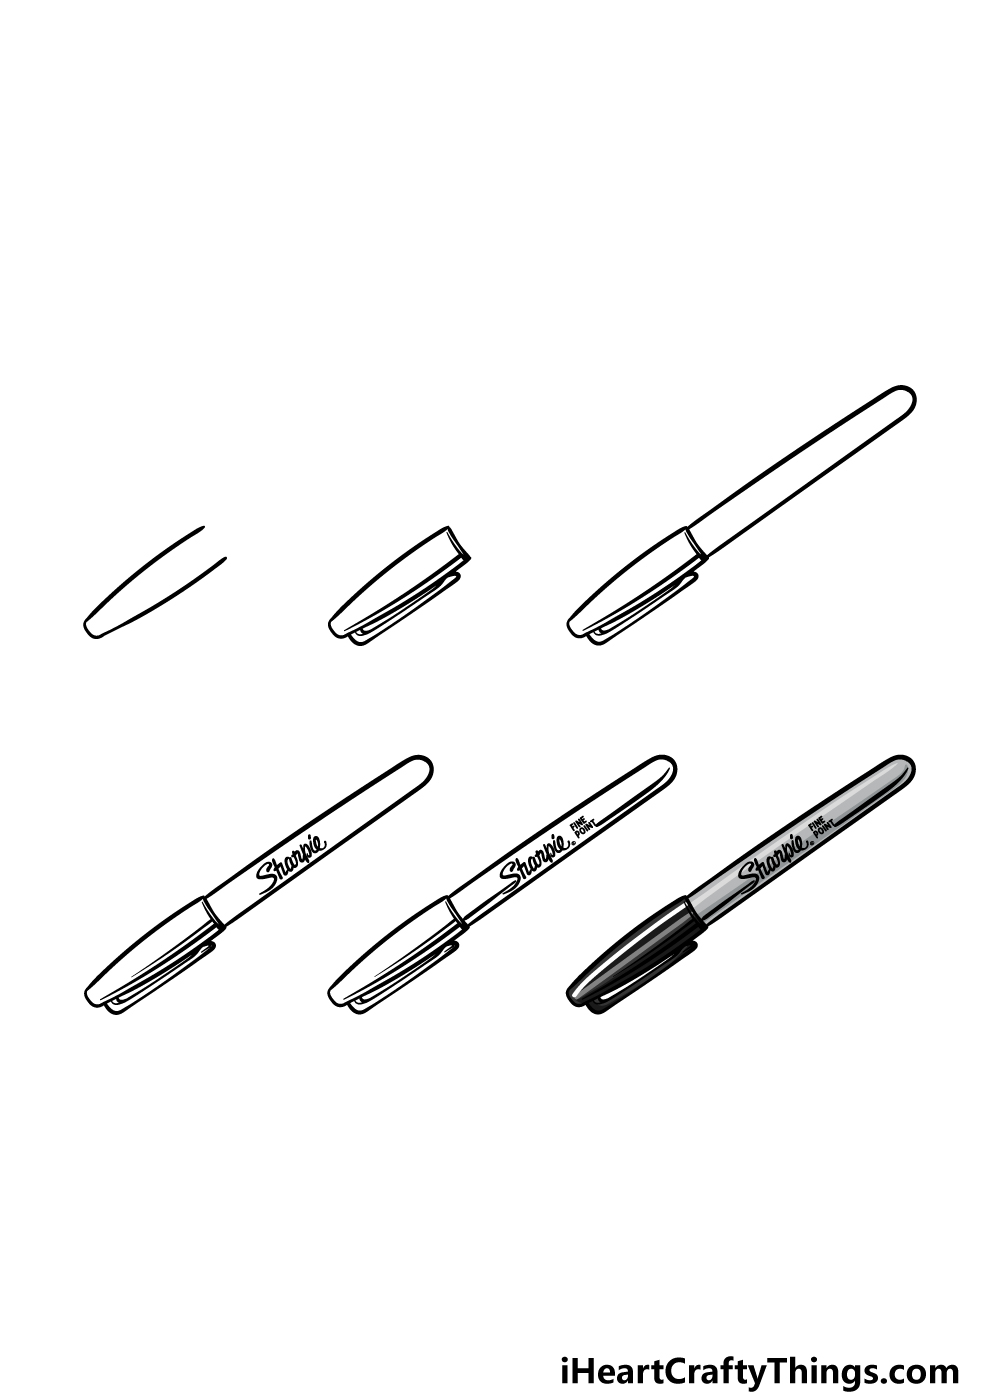
How to Draw A Sharpie – Let’s get Started!
Step 1
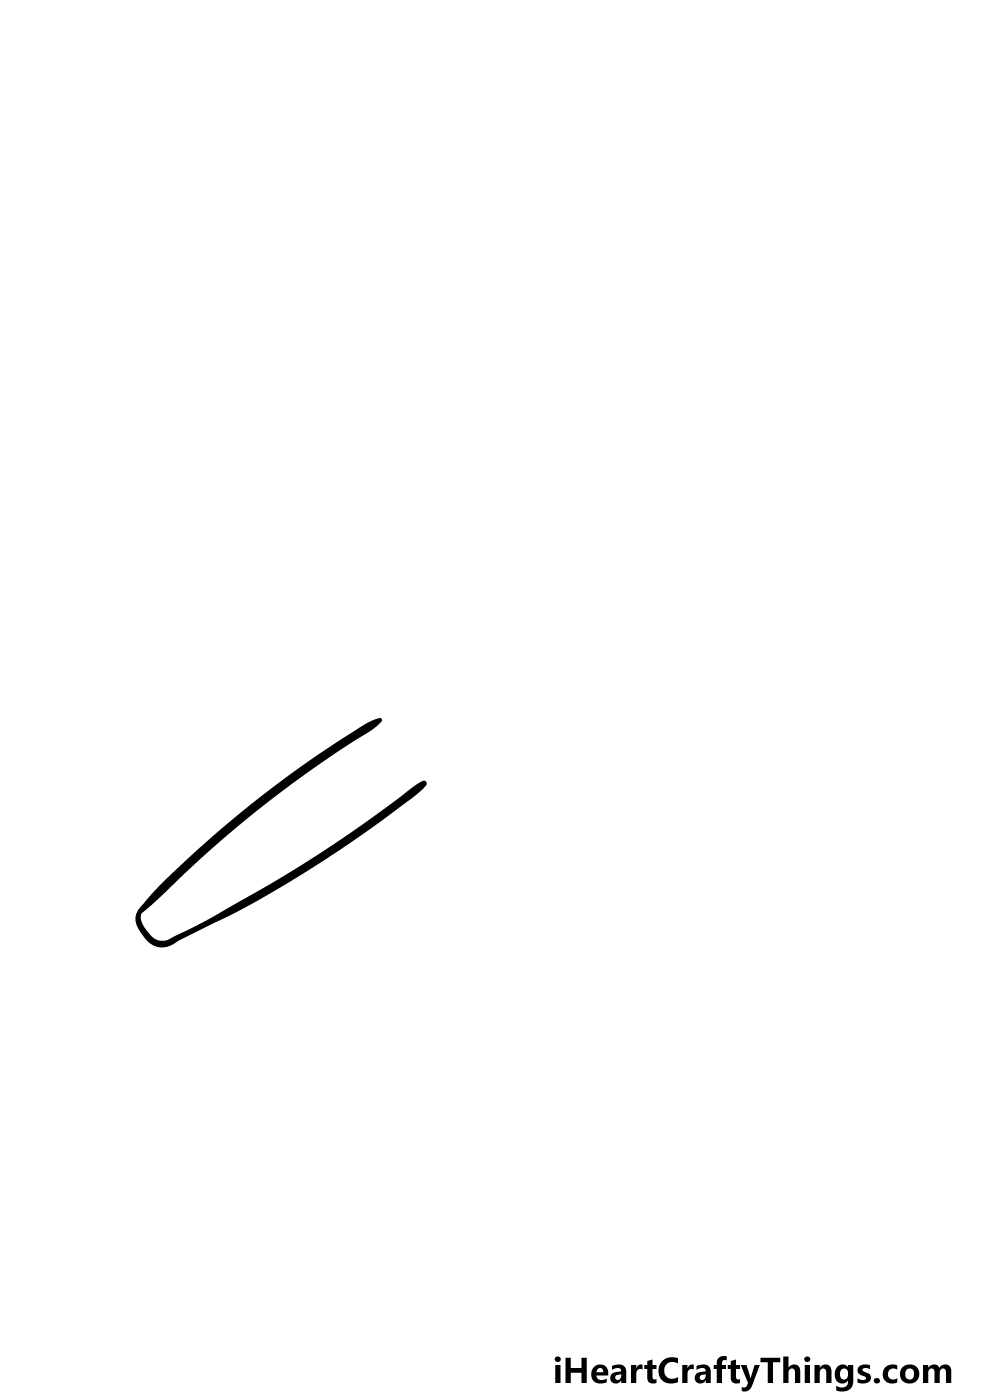
For this Sharpie drawing, we will be portraying one of their popular permanent markers. It will have its cap on, but you could also draw a version that is uncapped if you like!
For now, we will begin with the lid of the Sharpie. The tip of the cap is small and straight, and the sides are slightly bent at the sides, as shown in the reference image.
Once you have drawn this start of the cap, we can move on to the second step of the guide.
Step 2 – Draw the rest of the cap for the Sharpie
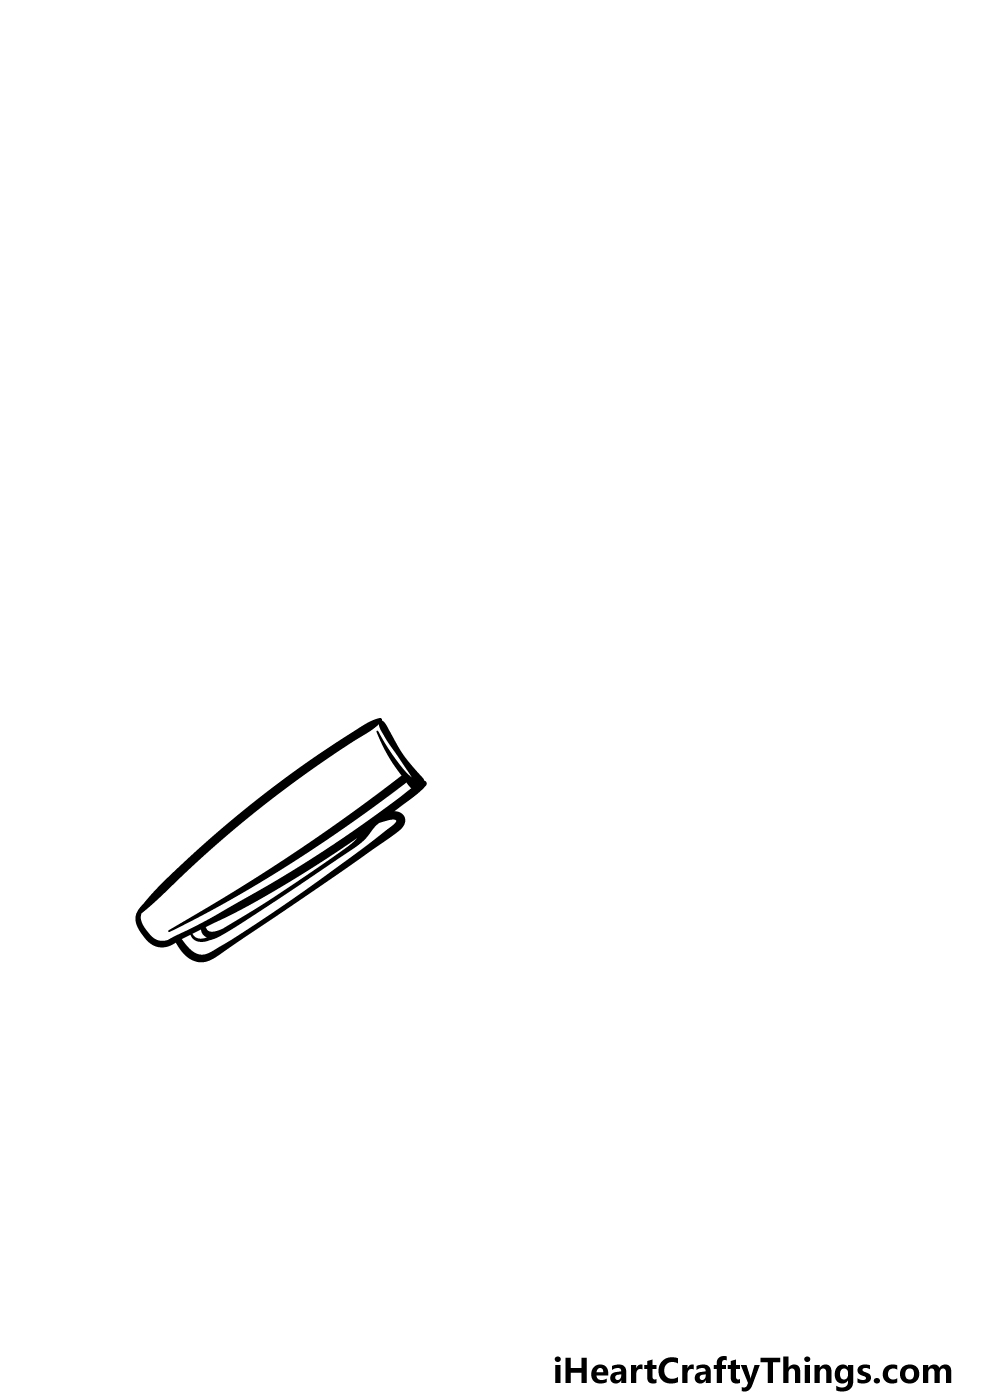
You started the outline of the pen cap in the first step of this guide on how to draw a Sharpie, and in this next step we will finish off the outline and details for this cap.
First, use a small, slightly curved line for the bottom of the cap. This is where the hole that the pen would go into is located.
Then, add another curved line inside the cap interior to give it some dimension. Lastly for this step, we will be adding the clip.
The clip is very thin and sits very close to the side of the cap. Once you have drawn it as it appears in our reference, it will be time for step 3.
Step 3 – Now, draw the main part of the pen

The lid for this Sharpie drawing is complete, and now we can begin drawing the pen itself. This part looks simple, but it can actually require a bit of a steady hand to draw!
You may be tempted to sue a ruler, but if you look closely then you may notice that the sides of the pen are very slightly curved.
Slow and steady is the recommendation for this part, and if you struggle to get it looking right then you could use a pencil to draw it first before committing to pen.
Once the pen outline is done, we can then begin adding the finer details in the next few steps.
Step 4 – Draw the Sharpie logo
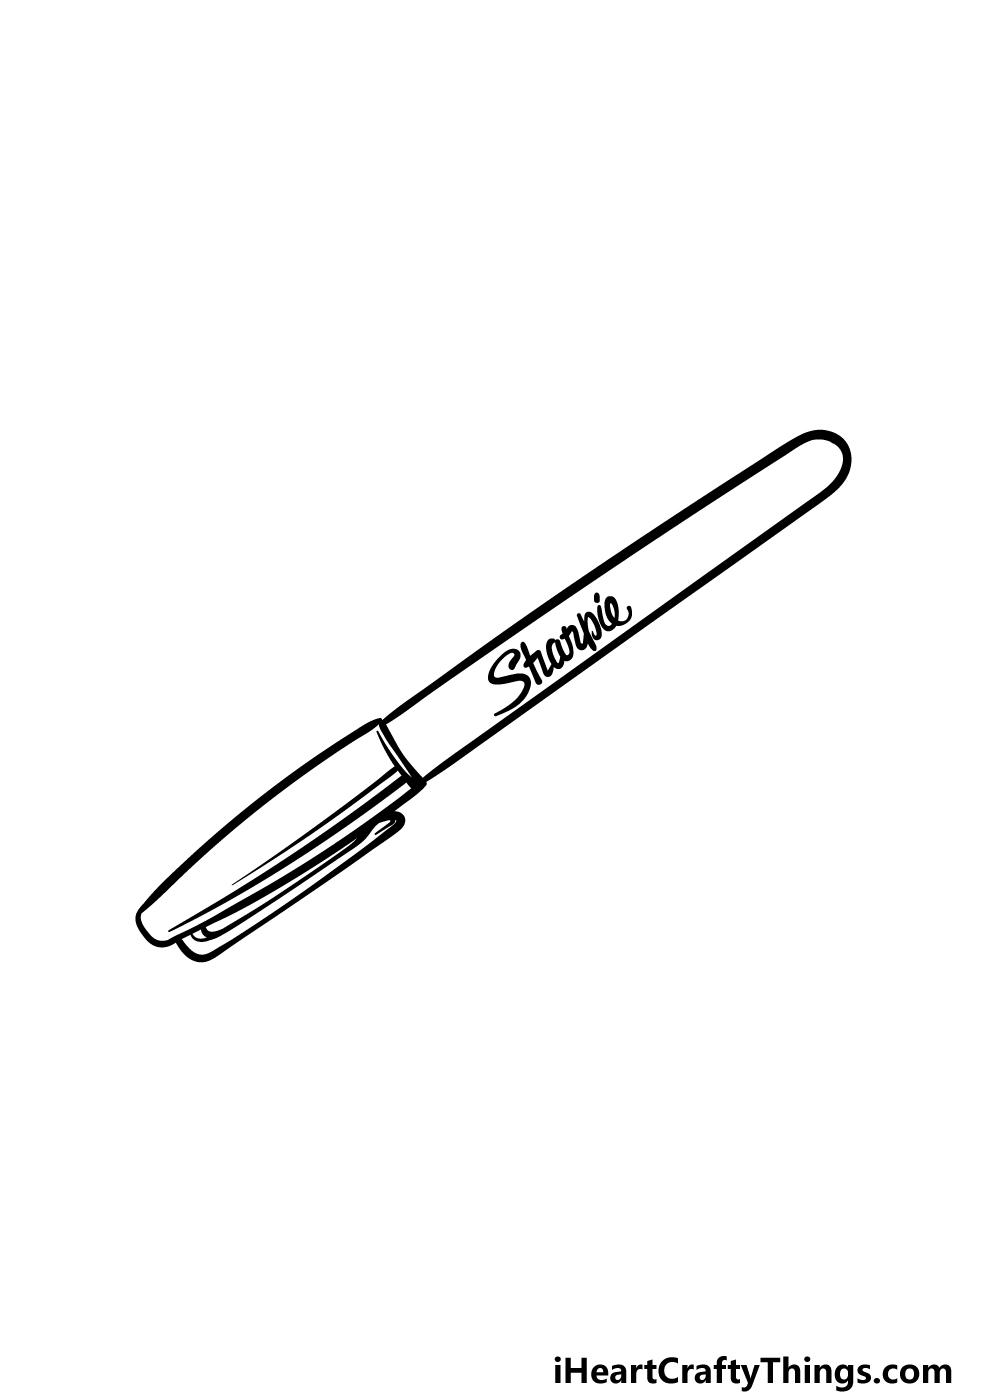
The outlines for the pen and the cap are complete, and now we can focus on the inner details of the drawing.
For this part, we will not only be adding some line details to the cap but also the famous Sharpie logo.
First, draw a curved line onto the cap for some more texture detail. Then, we will draw the logo.
The Sharpie logo is drawn in a rather fancy font, and while it may look very cool it also makes it rather hard to draw.
When drawing this logo, we would recommend enlarging the reference image and then using a pencil to carefully copy it.
Then you can use your pen to go over the pencil lines. We can then move on to the final details!
Step 5 – Now, you can add in the final details of this Sharpie drawing
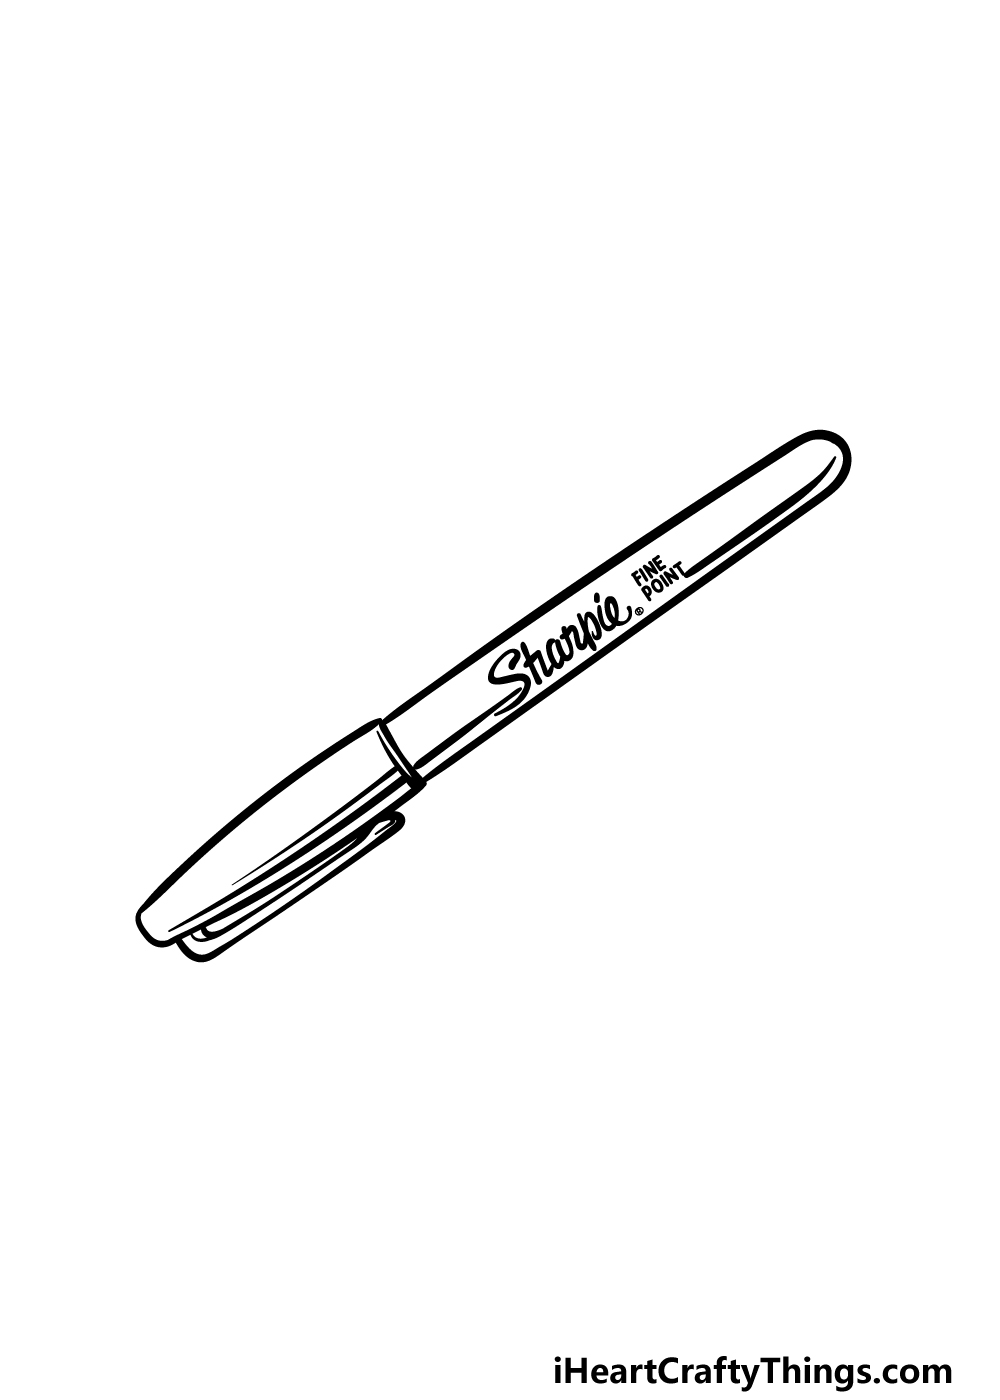
This is the step of this guide on how to draw a Sharpie where we add the final details to have you ready for the last step of the tutorial.
First, we will finish off the logo. To complete it, we will be writing ‘fine point’ near to the logo that you drew in the previous step.
Luckily, this is drawn in a much simpler font than the logo itself! Finally, draw some more curved lines along the body of the pen to finish off the detailing.
Once these are drawn, you can then move on to that final step! Before you do, feel free to also add any additional details or elements that you may like.
You could draw it to make it look like this Sharpie is on a table with other drawing tools and art supplies.
Maybe you could even use some of the art supplies you used to draw this picture as models! What other ideas can you think of to finish off this picture?
Step 6 – Finish off your Sharpie drawing with some color
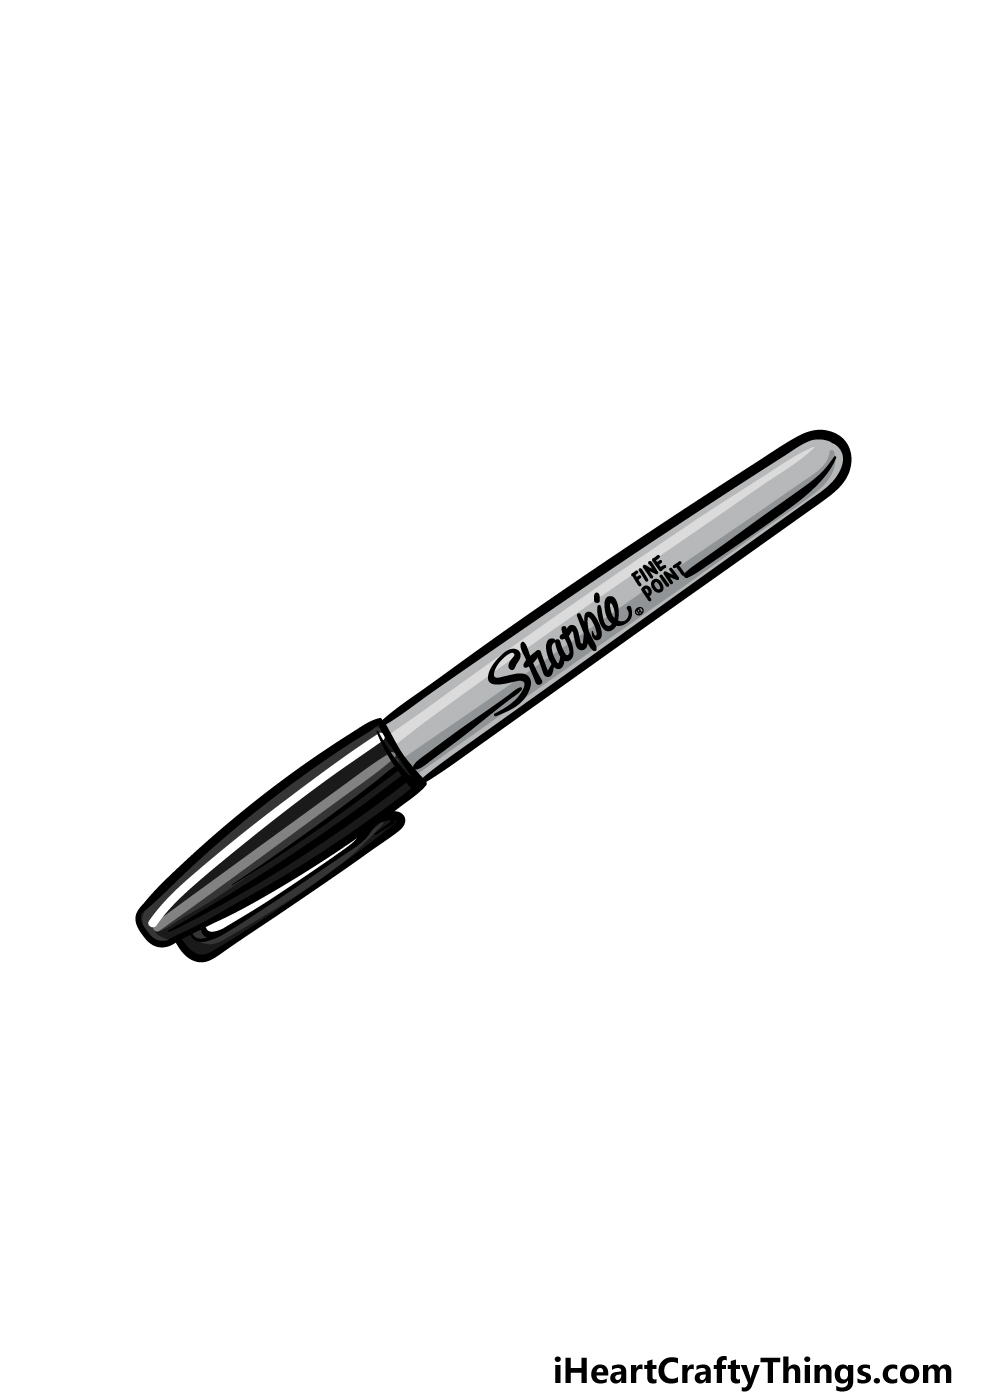
It’s time to finish off this picture with some color. In our reference image, we showed you one way that you color it in.
We used black for the cap while leaving white highlights for the reflective detailing. Then, we used some greys for the body of the pen to give it the classic Sharpie look.
When adding some of these colors, you could even use a real Sharpie to add the colors for an ironic twist! Will you go for these colors or will you change it up for your own one?
Here’s how you can make your Sharpie drawing even better…
Make your drawing of this drawing tool so much better with these tips for your Sharpie sketch!
This drawing of a Sharpie shows this famous pen in its standard black and grey. These pens come in many color variations, so you could change things up by changing the colors.
There are so many you could choose from! They could be more muted colors, or you could go for bright neon colors. You may even want to use real Sharpies in your collection as inspiration.
What are some colors you could use for this Sharpie?
Simple detail changes can make a big difference to a drawing, and this one is no different. For example, you could make this drawing look different simply by drawing it without its cap.
To do this, you may want to find a real Sharpie and take off the cap to better represent the look. Or, maybe you could draw the Sharpie at a different angle than the one in our reference images.
How else could you portray this Sharpie?
A Sharpie can be used to create many different kinds of lines and images. You could show what the one in this Sharpie drawing was used to create by adding this element!
First, once you have drawn the Sharpie you could then draw a large square behind it for a blank page. Then, it would be a great touch to use a real sharpie to draw on this fake page.
This will make it look like the Sharpie you have drawn was used to make the marks on the page.
A Sharpie is a great drawing tool, but it is best used with other drawing tools and mediums. You could also add these to your Sharpie sketch!
There are many examples you could go for if you wanted to do this. There could be different types and colors of Sharpie pens, for example.
Or, you could include rulers, pencils and maybe paintbrushes. What are some other art tools you could add to this drawing?
Your Sharpie Drawing is Complete!
With all 6 steps of this guide on how to draw a Sharpie completed, you have successfully drawn this famous pen!
We hope that the steps in this guide made it even easier and more fun than you may have expected.
Now you can show off your creativity by adding your own awesome touches and details to the composition! What colors, background details or other touches will you add to this pen to finish it off?
When you would like to try out a new drawing challenge, we will look forward to seeing you on our website.
There we have some awesome drawing guides for you to enjoy, and we plan to bring out many more soon!
When you’re ready to show off your finished Sharpie drawing, you can share your artwork on our Facebook and Pinterest pages for us to enjoy!