When creating art, there are many different subjects that you can choose to focus on.
These have included anything from landscapes to food, but one of the most common subjects to draw would have to be the self portrait.
After all, all you need is a mirror and you have your reference material available at all times! Learning how to draw a self portrait is a great way to get you started with practicing honing your drawing skills.
This tutorial will show you how you can go about creating these kinds of self portraits.
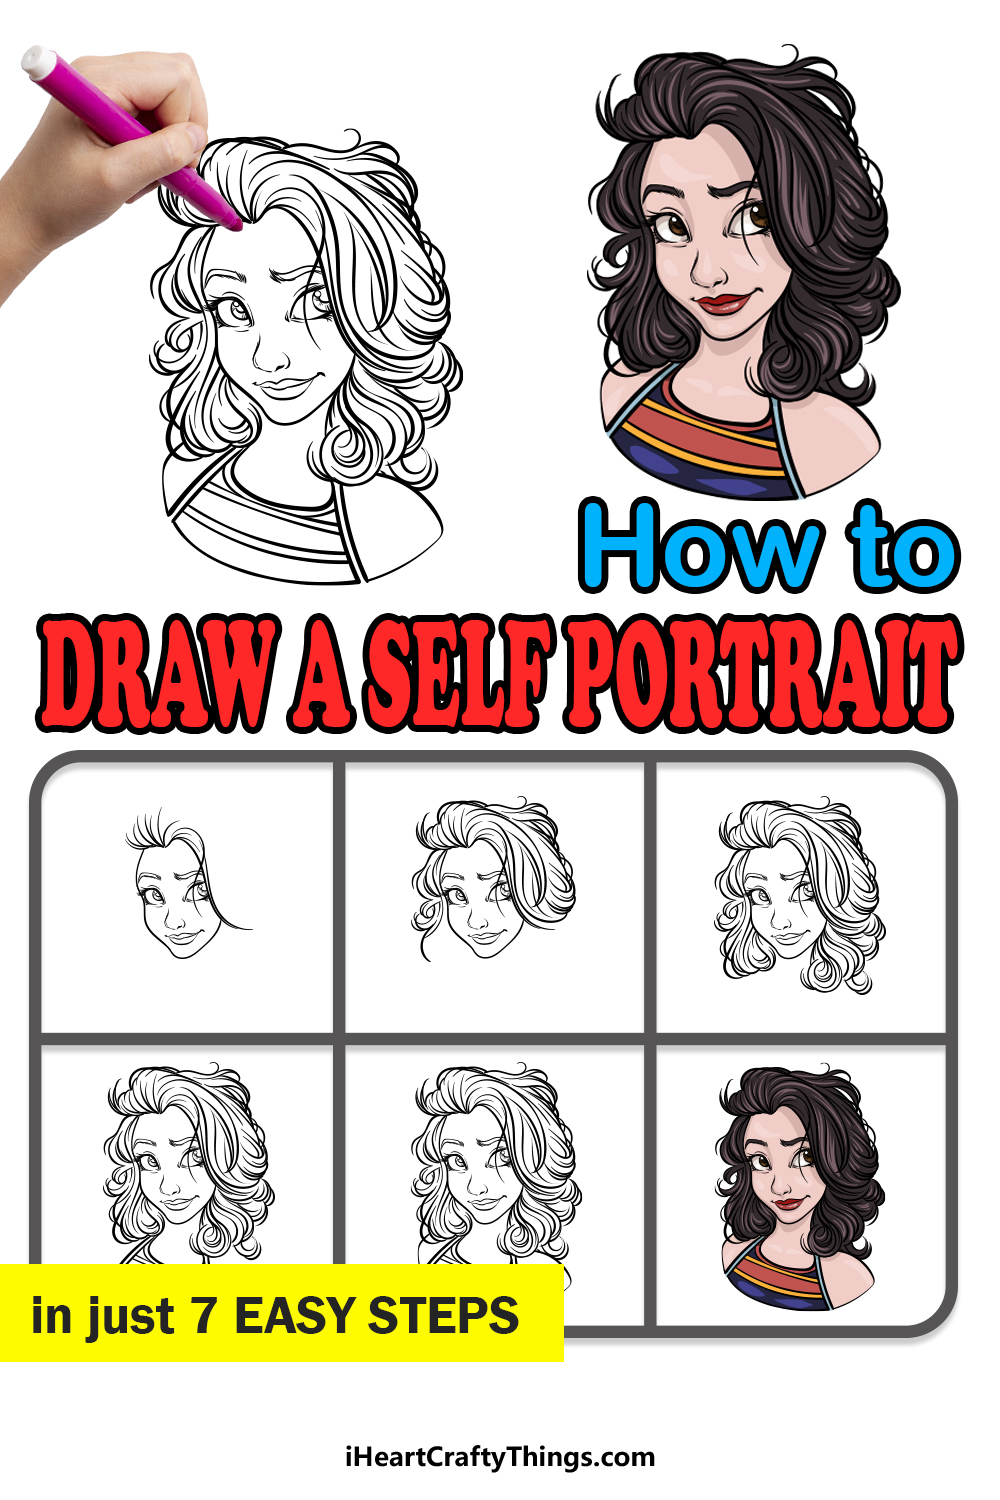
We hope that you enjoy working on this step-by-step guide on how to draw a self portrait in just 6 steps!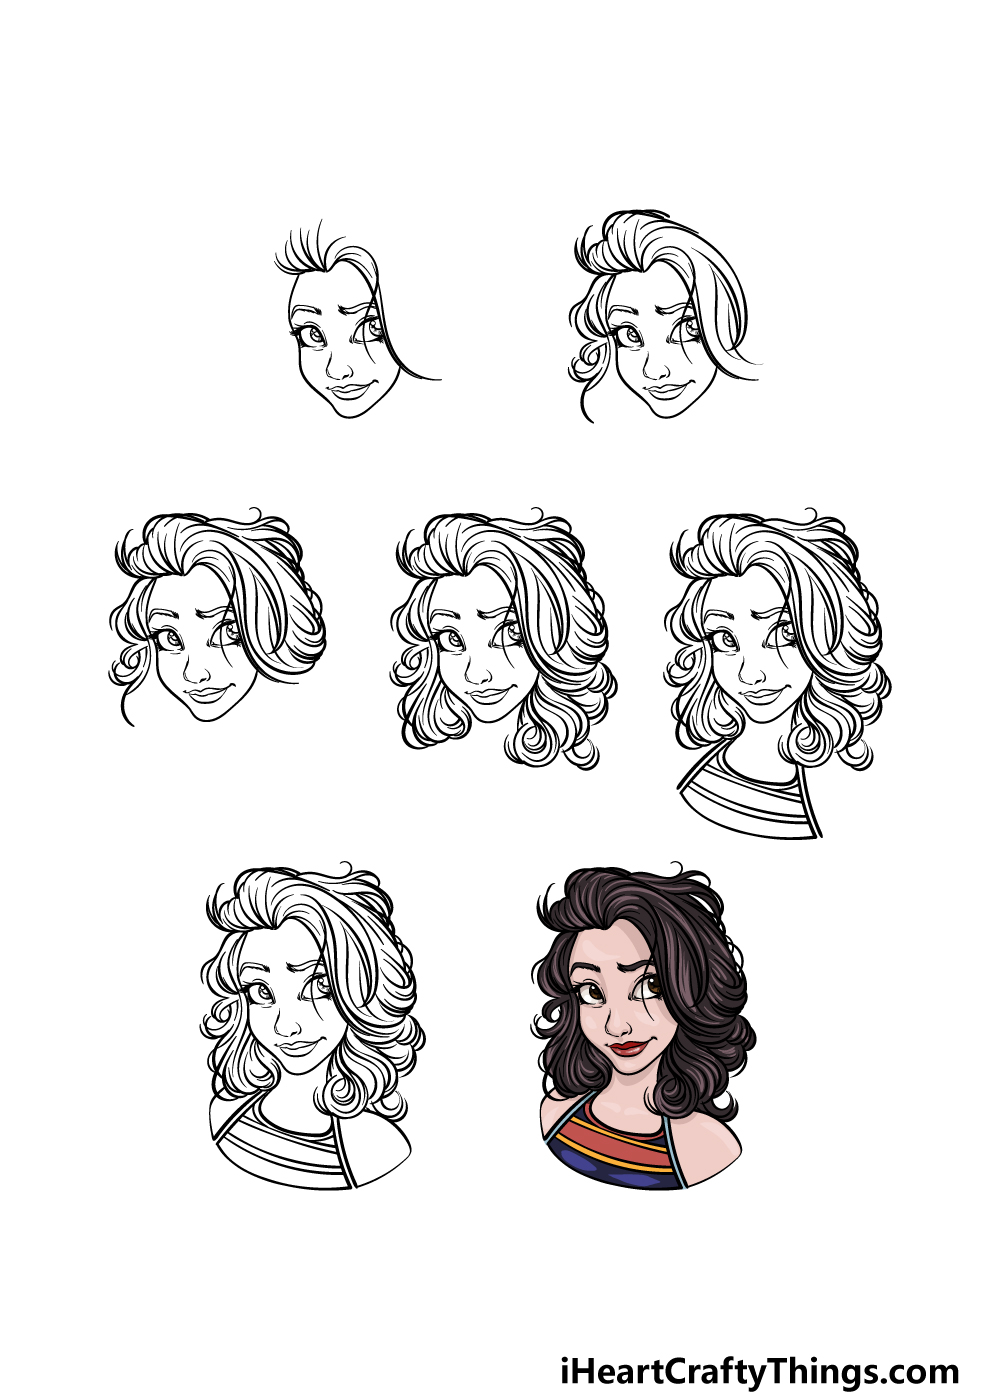
How to Draw A Self Portrait – Let’s get Started!
Step 1
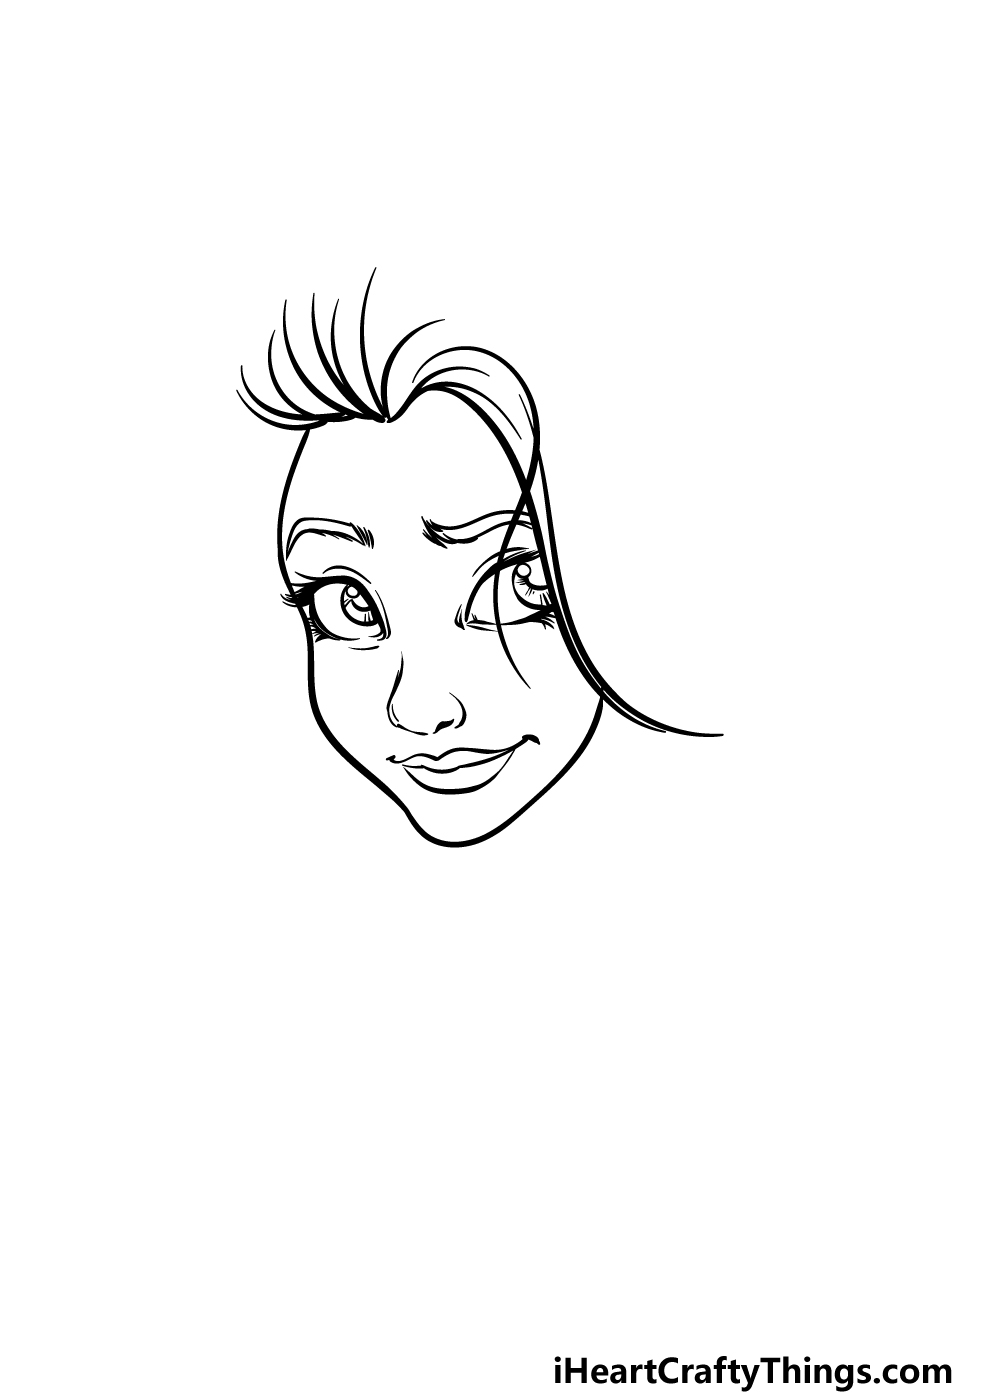
In this guide on how to draw a self portrait, we will be drawing a picture of a young woman as an example.
Even though you may look nothing like her in real life, you can still follow the steps and tricks we will be using when creating your own self portrait. First, you will need a facial outline.
You can see how we used a curved line for aspects such as her chin, cheeks and jawline. You could use similar lines to mimic your own facial features as well.
Then, we used some larger shapes for her eyes to create a more stylized look. Her nose, lips and eyebrows are then drawn using some more simple lines and shapes.
Finally, use some wavy lines for her hair dropping down over her face, and then we can proceed to step 2.
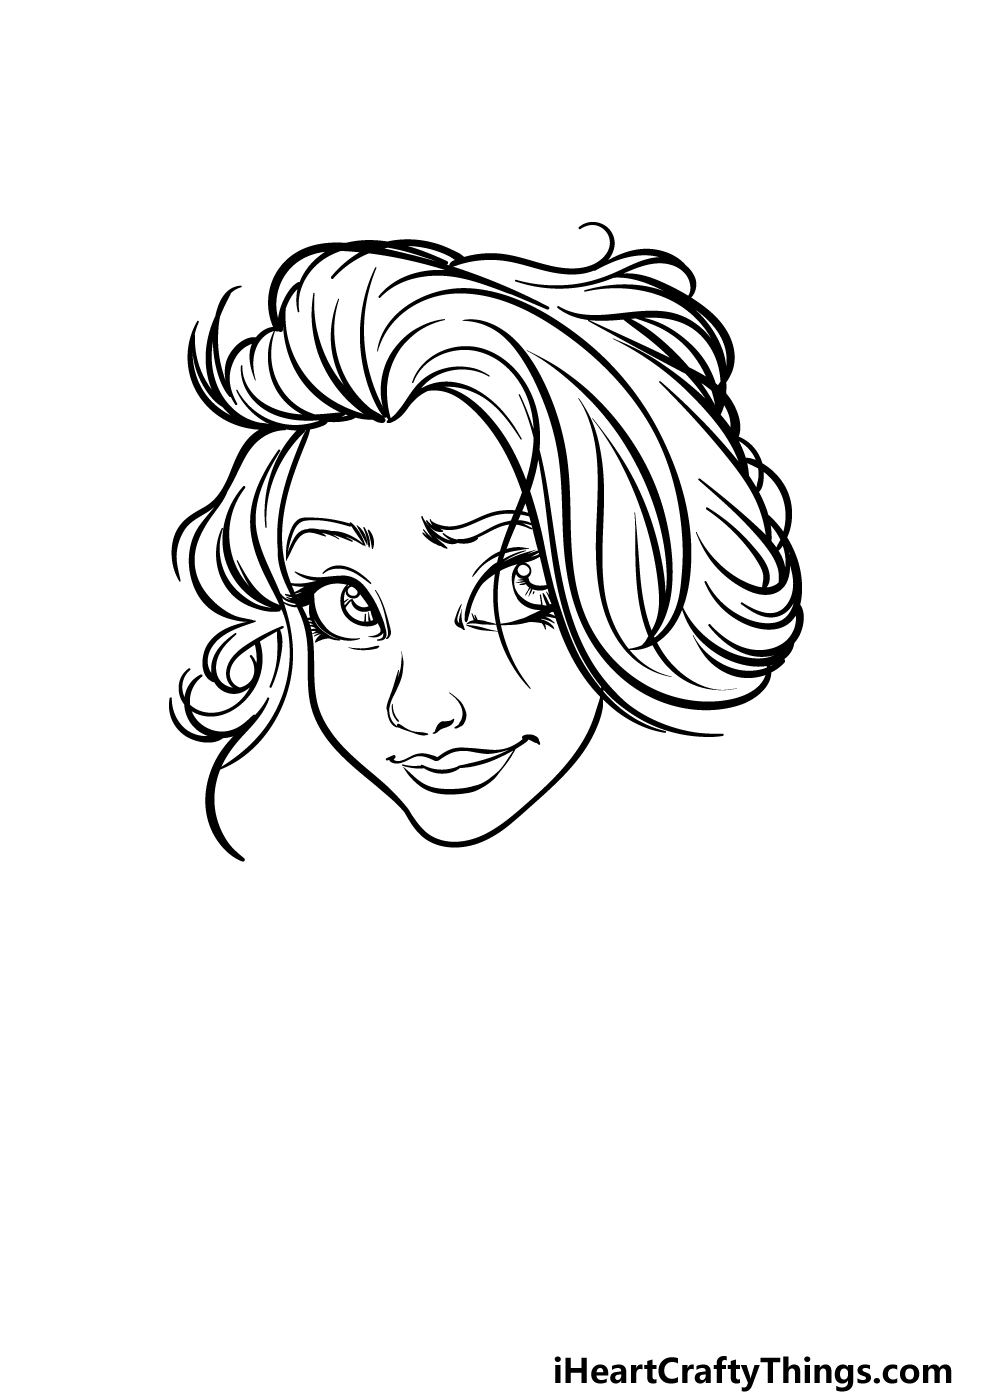
Step 2 – Draw more of her hair

When drawing a picture of a human, getting the hair right can be one of the trickiest parts!
For this part of your self portrait drawing, you will be using some more wavy lines for the shapes of her hair dropping over her face.
When drawing yourself, try to narrow down the way your hairline is shaped and how it interacts with the rest of your face.
If you have very little hair, then you would be focusing more on the head shape instead of portraying the flow of hair.
Step 3 – Add another section of her hair
For the third step of this guide on how to draw a self portrait, we will focus on the next section of her hair.
For this next part, all you need to do is keep adding the same kinds of curved, wavy lines you have used for the rest of the hair.
This will help when creating the section of hair that is near the back of her head. We will finish off the final section of her hair when we move to the fourth step of the guide!
Step 4 – Now draw the final section of her hair
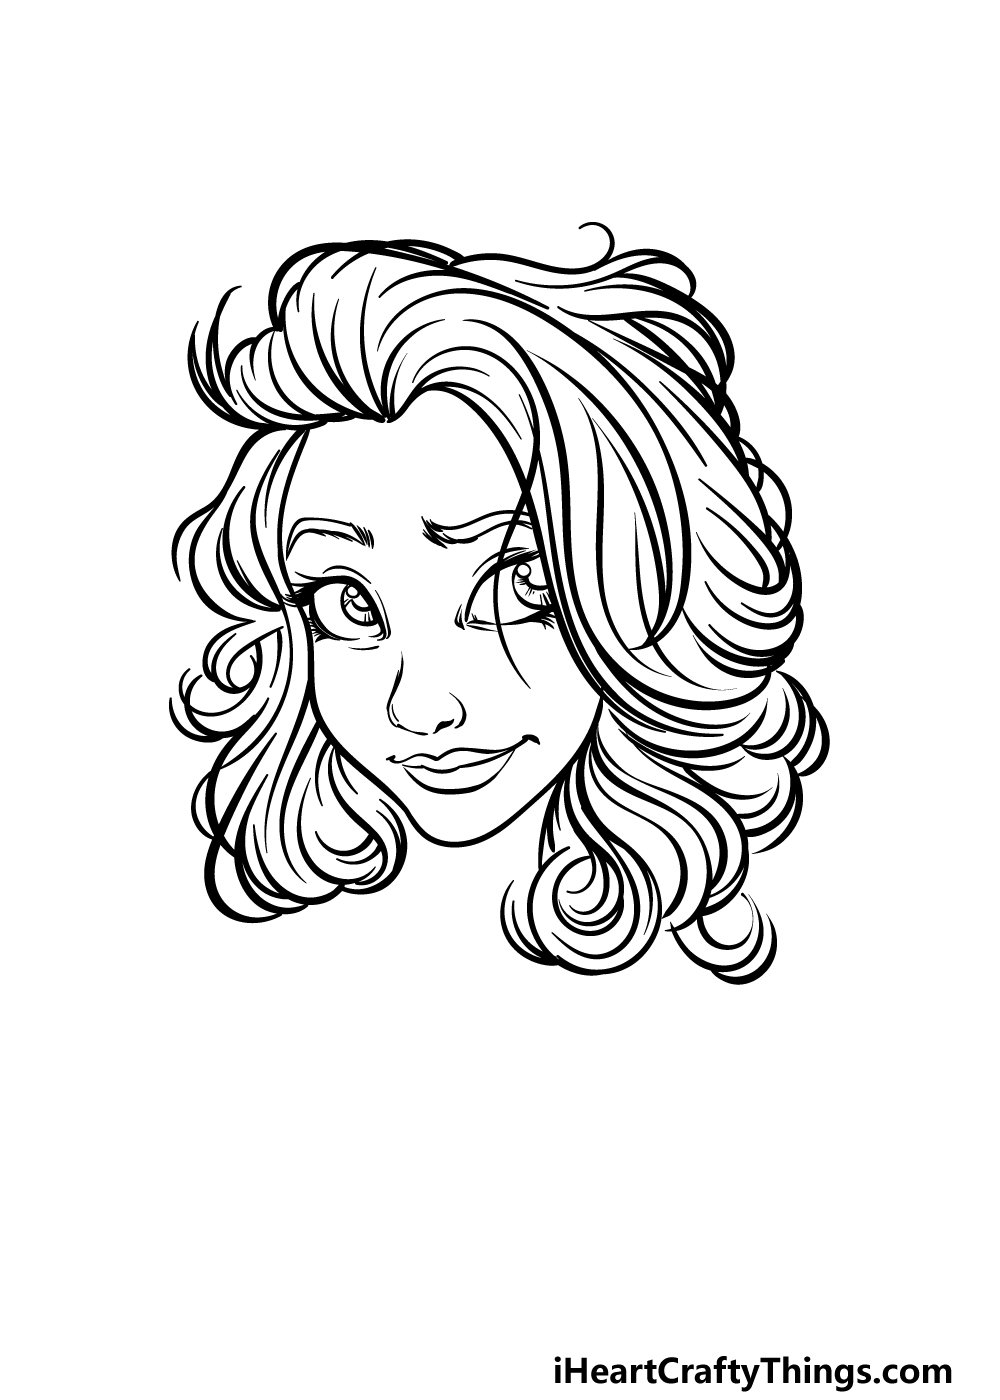
As mentioned in the previous step of this self portrait drawing, we will be finishing off the last section of her hair in this part.
This part will deal with the curls of hair dropping down around her neck. These sections of her hair will be even wavier and more curled over than the other sections.
When working on your own self portrait, be sure to try and spot any common shapes that may be represented in your own hairstyle.
Step 5 – Draw the start of the top that she is wearing
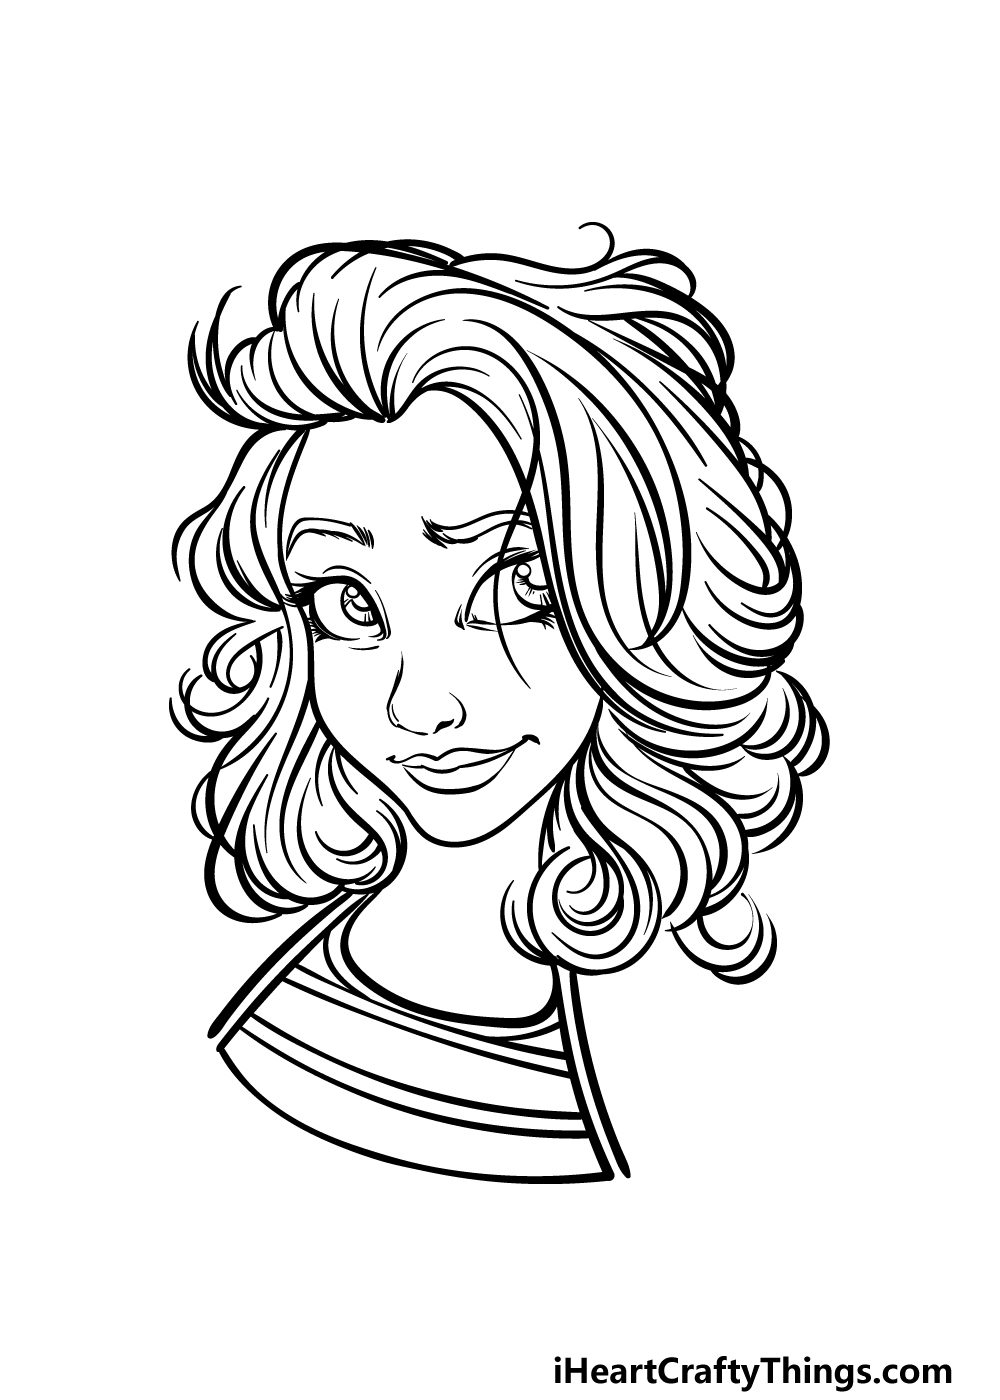
We shall move away from drawing her hair as we start this fifth step of our guide on how to draw a self portrait. For this part, we will be drawing the top of the shirt that she is wearing.
To do this, simply use some curved lines to draw the openings of her shirt. Then, we will add some horizontal line details to the shirt to finish it off.
If you are drawing your own self portrait, you can instead draw the top of whatever clothing you may be wearing. Then, we can head to the final details in the next step of the guide!
Step 6 – Now, add the final details
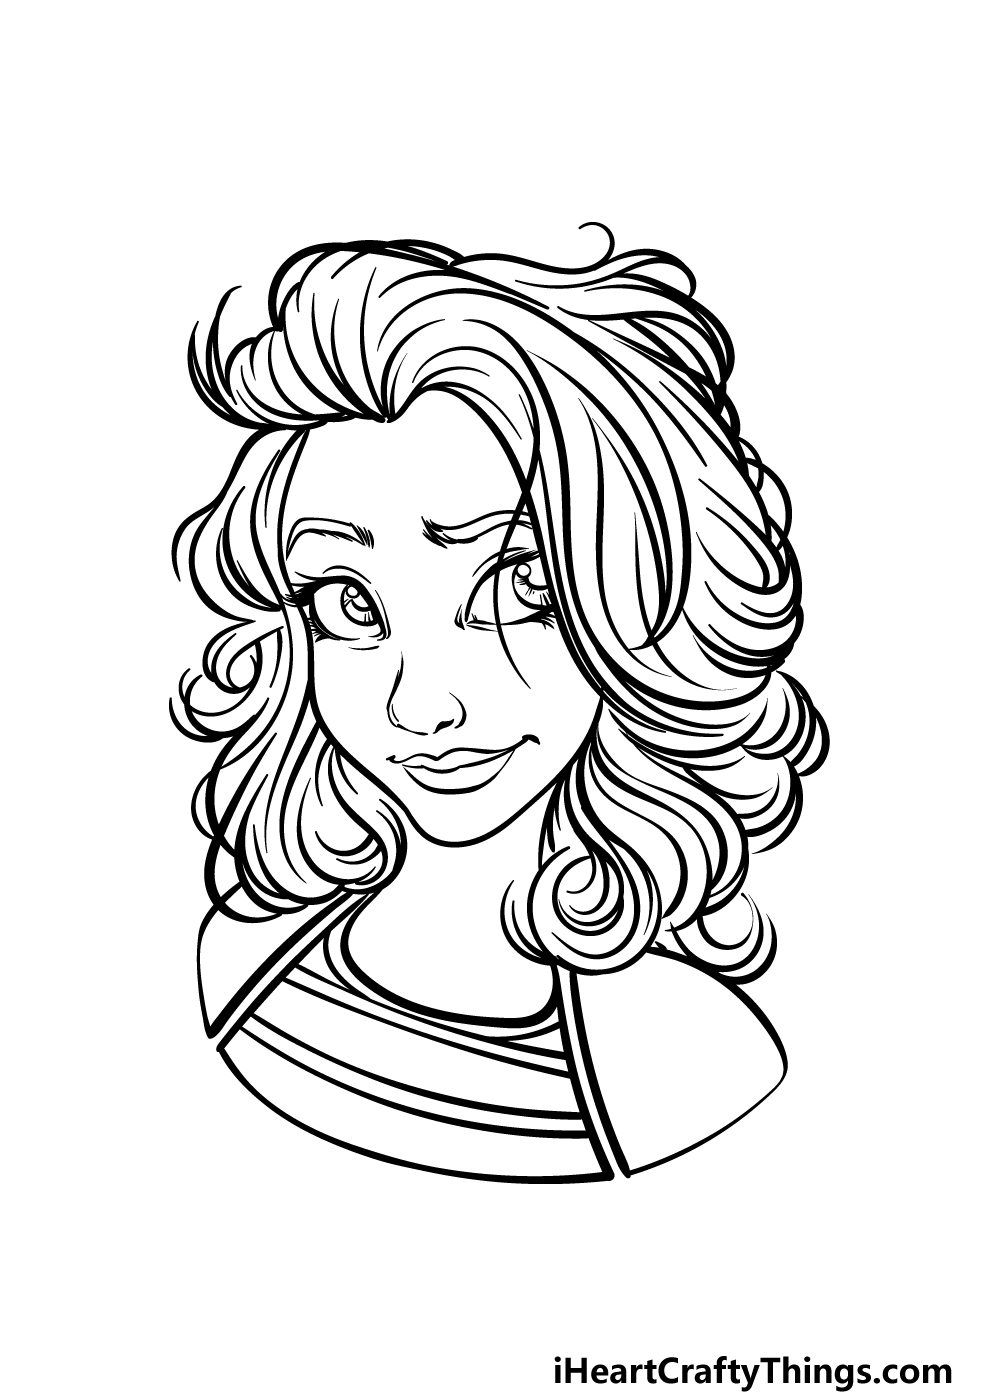
This part of your self portrait drawing should be nice and easy to do! For this part, we shall be drawing her shoulders to finish off this portrait.
This can be done using some simple curved lines. You could also draw more of her arms if you wanted this portrait to show more of her.
The final step will deal with finishing off with some colors, but before you move on to that you can also add any extra final details of your own!
These could include a background, and if you were to do that then you could use your own surroundings as inspiration.
If drawing yourself, you can also add any smaller details of the clothing you’re wearing or add other elements such as tattoos, piercings or other elements like that. Then we can proceed to the final step!
Step 7 – Finish off your self portrait drawing with some color
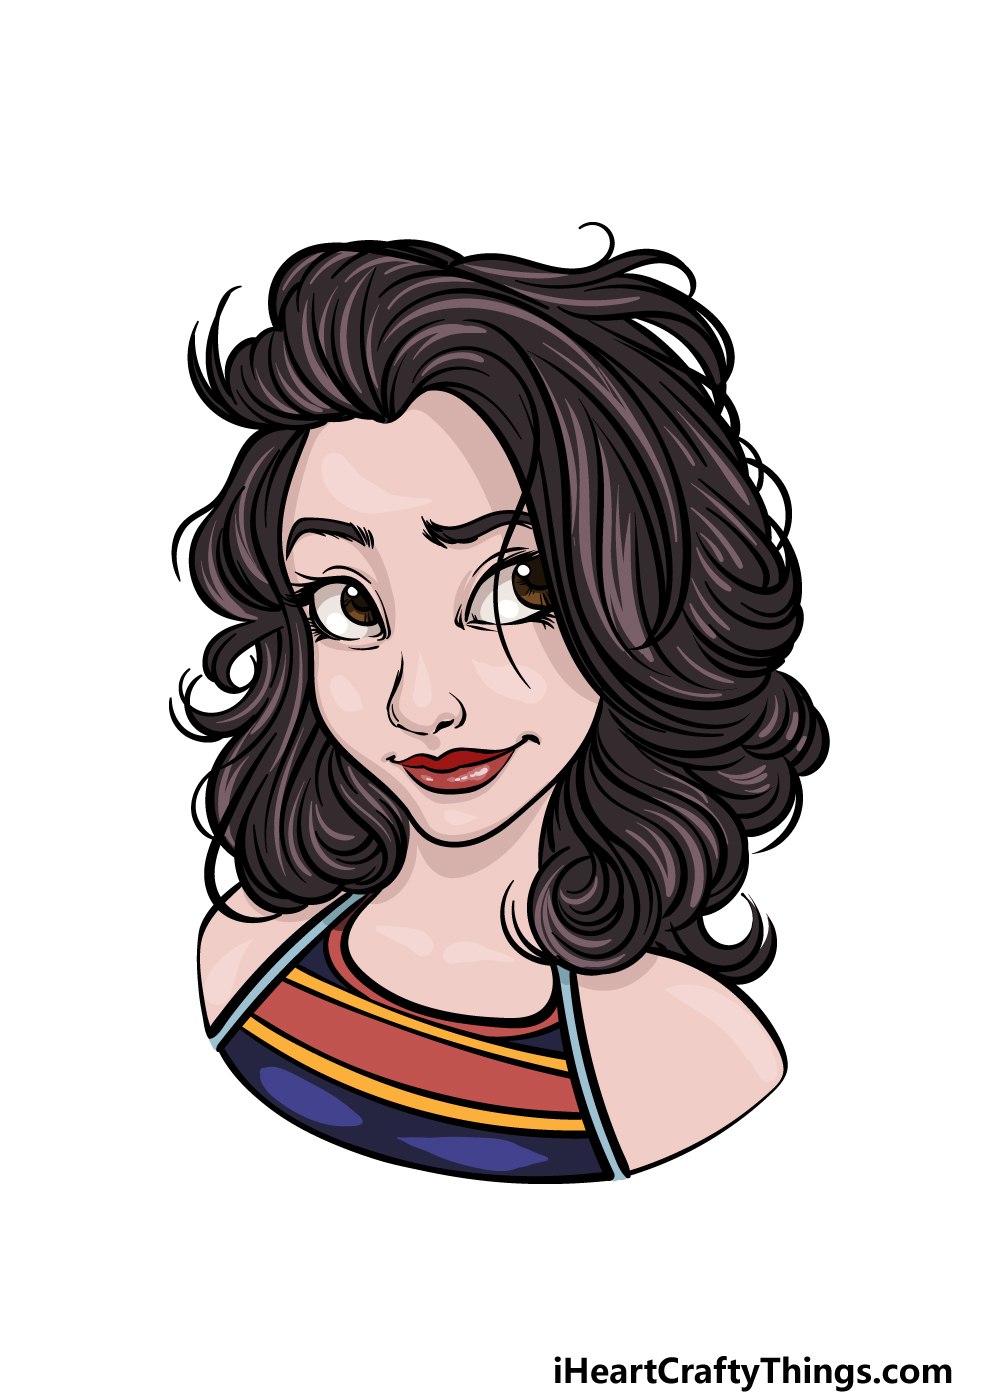
Now you can close off this guide on how to draw a self portrait with some coloring fun!
In our reference image, we used some lovely rich browns for her hair, then used purples, yellows and reds for the stripes on her shirt.
You could use any other colors that you would like for this image when coloring your own version!
If you were using these steps to draw yourself, then you can use your various art mediums to accurately portray the colors that you see in the mirror.
How will you finish off this wonderful drawing with your colors?
5 Tips To Make Your self portrait Drawing Even Better!
Represent yourself in style with these tips for your self portrait sketch!
This drawing of a self portrait shows a character that you can practice drawing in order to get the hang of it, but once you do you can try to make it look more like yourself.
This could be done by using a mirror or a photo of your face. Then, use the details and features you see in order to adapt them to the steps of our guide.
Another way you could make this self portrait more unique would be by drawing it in a different style. This guide shows a detailed cartoon take on a self portrait.
You could make the style even more cartoony or perhaps make it look more realistic. What are some art styles you could use for this picture?
Whether you keep this self portrait drawing as is or make it into a different person, you could customize it with some accessories and items of clothing.
This could be as simple as some glasses or a hat, or you could make them appear in a completely new outfit! You could use some clothing you have in your collection as inspiration if you want to try this.
Continuing from our previous suggestion, we think it would be great to draw some more of the character. This is again something you could do whether you stuck with our design or not.
You could get a friend or a family member to pose for you so that you can work out a pose and keep the proportions looking good. What sort of pose would you use?
Adding a background would be a great way to finish off your self portrait sketch. This would especially be the case if you styled it after your own appearance!
If so, you could use a location from your house or a place that you love to visit as inspiration. Can you think of any locations that you could use as a background for this self portrait?
Your Self Portrait Drawing is Complete!
With all six steps of this guide on how to draw a self portrait completed, you now have everything you need to contribute to this popular artistic tradition!
Even though we drew a specific portrayal in this guide, we hope that these steps helped to show you how you can create your own unique self portrait.
If you enjoyed working on this guide, we have some more incredible guides waiting for you on our website! Be sure to visit us there often to never miss out on any of the new guides we will bring out.
Whether you drew the subject in our guide or created your own self portrait drawing, we would love to see how your image turned out!
Please remember to share your finished artwork on our Facebook and Pinterest pages.