When Christmas time starts getting nearer, there are many signs that it is just around the corner!
Lawn decorations start popping up, Christmas trees are picked and decorated and intricate wreaths start to adorn various doorways.
These wreaths come in many different styles, and making your own unique one can be a great way to express Christmas spirit.
Learning how to draw a wreath is a great way to get started with creating one of your own!
No matter what time of the year it may be, this guide will be perfect for getting some Christmas spirit in your life!
We hope that you really enjoy this step-by-step guide on how to draw a wreath in 6 steps that we have prepared for you.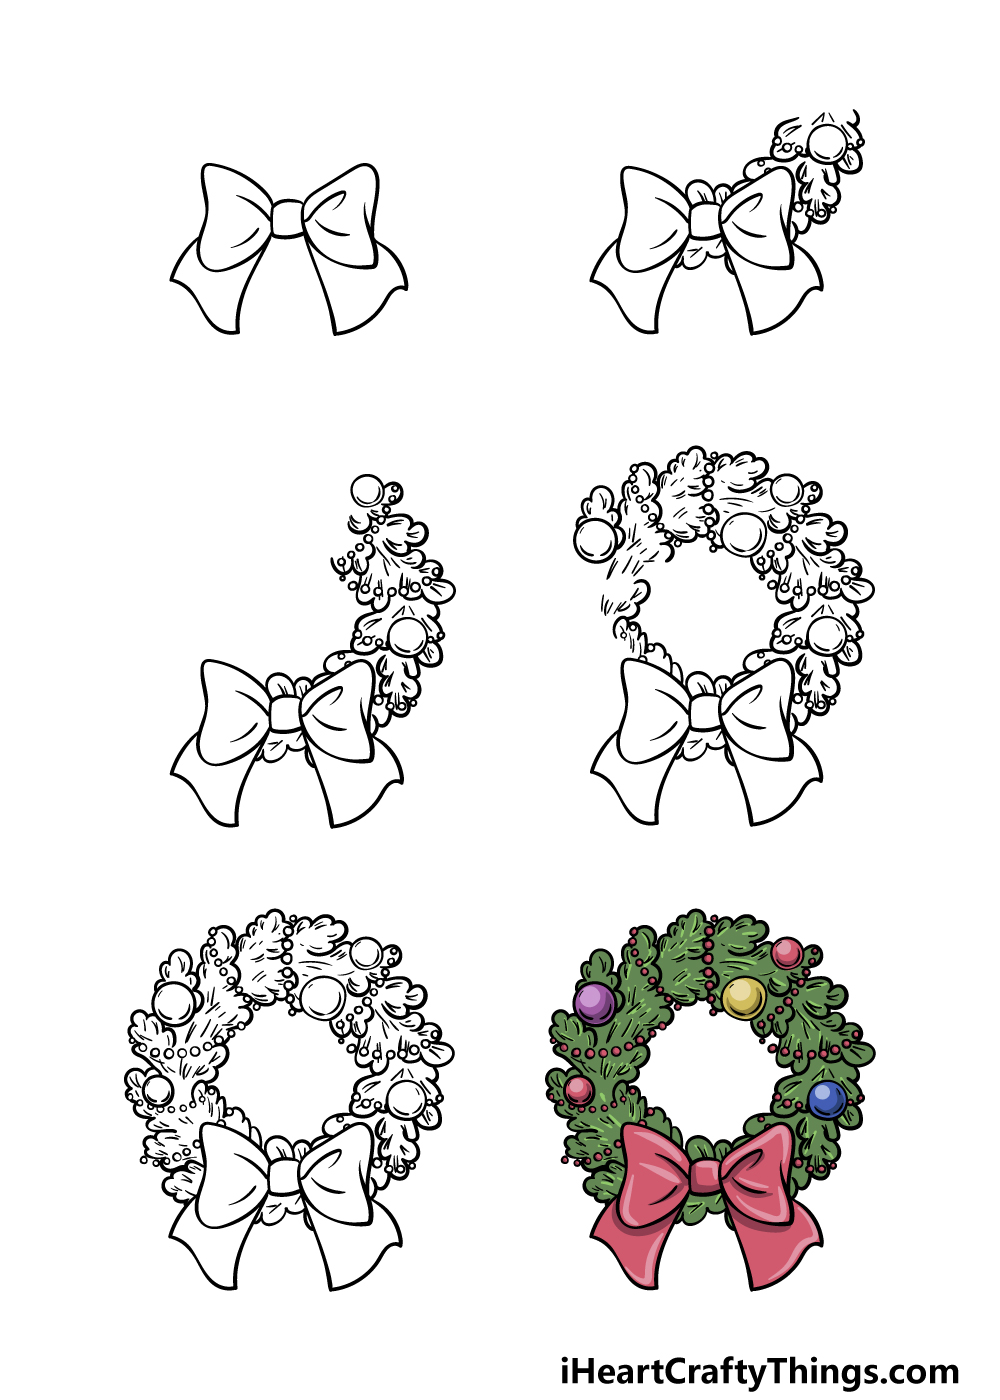
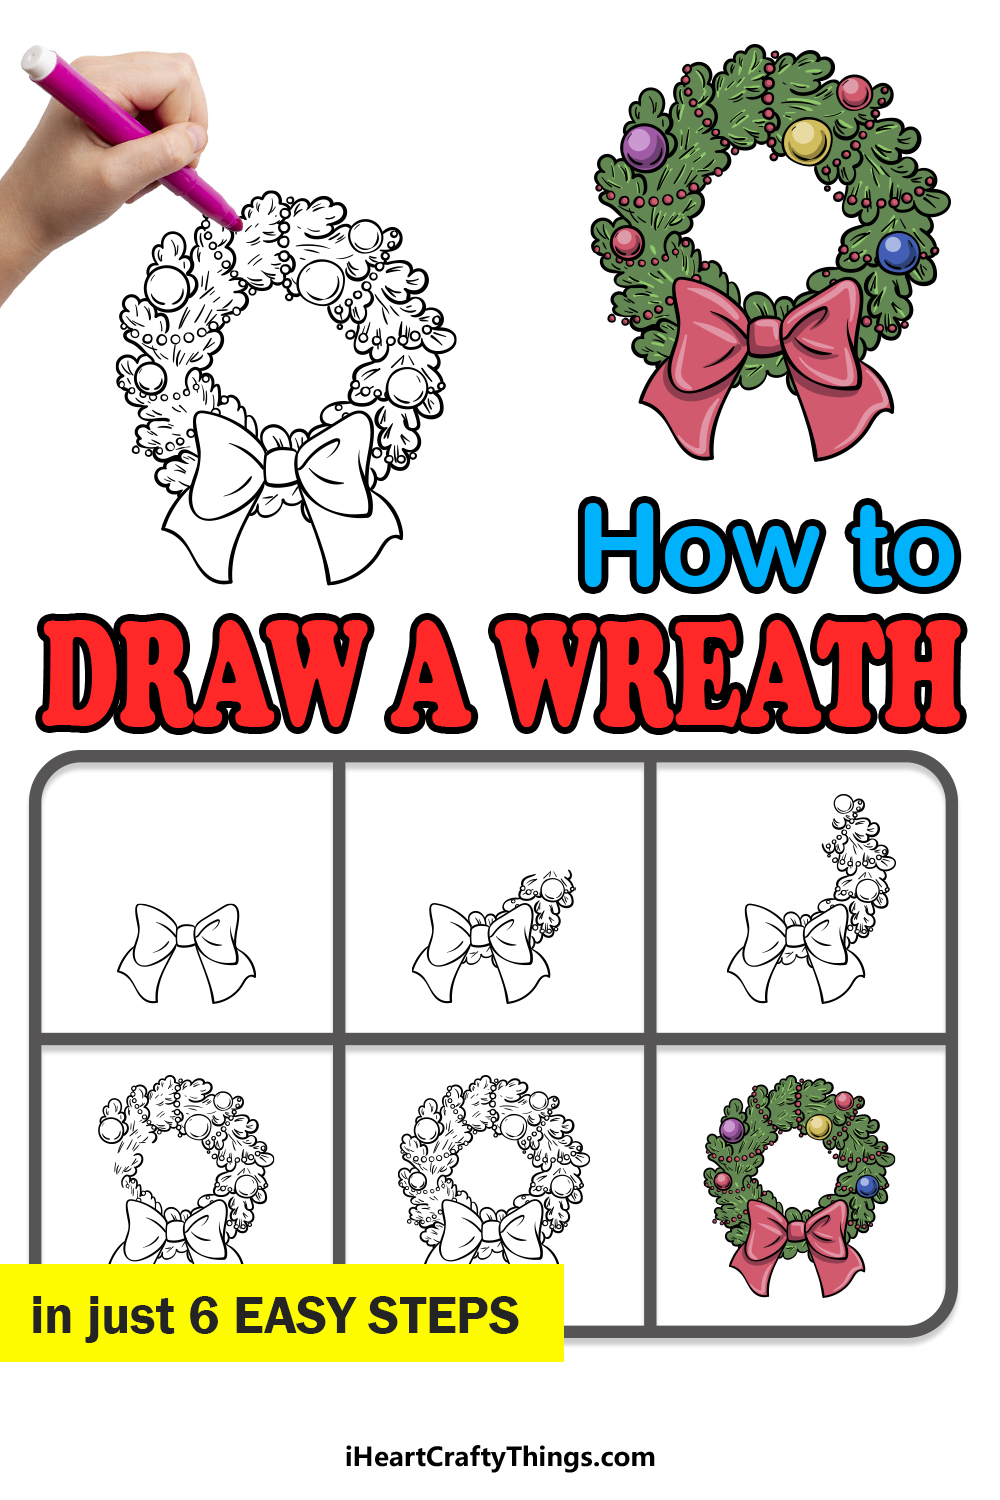
How to Draw A Wreath – Let’s Get Started!
Step 1

Wreaths often have a pretty bow tied to them, and for that reason we will draw one of these bows in this first step of our guide on how to draw a wreath! To draw this bow, we will first start with a small, rounded shape at the center of it.
Then, we will draw the large sides of the bow coming off from this central part. These side parts will be large and drawn with some more rounded lines to give them their shape.
Then, you can draw some simple line detailing on them to make them look as if they are made of fabric.
Finally, we will draw some large, round strands dropping down from the bow. Then we can move on to step 2!
Step 2 – Next, start drawing the wreath itself
Now that you have the bow for this arrangement drawn, we can next start on the wreath itself in this part of your wreath drawing.
The outline of the wreath will be drawn with some bumpy shapes that connect to one another. This will make it look as if the wreath is made out of various leaves and branches.
For now, we will just be drawing the section of the wreath that is above the right-hand side of the bow that you drew in the previous step.
Once the outline is drawn, you can add some small and large circles to it for some beads and baubles to decorate it. You can also add some line detailing for the needles poking off of it.
Step 3 – Draw some more of the wreath
For this third part of our guide on how to draw a wreath, we will be adding some more to the wreath.
To do this, we will be extending what you started in the previous step in order to create the section that will form the upper right-hand side of the wreath.
Once again, this section will be drawn with some bumpy lines for the outline. Then, you can again add rows of small circles for some bead detailing and draw some larger round baubles.
That will do it for now, so let’s go to step 4!
Step 4 – Now, draw the next section of the wreath
You’re doing a great job working on this wreath drawing! You’re really getting the hang of drawing the wreath, and in these next few steps we shall finish off the final sections.
We will be adding quite a large section of the wreath in this step, and it will extend all the way around to leave just a small section open at the lower left-hand side.
This is a space that will be filled in the next step along with some final details and touches.
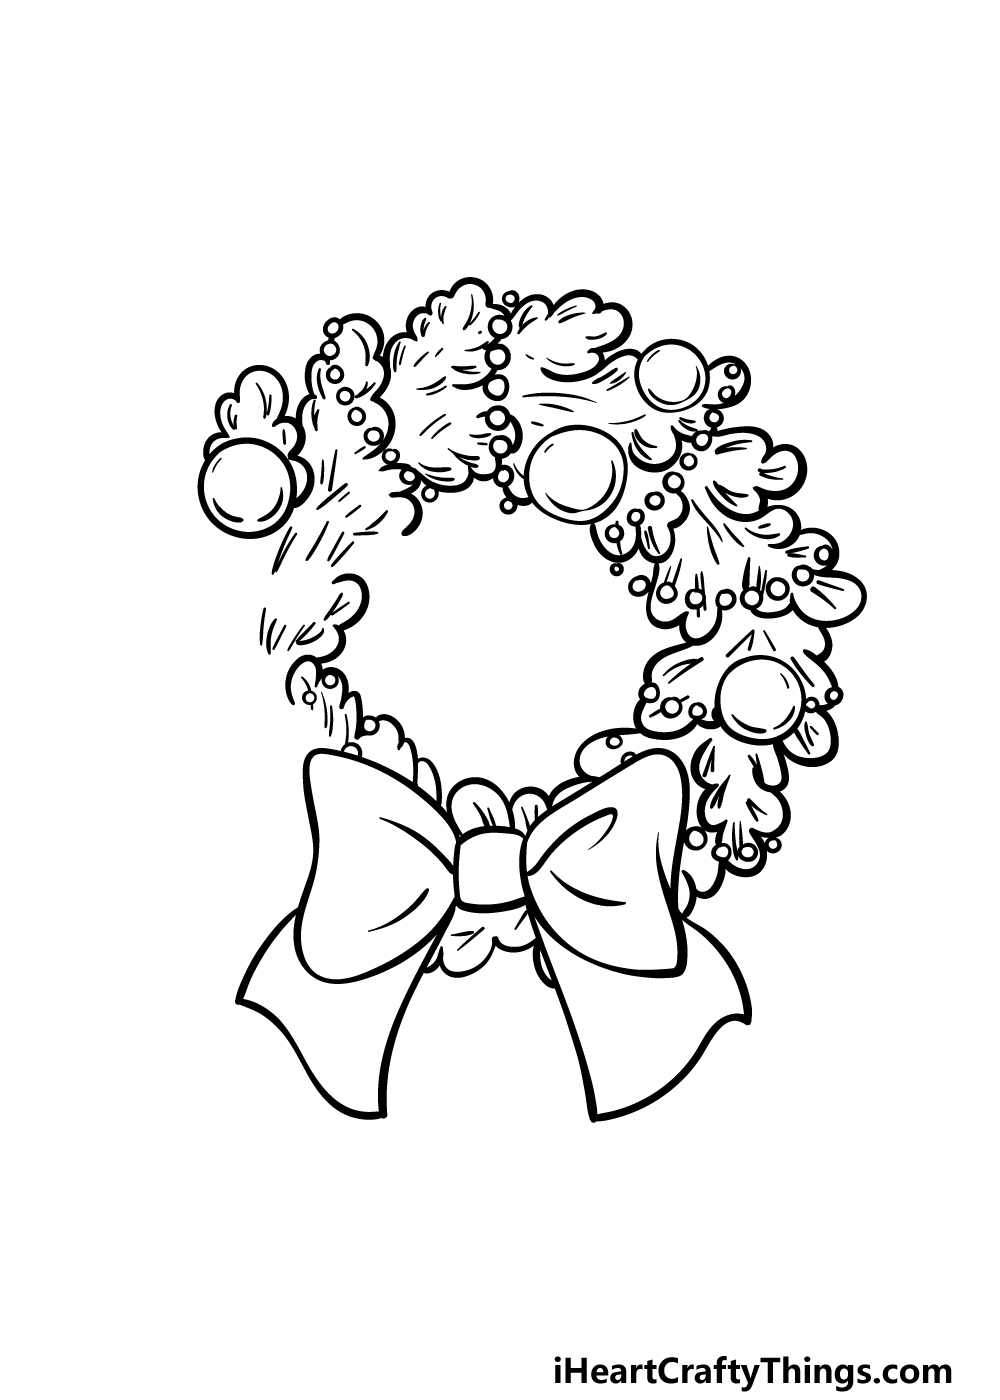
Step 5 – Add some final details to your wreath drawing
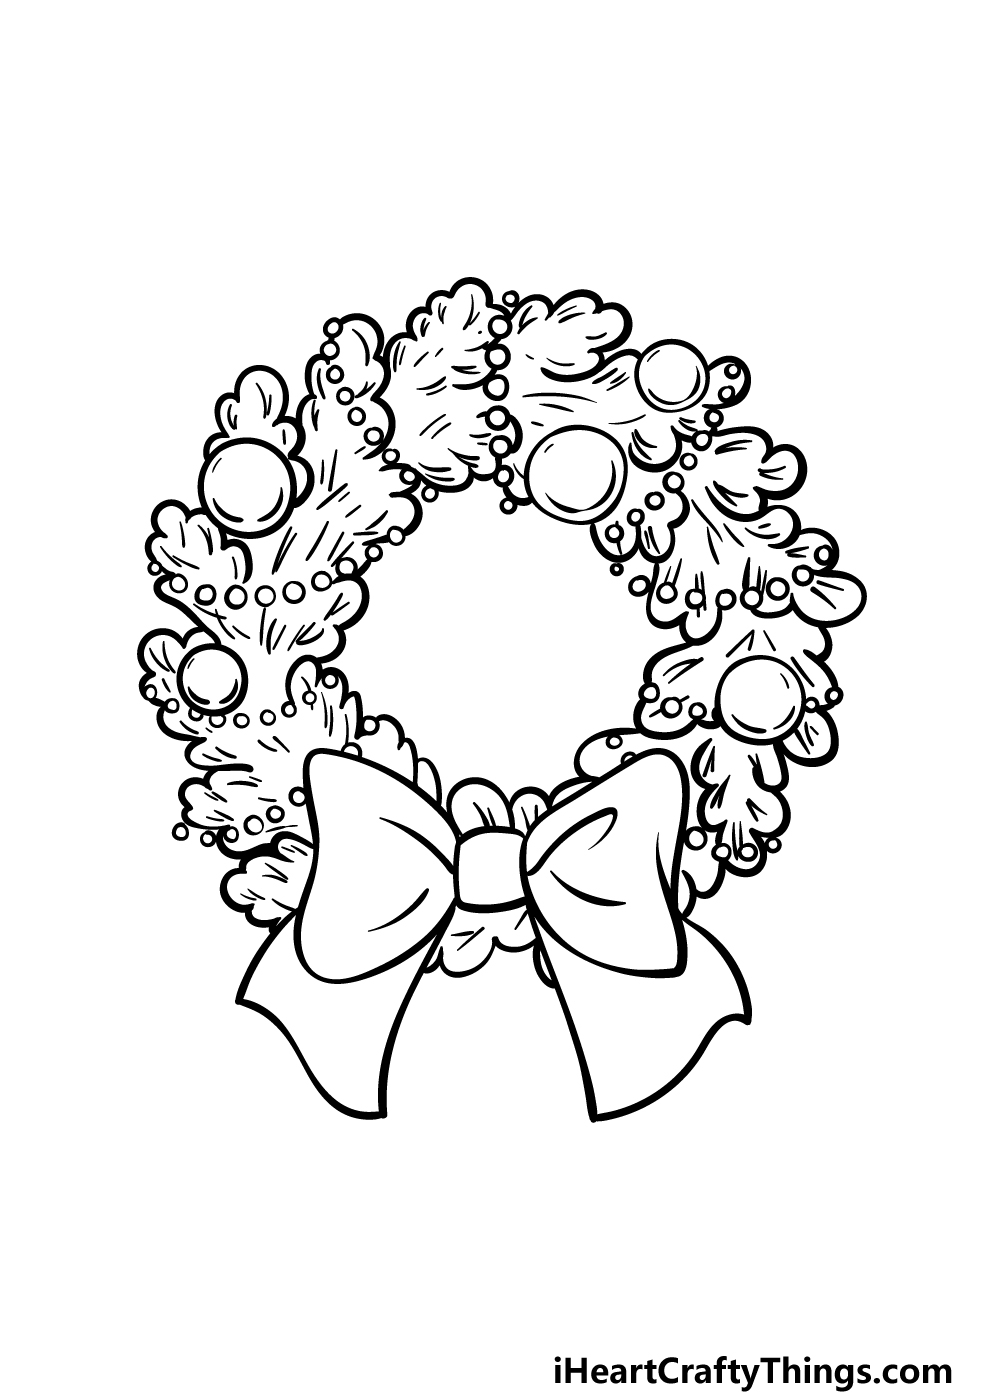
This step of our guide on how to draw a wreath will see you finishing off the last section.
This should be pretty simple, as all you need to do is keep extending the wreath exactly as you have been for the last few steps until it is filled up.
Once you have completed the wreath, you could also add some details of your own! These could range from some decorative elements to a wonderfully festive background.
This is your chance to stretch those creative muscles, so be sure to have fun as you work on it!
Step 6 – Finish off your wreath drawing with some color
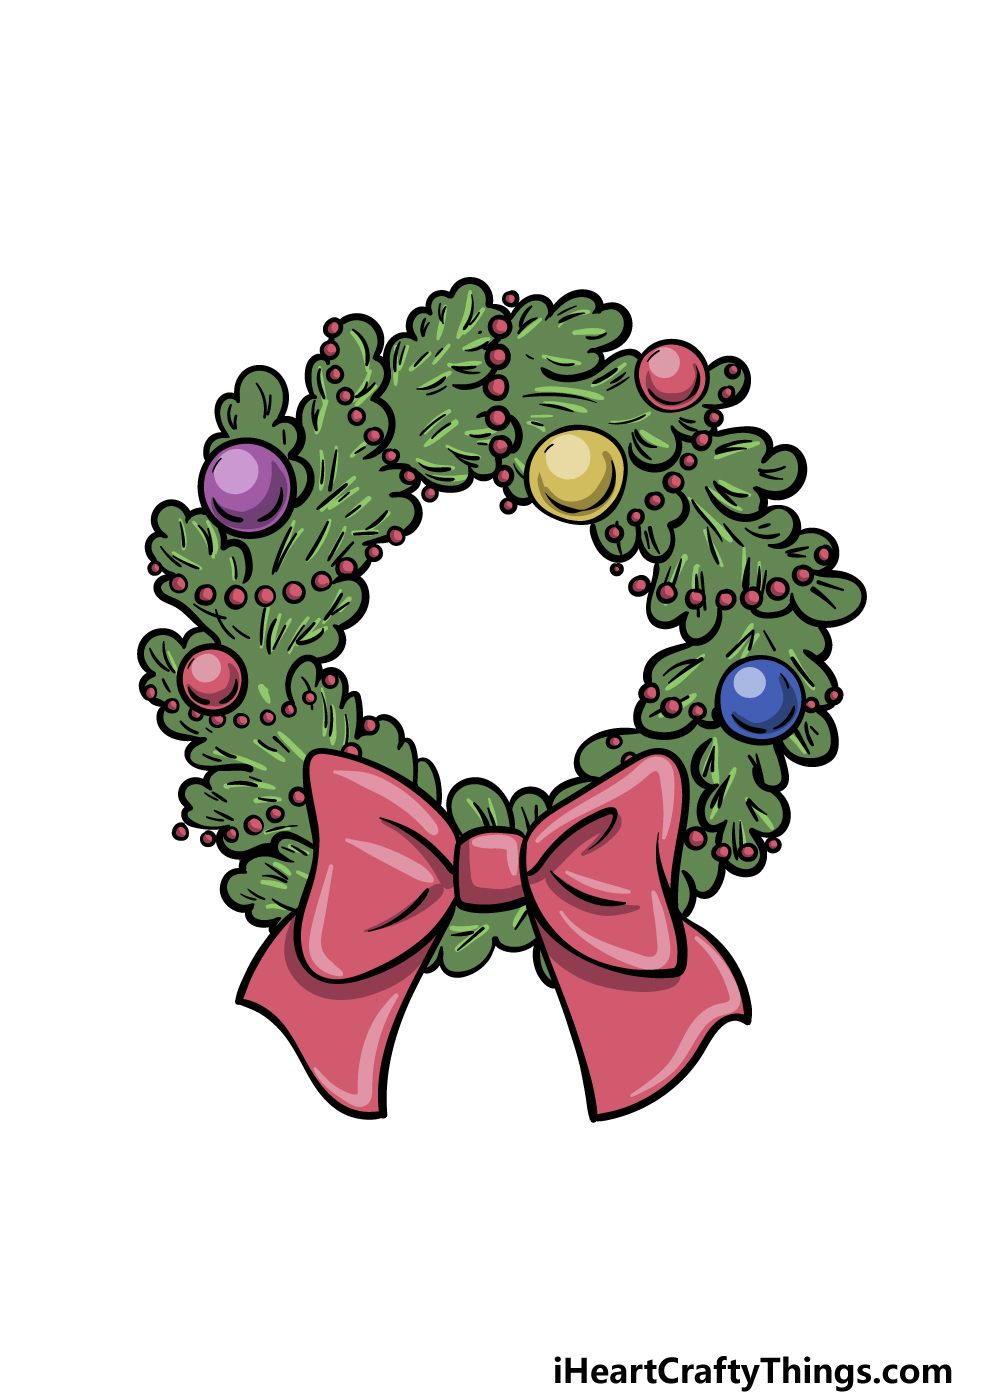
Now it is time to finish off this wreath drawing with some wonderful festive colors! We showed you just one way that you could go about coloring in this drawing in our reference picture.
We went with some Christmassy colors to complete it, and these include some dark greens for the wreath, red and pink for the bow and various others for the decorations.
These are the colors we thought would look nice for this image, but for this step you can really inject some of your own personality into it with the colors you choose!
You could go for some more classic Christmas colors by using some silver and gold along with some brighter reds and yellows.
Then, you can also achieve the colors you’d like with the art mediums you choose. Painterly mediums such as acrylic paints and watercolors can be great for pictures like this, but colored pencils and markers can work great as well! What do you think would suit this image best?
3 More tips to make your wreath drawing easy!
Create some festive fun as we make your wreath sketch even easier to draw!
This drawing of a wreath has some great details on it, from rows of beads to a bow and some texture details on the leaves of the wreath itself.
These details all contribute to making this image even better, but you could look at removing some of them to make it easier for yourself.
You could do this by making the style of the wreath much simpler.
Even if you made the outline of the wreath completely circular, you would still be able to add all sorts of fun details and elements to decorate it. It would be up to you to decide on what you find hardest to draw!
It would make your wreath drawing easier if you were to use some drawing tools to help you as you draw. For example, you could use a pencil and a drawing compass.
These are both tools that can be bought very cheaply at many art and craft stores. With them in hand, start by drawing two circles with your pencil.
This will form a rough outline for the wreath. Once these are in place, you could then use your pencil to add more and more details to the wreath.
You may be surprised how much mapping out basic shapes could help you as you draw!
Finally, you could incorporate this wreath sketch into a larger image. If you draw just the wreath, chances are that it will be prominent on the page.
That opens it up to more scrutiny, and then any parts you struggled with will be more out in the open. If you include the wreath as part of a larger display, then it will likely be smaller on the page.
That way, there will be less pressure to get it looking perfect, as there will be many other details to admire.
Not only could this make the drawing easier, but you will also have a wonderfully festive image with more to admire!
Your Wreath Drawing is Complete!
This guide on how to draw a wreath that you have just completed was designed to give you some Christmas fun while making it fun and easy to work on.
Hopefully we achieved this goal for you by providing a simple and rewarding artistic experience!
Now it’s up to you, as you have the chance to take this drawing even further. We mentioned a few ideas that you could try out, and these included decorations and a background.
You can also experiment with the colors and art mediums you choose, so we will look forward to seeing what you end up going for to finish it off!
Our website has so many incredible drawing guides just waiting for you, so don’t forget to check it out! We upload new ones frequently, so definitely keep checking in to never miss out.
We would love to enjoy the festive spirit by admiring your wreath drawing, so please be sure to share it on our Facebook and Pinterest pages when it is finished.