It’s always a lot of fun to get to go to the beach! There are many small things to enjoy, from the sound of crashing waves to the feeling of sand between your toes.
Another aspect of the beach to enjoy is the sight of seagulls flying around making their distinctive call.
They may sometimes try to steal your lunch, but they are still a pleasant sight to behold! Learning how to draw a seagull is a great way to bring the fun of the beach to you no matter where you are.
If you would like some beach time fun from the comfort of your home, then look no further than this tutorial!
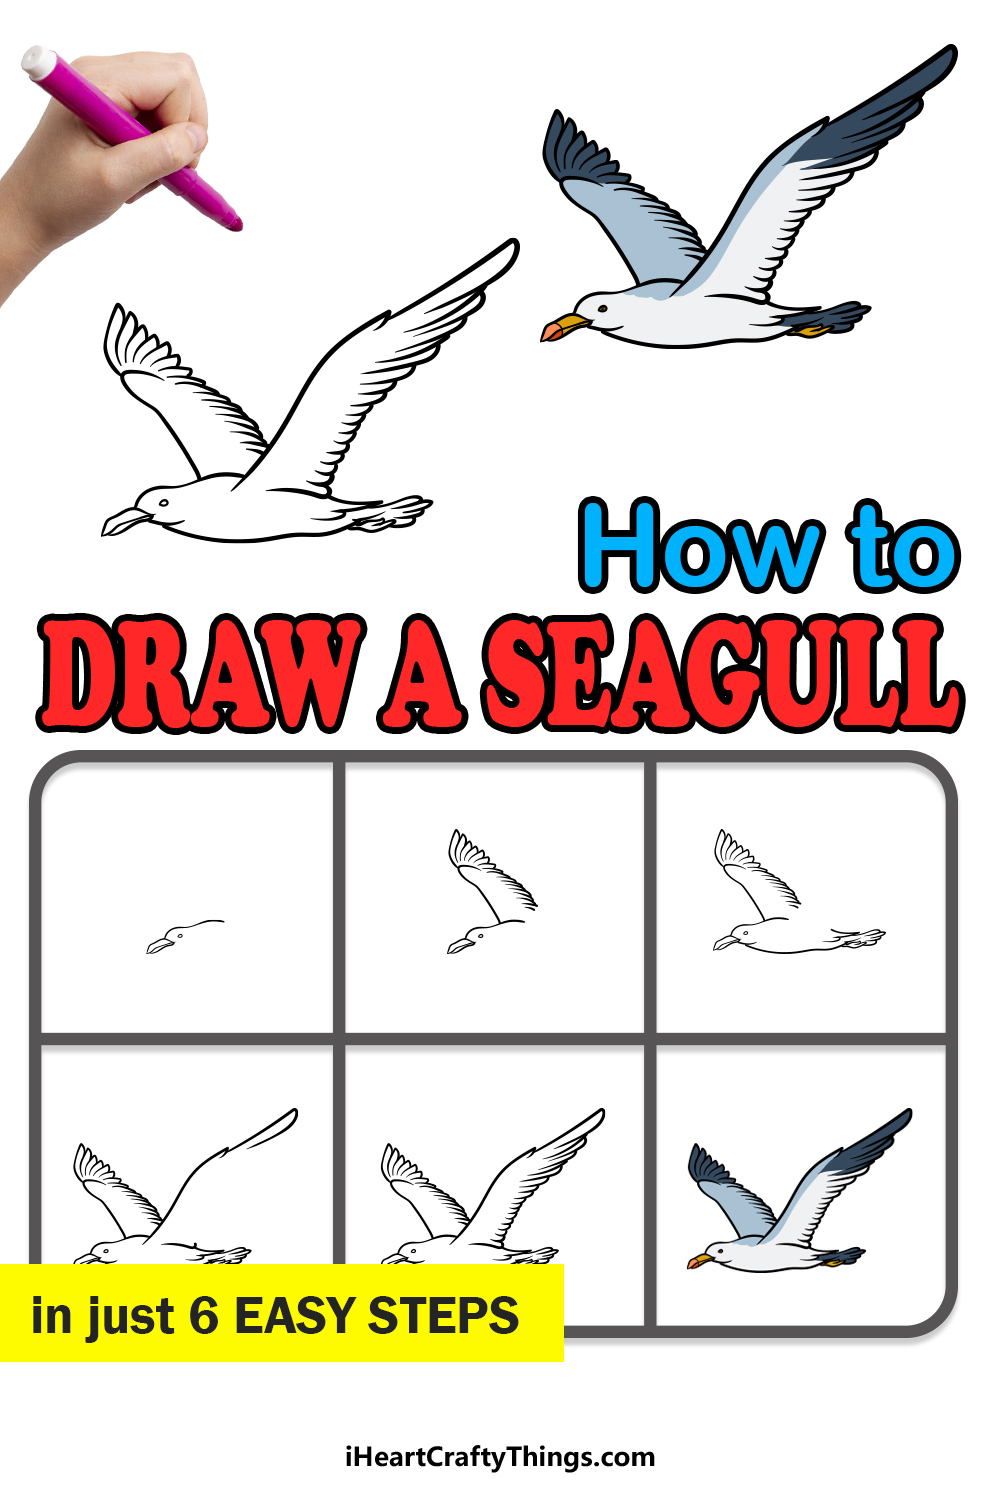
Our step-by-step guide on how to draw a seagull in just 6 steps will show you how fun and easy it can be!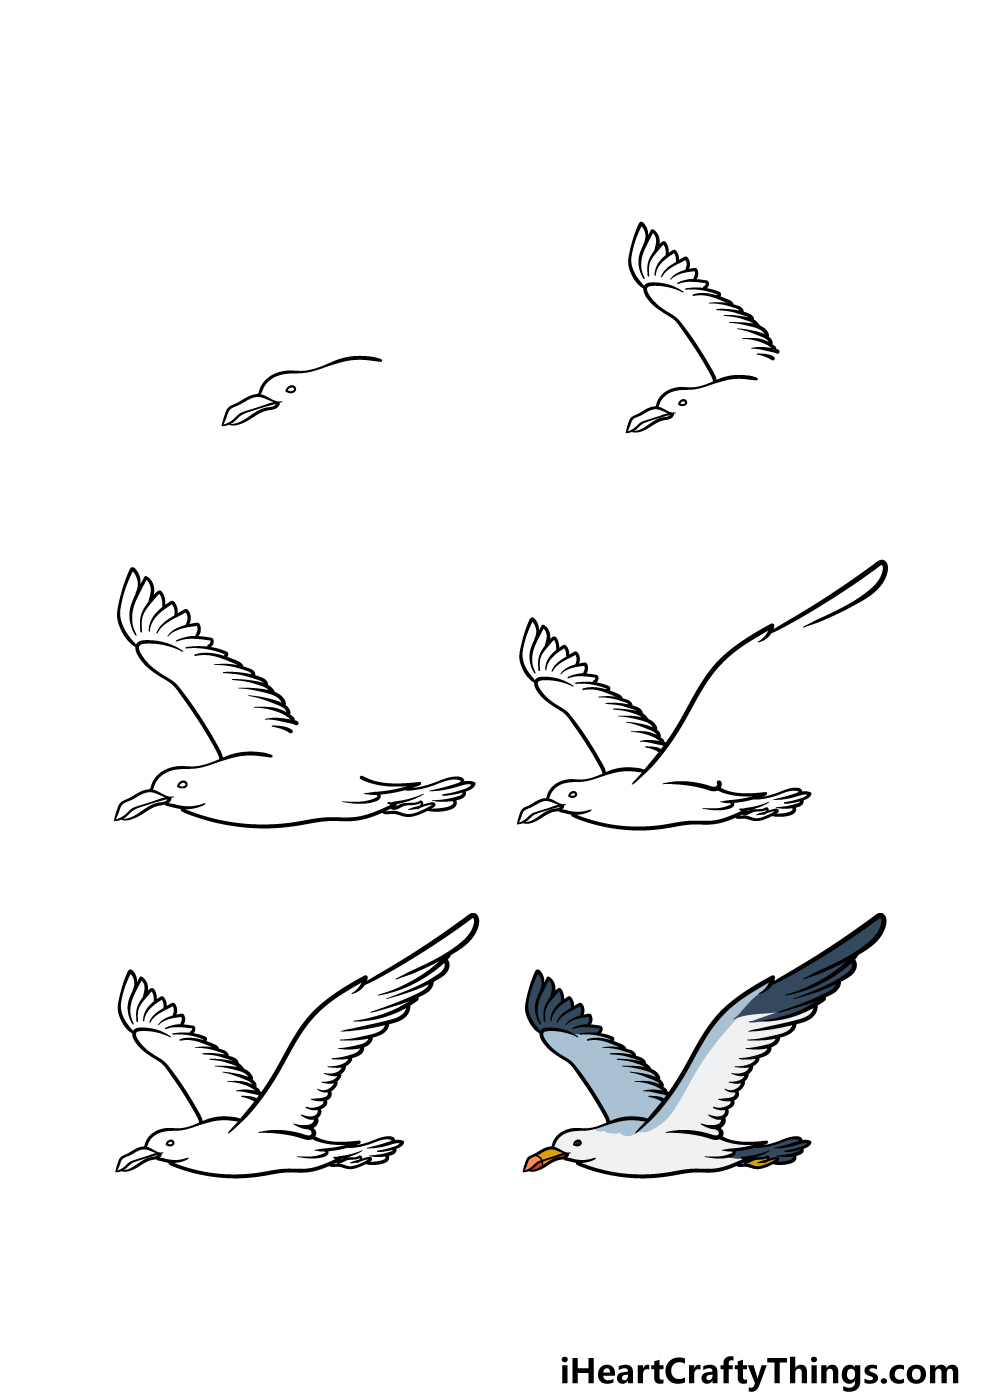
How to Draw A Seagull – Let’s Get Started!
Step 1
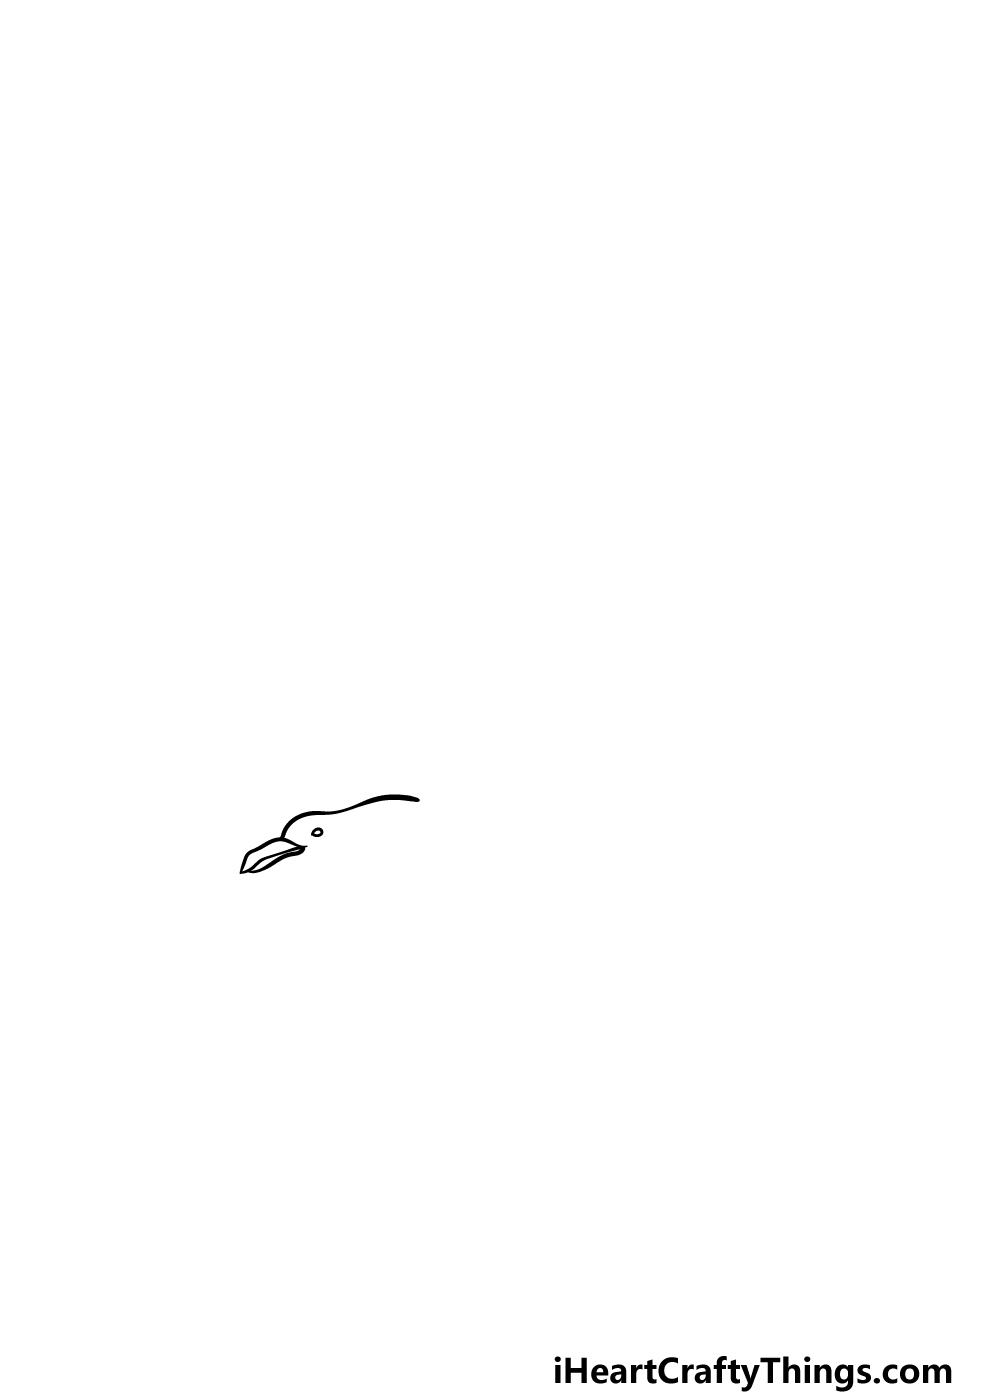
We will keep things simple in this first step of our guide on how to draw a seagull! To get things started, we shall simply be drawing the start of the head and the beak of the bird.
The beak will be facing to the left, and will be drawn with some curved lines that form the two tips of each half of it.
Then, you can also draw a small circular shape nearby to it for the eye of the bird. Finally, add one more curved line for the top of the head, and then you will be ready to move on to step 2!
Step 2 – Now, draw the first wing for the seagull
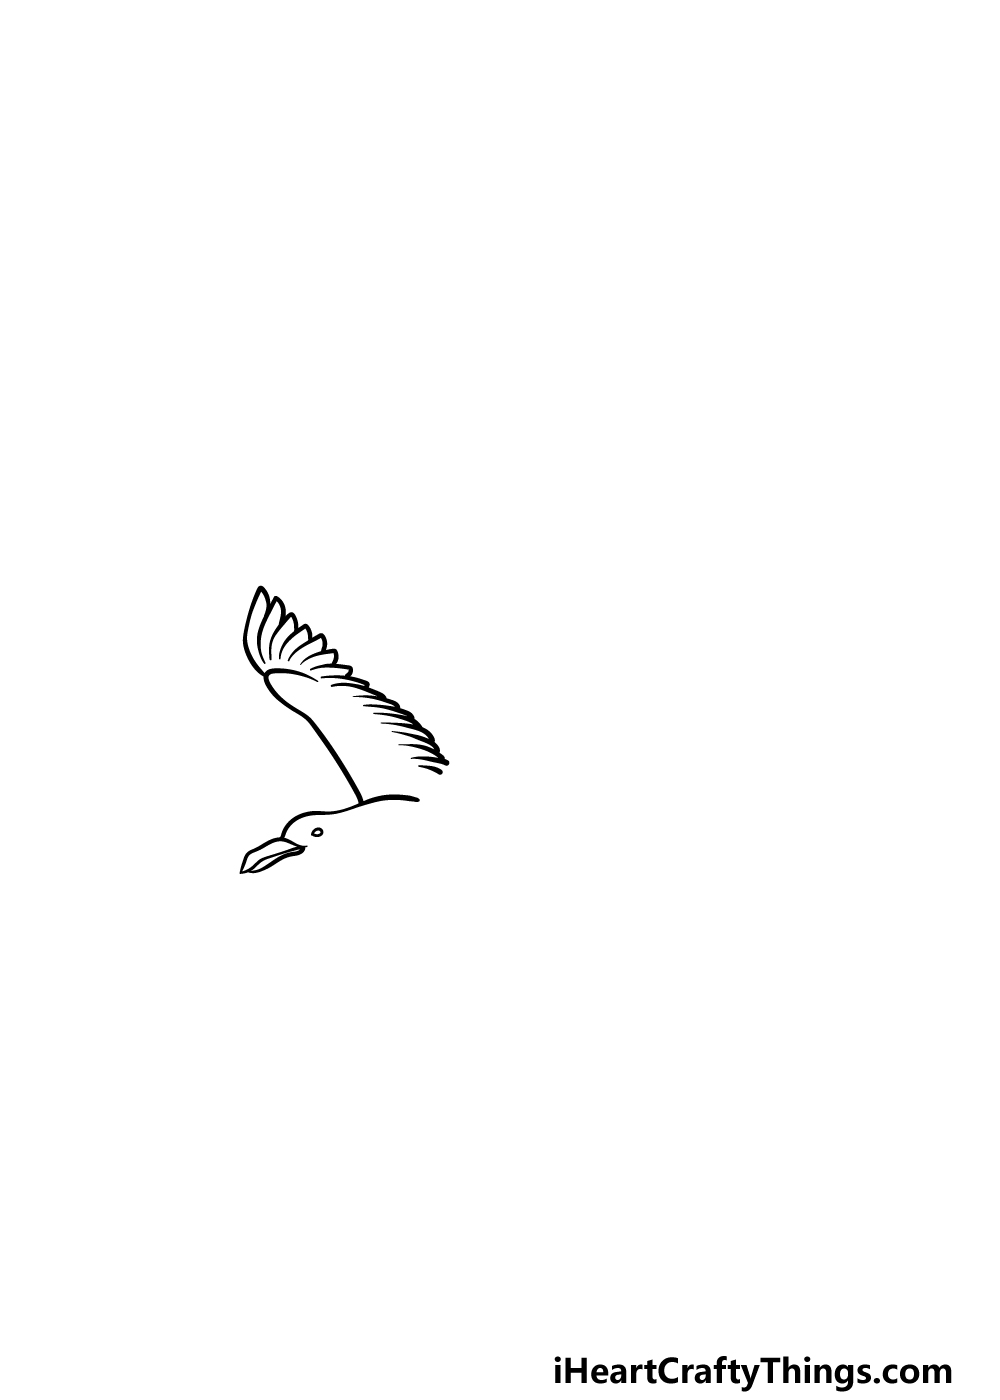
This second step of your seagull drawing will see you adding the first wing of the bird. This wing will take on a rather specific structure, and it will have a smooth line for the front half of it.
The first half of the front portion will be drawn with a straight line that curves sharply at the end of it. Then you can start drawing lots of curved lines connected to one another for the feathers on the wing.
This row of feathers will extend all the way to the back of the wing, as shown in our reference image. Then it will be on to step 3 of the guide when you are ready.
Step 3 – Next, draw the bottom of the body and the tail for the bird
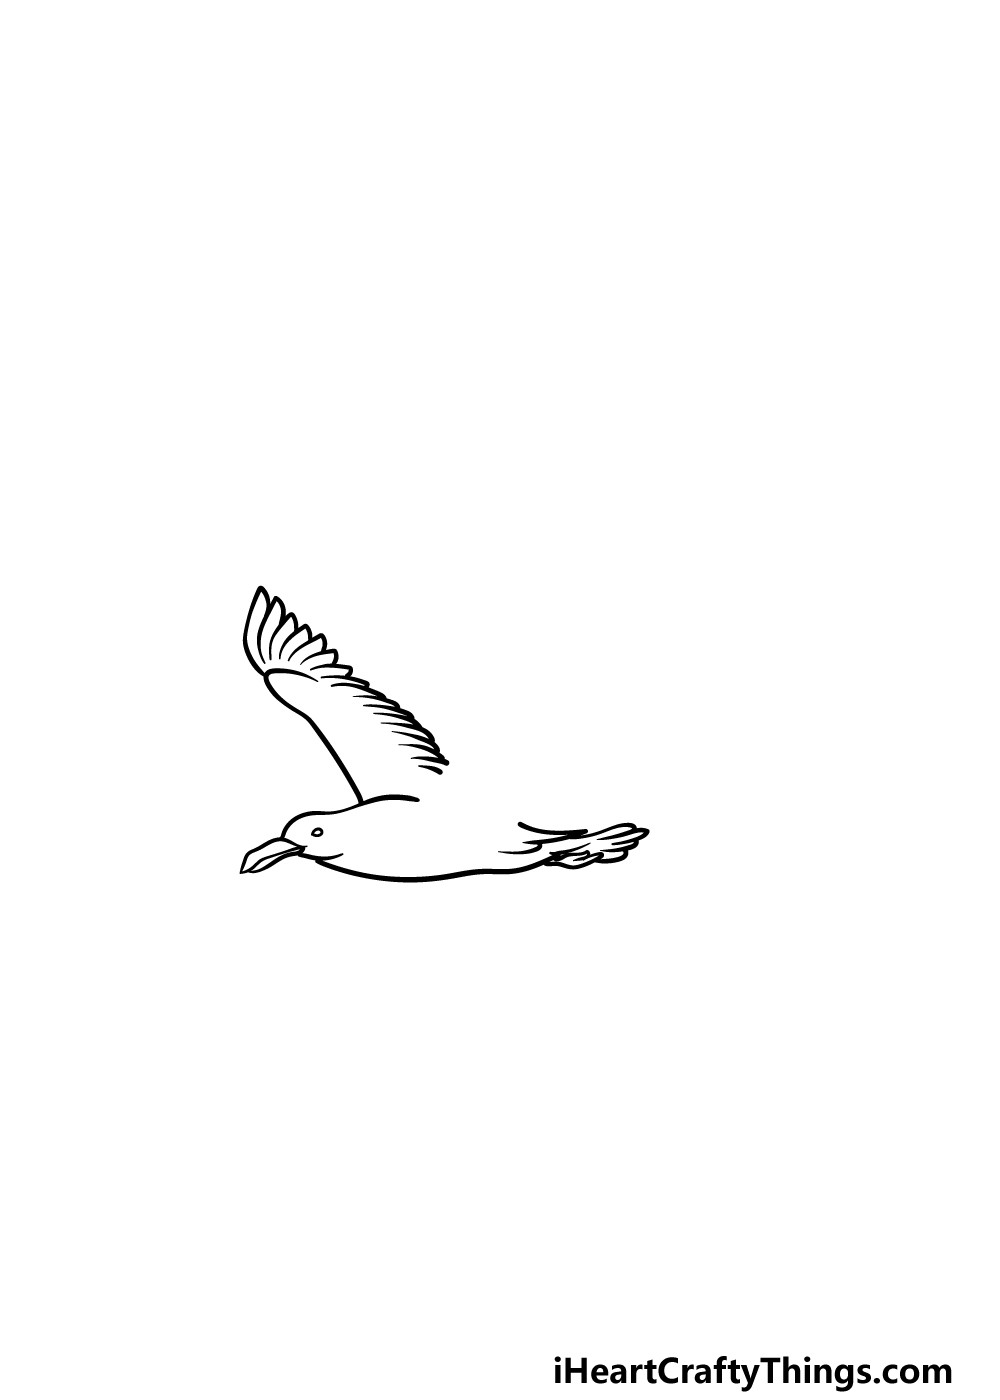
Now we will be drawing more of the body and adding a tail in this third step of our guide on how to draw a seagull.
First, extend a slightly curved line back from the base of the head, and this will serve as the bottom of the seagull’s body.
Next, you can draw the feathery tail at the back of the body. This tail can be drawing with some more thin, slightly curved shapes similar to the ones that you used for the feathers of the wings.
That will do it for this step, so let us proceed!
Step 4 – Now, start drawing the other wing
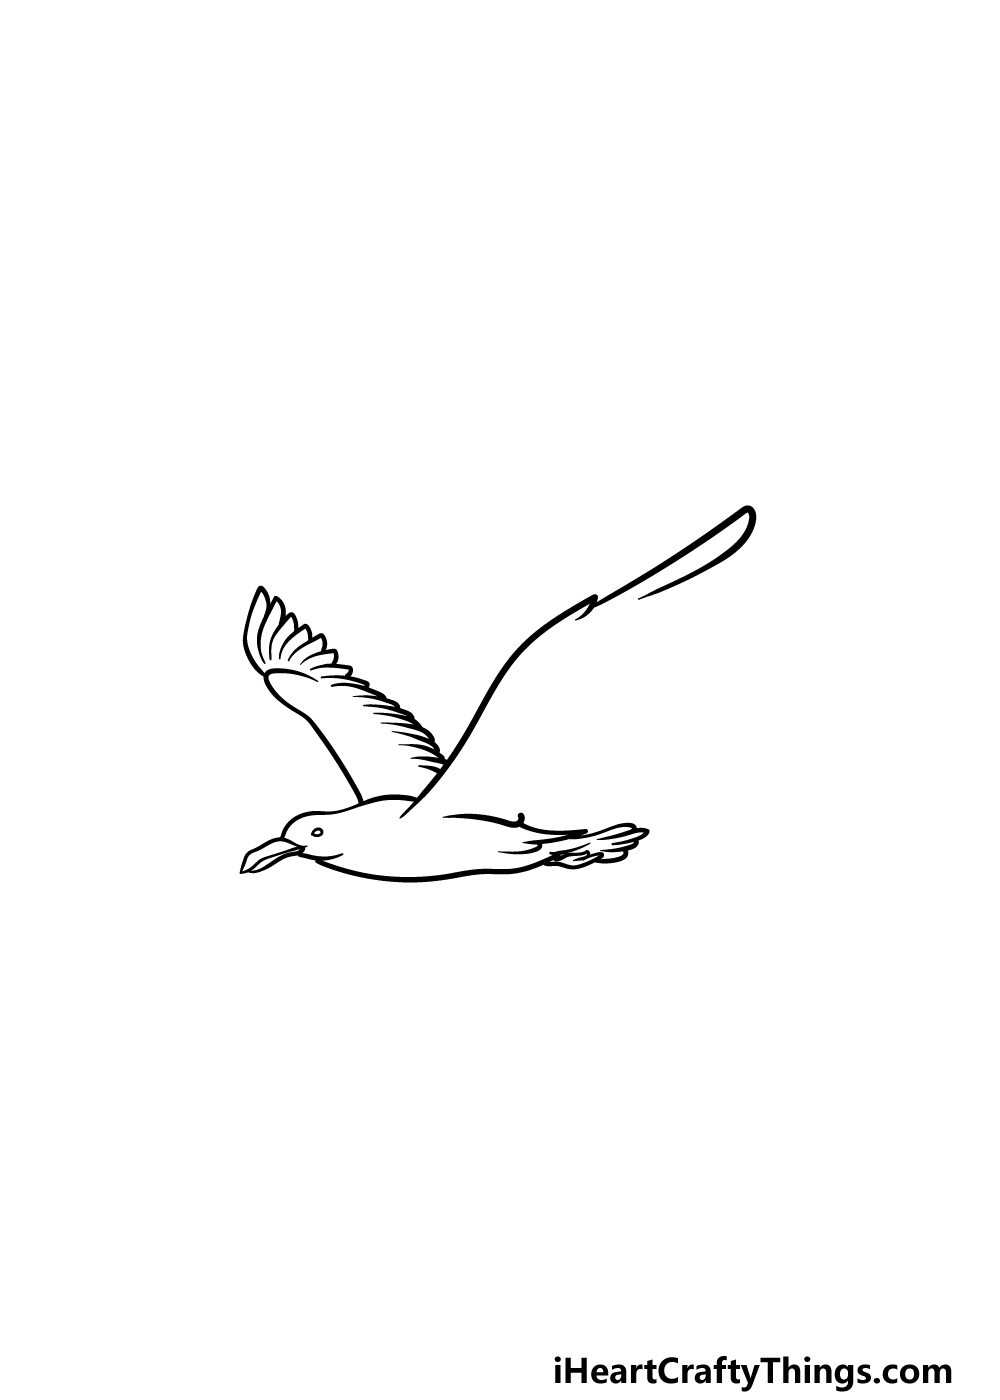
We’re starting to move on to the final details of this seagull drawing from this step onward. For now, we shall start adding the other wing for the bird.
The front of this wing will be the focus of this step, and it will start near the center of the body and near to the space that you left on the back of the seagull.
The line will be a bit curved, and there will be a few little pointy and rounded protrusions sticking off to make it look a bit more feathery.
There will be a big space left at the back of this wing, but we will be finishing that off along with some final details as we move on to the next step!
Step 5 – Add the final details to your seagull drawing
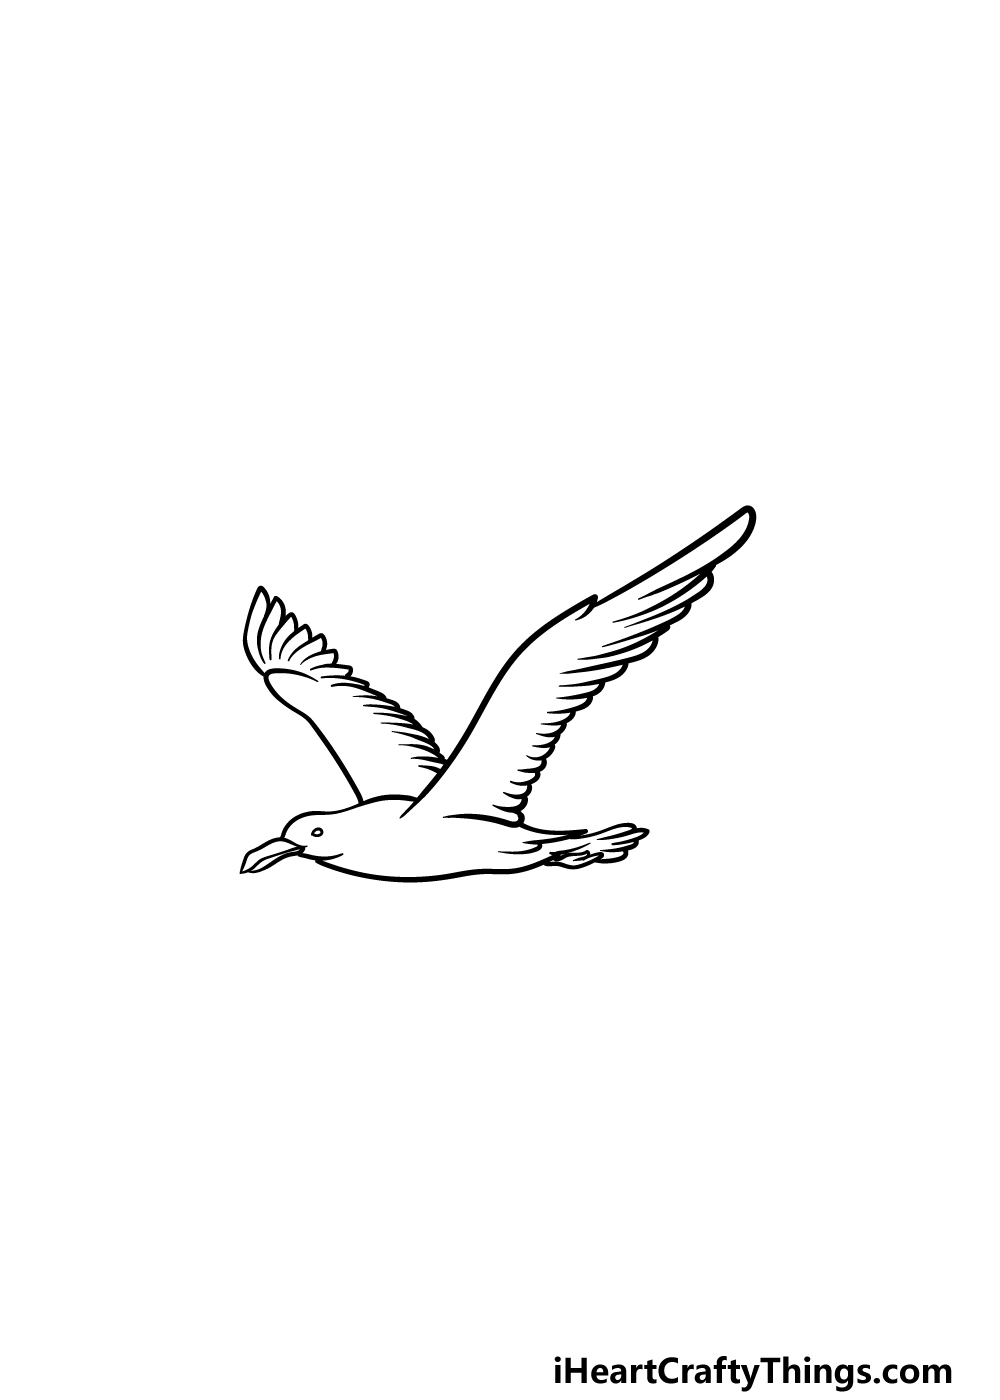
For this fifth step of our guide on how to draw a seagull, we shall finish off by adding the final details and elements.
This will have you ready for the final step where you shall color your drawing in. the main thing to do in this step is to draw the feathers lining the back of the wing. These feathers will be pretty much identical to the ones on the other wings and will be similar to the ones on the tail.
Once you have finished off this wing, you will be ready for the final step! You don’t have to move on just yet, however, as you can also add some details and ideas of your own.
You could draw a background for one idea, and a suggestion would be to create a lovely beach setting!
What other background ideas or other details can you think of to finish this off?
Step 6 – Finish off your seagull drawing with color

Now you are ready to complete this seagull drawing by adding some color to it! Seagulls aren;t particularly colorful birds, and we reflected this in our reference image.
When coloring in our own picture, we used various shades of light and dark blues along with a very light grey for the body.
Then, we finished it off by using some oranges for the beak and the legs tucked in at the back of the bird.
Will you use similar realistic colors to these or will you go for a more stylistic look? We can’t wait to see how you color it in!
5 Tips To Make Your Seagull Drawing Even Better!
Take flight with these 5 fun tips for your seagull sketch to make it even better!
Seagulls will often travel in flocks, and you could add many more to create your own for this seagull drawing!
The great part about this tip is that you now know how to draw seagulls, so adding more should be a breeze.
Simply follow the steps of the guide again and change a few minor details to create your own flock.
What sorts of formations would you like to create?
Anyone who has encountered a seagull in real life may have witnessed them pilfering food from unsuspecting people. This would be a great detail for this drawing of a seagull!
You could have the seagull holding some fries or maybe even something bigger like a slice of pizza. These are a few ideas, but what else can you think of that you could have this seagull holding?
Once you have mastered this design of a seagull, you could change up the design a bit. This could include drawing it in different poses or positions to make it look exactly how you like.
These changes could be pretty subtle, but they can make a big difference in making this drawing even more unique.
Adding a background is another fun way of making your seagull sketch even better. The natural choice for this picture would be a beach or ocean setting, but even with that, you would have lots of options.
You could make the background more dynamic by changing the lighting, weather conditions or smaller details. This is something you can get really creative with, so what are some ideas you have?
Finally, it would be great to finish off with some amazing colors. You can not only experiment with colors but also the art mediums you use for this seagull drawing.
If you want a softer, more classic feeling then you could use some watercolors or colored pencils. Colored pens and markers would be great for a more vibrant look, however.
Your Seagull Drawing is Complete!
You have completed all of the steps in this guide on how to draw a seagull, and you have an incredible image to show for it!
We hope that learning how to draw this mischievous bird was not only made much easier but also a lot more fun with the help of this guide.
We mentioned a few extra details that you could add such as a beach background to finish it off, but now it is your turn to show off what other ideas you may have!
Let your creativity flow as you add details, background or unique color choices to this picture.
There are many more free drawing guides to enjoy on our website when you have finished this one! We upload new ones often, so be sure to keep checking in.
Please also be sure to share your finished seagull drawing on our Facebook and Pinterest pages for us to enjoy!