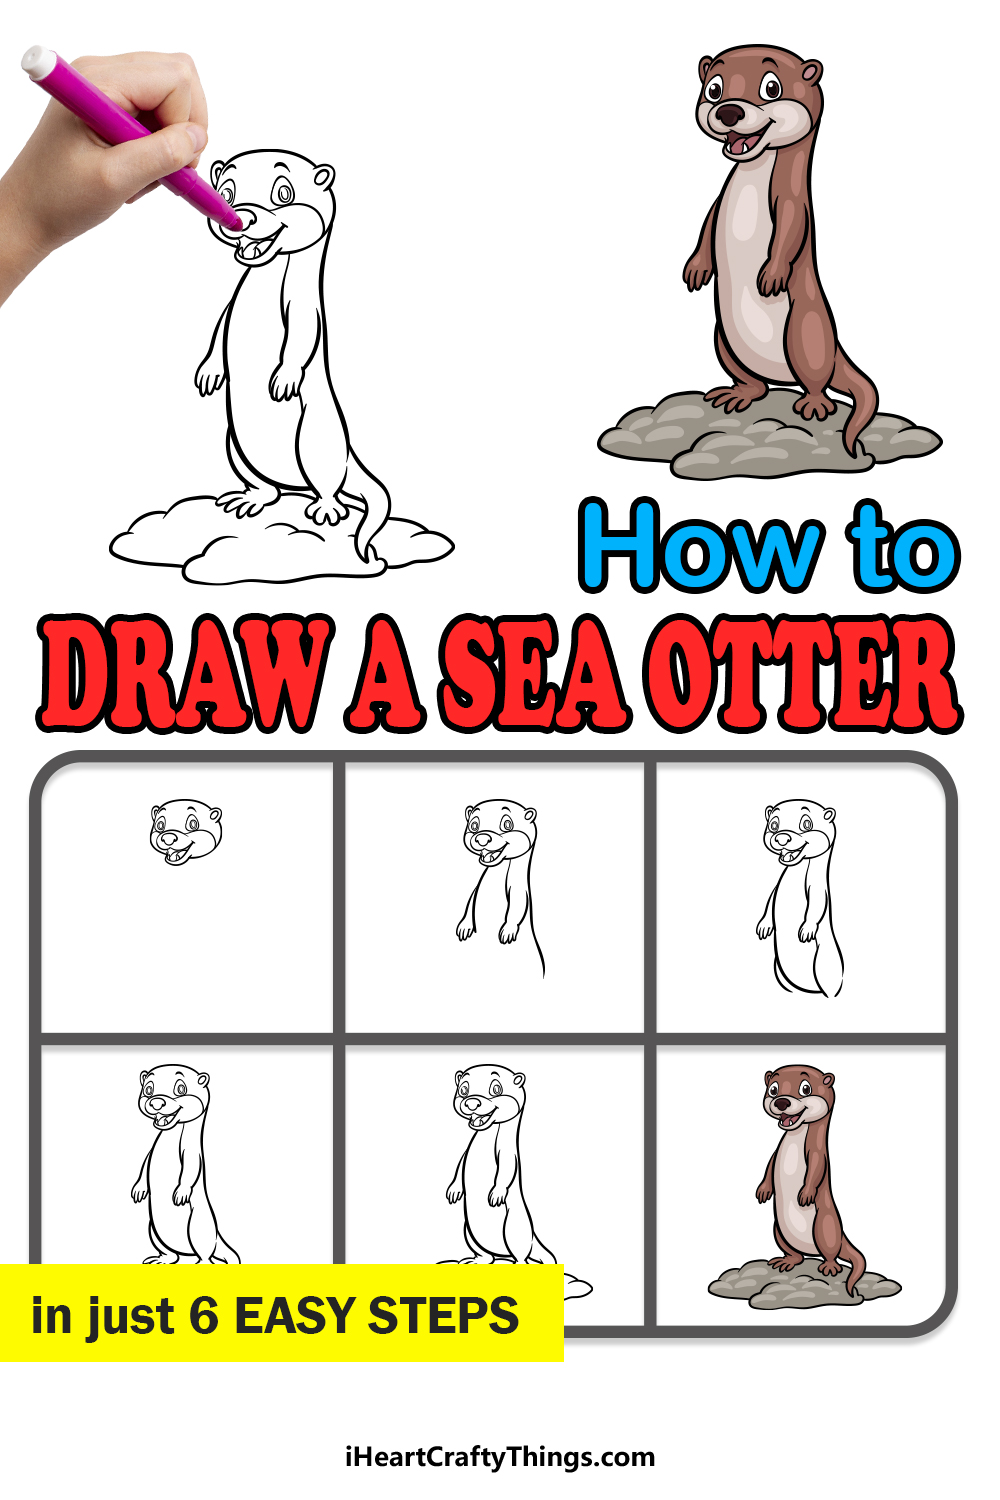
In the animal kingdom, there are many cute and adorable animals to behold. These cuties can be found on land, in the air and even in the water.
The sea otter is one example of an adorable animal that can be found on land and in the water.
These nimble creatures are a sight to behold when zipping through the water, and they have become rather popular around the world!
For this reason, lots of people like to dive into learning how to draw a sea otter.
If you are one of the people that love this adorable creature, then this will be a tutorial that is not to be missed!
Our step-by-step guide on how to draw a sea otter in just 6 easy steps will show you how to create a wonderful portrayal of this sweet animal!
How to Draw A Sea Otter – Let’s Get Started!
Step 1
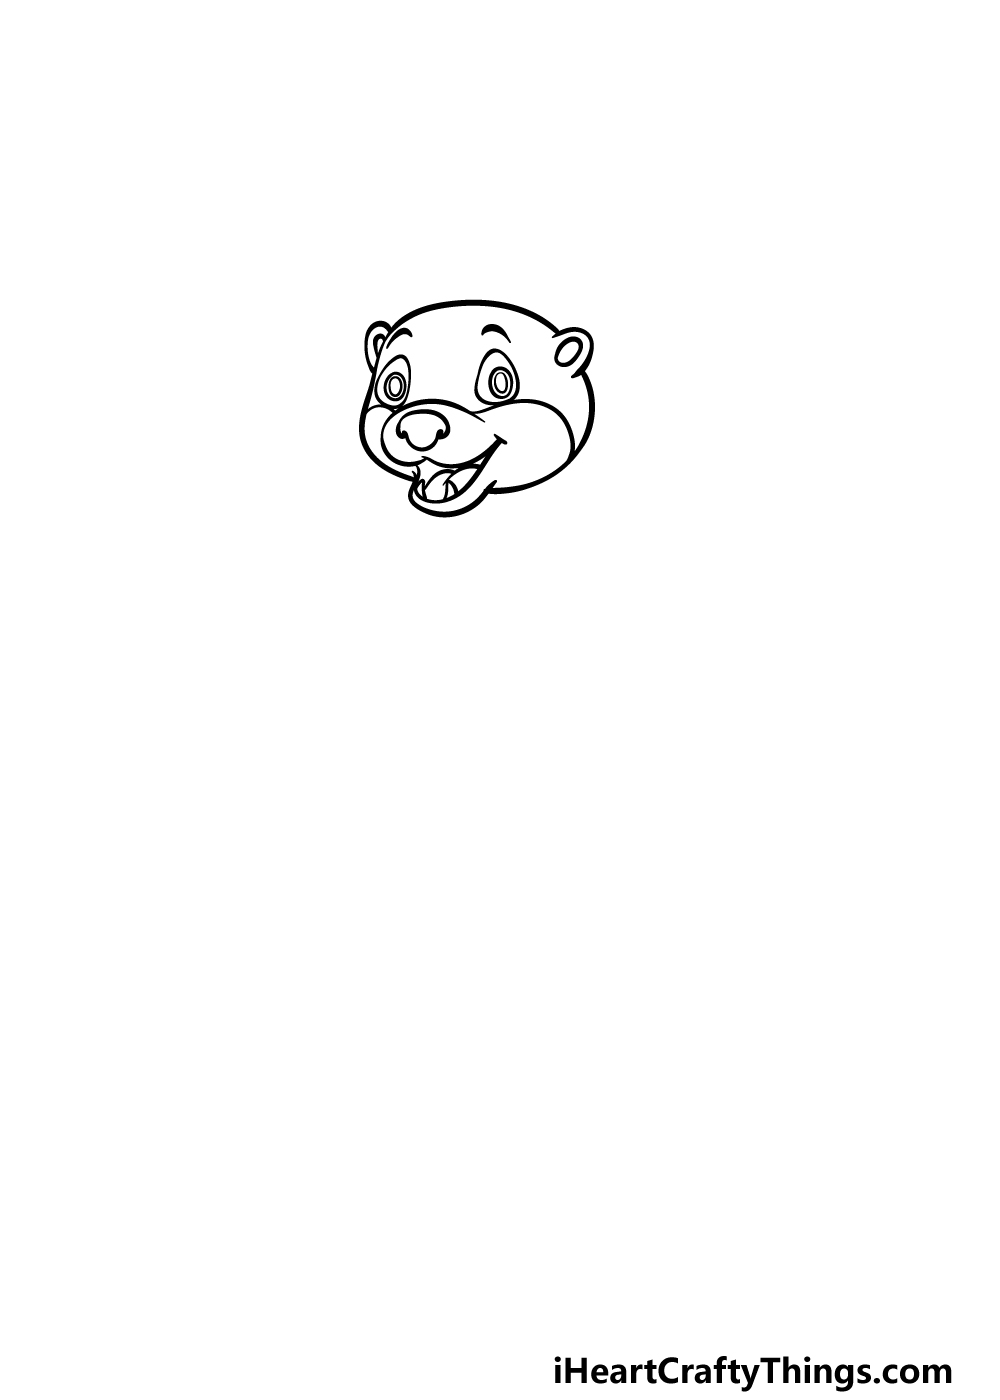
We will begin with the head and the face for this first step of our guide on how to draw a sea otter.
To start this, draw some curved lines to form the rounded outline of the otter’s head. This outline will be broken by some small, round ears at the top of the head and the mouth jutting out at the bottom.
You can then use some rounded shapes for the eyes and eye details, and then add an outline for the mouth area.
Finally, draw the nose and add a smiling mouth beneath it before moving on to the second step of the guide!
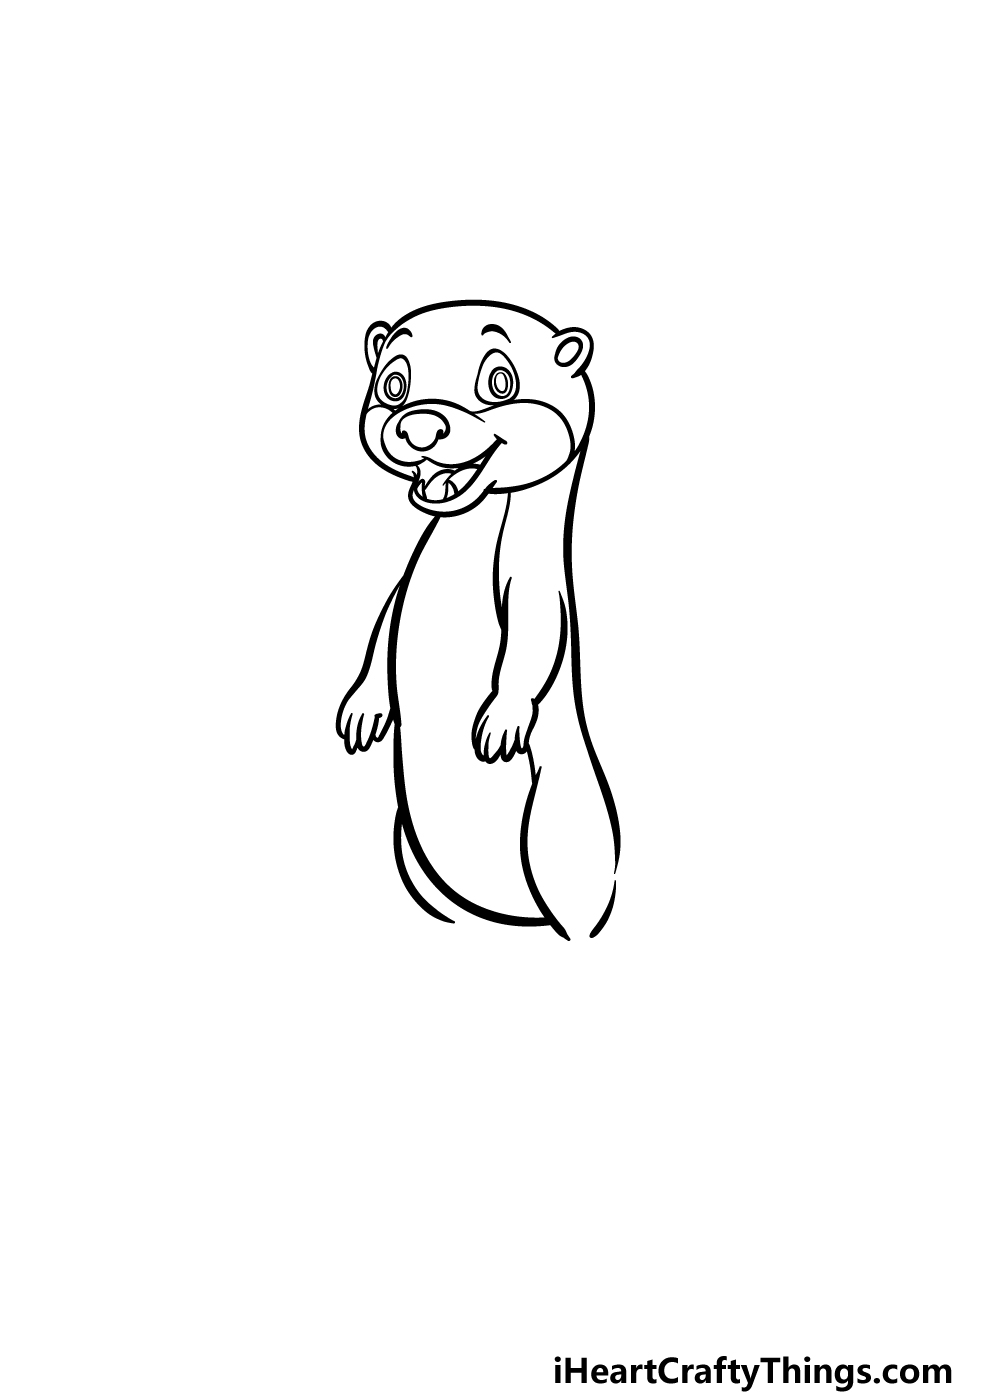
Step 2 – Now, draw the body and arms of this sea otter

For the second step of this sea otter drawing, we will start drawing the outline for the body and the arms.
Use a curved line for the chest of the sea otter, and then use a slightly curvier line for the back.
Then, draw the small arms pointing down near the center of the chest. These will also end in some small pointy fingers, as shown in the reference image!
When you’re happy with how these parts look, we can proceed to the fourth part of this guide.
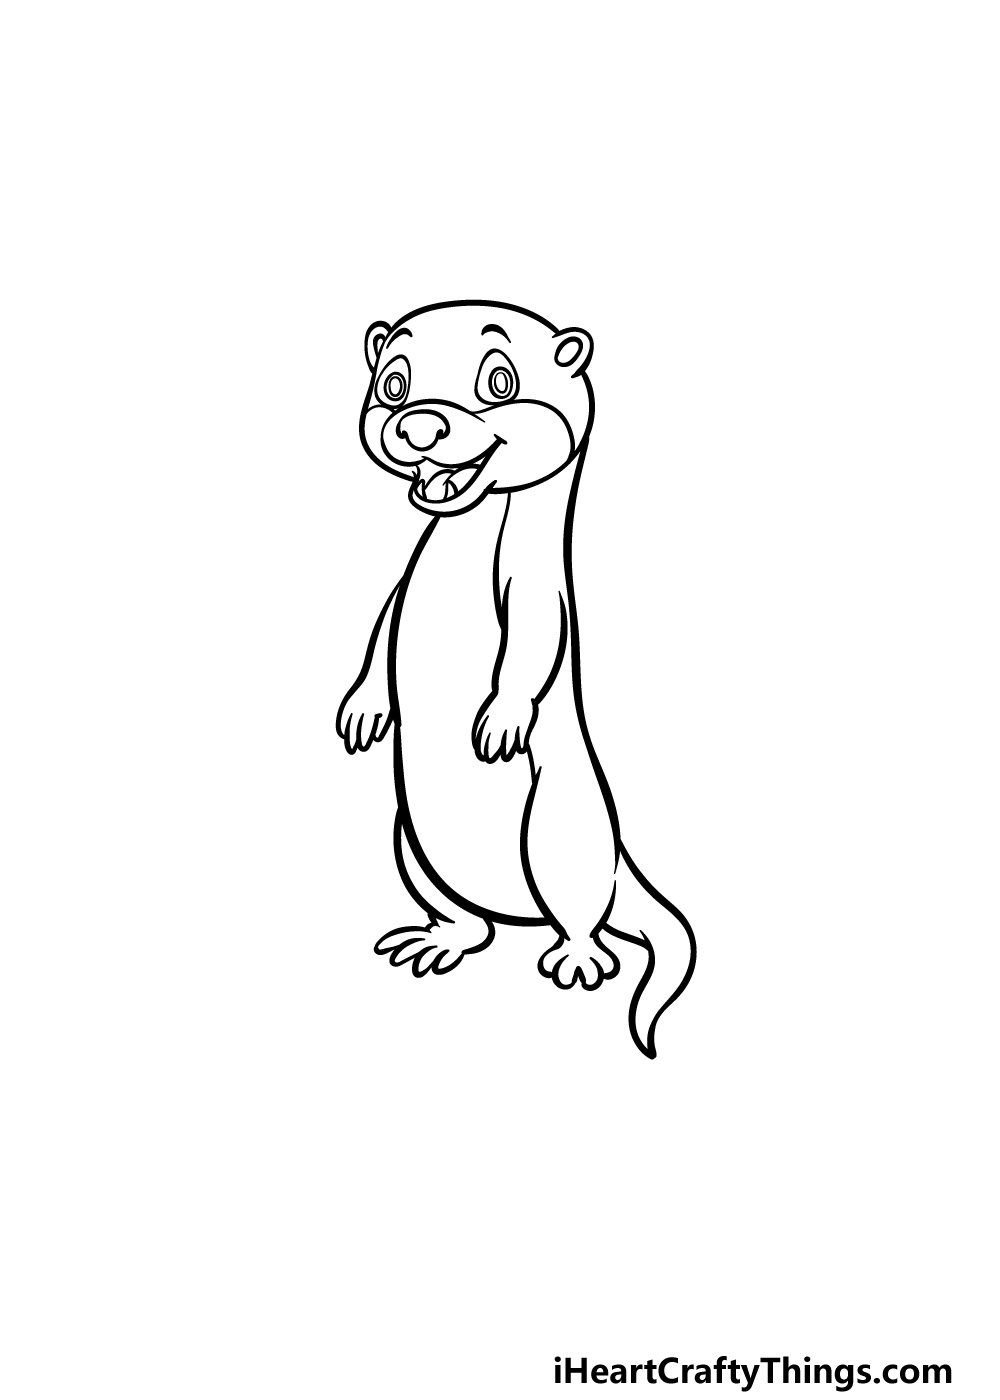
Step 3 – Draw some more of the body and the start of the legs
Continuing with this guide on how to draw a sea otter, we will now draw some more of the body and the legs.
The body of the sea otter is quite long and lean, so that’s worth keeping in mind as you extend the lines for the sides of the body. The belly of the otter will also be outlined in this step.
Finally, draw the thick, rounded upper thighs for the legs. We will finish these legs off in the next step, so let’s head to that part when you’re ready!
Step 4 – Next, draw the rest of the legs and tail
Before you move on to the final details of this sea otter drawing, we will first finish off the legs and tail.
You drew the thighs for this sea otter’s legs in the previous step, and in this one we shall add the feet onto them.
The feet will be small with tiny rounded toes, so they should be rather easy to add! Once the legs are complete, you can also add the tail for the otter.
This tail is relatively long, and it will get progressively thinner until it ends at a pointy tip. When it is drawn, you will be ready for those final details!
Step 5 – Add the final details to your sea otter drawing
It’s almost time for the final step of this guide on how to draw a sea otter, but first we have some final touches to add!
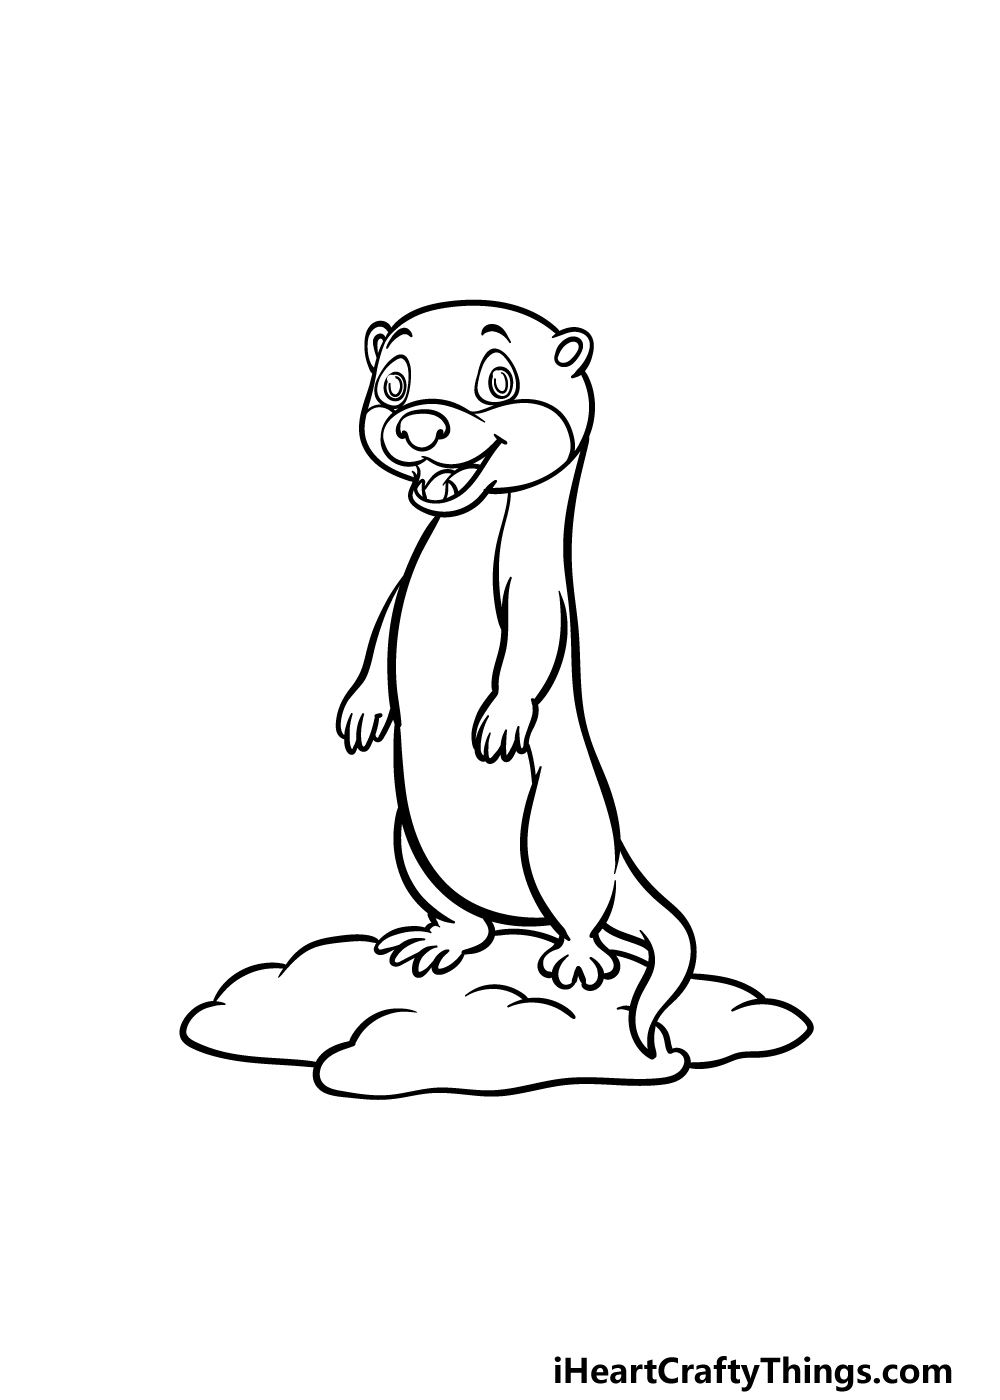
In our reference image, you’ll see we used some bumpy lines to draw a small dirt mound around the base of the sea otter that it can stand on.
Once you have drawn this element, you could also draw some more additions of your own!
If you were to draw a background, for example, you could show what kind of environment this cute sea otter is hanging out in.
You could even draw some more sea otters for it to be with or even add other animals such as fish. These are just a few ideas, but what other additions can you think to add for this image?
Step 6 – Finish off your sea otter drawing with color

Even though we have been working on a slightly cartoony, stylized version of this animal for this sea otter drawing, we decided to keep the colors looking a bit more muted and realistic.
We used various shades of brown for the fur of the sea otter, and for the belly section we used some beige coloring.
These colors are ones you can go for when coloring your own image, but there are many others you could use as well!
You could incorporate colors such as blacks or yellows to keep the colors realistic, or you could go for a wonderfully stylistic approach by using brighter colors.
Another way is to change up the art mediums and tools you use, so how will you finish this picture with color?
5 Tips To Make Your Sea Otter Drawing Even Better!
Make this sea otter sketch seaworthy in no time as we cover some fun tips!
We designed this sea otter drawing in a cute cartoon style, and it looks great! If you prefer a different style, then you could adapt this design to be closer to your own preference.
You may like a more realistic style more, in which case you could add some more textures and realistic proportions. Using photos of real sea otters would help if you wanted to do this!
No matter which style you choose for this drawing of a sea otter, you can also change the pose it is in. This would be another tip you could do quite easily by changing a few details!
There are all sorts of fun poses you could choose, and it would be a great way to add even more character to the image.
Another way that you can use poses to make the drawing even more fun would be by adding more sea otters to the image. That way, you could start by replicating the pose we have in this guide.
Then you could try out all sorts of different poses for any additional sea otters. What kinds of fun poses would you have these sea otters in?
When you have your completed scene, you can then choose the colors and mediums you want to enhance your sea otter sketch.
We showed you just a few colors you could use, but there are many more tones and color effects you can go for. You could also use some smaller brushstrokes to make the hair look more textured.
Our final tip for this sea otter drawing involves adding a background. That is a fantastic way to bring it all together, and it can go well with all of our previous suggestions as well!
You could go for a seaside setting with rocks, ocean waves and maybe even additional sea creatures. What other background settings can you think of to really finish this off?
Your Sea Otter Drawing is Complete!
This animal is one of the most effortlessly cute creatures to be found in nature, and we hope you had a great time creating this portrayal during this guide on how to draw a sea otter!
When creating this guide, we aimed to not only create an adorable picture to draw, but also wanted to break it down in a way that would make it fun and easy to recreate.
Hopefully we succeeded in all of these goals for you!
Finishing this guide doesn’t have to be the end, as there are many ways you can keep the fun going!
Will you draw a fun background or maybe add some more sea otters to hang out with this one? What ideas do you have to finish this off?
Another way to keep the fun going is by heading to our website to check out our huge selection of awesome drawing guides we have for you!
We also plan to upload new ones over time, so be sure to keep checking in.
When you’re ready to show off your sea otter drawing, you can share your finished creation on our Facebook and Pinterest pages!