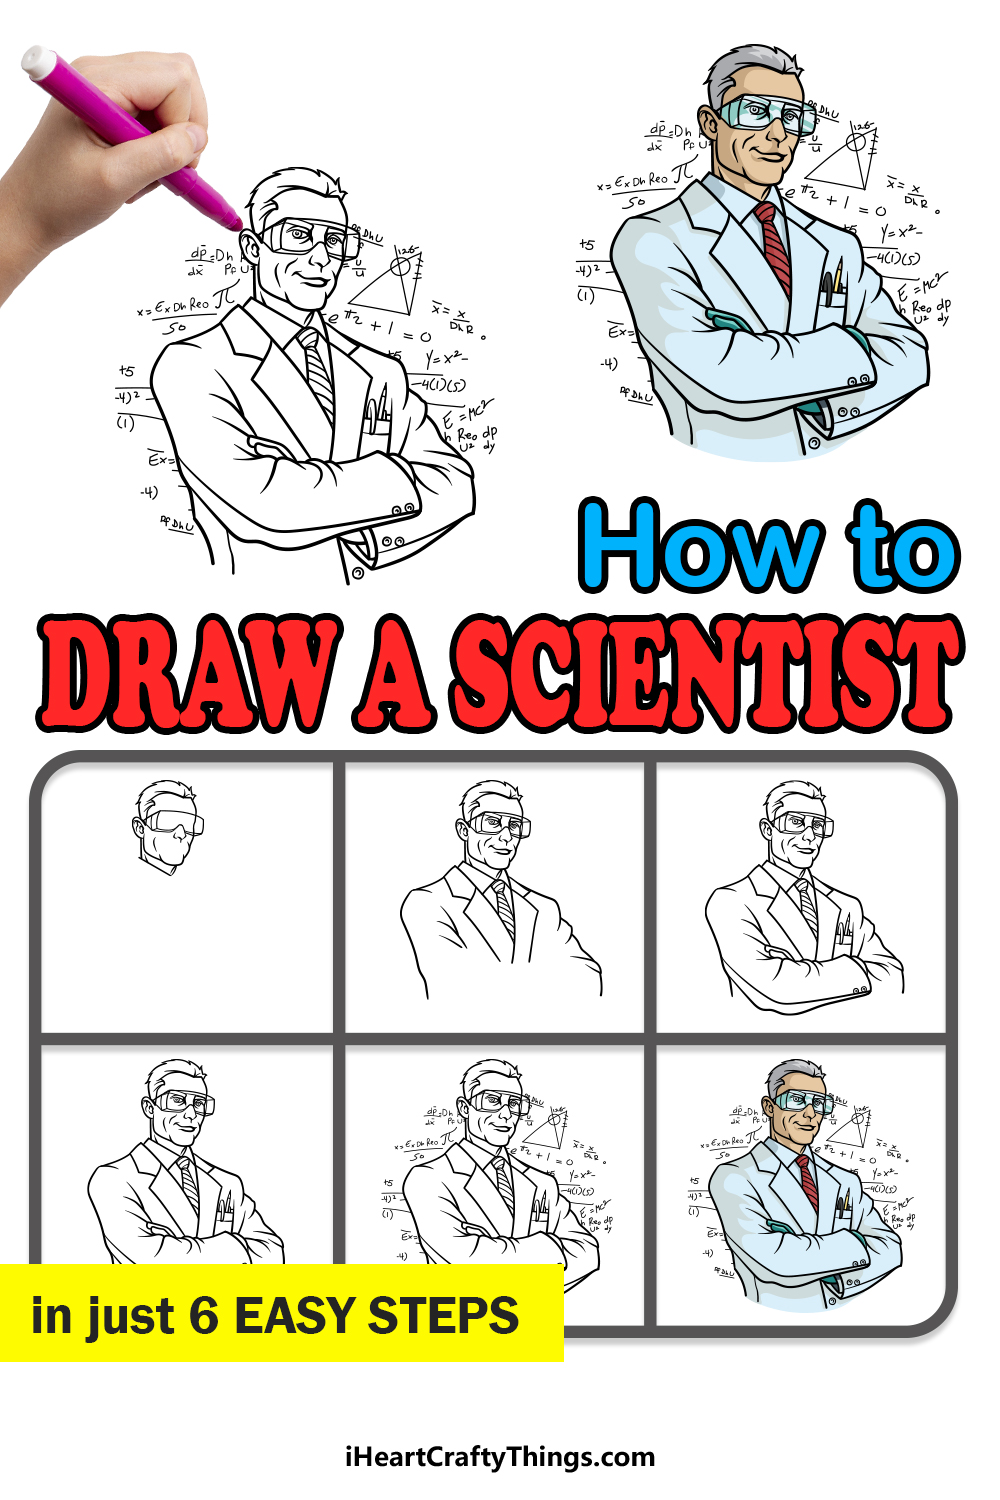
If you want to learn how to draw a scientist, then you’re in the right place! This guide for kids will show you how to recreate a detailed scientist character with ease.
Scientists are incredibly important members of society. They help us to learn more about the world and the universe, and they also help to develop cures and new innovations that make the world better.
We associate scientists with intelligence, and for good reason! Just the sight of someone in a white coat makes them seem like an authority in all things smart.
If you want to make a scientist character of your own, then I will show you how. Even though this character is really detailed, the steps I have will break it down and make it much simpler for you.
Then, you can design a whole lab for him and maybe even change some of his features!
See How To Make Your Scientist Drawing By Watching This
How to Draw A Scientist – Let’s Get Started!
Step 1
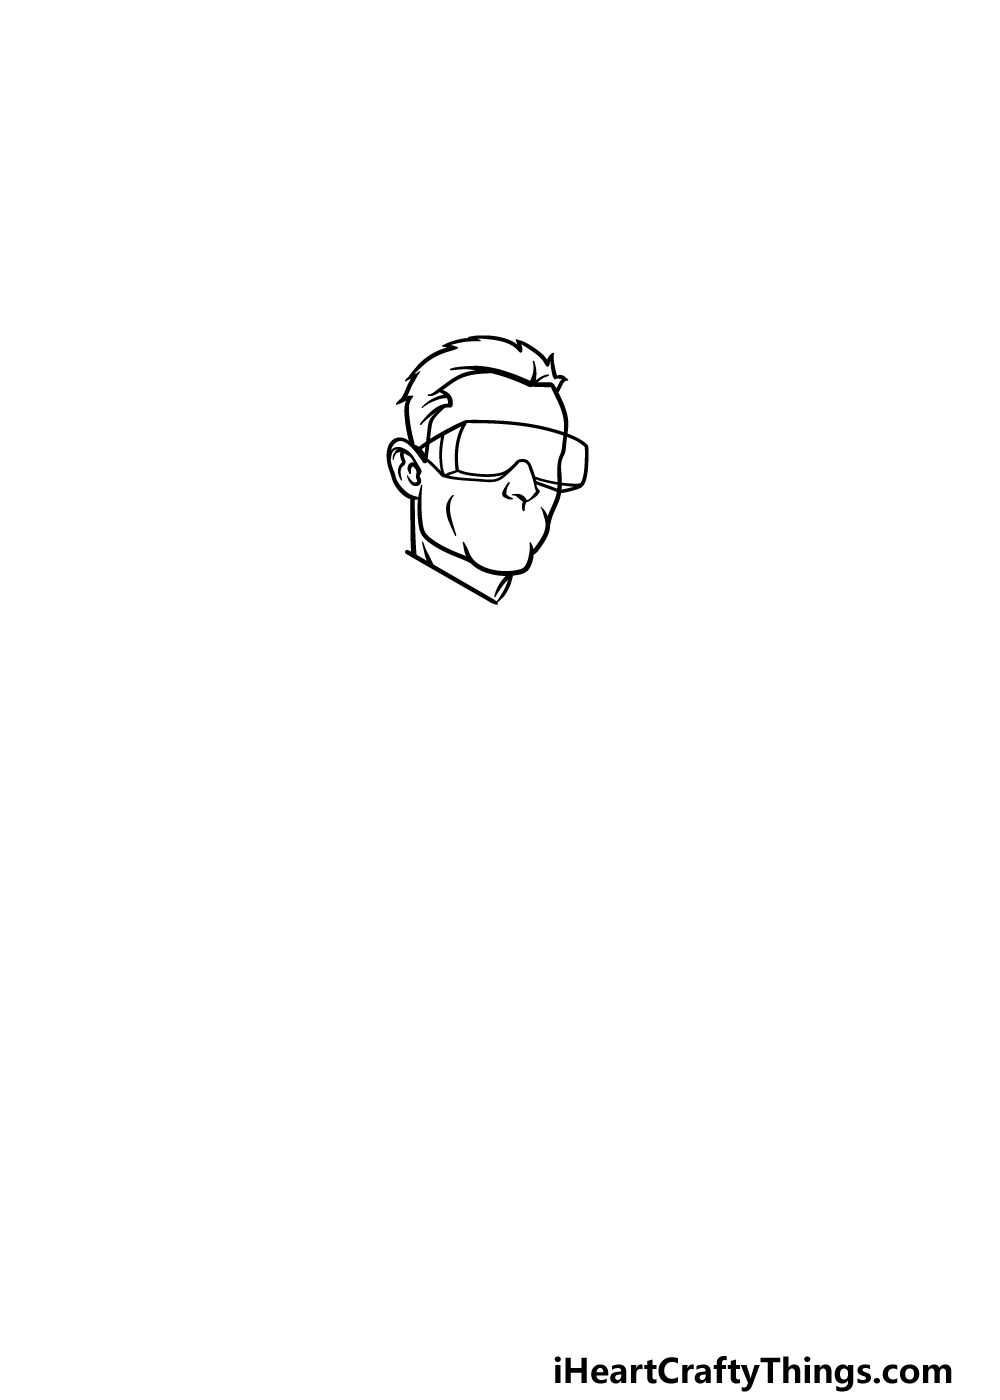
To kick off this guide on how to draw a scientist, we will be starting with his head.
This will be a rather detailed drawing, so if you find it a bit intimidating then you can draw with your pencil first before going over it with a pen later.
With that in mind, we will start drawing his head. He will be wearing some protective goggles in order to protect his eyes from any chemicals or other substances he may be working with.
First you can draw his face and head outline, and then draw the goggles that we mentioned. Once that is done, you can draw his hair atop his head and then add his ears and neck.
Step 2 – Next, draw his facial details and chest

We will be adding quite a lot to your scientist drawing in this step! First, we will focus on his face. Start by drawing his eyes behind his goggles.
Then we will be using some simple linework to add his nose, mouth and some creases to his cheek. The facial expression we are depicting makes him look pretty proud of himself!
Then, we will draw his chest and start his arms. First, add a collar to the base of his neck and then you can draw his tie coming down.
You can then draw the collars of his jacket coming down, and add his shoulders as well. Finally, we will be using some curved lines for the start of his arms.
Step 3 – Draw his crossed arms

Now that you have started the arms he is crossing at his chest, you can now finish them in this step of our guide on how to draw a scientist.
Using the reference image to guide you, draw the arm on the left crossed over to the other side, and then draw his other arm tucked in.
On the right-hand side of his crossed arms, you can draw a pocket with some pens and pencils in it, as scientists need to take lots of notes!
Once you have drawn all of these aspects, you’ll be ready for step 4.
Step 4 – Now, finish the outline for your scientist

It’s almost time to move on to some final details, but first we need to finish off the outline for your scientist drawing.
You can do this by finishing off the sleeve for the arm on the right. Like the other one, this sleeve will have some buttons on it.
Then, we will draw his waist coming down from his arms, and you can add a button there as well. Then it’s on to step 5 for some final touches!
Step 5 – Finish off your scientist drawing
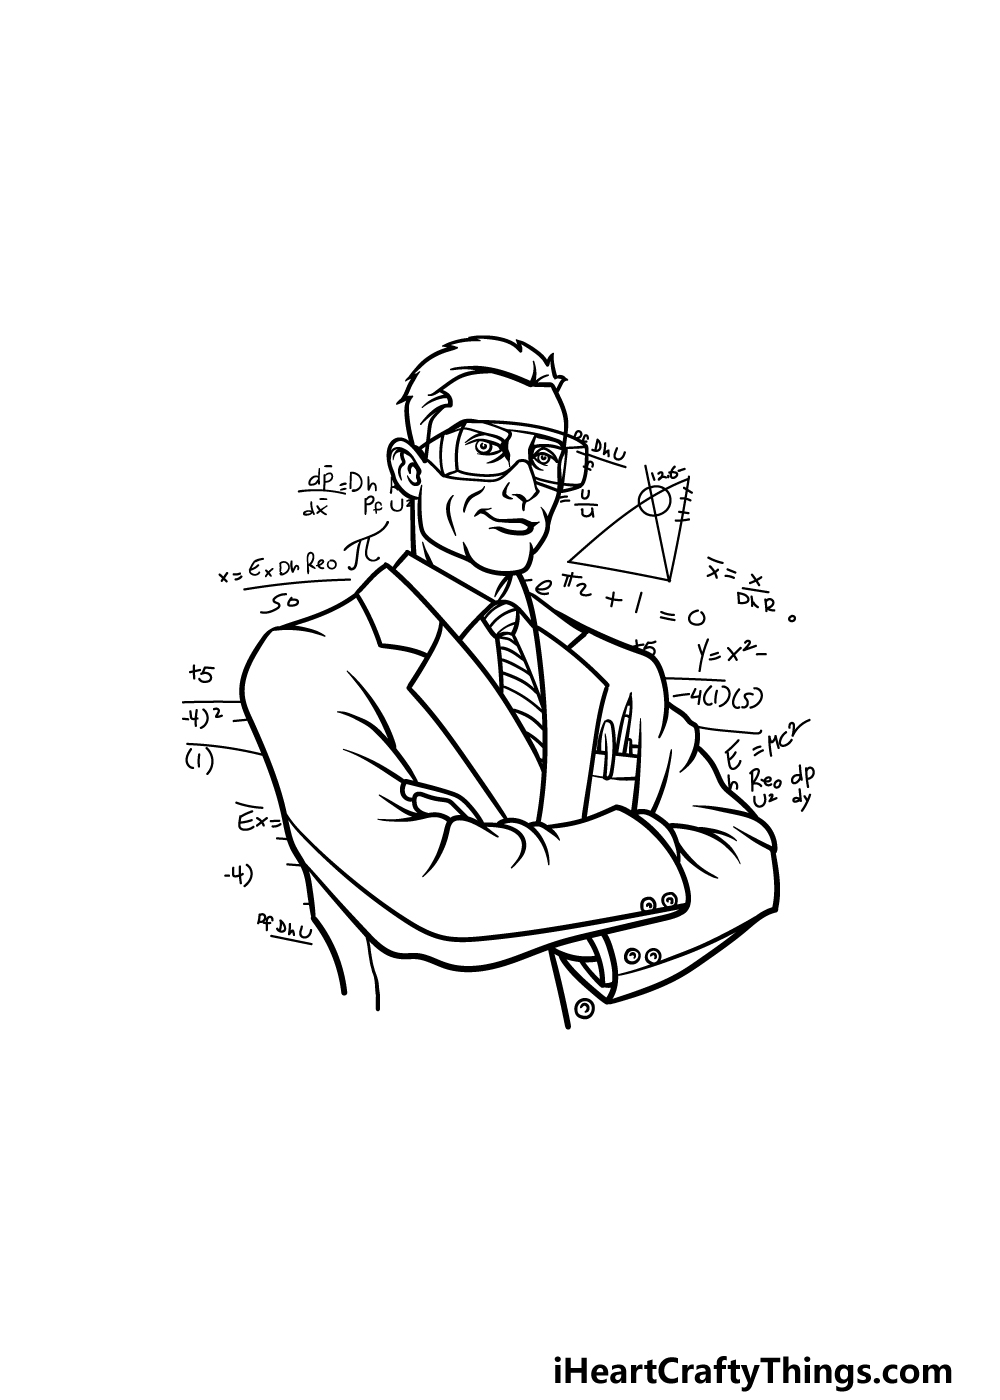
You have finished most of the drawing now, but in this step of our guide on how to draw a scientist we will finish off with some final details.
Scientists in all fields have to deal with lots of mathematical equations and theorems, so we thought that would be a fun theme for th background of the image.
We drew some mathematical symbols and equations to the background, and you can replicate them as they appear there to go with a similar theme.
If you prefer a more tangible background, then you could draw a setting for him instead. Maybe he’s in a lab surrounded by vials and chemicals, or maybe there could be a cool robot that he is building!
These are just a few ideas, so will you go for our background or draw your own unique one?
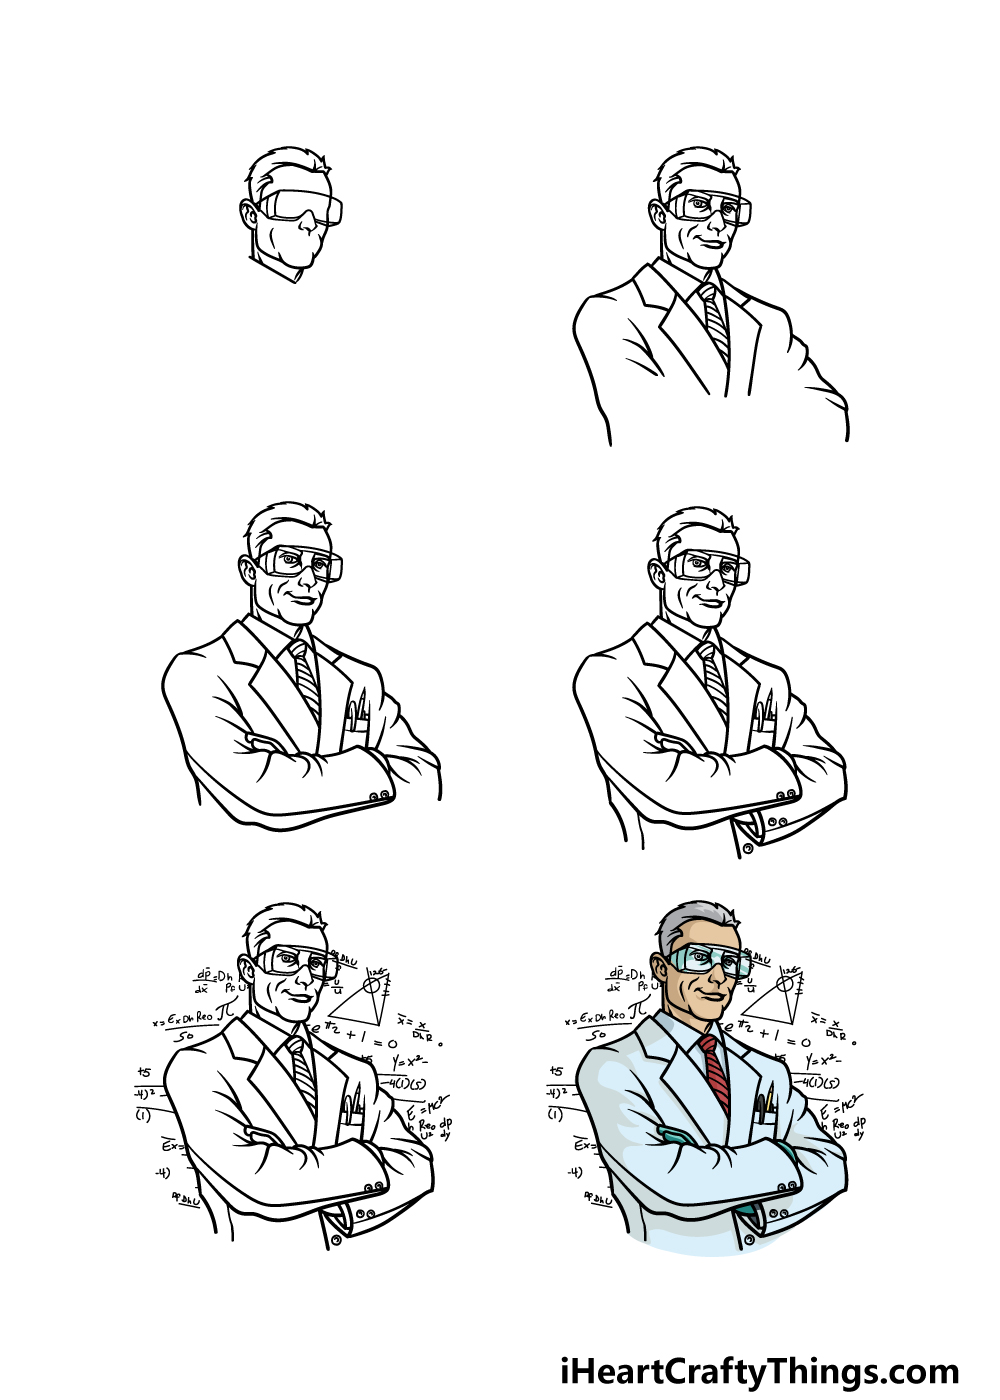
Step 6 – Finish off your scientist drawing with some color
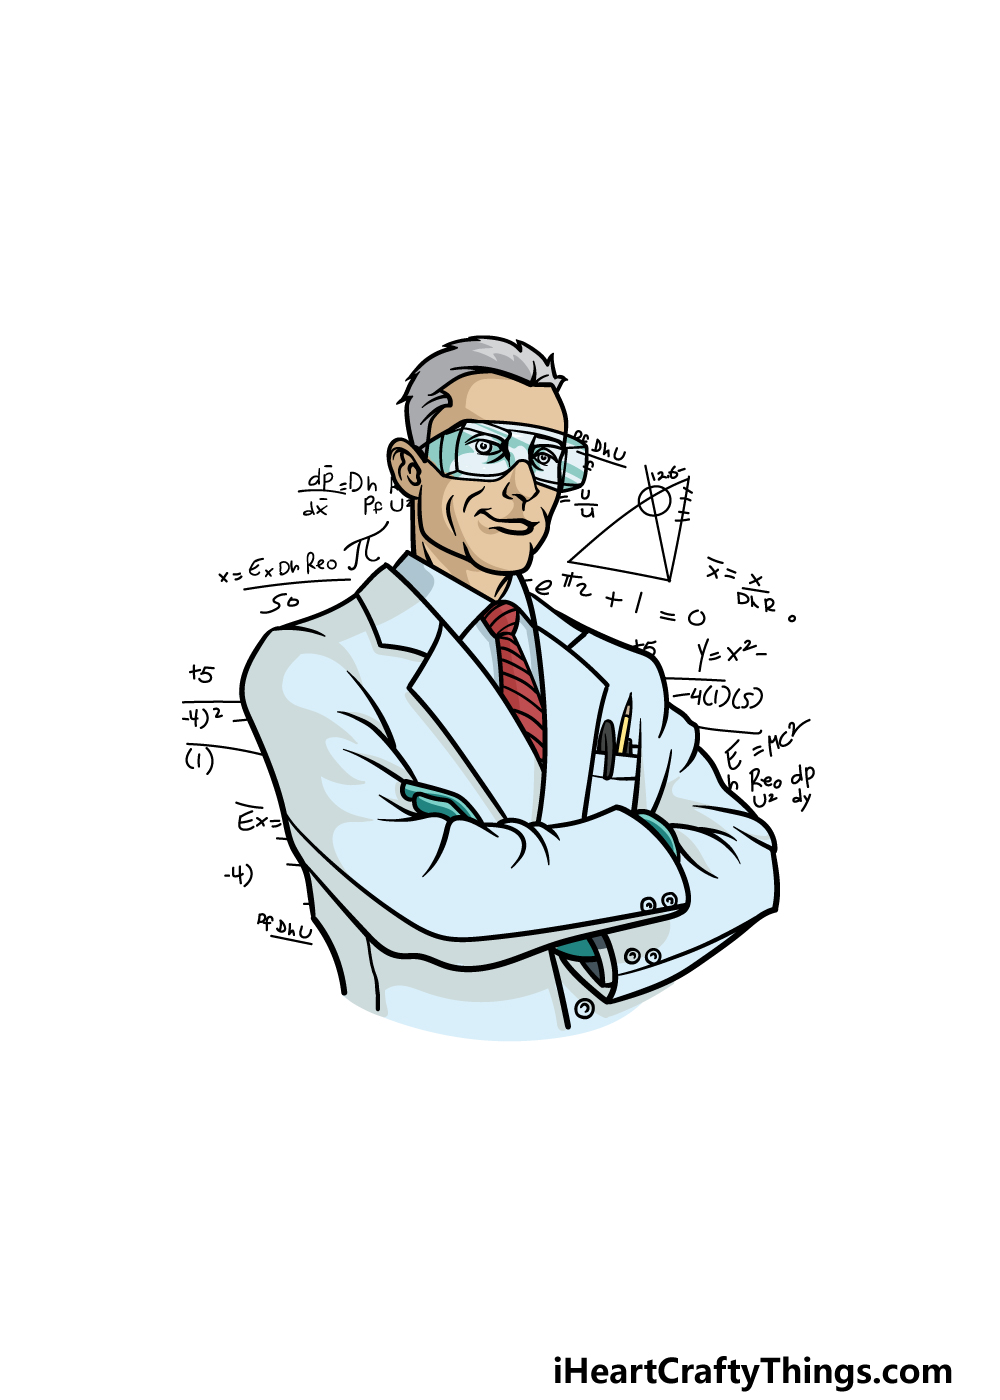
For the final part of your scientist drawing, we will finish off with some cool colors. In our reference image, we went with a primarily blue color scheme for his outfit and goggles.
To add a splash of warmer color, we colored his tie in red. These are the colors that we chose for our image, but they are just a suggestion that you can use!
This is your drawing, so you can also incorporate some colors of your own choosing instead.
Choosing the colors is the first step, then all that remains is picking the art mediums that you will use to achieve them.
You could go for some more intense acrylic paints or colored markers for one look. Watercolors and colored pencils would work better for a more muted look.
These are just a few of the mediums you could use, so will you go for one medium or a mix of a few?
3 More tips to make your scientist drawing easy!
Make some arty chemistry as we make this easy to draw scientist even easier!
Drawing humans can be surprisingly difficult, even for seasoned artists! Luckily, artists have also developed many tricks to make it easier, and you can use these for this scientist drawing.
One thing that artists will do will be to use a pencil to create basic shapes. So, you could draw an oval for the face and then more rectangular shapes for the arms and chest.
These shapes will help you to map out the proportions and positioning. Once you have these shapes ready, you can slowly start adding details until you’re ready to go over the lines with your pen.
When it’s all done, you can then erase your pencil marks to have your finished scientist sketch. Make sure that the ink is dry before you start erasing!
This drawing we worked on is quite detailed, and you can potentially make this scientist drawing easy to do by changing the style.
You may like drawing in a more cartoony style, in which case you could adapt this scientist to that style.
If you like drawing in an anime style, then that would work too! These are just two styles you could use, but any style you are comfortable with would work well.
What are some art styles you could use for this scientist?
You can also use real people to aid you as you work on this scientist drawing. What we mean by this is that people can serve as great models for a drawing!
If you know a real scientist, then you’re all set with the perfect model for this picture! You don’t have to make use of a real scientist to use this tip though.
If you get a friend or a family member to pose for you, you can work out the posing, small details other elements. Use the person along with our guide and then add clothing specific to a scientist.
Before you know it, you will have your finished scientist sketch ready to go!
Your Scientist Drawing is Complete!
With that, you have completed all six steps of our guide on how to draw a scientist!
We mentioned before how a more detailed drawing can be quite tricky to draw, so this guide was created to make sure that there would be as little difficulty as possible.
Whenever you take on a new drawing, always remember to take it slowly and step by step and you’ll definitely be able to do it!
Now that you can draw this scientist, it’s up to you in how you take it even further.
Whether you draw a background, show what incredible science he is working on or use some creative colors and mediums, just be sure to have fun expressing yourself!
Once you have completed this drawing, you can come on over to our website where we have tons of amazing drawing guides for you to enjoy. Be sure to keep visiting, as we upload new ones frequently.
We would also love to see your scientist drawing when it’s done, so please remember to share it on our Facebook and Pinterest pages!