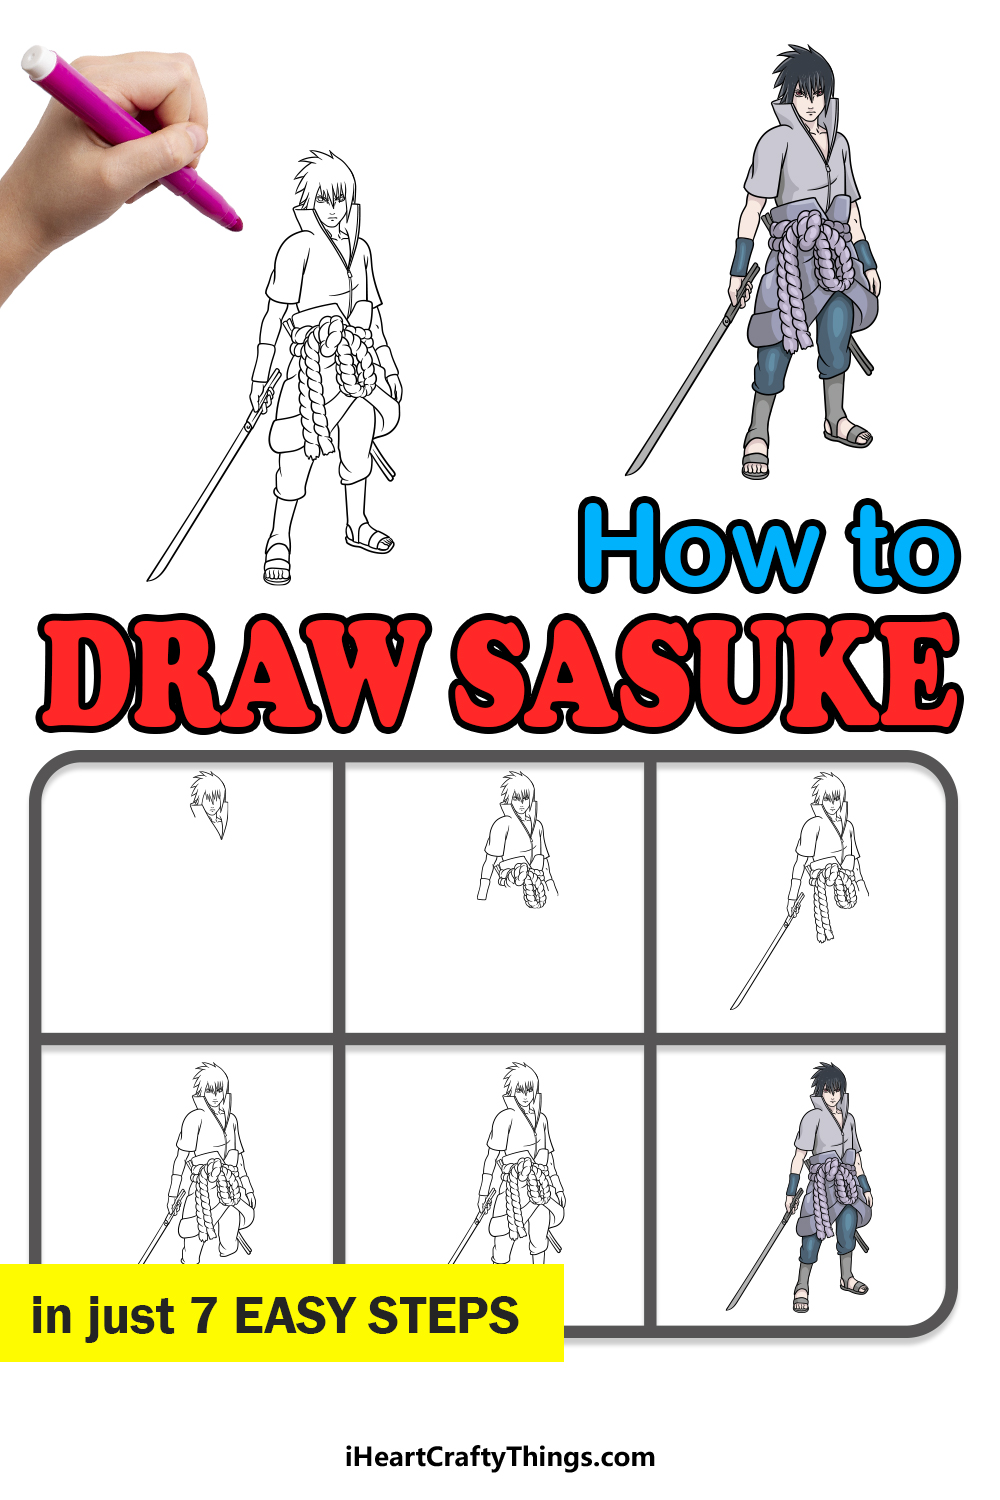
Anime and manga fans will love this guide on how to draw Sasuke! Discover the best way to recreate this fan favorite in just a few steps.
Sasuke comes from the Naruto series, and he is a character that many people love. Not only has he got a complex personality but he also has a cool character design.
When fans try to draw him, they often find that it’s difficult due to the detailed design that characters from the series are known for.
The fairly realistic proportions are also a roadblock for many of them. Luckily, this guide will walk you through everything you need to know to overcome these obstacles.
Even if it takes a few attempts, you will see that it’s easier than you think when you know what to do. You could even design a background or add other characters from the series to finish it off nicely!
See How To Make Your Sasuke Drawing
How to Draw Sasuke – Let’s get Started!
Step 1
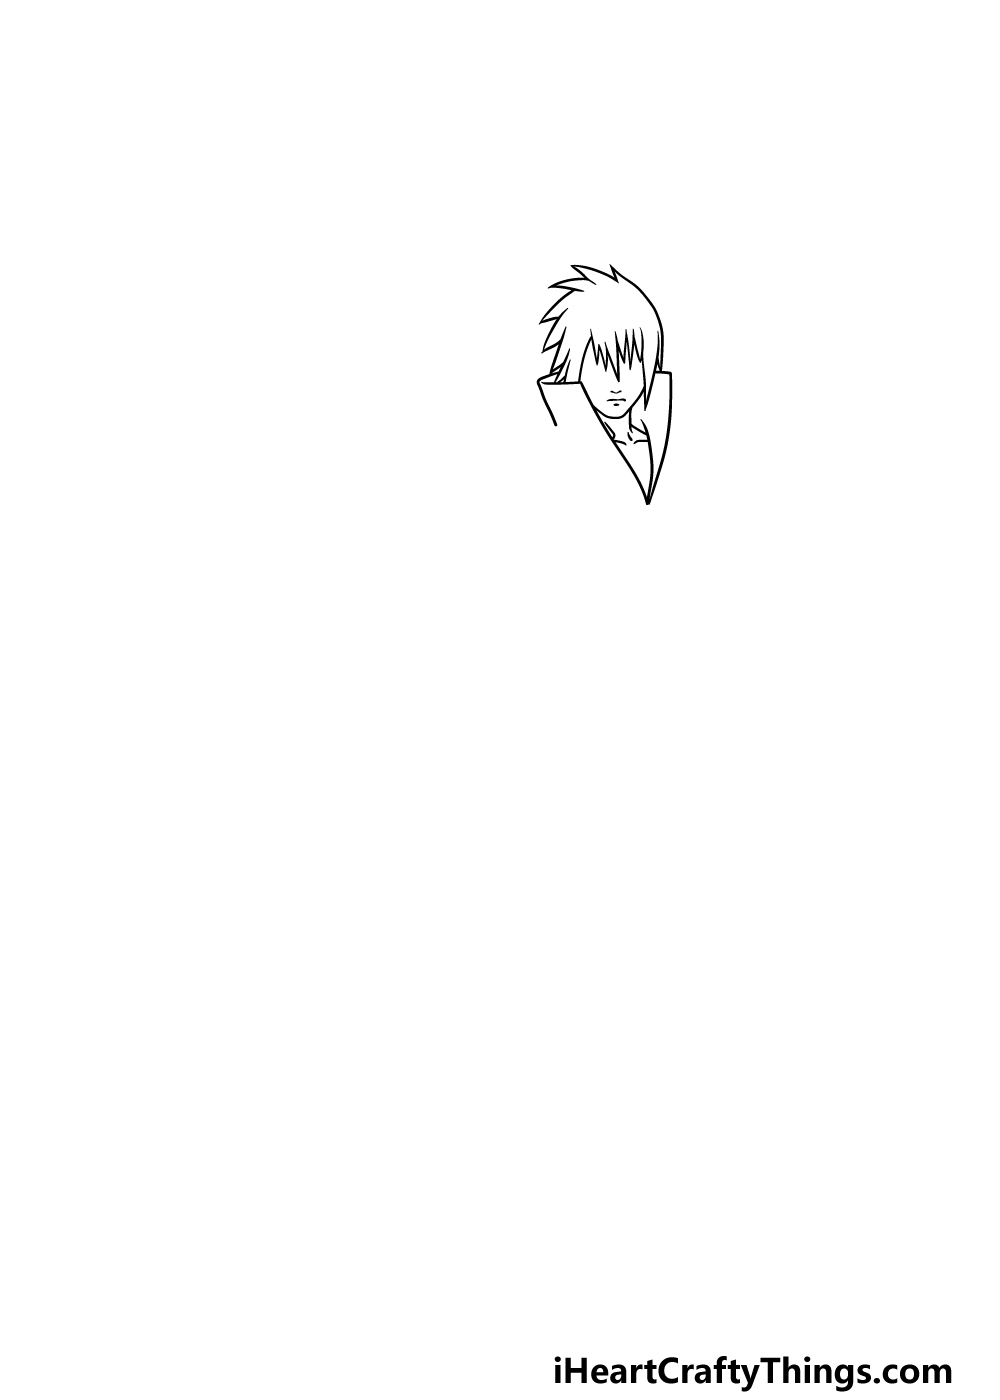
Let’s take this guide on how to draw Sasuke from the top as we start with his head in this first part!
Sasuke’s eyes are almost covered by his spiky hair that hangs low on his face, and we shall start with that aspect.
His hair will have some larger spikes on top along with some smaller ones on the bottom of it. Then, we shall draw the bottom of his face underneath his hair, and then you can use a simple line for his mouth.
Finally, use some more curved and pointy lines for the large collar he is wearing.
Step 2 – Now, draw his shoulders and sleeves
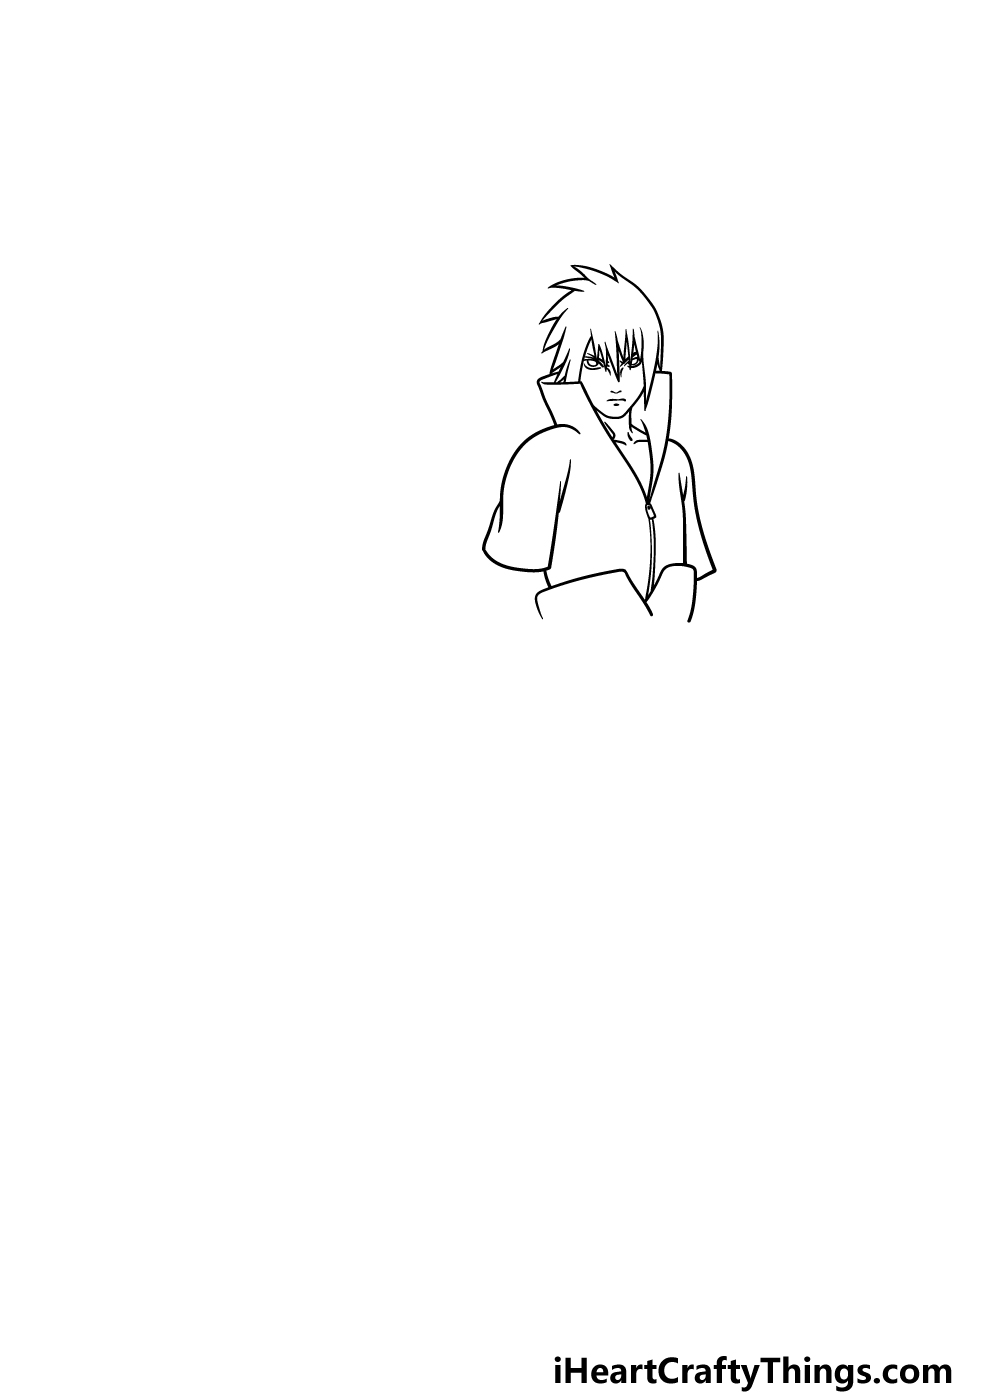
Continuing on with your Sasuke drawing, we will now add some aspects like facial details and some more of his top. First, use some small circles along with some curved lines for his eyes.
Then, his nose and mouth will be drawn with some small, simple lines. Then, finish off this step by using some curved lines for the top of his sleeves and then draw the zipped up front of his outfit.
Step 3 – Next draw some of his arms and his rope belt
There are quite a few details we will be adding in this step of our guide on how to draw Sasuke, but as long as you take it slowly and follow the reference image you’ll be able to do it!
First, use some slightly curved lines for his arms coming down from the sleeves. Then we will be drawing the rope used as a belt for him, and this can be a bit tricky!
It’s drawn with lots of curved lines connecting to one another to create the rope effect, and it’s a portion that may need a bit of patience. It will be worth it though!
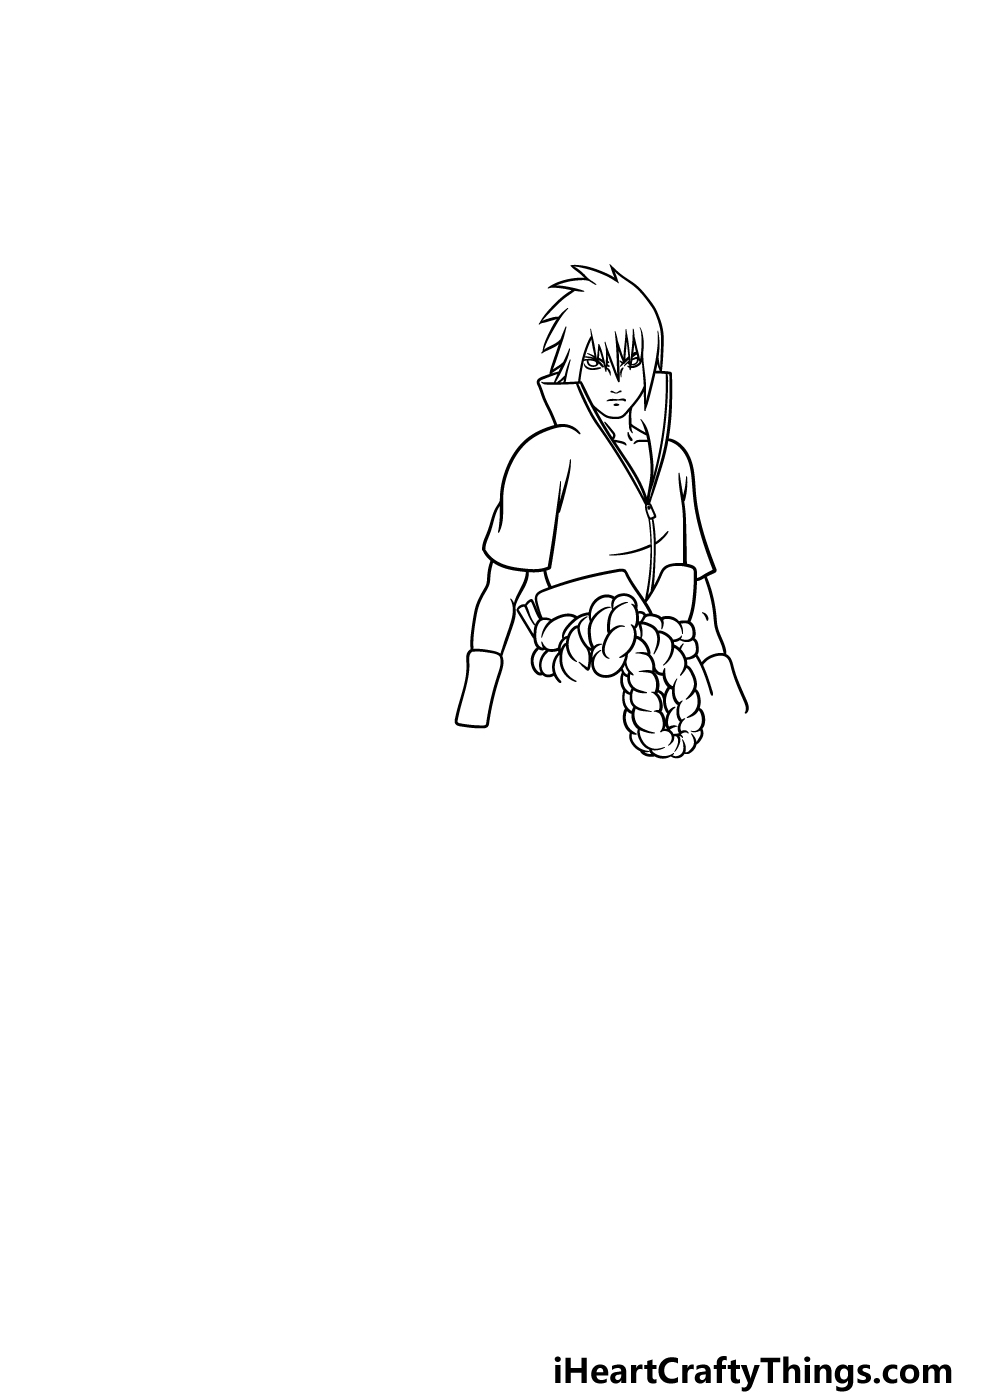
Step 4 – Draw his sword and some more of his rope belt
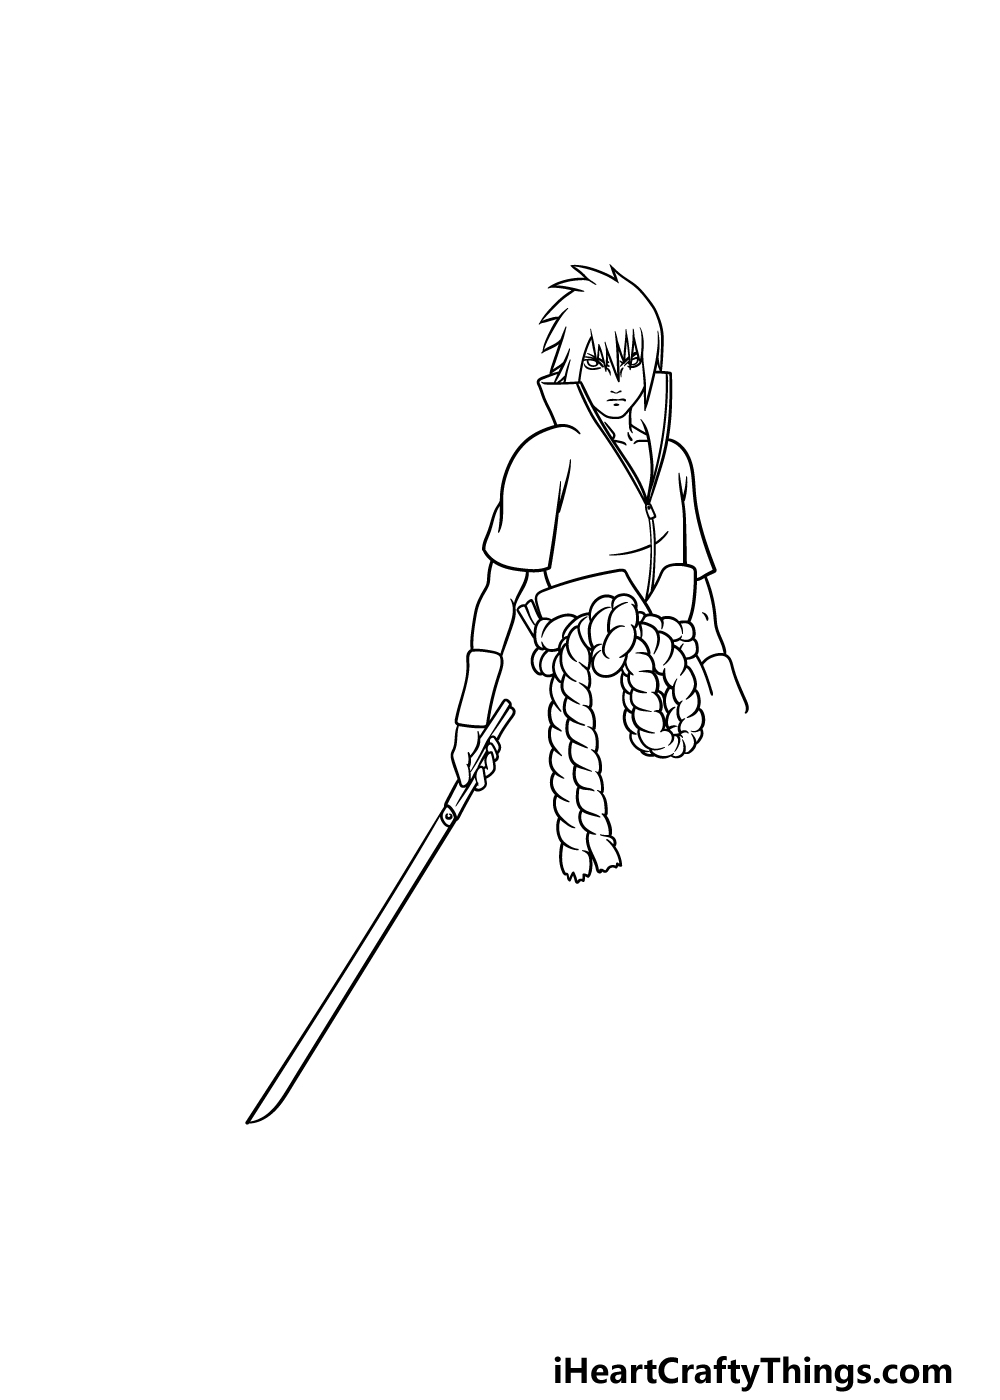
You’re doing a great job on this Sasuke drawing so far! Now we will draw him holding his sword. First, draw his hand and then use some straight lines for the sword that he’s holding.
Then draw some more of those small curved lines to continue drawing some more rope hanging down from his belt.
Step 5 – Now, draw some more of his outfit
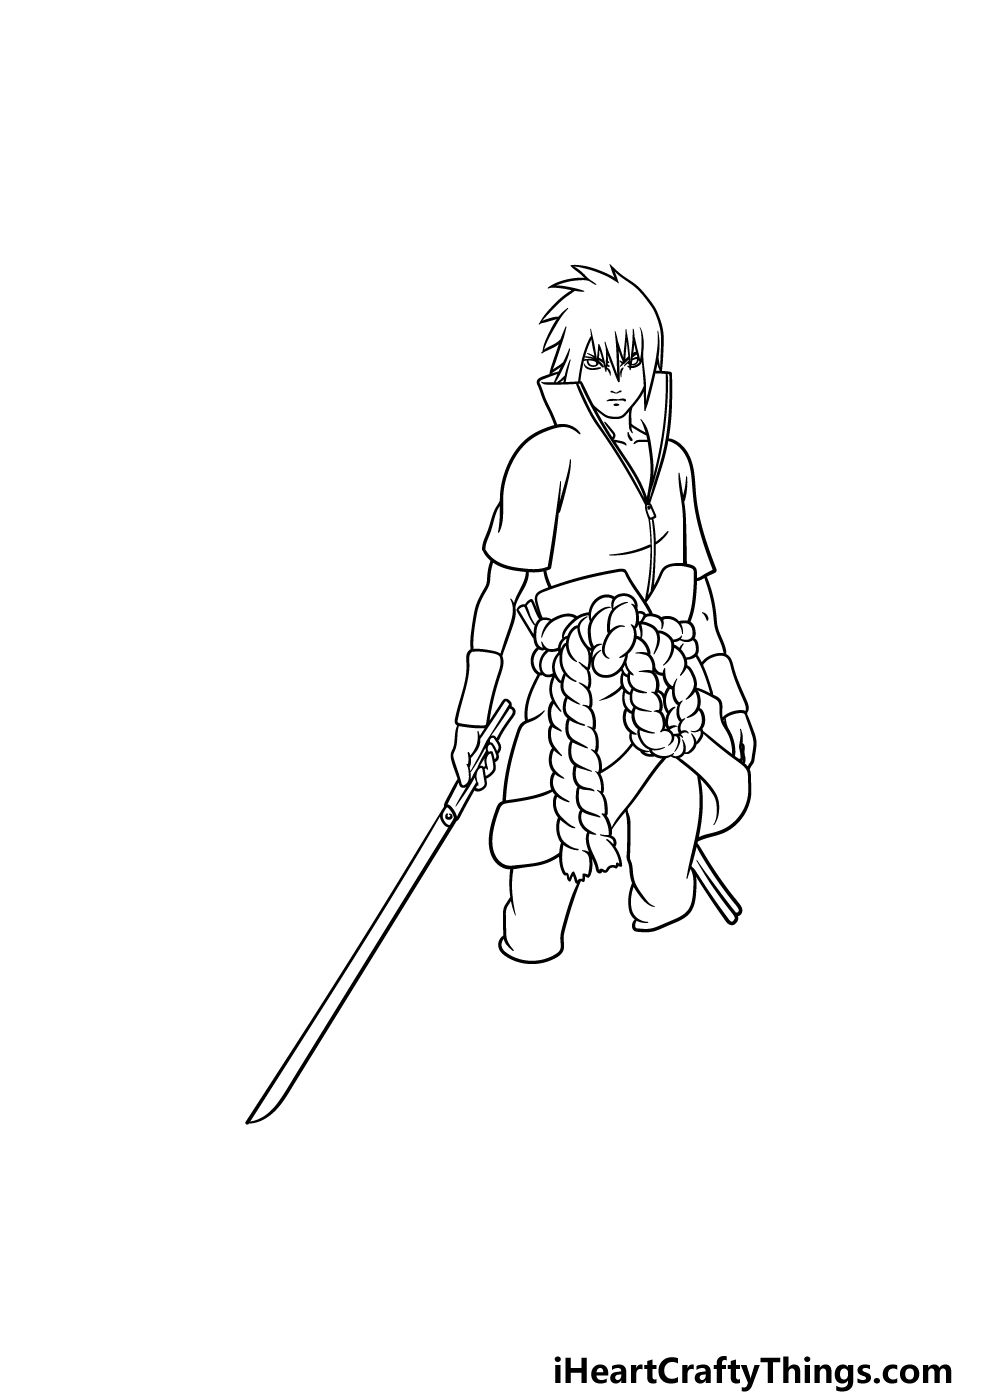
This step of our guide on how to draw Sasuke will see you adding the top of his legs. First, use some curved lines for the garment he’s wearing beneath his belt and drooping over his legs.
Then, add some straighter curved lines for the top halves of his legs. Once you have added the top of his legs there will only be a few final details to add in the next step before you color it in, so let’s move to step 6!
Step 6 – Add the rest of his legs
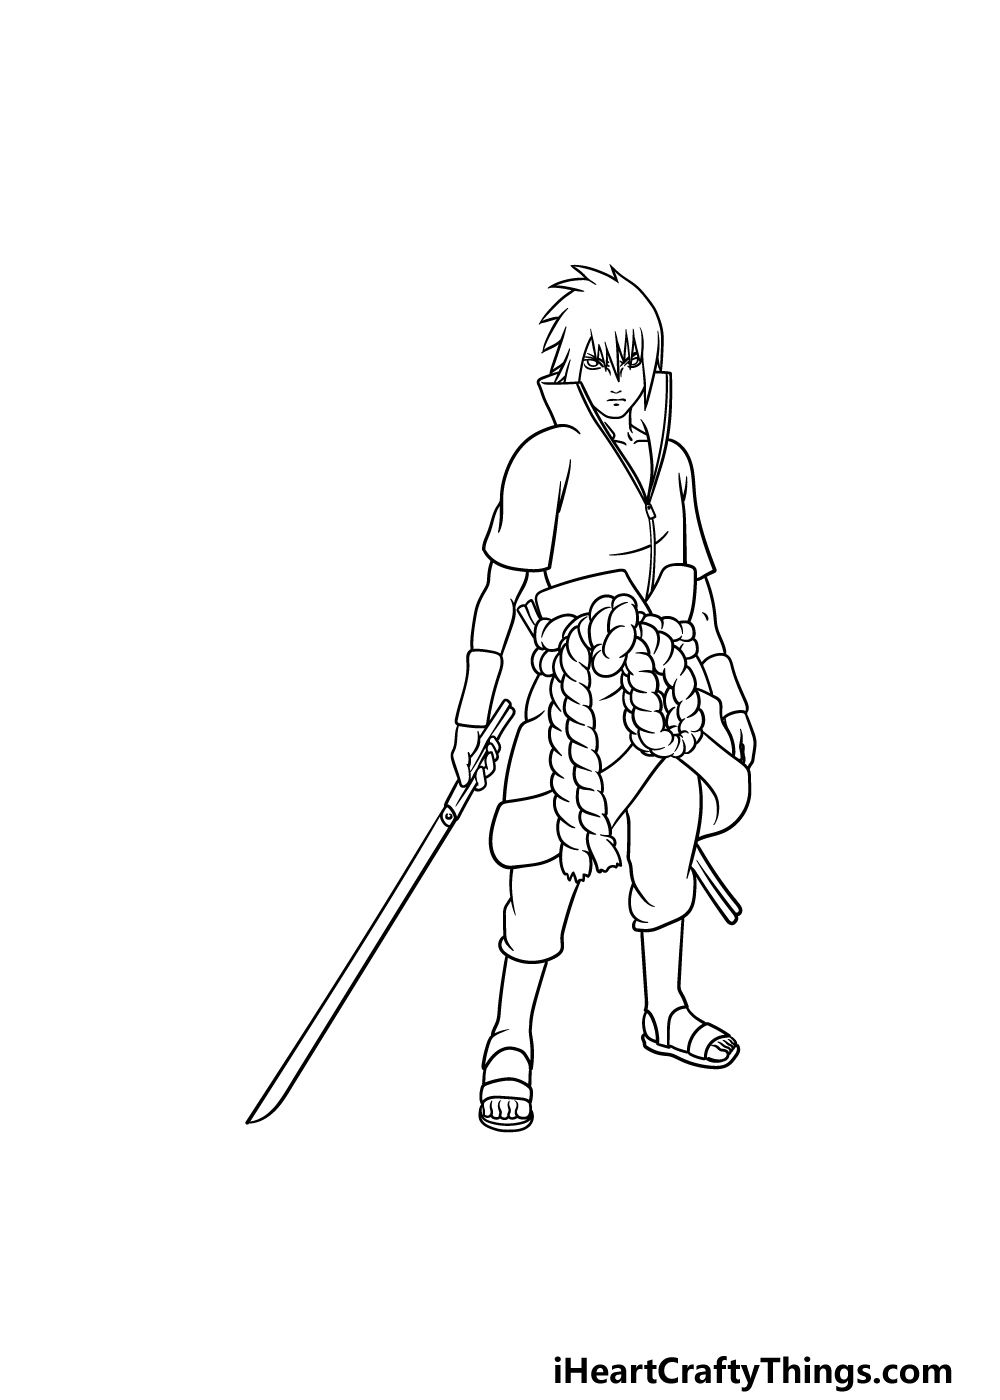
Let’s finish off the final aspect of this Sasuke drawing by drawing the rest of his legs. Use some straight lines for his shins, and then you can finish off by drawing his feet in his shoes.
That will finish off all of the steps of this guide, but you don’t have to move on just yet! You could also add some extra details of your own to really finish off this drawing.
Some ideas you could go for could be to draw a cool background to give this drawing some more personality.
By adding a background, you could replicate your favorite scene from the Naruto manga or anime series.
You could also draw some more characters to go with him as well, and these are just a few of the many ideas you could go for. How will you finish off this drawing before the final step?
Bonus: Change Or Add Some Elements Of This Sasuke Drawing
This Sasuke drawing that we created in this guide certainly was a challenge, but hopefully it was a fun one! If the challenge became more frustrating than fun, we have a few tips on making it easier near the end of the guide.
For now, we wanted to go over a few extra ideas you can try to make this artwork even more incredible. For starters, we showed Sasuke in one of the outfits he wears in the anime and manga.
However, he has worn different clothing and outfits in his many appearances, so you have a few different options if you would like to make some variations.
If you have a favorite look for Sasuke, then it could be fun to make some variations for your drawings. If there are any special weapons he has used that you liked, then you can also change the one he has.
Speaking of favorite appearances, you could also use your favorite Sasuke moments as inspiration for the background of your image.
If you have a scene you love, you can pause the scene or look at the page if it’s in the manga. Then, you can use that background for the image here.
Another fun way to show off your favorite moments would be to add your favorite Naruto characters. These could be famous villains or heroes that Sasuke has interacted with.
Changing his pose or facial expression would be a good way to make the drawing more unique without changing the design too much. Now that you have a few ideas to work with, you can show off your favorite elements of Naruto!
What are some changes you would like to add to this picture?
Step 7 – Finish off your Sasuke drawing with some color
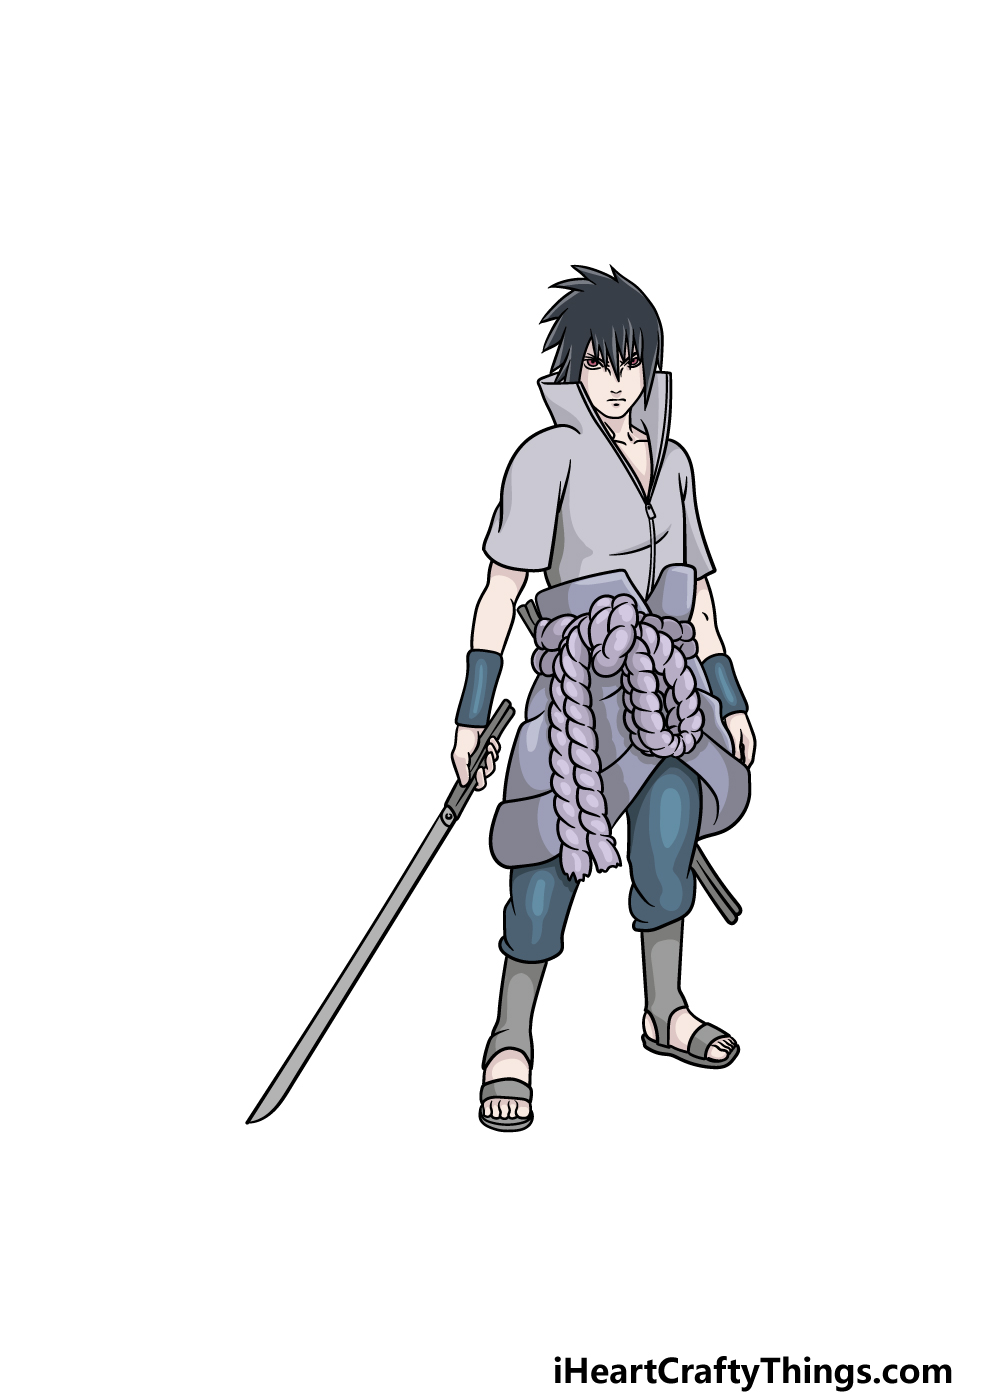
This is the final step of this guide on how to draw Sasuke, and in this one we will be finishing it off by adding some colors.
In our reference image, we went with Sasuke’s typical color scheme from the anime. That means that we will be using some light greys and blues for his outfit and some black for his hair.
You can use our reference image as a guide if you want to keep the colors accurate to his usual appearance, but you could also use some colors of your own.
Once you know what colors you would like then you can have fun choosing which art mediums and tools you will choose to bring them to life. We can’t wait to see what you choose!
3 More tips to make your Sasuke drawing easy!
Make this easy to draw Sasuke even easier with these 3 handy tips!
We made our example of this Sasuke drawing quite detailed in order to replicate the style of the anime. You could change the style a bit if you want to make it a bit easier!
Often, these kinds of characters will be reinterpreted for various appearances or merchandise. You might see them drawn as simple cartoon characters or done in a more life-like way.
Simply pick whatever style you feel most comfortable with and use that to adapt Sasuke. Doing this will make it easier, and you may even end up with a design you like even more!
Drawing humans with realistic proportions is always a challenge. Artists have worked out ways to make it easier, and you could use them for your Sasuke sketch!
First, you can make use of a wooden drawing model. These can be bought at most art stores, and they can help a lot with posing and proportion.
If you don’t have access to one of these tools, there are more things you can try to make it easier. Another trick that many artists use is taking a pencil to make basic shapes.
Use basic shapes for the shapes of the head, body and limbs in order to get the basic proportions. Then you can start adding more and more details until you finish with your Sasuke drawing!
One of the best ways you can complete this drawing of Sasuke is by using the anime and manga to help you. Simply pick your favorite episode or issue that features this character and freeze it.
Then, you can use this source to get all of the smaller details looking right. This would also help if you want to try and make a different pose or outfit for Sasuke.
Using this in conjunction with all of the tips from this guide will make it so much easier to get Sasuke looking great! What favorite Sasuke appearances could you use to help you?
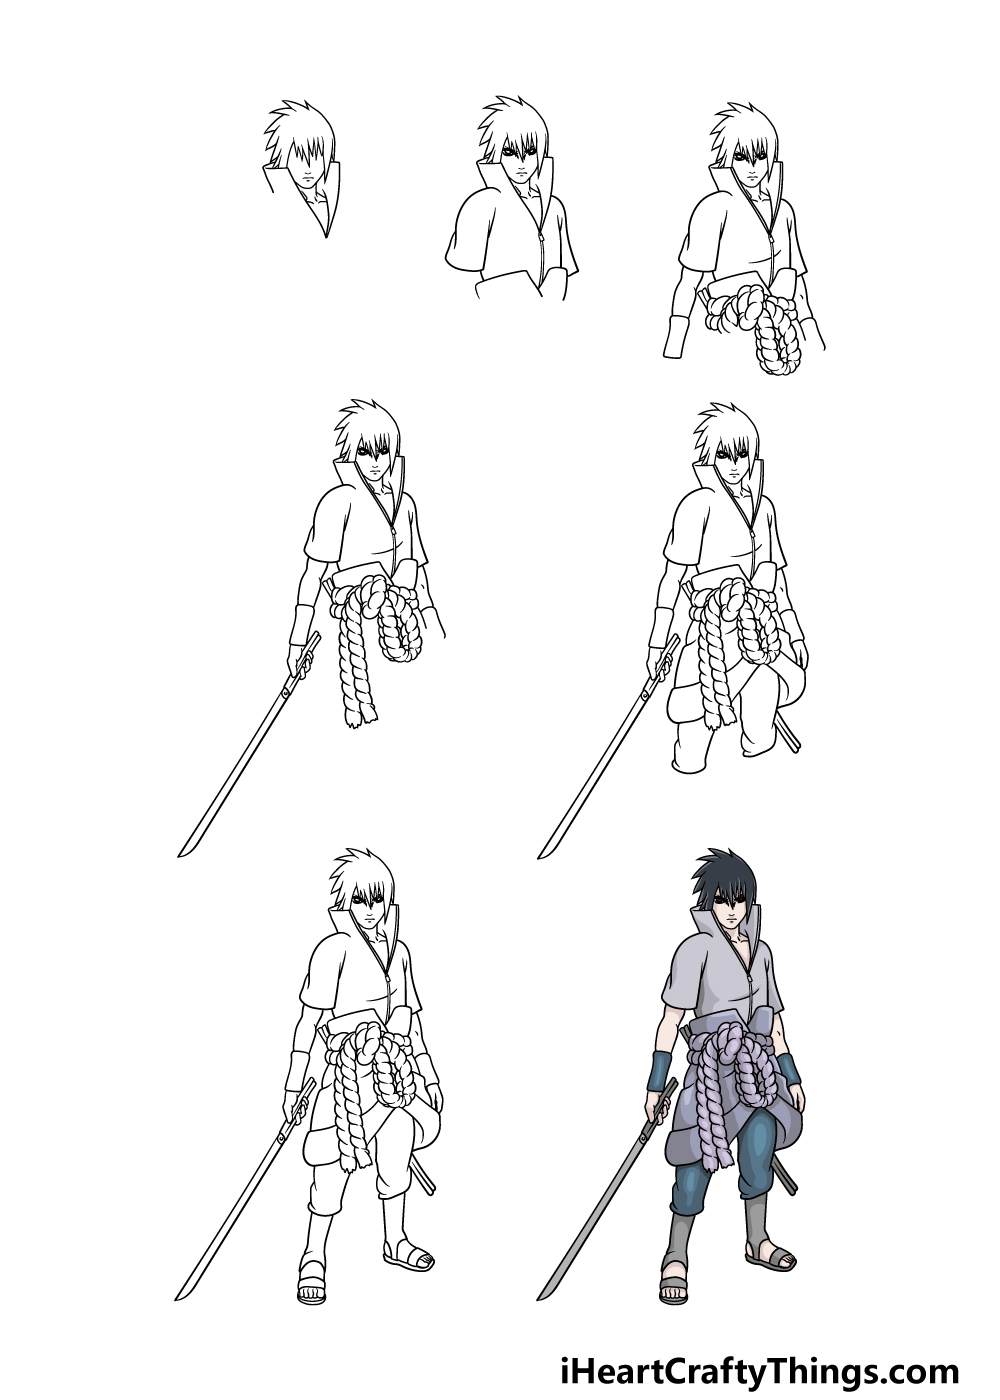
Your Sasuke Drawing is Complete!
You have completed all 7 steps of this guide on how to draw Sasuke, and you have ended up with an awesome portrayal of this popular character!
This was a tricky drawing to complete as there were loads of details to draw. That’s why we tried to break it down into smaller, more manageable steps to make it easy and fun for you to take on.
Now you can take this drawing even further with your own details and elements!
There are some fun ideas you could go for such as drawing the background and adding some more Naruto characters, but there are so many ideas you could go for. We look forward to seeing what you come up with!
When you’re ready for more drawing fun, be sure to check out our website. We have tons of amazing guides for you there, and we upload new ones all the time for you.
We would love to see your Sasuke drawing when it’s ready, so please be sure to share it on our Facebook and Pinterest pages for us to enjoy.