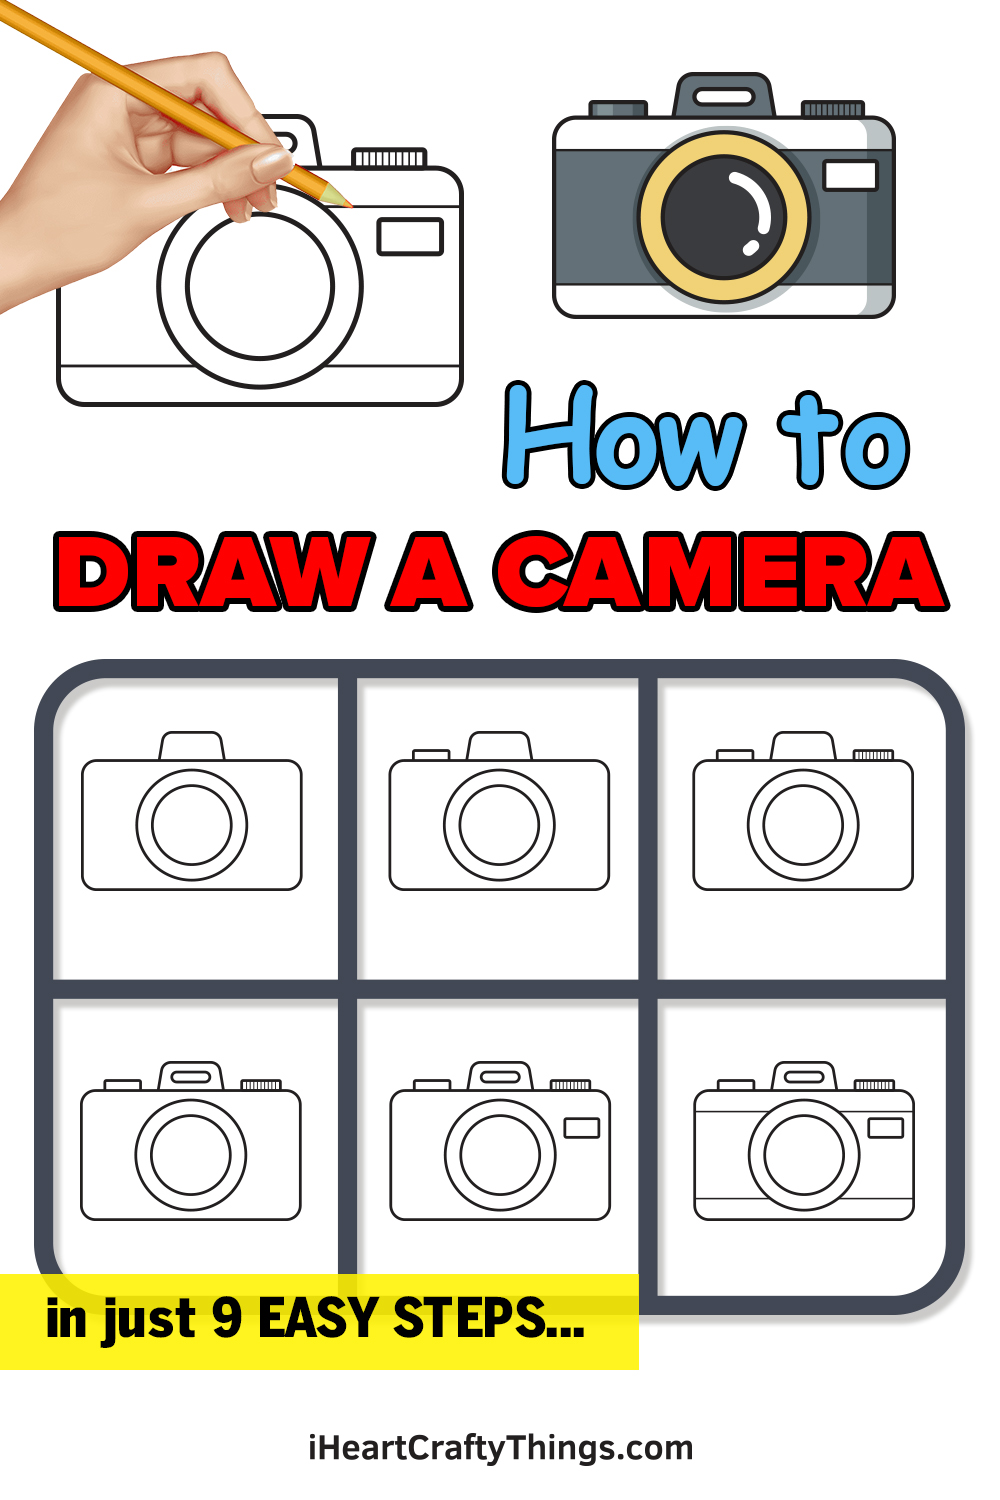
You won’t believe how easy it is to learn how to draw a camera until you have tried this guide for kids! These steps will make it simple and fun to create your own camera design.
Cameras have become a bit rarer in this day and age thanks to the cameras we have in our smartphones. However, there is still something special about setting up a proper camera to capture a precious moment.
The image of a camera also has symbolic significance and will still be used as icons for the very camera apps that seek to replace them! It’s pretty fun to draw an old camera, but it’s not always easy.
It’s especially true as not everyone has a camera in their home to use as a reference. This guide will fix that, as I will show you how you can make your very own camera design which you can then change and customize!
Find Out How To Make Your Camera Drawing
How to Draw a Camera — Let’s get started!
Step 1
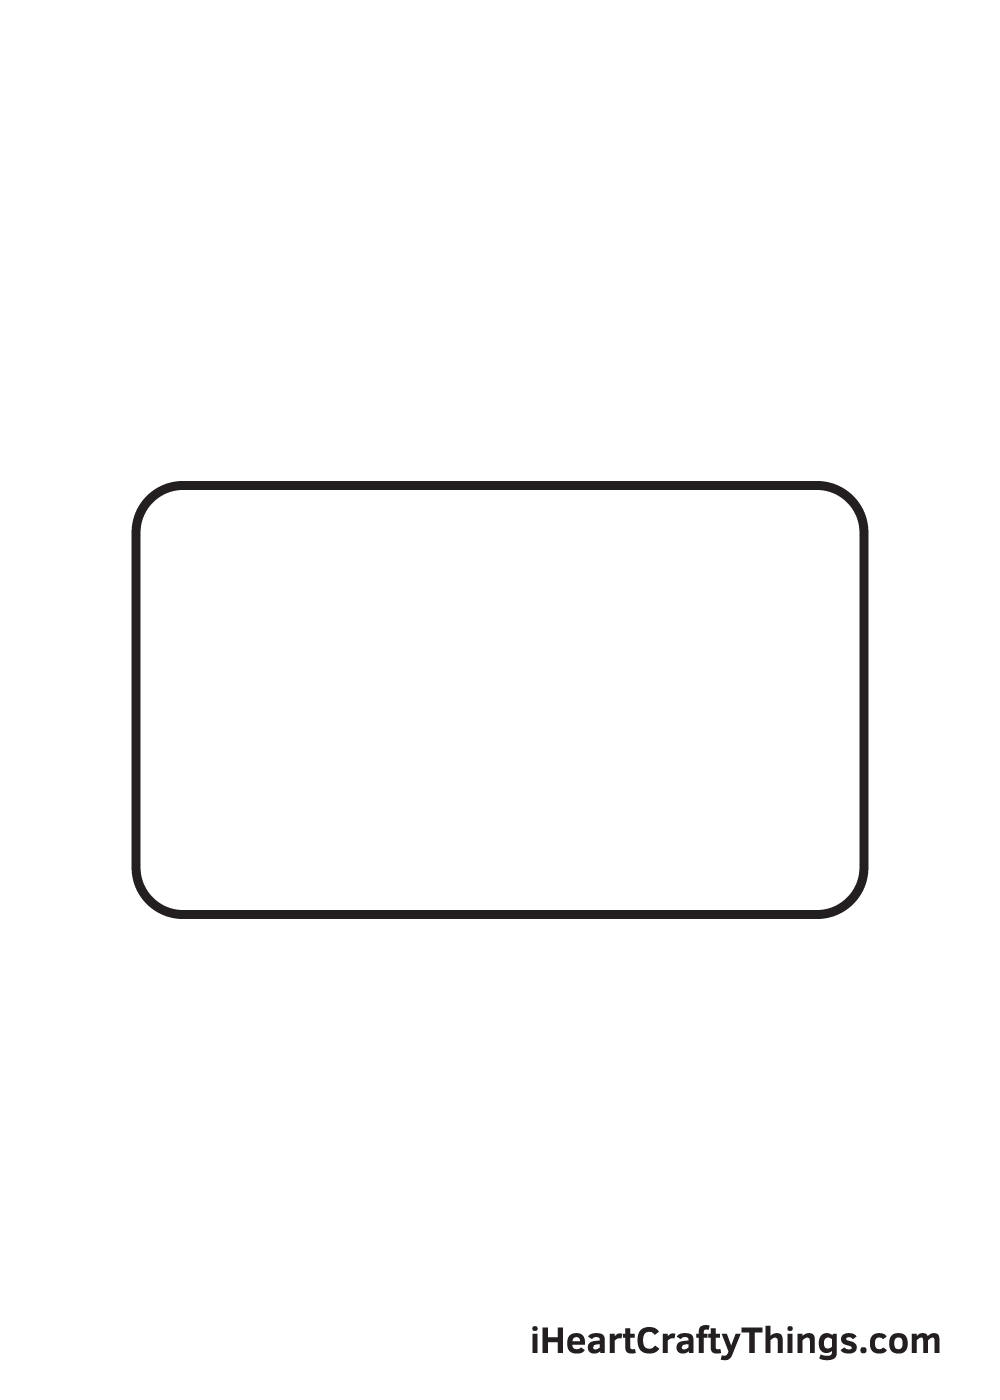
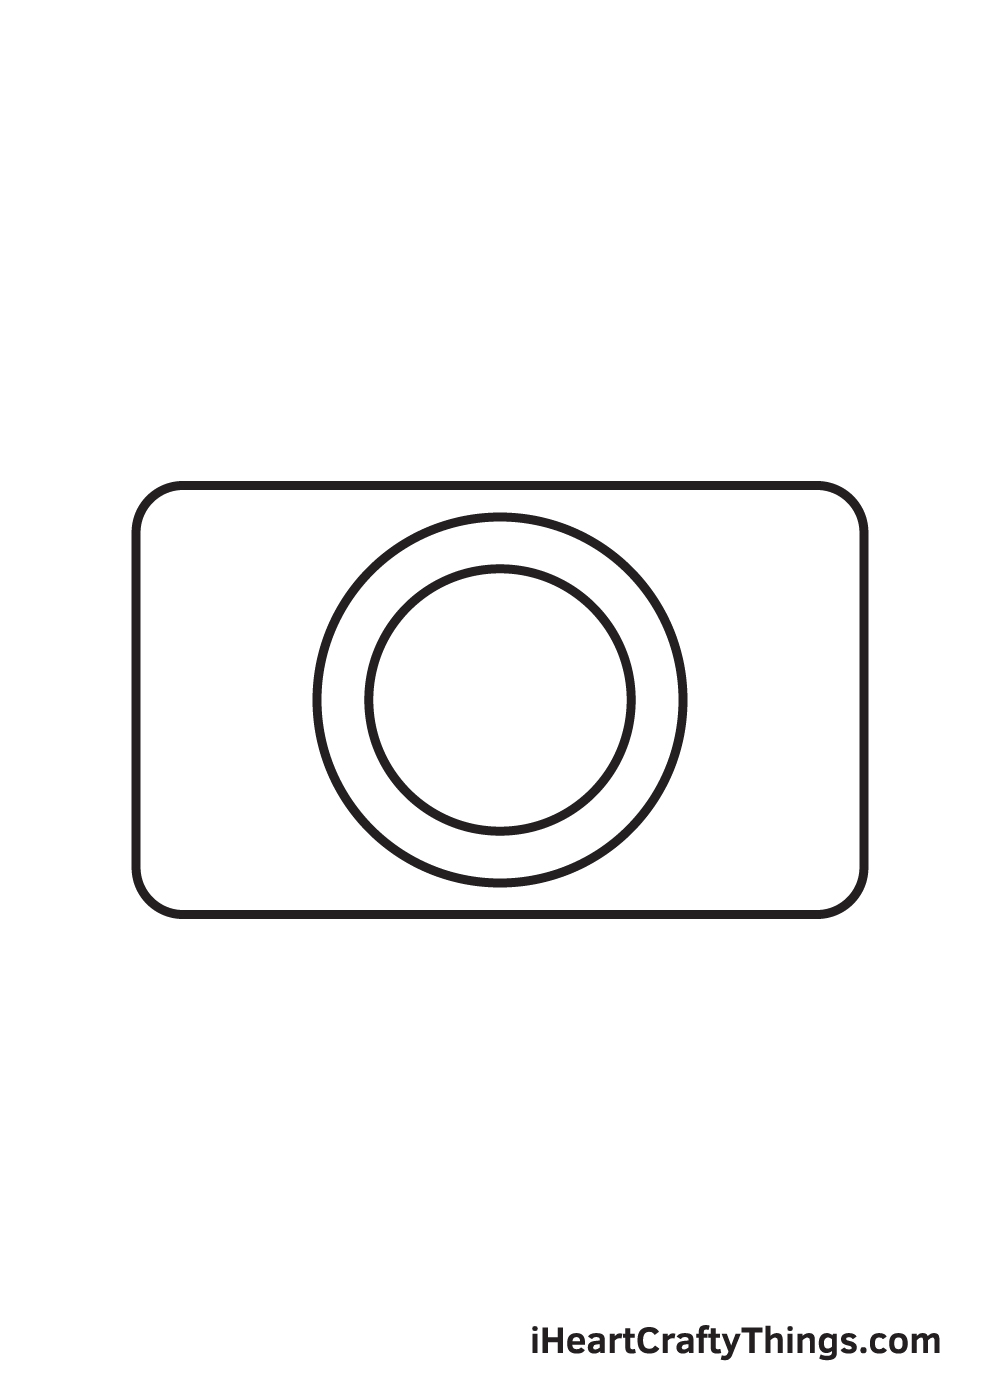
Start by drawing a rectangle with curved edges in the middle of your paper. This forms the outline of the body of the camera.
The shape of a camera primarily consists of straight lines, thus you may need to use a ruler when drawing a camera.
Make sure that the camera will be drawn in the center by creating reference lines by drawing an intersecting horizontal and vertical line across your paper.
These lines serve as a guideline to help you determine where to position your drawing.
Step 2 — Create an Outline of the Camera’s Shape
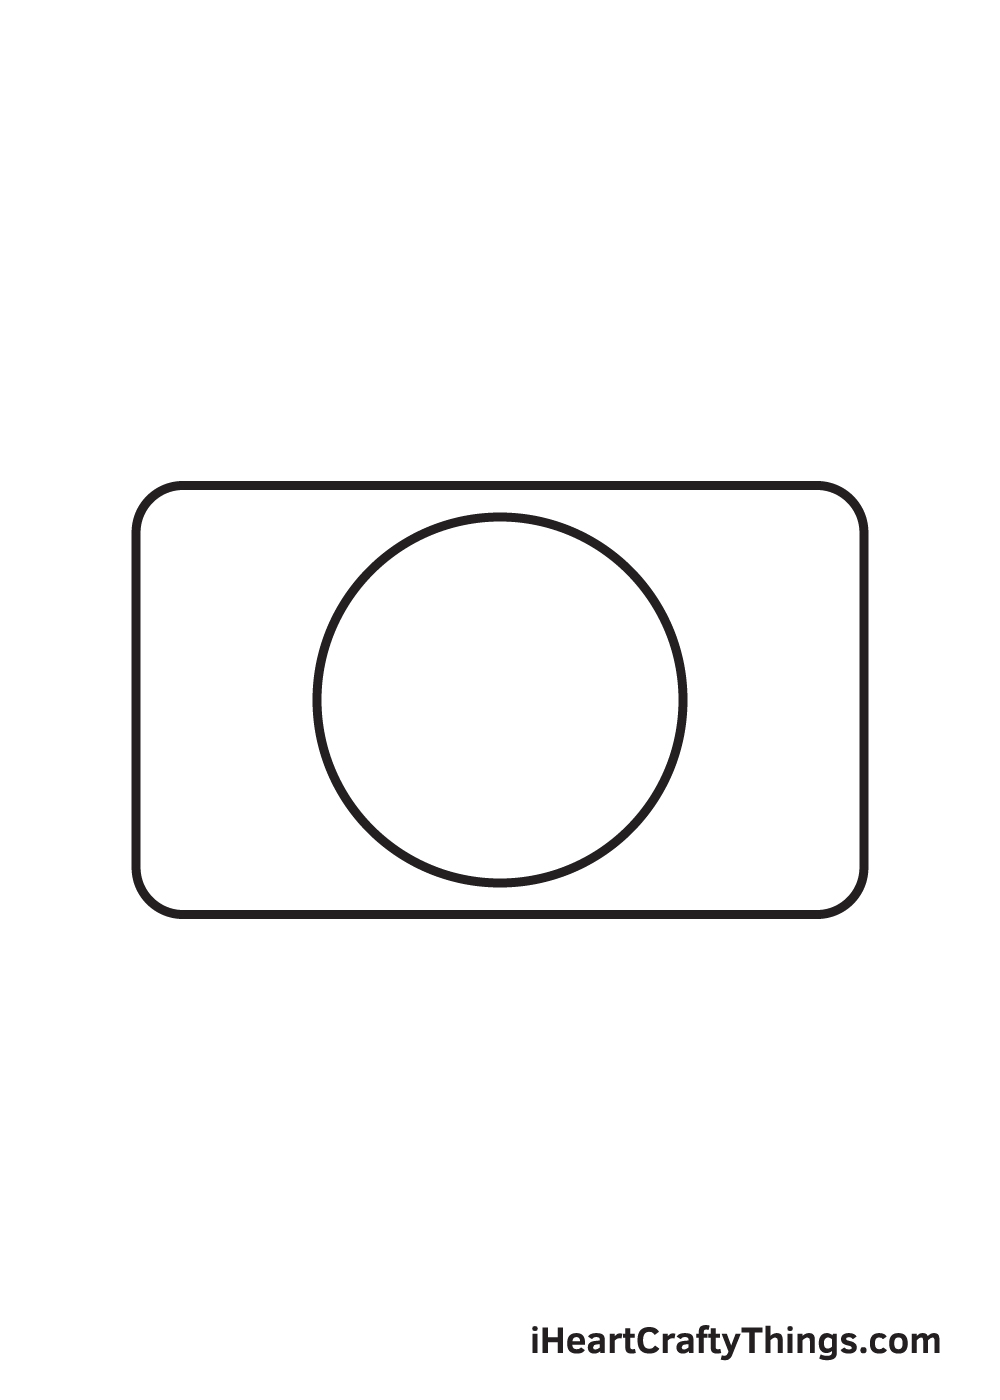
Draw a perfect circle in the middle inside the rectangle that we drew in the previous step. This forms the camera’s lens.
If you can’t freehand a perfect circle, don’t worry! You can always use a compass, which is a drawing tool that assists you in drawing a circle shape flawlessly and easily.
Step 3 — Afterwards, Draw the Lens of the Camera
Within the circle shape that we drew previously, draw a smaller circle. Make sure that there is a slight gap between the two circle shapes, as shown in the illustration.
After finishing this step, the lens of the camera should now be complete.
Step 4 — Next, Draw the Flash of the Camera
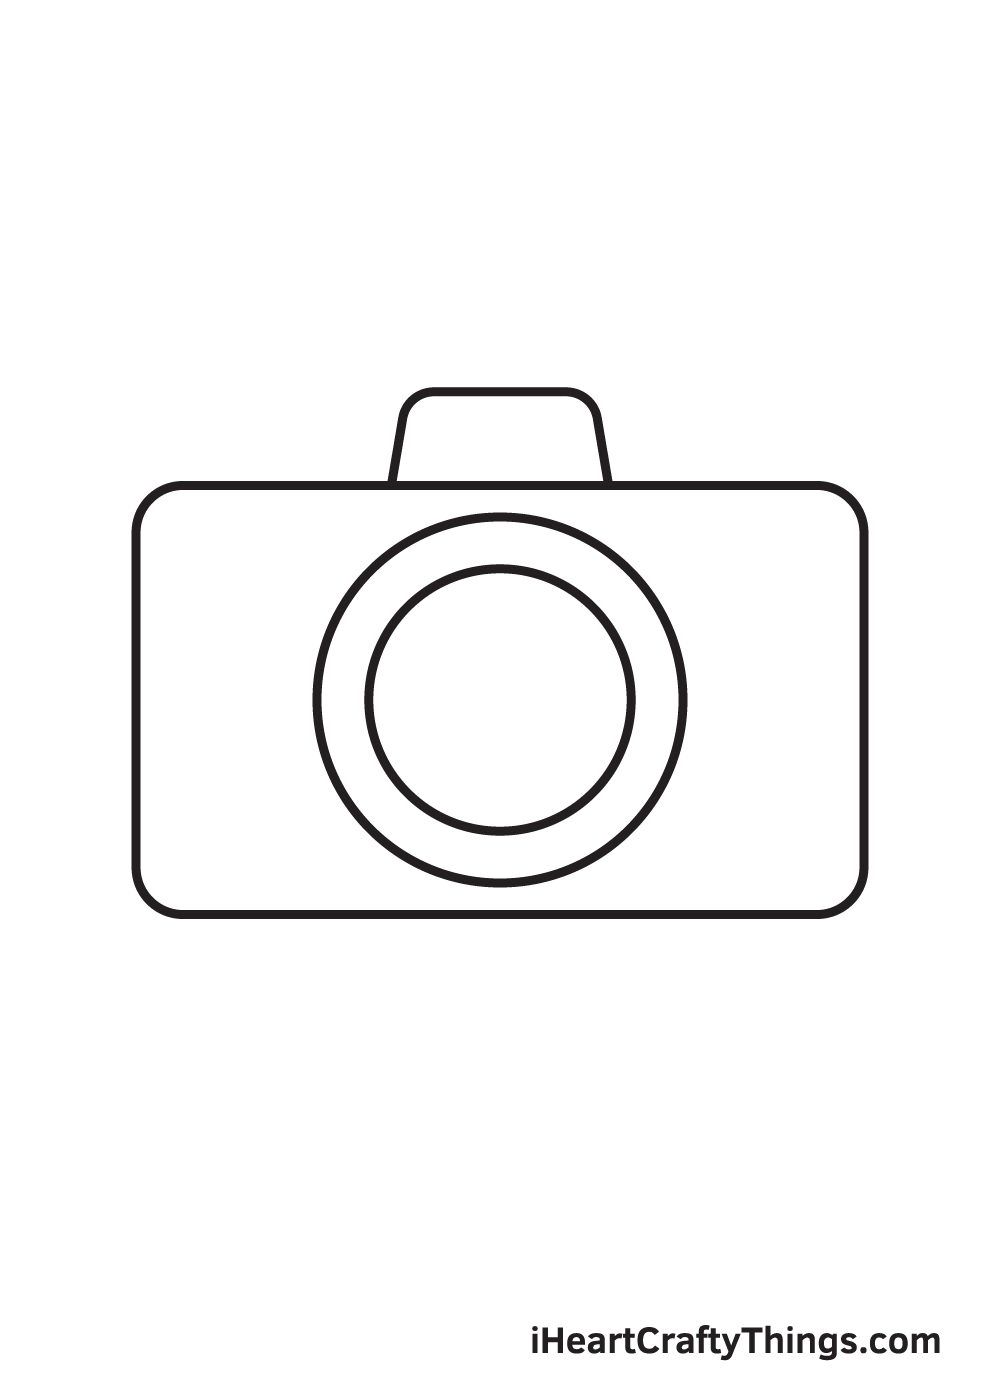
Draw the upper half of a trapezoid shape at the top middle of the camera’s body. This creates the flash of the camera.
The purpose of a camera’s flash is to illuminate a dark scenery, usually at nighttime. However, it can also be used to capture objects moving at high speed or changing the quality of light.
Step 5 — Then, Draw the Shutter of the Camera
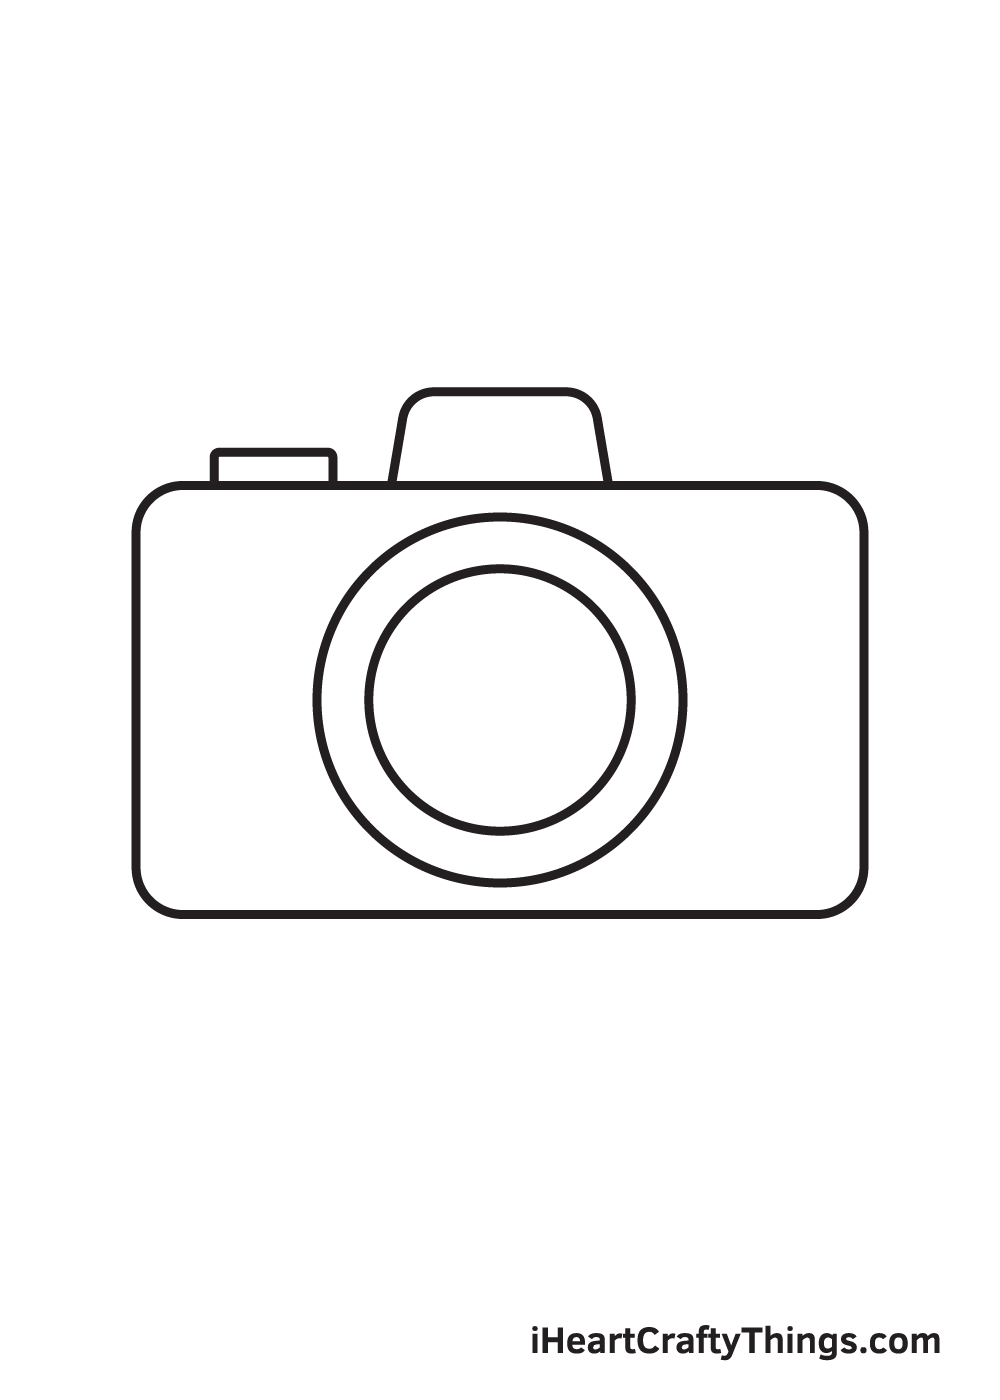
Draw the upper half of a rectangle shape at the top of the camera’s body. Make sure that this shape will be drawn on the left side of the flash that we drew in the previous step.
This creates the camera’s shutter, which is what the user will click to capture an image or shoot a video.
Step 6 — Afterwards, Draw the Camera’s Mode Dial
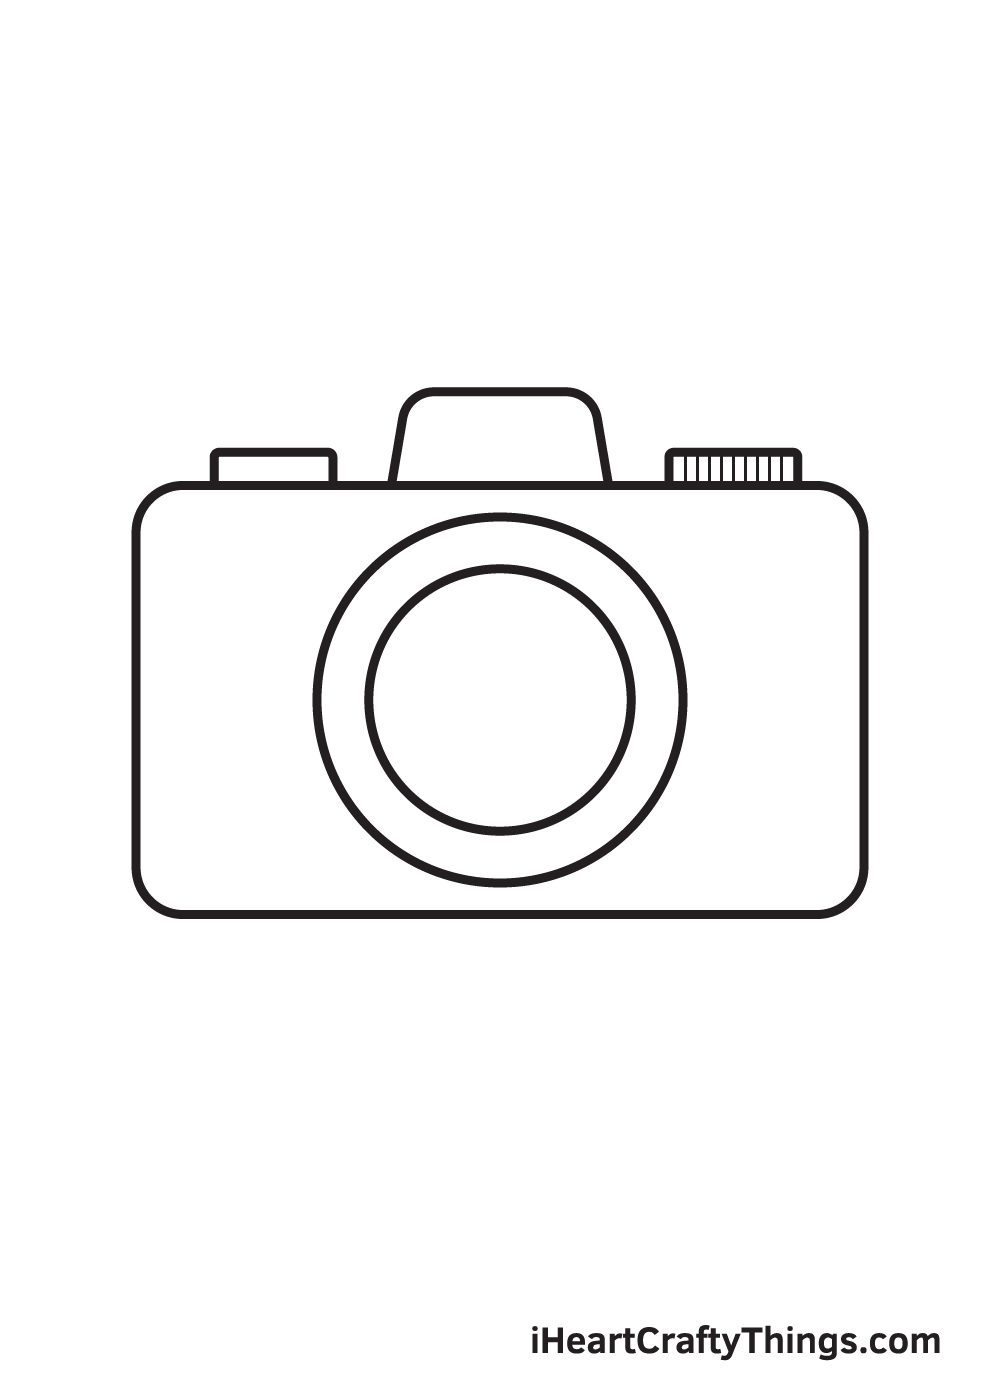
Repeat the previous step on the opposite side of the flash to create the mode dial.
Afterwards, draw multiple short vertical shapes across the figure to add the details of the mode dial.
Step 7 — Add Details on the Flash of the Camera
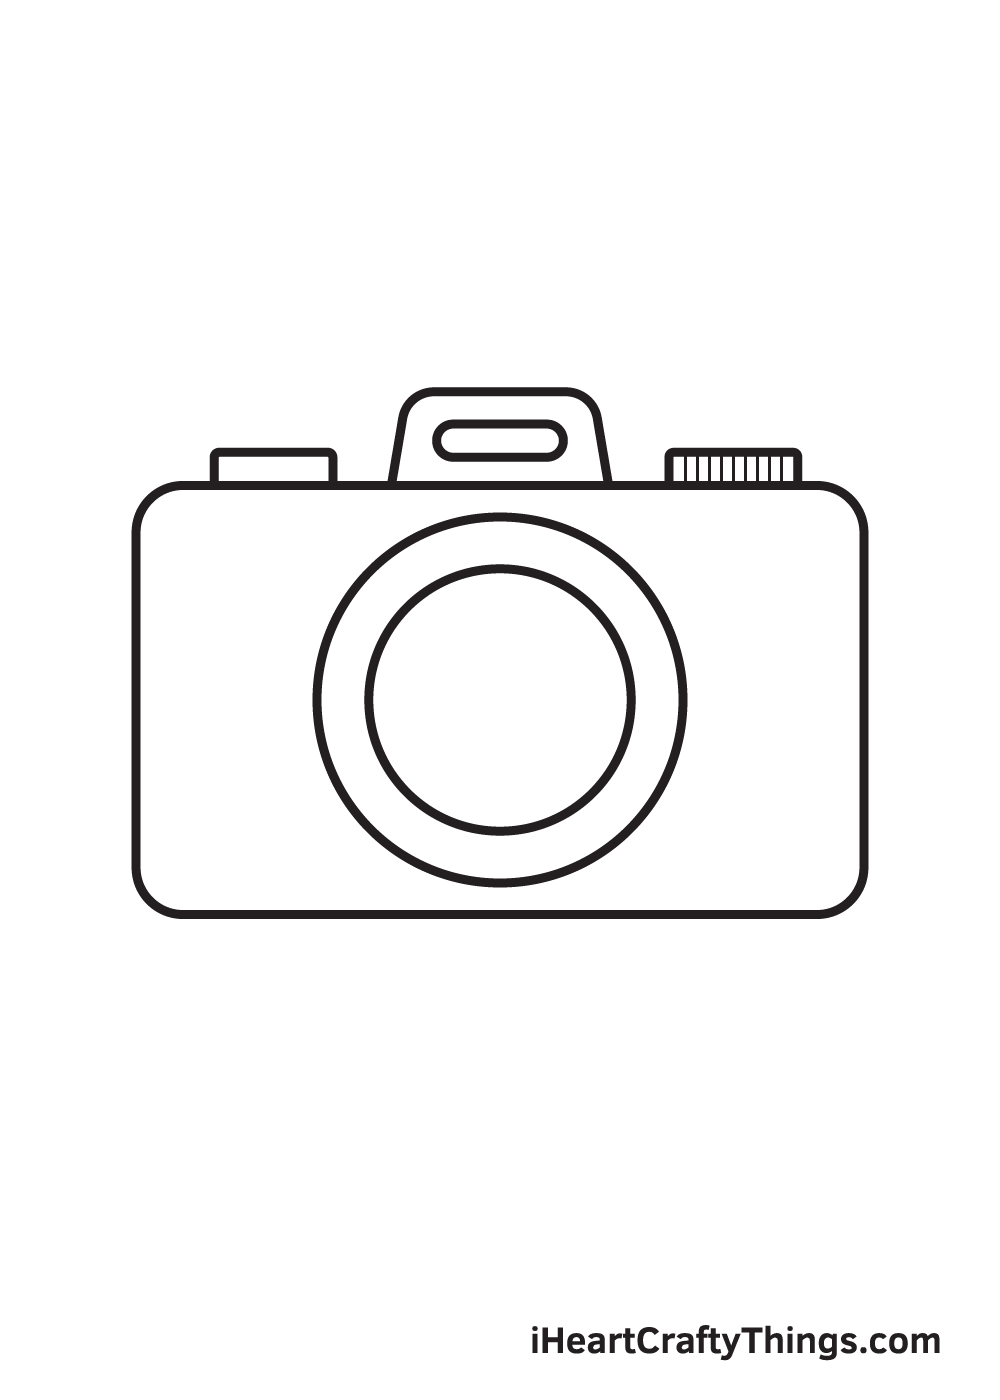
Draw an elongated sideways oval shape inside the flash, which we drew previously in the fourth step.
Step 8 — Add Pattern on the Body of the Camera
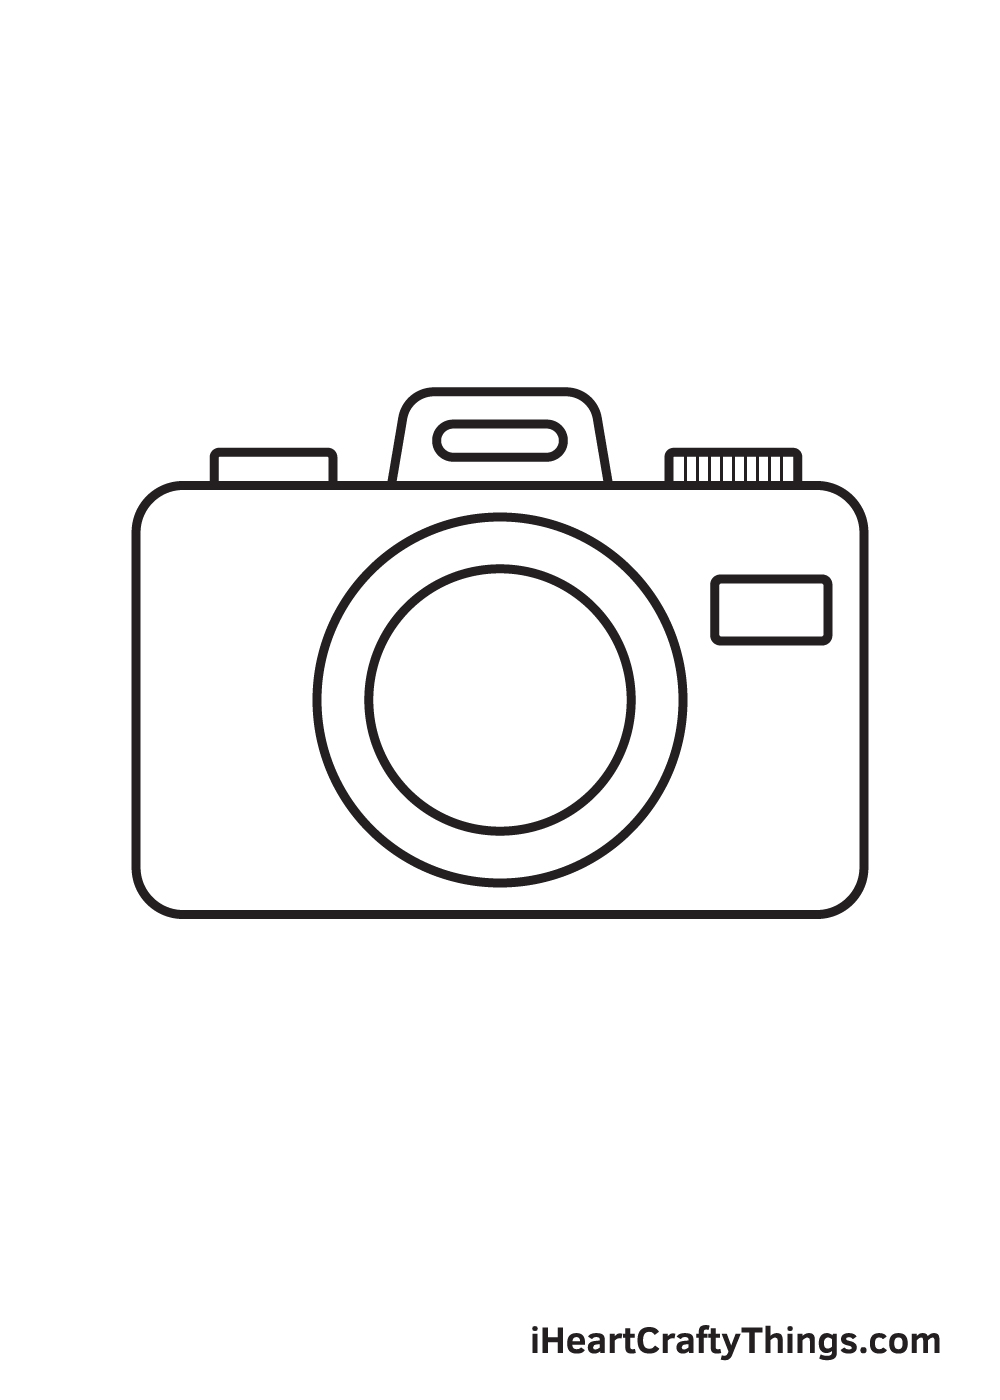
Draw a small rectangle shape on the upper right side of the body of the camera.
After completing this step, the essential parts of the camera should be complete. All it’s missing are the design on the body of the camera.
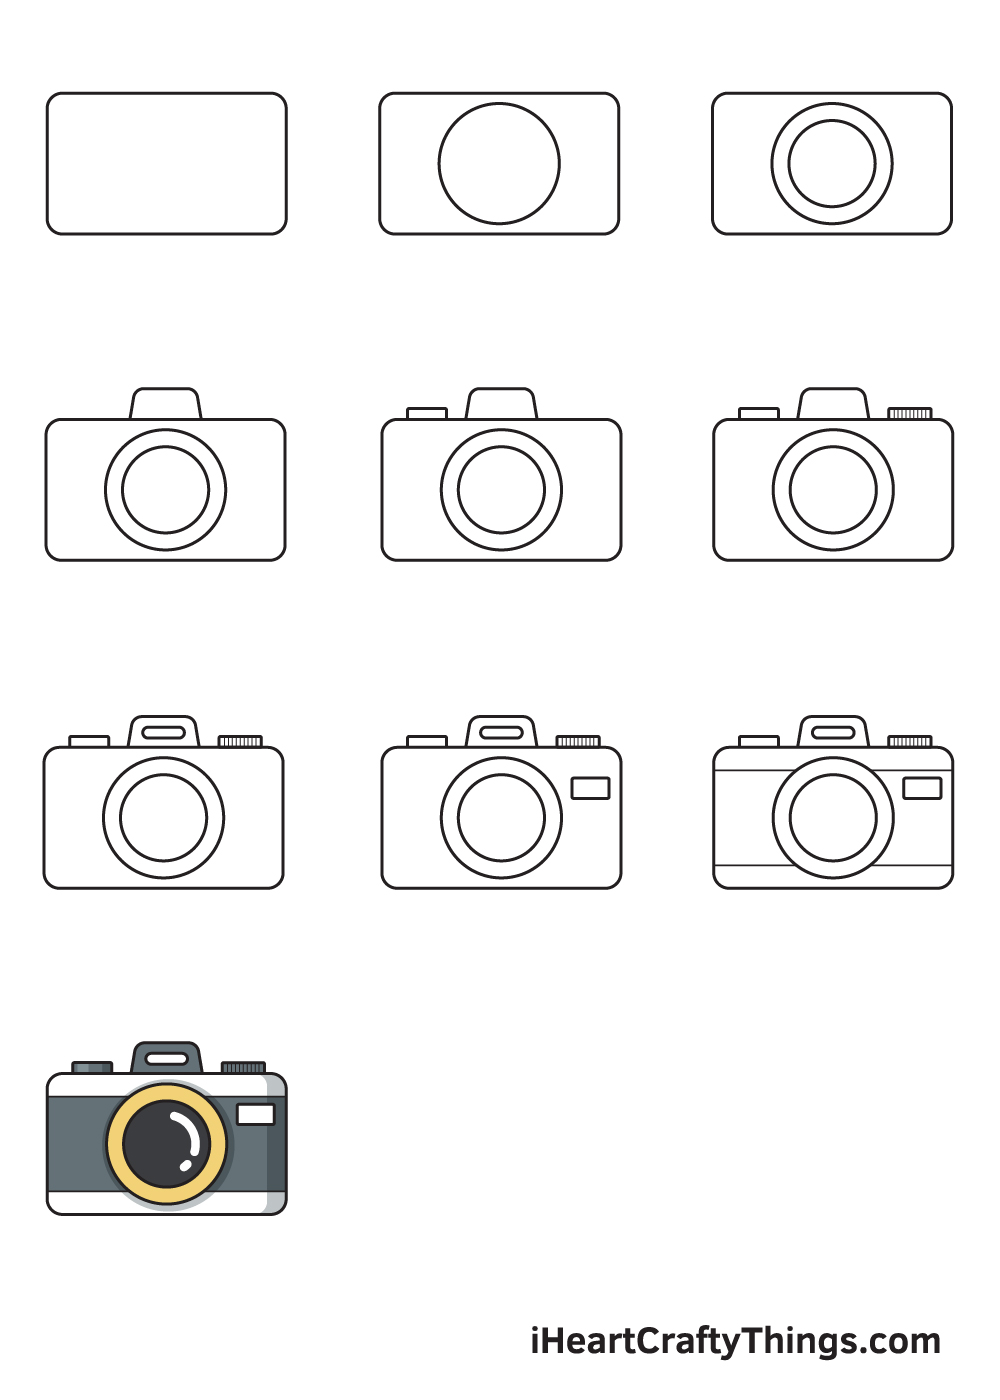
Step 9 — Now, Design and Style the Camera
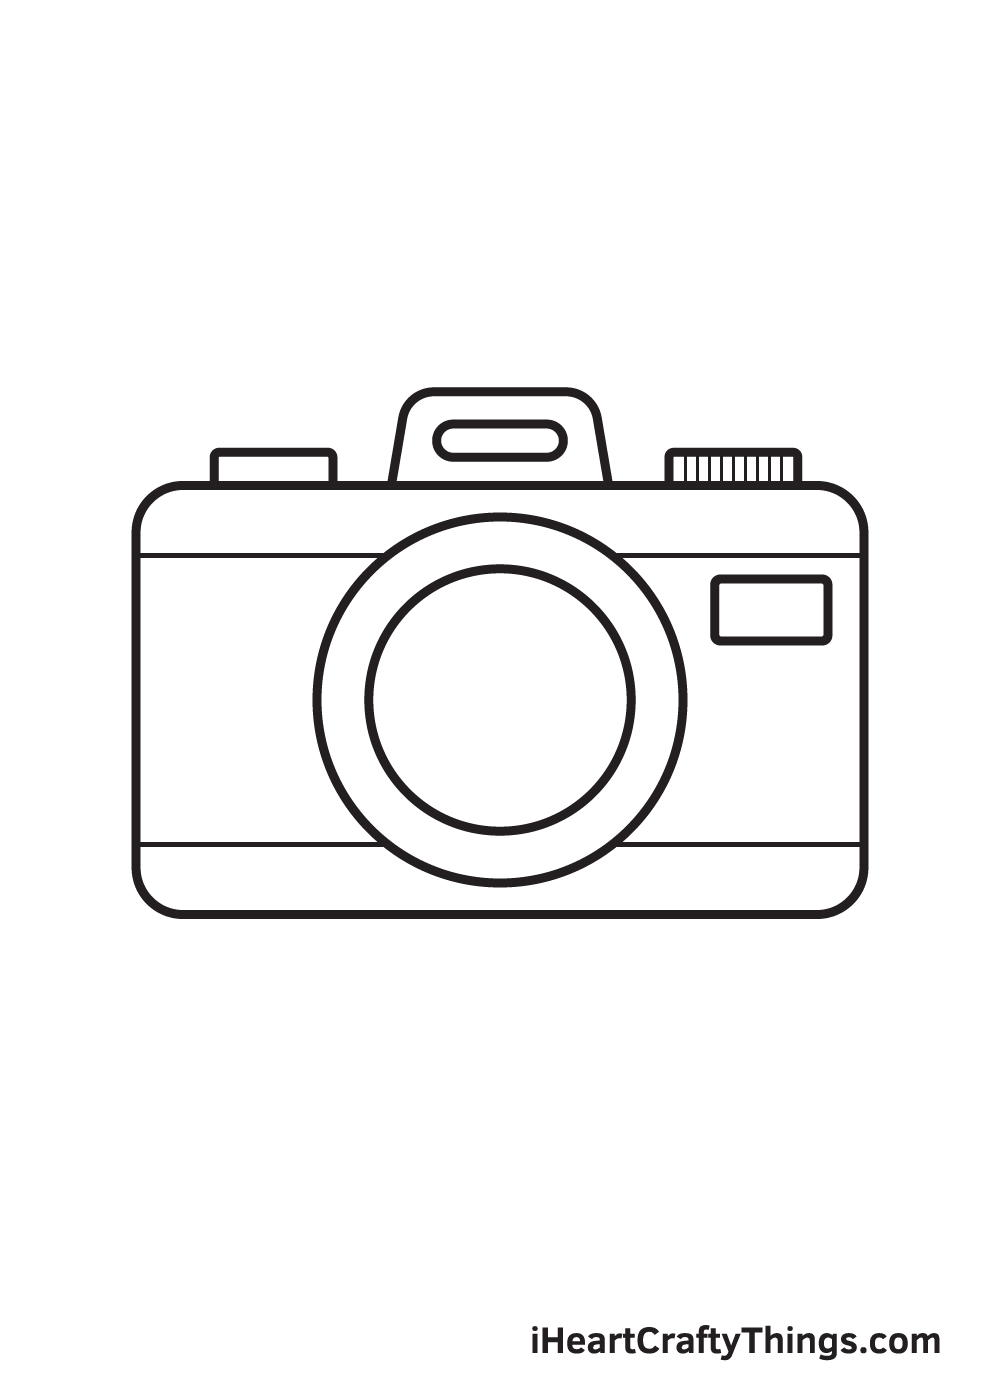
Draw a horizontal line across the top and bottom part of the body of the camera. This adds an aesthetic design on the camera’s appearance.
As you can see in the illustration, we kept the design of the camera pretty simple. However, feel free to add any artistic patterns you like to design and style the camera!
Now that we’ve successfully drawn a camera, it’s finally time for the most exciting part, which is coloring your drawing!
This final step is optional, but we strongly recommend coloring your drawing to make your artwork vibrant and colorful.
Though cameras are commonly color black, this optical device actually comes in a wide range of colors. You can opt to color the camera using its standard colors or handpick a unique set of colors.
You can even use more than one color to make your camera multi-colored—that would be so fun!
Have fun playing with colors! And always remember, the sky’s the limit to your imagination.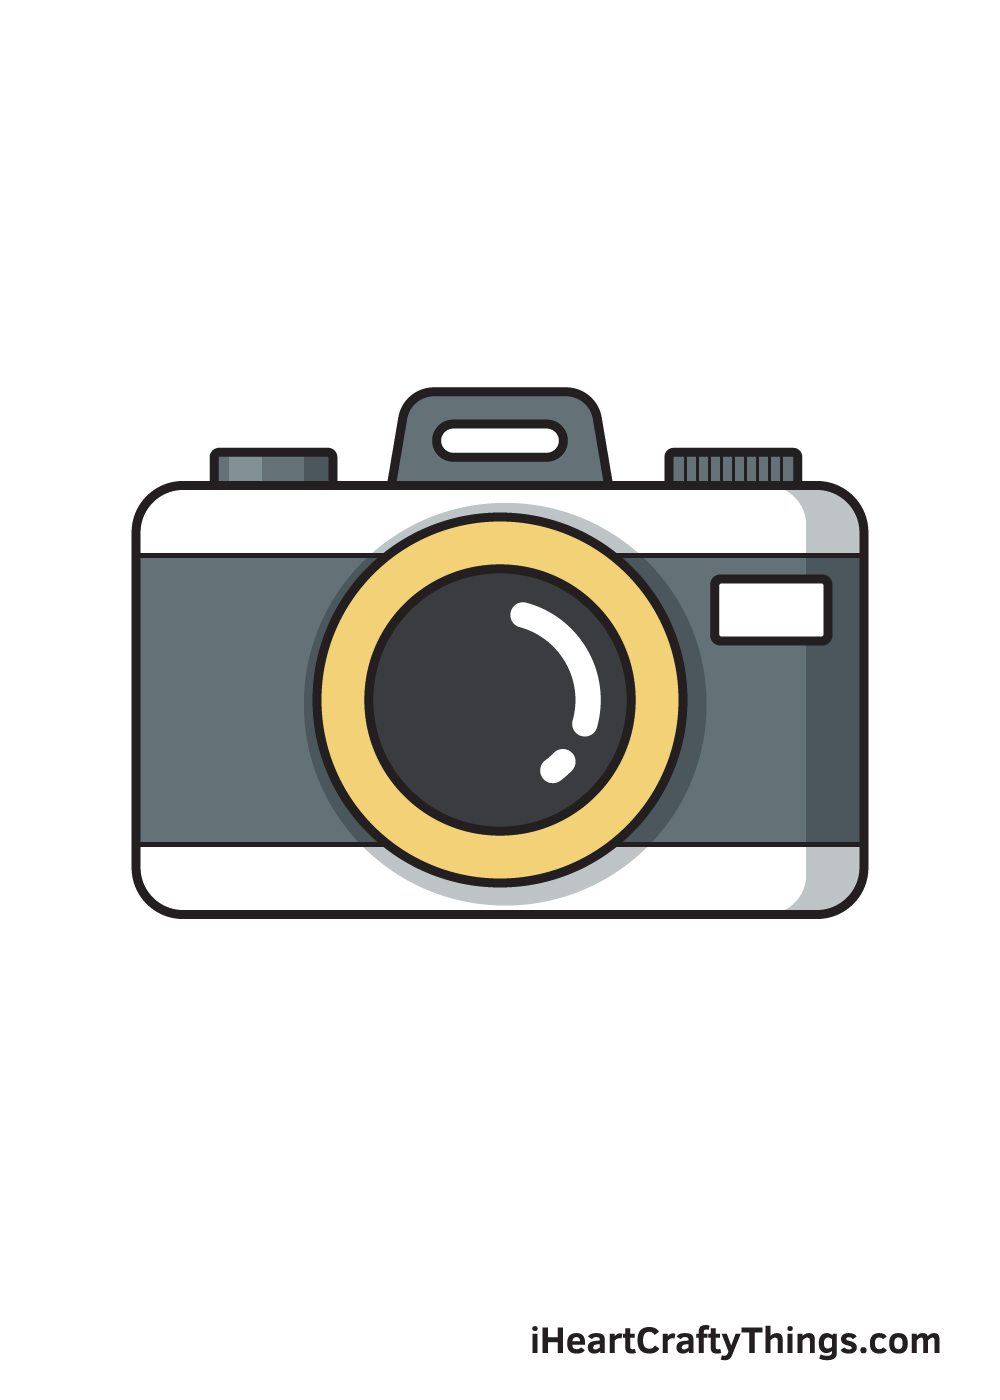
3 More tips to make your camera drawing easy!
Make this drawing pretty as a picture in no time with these 3 helpful tips.
This guide was made to make this an easy to draw camera, but you can make it even easier with these tips!
Sometimes, even when you have a guide to follow there can still be elements that are tricky to get right.
If you find yourself stuck and struggling on a certain part of the image, don’t be ashamed to change it or remove it entirely.
Maybe you’re struggling with the details on the lens or the flash, and if that’s the case then you can remove some of the finer details.
Even if you need to make these changes, you will still end up with a brilliant picture at the end!
Whenever you are drawing a real thing, we always recommend using reference pictures even if you have a guide like this to follow.
There are tons of camera pictures online, and you may even have a camera at your house.
Some of these may be a different make to the one we have here, but it could also help you if you want to make this picture more unique.
Using a reference picture for this drawing of a camera can also help you with small details such as the reflection on the lens.
Using a reference may show you small effects or details you may not have considered before.
Our final tip for this camera sketch is that you should try and use any and all tools you have at your disposal to make it easier.
We mentioned using a compass for the round aspects of the lens, but maybe you don’t have one available.
If that’s the case, you can even trace around household objects like the lid of a jar or a coin. When it comes to creating artwork, there is always a way to get around any problems!
What favorite art tools will you have on hand as you work on this image? Don’t be afraid to improvise as well!
Your Camera Drawing is Complete!
Hopefully, you had a good time drawing a camera. Once you’ve learned how to draw one, perhaps you can try drawing a person with a camera on his or her hand taking a photo next time?
We are uploading brand-new drawing tutorials on a regular basis, so make sure to keep checking back so you can continuously learn to draw interesting objects like this.
What would you like to draw next? Let us know and we’ll do our best to create a drawing tutorial for it.
As soon as you finish drawing and coloring a camera, don’t forget to take a photo of your masterpiece!
Afterwards, show off your artwork by sharing it on our Facebook page and on Pinterest. Don’t be embarrassed, we’re sure it looks impressive!
We’re looking forward to seeing your colorful camera drawing!
Here Is A Quick Camera Drawing To Inspire You!
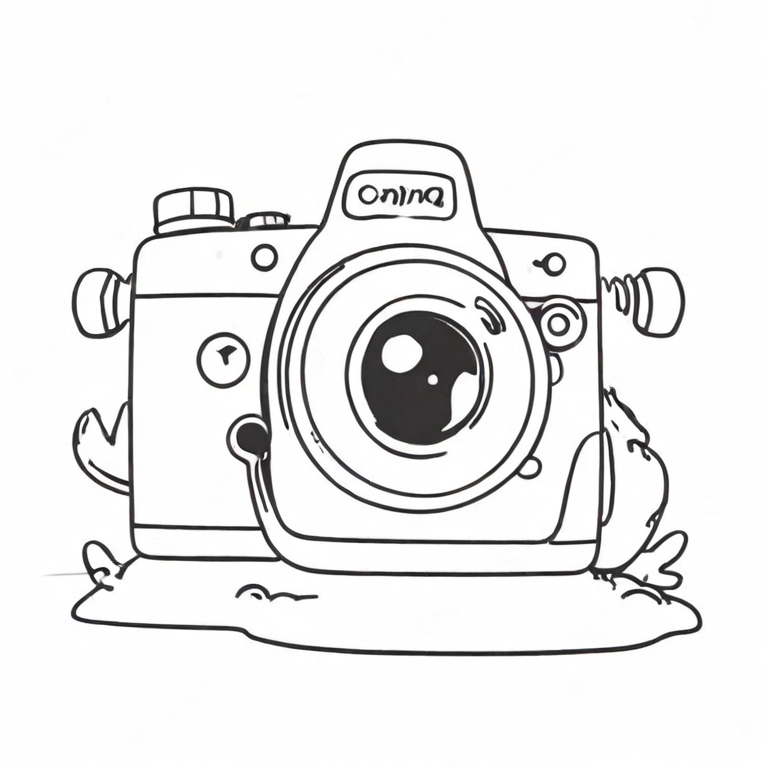
Most people have cameras on their smartphones these days, making designated cameras more of a rarity. However, there is something special about a proper camera, both in looks and usage.
This quick camera drawing for kids was created by our artist Amanda to help you capture this bygone piece of technology.
The picture captures all of the details you would expect on a real camera.
However, she has left the details pretty sparse, which makes it easier to draw but also allows you to add your own details.
If there is a favorite camera brand that you have, then you could make this into that model.
You could also draw a background to show where you would take this camera. What sort of location would you like to take this camera to?
Also, do you have a favorite camera model you could turn this one into?