The cardinal, also known as the redbird, are passerine birds found in North and South America.
Aside from their vibrant brilliant red plumage, cardinal birds are also known for their mesmerizing singing talent and ability to fly at a high speed.
The stunning beauty and extreme popularity of the cardinal bird has made this subject a very highly-requested drawing tutorial.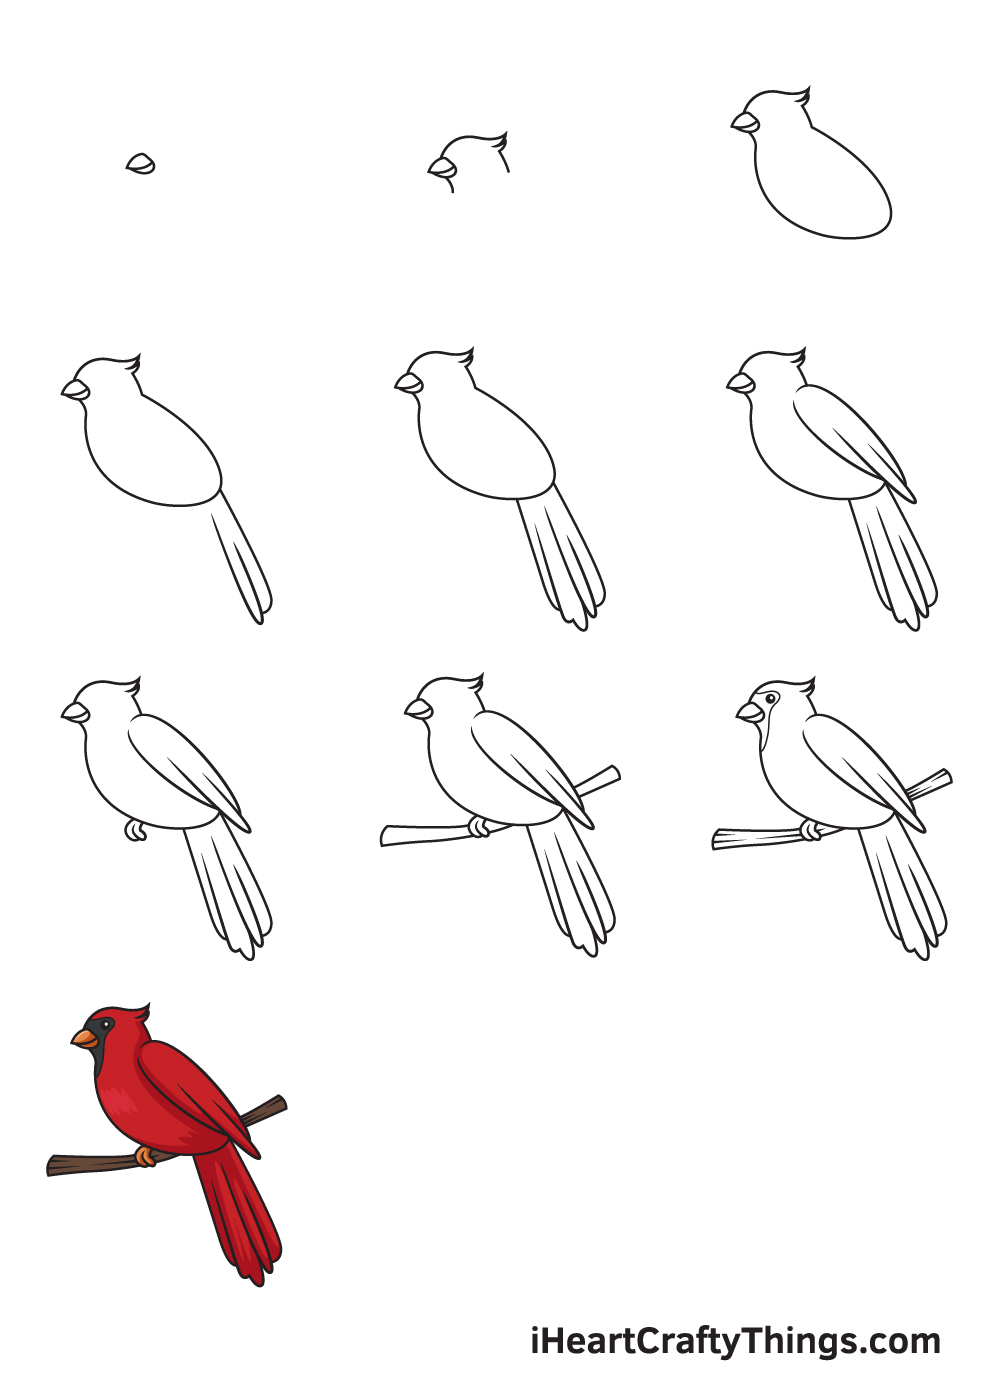
You’ve asked for it, so we delivered. Now, we have created a step-by-step process on how to draw a cardinal, summarized in 9 quick and easy steps.
Have fun and use your artistic skills to draw a beautiful cardinal bird!
How to Draw a Cardinal – Let’s get started!
Step 1

Start by drawing a sideways uneven triangular shape to form the upper beak of the cardinal. Draw a similar figure right underneath the upper beak to create the lower beak.
Remember, the upper peak should be bigger and more pointed than the lower beak, as shown in the illustration above.
Keep in mind that the beak should be located on the upper left side of your paper. To ensure this, create reference lines by drawing an intersecting horizontal and vertical line across your paper.
This guideline will divide your paper into four rectangular spaces. The space on the upper left corner is where you should draw the beak.
Step 2 – Create an Outline of the Cardinal’s Head

Draw a curved shape surrounding the beak, which we drew in the previous step. This outlines the head of the cardinal.
Don’t forget to add pointed clumps of feather at the top of the head to add texture to your drawing!
Since the cardinal is facing sideways, the beak should be on the left edge of the cardinal’s head.
Step 3 – Draw an Outline of the Cardinal’s Body

Extend the lines of the head figure by drawing an uneven oval shape directly connected to the head. This forms the outline of the cardinal’s body.
Remember, use light strokes when drawing an outline. Avoid pressing down too hard with your pencil so you can easily remove any parts of the outline you no longer need later on.
Step 4 – Draw the Cardinal’s Tail Halfway Through
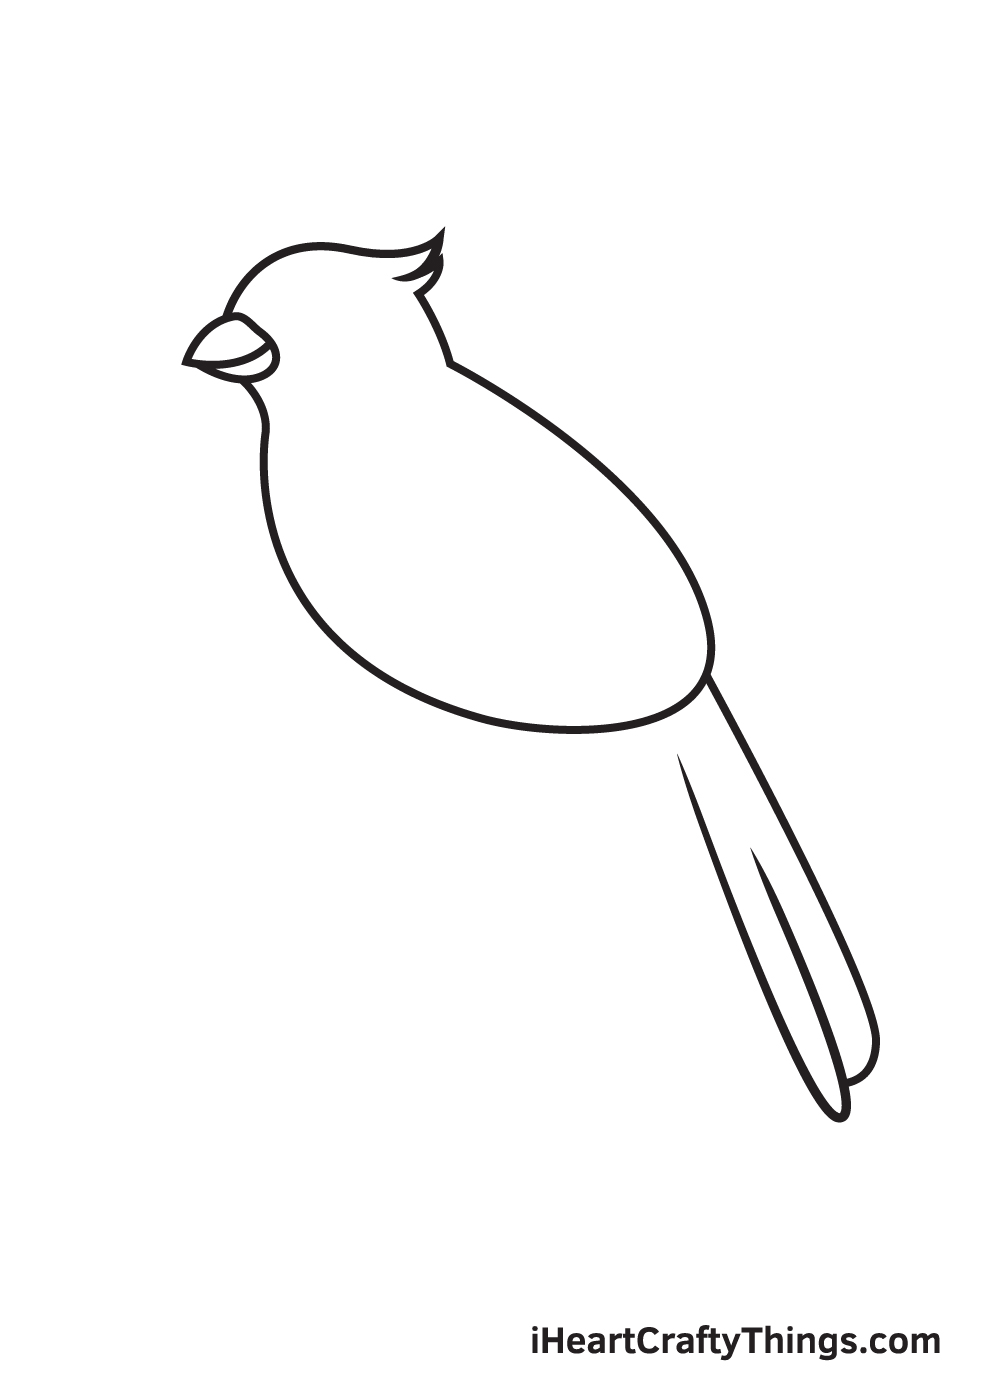
Draw two narrow elongated figures side by side right underneath the bottom back of the cardinal.
Keep in mind that these two figures should be straight and have curved bottom edges as these represent the feathers on the cardinal’s tail.
At this point, half of the tail should now be formed.
Step 5 – Now, Complete the Tail of the Cardinal
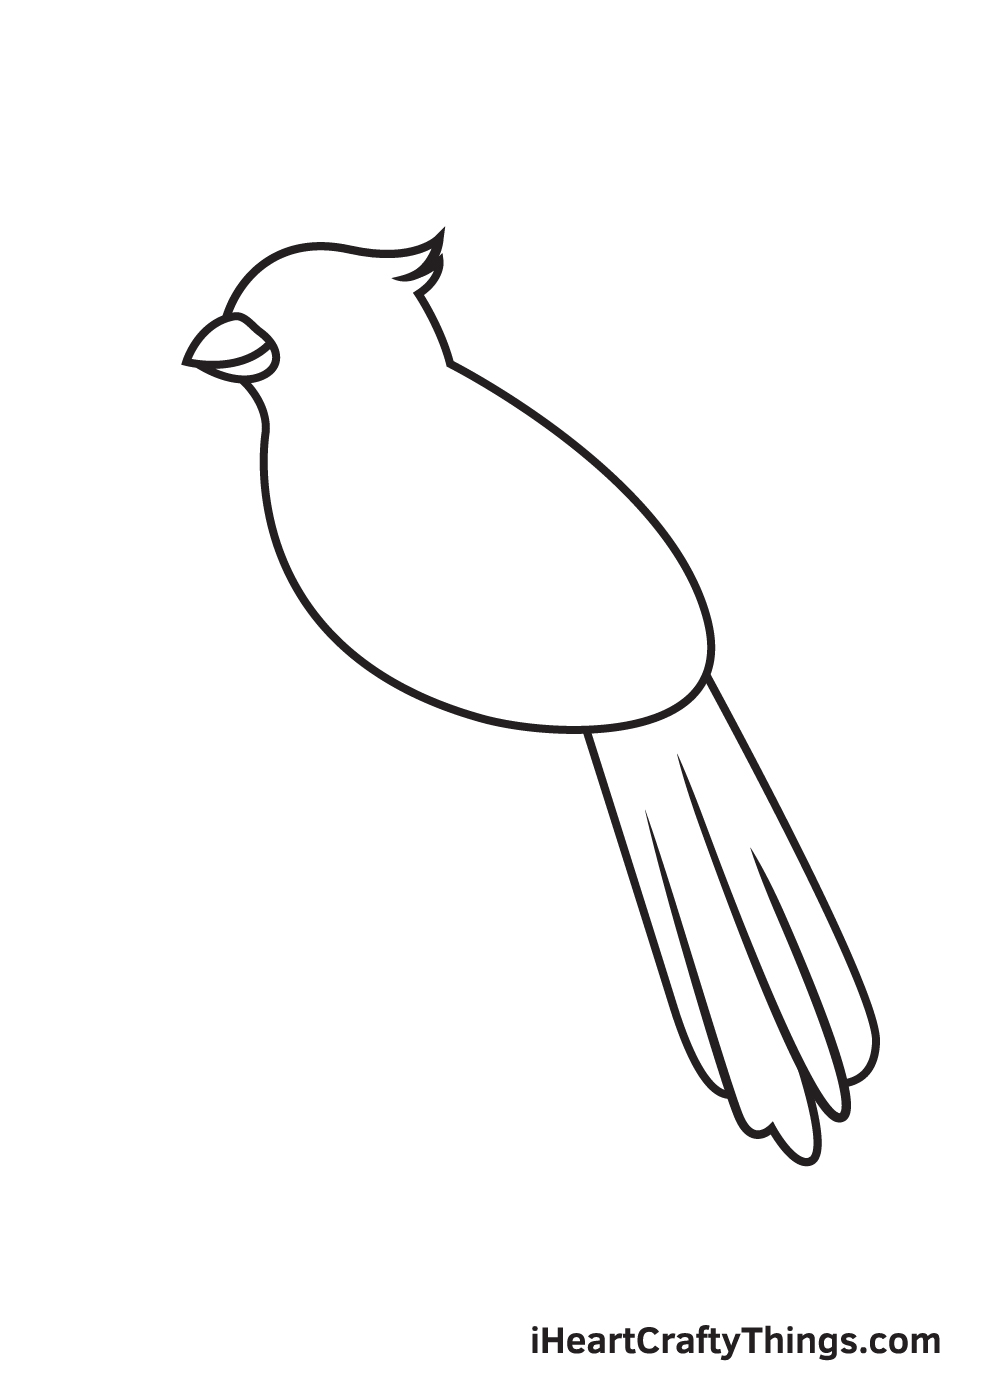
Keep drawing figures similar to the previous step until you reach the desired length and thickness of the tail. The tail should form a diagonal rectangle with a curved bottom edge.
After finishing this step, the tail of the cardinal should now be fully structured.
Step 6 – Next, Draw the Wing of the Cardinal
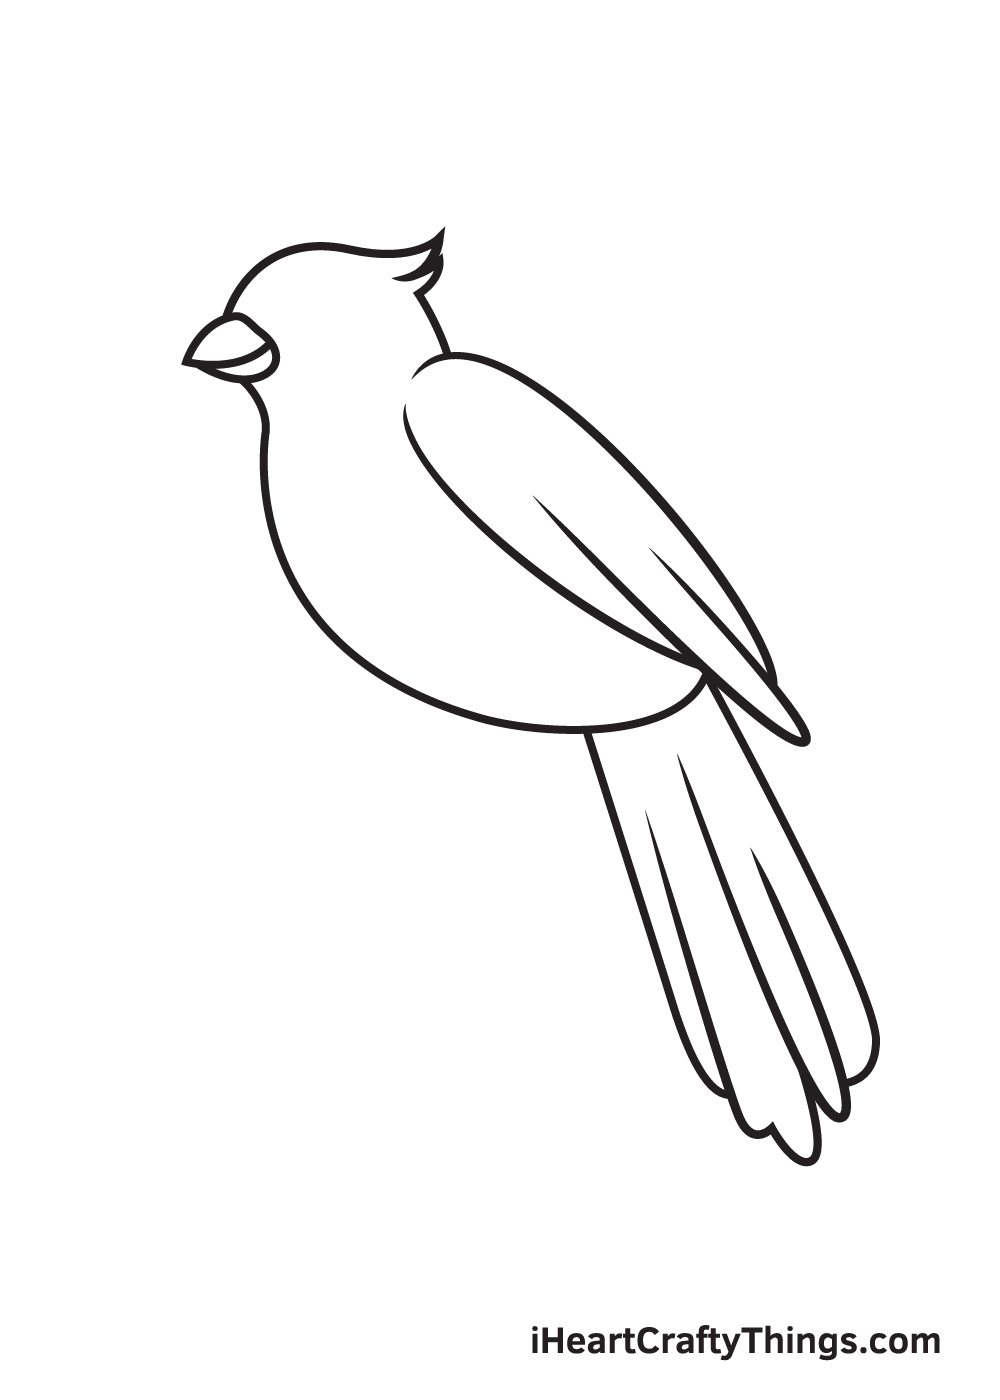
Draw a diagonal oval shape with a pointed bottom on the side of the cardinal’s body. This creates the outline of the cardinal’s wing.
Afterwards, draw an elongated U-shaped curve overlapping inside the wing. This adds a texture of a clumped feather in the wing, thus making it look realistic!
Since the cardinal is facing towards the left side, it makes sense that only its left wing will be visible.
Step 7 – Then, Draw the Foot of the Cardinal
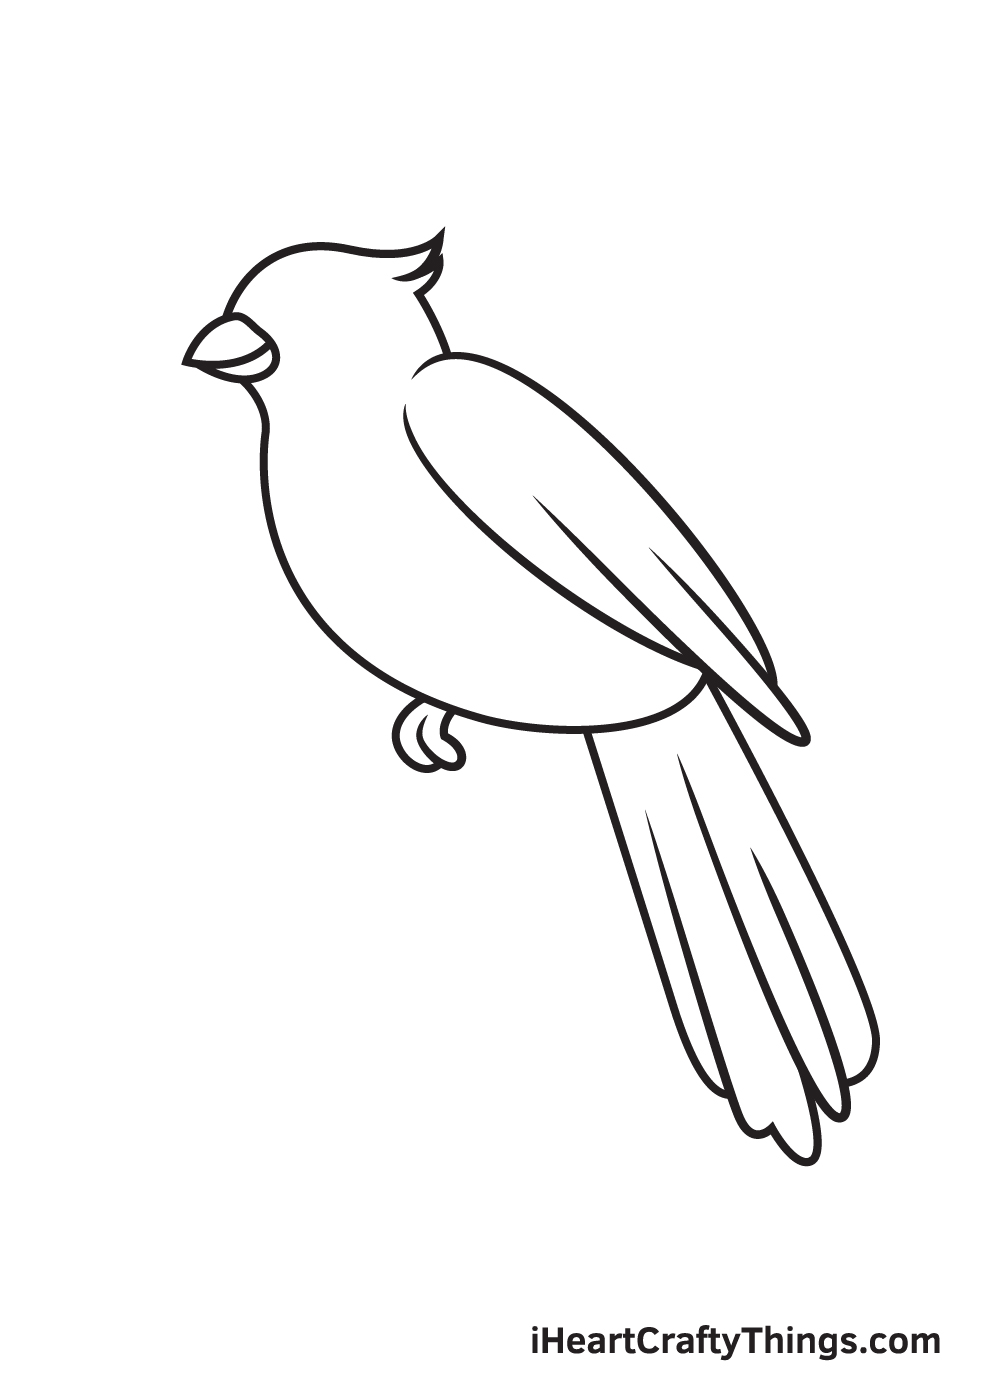
Right underneath the lower body of the cardinal, draw two narrow elongated figures side by side. This forms the two visible claws of the cardinal.
Make sure to draw the claws in an angle to make it look like it’s clinging to a branch of a tree, which we’ll be drawing in the following step.
Step 8 – Afterwards, Draw the Branch of a Tree
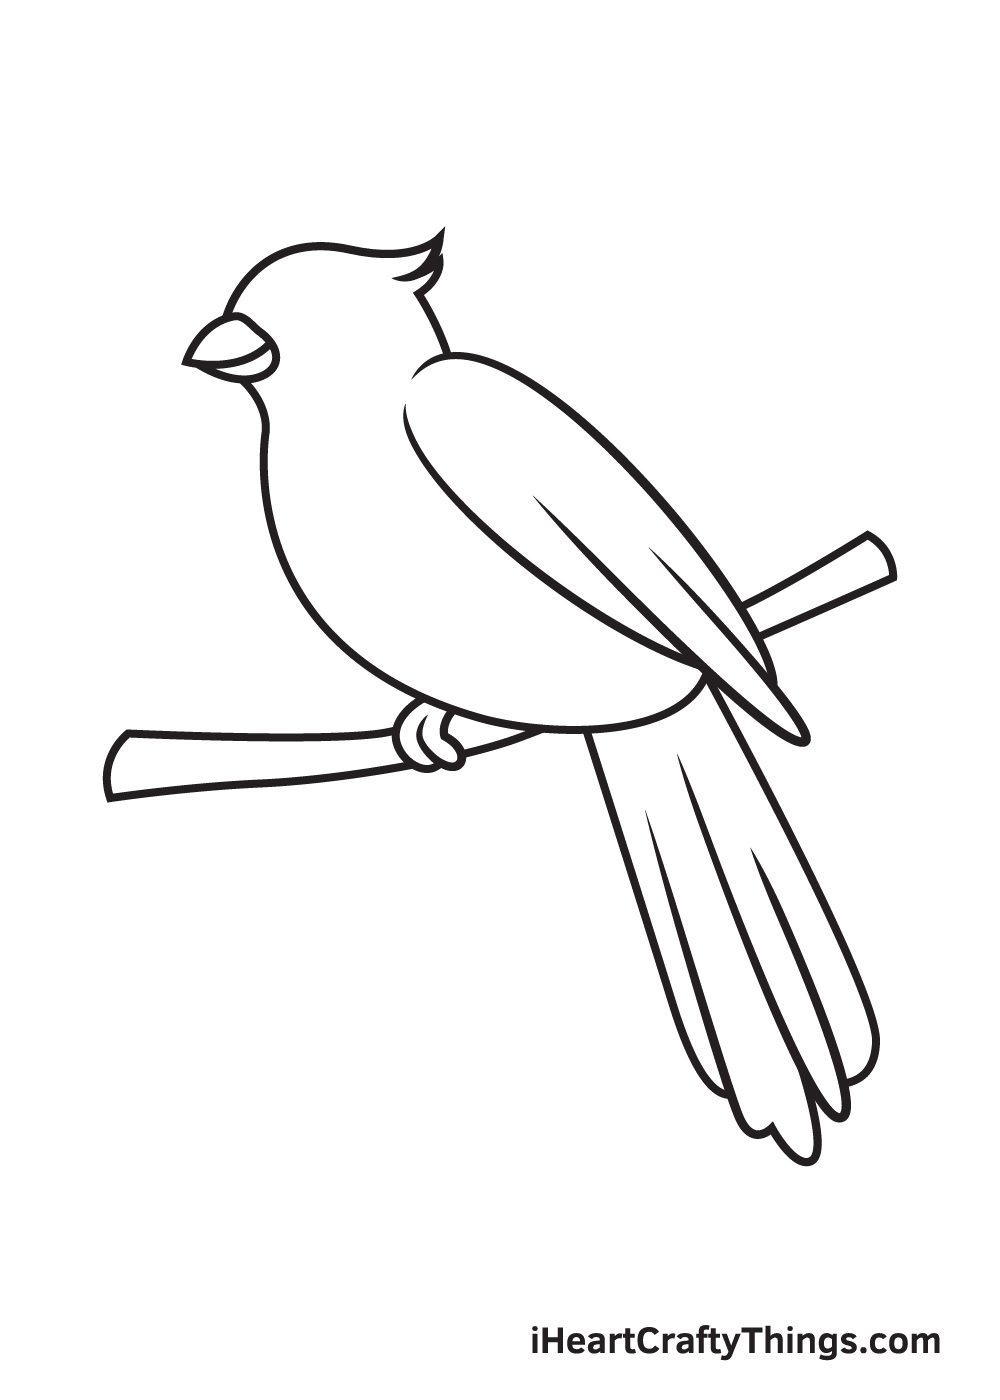
Draw a narrow line figure below the cardinal. Don’t worry about keeping the figure straight! As a matter of fact, the more uneven and jagged it is, the more realistic the branch will appear to be.
Make sure that the branch is aligned with the cardinal’s claws. It should look like the cardinal is comfortably perched on a branch of a tree, as shown in the illustration above.
Step 9 – Draw the Cardinal’s Facial Features
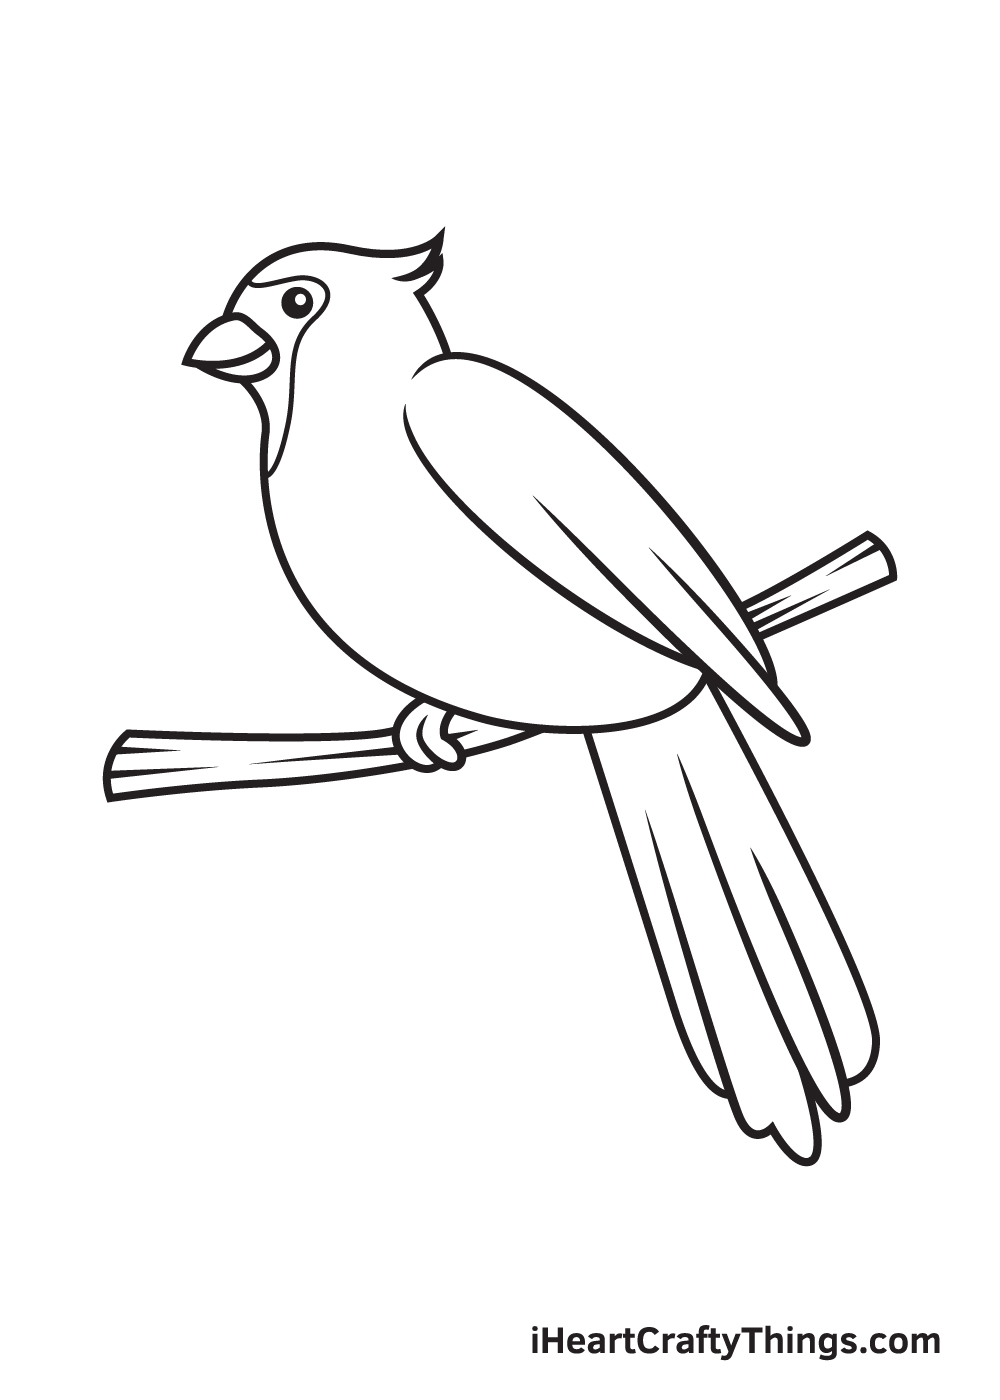
Complete the look by adding the features on the cardinal’s face. Draw a circle shape on the upper part of the head of the cardinal.
This outlines the bird’s eye. Then, draw a smaller circle within the eye. Add shade to the entire eye except for the tiny circle inside.
Don’t forget to draw a line across the cardinal’s head, enclosing its eyes and beak. This is one of the cardinal’s most distinct features!
After successfully drawing a cardinal, it’s finally time for the most exciting step. Now, we’ll be choosing the colors and coloring the cardinal in our drawing!
Male cardinals are primarily brilliant red in color while female cardinals are subtle brown with reddish hue on their wings, tails, and crests.
This distinctive color difference makes it easy to discern between a male and a female cardinal bird.
You can opt to color your cardinal drawing using its original color or use a unique set of colors. We recommend doing the latter so you can create a one-of-a-kind cardinal bird!
Have fun playing with colors and watch as the cardinal comes to life!
3 More tips to make your cardinal drawing easy!
Make your artwork of this iconic bird even easier to draw with these 3 helpful tips!
The cardinal is one of the most beloved bird species in the world, and it’s easy to see why! Creating a cardinal sketch can be quite tricky, and while this guide was made to make it easier, we know that there can still be some challenges.
One way that you can make it easier would be by using a photo as a reference. There are thousands of beautiful cardinal photos you can find online, and you can use these to make this cardinal drawing easy to do.
It can help you with smaller details such as the wings, feathers, beak and tailfeathers if you struggle with these fiddlier aspects.
The steps in this guide were designed to make this easy to draw cardinal, but it can still be possible to get lost along the way.
For that reason, we recommend really taking your time with each step as you go. It can be easy to get ahead of oneself and think you need to work fast, but drawing should be a fun and relaxing experience!
If you struggle with a step, don’t be afraid to try again multiple times until you feel confident with it. That way, you will have a beautiful cardinal drawing before you know it.
Drawing with ink is very satisfying, as you get to see how the final lines will look immediately. It can also be nerve-wracking, as one wrong move is hard to take back.
We always recommend drawing with a pencil first, as that way you can erase any errors you may make as you go. That allows you to relax as you draw, as there is a lot less pressure.
Then when you are happy with the lines you can go over with your pen to finish off this drawing of a cardinal in good style.
These are a few suggestions we have for you, and as long as you follow them you will nail this drawing in no time!
Your Cardinal Drawing is Complete!
We hope you have fun with this step-by-step cardinal drawing. If you had a good time drawing a cardinal, then you’ll surely enjoy drawing a hummingbird, a dove, and other species of birds!
Go ahead and check out our catalog to explore many more exciting drawing tutorials like this.
As soon as you’re done drawing and coloring a cardinal, make sure to show off your masterpiece.
Take a picture of your colored drawing and post it on various social media channels. And while you’re at it, don’t forget to like our Facebook page too!
We’re excited to see your beautiful cardinal drawing!