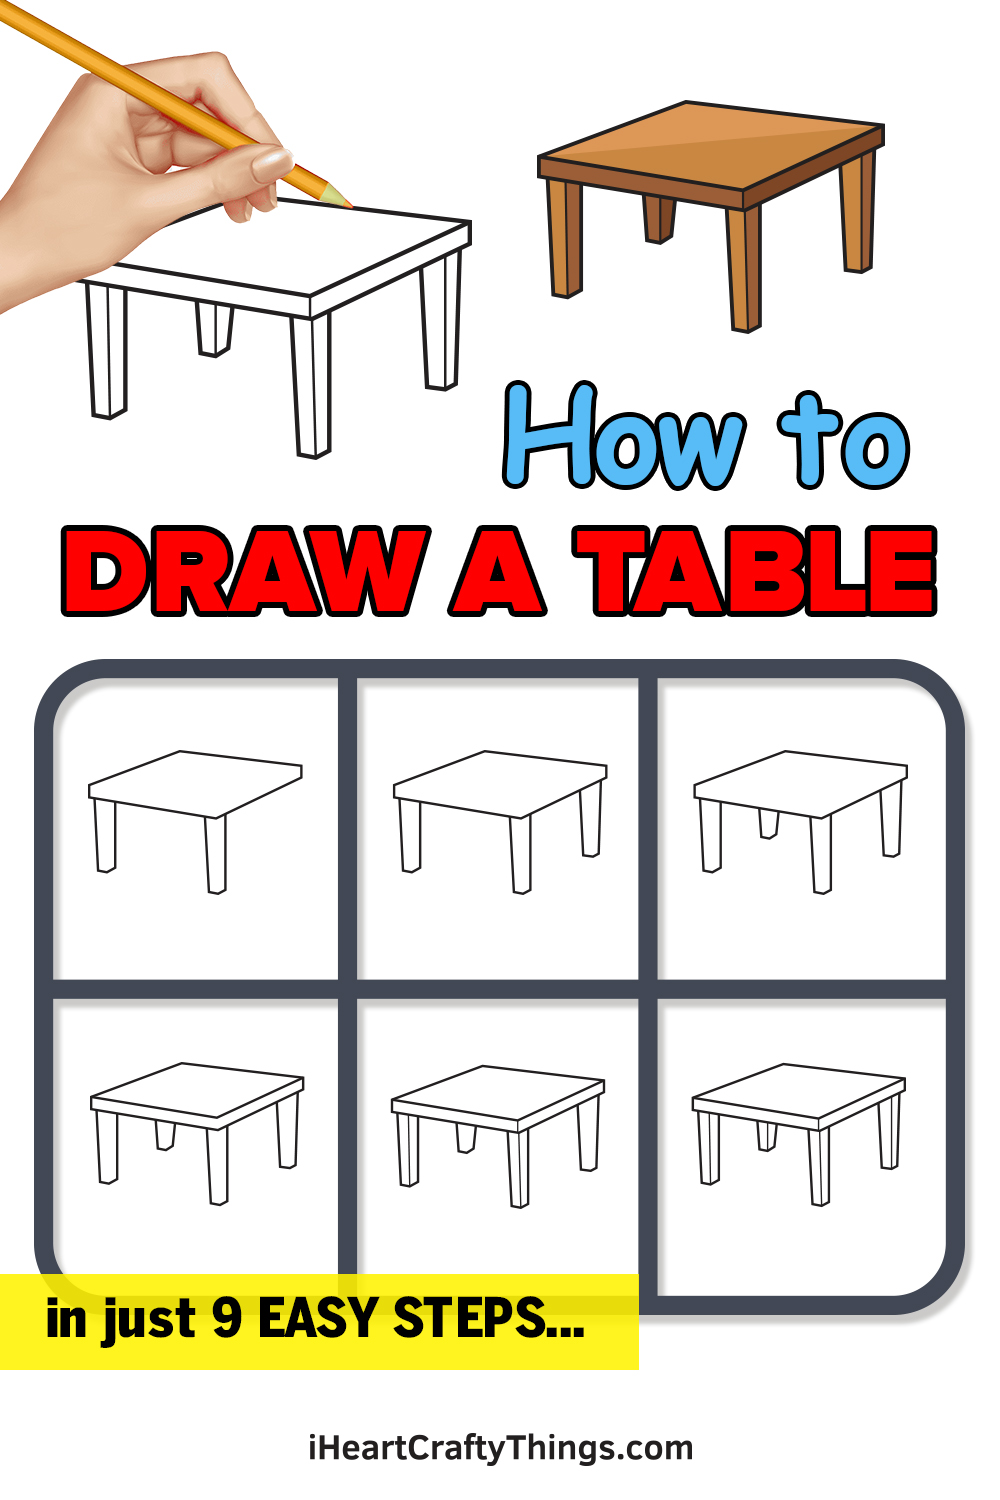
Find out how to draw a table by following these steps. This guide for kids will make it so much easier to make a wide variety of drawings.
Tables are really important in our day-to-day lives. We use them to work at, eat at or just to rest our arms on when we’re relaxing.
They come in many different formations and sizes, and their uses can be just as varied. You could find many uses for a table drawing, as they can be used in all sorts of scenes and settings.
However, it’s not as easy as you may think to draw them, but I’m here to help with that! By the end of this guide, you will be able to make a simple yet effective table drawing.
After that, you can add your own details and ideas to make whatever scenes you wish!
Discover How To Make A Table Drawing With These Tips
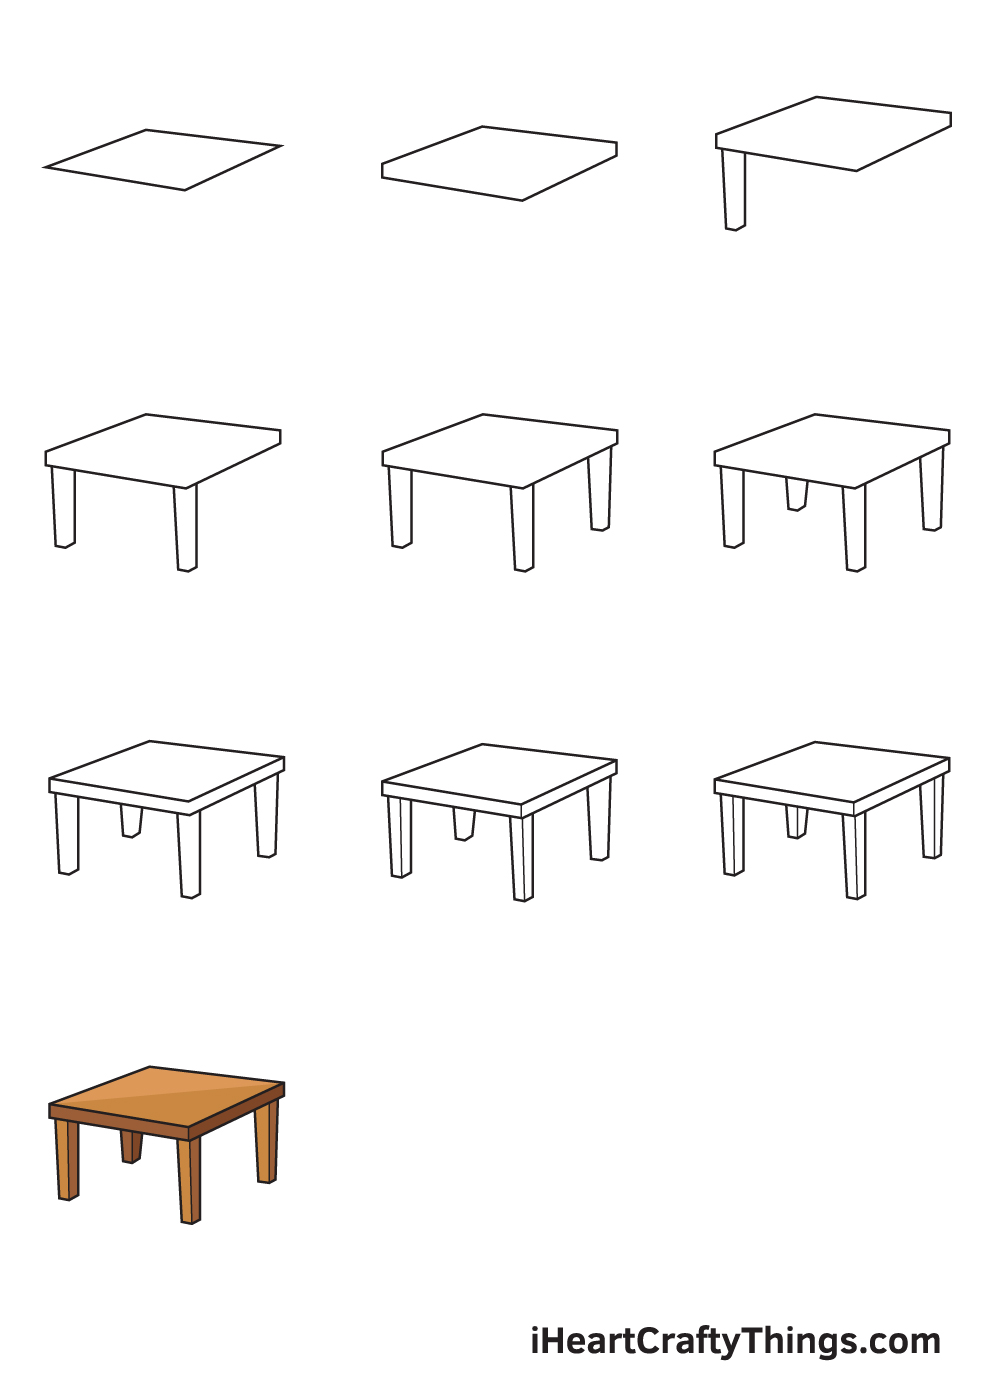
How to Draw a Table – Let’s get started!
Step 1
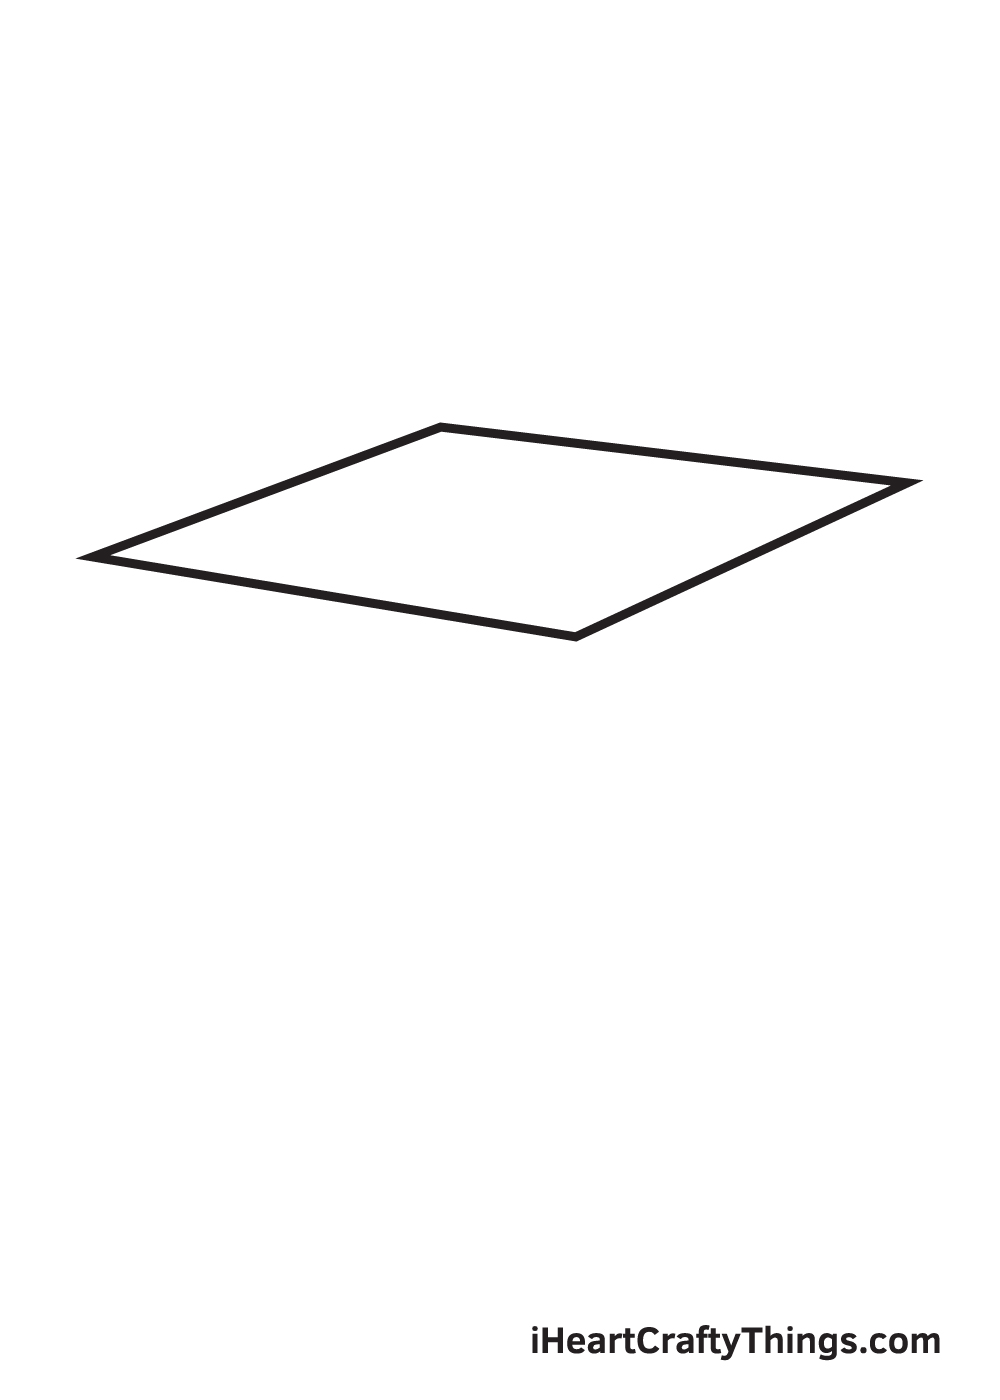
Draw a tilted parallelogram shape to create an outline of the top of the table.
Remember, use light strokes when drawing an outline. Avoid pressing down too hard with your pencil so you can easily remove the outline when you no longer need it later on.
Step 2 – Draw the Topmost Part of the Table
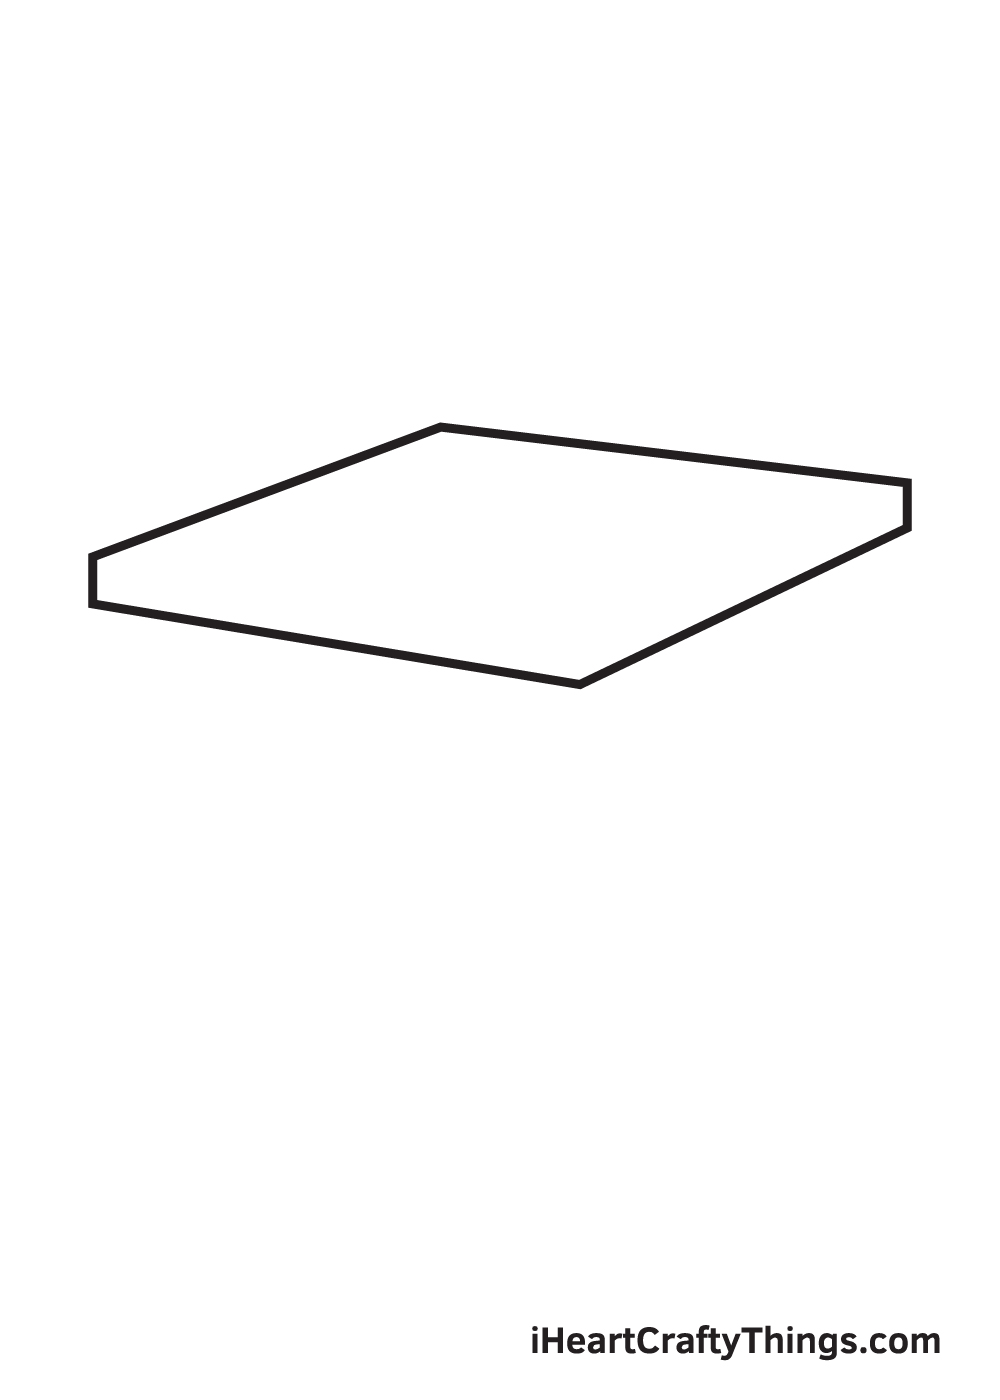
Draw a wide V-shaped line with a short vertical line on both sides right underneath the outline. Keep in mind that the line should be parallel to the bottom of the outline that we drew in the previous step.
Don’t forget to erase the bottom part of the outline! This refines the shape of the top of the table.
Step 3 – Draw the Left Front Leg of the Table
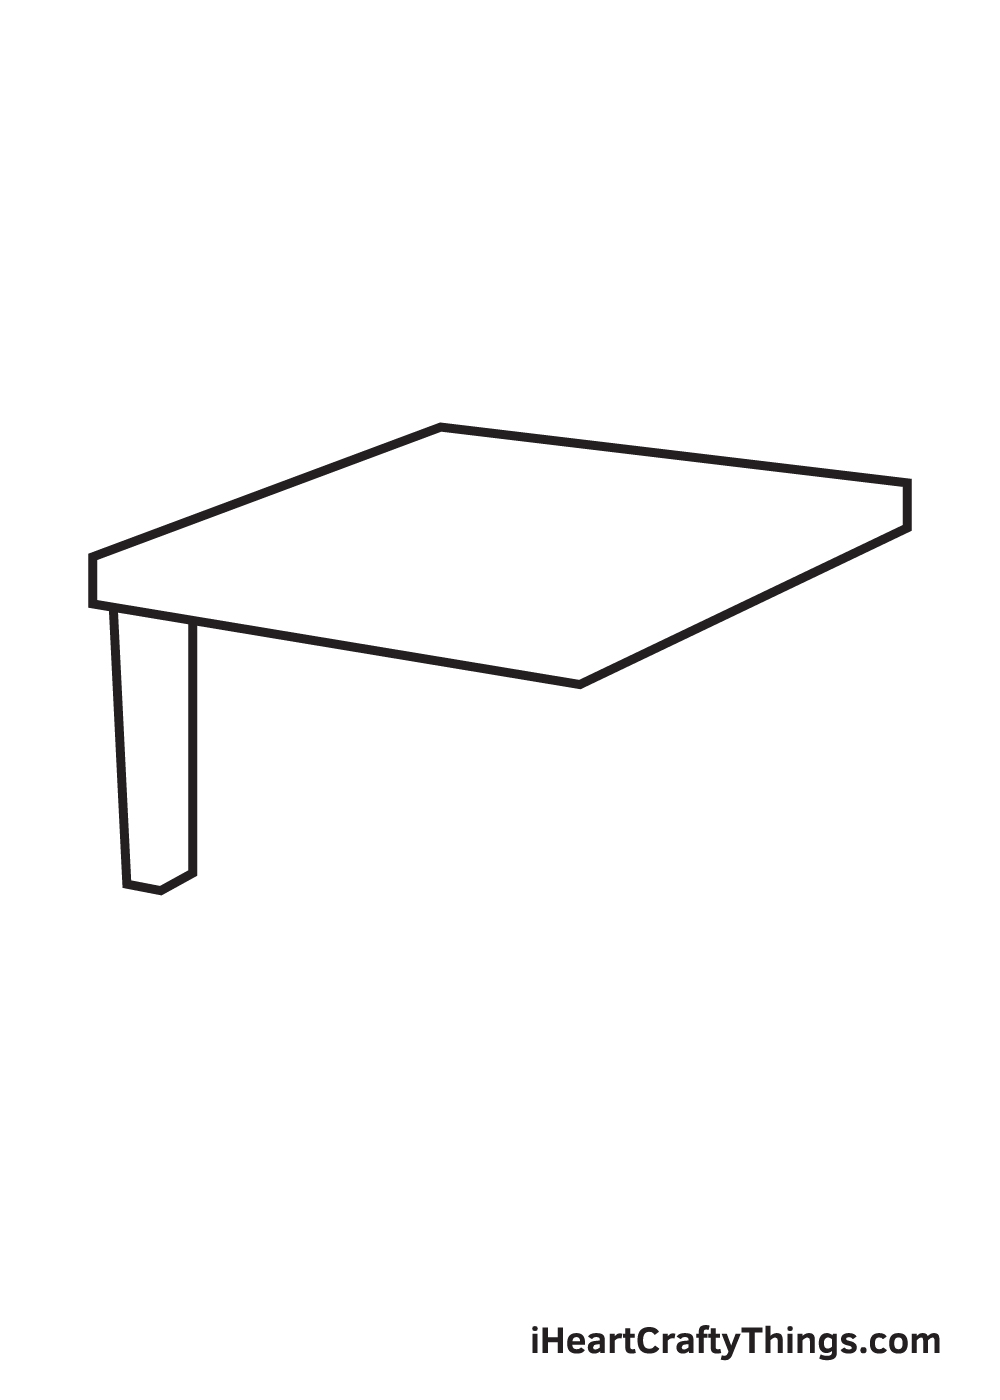
Draw an elongated, narrow figure right underneath the front left corner of the table.
This forms the left front leg of the table.
Step 4 – Draw the Right Front Leg of the Table
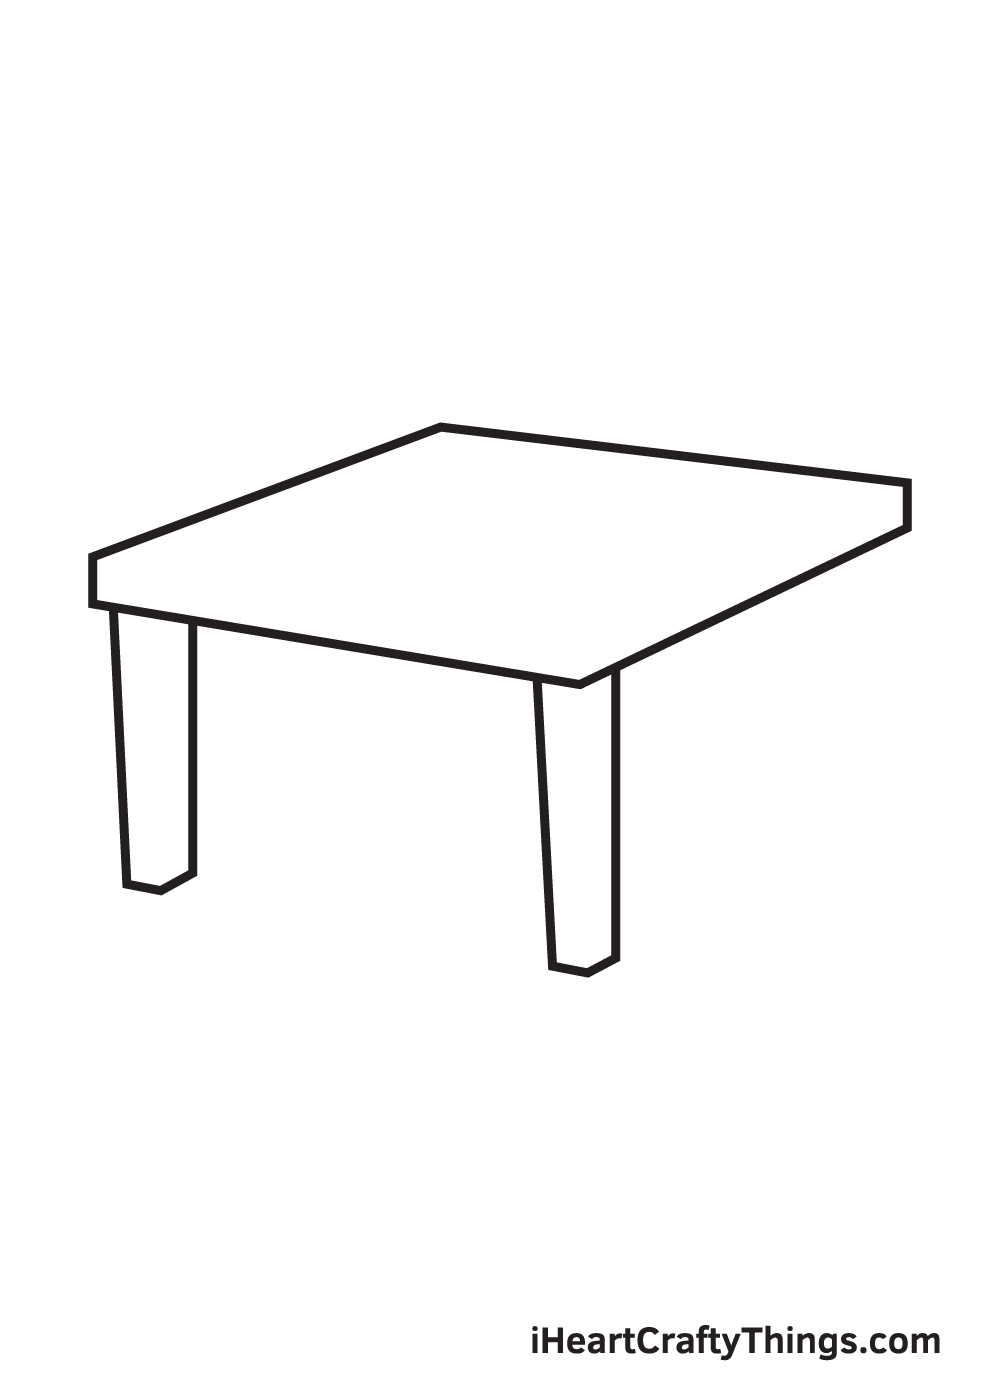
Repeat the previous step to draw another leg underneath the front right corner of the table. This forms the right front leg of the table.
Keep in mind that the front legs of the table should have a similar length. However, the right front leg may appear lower than the left front leg because the table is tilted sideways.
After finishing this step, the left and right front legs of the table should now be complete.
Step 5 – Draw the Right Back Leg of the Table
Draw another elongated, narrow figure with an angled bottom underneath the rear right corner of the table.
This forms the right back leg of the table.
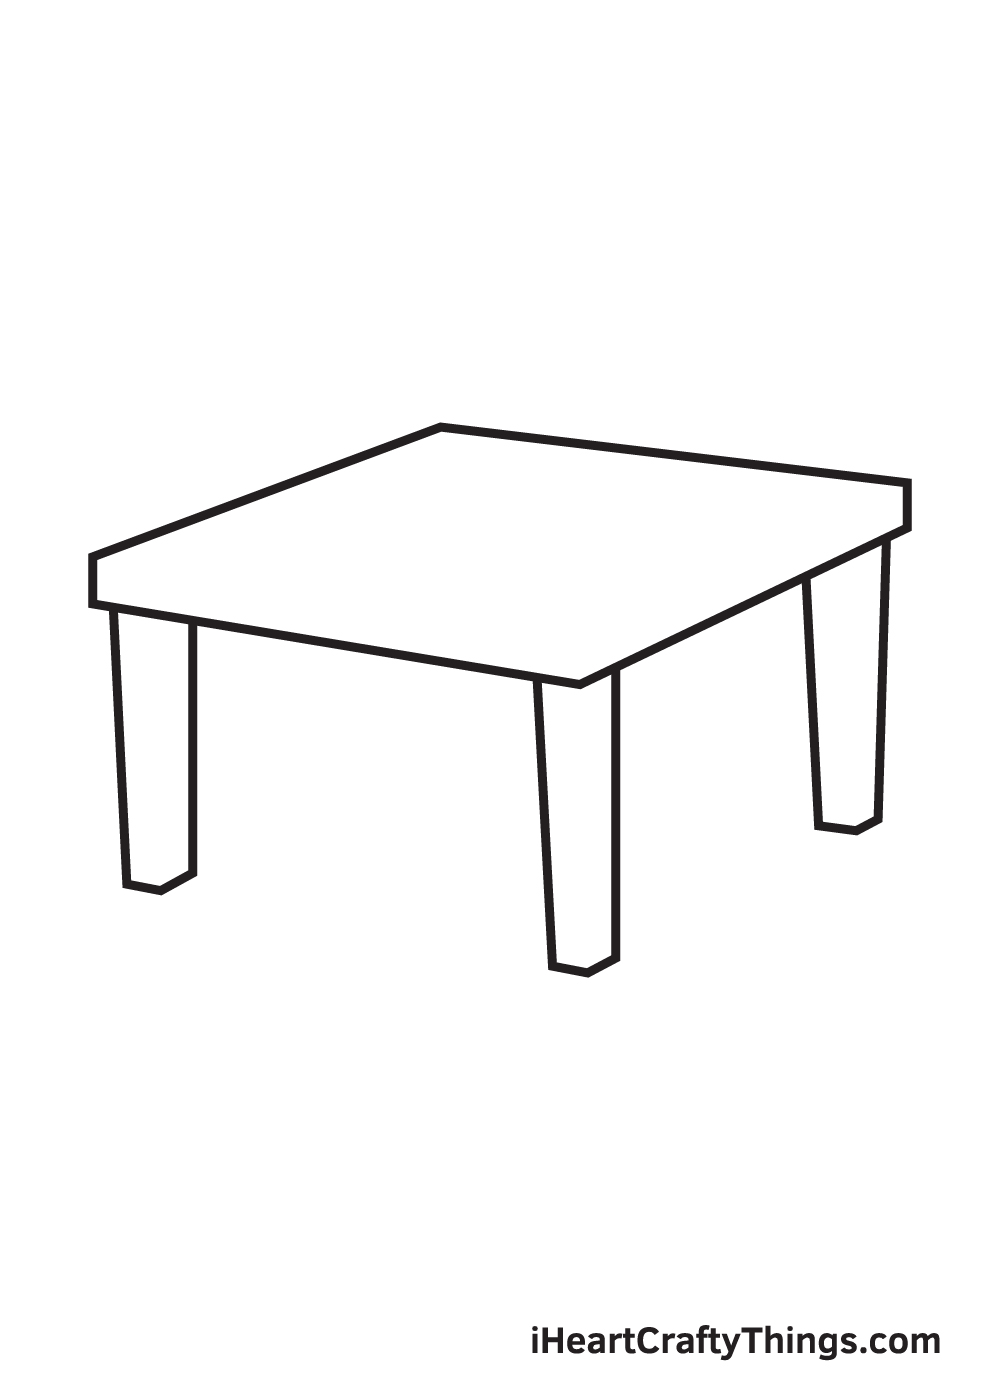
Step 6 – Complete All Four Legs of the Table

Draw another leg right underneath the rear left corner of the table. This forms the left back leg of the table, thus completing all four legs balancing the table.
As you can see in the illustration above, the left back leg is visible only halfway through because the top of the table covers its upper part.
Step 7 – Draw a Line on the Top of the Table

Draw an outline near the edge of the table following its shape. When drawn correctly, it should look like the dimensions of the edges of the table.
This makes your table look three-dimensional and realistic!
Step 8 – Add Dimensions on the Front Legs
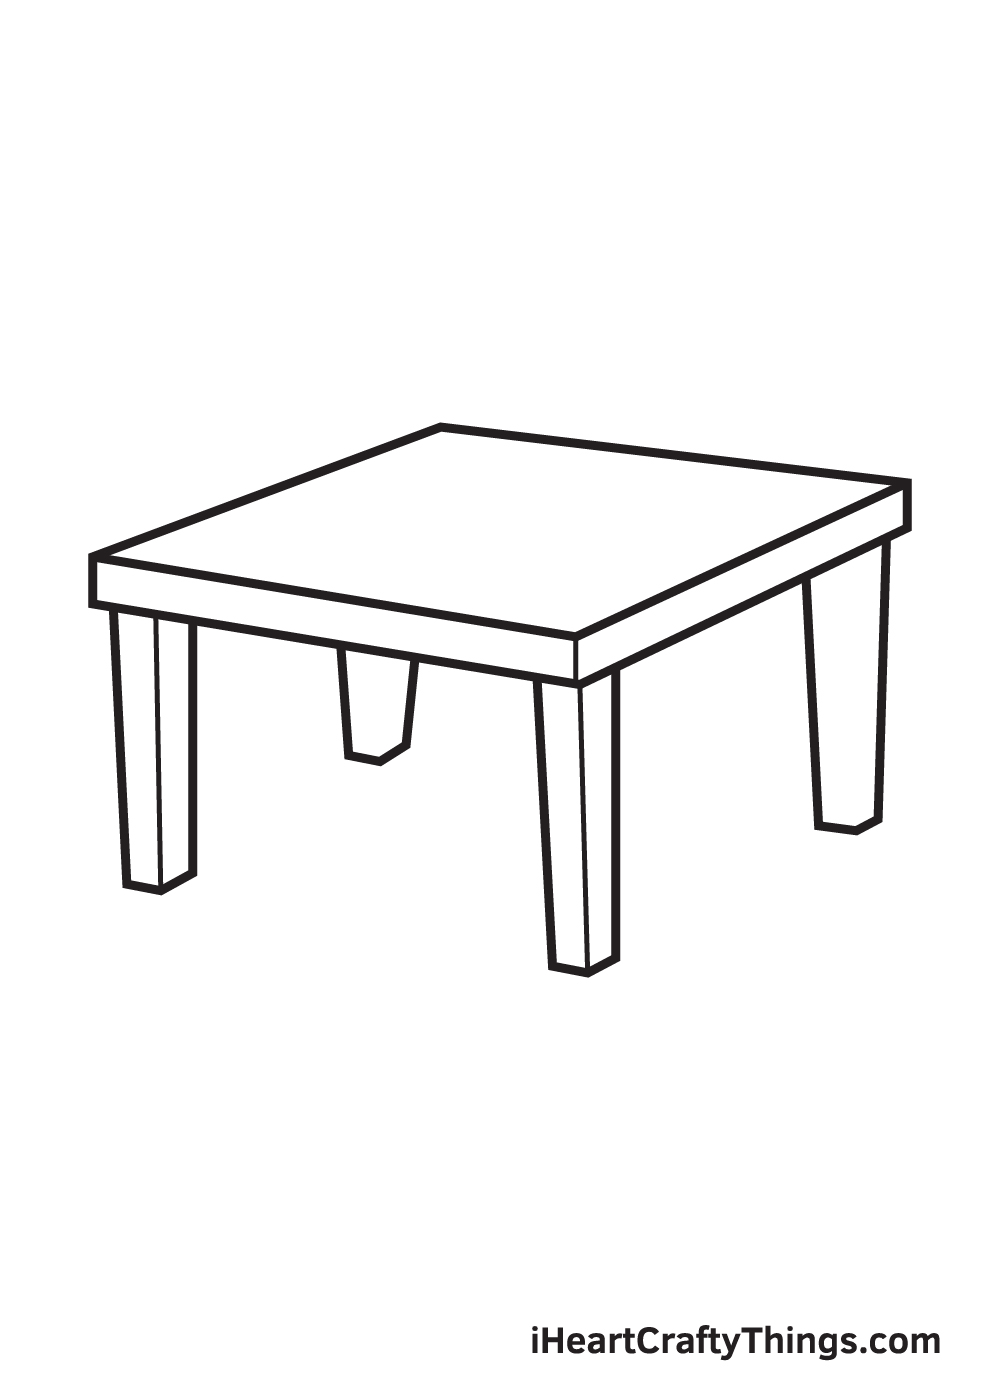
After creating the dimensions of the top of the table, we will now be adding the dimensions of the legs.
Proceed by drawing a vertical line down the length of each front leg. This creates the edges of the legs of the table. Make sure that this line is thinner than the line forming the leg itself.
Step 9 – Finish the Dimensions on All Four Legs

Repeat the previous step on the back legs of the table. At this point, all four legs of the table should have dimensions or visible edges.
As you can see, the table has finally come together! Now, all it’s missing is a dash of colors to make the table vibrant and colorful!
Go ahead and grab your favorite coloring materials because we’re finally in the most exciting part. In this step, we’ll be choosing the colors and coloring the table!
Tables come in a wide range of colors because manufacturers can paint it with nearly every color there is.
This gives you a lot of color options to choose from when coloring the table! Feel free to use any color you like!
You can even use more than one color to create a multi-colored table, making it look more aesthetically pleasing!
Take this opportunity to showcase your artistic skills, especially your ability to mix and match various colors!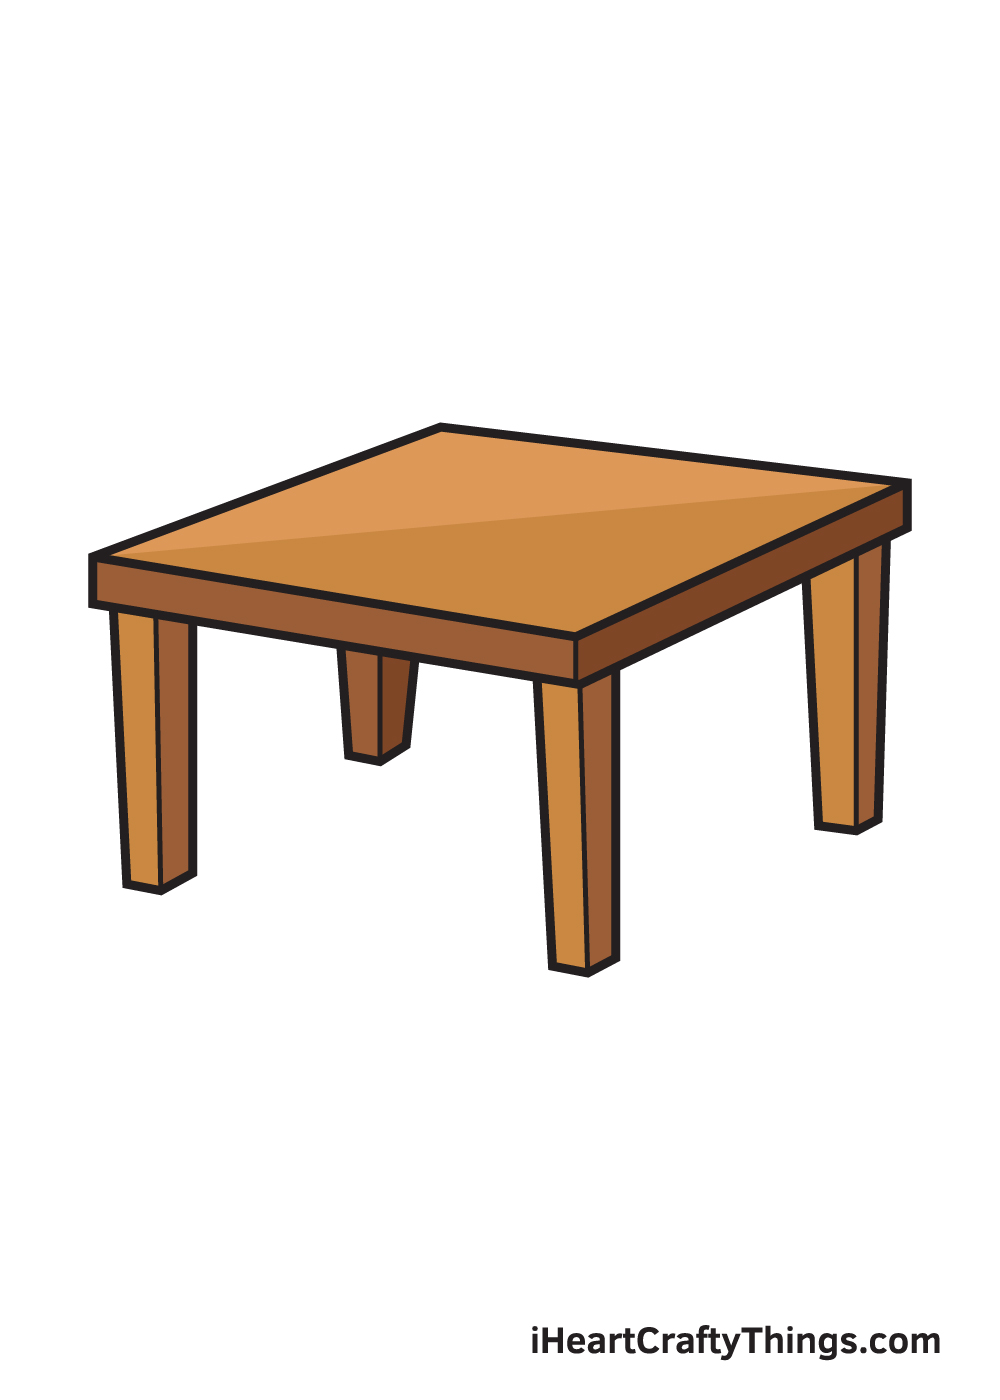
Do this to take your table drawing to the next level
Get ready to create some artistic furniture with these tips on improving this table drawing.
We kept the design of this table drawing nice and simple to make learning it easier. Now that you have mastered it, you can make the design more complex with some details.
These could include some carving details on the legs. The legs of the table could even be curved or shaped in an interesting way.
You might have some tables in your house that you could use as examples, or you can look up designs online. Will you add some fine details to this table?
Once you know how this table sketch will look, you can then decide what to put on it! First, you may want to have a tablecloth with patterns and pictures on it.
Then, on top of that you could have a vase, a sculpture or maybe a potted plant. These are just a few ideas you could try out, but this table could hold pretty much anything you can think of! Maybe you can try find objects in your house and use them as models for this picture.
Another way to make this drawing of a table even better would be to add a character sitting at it.
This could be a cartoon character or something more realistic if you’re feeling ambitious! By making the table bigger, you could have a few different characters sitting at it, maybe sharing a meal. Who do you think could be using this table?
Using different art mediums will be great depending on the kind of look you want for this table. For example, maybe you want it to look like it is brightly colored.
You could use some colored pens or markers to make those colors really stand out! Or, you may want it to look like it is made of varnished wood, in which case you may want to use some watercolor paints instead.
It all depends on what you want for this picture, and there are no wrong answers!
Your Table Drawing is Complete!
We hope you enjoy this step-by-step table drawing. If you had fun drawing a table, perhaps you might be interested in drawing a chair next? That way, you can draw a table paired with a matching chair.
Remember, all of our drawing tutorials are 100% free for you to use as learning materials during your drawing activities.
We are regularly uploading content on our “How to Draw” catalog, so don’t forget to keep checking back to continuously enjoy brand-new drawing tutorials!
Once you’re done drawing and coloring a table, make sure to show off your masterpiece! Take a photo of your artwork and share it on our Facebook page and on Pinterest.
Don’t be embarrassed, you’ve worked hard for your artwork so we’re sure it looks impressive!
We can’t wait to see your realistic table drawing!
Here Is A Table Drawing To Inspire You!

Tables can be used for many purposes in day to day life, and they come in many shapes and sizes. One of the best uses for a table is to use it when spending time with loved ones.
That is the purpose that is being shown in this table drawing for kids. Our artist Amanda did a great job creating a lovely moment between friends with this table.
It looks like they could be doing some crafting or perhaps having a tea party. Now, you can show what you would use this table for!
She made these characters distinct, but you can also change the details as you wish. For instance, you could make the characters look like you and someone you know.
That would be a great way for you to show who you would like to be with at this table.