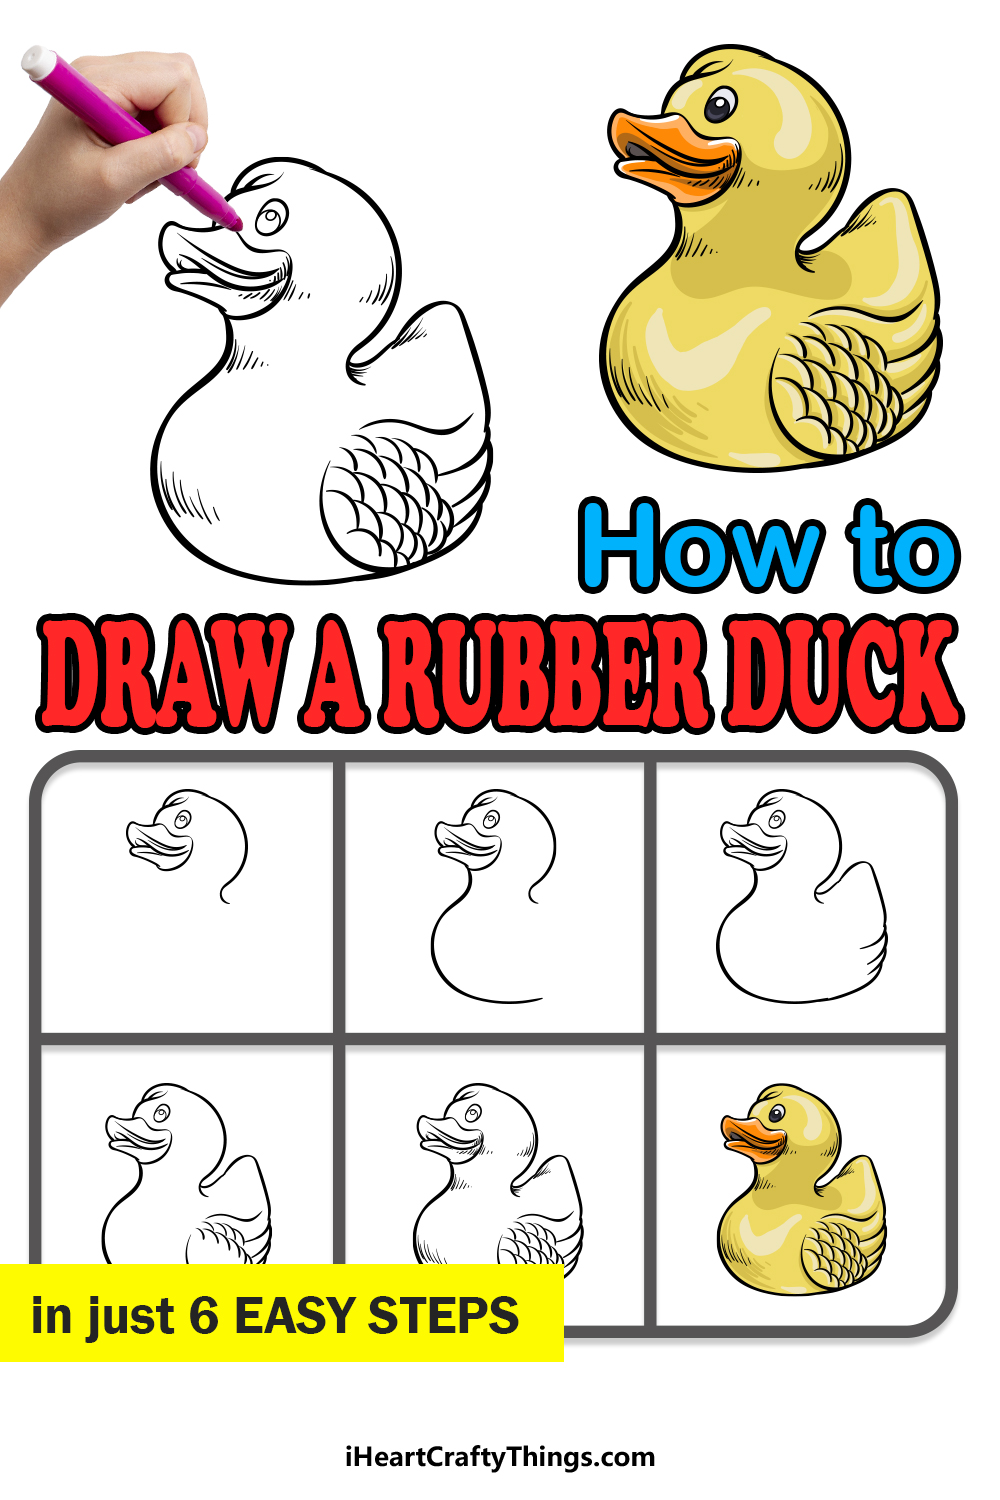
If you want to learn how to draw a rubber duck, this guide for kids will make it easier than ever! There are so many fun designs you can make with this duck, and it all begins with this guide.
Rubber ducks are a fixture of many bathtubs, and many people even like to collect them. It’s one of those objects that even someone who has never owned one will recognize!
There’s also something inherently humorous about them, so it’s easy to see why someone would want to feature one in some drawings or art.
If you would like to make some rubber duck designs, then you merely need to follow along the steps and I’ll show you everything you need to know.
The design is quite detailed, and once you have finished it you could even add your own ideas, details and settings.

Follow These Steps To Make Your Rubber Duck Drawing
How to Draw A Rubber Duck – Let’s Get Started!
Step 1
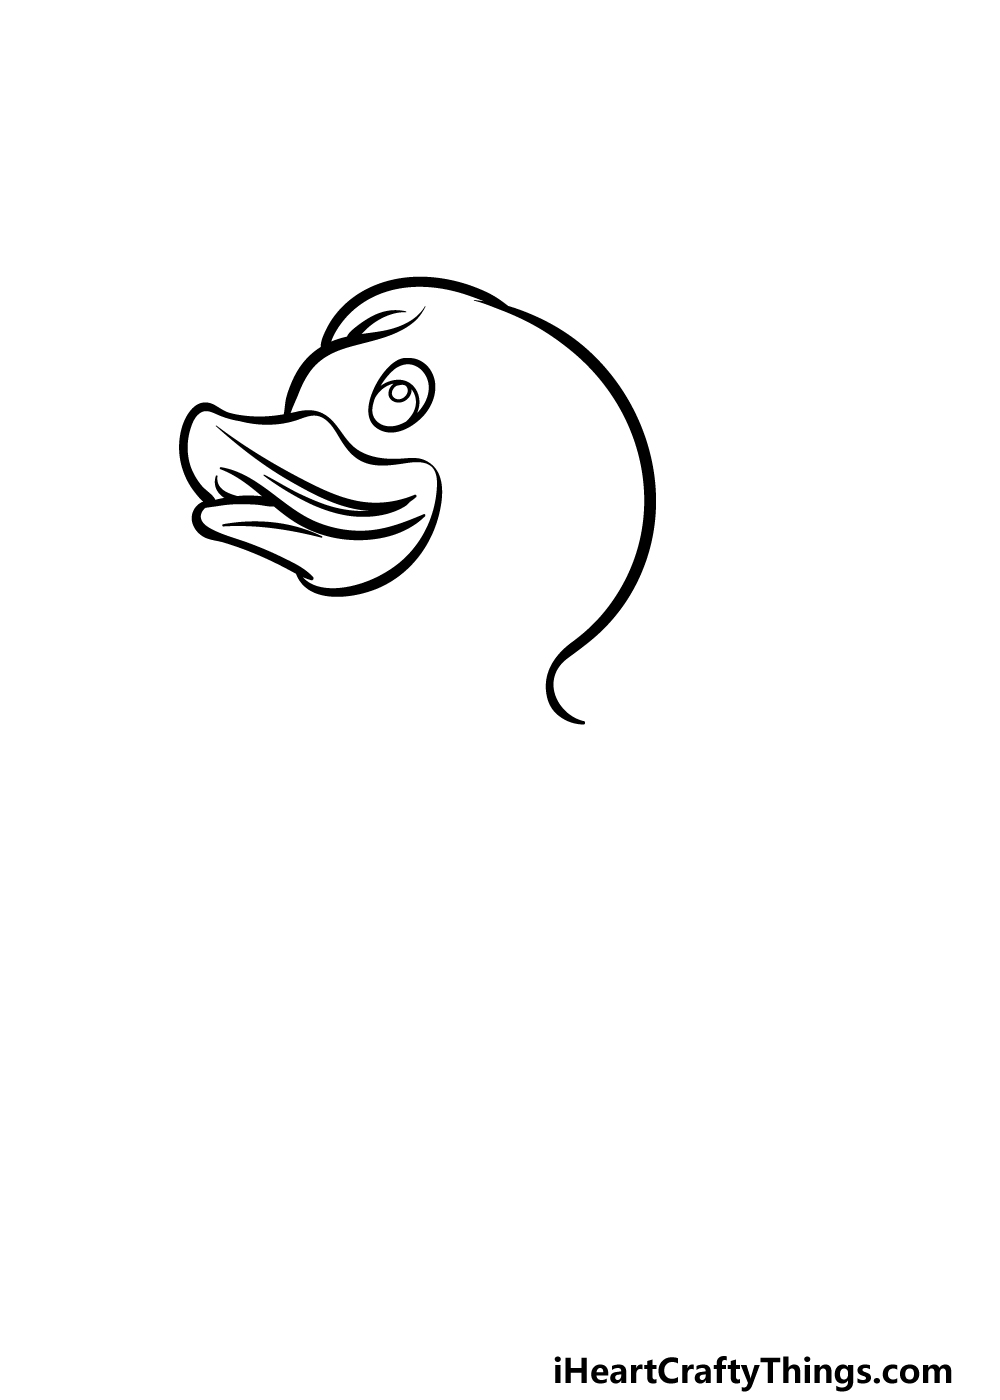
In this first step of our guide on how to draw a rubber duck, we will take it from the top, literally! This first step will see you drawing the head of the rubber duck.
Possibly the trickiest part of this drawing will be the beak, as ducks have a rather specific and intricate design for their beaks.
When drawing the beak for this one, try to follow the reference image as closely as you can in order to depict the details. You could also simplify the beak a bit if you’re having trouble with it!
Then, use some curved lines for the rounded head of the duck and then finish off with some oval shapes for the eye. Then we shall move to step 2!
Step 2 – Now, draw the front of the neck and chest
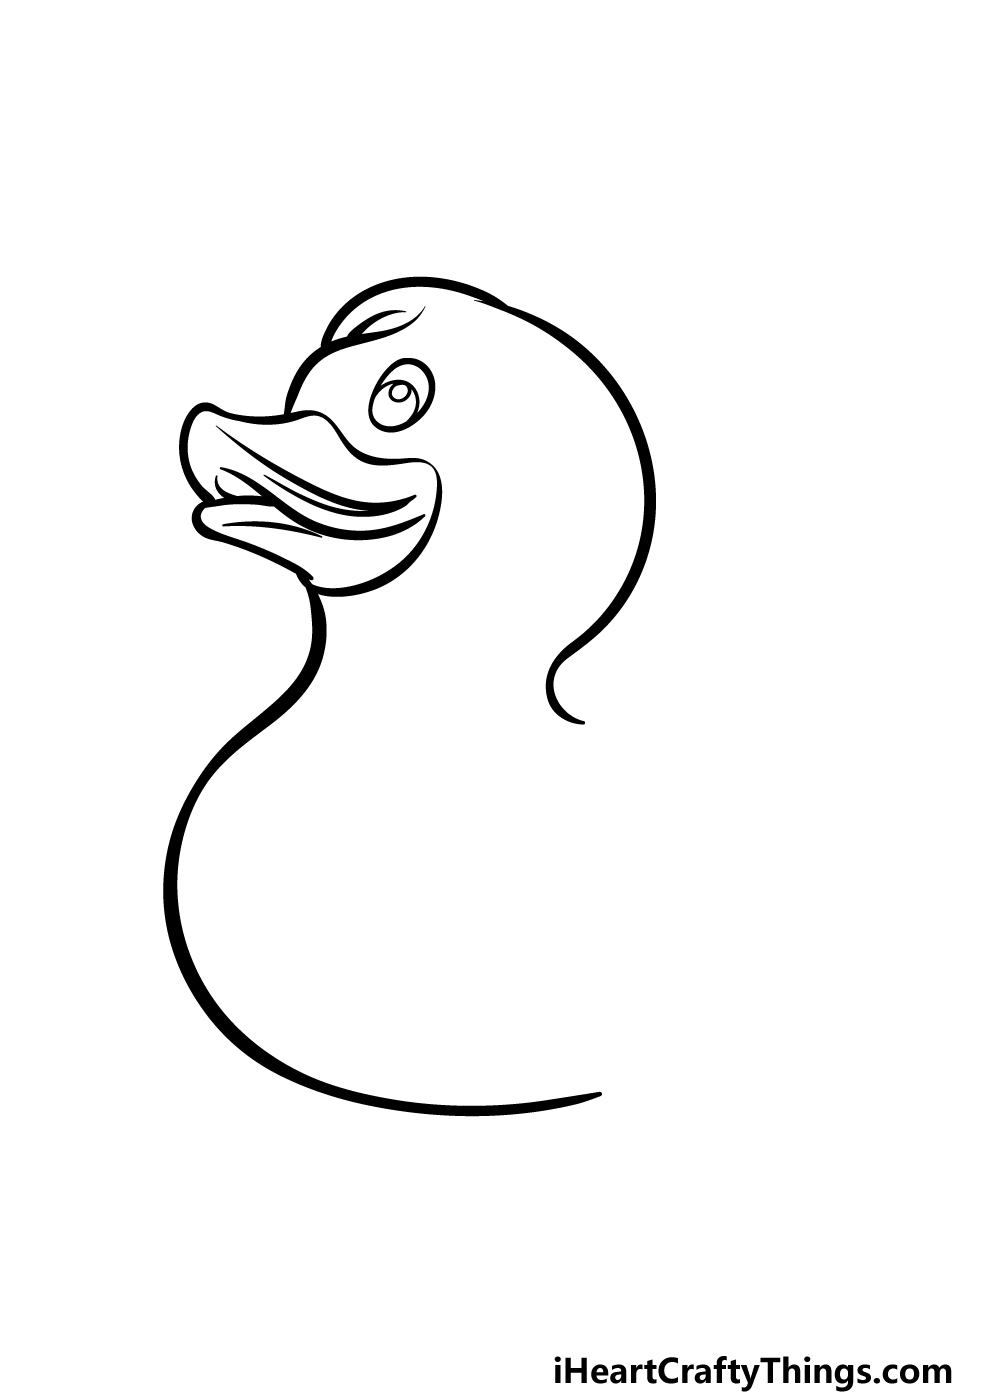
To continue this rubber duck drawing, we will now be adding the front of the neck and chest.
Rubber ducks tend to have a very wavy shape to them, and this will be apparent as you look at our example image.
The line will extend from below the beak and go downwards in a very curvy fashion. Once you have added this section, it will be time for step 3.
Step 3 – Draw the tail and the wing outline
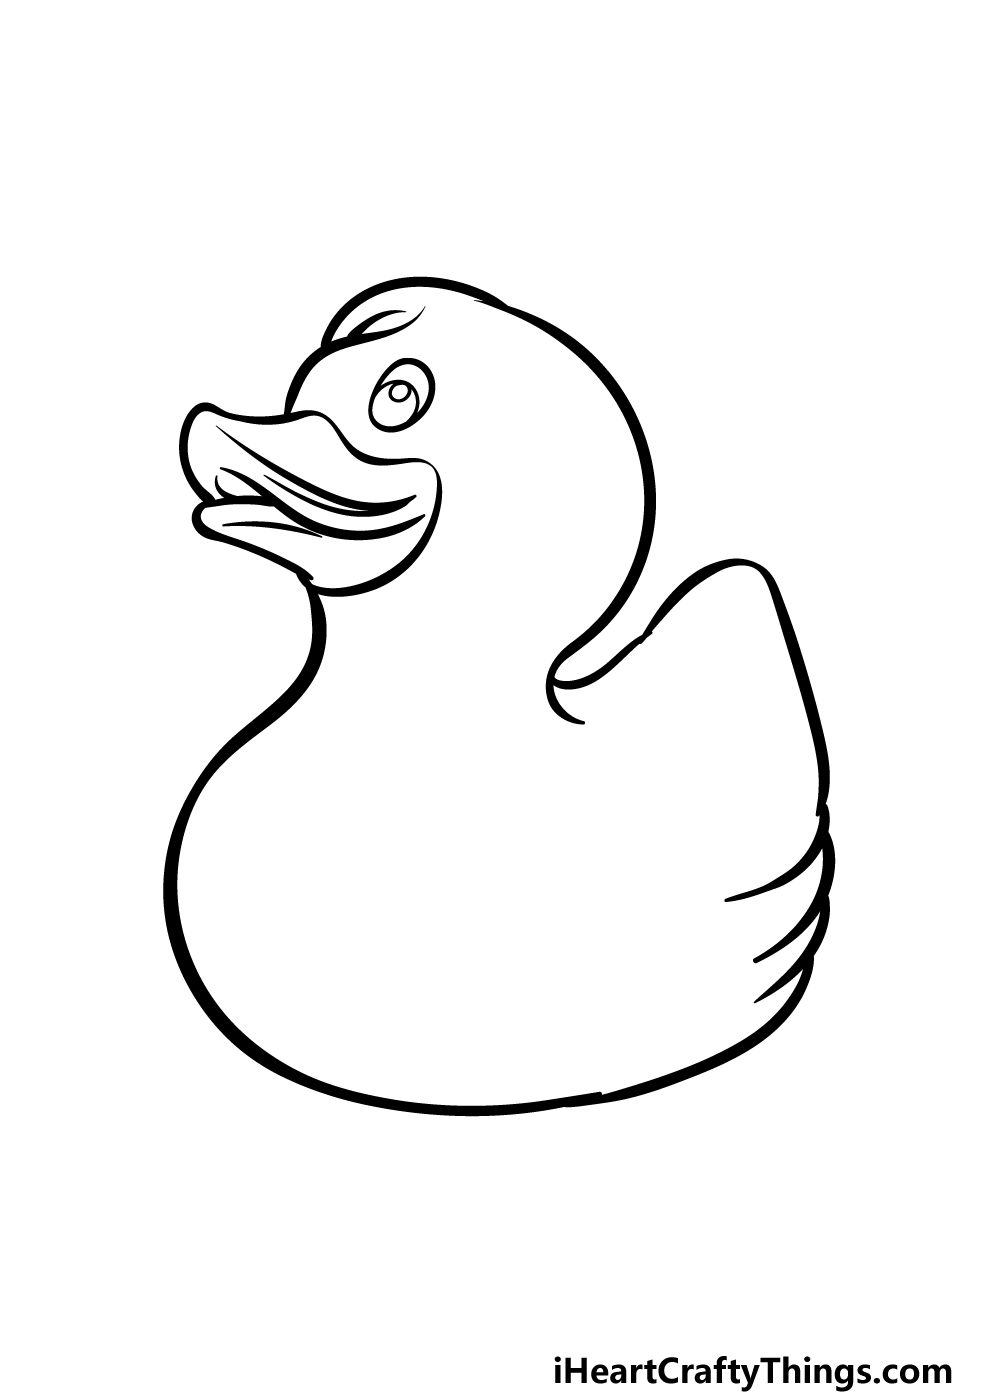
Now we shall be adding the pointy duck tail and wing outline in this third step of our guide on how to draw a rubber duck.
The tail of the duck will be relatively tall and pointy, and it will extend to the rounded back and base of the rubber duck.
Near the base, we will use several curved lines that connect to one another. They will be drawn like this in order to create the look of the feathery end of the duck’s wing.
That’s all there is to it for this step, so when you’re happy with the look of it we shall continue adding to this duck in the fourth step.
Step 4 – Next, draw more of the wing
We added the outline for the wing of this rubber duck drawing in the previous step, and in this one we shall be adding some of the inner details.
The inner outline of the wing will be drawn with more curved lines, as shown in the reference image.
Then, for some more feather details you can start adding some smaller curved lines that are close to one another.
These feather details will go near the top of the wing primarily, but we will add more along with some final touches in the next step.
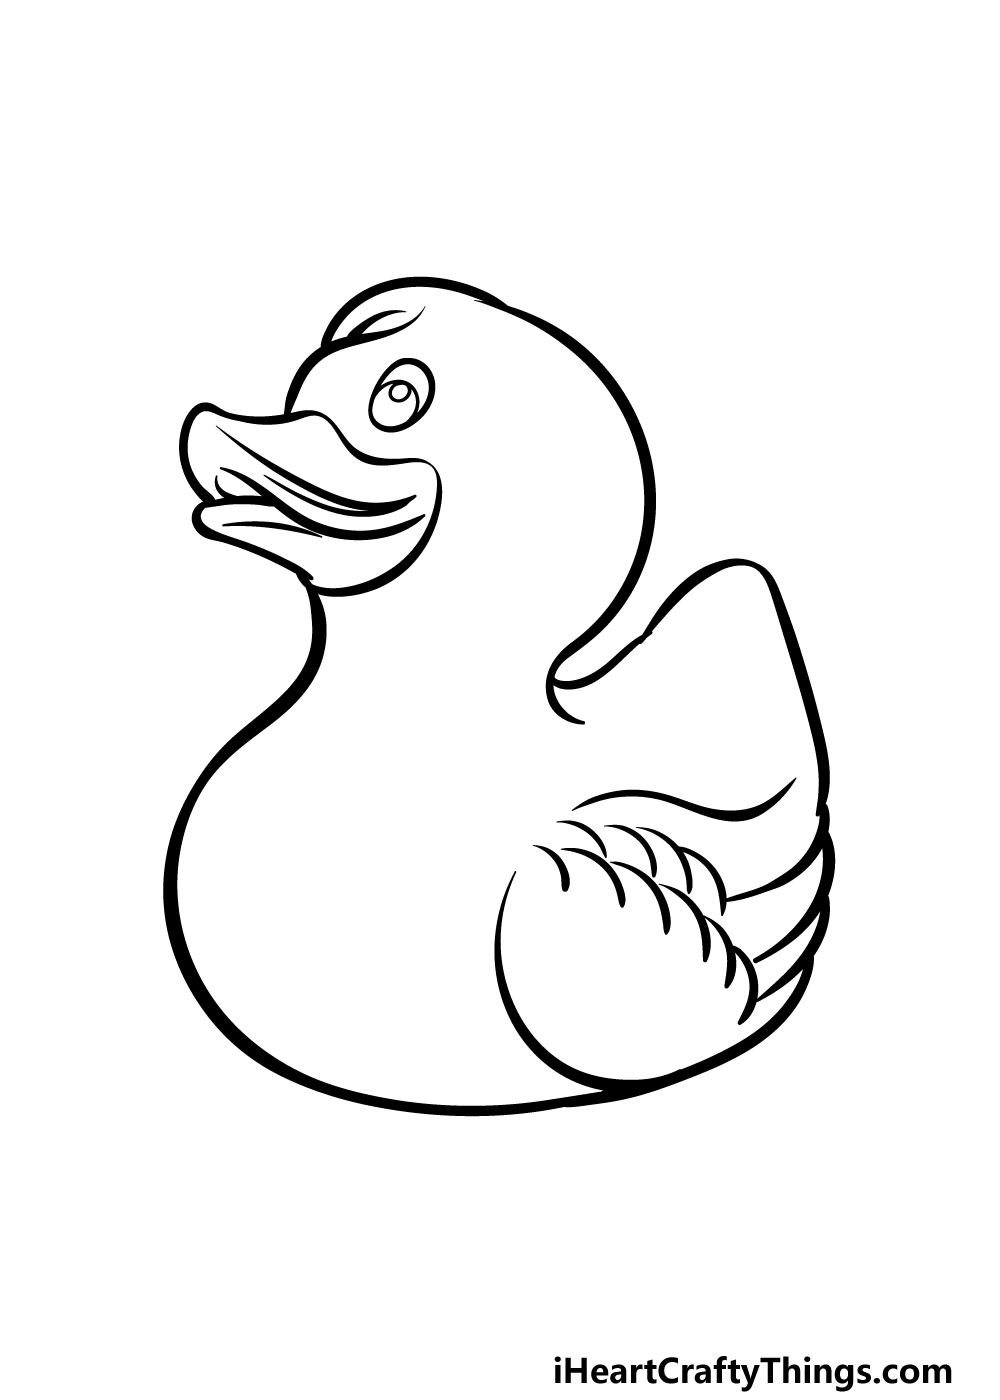
Step 5 – Add the final details to your rubber duck drawing
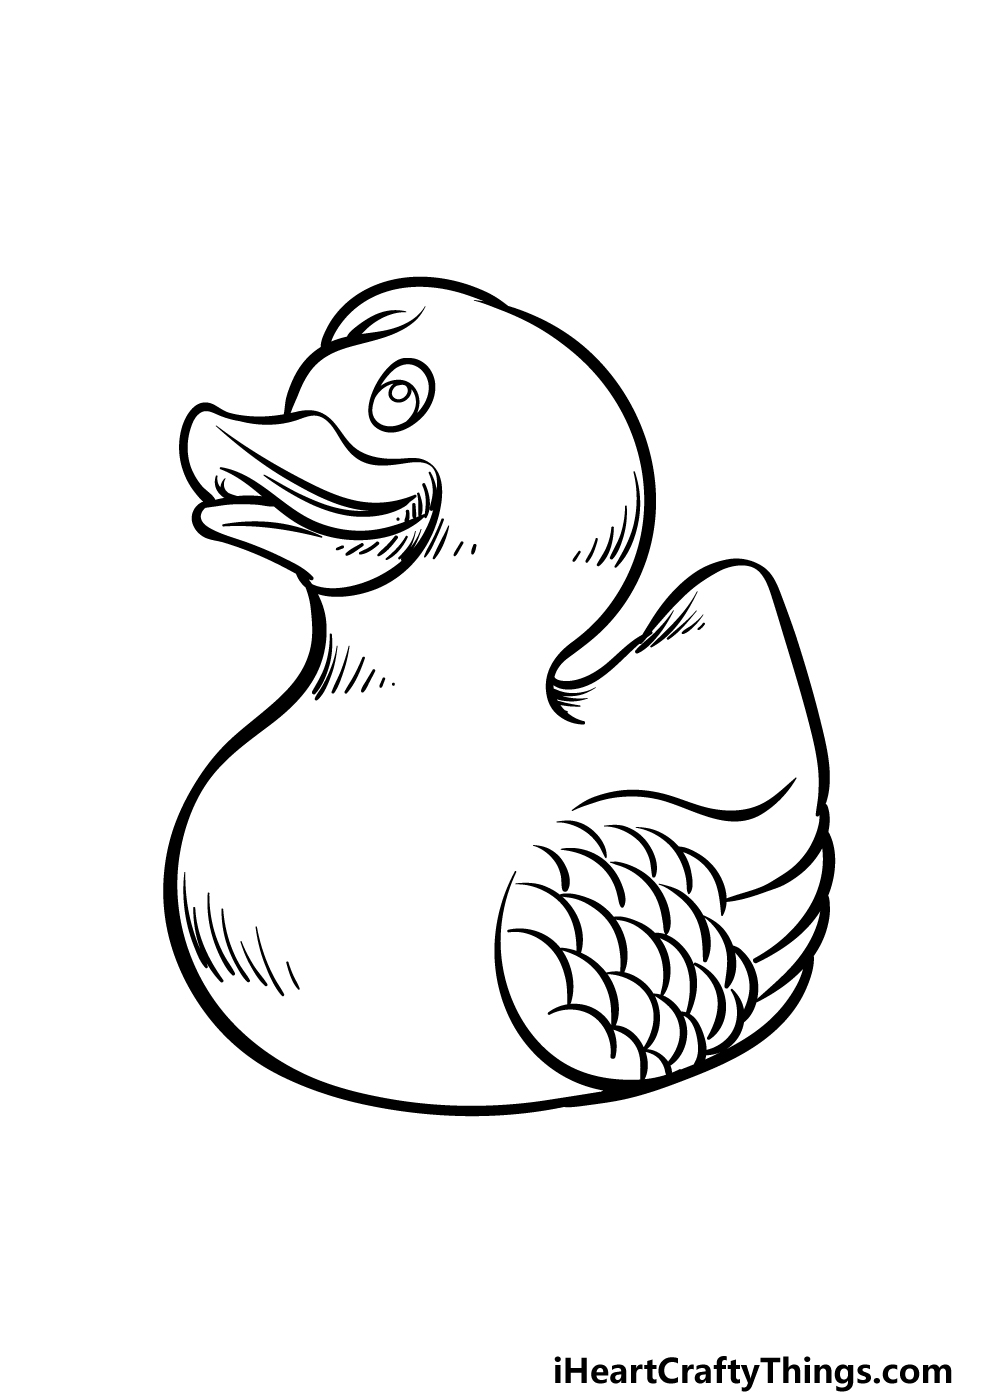
All of the outlines have been completed, and in this fifth step of our guide on how to draw a rubber duck we will focus on adding some smaller details.
We added some simple curved lines throughout the body and head of the rubber duck in order to create some texture details.
Then, on the wings we added a mass of smaller rounded lines in order to create a feathery texture.
These are the final details we chose for this picture, but there are many more you could add as well! One other idea would be to draw a background.
You could go for a typical setting such as having it floating in a bathtub, but there are other fun settings you could do instead!
This is your chance to have fun being creative, so what will you do to finish off this cute image?
Step 6 – Finish off your rubber duck drawing with color
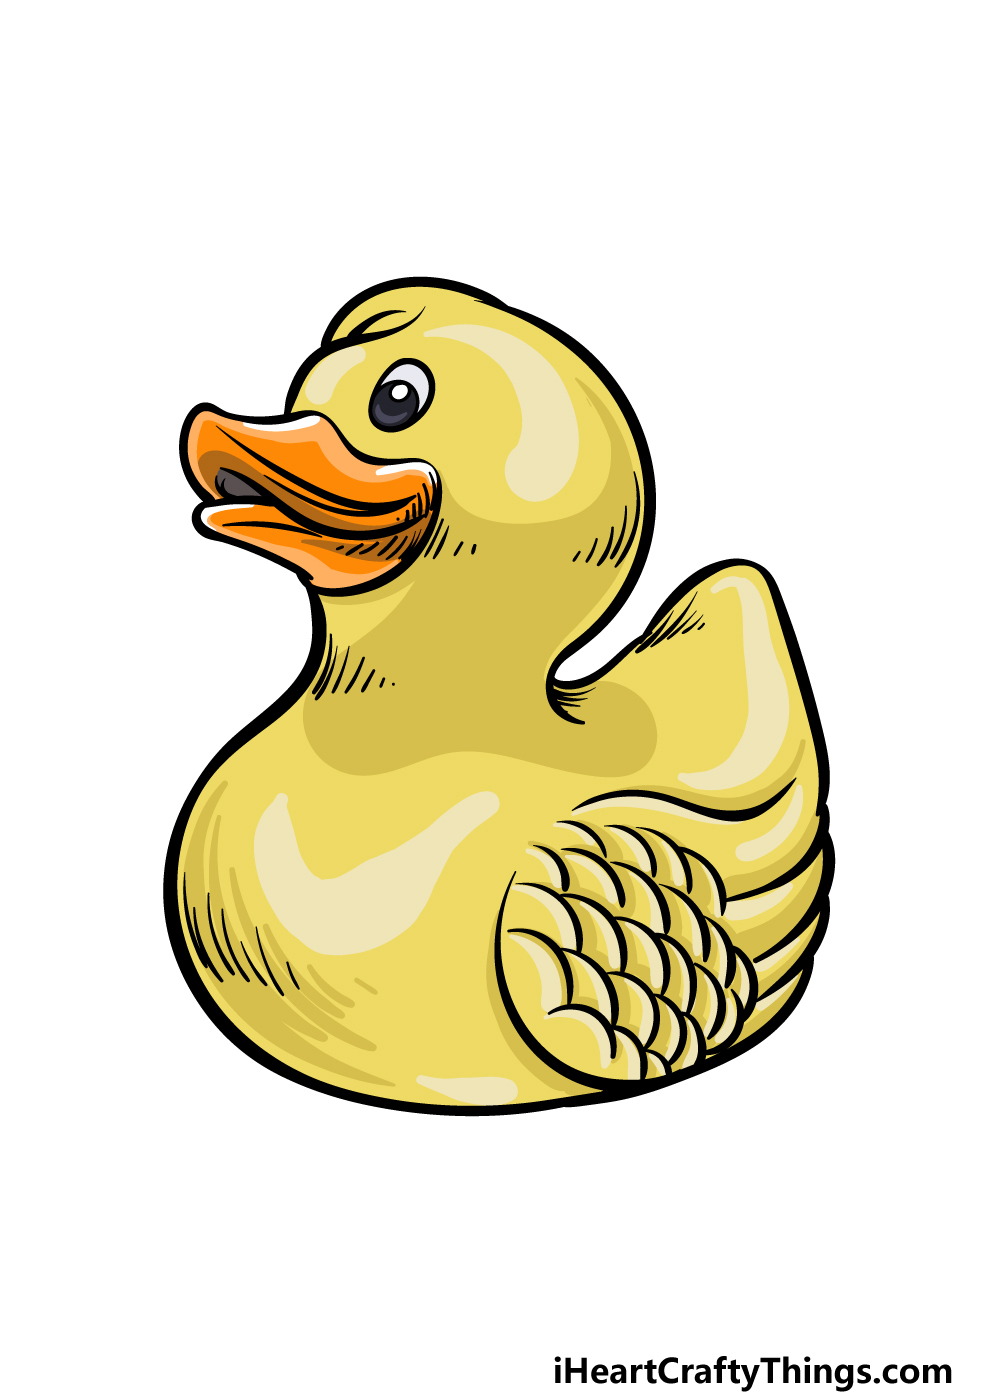
Traditionally speaking, rubber ducks will typically come in shades of bright yellows with vibrant orange for the beak.
This is what we went for in our reference image for this rubber duck drawing. For the body and head of the duck, we used varied shades of bright yellows.
By incorporating lighter tones and white highlights you can create a shinier texture for the duck.
While this is the traditional look for a rubber duck, they can also come in any other colors you can imagine!
When finishing up this image, you have a lot of freedom with how you could color it. Get creative with your favorite colors and art mediums and see what happens!
5 Tips To Make Your Rubber Duck Drawing Even Better!
Keep your rubber duck sketch afloat with these 5 fun tips to try.
The drawing of a rubber duck that we created in this guide is surprisingly detailed, but they can come in many different styles.
You could have some fun playing around with the style of this particular rubber duck. This could include making it much simpler, or you could make it look even more like a real duck.
What kind of style could you choose for this rubber duck?
If you have too many styles to choose from for this rubber duck, you could solve the issue by adding some friends for it.
By adding more rubber ducks to the image, you would not only make it more interesting but could also include all of the designs you had in mind!
Another way you could change the feel of this rubber duck drawing would be by adding some themed details.
Some rubber ducks will have clothing molded into their design, and that is something you could do.
This could be as simple as adding a tophat, or you could theme it after your favorite fictional character. What are some themes you could use for your rubber duck?
The rubber duck is a classic bath toy, but there are many others you can have fun with. These could be cool to add to your drawing as well!
The extra toys could take on any kind of form you like. Some of these toys can be wind-up toys that paddle through the water.
Others can be similar to the rubber duck but take on the shape of different animals. What are some fun toys you could add to the scene?
Finally, you could give this rubber duck sketch a home by adding a background. The obvious choice would be to have it floating in some bubbly bath water.
There are some other fun approaches you could take though. For example, this rubber duck could be floating on a real pond with some actual ducks.
Your Rubber Duck Drawing is Complete!
That brings you to the end of this guide on how to draw a rubber duck! We hope that you had a great time as you recreated this adorable rubber duck alongside us.
In this guide, we wanted to make drawing this design easy and fun to do, so as long as you follow all of the steps we laid out then you will have it in no time!
Finishing this guide is just the start of it, as you can keep the fun going by creating your own rubber duck designs using the steps that you went through in this guide.
You could also add elements such as a background or creative colors, so let your creativity run wild!
When you’re finished with this guide, you can find more drawing fun on our website! We have many amazing guides to sample, and this list keeps growing as we constantly add more.
Keep checking in to make sure you never miss any new guides!
It would be amazing to see your finished rubber duck drawing, so please be sure to share it on our Facebook and Pinterest pages for us to see!