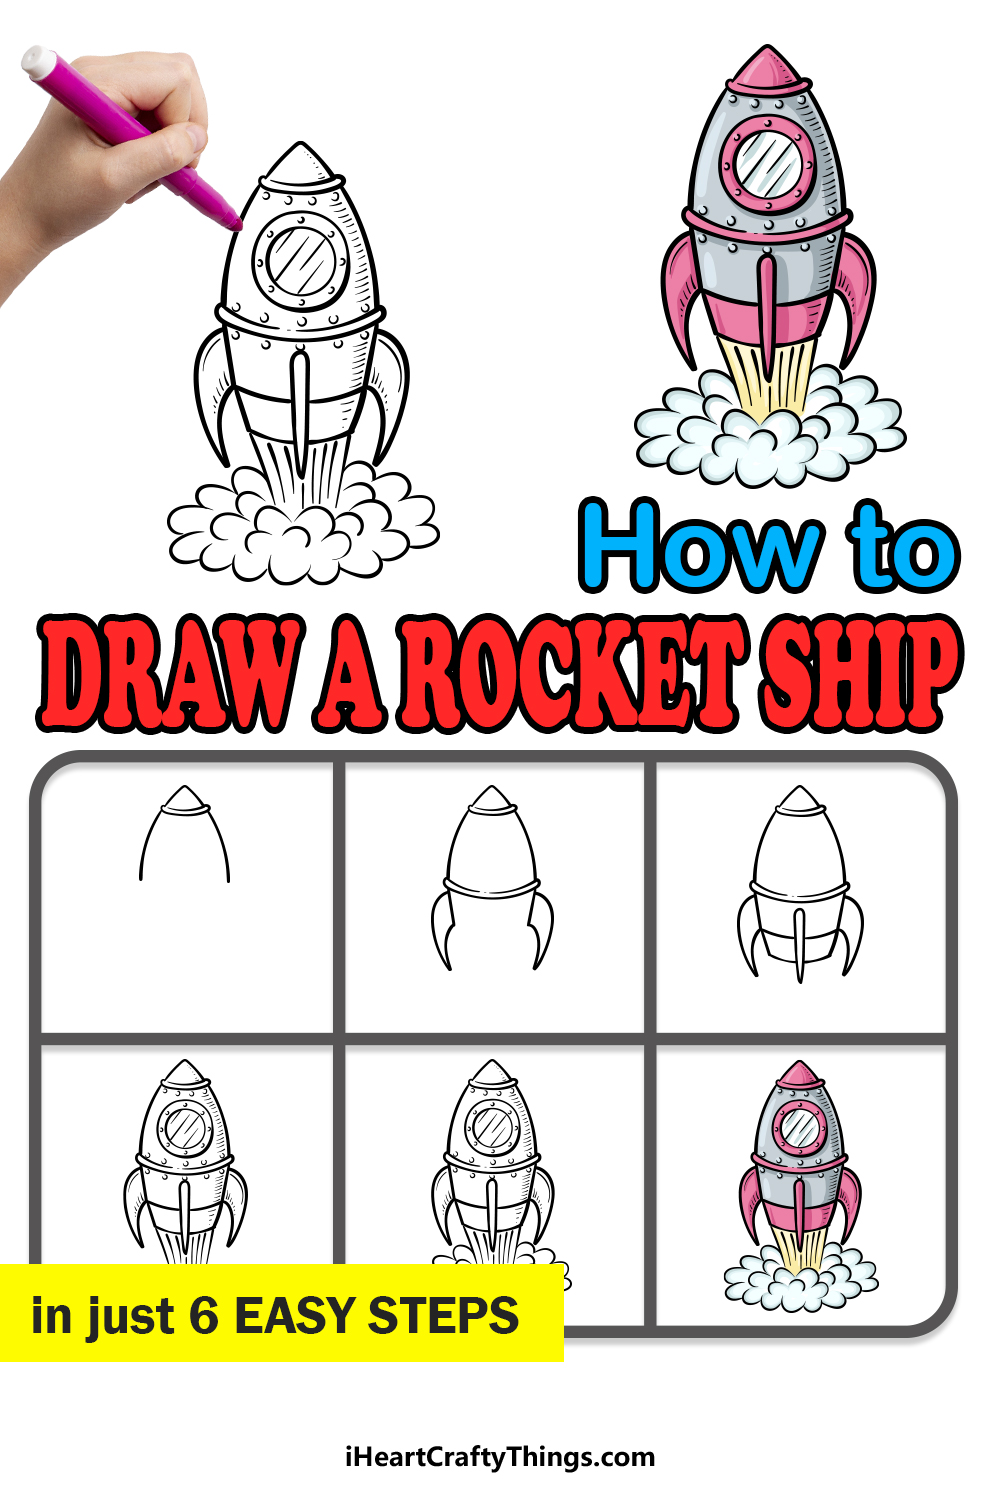
If you want to learn how to draw a rocket ship, this guide will make it easier than ever. Live out your dreams of space travel as we work on these steps together.
Rockets are one of the greatest accomplishments mankind has created. They allowed us to achieve things that previously felt impossible such as walking on the moon.
Even now, rockets propel us from our home planet as we seek to solve the mysteries of the universe. Only a select few people are able to board a rocket to explore space, but making your own rocket is the next best thing!
This guide will take you through some simple steps so that you can see how to make this incredible design. Once you have done so, you can add your own unique details, elements and background ideas.
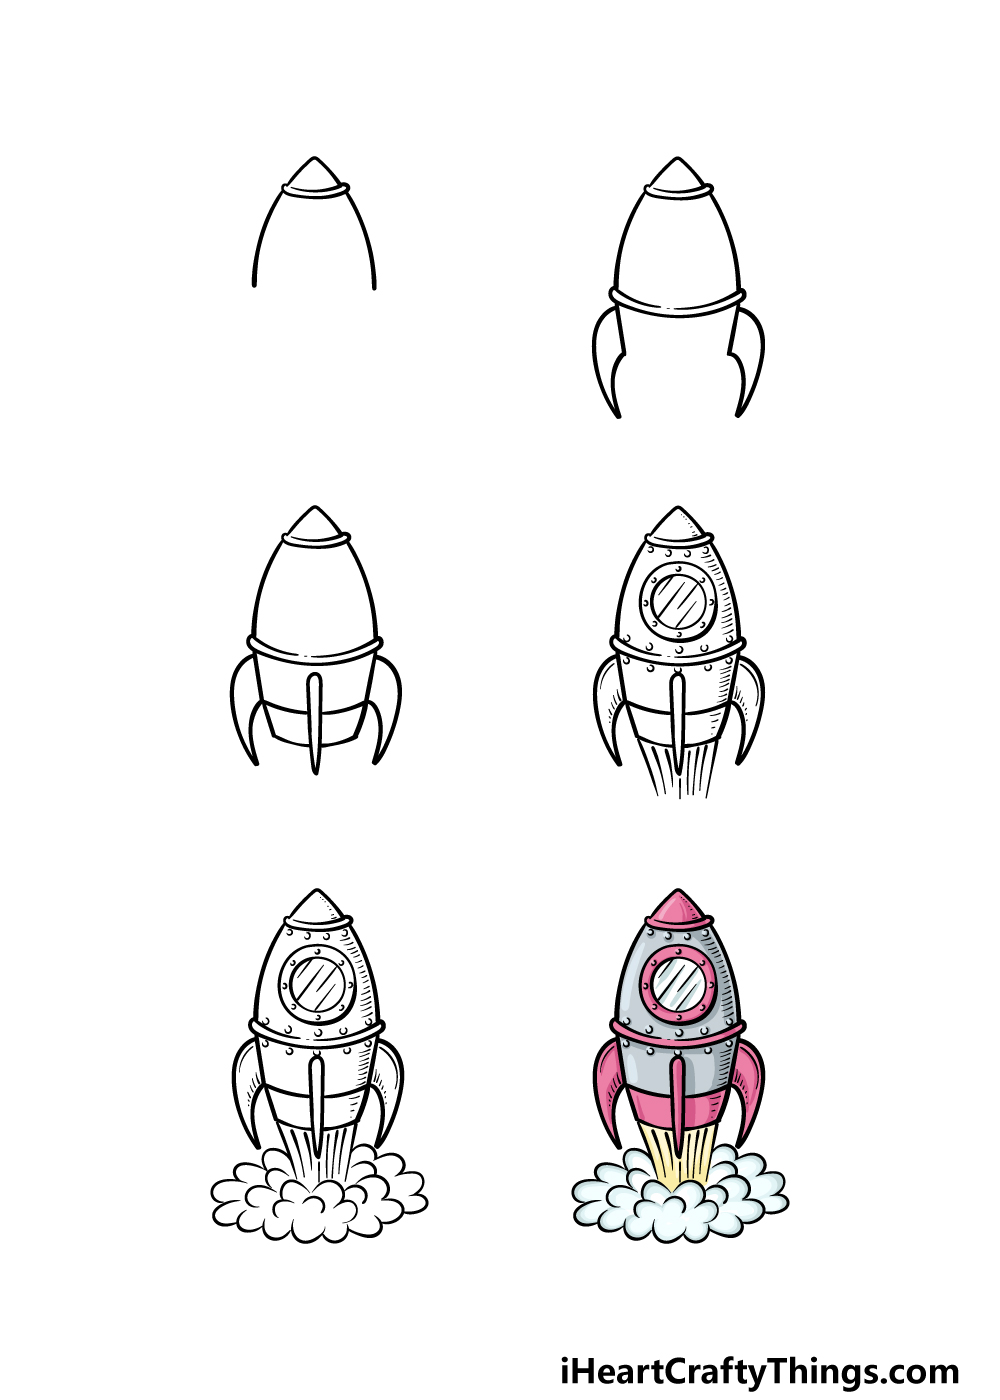
Watch These Steps To Make Your Rocket Ship Drawing
How to Draw A Rocket Ship – Let’s Get Started!
Step 1

To begin this guide on how to draw a rocket ship, we will begin with the tip of the ship. To begin this, we will be drawing a sharply curved line that looks a bit like it could be the top of a triangle.
Then, you can add a rim to the base of this using some more curved lines.
Once you have drawn this tip of the rocket ship, we shall then draw the beginnings of the sides for the ship. Simply extend some slightly curved lines down from the sides of this rocket tip.
When it looks as it does in our reference image, we can proceed to the second step of the guide!
Step 2 – Now, draw the next section for the rocket ship
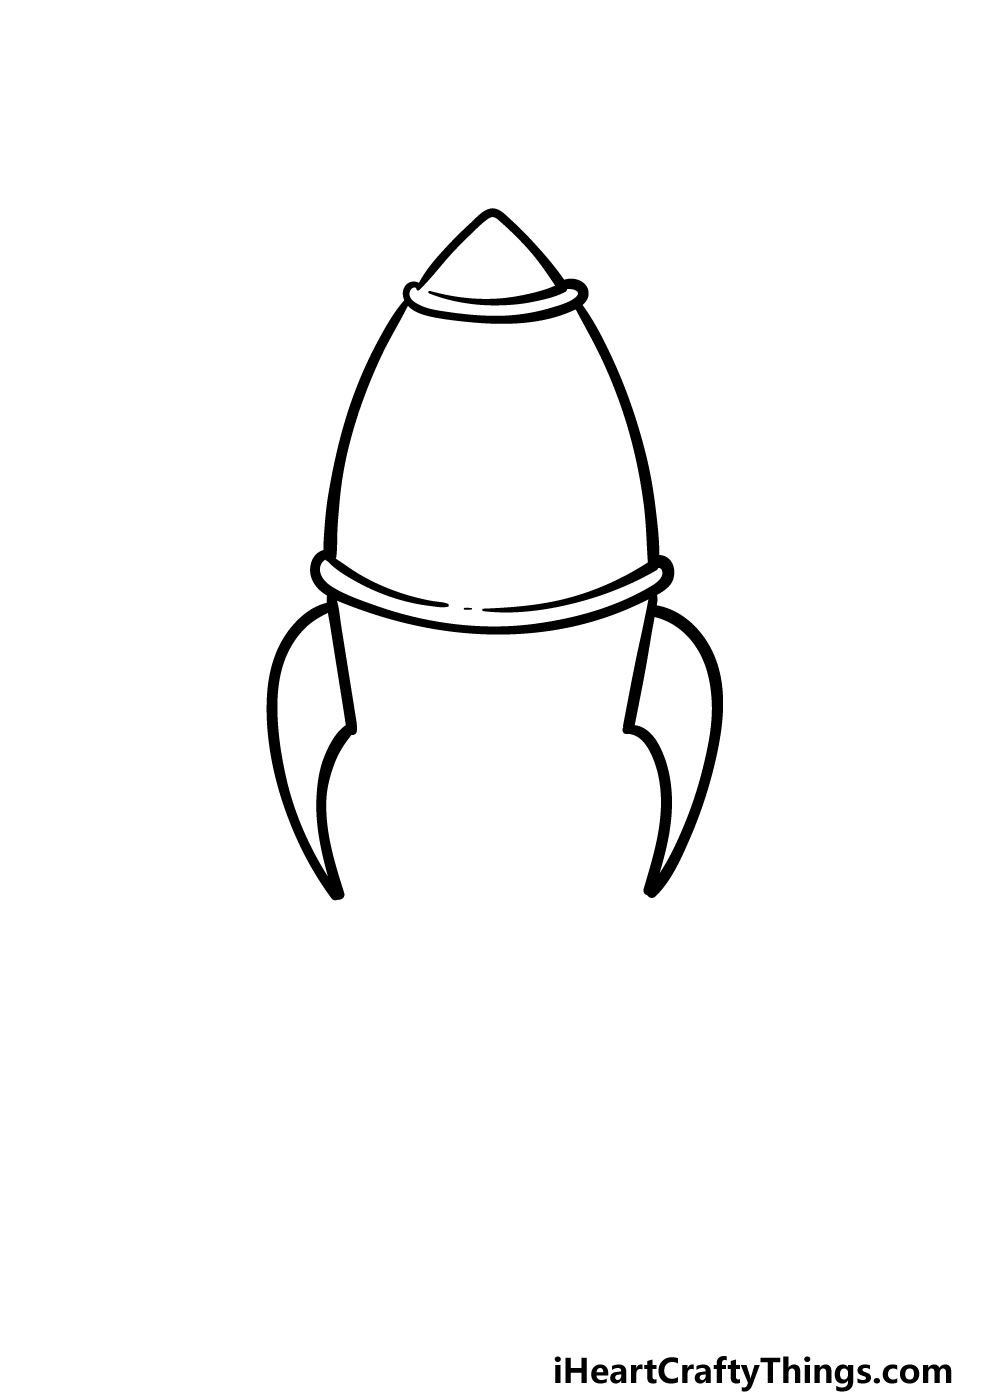
For the second step of this rocket ship drawing, we will be adding the next section of the ship along with some extra details.
First, add another rim that looks similar to the one that you drew at the base of the tip. Then, once that is drawn you can add the stabilizing fins on the sides of the ship.
These will be sharply curved downward and will be quite rounded and pointy. Try to get them looking as they do in our reference image, and then you will be ready for step 3!
Step 3 – Draw the final section for the rocket ship
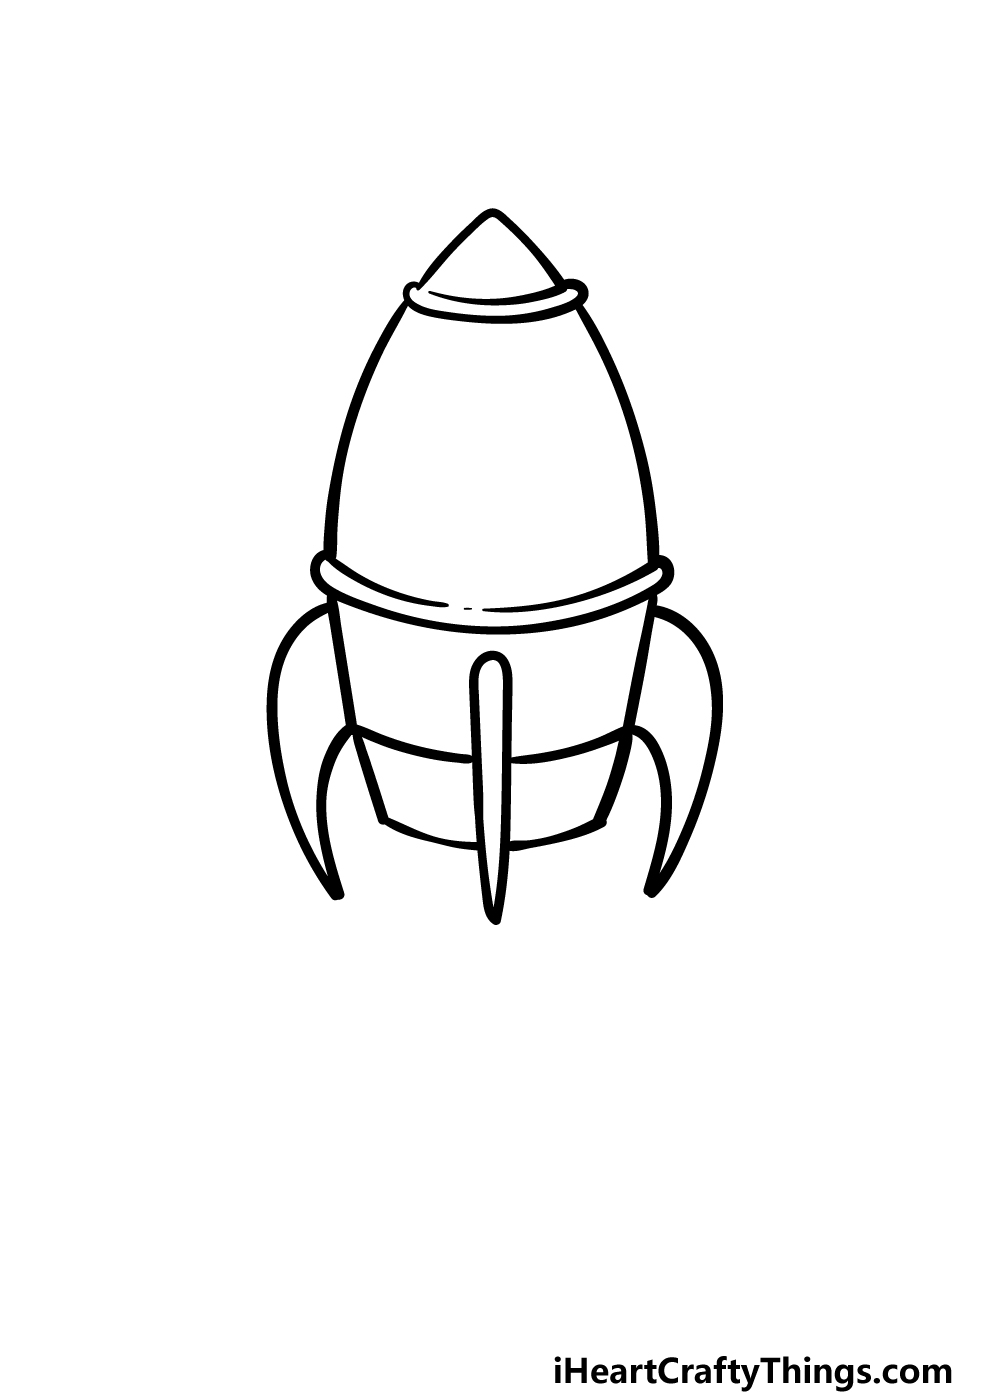
The third step of this guide on how to draw a rocket ship will see you finishing off the outline for the ship before we add some finer details.
First, we will be drawing one more fin on the side of the ship. This one will be facing us directly, however, so it will look like a very thin, pointy shape.
Finally, use some curved lines for the base section of the ship that will be propelling it forward. Then, we will be adding some finer details as we proceed to step 4!
Step 4 – Next, draw some finer details for the rocket ship
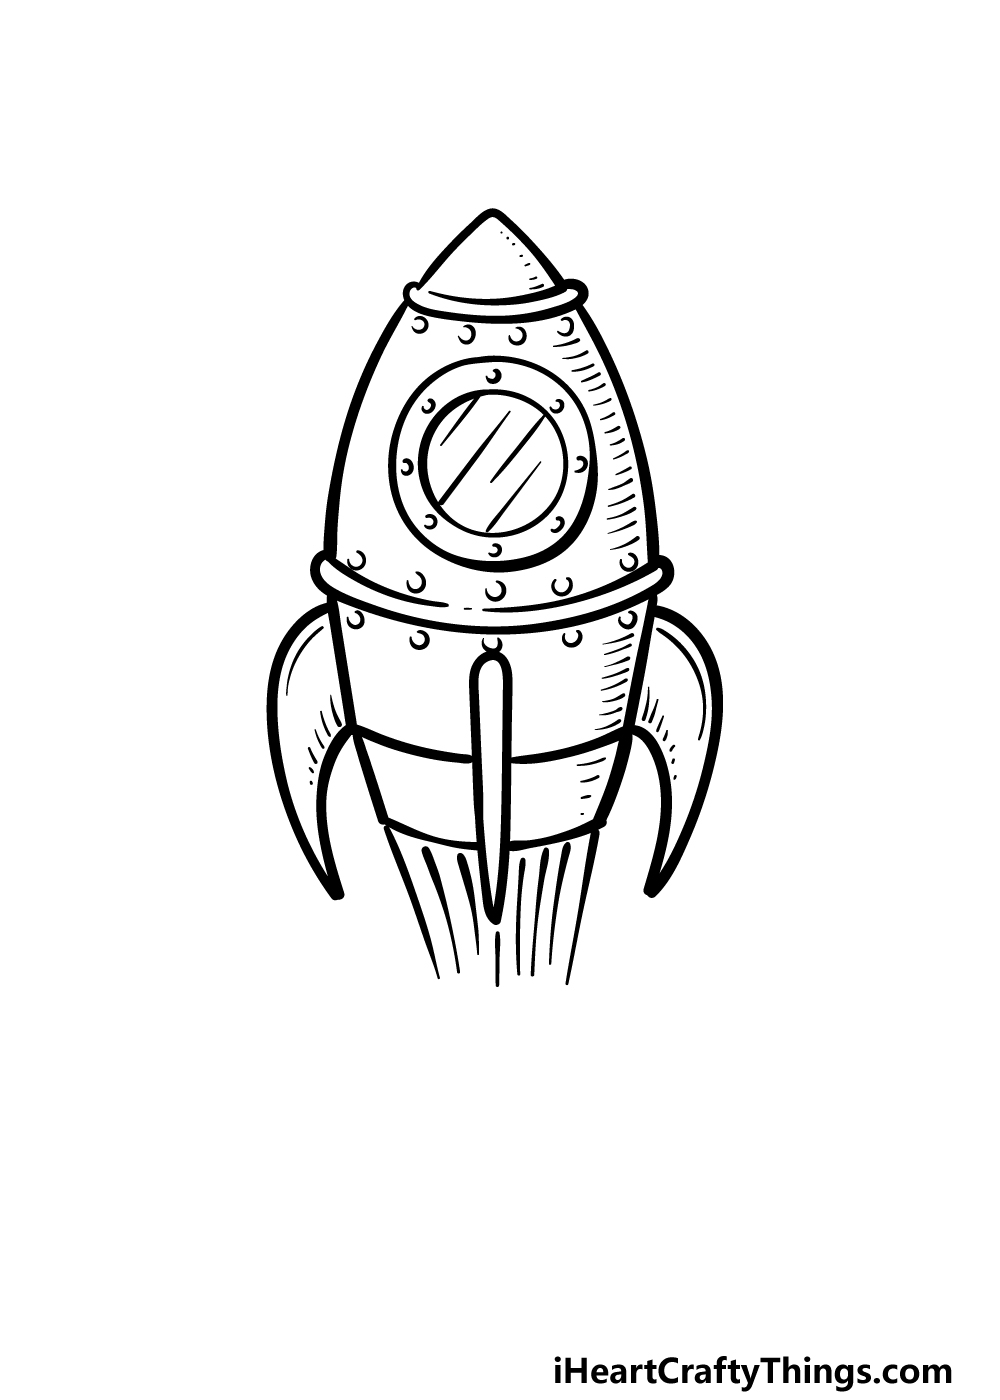
Now that you have the outline of your rocket ship drawing completed, we can start to add some finer details in this part.
First, draw a window by adding a circle to the side of the ship and then add a smaller circle inside the inner perimeter. You can add some small circles in this border for the bolts holding the window on.
You can also add some more of these small bolt circles throughout the rocket ship, and then add some lines throughout as well for some texture details.
Finish off this step by drawing a series of straight lines extending from the base of the rocket ship. This will be the blast propelling this ship, and it will have more details in the next step.
Step 5 – Add the final details to your rocket ship drawing
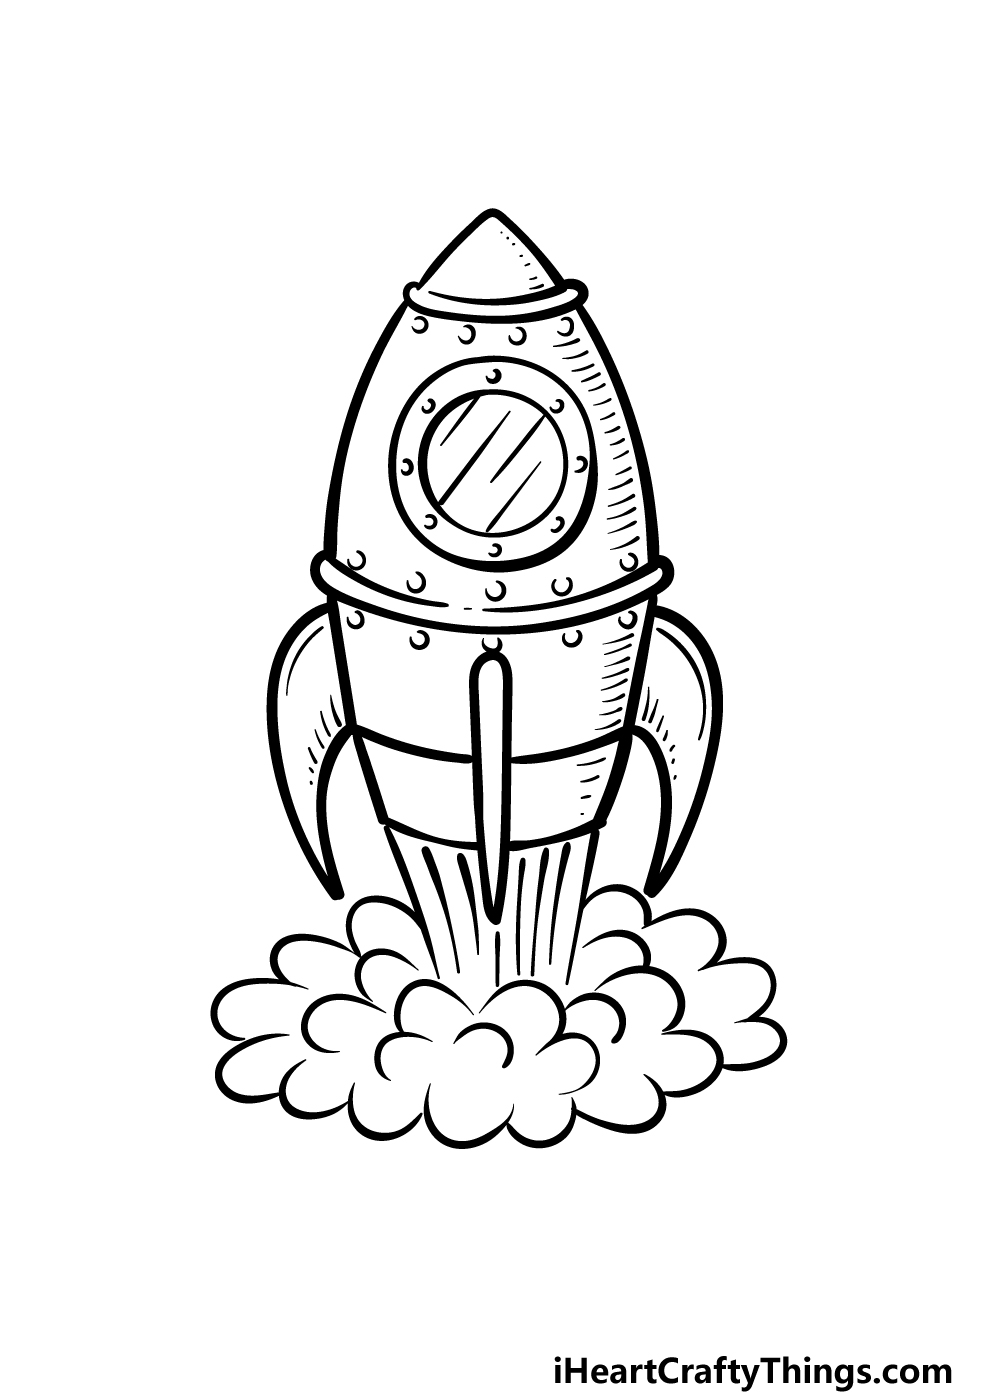
In this fifth step of our guide on how to draw a rocket ship, we will finish off with the final details and elements.
Mainly, we will be finishing the takeoff effect by drawing the base of the blast that is coming from the base of the rocket.
To do this, we will be drawing a mass of small, rounded lines that connect to one another.
These will help to make the blast area look nice and puffy, and this will make the blast seem more powerful as well.
When you have completed these details, you could also keep it going with your own details and ideas!
These could include adding some decorative details to the side of the rocket or by drawing a background. These are just a few ideas, but what else can you think of to finish this picture?
Step 6 – Finish off your rocket ship drawing with color

This is the final step of your rocket ship drawing, and now it’s time to finish off your creation with some colors!
In our reference picture, we wanted to show you just one way that you could go about coloring your creation.
In our example, we used greys for most of the body for the rocket ship, and then we went with some pinks for some of the finer details of the ship.
As mentioned, these colors are just a suggestion, and you should really feel free to go for any colors you like! This is all about expressing your creativity, so there are no wrong answers here.
You can also increase the range of colors you use by playing around with various art tools and mediums. How will you express yourself with your colors and art techniques?
3 More tips to make your rocket ship drawing easy!
Find out how you can make this easy to draw rocket ship even easier with these tips!
Even though this rocket ship drawing we created is quite cartoony and stylized, it still has a lot of small details. When it comes to these kinds of details, they can be considered icing on the cake!
What we mean is that they look good but aren’t essential, so you could remove some to make it easier. When removing details, you should try to keep as many as possible.
That being said, if there are some that you are having a hard time with then you should feel free to remove them. It’s all about making this drawing more comfortable for you, so you should do what you need to!
Next, you could also make this rocket ship drawing easy to do by consulting pictures of real rocket ships. As we mentioned, this particular rendition is quite cartoony, but you could still use real photos to help.
It would be best to use photos of rocket ships that are taking off, as that would help with the blast-off effects as well. Not only can this help make it easier, but it could also help you to make the drawing more realistic.
You might even find some more details to add that you wouldn’t have thought of before!
Finally, you can actually make your rocket ship sketch a bit easier by incorporating it into a larger scene.
You might be thinking that adding a background would only make it more challenging, but it doesn’t have to be so!
If you simply draw the rocket ship, then the entire focus will be on that. That means that if there are any parts you’re not happy with, they will be more apparent.
If you make the rocket ship smaller on the page and add planets, asteroids and stars around it, that will make these parts less obvious. You could make the background simple and cartoony as well!
It would also result in a picture that is even more fun to look at.
Your Rocket Ship Drawing is Complete!
Exploring space is always an incredible adventure to take on, and we hope that you enjoyed embarking on this creative adventure during this guide on how to draw a rocket ship!
During this guide, we aimed to show you that it can be not only much easier to draw one of these ships than expected, but we also wanted to leave room for your own creativity.
Now you can show off that creativity by adding your very own awesome details, elements and color choices!
You can also head on over to our website for more drawing guides when you’re ready for some more creative fun!
We have so many guides covering so many subjects that there’s bound to be something for everyone. If that weren’t enough, we also upload new guides frequently!
We would love to see how your rocket ship drawing turned out, so please be sure to share your finished artwork on our Facebook and Pinterest pages for us to admire!