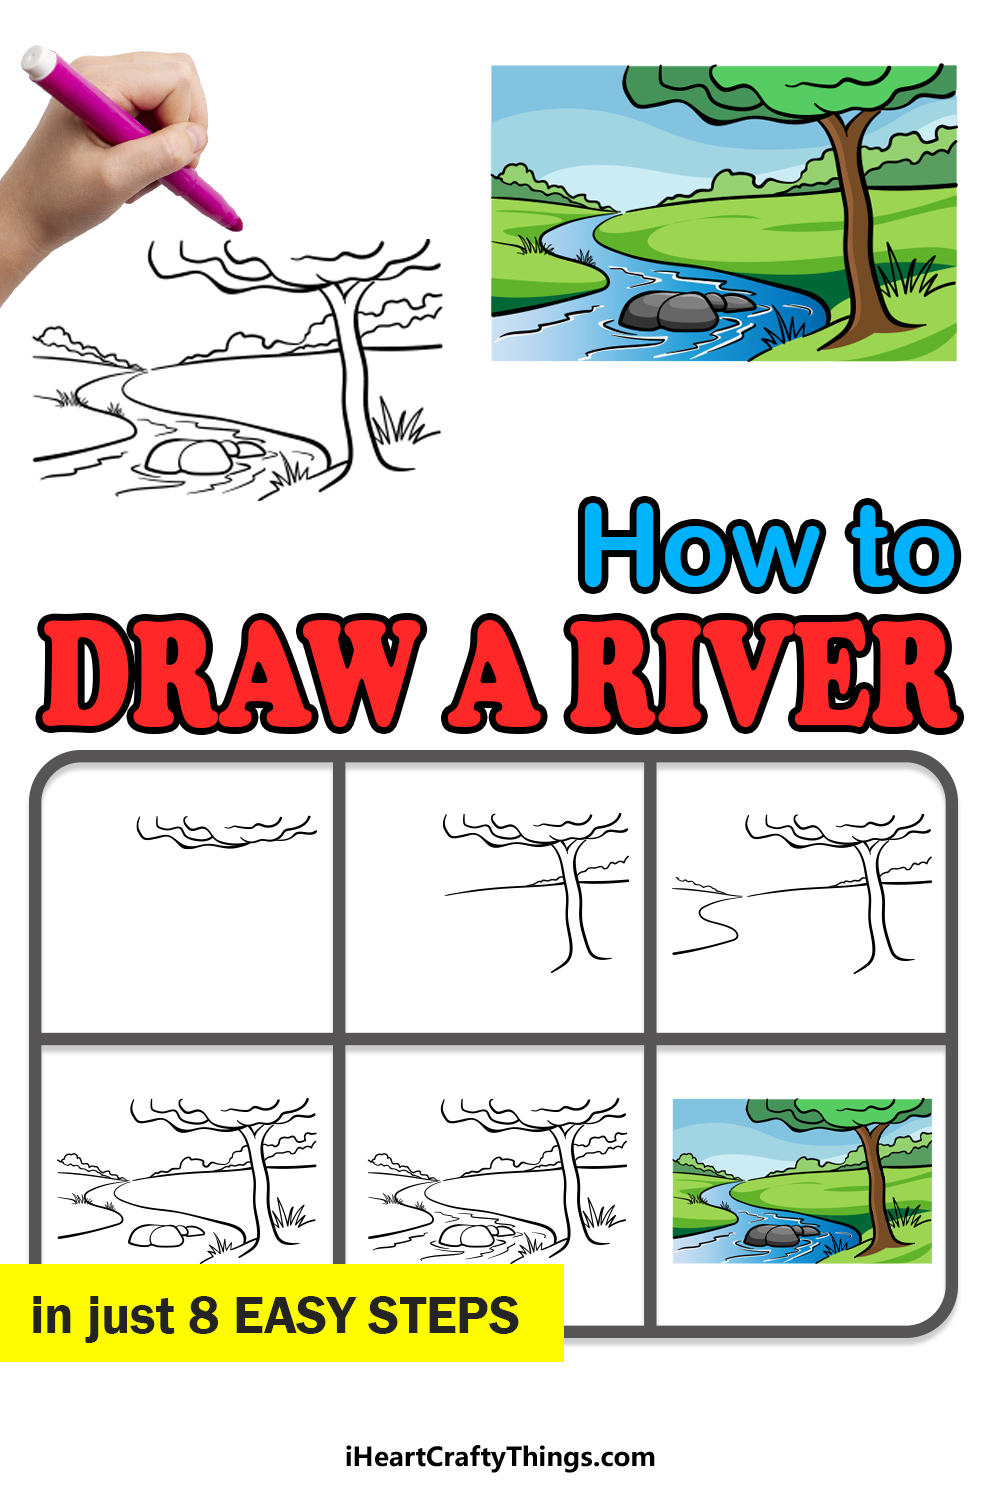
It’s easier to learn how to draw a river than you may have thought! Keep reading to discover just how simple it can be when you know what to do.
Rivers are always a beautiful sight in any landscape. There is a reason that rivers have been featured in so many famous photos, artworks and films.
Many people want to know how to draw a river artwork of their own, but they may find that it’s actually quite difficult. This guide aims to help anyone who wants to recreate a beautiful river.
I will show you exactly what you need to do and will walk you through each and every step. By the end, you will see how to create this charming river scene.
You could even add some of your own details and ideas to make it more unique once you have the hang of it.
See How To Make Your River Drawing With These Tips
How to Draw A River – Let’s get Started!
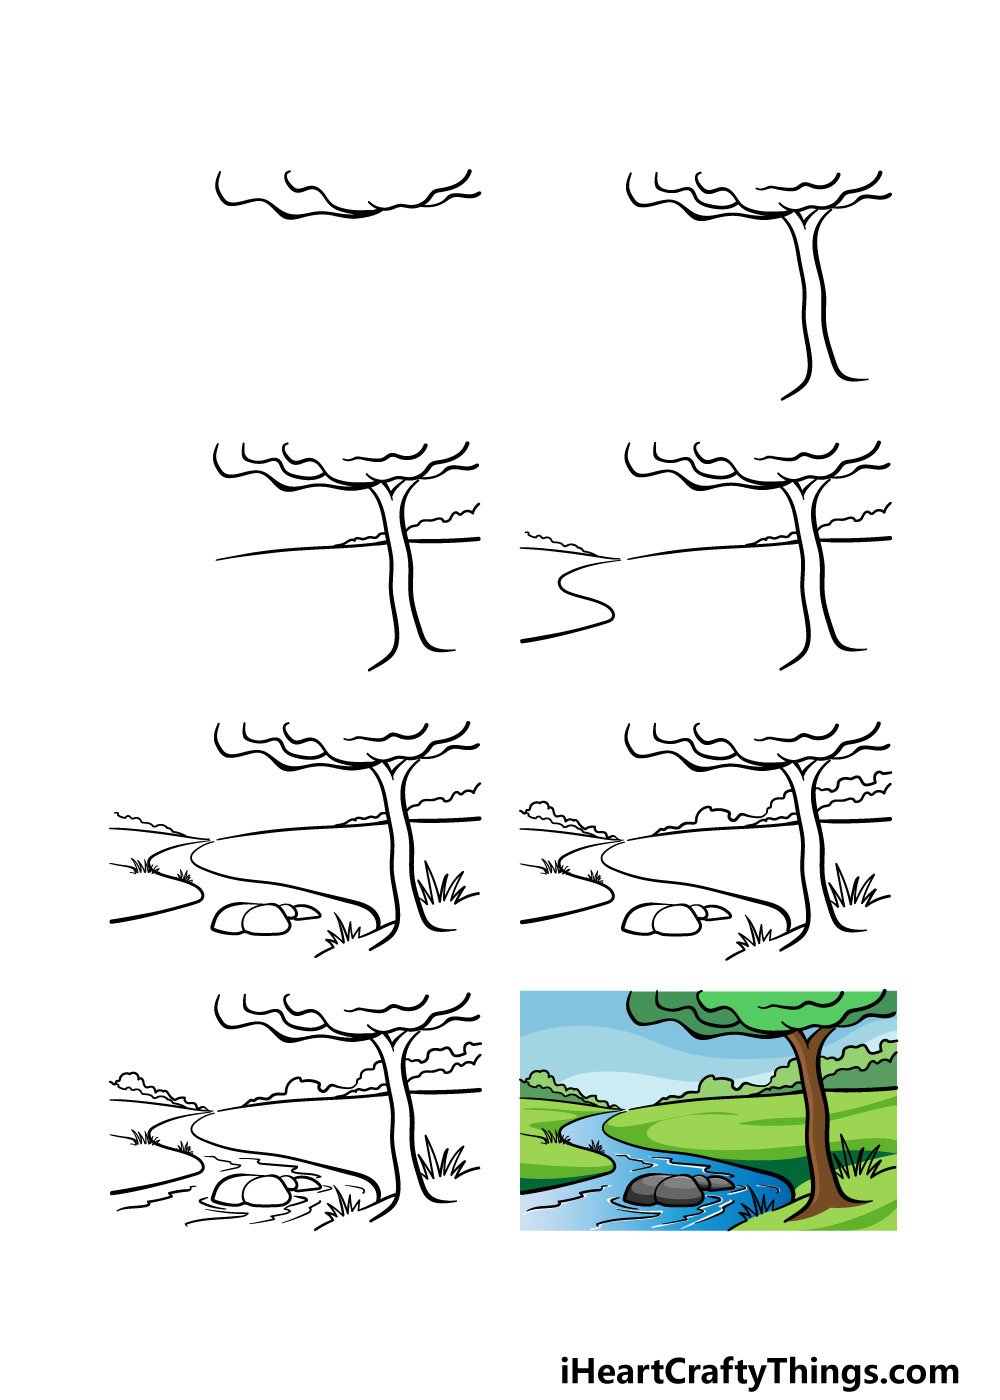
Step 1

This river you will be drawing is going to have a tree standing over it, and this tree is what you will be drawing first in this guide on how to draw a river.
We will first start with the top of the tree, which you can see in our first reference picture. You will be using a lot of curved lines to create the leafy canopy of the tree.
These curved lines will all connect with one another to form a somewhat stylistic tree canopy.
Step 2 – Next, draw the trunk of the tree
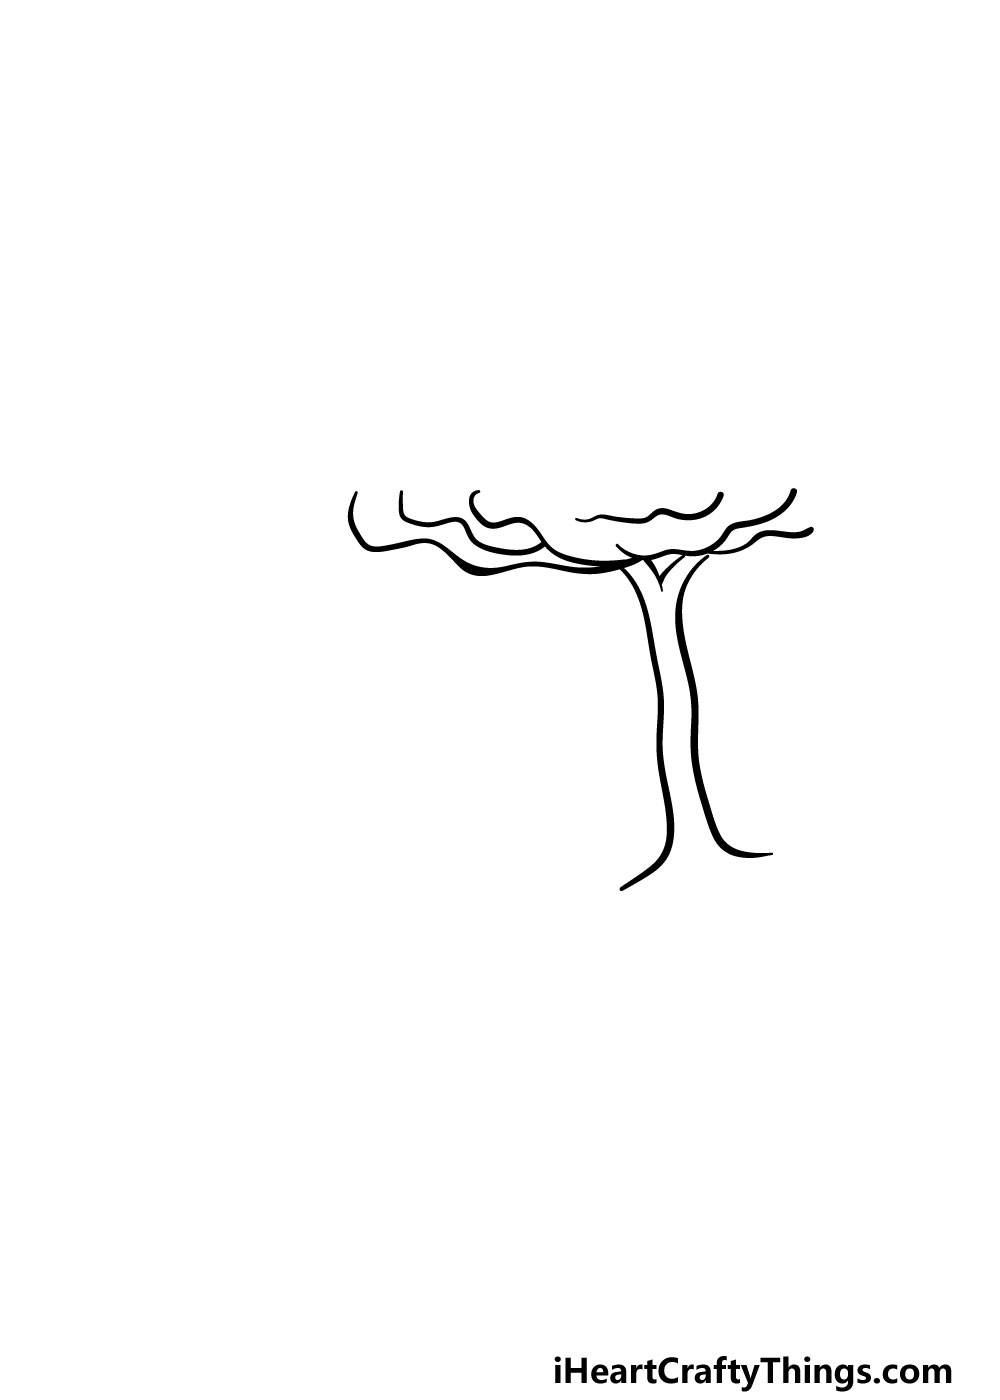
Now that you have the top of the tree in your river drawing, you can draw a trunk for it in this next step.
To do this, you will be using two more curved lines coming down from the canopy of the tree. Then, you can add two more lines at the center top for the fork of the branches.
Step 3 – Now, draw the landscape in the background
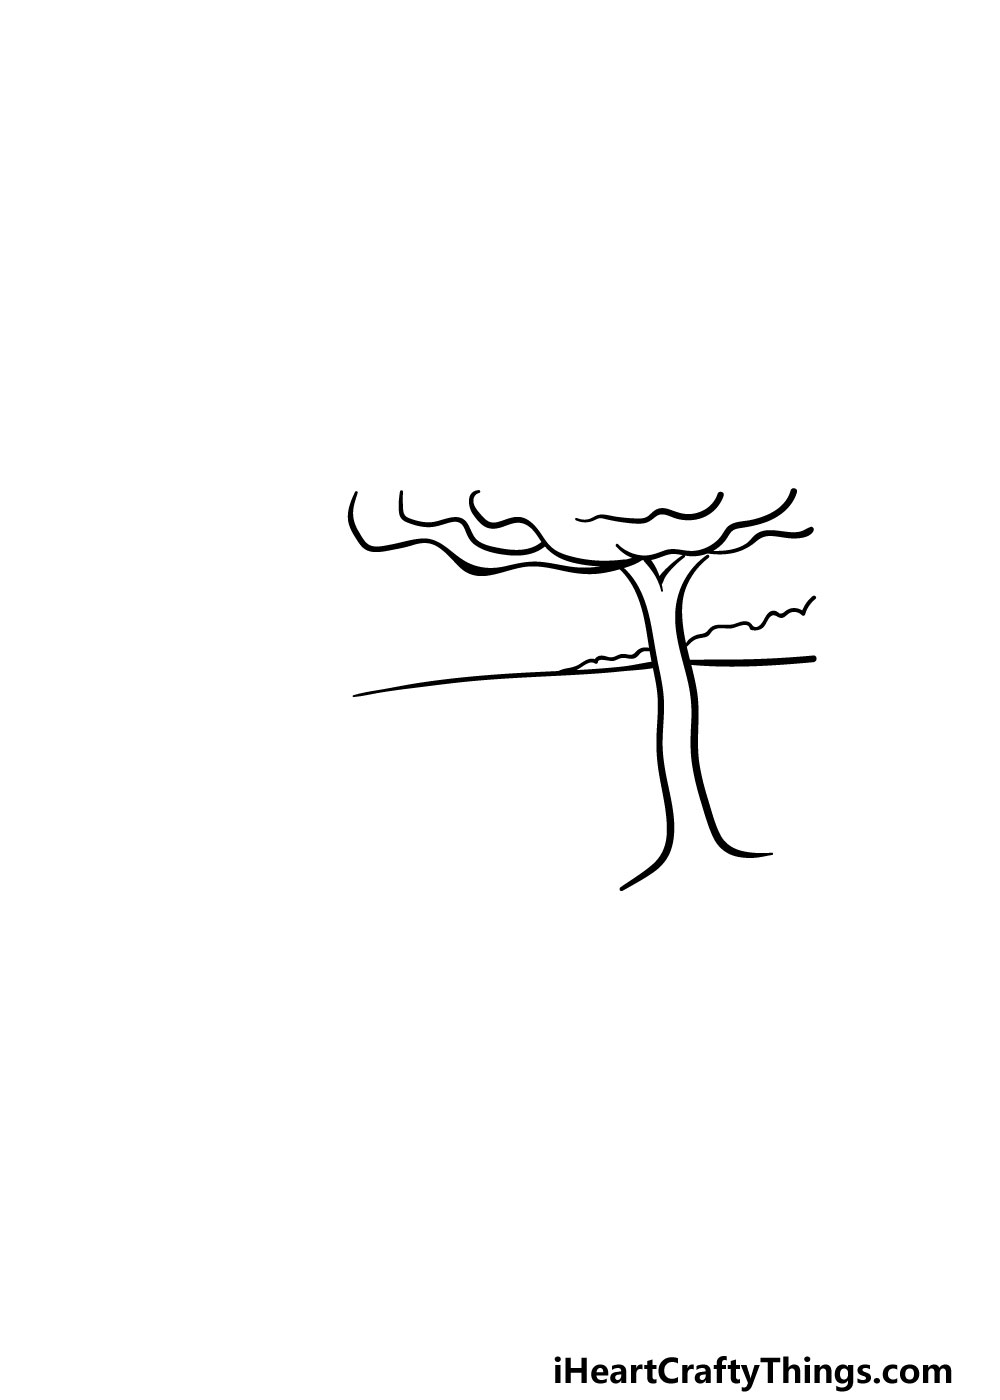
You have finished the tree for now, so in this part of our guide on how to draw a river we will be starting on the landscape in the background.
First, you will use a very slightly curved line across the picture and going behind the tree. Finally, you can use some curved and bumpy lines on the right of the landscape.
This will serve as some bushes on the landscape.
Step 4 – Next, start the river itself
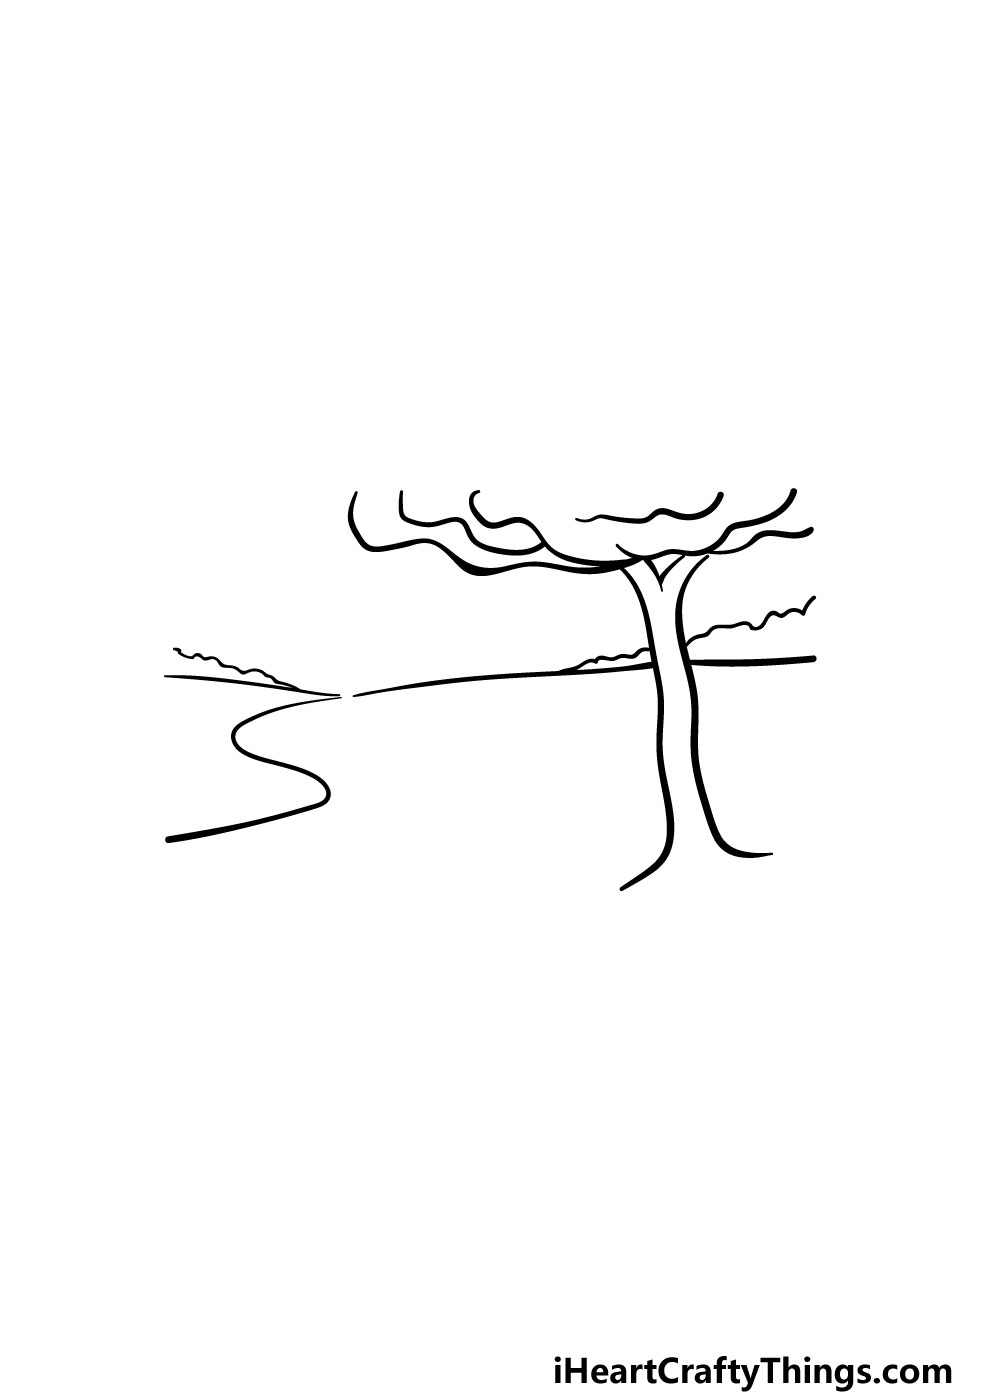
It’s time to finally start drawing the river portion of your river drawing! To do this, simply draw a wavy line going down on the left-hand side of the image.
Then, there will be a horizontal line connecting to that with more bushes on top of it. If that sounds a bit confusing then the reference image will guide you as to how it should look.
Step 5 – Now, draw the right-hand side of the river with more detail
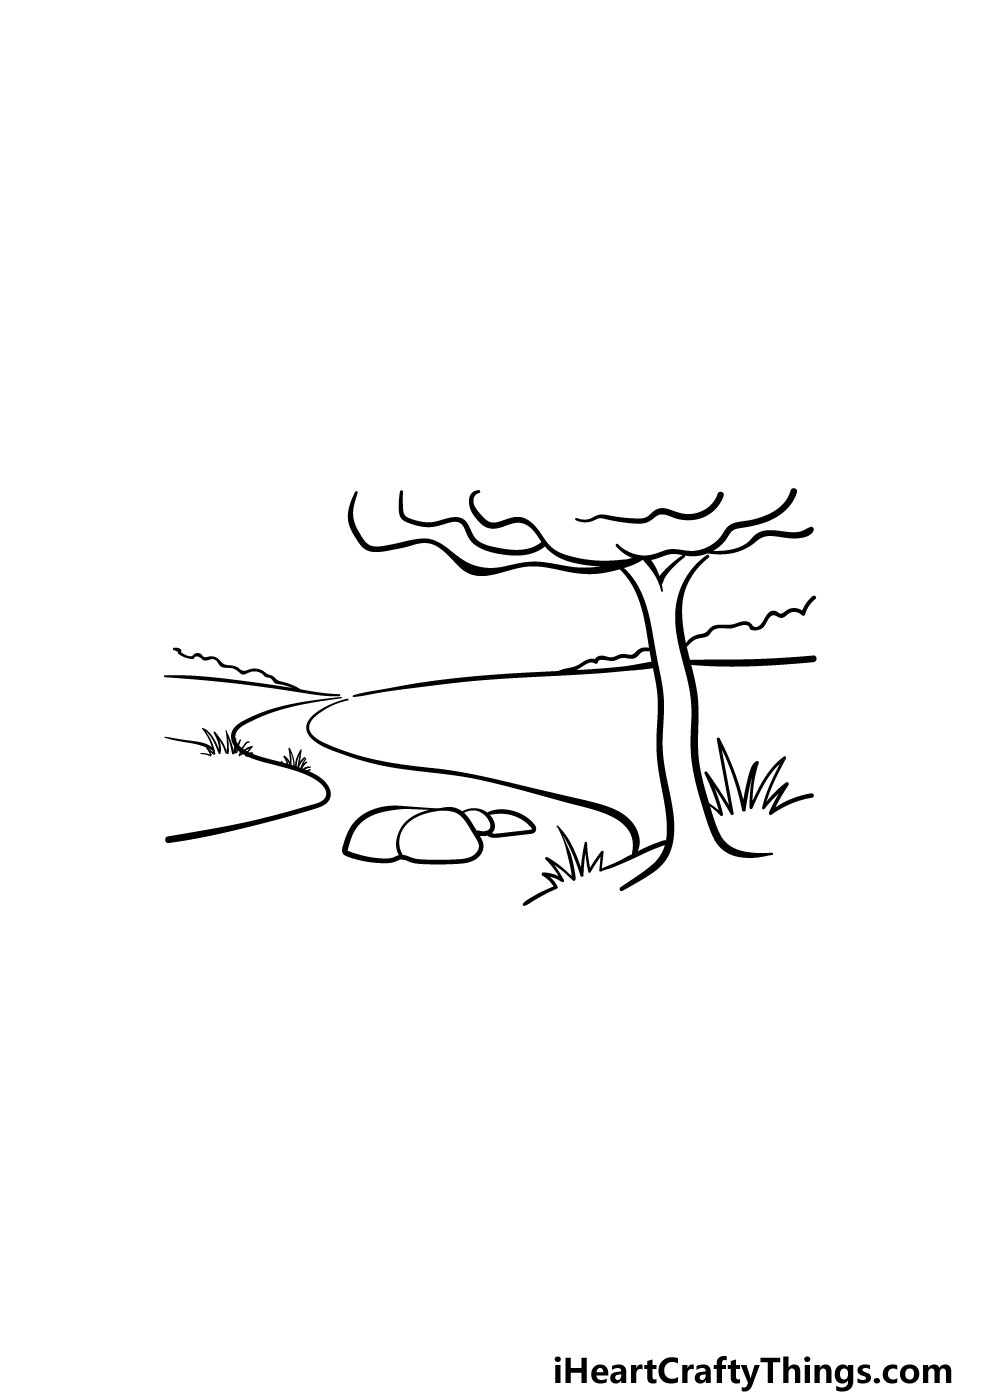
We will be adding more of the river in this step of our guide on how to draw a river. To do this, simply add another wavy line coming down on the right of the one you drew previously.
This will take care of both sides of the river, but before you move on there are a few more details to add.
First, using some rounded shapes you can add some large rocks to the middle of the river. Then, using some more jagged lines you can add some grass to the sides and at the base of the tree.
Step 6 – Next, draw some more tree detail to the landscape
The next two steps will be all about building up the landscape a bit with some final details.
For this part of your river drawing, you need only add some more bumpy lines to create the treetops in the background of the landscape.
That’s all there is to it for this step, and you’re ready for the final details!
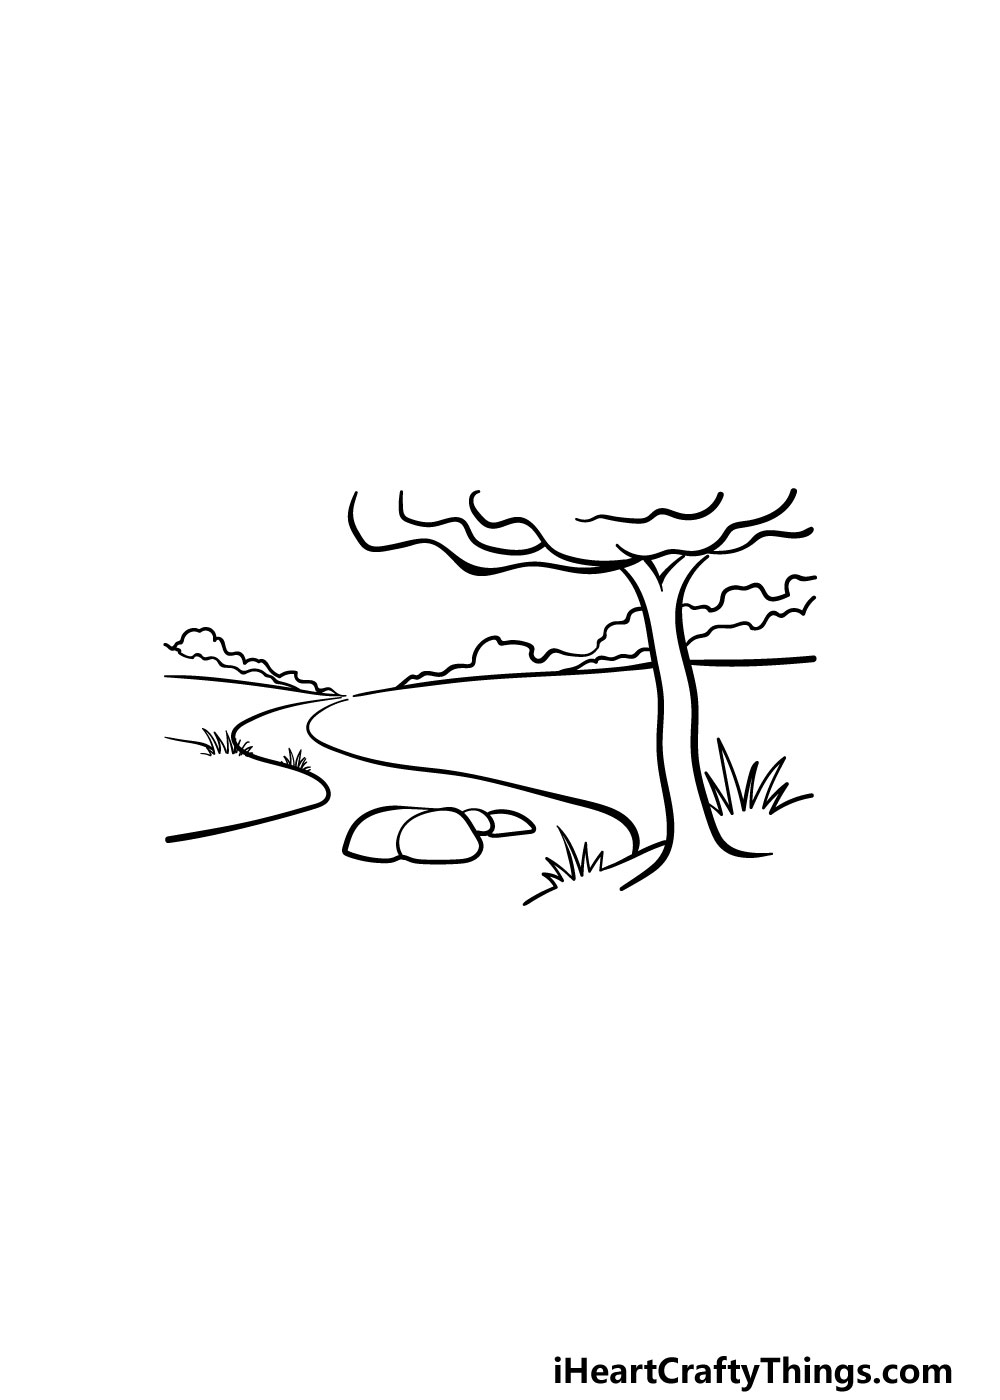
Step 7 – Next, draw some final details
It’s almost time to start coloring in your drawing, but before you do there are just a few more details to add in this guide on how to draw a river.
The main details will be in the river itself as we make it look like there’s some flow to this river. You can achieve this by adding some wavy lines as shown in the reference image.
That’s all there is to it for this step, but before you move on you can also add any extra details you may want!
Perhaps you could add some smaller details like ducks or fish in the river or even add a family relaxing by the river. How do you think you will finish off this image?
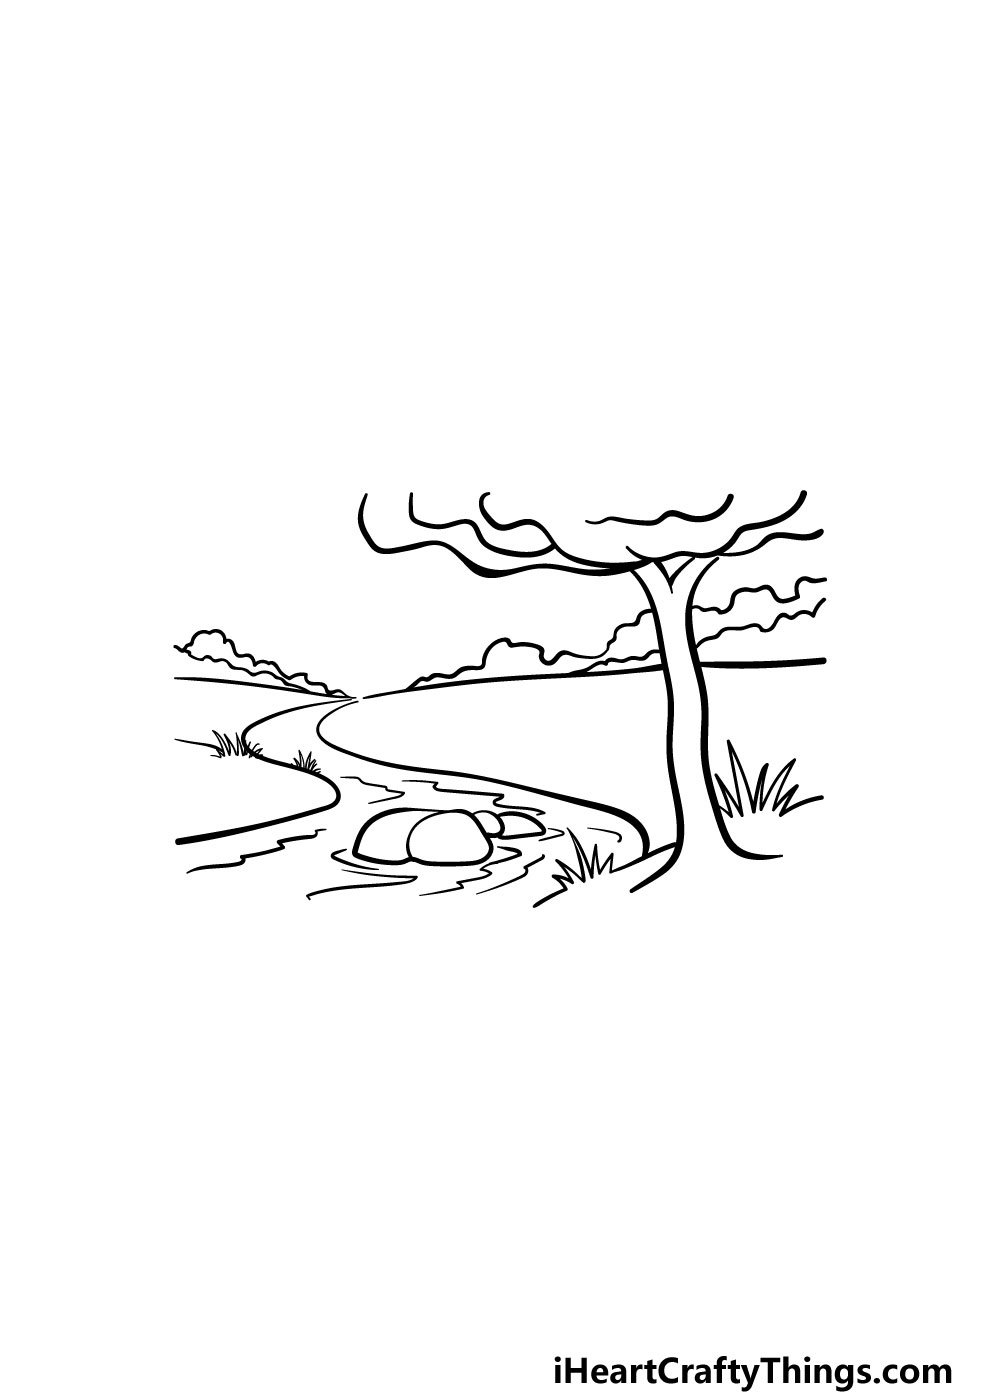
Step 8 – Now finish off your river drawing with some color
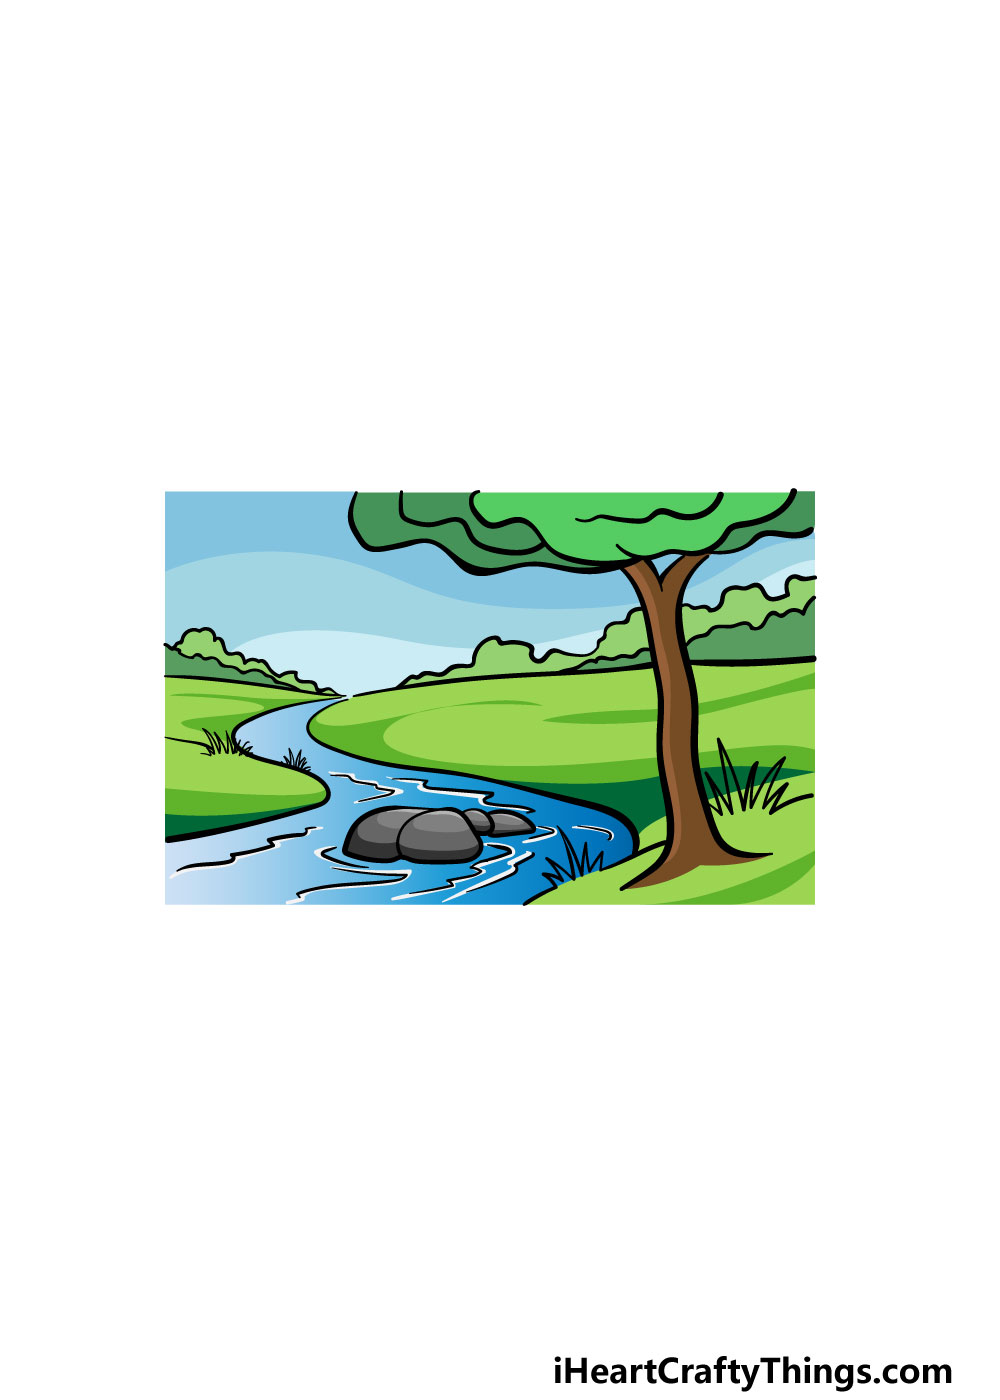
That brings you to the final step of your river drawing, and this is the one where you get to have some fun coloring it in.
For our reference image, we used some lovely greens, blues, browns, and greys to fill in our image. This is a step where you can get creative with it and put your own spin on it!
You could even create different seasons like Winter or Fall just with the colors that you use.
Changing up the mediums you use can also be a great way to get creative with your colors, so be sure to experiment and see what you come up with.
5 Tips To Make Your River Drawing Even Better!
Go with the flow as we make your river sketch even better!
With this river drawing we worked on, we didn’t add too many details to keep it simpler. Adding some smaller details can really make a world of difference!
These details could be as simple as adding some fruit on the trees or maybe some fish in the river. Small lines could be used for grass textures and bark on the tree.
That is just a small selection of small details you could add, but what else can you think of?
Small details are great, but you can also take things further by adding bigger elements. For example, this drawing of a river would look great with a few more trees and rocks.
Or, maybe you could add some wildlife to the scene. Larger details combined with smaller ones can make your artwork look even more amazing.
We created an idyllic sunny day for this river sketch, but you could go for different weather settings and effects. Maybe you would prefer a rainy day or a nighttime scene.
You can easily change the setting of the image by adding a few elements. We will also cover how colors can be used to achieve different looks.
When it comes to colors, there are two aspects you can play with. The first is the colors themselves. The kinds of colors you use can drastically change the mood of the artwork.
For a rainier day, you would want some milder, darker colors. Brighter colors would be best for the kind of day we created in the example, however.
What colors will you choose?
The second aspect of colors for this river drawing would be the art tools and mediums you use. The mediums can be combined with your color choices to achieve the look you desire.
For instance, watercolors would be best combined with lighter colors for a softer feel. Colored pens and markers would be great for more intense colors, however.
Don’t be afraid to play around with mediums and different combinations!
Your River Drawing is Complete!
With the final details and colors added, that means that you have completed this guide on how to draw a river!
When you first saw this pretty landscape you would be drawing it may have looked like it may be complicated, but this guide was made to show you how easy and fun it can be to draw.
We hope that you really enjoyed working alongside us on this guide!
Now you can take this drawing even further with your own touches and elements.
You could switch up the details, add some brand new elements or experiment with different fun art mediums and tools. Be sure to get creative and see what happens!
We have plenty of amazing guides for you to enjoy on our website when you’re ready for more fun! Be sure to check in often as we upload new ones frequently.
Once your river drawing is complete, we also hope that you will share it on our Facebook and Pinterest pages for us to enjoy! We can’t wait to see your amazing creativity.