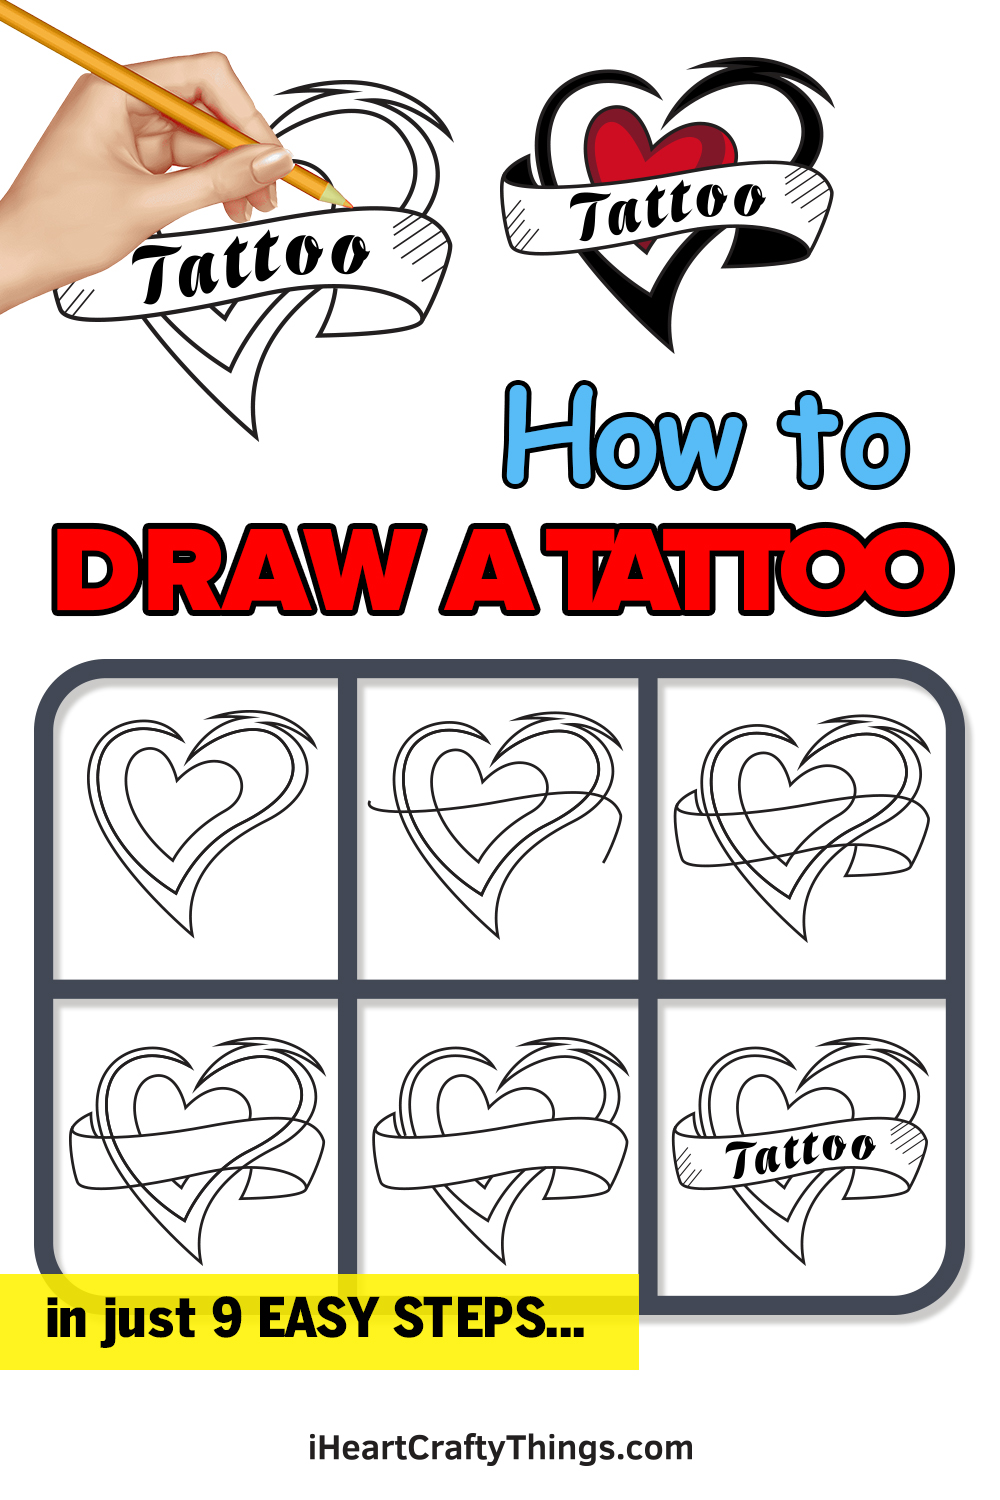
It’s easier than ever to learn how to draw a tattoo with this guide for kids! Anyone can design some amazing tattoos by following the steps I have laid out.
Designing tattoos is a real art that takes a lot of skill and talent. If you’ve ever wondered what it would be like to design one yourself, then this tutorial is for you.
I have a really cool tattoo design that you can draw and then customize if you wish. The design has a heart with a banner over it reading “tattoo.”
That word can be a placeholder though, and you could replace it with a name or a phrase that means something to you. Once you have finished the tattoo, you can also add some of your own details and design elements.
You could even draw the tattoo on someone’s arm to create a cool background! Let’s work through the steps together and see how to recreate this tattoo.
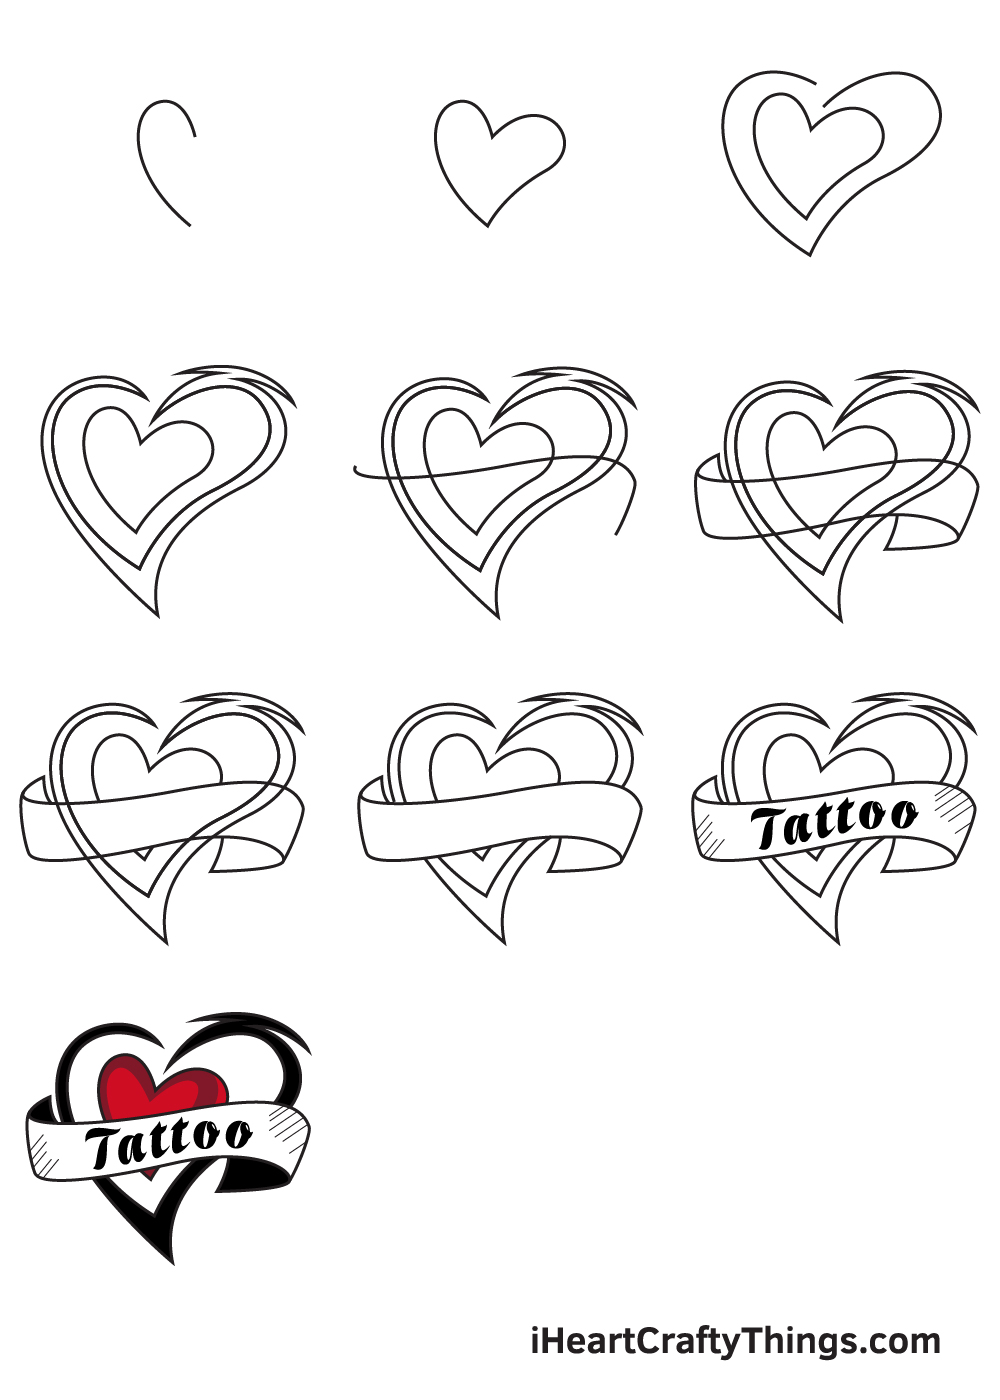
Watch This Guide To Create A Tattoo Drawing
How to Draw a Tattoo – Let’s get started!
Step 1
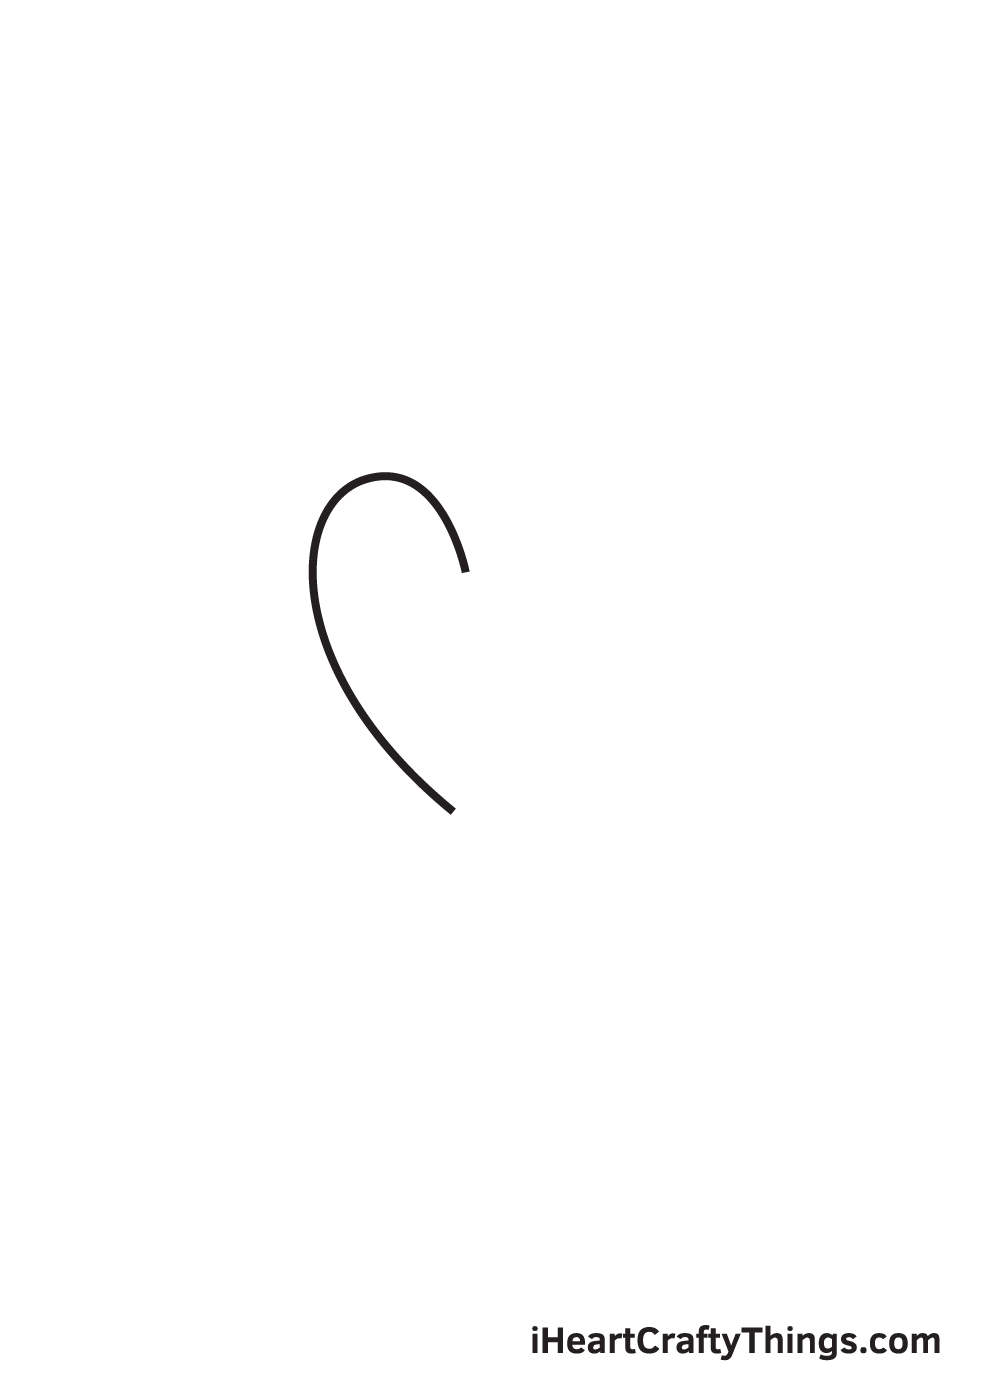
Begin by drawing a curved line forming a hook. This creates the half of the heart shape on the left side.
Make sure that the heart shape will be drawn in the center by creating reference lines. Simply draw an intersecting horizontal and vertical line across your paper.
The left side of the vertical line marks the spot where you should draw the half of the heart shape.
Step 2 – Draw the Heart in the Middle of the Tattoo
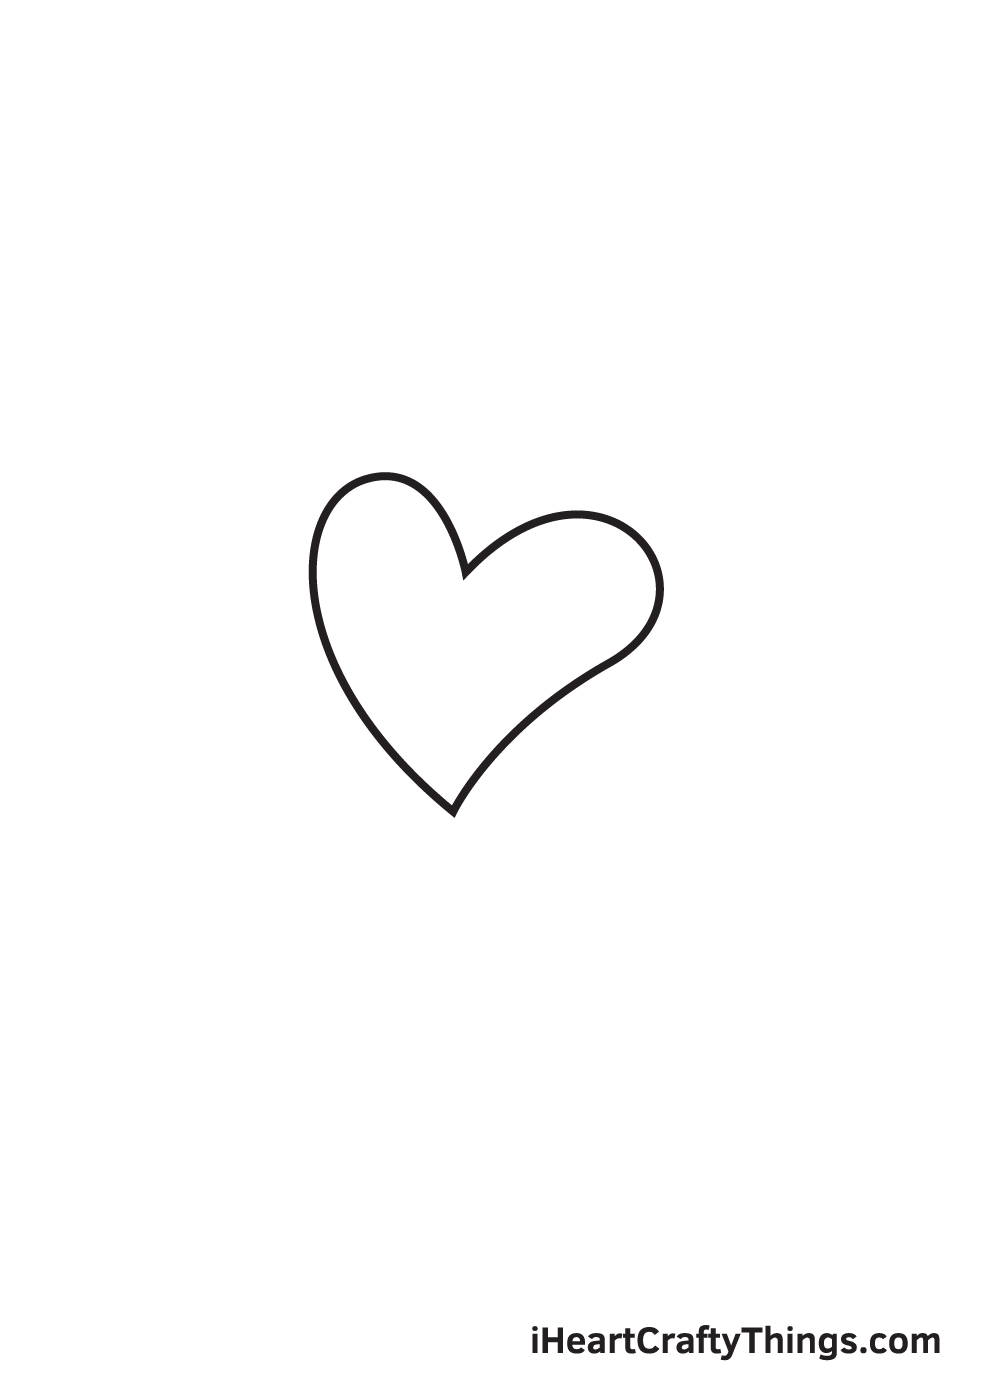
Draw another line with a similar form directly connected to the one we previously drew. This creates the other half of the heart, thus completing the first heart in your drawing.
When drawn correctly, this should form a curvy heart figure.
Step 3 – Next, Draw Another Layer of Heart Shape
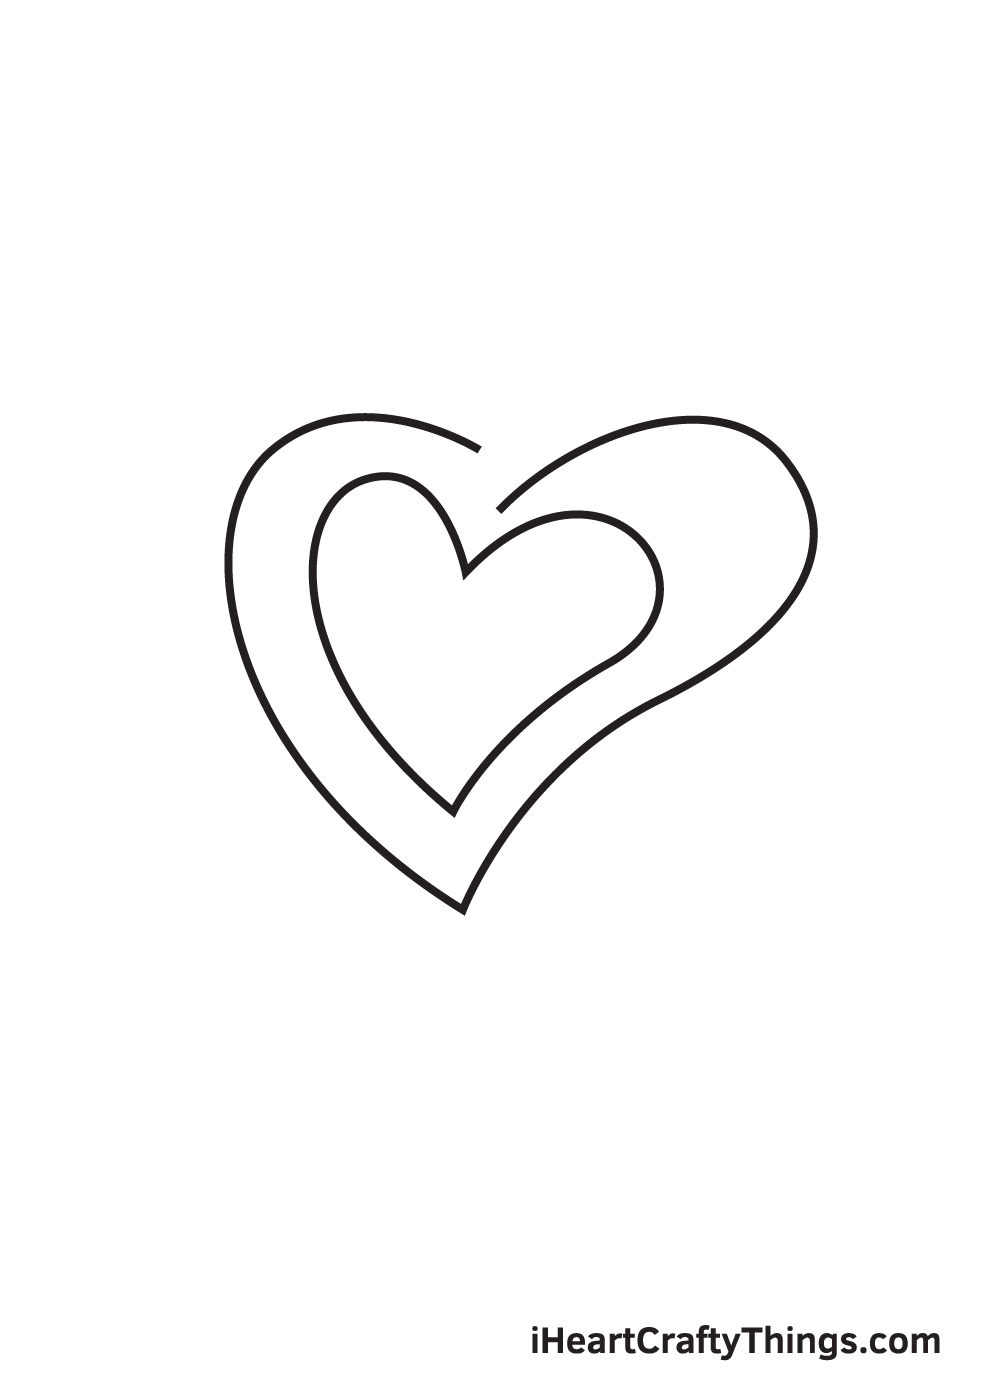
Draw another heart shape enclosing the first heart we drew in the previous step. As you can see in the illustration, this heart shape must be relatively bigger than the previous one.
At this point, you should now be seeing a big heart shape with a smaller heart shape inside.
Step 4 – Afterwards, Draw an Artistic Outer Heart Figure
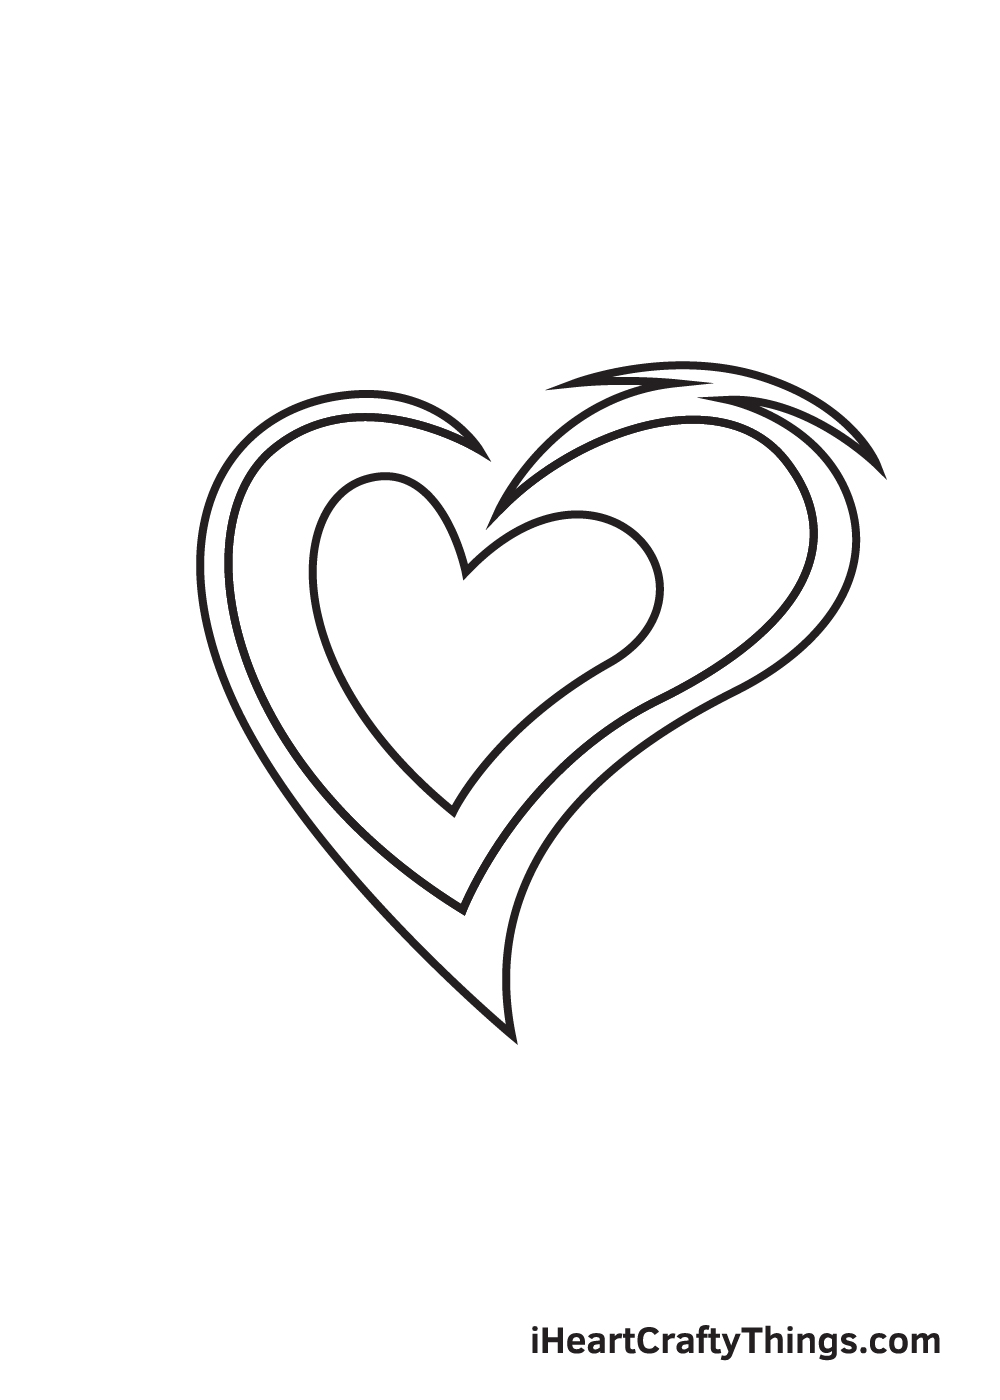
Draw another heart-shaped figure enclosing the heart we drew in the previous steps. This time, however, this heart shape should have a distinct pattern unlike the previous hearts we drew.
Feel free to use the illustration as a guide to make sure you’re doing it right!
Step 5 – Next, Start Creating the Overlay Banner
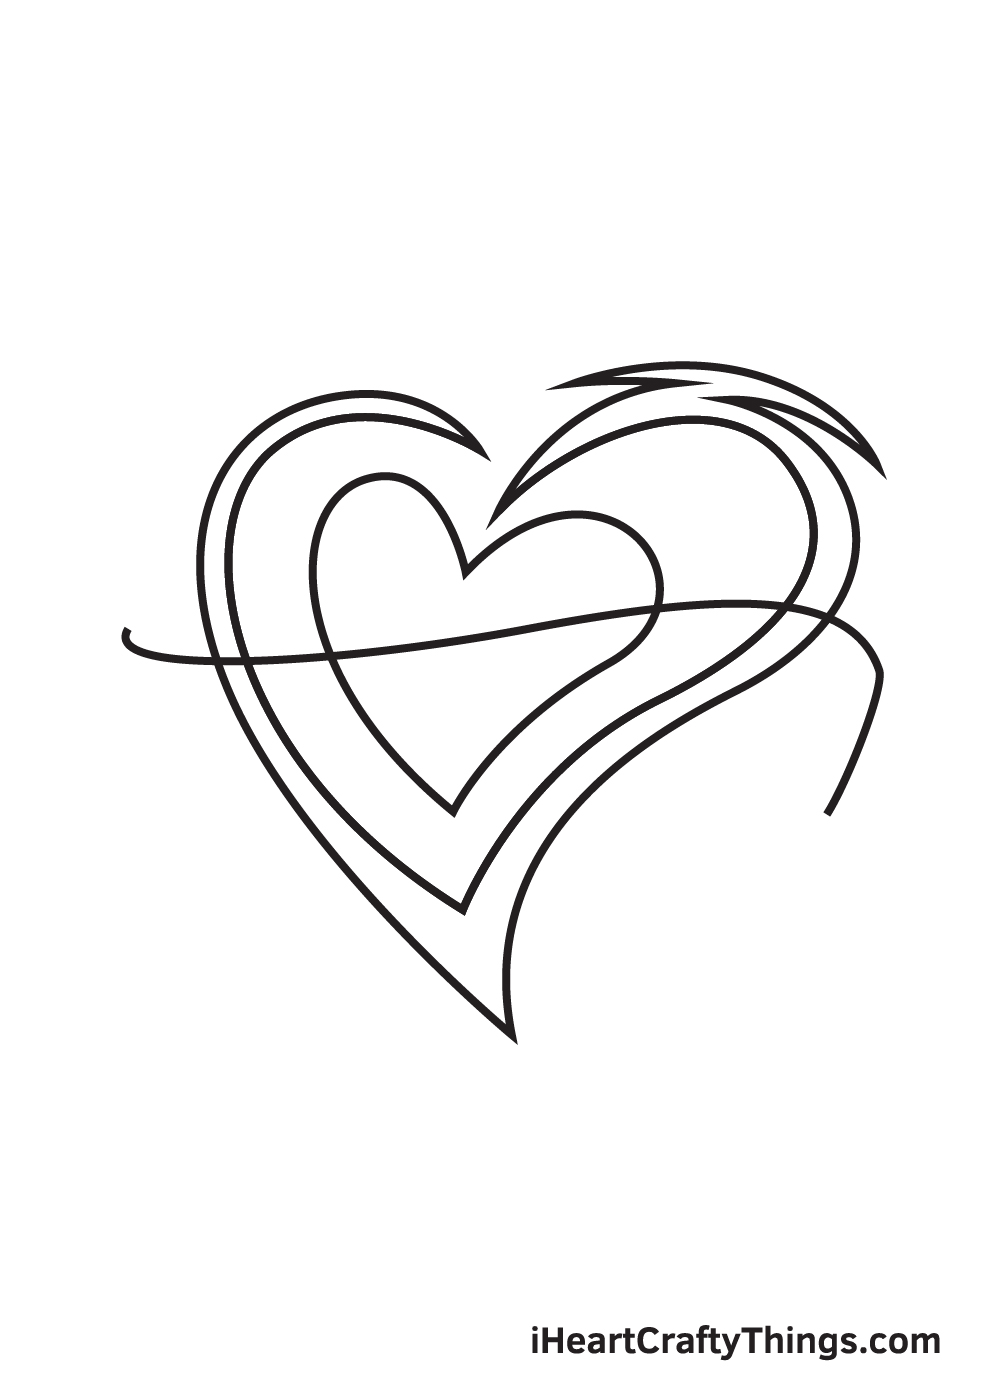
Draw a curved horizontal line across the heart-shaped figure.
This forms the top edge of the banner in front of the heart.
Step 6 – Now, Finalize the Banner in Front of the Heart
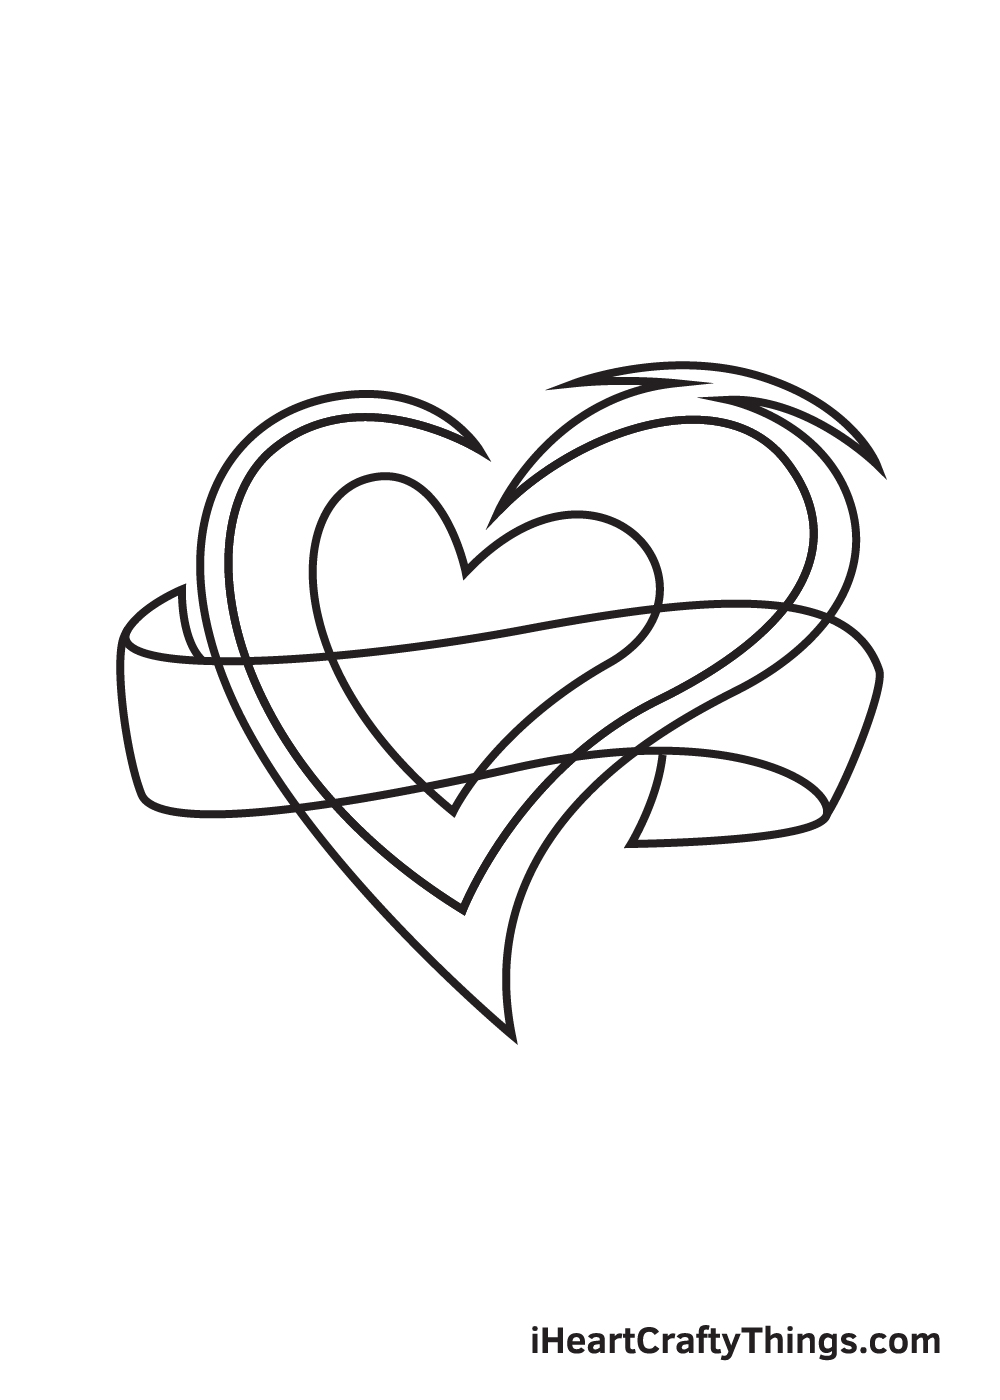
Proceed by drawing another line at the bottom of the previous line we drew. This forms the bottom edge of the banner.
Afterwards, draw a vertical line on each side to connect both endpoints of the top and bottom edge. This completes the structure of the overlay banner.
Step 7 – Afterwards, Polish Up Your Tattoo Drawing
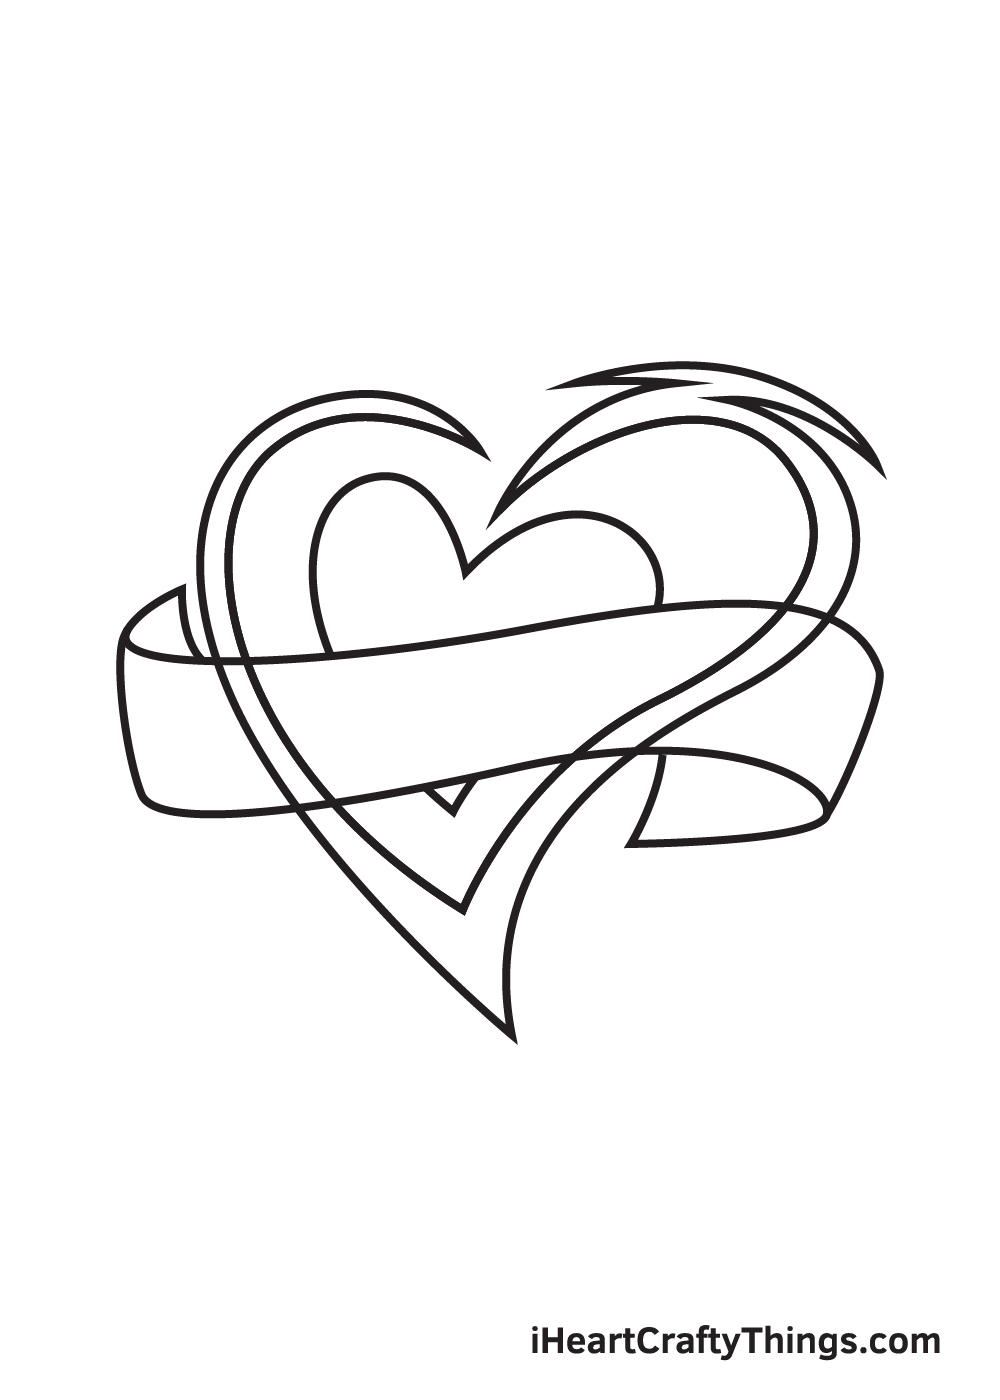
Refine your drawing by getting rid the lines of the inner heart that overlaps inside the banner using an eraser.
Step 8 – Then, Create a Blank Canvas on the Banner
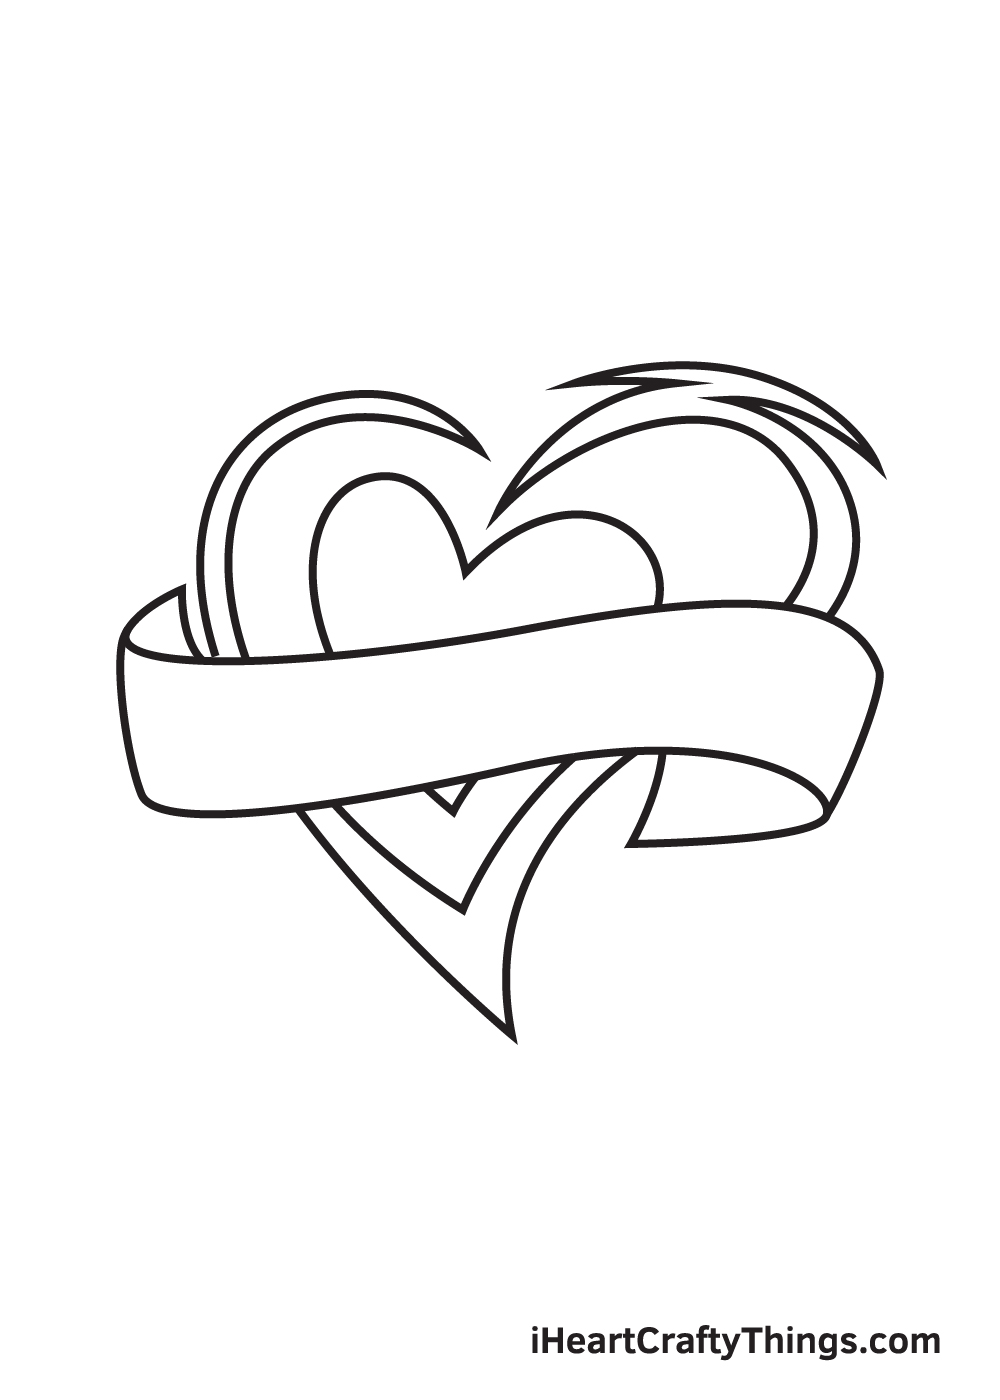
Similar to the previous step, erase the lines of the outer heart figures that overlap within the banner. At this point, the space within the banner should now be blank.
The banner should have a clear canvas or space, because we’ll be writing on it later on.
Step 9 – Write a Word on the Banner to Complete the Tattoo

As you can see in the illustration above, we’ve simply written the word “Tattoo” on the canvas of the banner.
You can opt to write the same word or you can write something else like love, peace, or any word you prefer! You can even write your name if you like!
There you have it—you have successfully drawn a tattoo! Now, it’s finally time for the part we’ve all been waiting for, which is choosing the colors and coloring the tattoo!
The colors you will be using for the tattoo is entirely up to you! We suggest using more than one color to make the tattoo vibrant and colorful!
Have fun playing with colors until the tattoo ultimately comes to life!
Do this to take your tattoo drawing to the next level
Create an awesome design with these tips for your tattoo sketch!
People use tattoos to express themselves, and they can do this in various ways. In this tattoo drawing, we used the word tattoo done in a fancy font for the text on the tattoo.
This word is just a placeholder, and you could replace it with any word done in any font you like.
Many people will have the name of a loved one or a place that has meaning to them tattooed on their body.
What word or phrase will you add to this particular tattoo, and what font will you choose?
Now that you have the text figured out for your drawing of a tattoo, you can also change the image it’s attached to. We did a cool heart design for our particular one, but you don’t have to go with this!
Even if you stick to a heart shape, you can do it in all kinds of cool shapes and designs. If you have other shapes or images you would prefer, then that would look cool as well!
The next element of your tattoo sketch that you can work on would be the colors. We showed you one way of coloring it in the guide, but that is just a suggestion!
You can choose all sorts of colors and shades, and the art tools you use can really bring these colors to life. What color scheme will you go for?
People will get tattoos all over their bodies, and showing this could provide a cool setting for your tattoo drawing.
The arm is one of the most common areas that people have tattooed, and that would make a good place to start.
This could be on the bicep, the forearm or any other area you like. Doing this would allow you to create a character and add a background setting behind them.
Who would you base the character sporting this tattoo on if you were to go for this suggestion?
Your Tattoo Drawing is Complete!
Hopefully, you had fun with this step-by-step tattoo drawing tutorial. Now that you can draw a tattoo, perhaps you can draw a character with a tattoo marked on his or her body next?
Check out our tutorial on how to draw a boy or a girl to make it happen!
Remember, all of our drawing tutorials are 100% free for you to use as learning materials for your drawing activities.
We are regularly updating our “How to Draw” catalog, so don’t forget to keep re-visiting our website so you can continuously enjoy all-new drawing tutorials.
Once you’re done drawing and coloring the tattoo, make sure to show off your masterpiece! Take a photo of your artwork and share it on our Facebook page and on Pinterest.
Don’t be embarrassed! You’ve worked hard for it so we’re sure it looks impressive!
We can’t wait to see your cool tattoo drawing!