The human body is made up of many distinct parts that come together to form a complete structure. One of the most important aspects of the human body is the skeleton.
Made up of many different bone structures, it provides rigidity to the body and protects important organs.
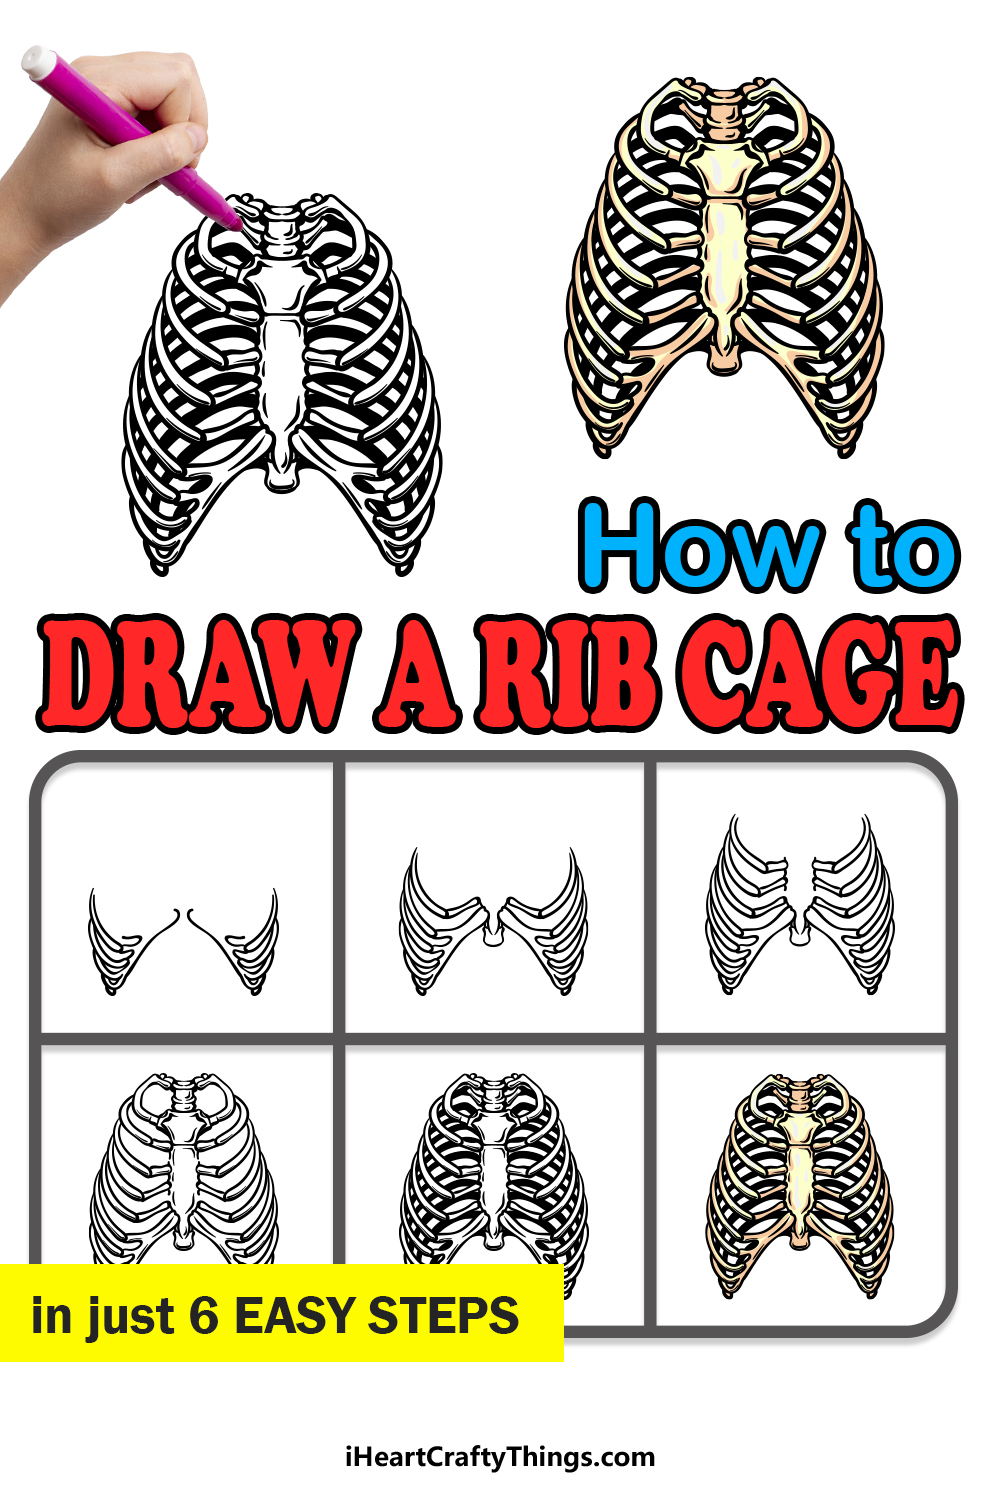
The rib cage is one of the most intricate and important structures, and it helps to protect parts like the heart and lungs. It can also be quite tricky to learn how to draw a rib cage due to its complex structure.
That’s what this guide is here for, however, and we will show you how it can be done easily!
We hope that you enjoy our step-by-step guide on how to draw a rib cage, and we also hope it proves fun and helpful for you to use.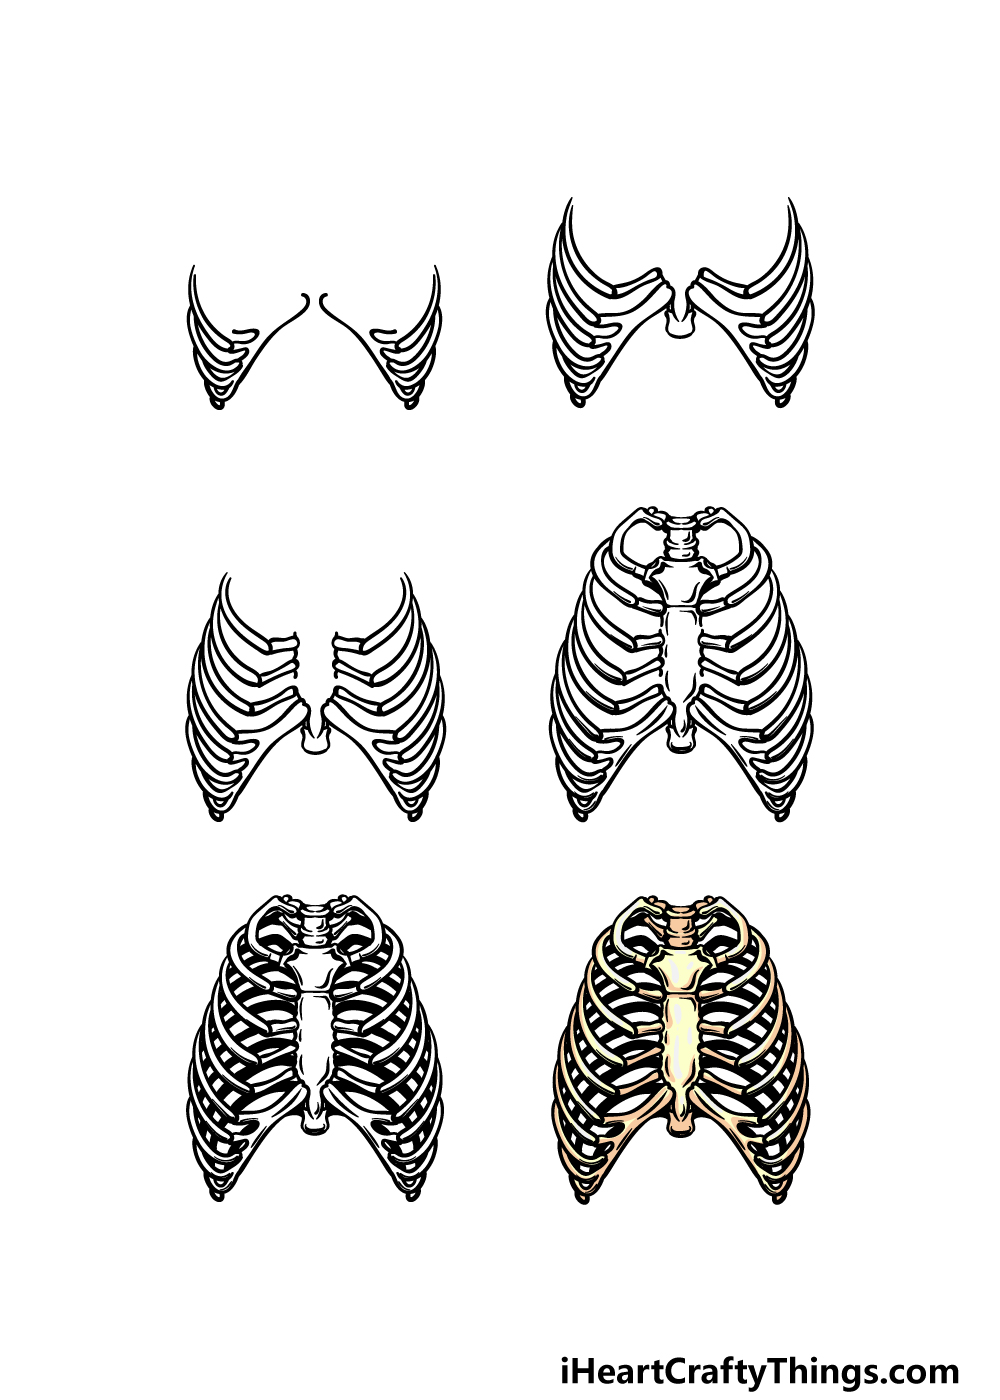
How to Draw A Rib Cage – Let’s Get Started!
Step 1

This guide on how to draw a rib cage will have some tricky details and angles to draw, so we will take things slowly and break it down into smaller steps.
For now, we will be starting with the base of the rib cage. Use some curved lines that start near the bottom of the center of the rib cage and extend them outward as they appear in the reference image.
Then, we will be extending several long, thin and curved shapes out and then back in to form the ribs of the rib cage.
These will be a bit smaller at the base, but they will get larger as you move up. Once you have drawn these ribs, we can then start drawing the next section of the rib cage.
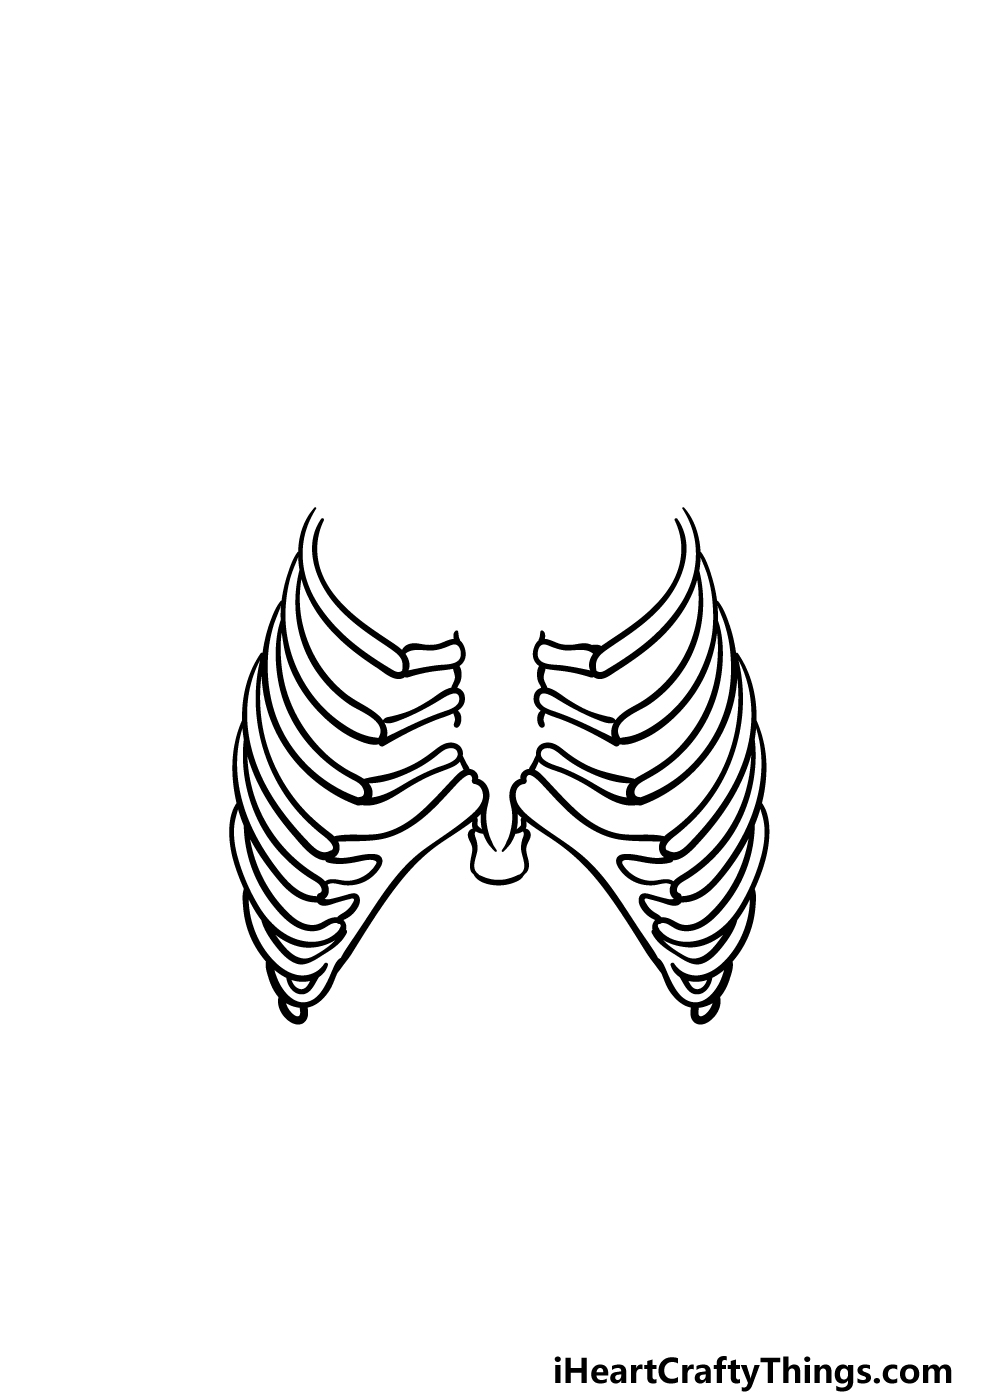
Step 2 – Now, draw some more ribs for the rib cage

Continuing on with this rib cage drawing, we will be adding yet more ribs onto it. First, use some more curved lines to draw the central, branch-like structures that the ribs will extend from.
Once that is drawn, we will then be drawing some more ribs extending up. As with the last step, these ribs will get slightly longer the further you move up.
Otherwise, you can use the same method for these ribs that you used for the prior ones. When you’re ready, we can then proceed on to step 3 of the guide.
Step 3 – Next, draw some more ribs and add to the central structure
In this third step of our guide on how to draw a rib cage, we will start drawing the central structure of the rib cage, and this is called the sternum.
You have already started the base of the sternum, and in this part we will be using some bumpy vertical lines for the sides of it. Once those are drawn, the next step will be to draw some more ribs extending out of the sternum.
Much as you did for the previous ribs, these ones will be composed of two sections each, and we will be extending two from each side of the sternum.
We will then be finishing off the outlines for the front of the rib cage in the next step.
Step 4 – Draw the rest of the front of the rib cage
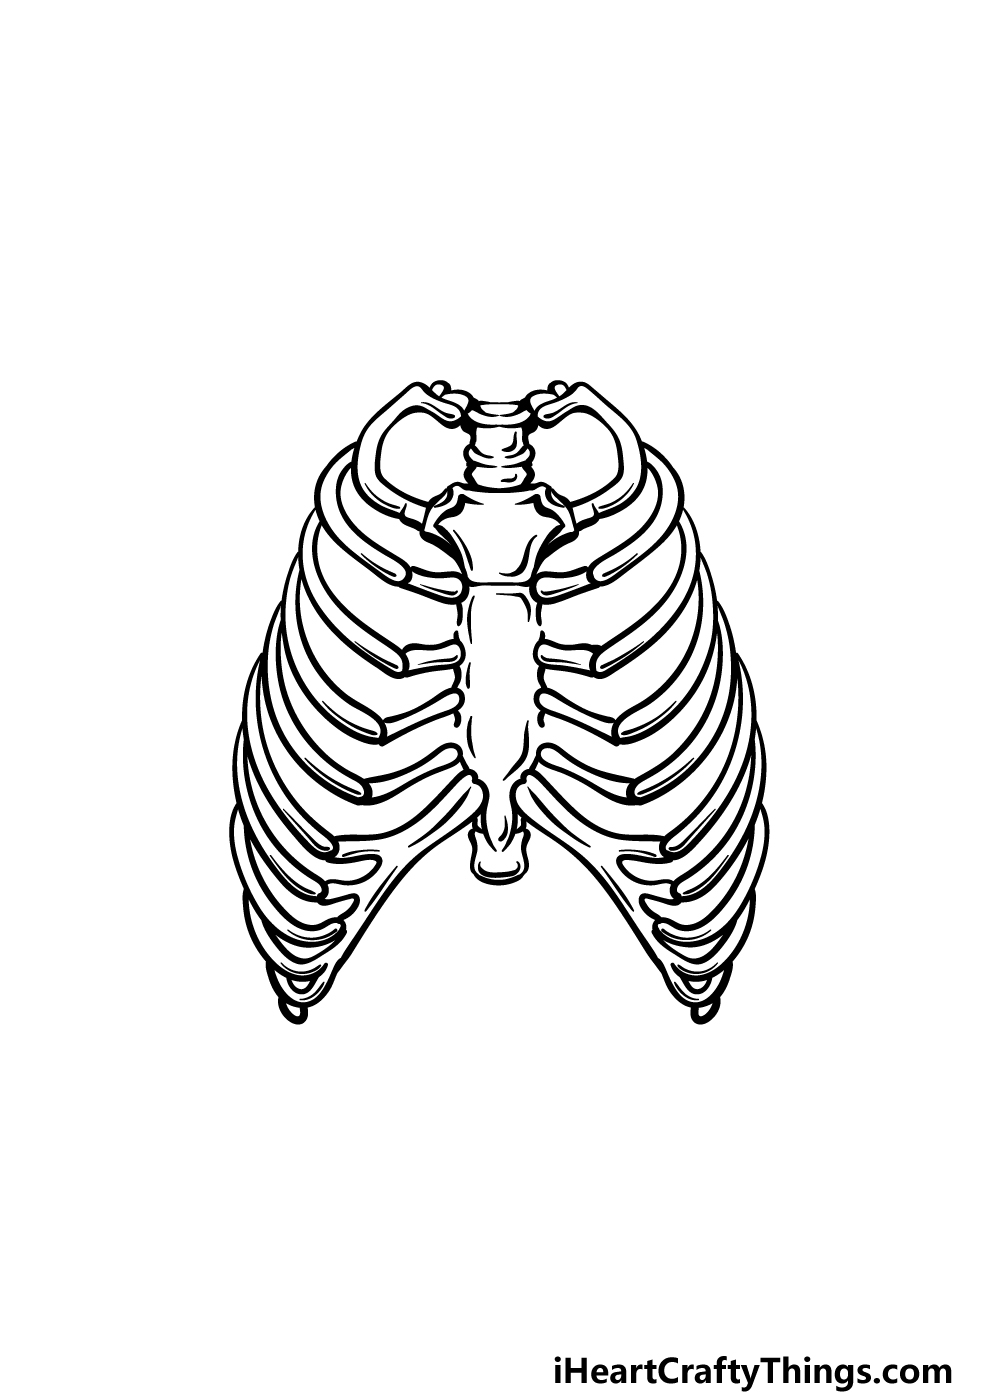
Before you add the final touches and color to your rib cage drawing, we will be finishing off the final outlines for the front of the rib cage.
First you can finish off the top of the sternum using some similar lines to the ones that you have been using.
Then, we will be drawing another section on top of the sternum. This part is called the manubrium, and as shown in the reference image it is shaped a bit like a short, squat T shape.
Above this part, you can then draw the top of the seminal column.
Once that is drawn, we will be adding some more ribs. There will be two from the sternum and then two more from the manubrium, and they will also get smaller as they get higher up.
Step 5 – Add the final touches for your rib cage drawing
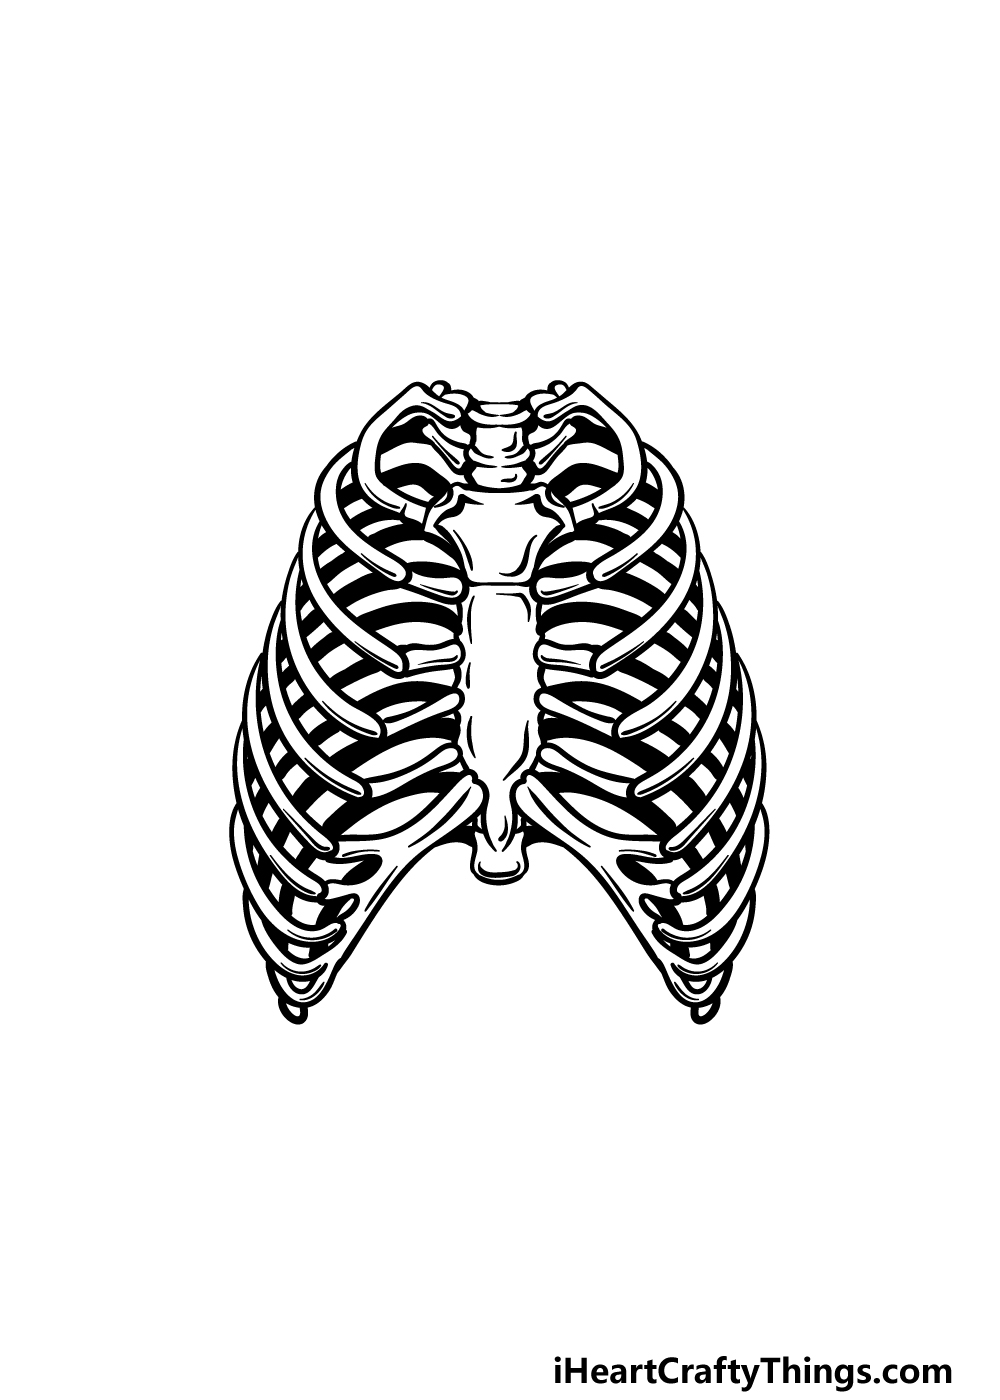
It’s almost time for the final step of this guide on how to draw a rib cage, but first we will be drawing the ribs at the back of the rib cage.
Luckily, these will be easier to draw than the first ones were. To draw these ones, we will be using some solid black shapes in between the ribs at the front of the cage.
The reference image will also show you how you can position these.
Once these back ribs are drawn, you will be ready for the final step! Before you move on, you could also add to the drawing, perhaps by adding some more bones that would be attached to the rib cage.
Step 6 – Finish off your rib cage drawing with some color
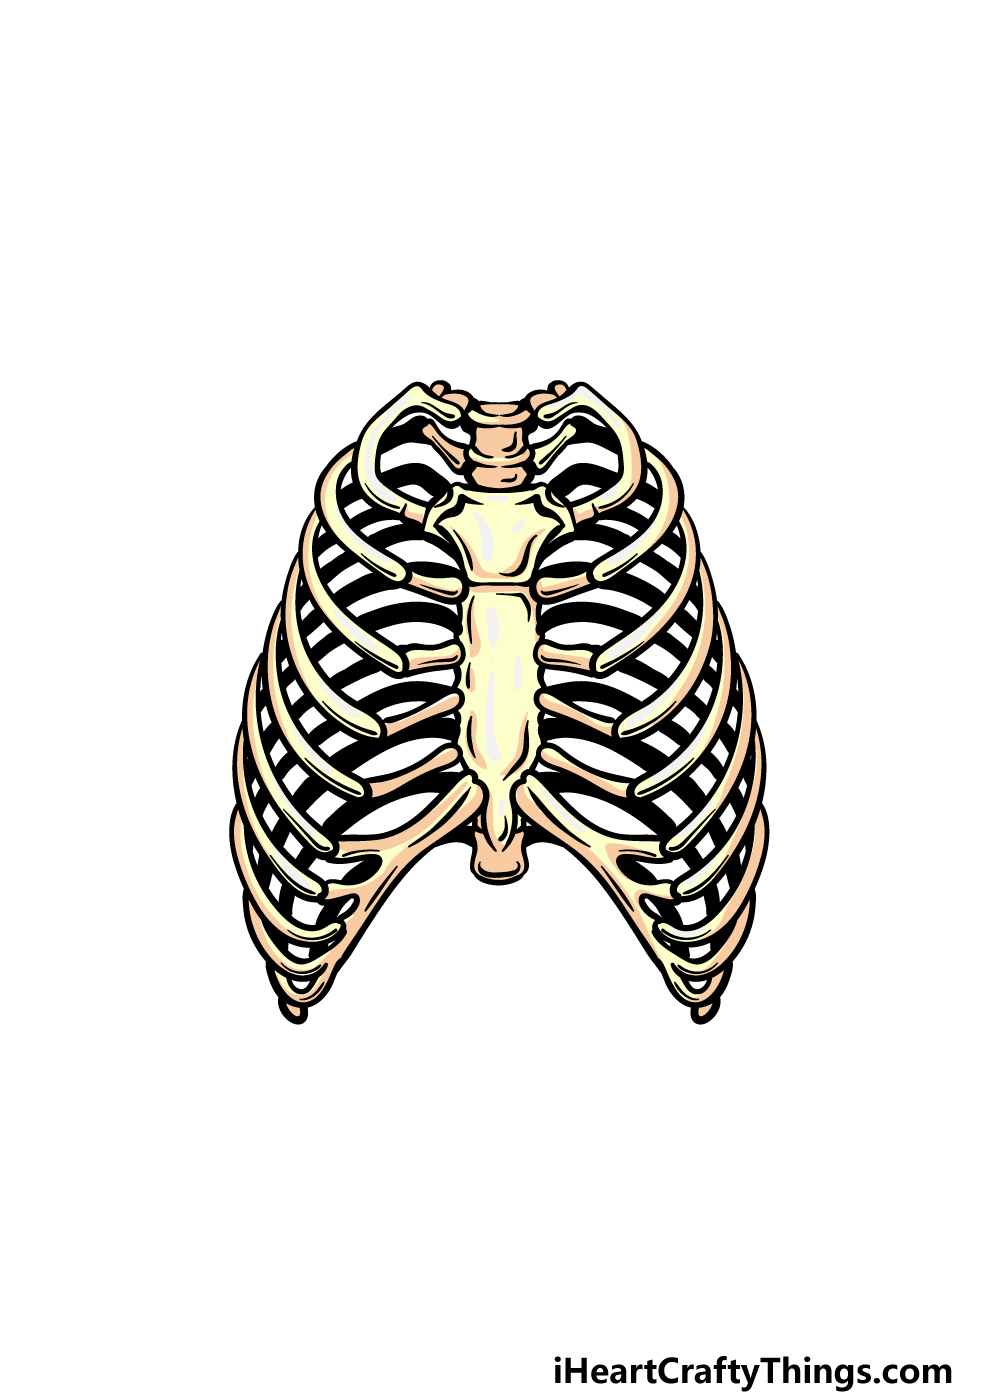
People often imagine bones to be pure white, but this is actually not the case with real bones. For our example of this rib cage drawing, we finished it off with some more realistic colors.
These colors include some muted tones of yells and browns, as shown in our reference picture. You can use this as a guide if you would like some similarly realistic colors, but you can also change up the colors if you wish!
When coloring in, you may want to use a medium that allows for precision, as there are some small parts to color.
Colored pens, pencils or thin-tipped paintbrushes would be some great ones to try for this!
4 More Ways To Make Your Rib Cage Drawing Unique
Make this intricate rib cage sketch even greater with these tips!
One way you could make this rib cage drawing even better would be to incorporate it into a creepy background.
For example, this rib cage could be used to create a Halloween poster. You could do this by drawing a banner with a message beneath it and then add all sorts of patterns into the background.
That is one way to use it in a pattern, but what other purposes can you think of for this drawing?
This drawing was quite a challenge, but if you’re feeling up to it then you could add the rest of the skeleton!
If doing this, you would certainly want to use some diagrams of skeletons to help you, as there are a lot of intricate details.
You could even just add part of a skeleton. For instance, drawing just a skull onto this rib cage drawing would change it quite dramatically. Do you think that you will add some more portions to the skeleton this rib cage is a part of?
We made this drawing of a rib cage quite realistic, but you could get quite creative with the colors you use.
For example, it would be fun to color in each rib a separate color as one idea! If you want to color in this rib cage, we would recommend certain art mediums.
The details are very small and fiddly, so some art tools would be rather frustrating to use. Colored pens and markers would be examples of mediums that would make it much easier.
Another way to make this drawing more unique would be to add a background. This would go especially well with the second tip where we suggested drawing more of the skeleton!
That would be great for creating a skeleton character, and then you could put it in various scenes. Maybe it could be wearing a top hat in a misty graveyard or dancing at a Halloween party. These are just a few ideas, but what other backgrounds can you think of?
Your Rib Cage Drawing is Complete!
Drawing anything involving skeletons can be really difficult, as there are lots of small and individual parts to get right.
That’s why we broke it down into smaller, more manageable steps in this guide on how to draw a rib cage, and hopefully it was made fun and easy for you to work through!
This guide is one of many more that we have waiting for you on our website. Be sure to visit us often, as we have some incredible guides that we will be releasing soon.
We would also be thrilled to see how your rib cage drawing turns out, so please share your artwork on our Facebook and Pinterest pages for us to admire!