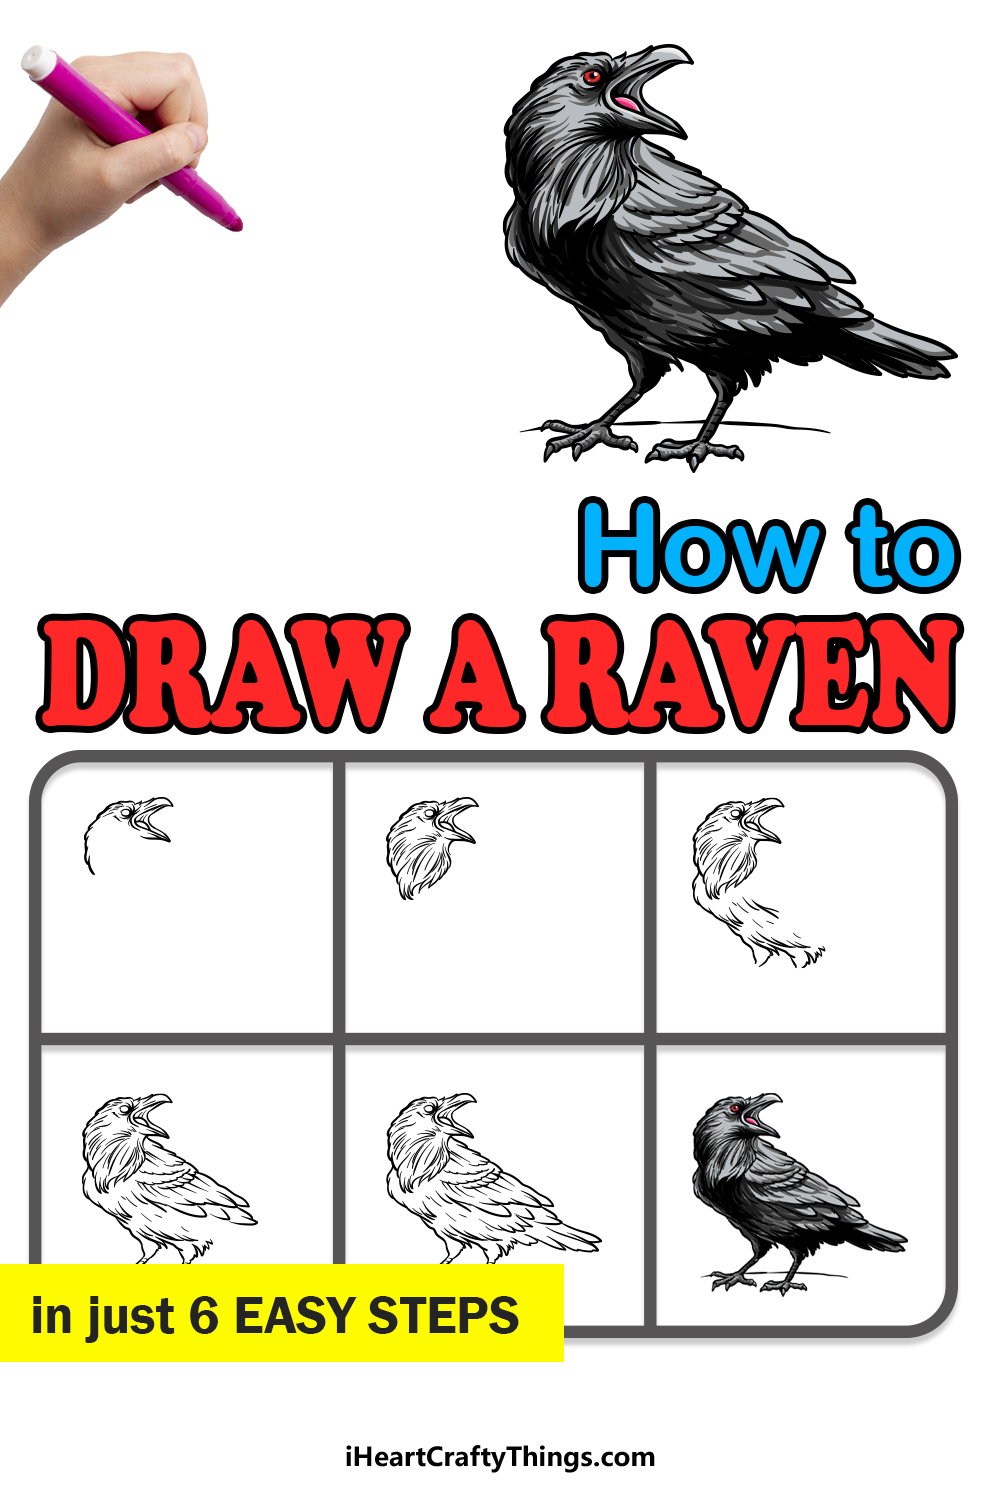
It’s easier to learn how to draw a raven than you thought! Follow this guide for kids to find out the best way to recreate this beautiful bird.
Ravens are seen as a bad omen by some, but I’ve always had a fondness for them. There’s something about their jet-black feathers that makes them so beautiful, and I know I’m not alone in this.
People like to try and draw ravens for Halloween art or general creepy drawings. Or, they could draw them just because they think they’re beautiful!
Whatever your reasons, you can join me for this guide and work through all of the steps alongside me. Soon, you will have a stunning raven that you can be proud of and show off to family and friends.
You could even add your own background and other details to really finish it off!
Watch And Learn How To Make A Raven Drawing
How to Draw A Raven – Let’s get Started!
Step 1
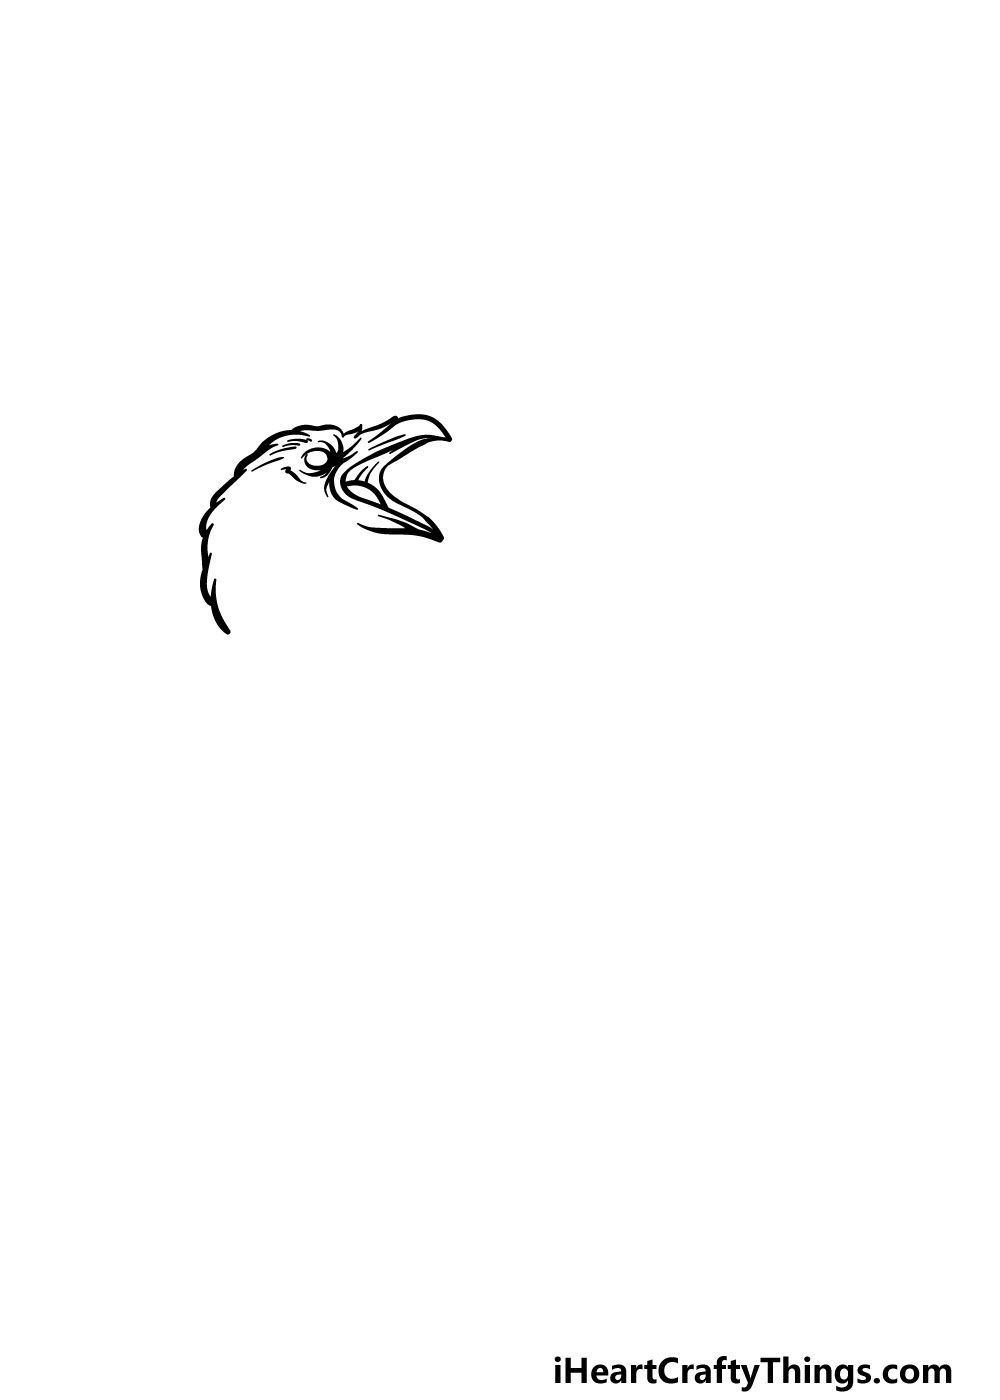
To get this guide on how to draw a raven going, we will begin with the head and beak of the raven.
The back of the head will be drawn with some slightly jagged and bumpy lines to make it look more feathery.
The beak will be open and drawn with some smoother lines, with some texture and a tongue inside. Finally, you can use a small oval for the eye of the raven with some lines around it.
There are a lot of smaller details to this picture, and you will find it much easier if you closely follow the reference image as you draw.
Step 2 – Draw the neck of the raven
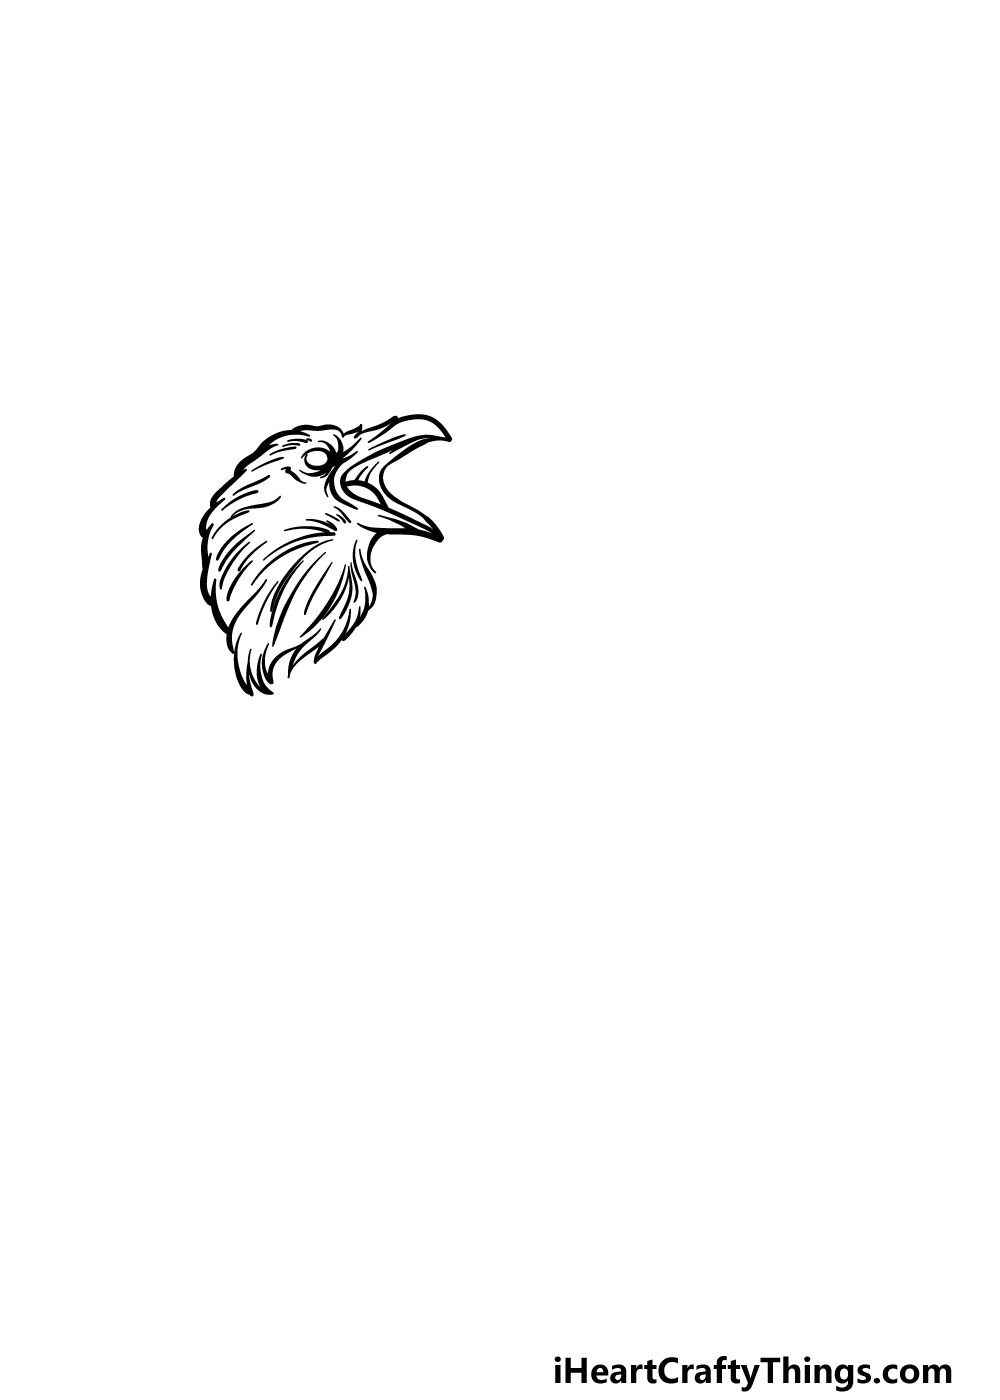
In this part of your raven drawing, you will continue the head by adding a neck to the drawing.
The head will be mostly made up of some straight and curved lines and then end with some jagged ones at the base of the neck.
It looks more complicated than it is when you get down to it, so be sure to follow the example picture closely again for help.
Step 3 – Now, you can draw the chest of the raven

Now that you have the head drawn, we will add a chest in this part of our guide on how to draw a raven.
Much like the neck that you did in the previous step, this portion of the raven will be drawn with lots of smaller lines connecting to one another.
The lines will be spread out a bit more than they were for the neck, however. You will also add two protrusions at the bottom that will make up the feathers at the top of the legs.
Step 4 – Next, draw the wings and legs of the raven
For this part of your raven drawing, we will be adding the wing and the legs of the bird. For the wing, it will be made up of lots of small, curved lines that make up the feathers of the wings.
As you go further down the wing, then these feathers will get a bit longer and more varied as you can see in the reference image.
Then, you can use some thin lines coming down the feathers for the legs. These will also have small lines drawn across them for some texture. Finally, you can add the feet and claws at the end of the legs.
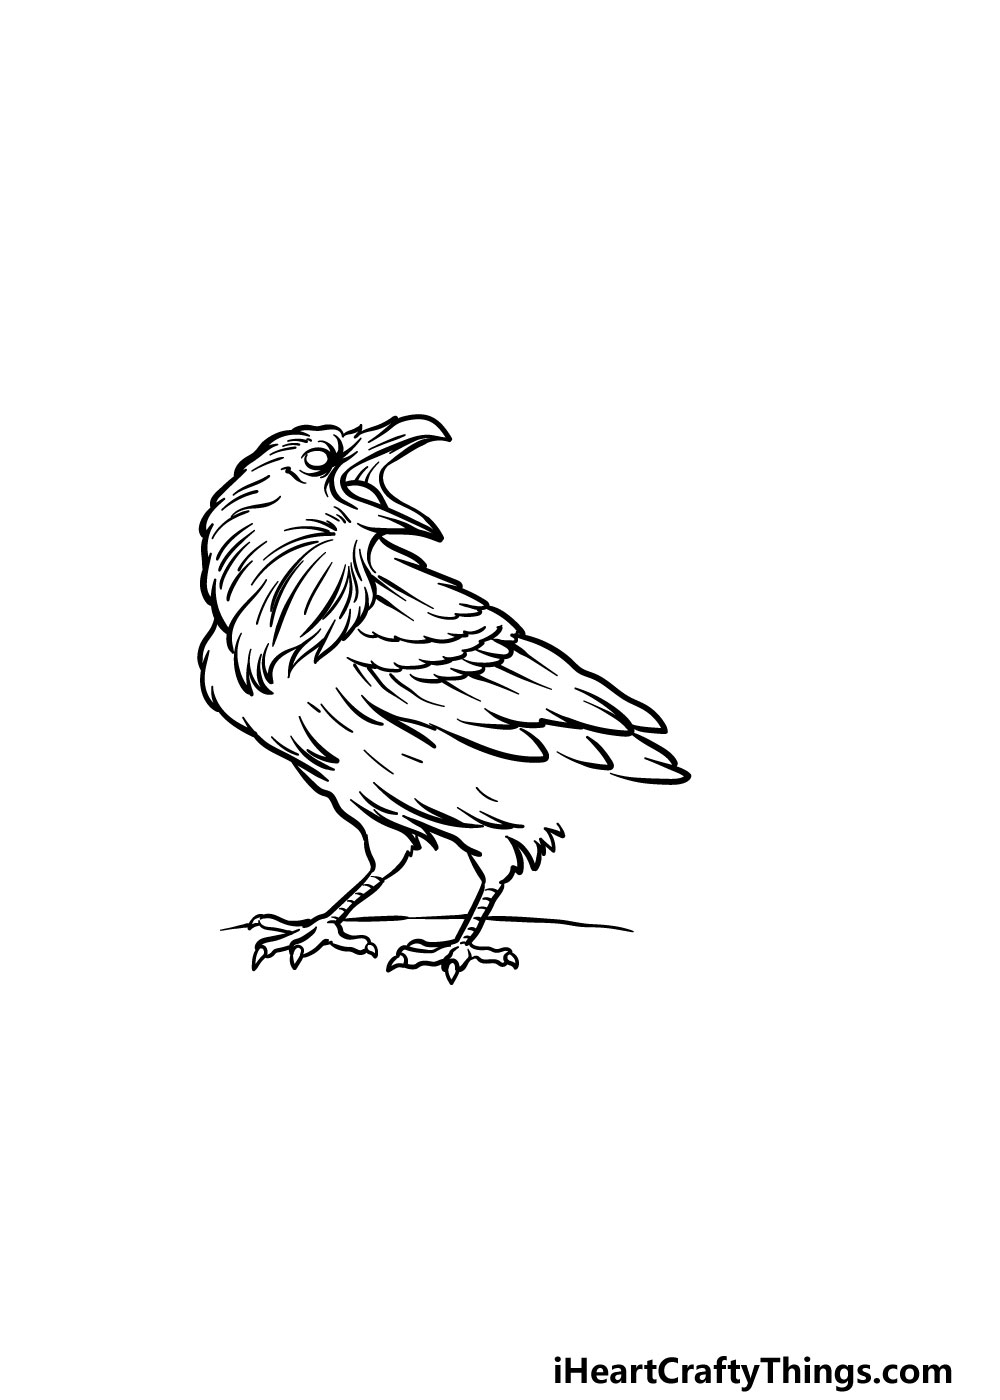
Step 5 – Now, you can add the tail and final touches
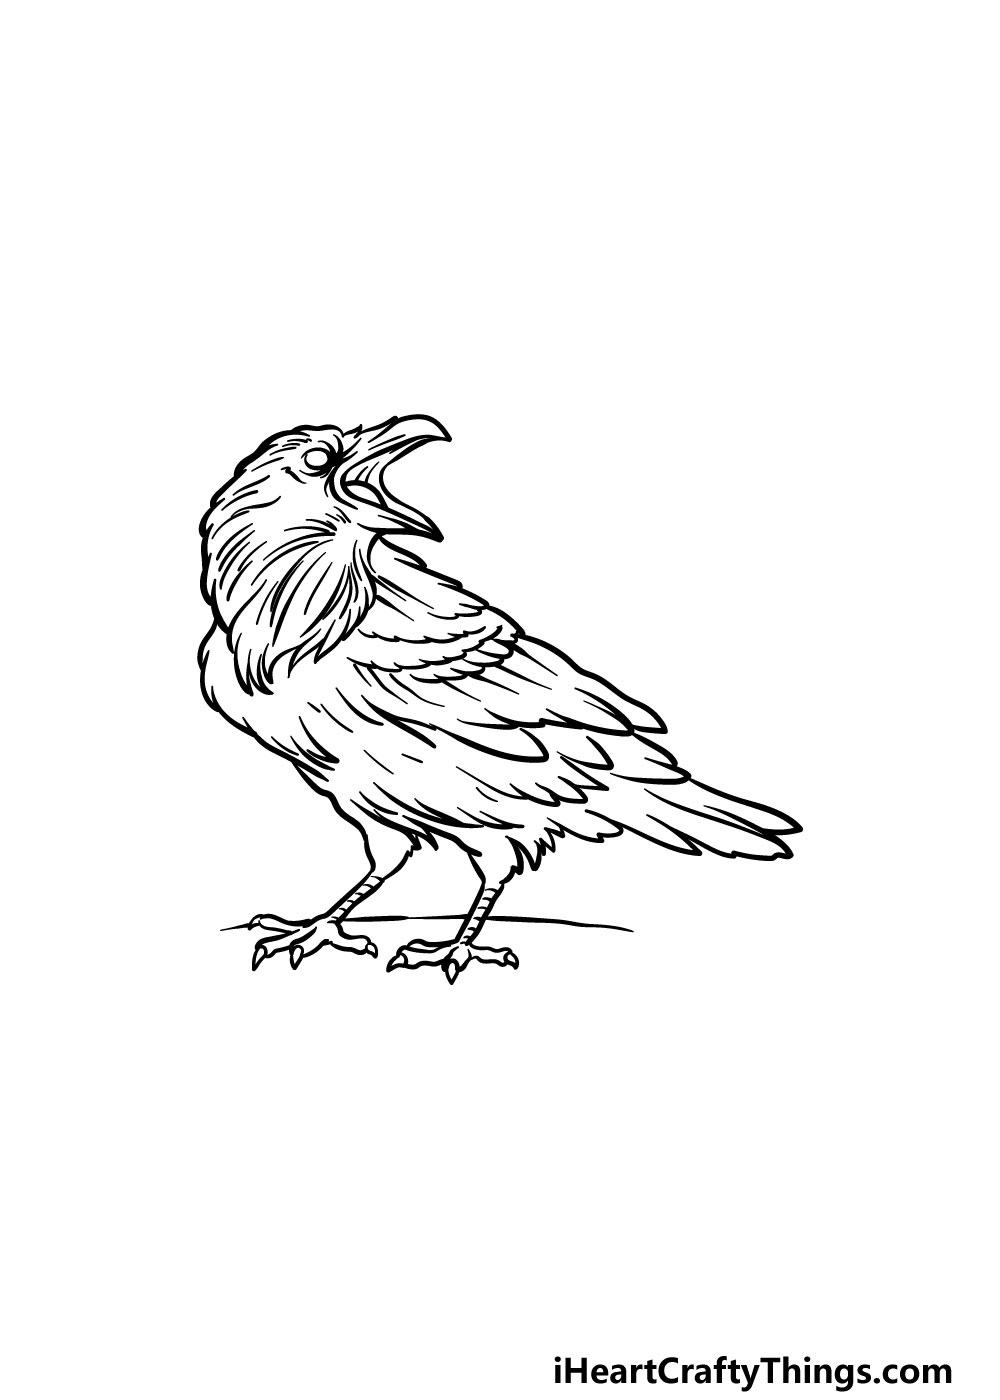
In this step of our guide on how to draw a raven, we will be adding the tail and some final touches.
The tail is made up of some short, thick feathers that you can draw onto the back of the bird to match the reference image.
Once you have added this tail, you have finished the drawing and are ready for the coloring in stage! Before you move on, though, you can also add some details of your own to really finish it off.
One thing that’s always great to add to a picture is a cool background. This would be a great way to put your own spin on this raven image.
What kinds of backgrounds and landscapes can you think of to add to this drawing?
You could also draw some other animals and birds to go along with the raven as well! We can’t wait to see what creative ways you use to finish off this image.
Bonus: Draw This Raven In Different Styles
We love the design of this raven drawing as it is, but we couldn’t help but think of how there are so many other ways to draw it. Before we move to the final step, we wanted to explore a few other options.
The raven is a beautiful bird in its own right, but it has also taken on other meanings as a bird of doom and gloom. Part of this is due to the famous Edgar Allen Poe poem, The Raven.
This gives you a place to start if you would like the style to fit the drawing thematically. So, you may want to draw the raven in a more stylized, dark way that highlights this side of the bird.
Of course you don’t need to stick to this portrayal of the bird, as there are other ways to go about it. For example, you may want to go for a more whimsical approach to the drawing.
This could be done by turning this raven drawing into a cartoon character. If you would need some help doing this, then you could look to other cartoon birds that already exist and then use them along with this guide.
You could even make some fun comics and jokes featuring this cartoon raven! Going back to the darker interpretation, you could also go for a more detailed depiction with a border around the bird.
Then, it could be fun to incorporate some text, maybe some lines from the poem we mentioned. This would make it look like this raven is in an old poem book, for example.
These are a few ideas, but now it is up to you! How else could you draw this raven to make it look even more incredible?
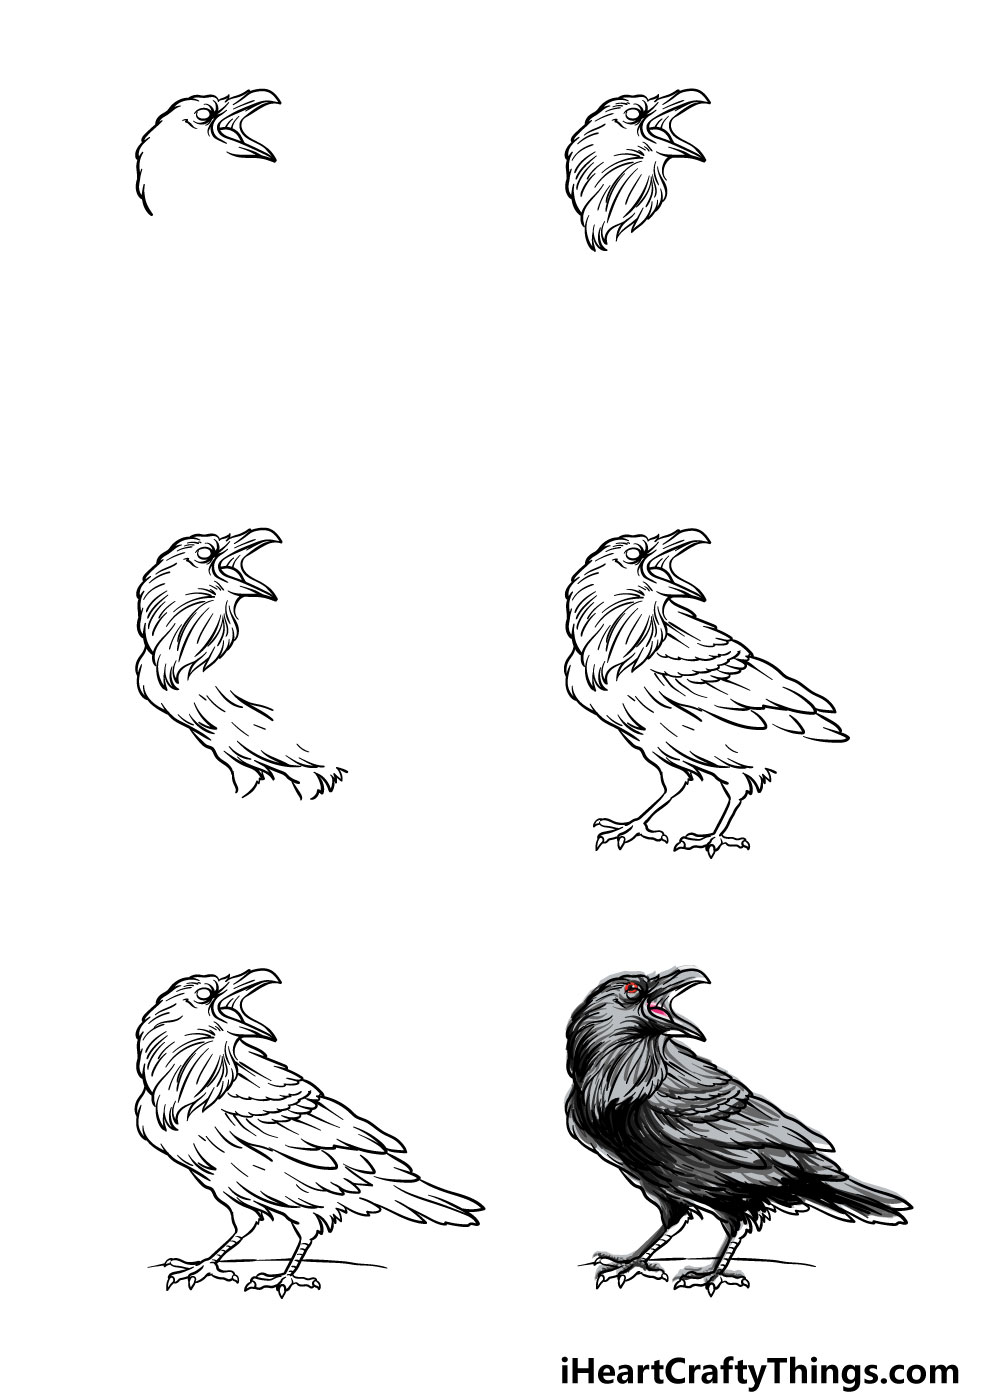
Step 6 – Finish off your raven drawing with some color
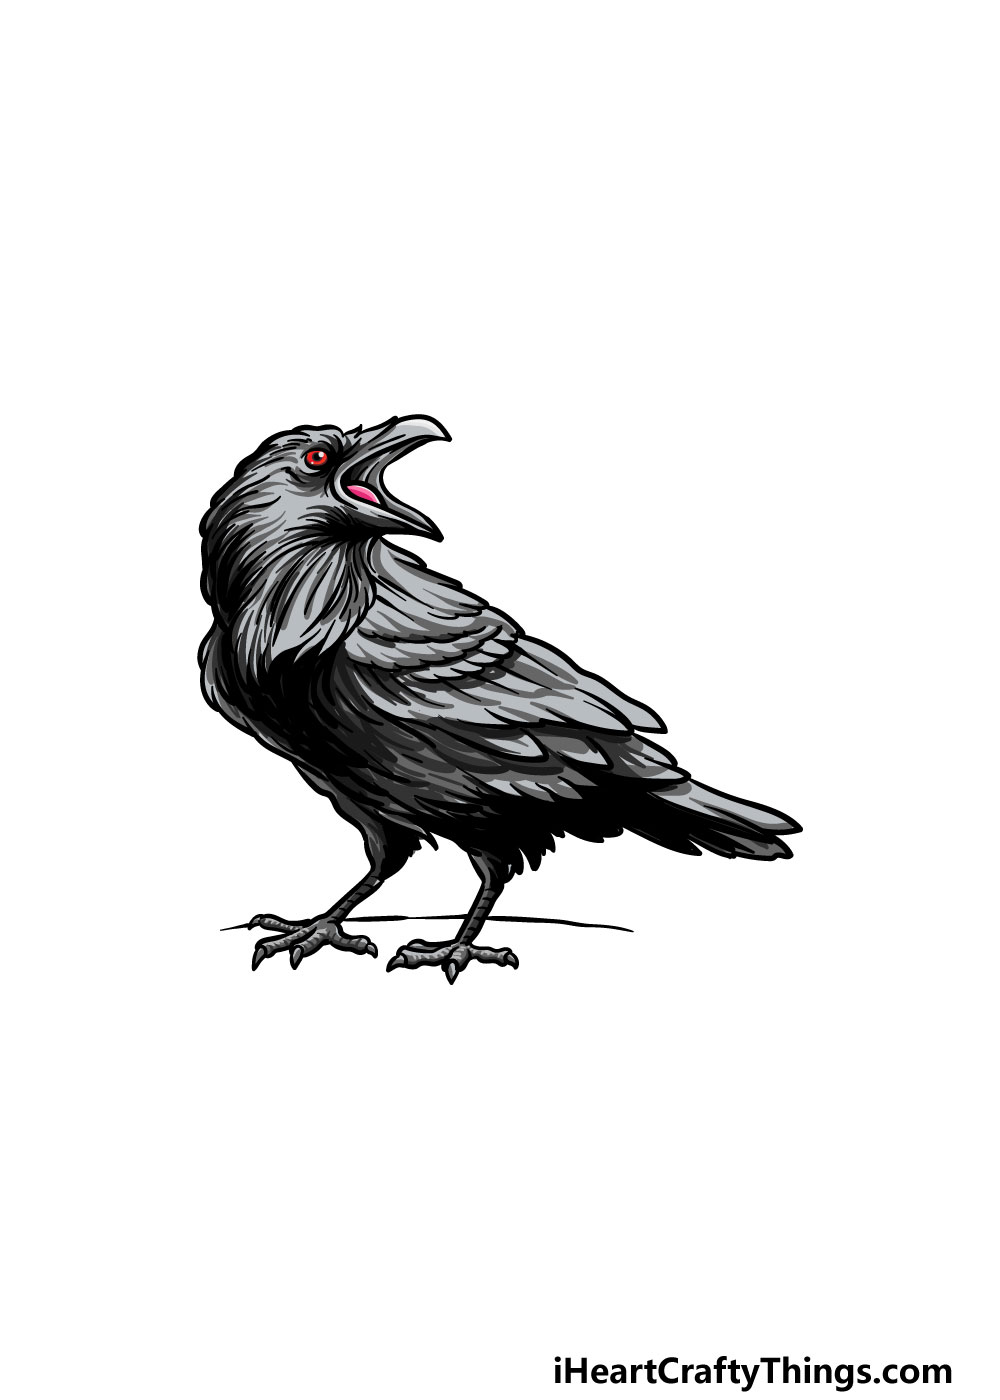
That brings you to the final step of your raven drawing! This is the step where you can add some amazing colors to your image.
Seeing as ravens are completely black, you may think that that doesn’t leave much room for creative colors.
That doesn’t have to be the case, though! In our reference image, we incorporated different shades of blacks, greys and whites to add some variation to the color.
We also used some red for the eye, which gives a lovely splash of color to the image.
You could also fill the background or any other elements that you drew for the image to add more color variation to it.
You can also play around with different art mediums and tools to create some color differences and feels. What colors and favorite art tools will you use to bring this amazing raven to life?
Here’s how you can make your raven drawing even better…
Make this raven sketch even more incredible with these fun and easy tips!
This raven drawing is so great on its own, but it would be even better with some friends! Now that you know how to create this picture, you could add as many more ravens as you like to finish it off.
If you were to try and do this, you could follow the steps and change details such as the pose and expressions of the birds. What kinds of poses would you pick for the various ravens?
Next, you could add a background to your drawing of a raven. This would be especially great if you added additional ravens in the previous step!
The background could be as simple as them sitting on a branch, or you could go for something more elaborate. If you don’t want to create a setting but would still like a background, there are ways to do that as well.
For instance, you could fill the background with colors, shapes or patterns. What else could you use for the background?
Ravens are significant in Norse mythology and other legends, and you could add these aspects to the drawing. For instance, you could look up some cool Viking runes and draw them around the image!
Or, maybe you could draw a Viking settlement or add some helmets and other objects around it. This is one example of how ravens have been portrayed before, but can you think of any other associations ravens may have?
When it comes to coloring your raven sketch, you may think you’re a bit limited due to their dark coloring. That doesn’t have to be the case, however!
We covered a few of the ways you can color in this raven in the guide. One of the best ways to vary the colors would be by mixing up your art tools and mediums.
By using different paints, pencils and other mediums, you can create dynamic colors even if you stick to the black color scheme. What colors and mediums will you choose?
Your Raven Drawing is Complete!
We really hope that you had a lot of fun working with us on this guide on how to draw a raven!
There were a lot of details to this drawing that may have made it look intimidating at first, but we hope that by breaking it down into smaller steps that it was made easier and more fun to do.
Taking on new drawing challenges can always be mane easier when you have helpful steps to follow!
Now you can finish off this drawing by adding even more of your own details and elements.
We mentioned drawing a background and adding different animals and birds for a few ideas, so how do you think you will add your own touches to this picture?
Once you’re ready for more drawing challenges, there are plenty of amazing guides for you to enjoy on our website!
We also upload new ones frequently, so checking in often is the best way to never miss out.
We would also love to see your completed raven drawing! Once it’s finished, we hope that you will share it on our Facebook and Pinterest pages for us to enjoy. We can’t wait to see your amazing artwork!