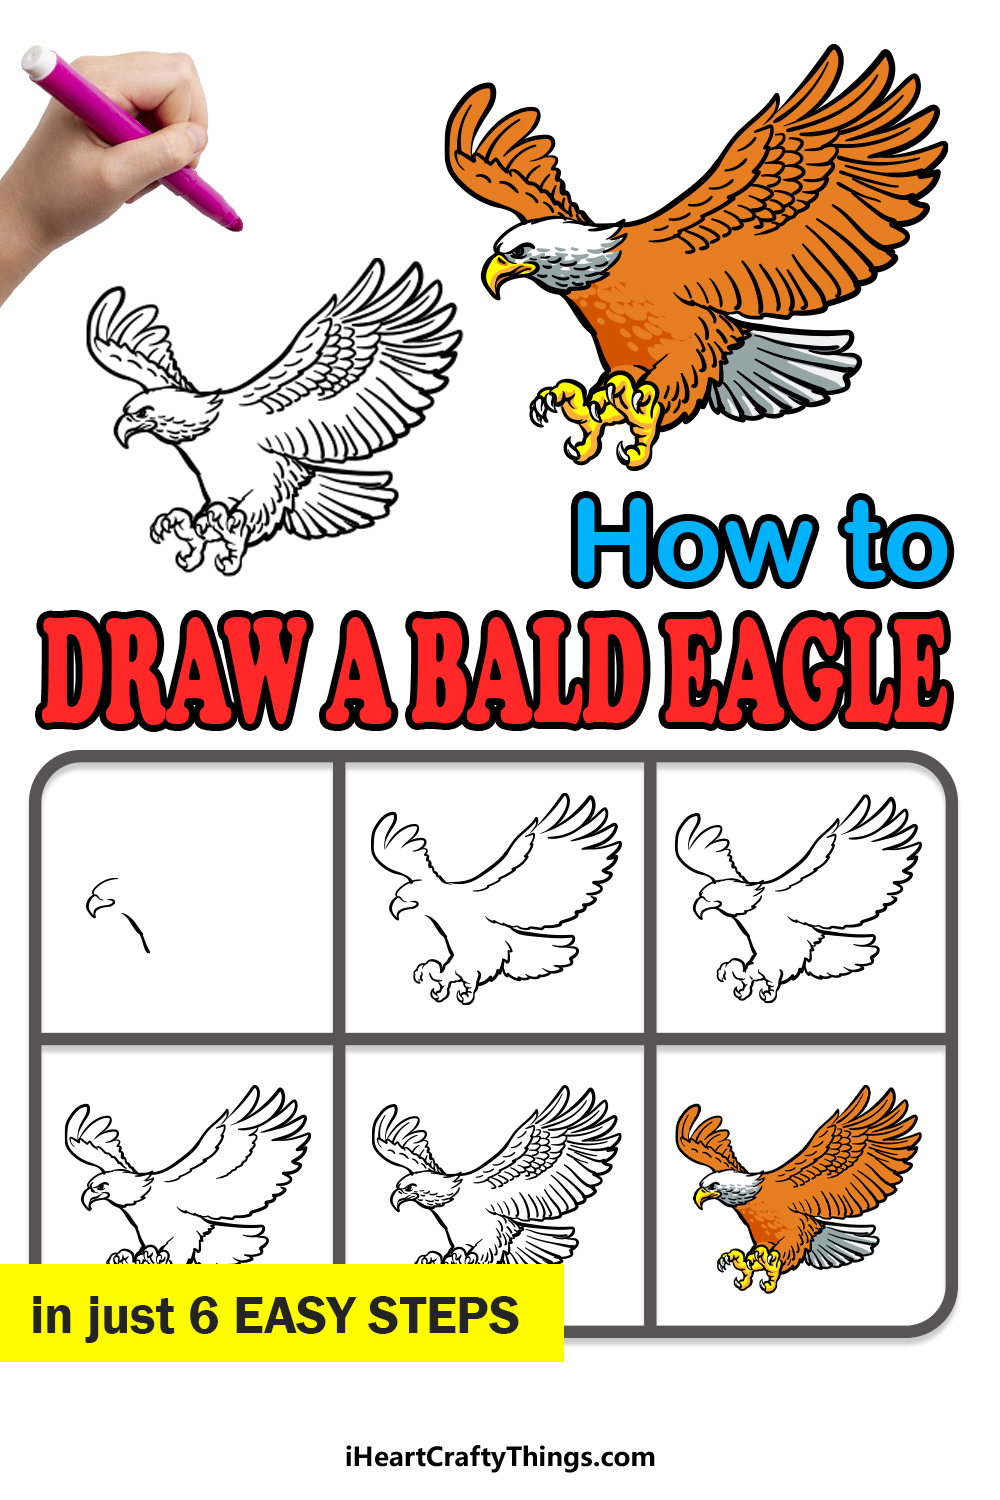
The bald eagle is one of the most majestic birds in the world. These elegant birds of prey are not only efficient predators, but they are also the national bird of the United States.
They have come to represent patriotism and pride in America, and many like to commemorate this by learning how to draw a bald eagle.
If you’re one of these people, then you’re definitely on the right guide! Once you finish this guide you’ll see how easy and fun it can be to draw one of these majestic birds.
We hope that you enjoy this step-by-step guide on how to draw a bald eagle!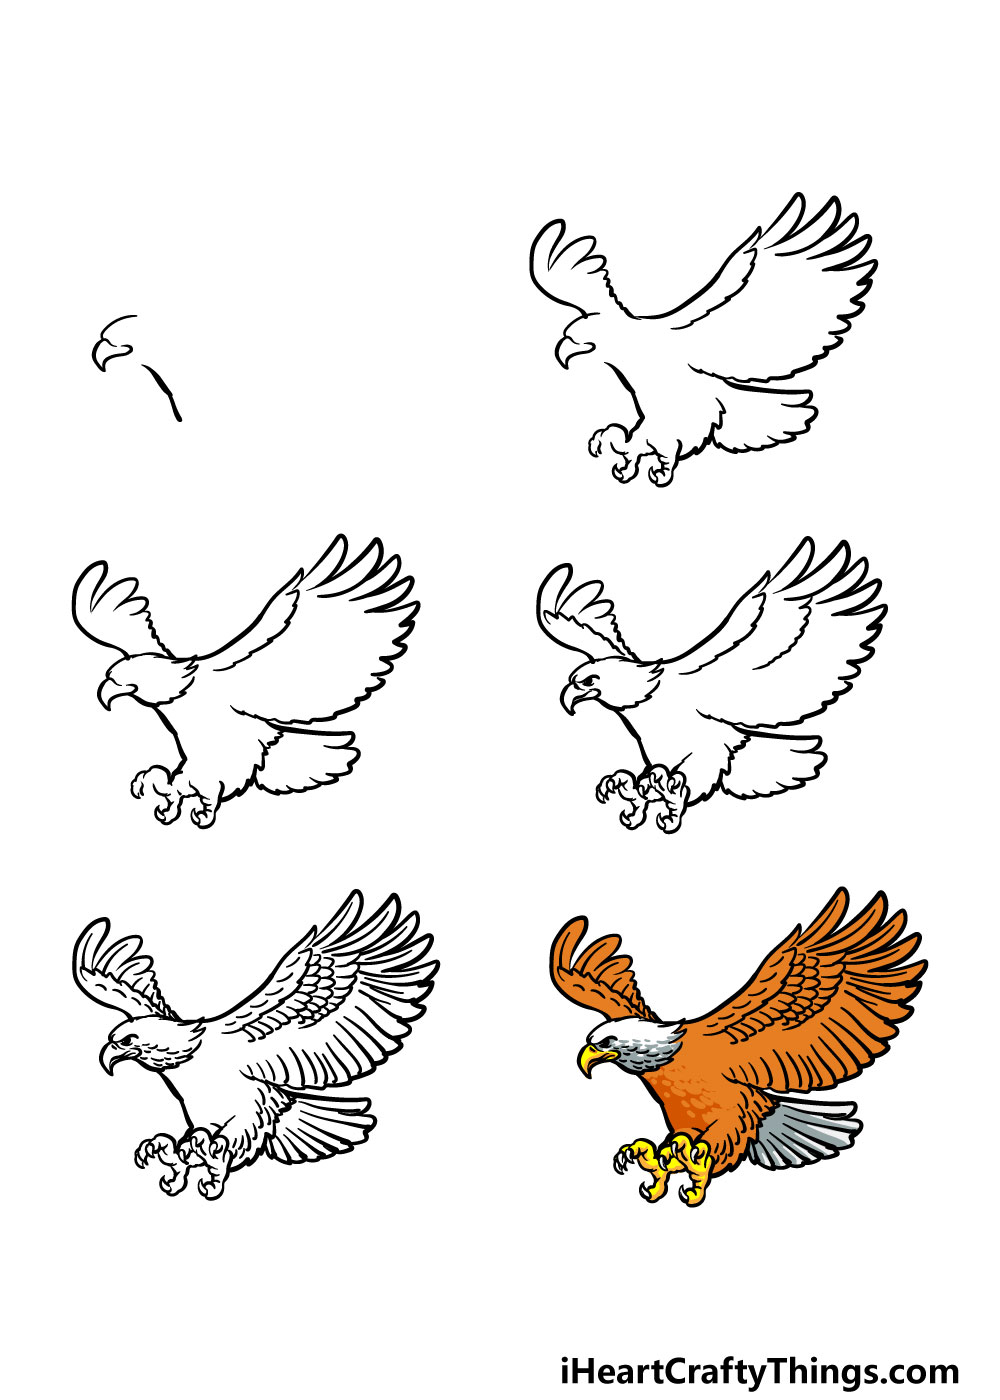
How to Draw A Bald Eagle – Let’s Get Started!
Step 1
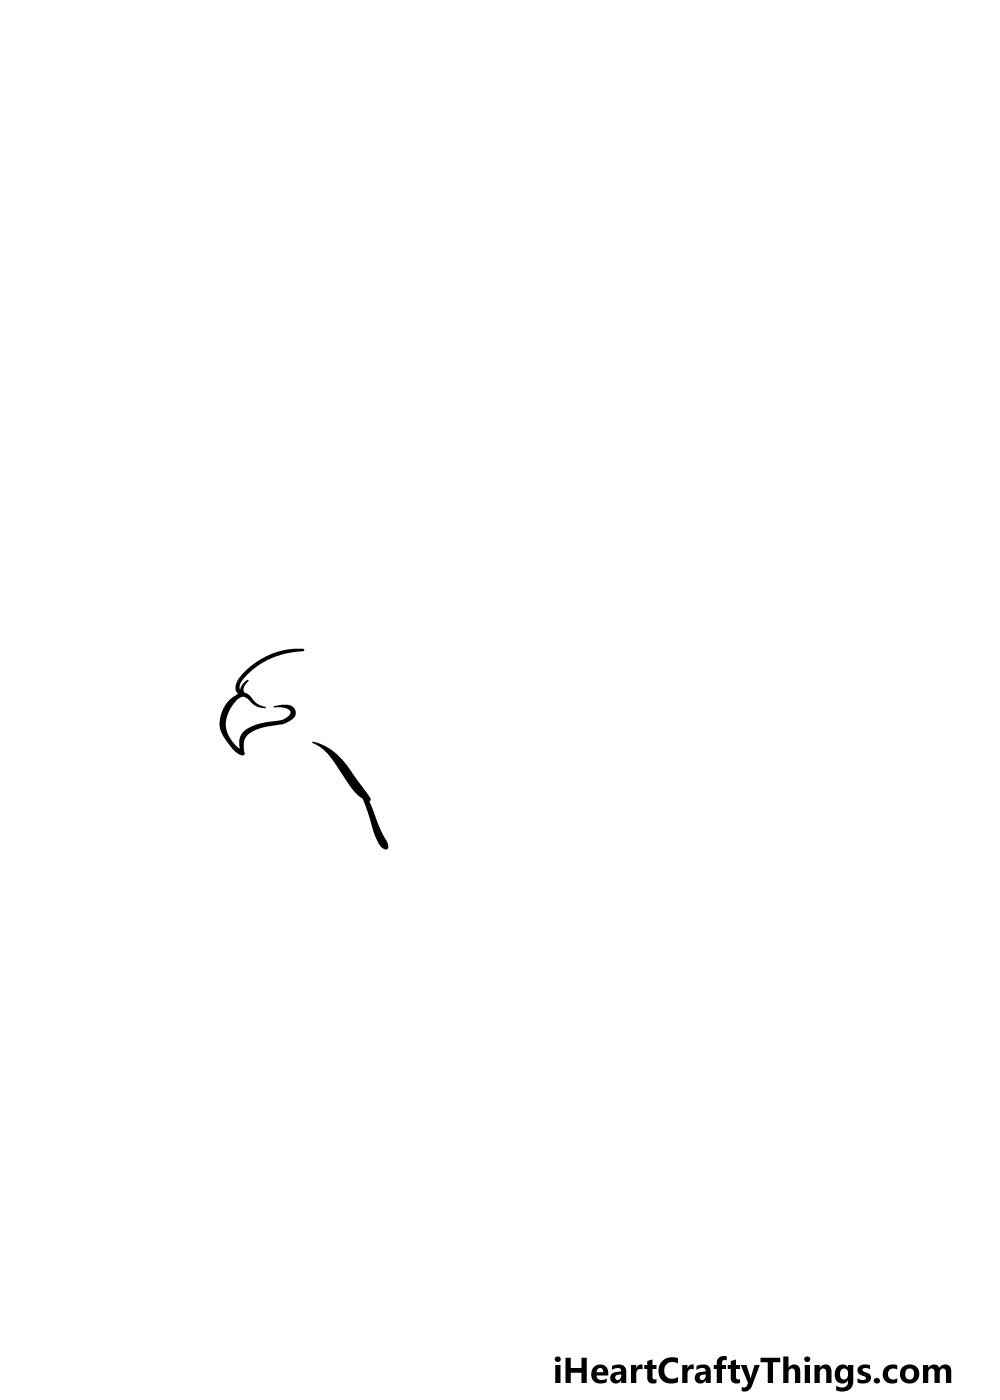
For this first step of our guide on how to draw a bald eagle, you will be using a light pencil to draw some lines that will guide you for the rest of the picture.
This step will be made much easier for you if you follow the reference image closely.
While referring closely to the reference picture, you can draw some rough shapes that will be the base for the outlines in future steps.
These guide lines will form the head, neck, wings, body and talons of the eagle.
Once you have these pencil lines, you can use your pen to go over the pencil lines with some more refined lines for the final drawing. For now, draw the top of the head and the beak for this step.
Step 2 – Continue the pen outline for your bald eagle drawing
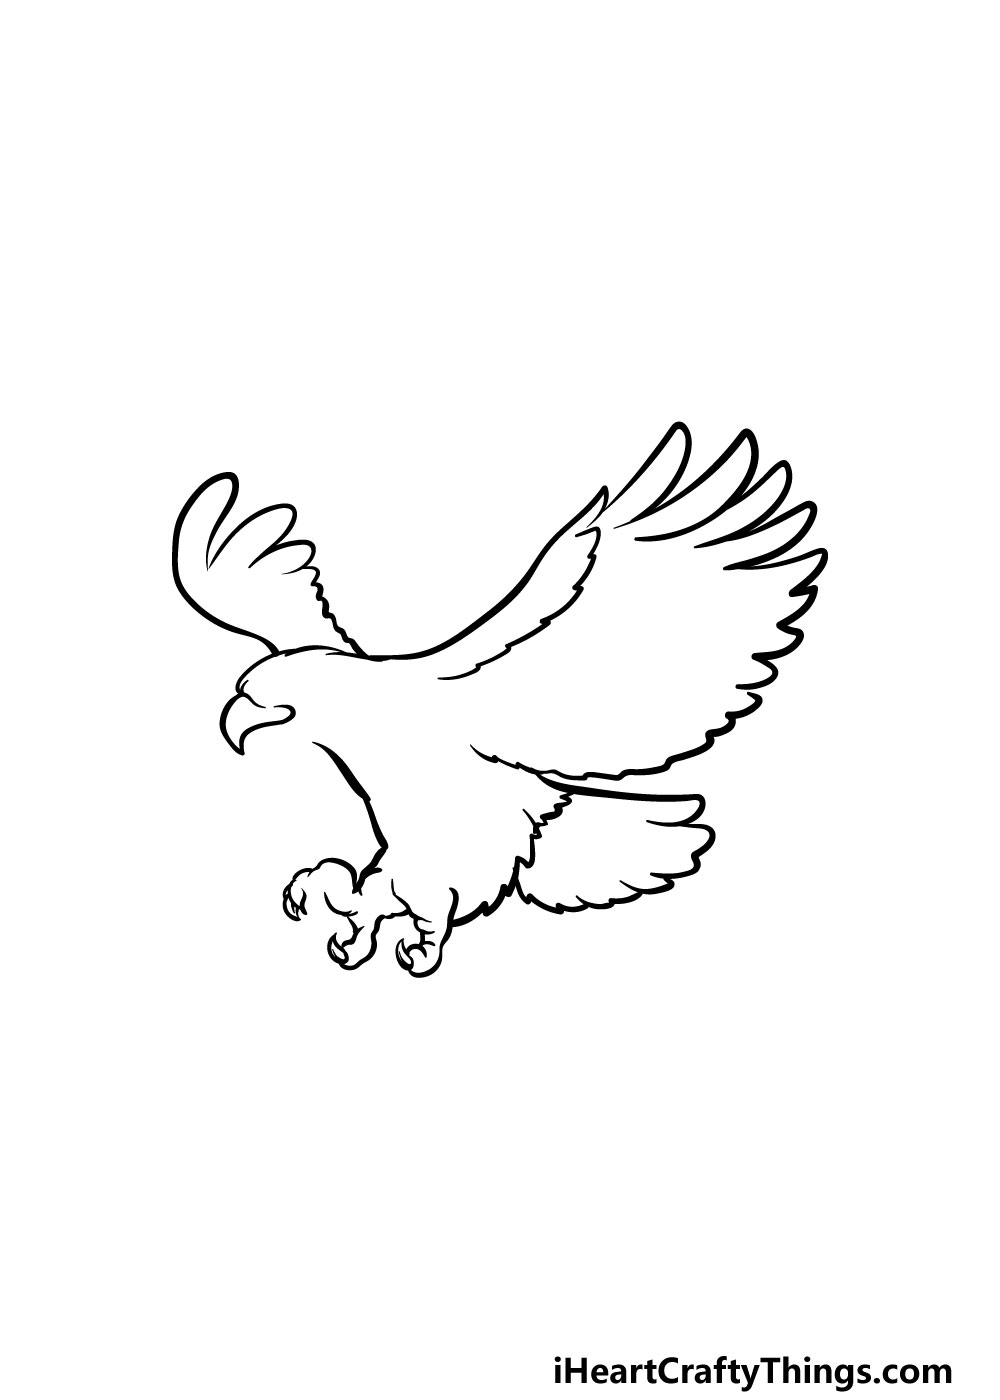
Continuing on from the previous step, you can keep extending the pen lines for the rest of the outline of your bald eagle drawing.
As you can see in the reference image, this means you can extend the lines for the wings, tail, talons and other areas.
You can focus on the background elements for now, as we will be adding some inner details shortly. Once you’re happy with the pen outlines, you’re ready for step 3!
Step 3 – Now, draw some inner details for the bald eagle
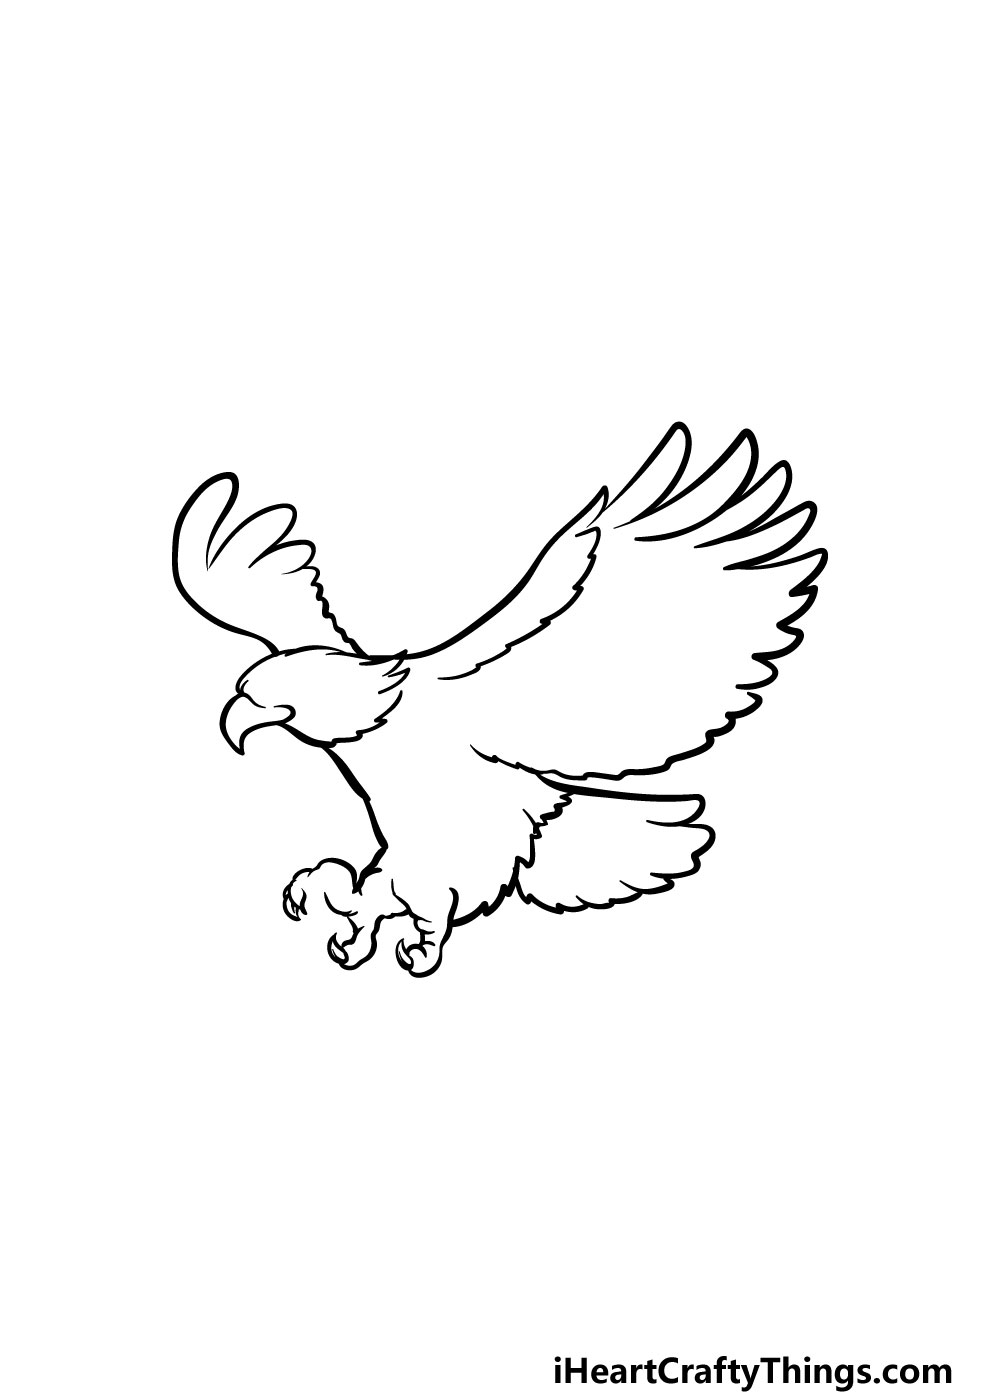
This step of our guide on how to draw a bald eagle will see you adding some inner details to your drawing.
To do this, you can start with some sharp lines across the neck for some feathery detail. Then, you can add another jagged line across the base of the tail for even more feather detail.
Step 4 – Finish off the face and talon details

Continuing the details for your eagle drawing, you can now draw some face and talon details to finish it off nicely.
Focusing on the face for now, you can draw an eye using some simple circle shapes. Then, you can use a sharply curved line above it to give the eagle a look of concentration.
Then, you can finish off the beak to complete the head. Then there are just a few more details to add before moving on.
First, you can finish off the toes and claws of the eagle’s talons. Then, you can add some curved lines to the inner wings to start the feather details of them.
Once you have all these elements drawn, you’re ready for some final details to finish off!
Step 5 – Now, you can add some final details to your bald eagle drawing
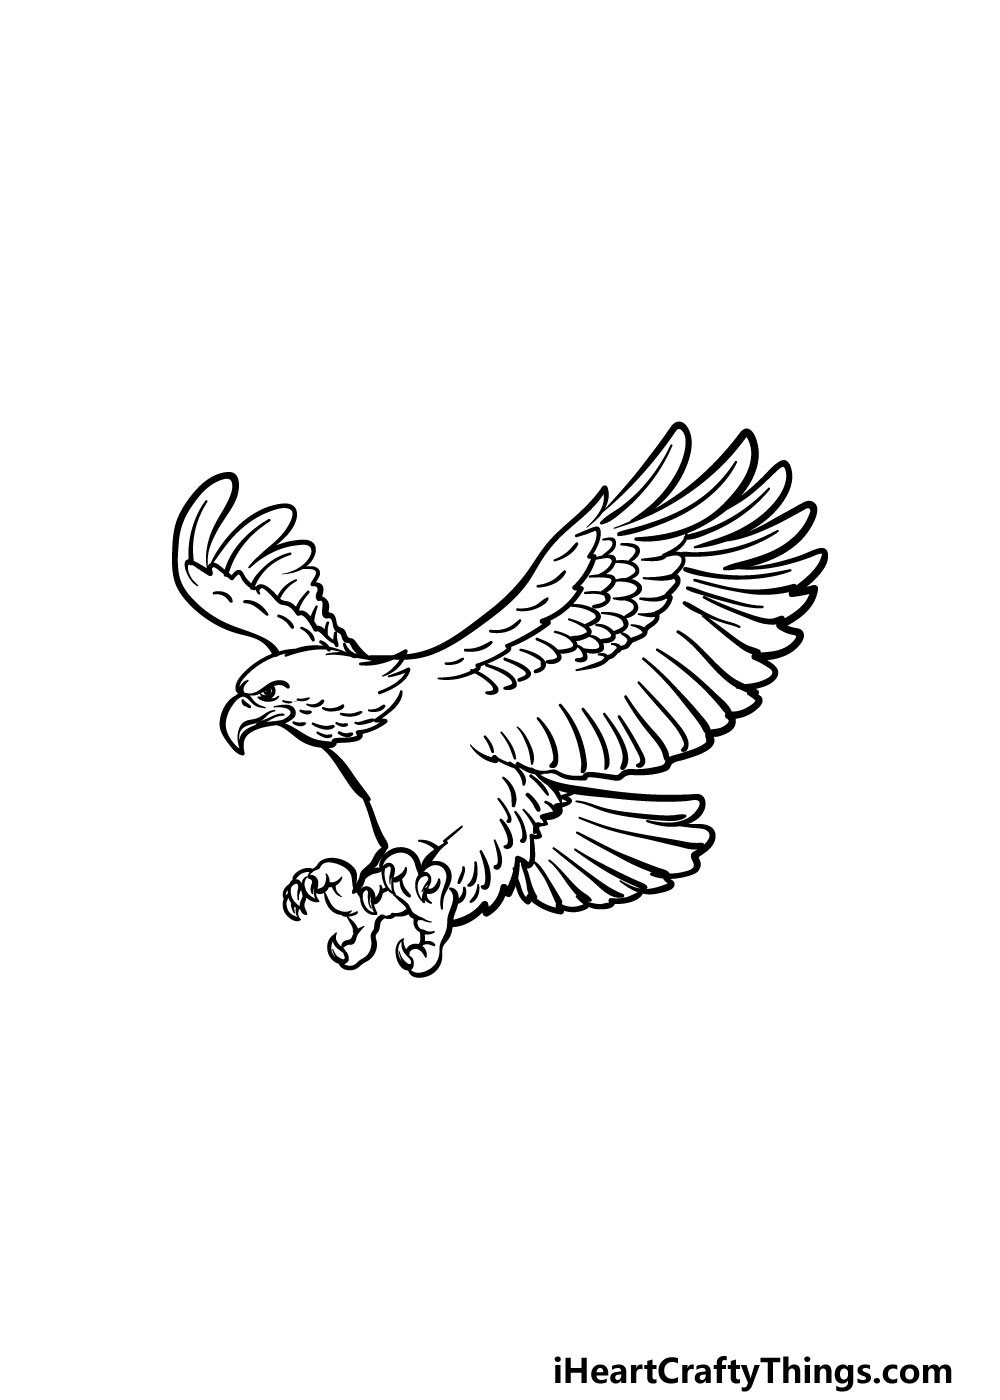
This fifth step of our guide on how to draw a bald eagle will see you adding the final details before we finish off with some colors.
This step may look complicated, but if you follow the steps and take it slow you’ll definitely be able to do it!
The main elements that you will be adding will mainly comprise of some feathery wing details. You can achieve this look by adding rows of curved lines to create the feathery wings.
Then, there are some final details you can add to areas like the legs and tail along with other areas throughout the eagle to really finish it off.
Once you have finished all the details we added to our eagle, you could take this image even further by adding some of your own!
You could do this by adding or removing details on the eagle, by adding your own details or by drawing a stunning background.
How will you put your own spin on this drawing before the final step?
Step 6 – Finish off your bald eagle drawing with some color
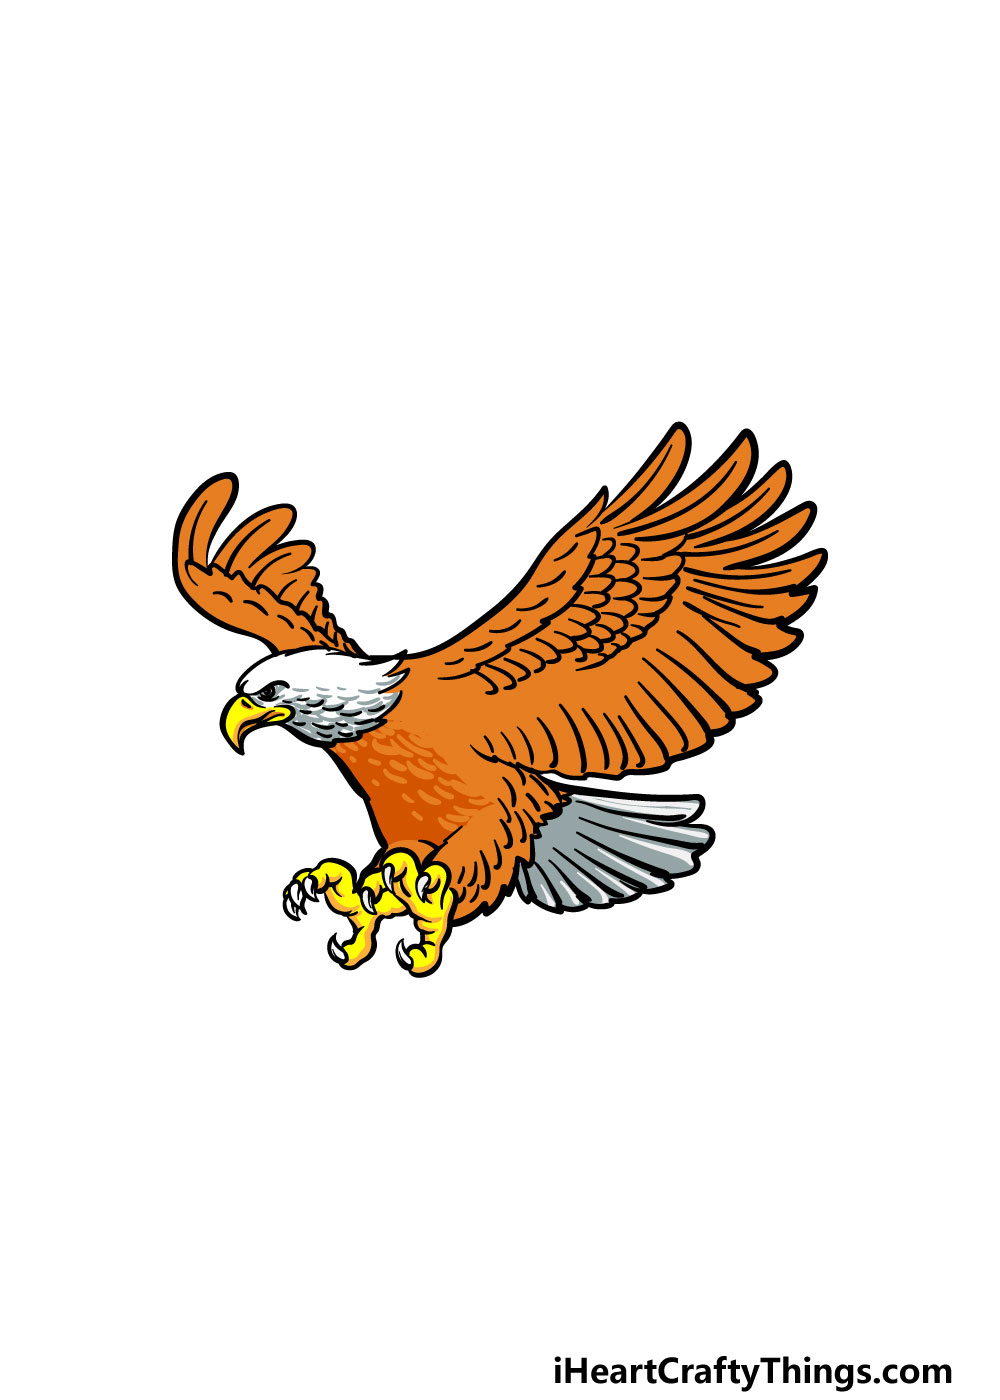
Step 6 of our guide is centered around bringing some beautiful colors to your bald eagle drawing. In our reference image, we went for the typical colors of a bald eagle.
These colors include browns, yellows, whites and greys for a more realistic look. If you want to go for a realistic appearance like this, you could still switch it up a bit in a number of ways!
These could include using different shades of these colors or by changing them up a bit.
Also, if you drew a background for your image then you can add more splashes of color to that element.
You can also get some color variation by changing up the art mediums that you use. Watercolors and colored pencils can give an image a softer look, so they would work really well for an image like this.
Alternatively, acrylic paints and colored pens would work great for more vibrant colors. How will you bring some color to this bald eagle drawing to finish it off?
3 More tips to make your bald eagle drawing easy!
Make this bald eagle sketch much easier with these 3 tips and tricks!
We included a lot of details on this drawing of a bald eagle in order to make it look more textured and realistic. This would be a good place to start if you find yourself struggling with the drawing.
If these details are proving to be too frustrating, then you could start removing some of them. Instead, you could draw just the outline of the bald eagle to begin.
Then, slowly add more and more details to the image until you find it more manageable. What are some details you think that you could live without in this image?
The bald eagle drawing we created in this guide is halfway between being realistic and cartoony. This makes it look really cool, but it may be a style you are not as comfortable with.
You could change the style that the bald eagle is drawn in, and this would depend on what you are comfortable with. There are two main approaches you could do for this.
For example, if you like to draw cartoons normally then you could bring it closer to the cartoony end of the spectrum.
If you like to include a lot of realistic detail, then you could make it look even more realistic.
What style would you choose to make it easier?
If you still need a bit of extra help with this bald eagle sketch, you could also try looking up some pictures of real bald eagles to help you. You will find many pictures online that you could use!
These could be photos or drawings, and either would work. Photos would be preferable, but anything you find will be helpful in its own way.
These additional references would be most useful if used along with our reference images. The pictures will help you as you draw the proportions and finer details of this bald eagle.
Try to find images similar to our reference image if you can, as that will surely help!
Your Bald Eagle Drawing is Complete!
Now that all the final details and colors are added, that means that you have reached the end of this guide on how to draw a bald eagle!
This was not a simple drawing to take on, so we hope that by following the steps in this guide you found it to not only be much easier than expected but that it was also lots of fun!
Now you can keep the creativity going by adding your own details, elements, variations and awesome art mediums. We can’t wait to see how you put your own spin on this drawing!
When you’re ready for more drawing fun, we have plenty in store for you on our website. We have tons of guides for you to enjoy and we upload more very frequently! Be sure to check often to never miss out.
Once your bald eagle drawing is complete, we would love it if you would share it on our Facebook and Pinterest pages for us to enjoy!