There are many different animals of many shapes and sizes in the animal kingdom.
Some of these animals fall under the category of farm animals, and these are animals that are used for a variety of purposes, and these range from providing food to clothing among others.
Rams are one of these animals, and they serve as an important link in sheep breeding and wool production.
They can also be lots of fun to create artwork about, and learning how to draw a ram is a great way to do that!
If you love this woolly animal, then you will definitely enjoy the tutorial we have for you.
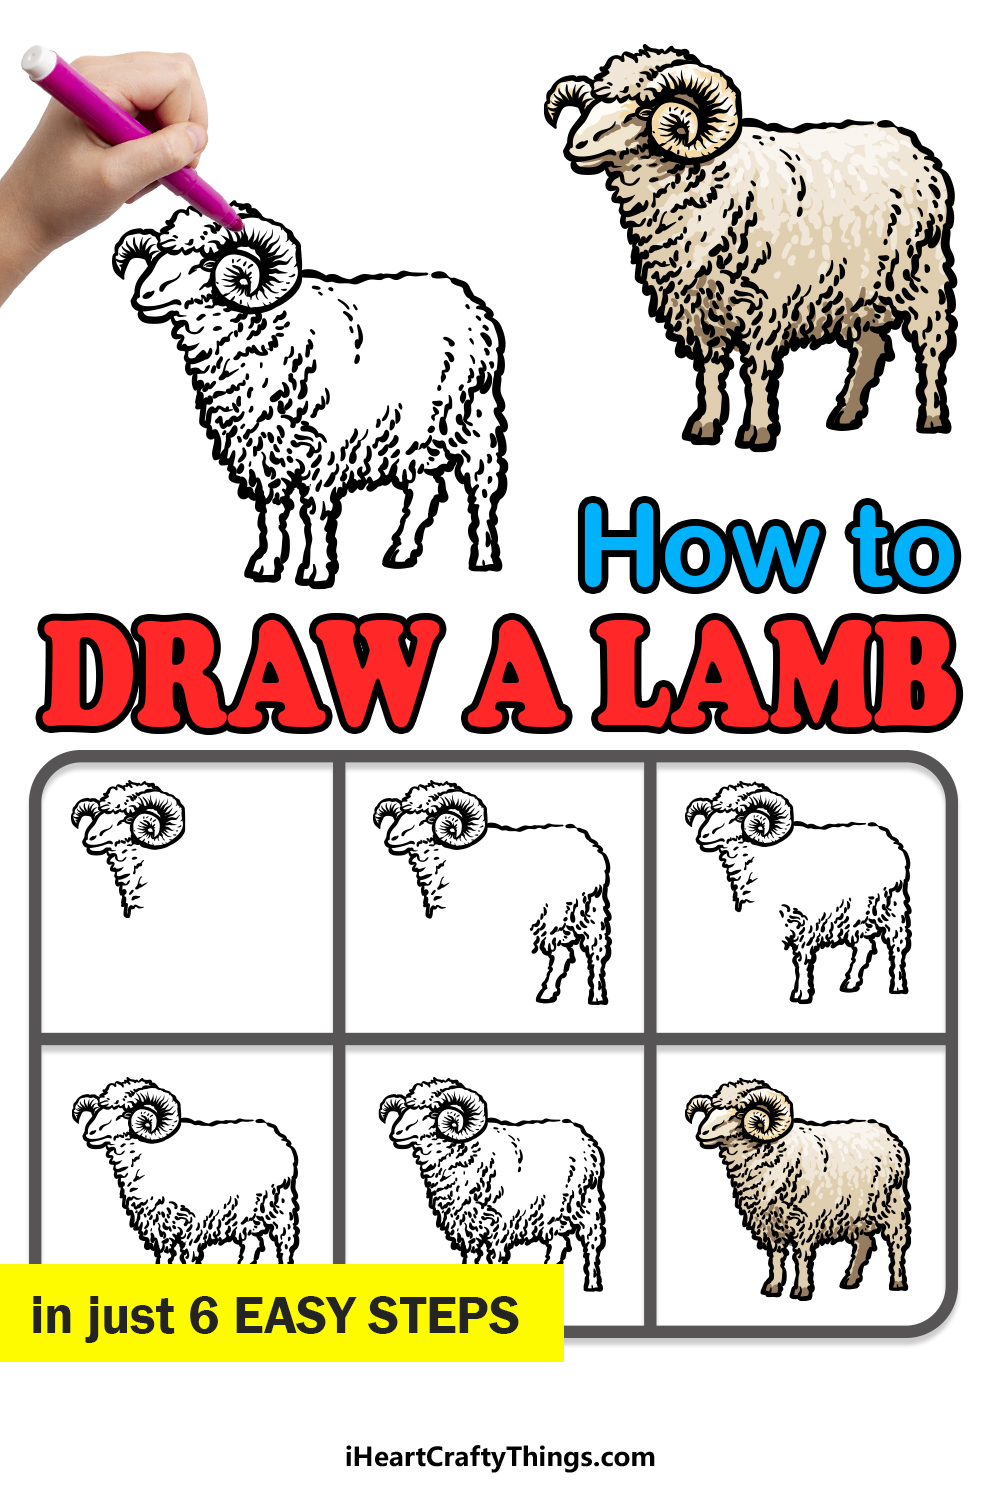
This step by step guide on how to draw a ram in just 6 steps will show you how this can be done!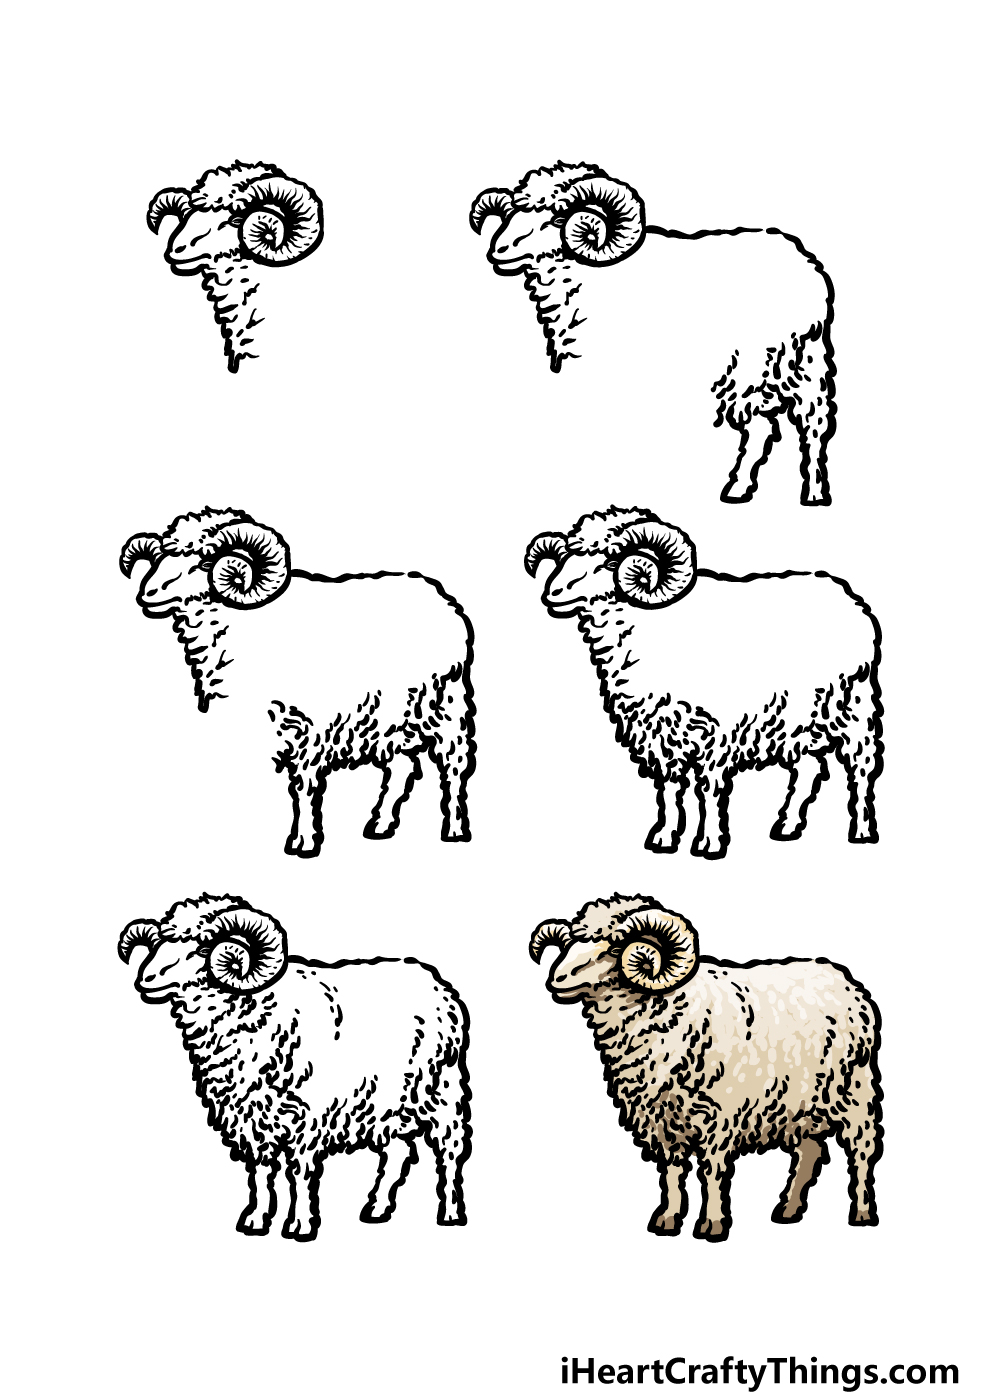
How to Draw A Ram – Let’s Get Started!
Step 1
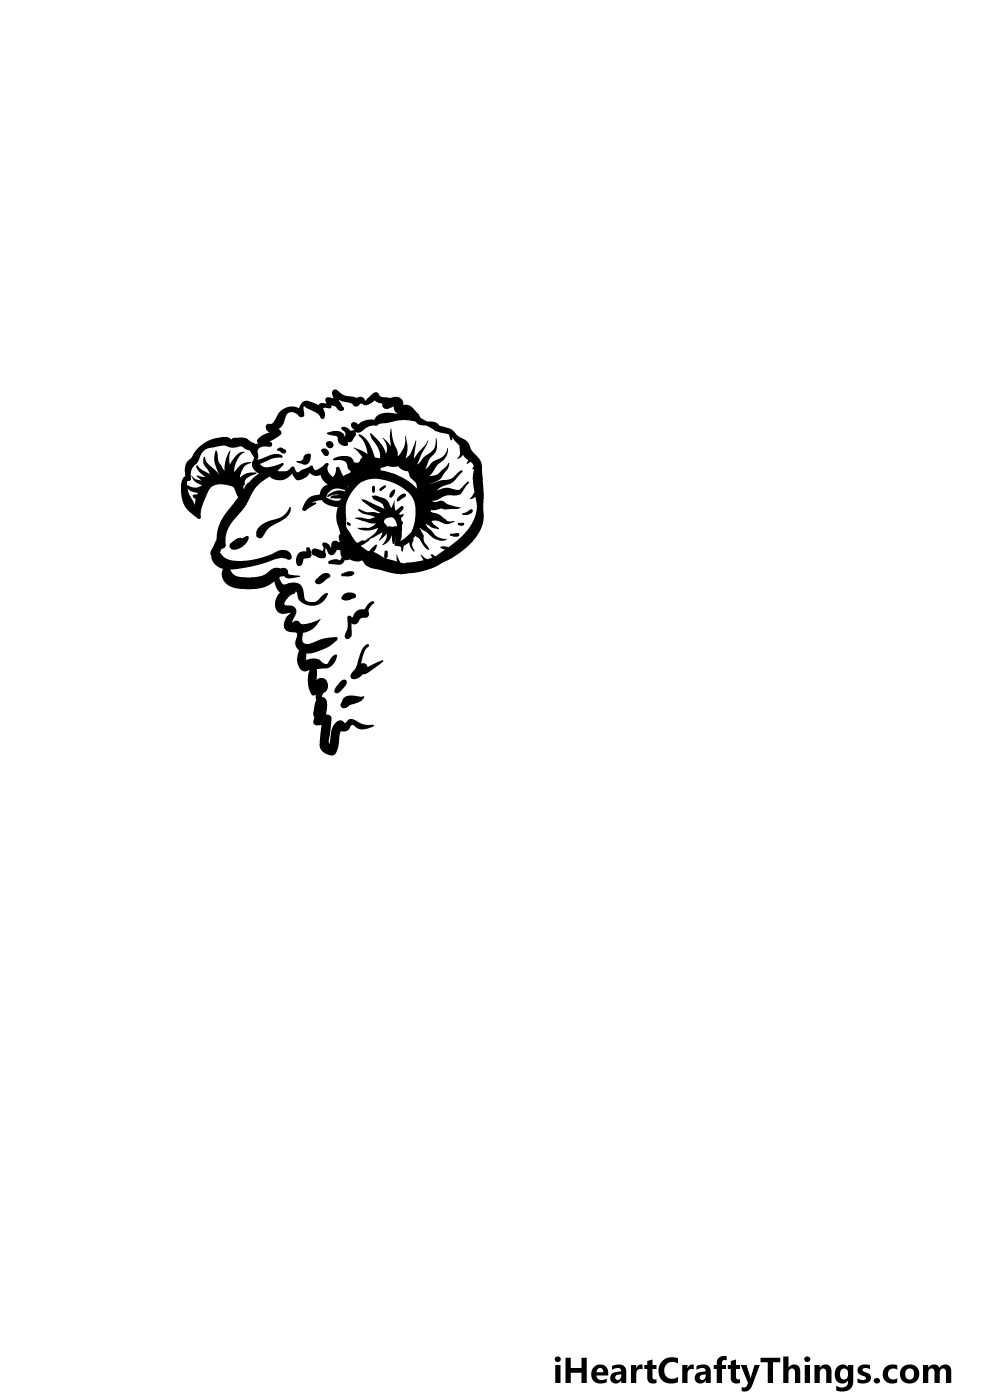
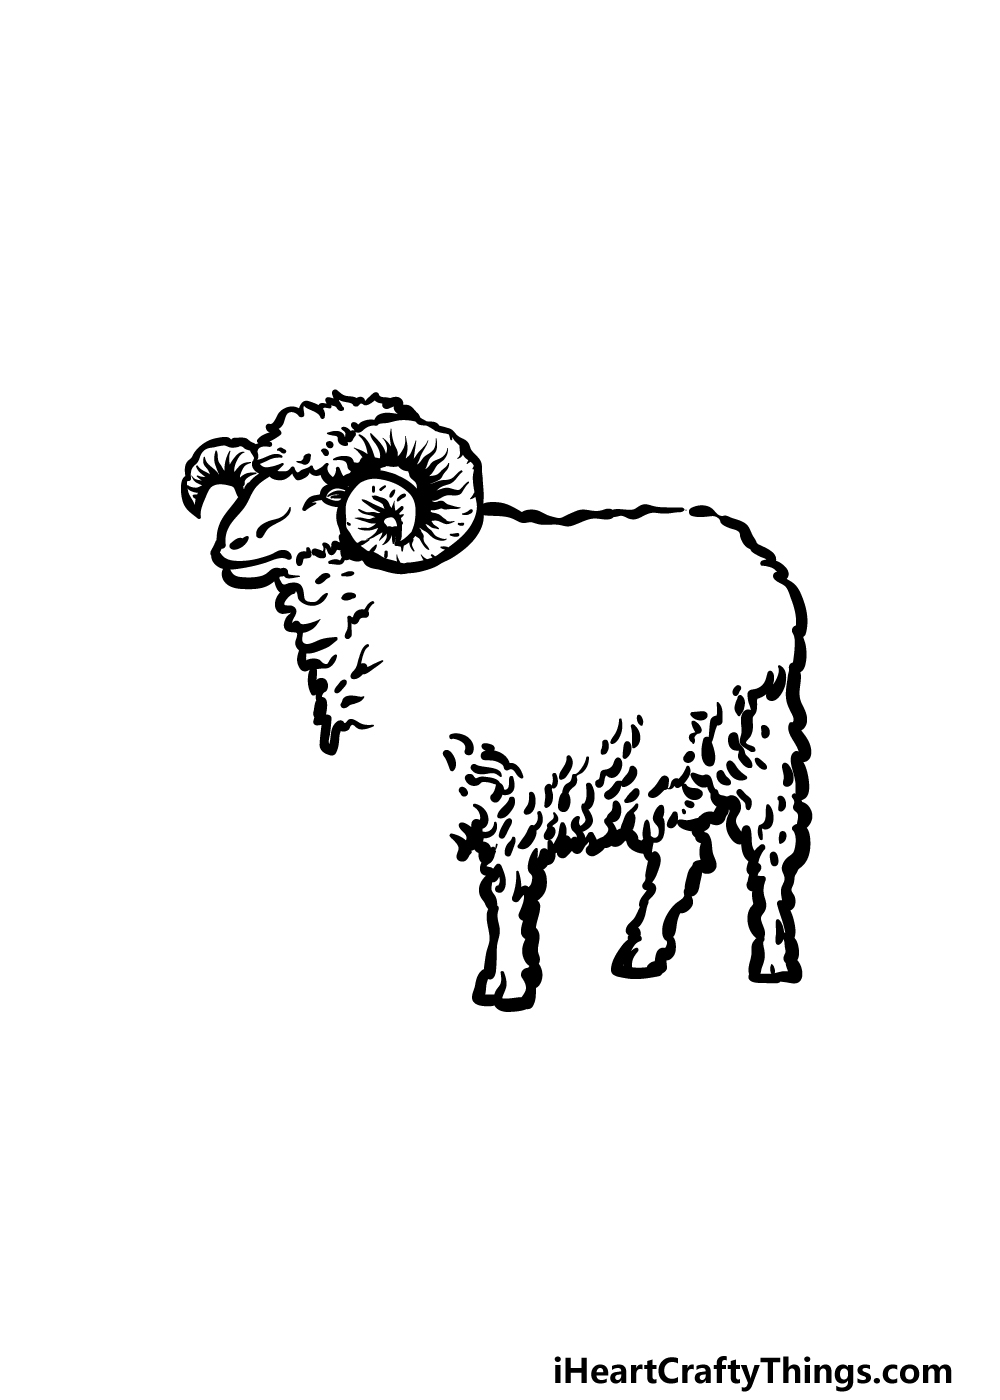
To get this guide on how to draw a ram going, we shall start with the head and horns. The horns are rather distinctive on this animal, as they curl in on themselves to form an almost spiral shape.
You can start by using a somewhat bumpy line to draw the twisty horn for the ram. This horn will also have some thick line details going along it to give it some rough texture.
Then, we will use some jagged, pointy lines for the tuft of wool atop the head, and then you can draw the long, rounded muzzle of the sheep.
Once the muzzle outline is drawn, add a small, round eye near the top of the head, and then you can draw the nostrils and mouth. Finish off this step by drawing the tip of the other horn poking off, and then draw the front of the chest.
Step 2 – Draw the back and back legs for the ram
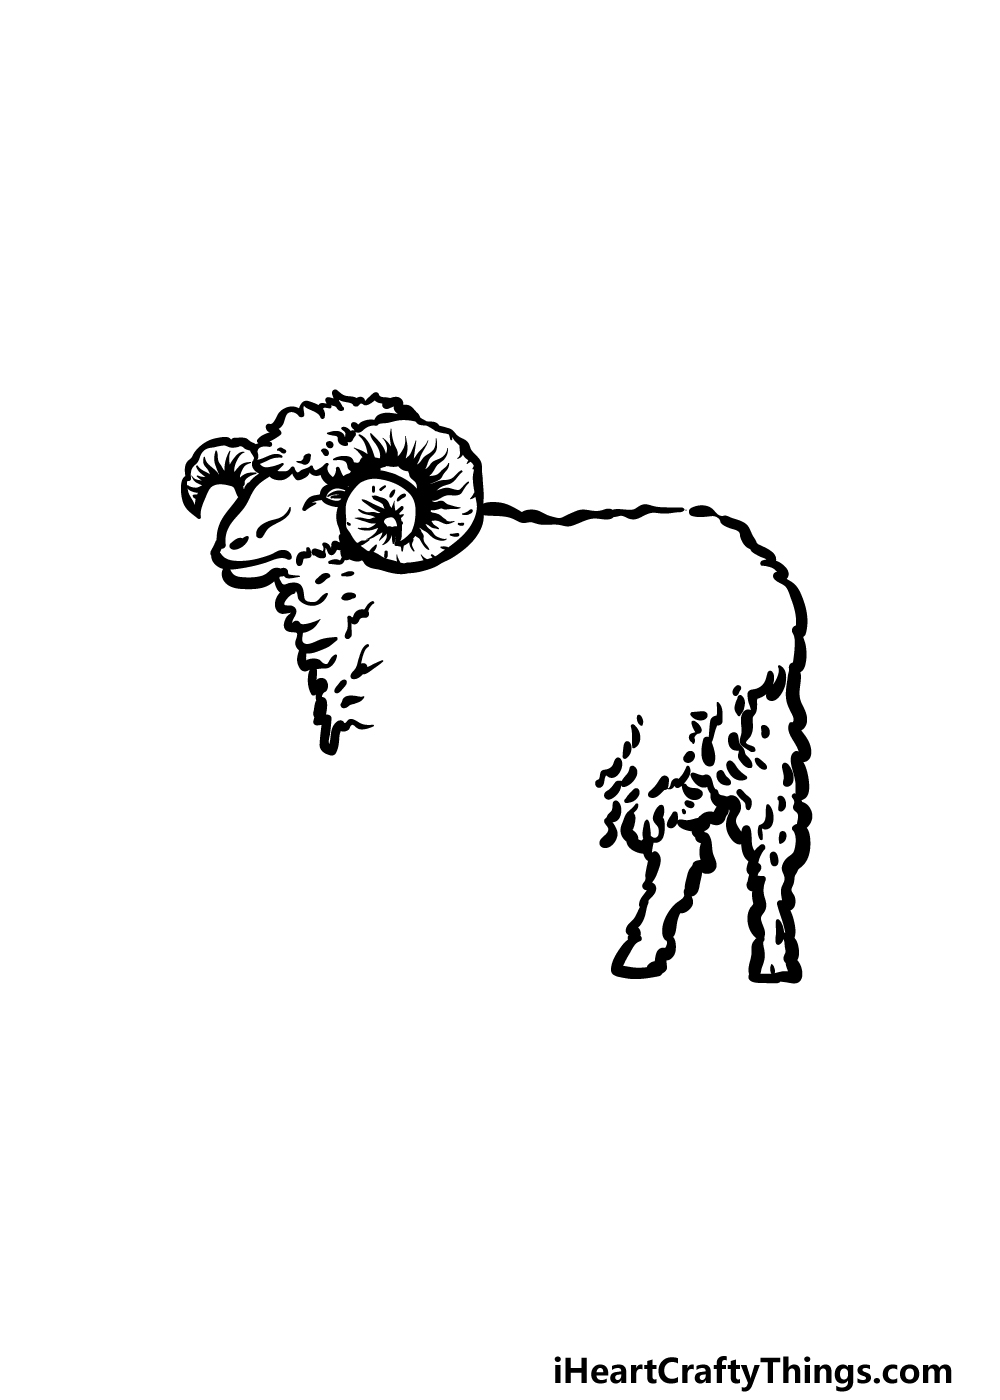
Moving on from the head, we will next add the back and back legs for your ram drawing in this next step.
Extend another bumpy line back from the base of the neck, and have it curl over to the ram’s backside.
Then, we will draw the back legs. The tops of the legs will be large and wooly, but the second halves will be thinner and more angular.
Once you have replicated these aspects as they appear in our reference image, we will be ready to move on to step 3!
Step 3 – Next, draw the first front leg
Now we shall be adding the first front leg along with the belly in this step of our guide on how to draw a ram. First, extend another jagged line forward from the base of the back legs.
This should have a very slight curve to it, as it will form the belly of the ram. You can also add lots of small, curved lines above it to further emphasize the wooly texture.
Then we will add the front leg, and it will look similar to the back legs with the main difference being that it has a smaller top half. When you’re ready, we can then add the final leg in the next step.
Step 4 – Now, draw the final leg for the ram
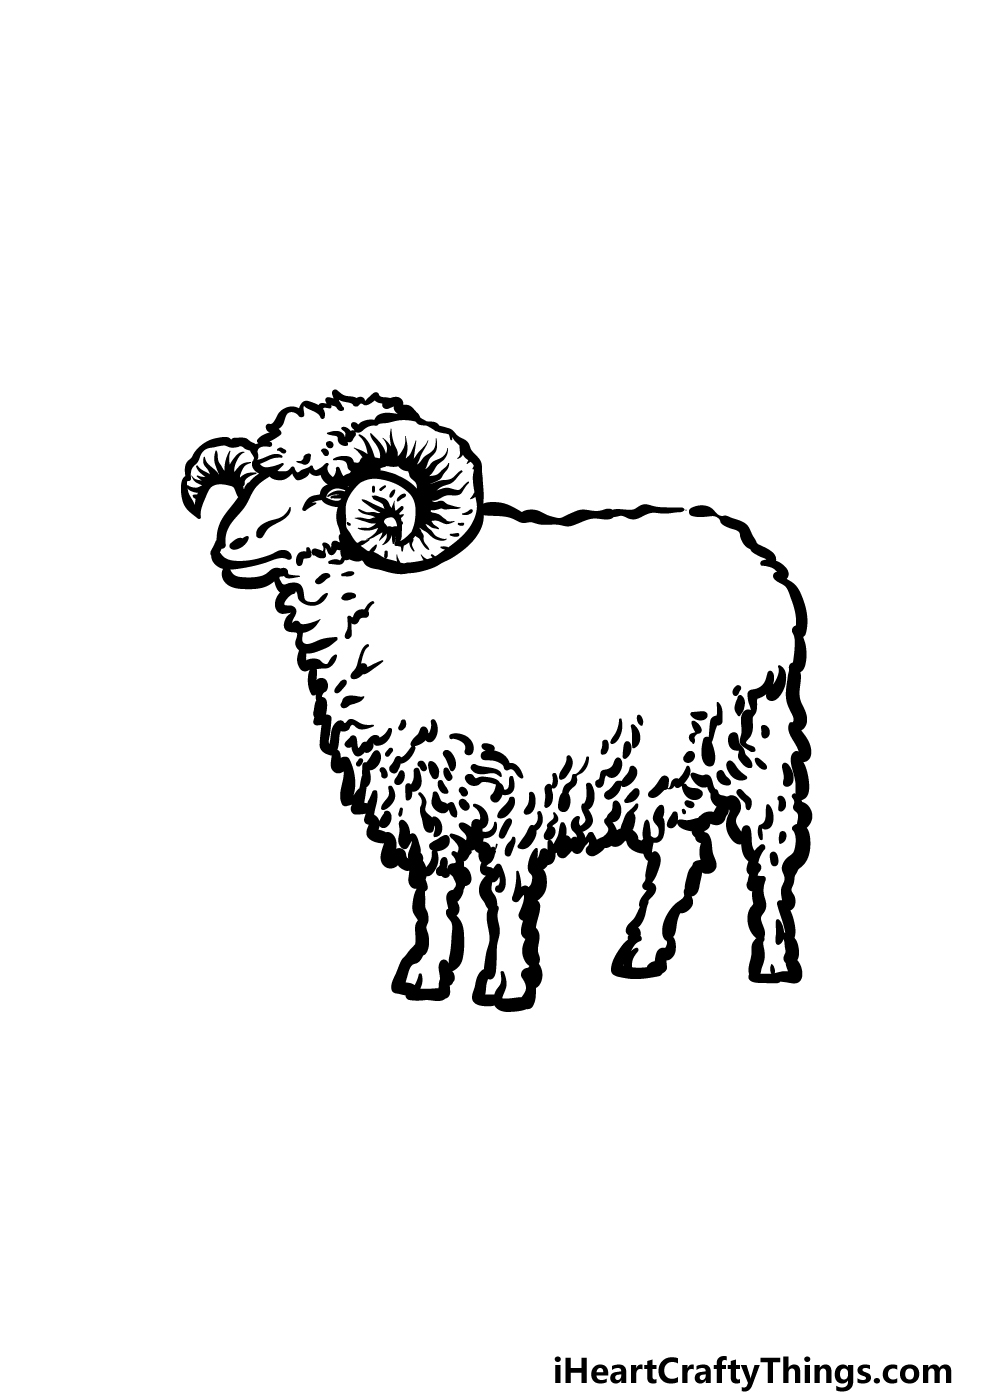
Before you add some final details to your ram drawing, we must first draw the final leg. This one will go directly next to the other front leg.
Much like that leg, this one will have most of its top half hidden by wool with only the thin lower half truly visible.
Then, you can fill in the final empty space between the leg that you just drew and the chest by using another of those jagged lines.
Once that is drawn, we will then finish off this step by drawing more of those small, curved lines for yet more wooly texture.
Step 5 – Add some final details to your ram drawing

This fifth step of our guide on how to draw a ram will be all about adding those final details to have you ready for the final step of the guide.
These details will be composed mainly of texture lines throughout the ram, but there will also be an opportunity to add some final touches of your own.
For the details that we show in our reference image, we added a great deal of those small, curved lines that we have been using throughout this guide.
You could add even more if you would like this ram to look even fluffier! Once you have added these details, you can then add some of your own.
One of the best ways that you can personalize a drawing is by adding a background.
There are loads of options you could choose to do this, and you could do anything from drawing him in a farm setting to creating a lush meadow background. How will you add to this drawing before coloring it in?
Step 6 – Finish off your ram drawing with some color
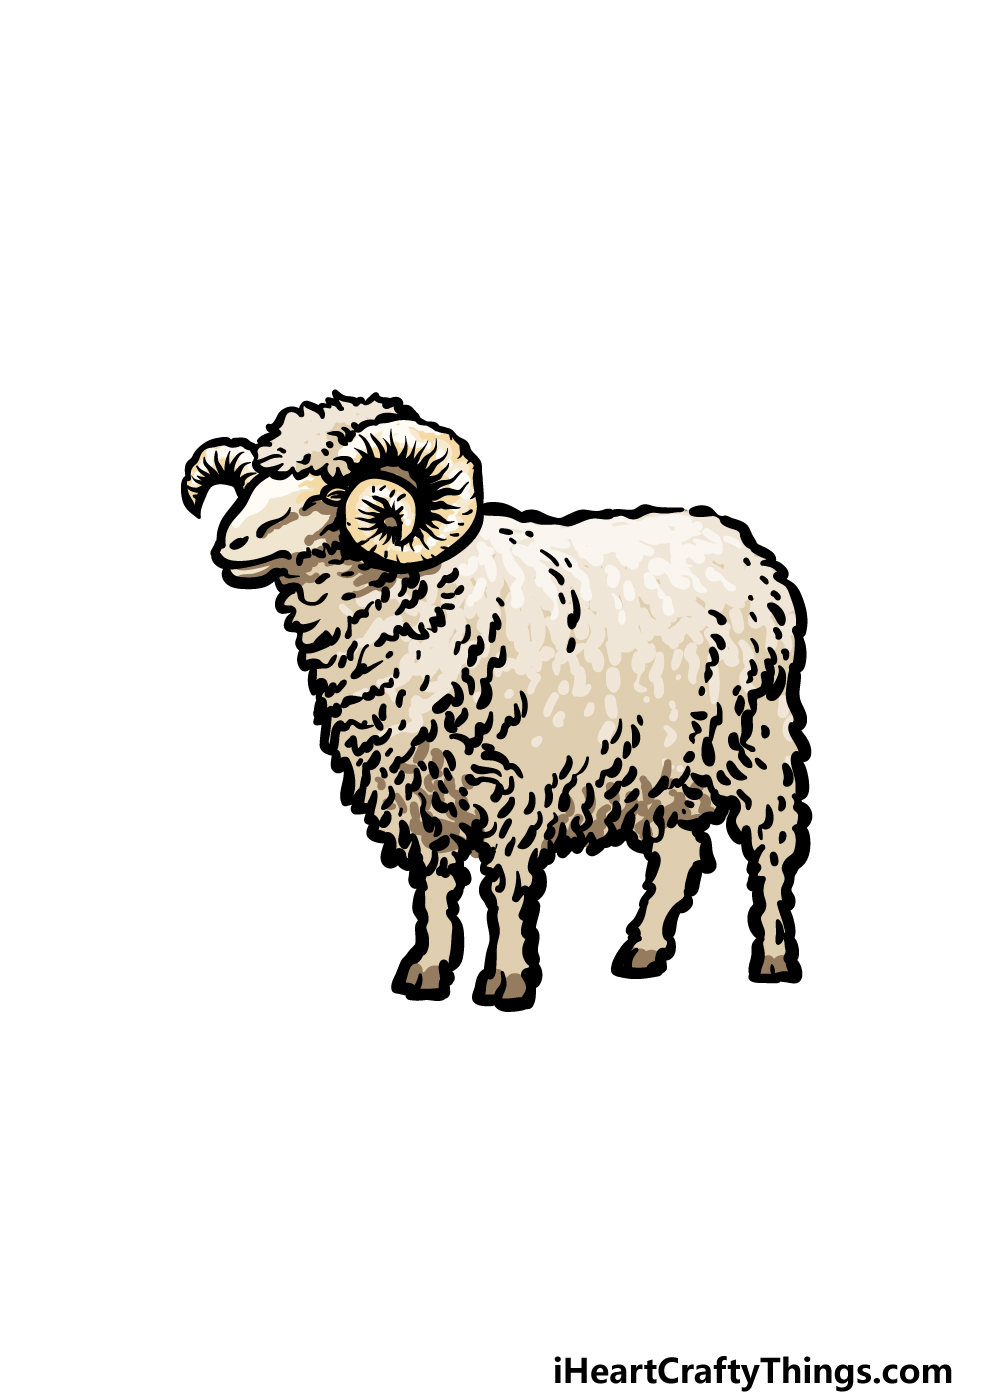
Rams are not exactly the most colorful animals out there, but there are still ways to get some interesting colors going in your ram drawing!
We used a variety of light brown and beige colors throughout the image, and the way we incorporated them helps to further emphasize the look of wool.
You could use any other colors that you like for your own one, or you could add some darker browns to make him look like he is covered in mud.
You can also play around with different shades and art mediums, so be sure to have fun with it and see what happens!
Here’s how you can make your ram drawing even better…
Let’s look at some ways you can make your ram sketch even greater with these tips!
If you were to see a ram in real life, they will usually be hanging out with other rams and sheep. Now that you know how to draw one, you could add more ram friends for this one!
Simply repeat the steps of the guide and maybe change the pose and features of the new rams a bit. You could also create some sheep by removing the horns and changing a few details.
Looking up pictures of sheep online would make this much easier!
Adding rams and sheep is one way to populate this drawing of a ram, but you could also add other animals. Rams are usually seen on farms, so that would mean you would have plenty of farm animals to add.
Horses, pigs, goats and chickens would be a few examples of animals you could add. You may even want to add a human farmer character to really complete the scene!
What other animals would you like to add here?
Once you have added any animals or humans you would like for this ram sketch, you may want to add a background. We have spoken about a farm a few times in this guide, and that would make for a great background.
Creating a farm setting would go wonderfully with the previous tips we have suggested. Adding landmarks like a silo, barn or maybe a windmill would help to create the farm setting.
What other backgrounds can you think of to finish this off?
When it comes to bringing colors to a picture, you may think of traditional mediums like paints or pencils. We certainly would recommend these kinds of mediums for this ram drawing, but there are other crafts you can use!
For instance, you can get balls of cotton wool at many stores. You can probably see where we’re going with this one!
You could stick the cotton wool on the ram to make it look like it’s actually wooly!
Your Ram Drawing is Complete!
The wonderful drawing in front of you right now is proof that you have successfully completed this guide on how to draw a ram!
We hope that this guide was really helpful for you and that you had a lot of fun working on it.
Now that you have finished it, what extra details, colors or mediums do you think would best suit the picture?
Don’t forget to check out our website when you’re ready for more drawing fun! We have many guides for you to enjoy there with more on the way, so you’ll definitely want to check in often.
Once you have finished up this ram drawing, please go ahead and share it on our Facebook and Pinterest pages for us to enjoy!