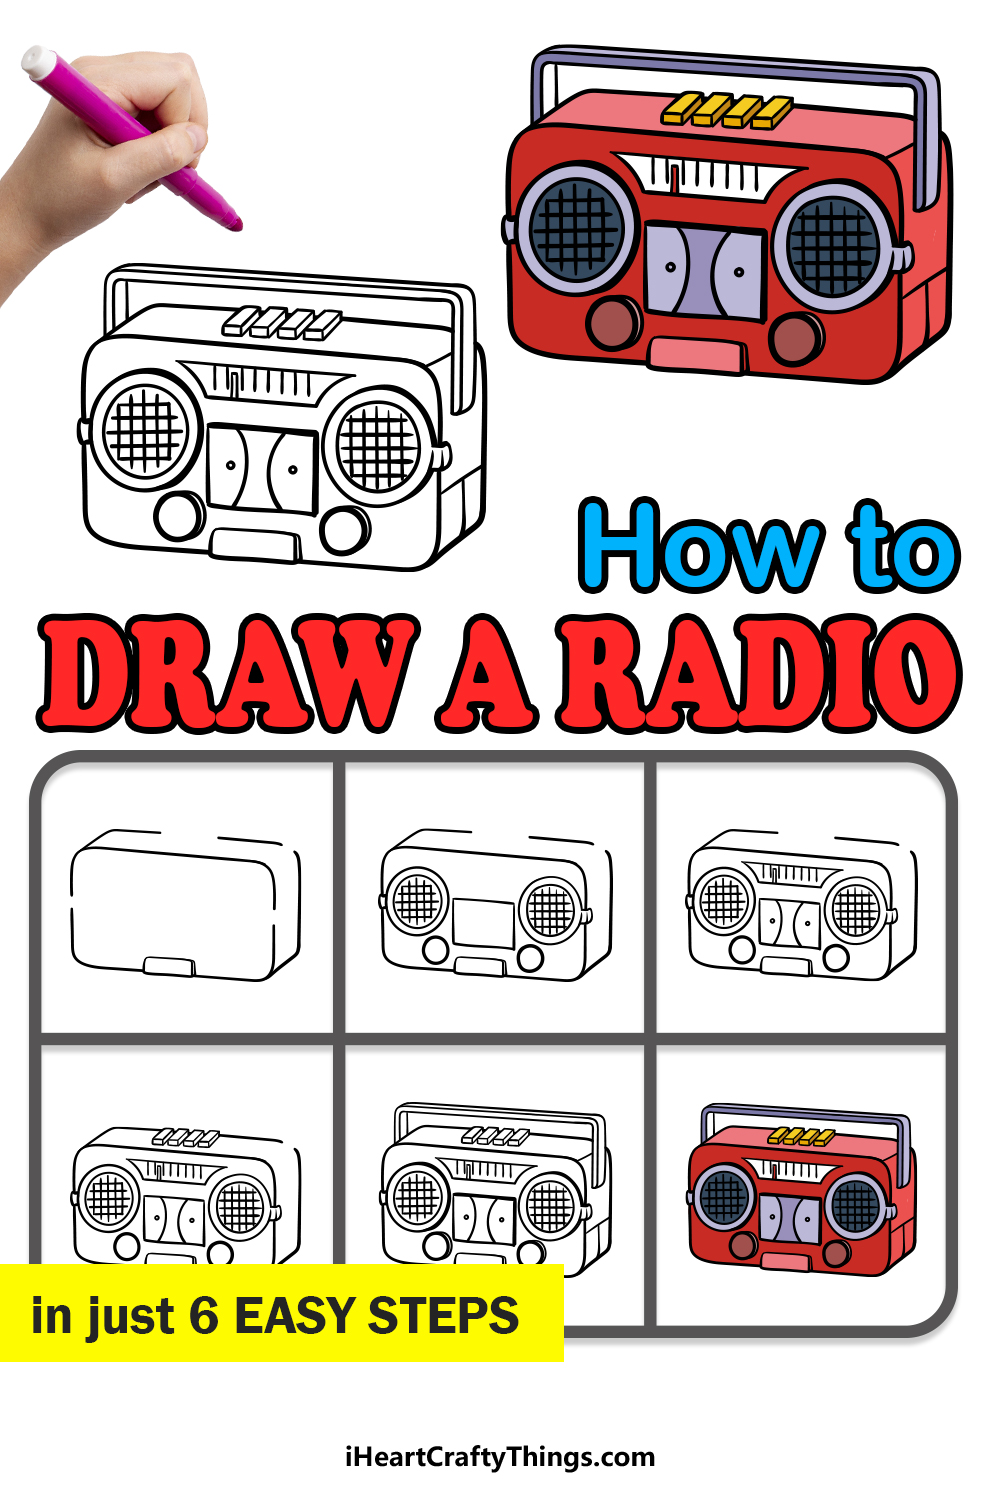
Radios are an invention that is already starting to slip into obscurity as newer technology takes over. Not too long ago, radios were a huge source of entertainment for many people.
They could be used to listen to various music stations, play cassettes and CDs as well. While not in wide use anymore, some people still like the retro feel of a good radio, and they represent a nostalgic period for many others.
Learning how to draw a radio can be a great way to relive those good times.
If you want some throwback fun with a radio, then this guide will be perfect for you.
Our step-by-step guide on how to draw a radio in just 6 steps will help you to tune into some drawing fun!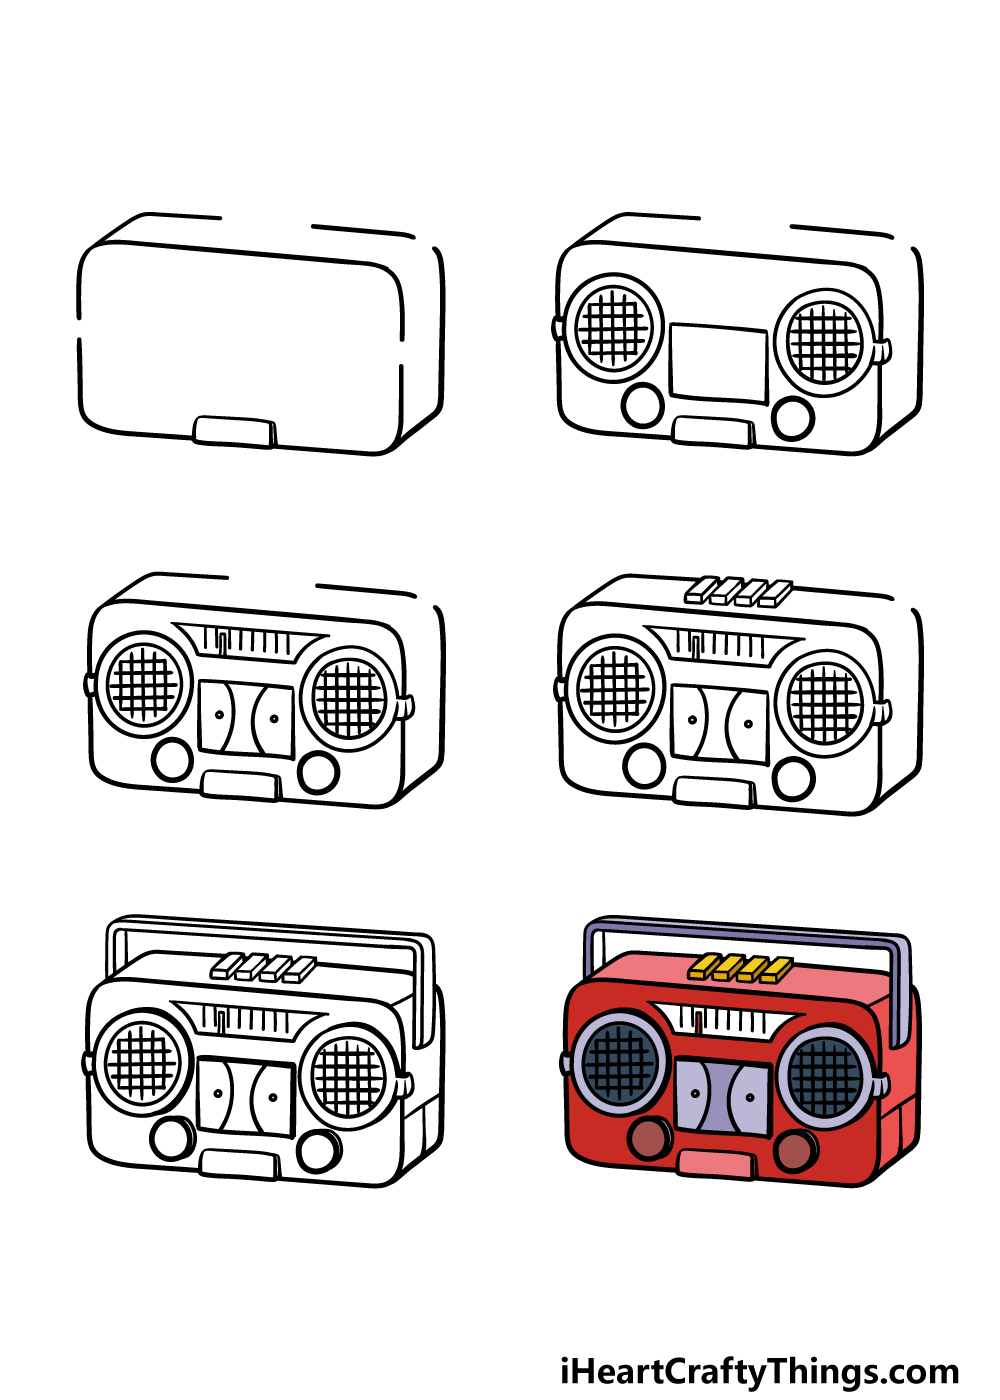
How to Draw A Radio – Let’s Get Started!
Step 1

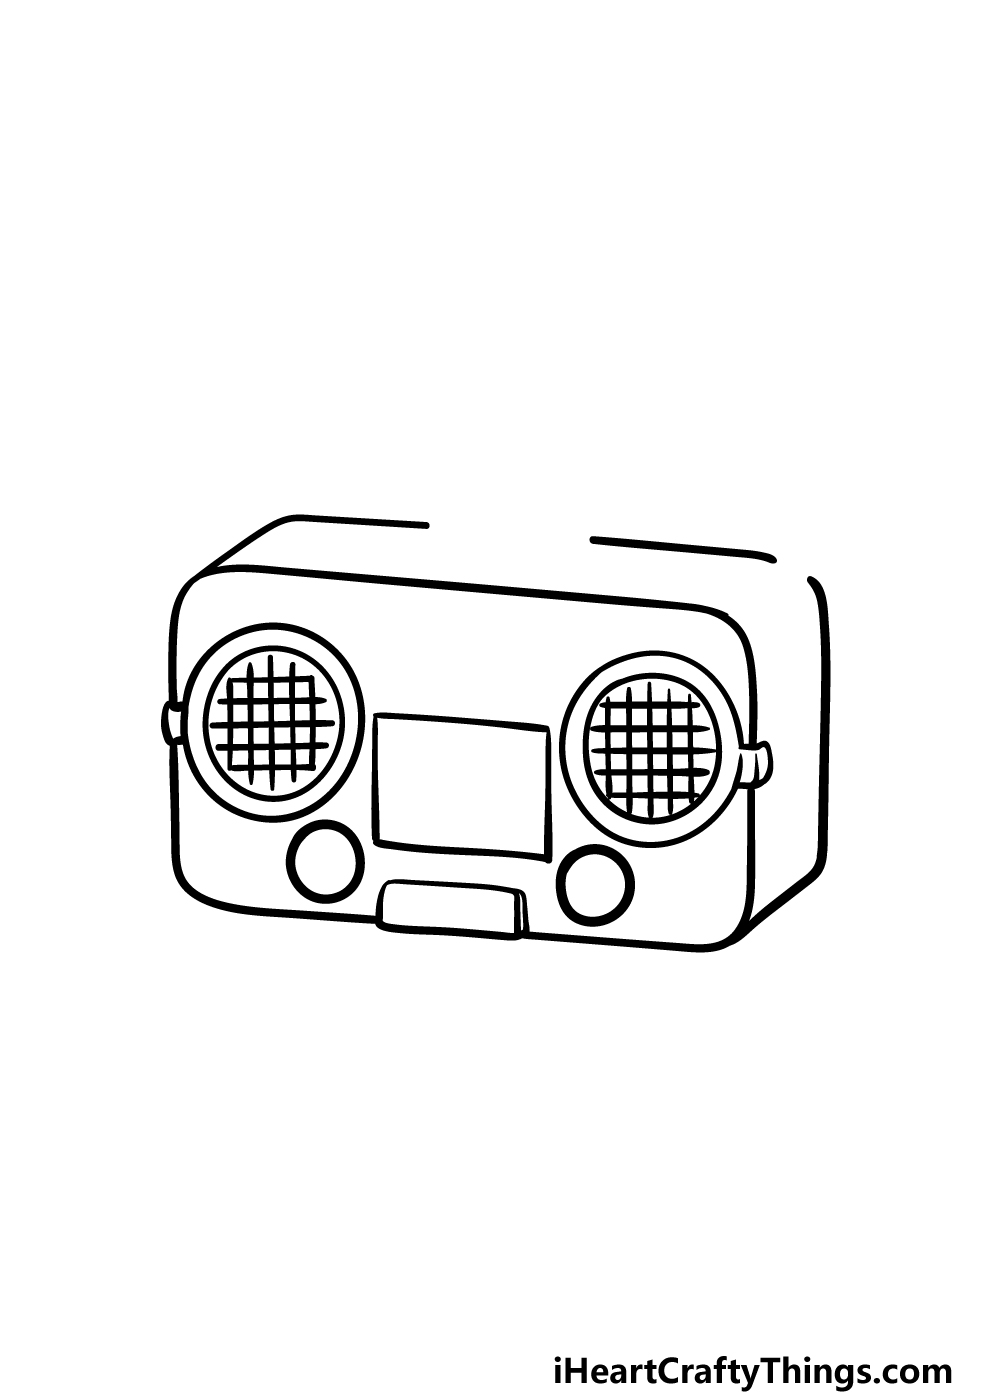
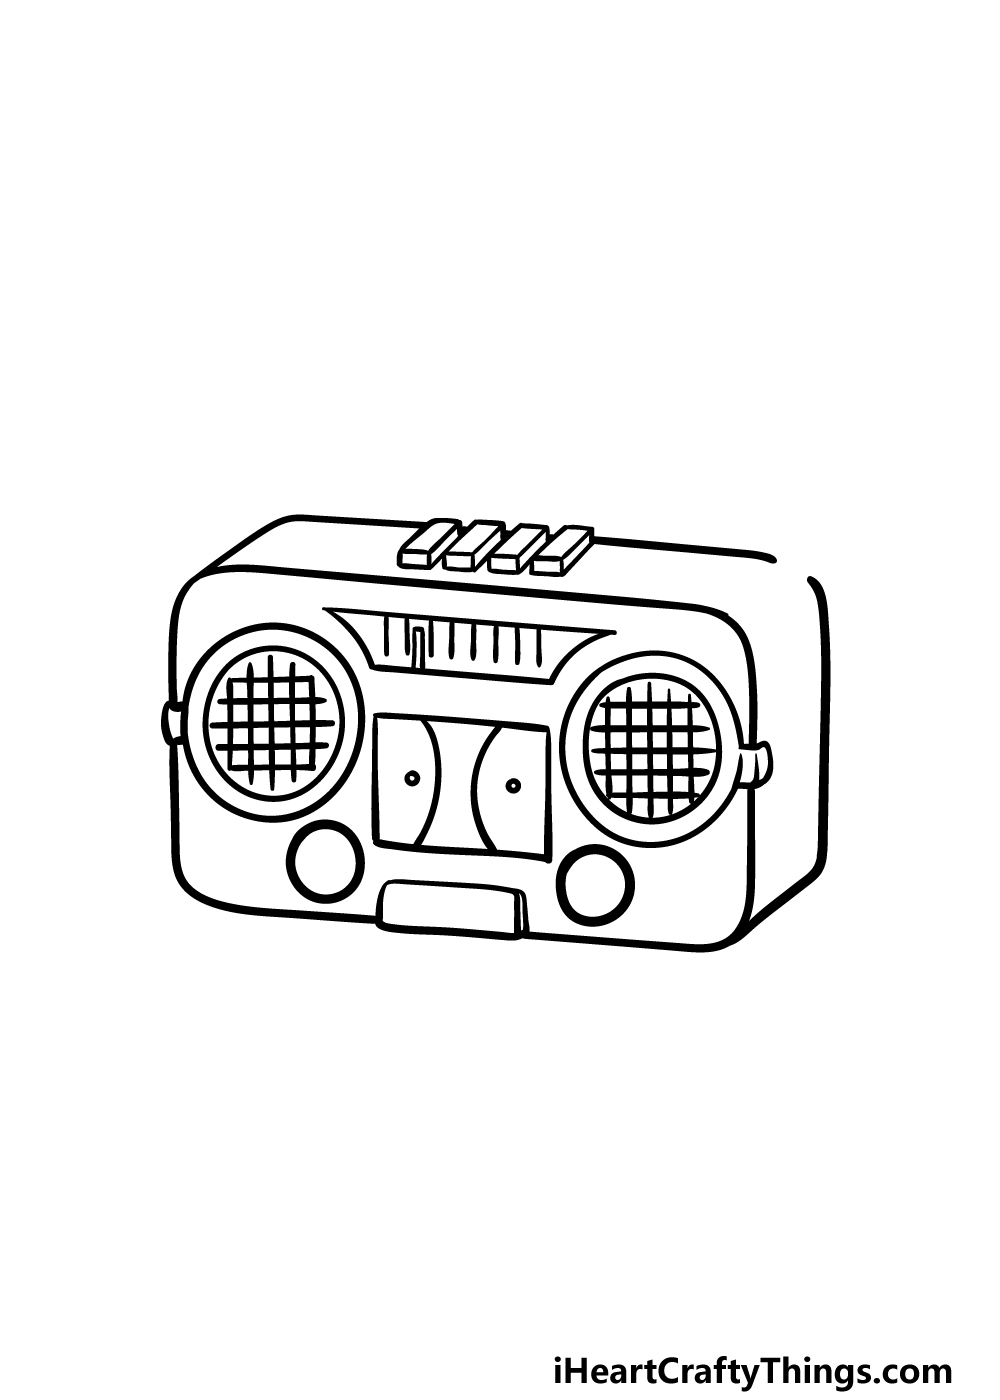
In this first part of our guide on how to draw a radio, we will be starting with the frame of the radio. This frame will be thick and rectangular in shape. As you can see in our reference image, there will be various spaces left in the outline as well, as various buttons and other parts will fill them later.
The corners of the radio will be quite rounded, but for the straight edges at the top, bottom and sides you could use a ruler.
Then, extend some lines backyard into the image to give the radio some depth, and don’t forget to leave those spaces where they appear in the reference picture. When you’re happy with it, we can move on to step 2!
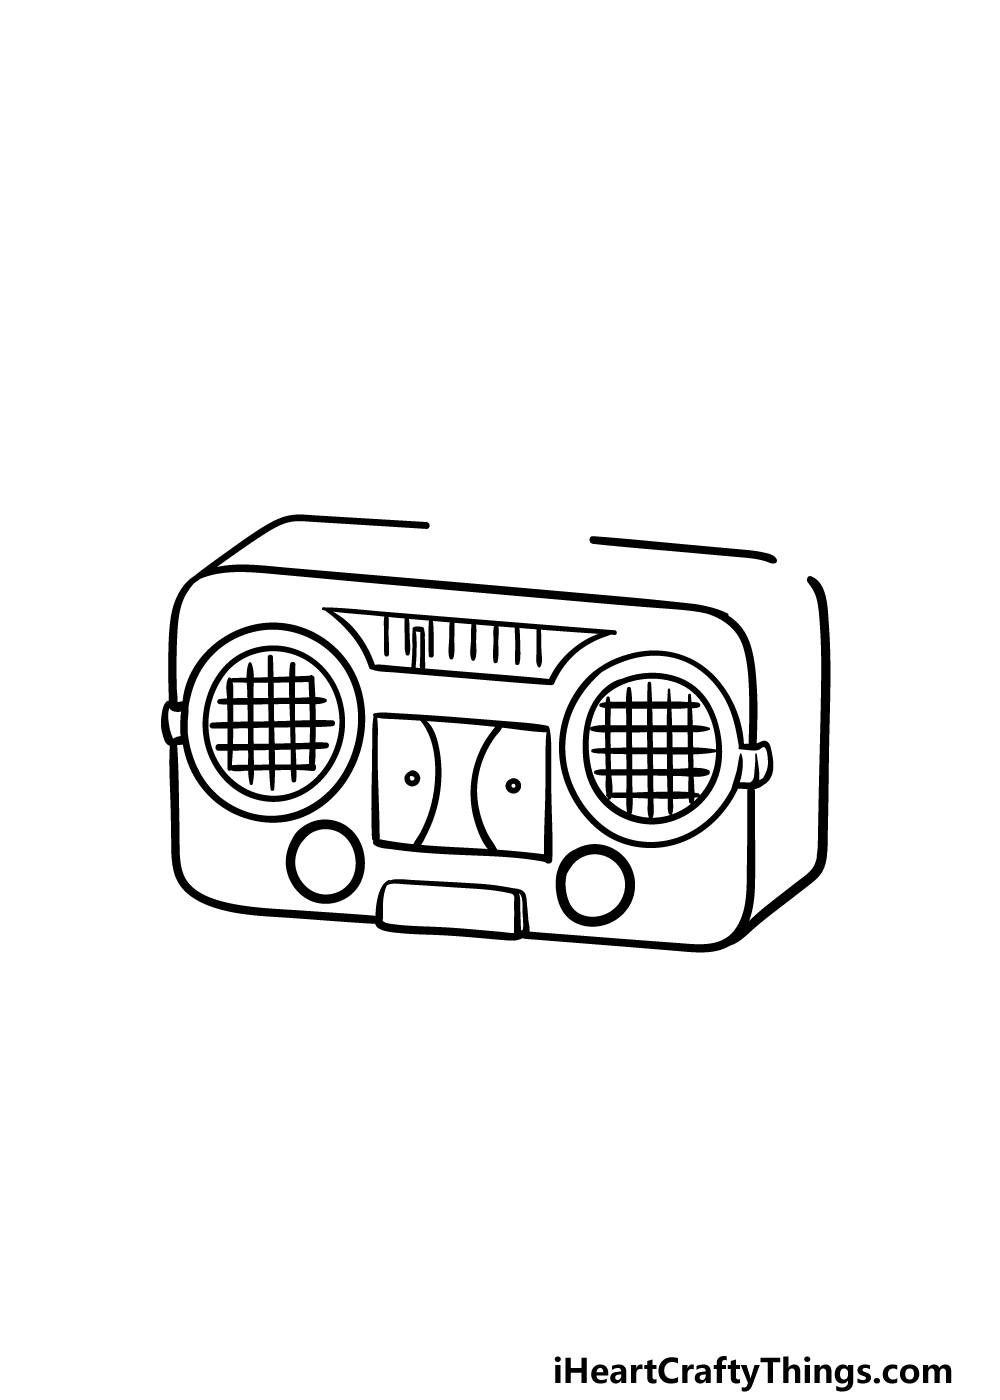
Step 2 – Next, draw the speakers and dials for the radio
A radio wouldn’t be much use without some speakers on it, so we shall add these in this step of your radio drawing.
Start by drawing two circles on either side of the radio, and then surround them with another circle. You can also draw some small, rounded shapes onto the edges to fill in the space that you left there previously.
Then, add a cross-hatch pattern inside of these circles using some more straight lines intersecting with one another.
Once you have finished these speakers, you can then use a ruler to draw a rectangle between them. When we add some detail to it later, this will be the cassette slot.
Finally for this step, draw some smaller circles beneath the speakers for the radio dials.
Step 3 – Draw some details for the front of the radio
In this part of our guide on how to draw a radio, we will be adding some details onto the face of the radio.
First, draw a straight-lined shape with inward curving sides near the top of the face for the radio.
This will form the frequency reader for the radio, and you can finish it off with some lines inside it as they appear in our reference image.
Then, draw two rounded shapes with small dots on the inside of the cassette door, and that will finish off all the steps in this guide.
Step 4 – Now, draw some buttons on top of the radio
A typical radio will have various buttons on it in order to control aspects like playing, pausing and rewinding music. These are the buttons that we will be adding to your radio drawing in this step.
To draw these buttons, we will be creating four slanted rectangle shapes on top of the radio. Then we will extend some lines down from them to give them a more 3D look.
Once these buttons are draw we have just a few more details to add in the next step!
Step 5 – Finish off your radio drawing
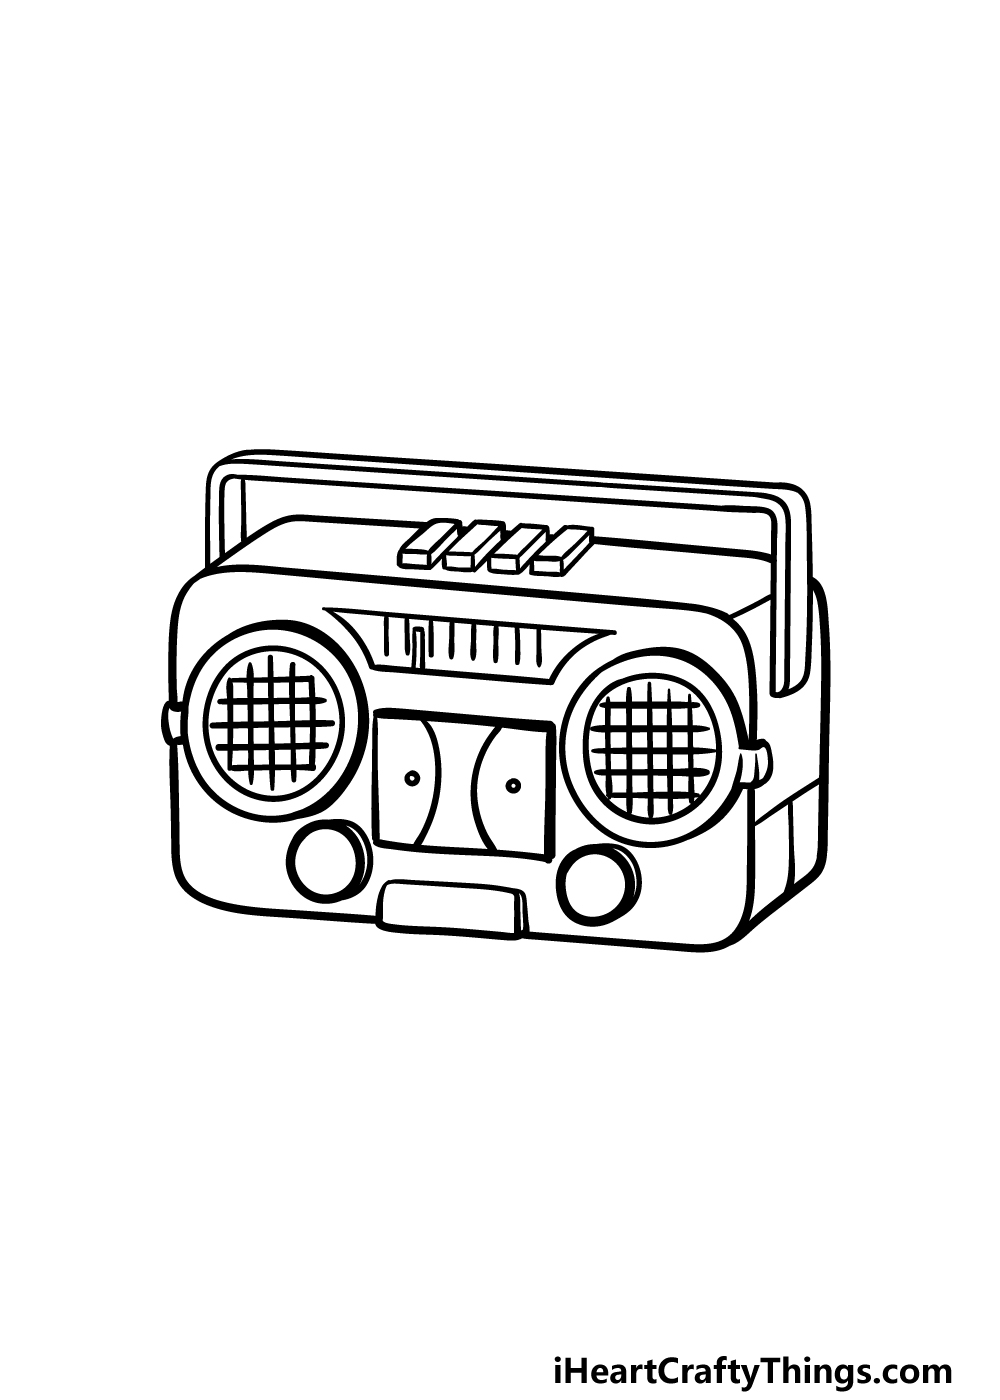
This step of our guide on how to draw a radio will see you adding the final details and elements in order to get you ready for the final step.
First, we will be drawing the handle for the radio. This will fill in the final empty space that you left in the frame all the way in the first step. Then you can use some curved lines to create the handle over the radio.
Then, we will finish off the details in this guide by thickening the outlines around some of the other details on the face of the radio.
Once you have finished all of these details, you can also add some of your own! Maybe you could draw a background to show some objects that you would be enjoying while chilling out with this radio.
Which accessories, foods or beverages would you be enjoying with your favorite retro tunes?
Step 6 – Finish off your radio drawing with some color
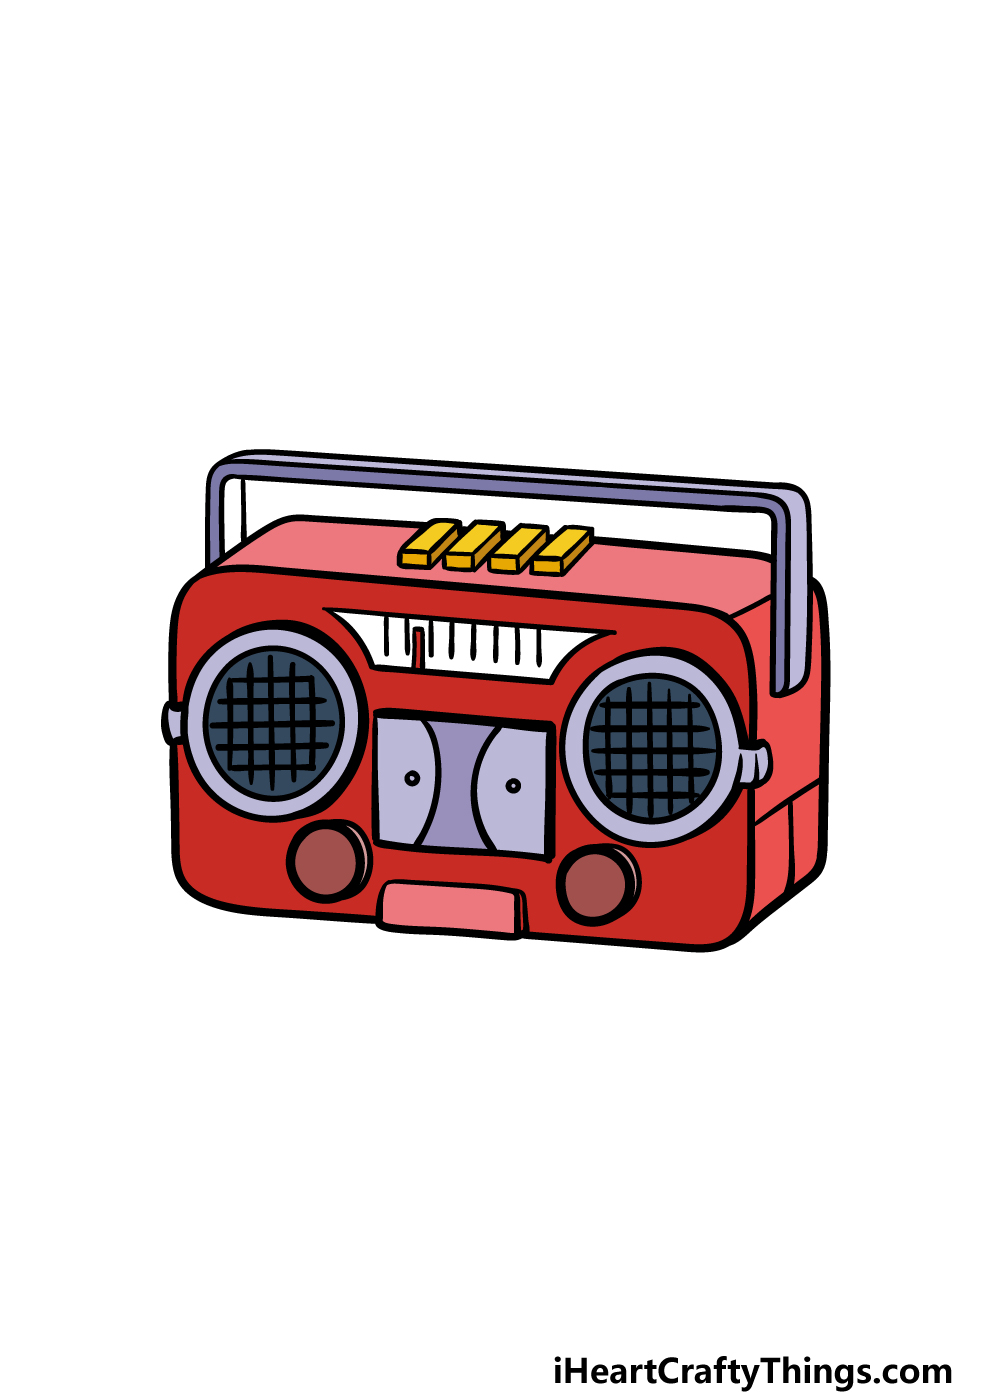
For the final part of your radio drawing, you can finish it off with some amazing colors! We went with a nice and bright color scheme for our example image.
We used shades of red for the body of the radio while using some yellow for the buttons. These colors have been contrasted with some greys for the remaining parts of the radio.
These are the colors that we chose, but you should definitely use any other colors you love in order to make your own perfect, personalized radio!
Then you can have a great time as you pick the best art mediums and tools to achieve these colors. We look forward to seeing how you finish off this drawing!
Do this to take your radio drawing to the next level
Create some musical artwork as we show you how to make your radio sketch even better!
Radios can come in many forms, and the one shown in this radio drawing is just one of many. Once you have finished this radio design, you could try out drawing some others next to it!
If you have some radios in your house, then you could use them to help you as you draw different models. Otherwise, you could easily find some pictures of radios online to inspire you.
Do you have some specific radio models you would like to recreate in drawing form?
Next, you could create a really cool background for this drawing of a radio. There are so many cool settings you could create, and it would be a great way to show where you would ideally like to listen to this radio.
For a few ideas, you could do a bedroom setting or maybe have it at a pool party blasting out some tunes.
We went with a red and yellow color scheme for this radio sketch, and it gives the radio a vintage look. We love how these colors look, but you don’t need to stick to these colors if there are others you would prefer!
Radios can come in any colors you can imagine, so you could use any of your favorite colors to finish this one off. Why not try out some fun art tools and mediums to make the colors really pop as well?
A radio can be used to listen to people talking on stations, but its primary use is for music. There are a few ways you could show this purpose visually for your radio drawing!
One simple way would be to draw some music notes around the radio. This would allow the viewer to imagine any music they like!
If you wanted to be more specific, you could write some words to one of your favorite songs along with some music notes. This would make it look like the radio is playing that song!
Your Radio Drawing is Complete!
We hope that you enjoyed this retro throwback as you worked on this guide on how to draw a radio alongside us!
This guide was designed to now only allow you to complete this picture easily while having fun, but also to give you some freedom with personalizing it.
You could change up some of the details of the radio design, add some background details or experiment with various colors and art mediums to further personalize it.
This is your chance to have fun getting creative as you create your own perfect radio design!
Then, you can check out our website when you’re ready to take on your next drawing guide. We add more to the website often, so be sure to keep checking in!
Once you have finished your radio drawing, we would be very interested to see how you finished it off. Please share it on our Facebook and Pinterest pages for us to admire!