There are many different flowers to enjoy in nature, and some flowers have additional symbolism and meaning attached to them.
While flowers like the rose are often associated with love and affection, the poppy has some distinguishing features aside from its pretty red appearance.
The poppy is also the symbol of Remembrance Day, which honors fallen soldiers from World War 1.
Aside from this, it is also an elegant, pretty little flower, and it can be great to learn how to draw a poppy.
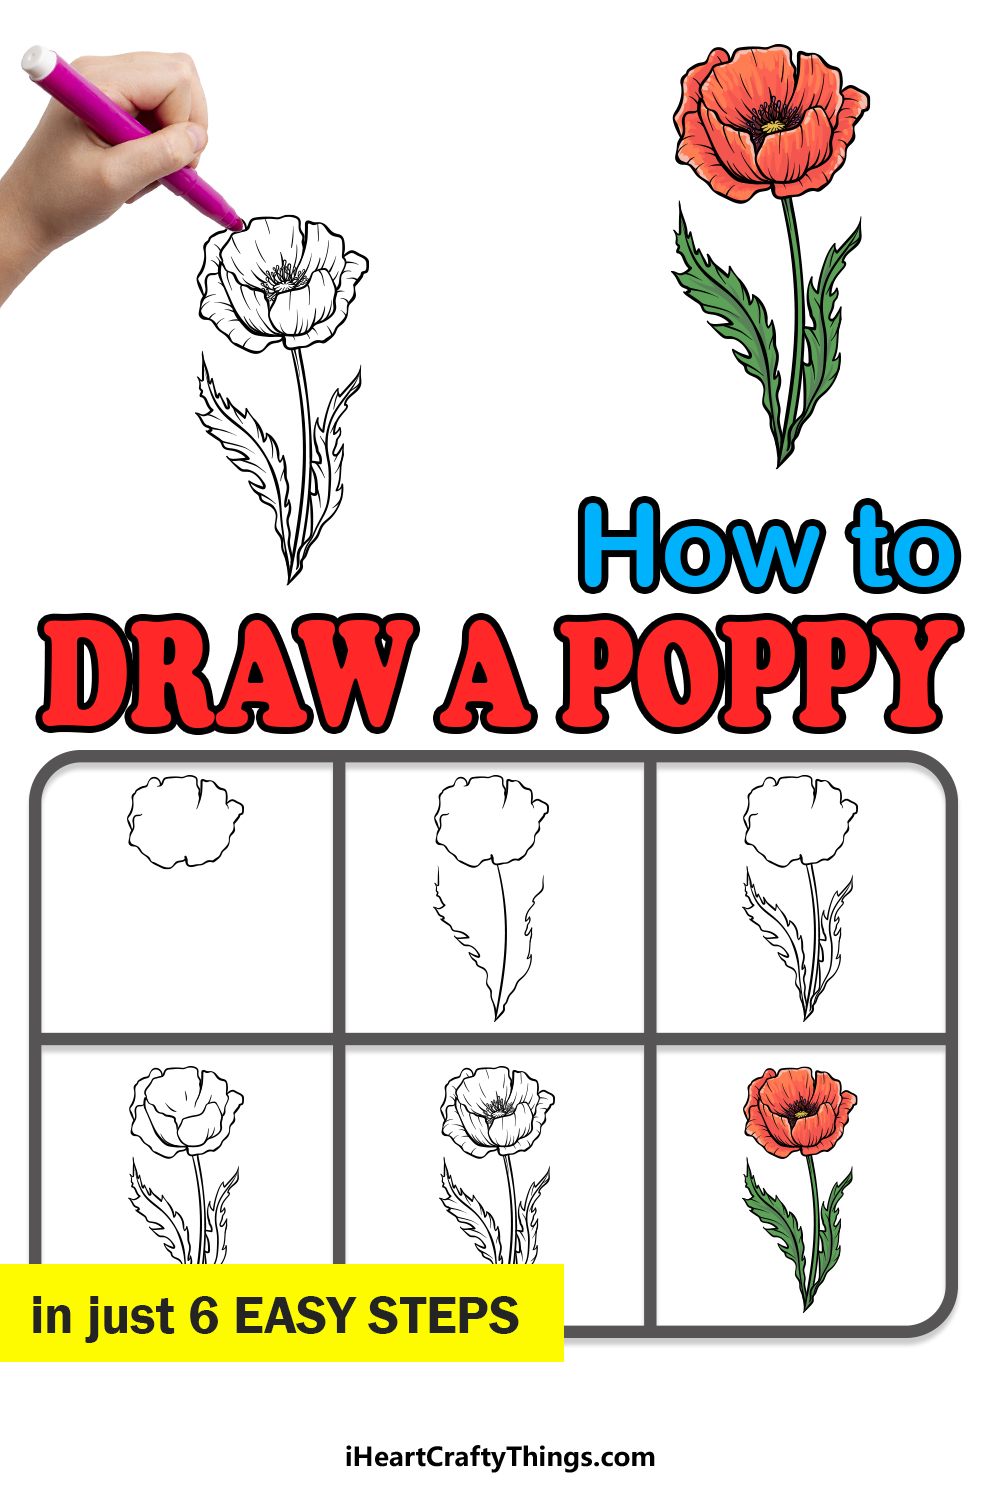
Whatever this flower may mean to you, we hope that you have a wonderful time with this step-by-step guide on how to draw a poppy in just 6 easy steps!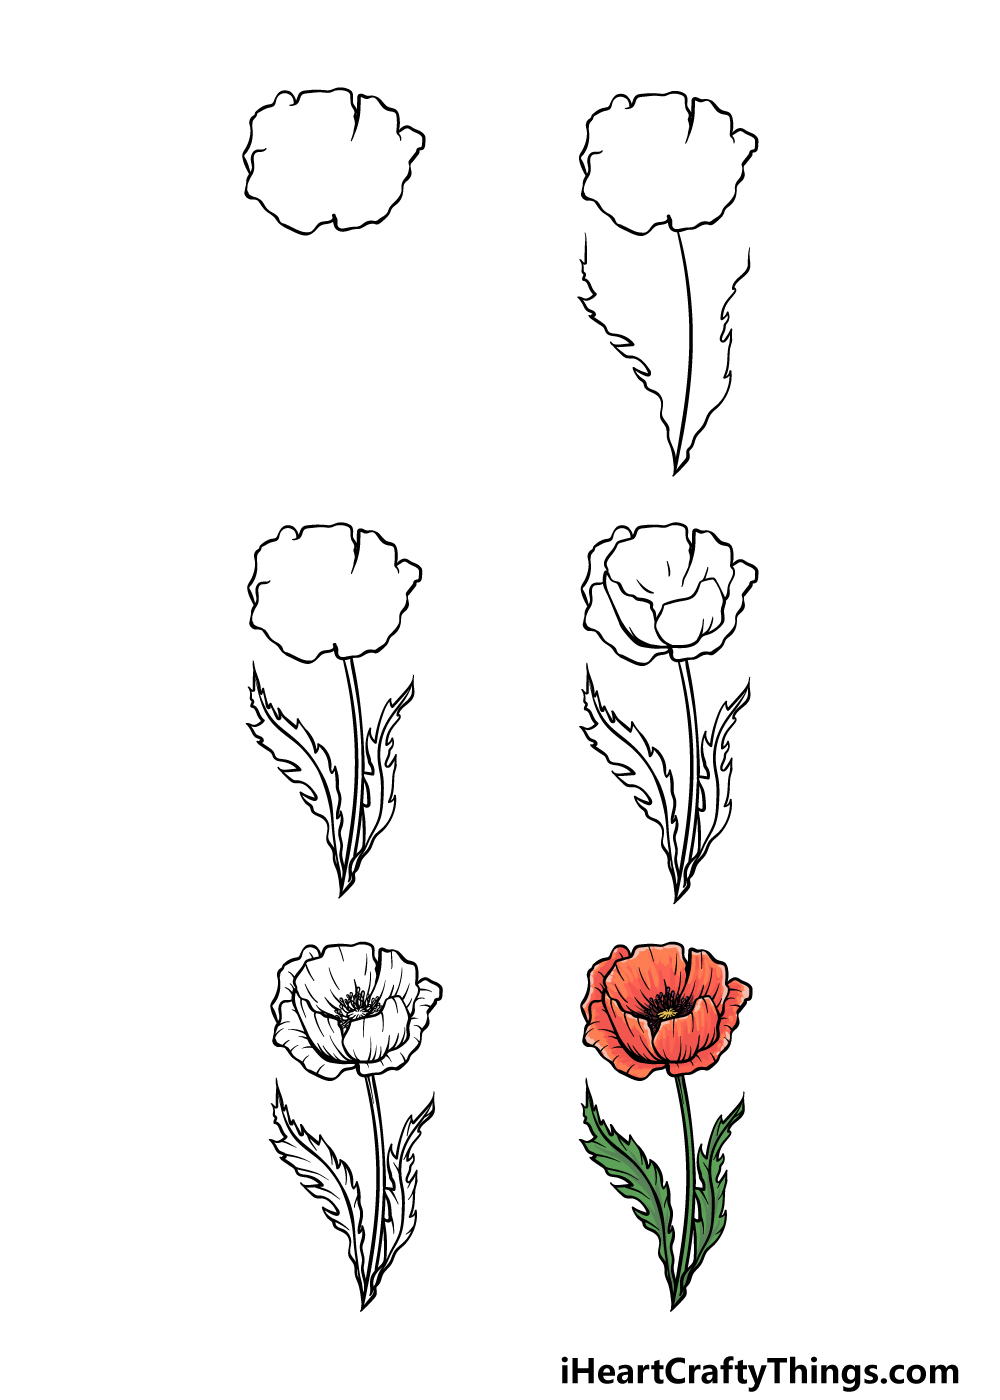
How to Draw A Poppy – Let’s get Started!
Step 1
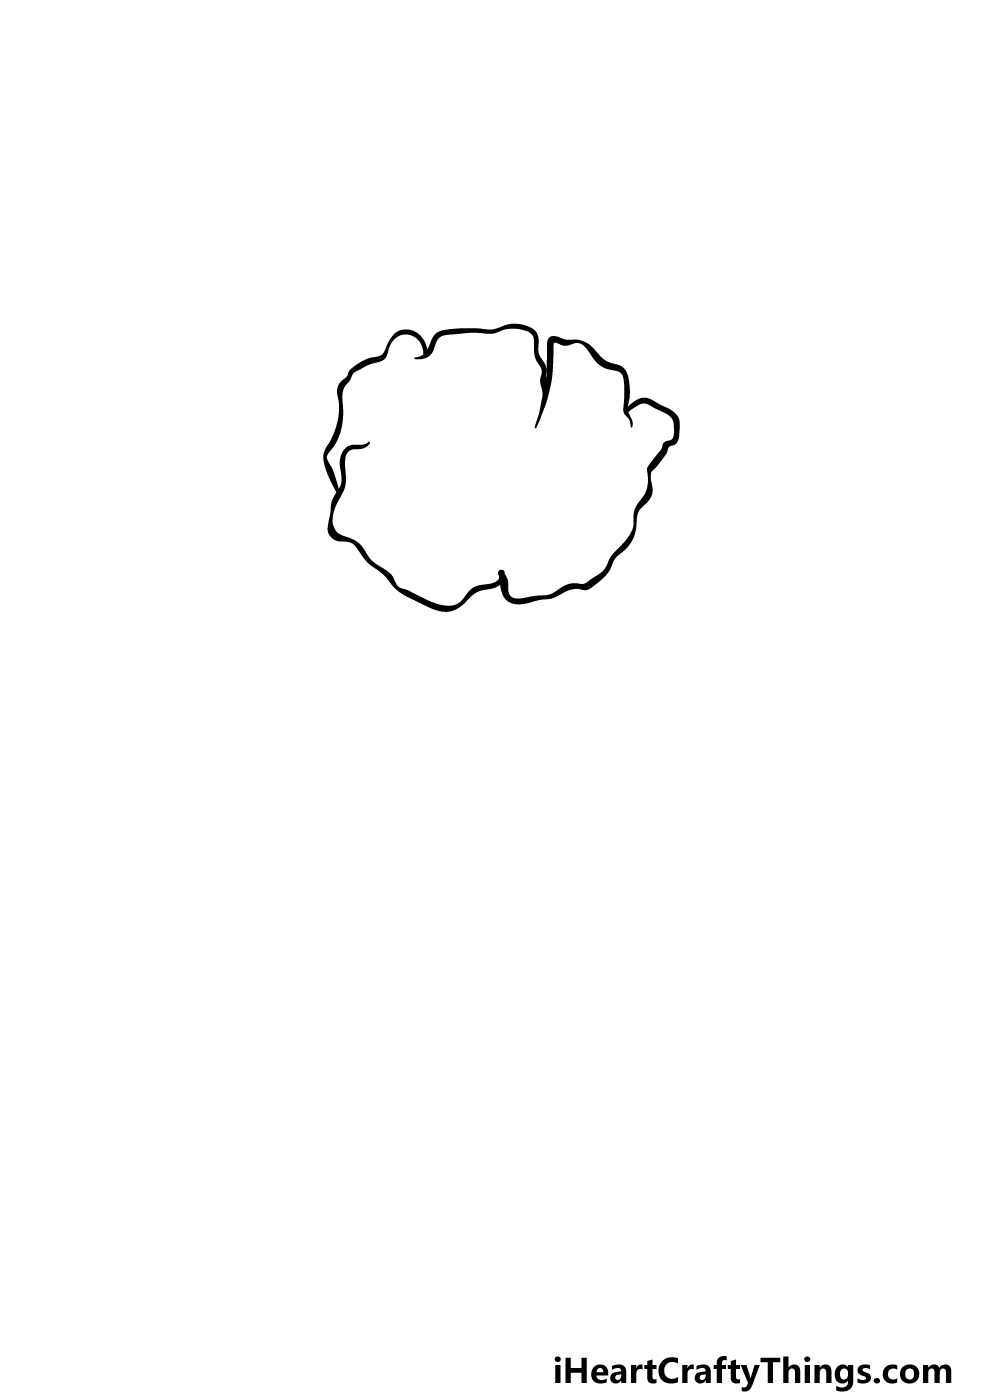
To get this guide on how to draw a poppy started, we will begin with the outline of the flower itself.
This shape that we will be drawing may seem a little erratic, but that is only because this outline will comprise the flower and the surrounding petals. The shape will definitely make sense as you move through this guide!
For now, carefully follow the reference image to replicate this flower outline. If you’re feeling a bit unsure about it, then you can use a pencil for now until you’re happy with how the outline looks.
Once you are satisfied with this shape, we shall move on to step 2 of the guide!
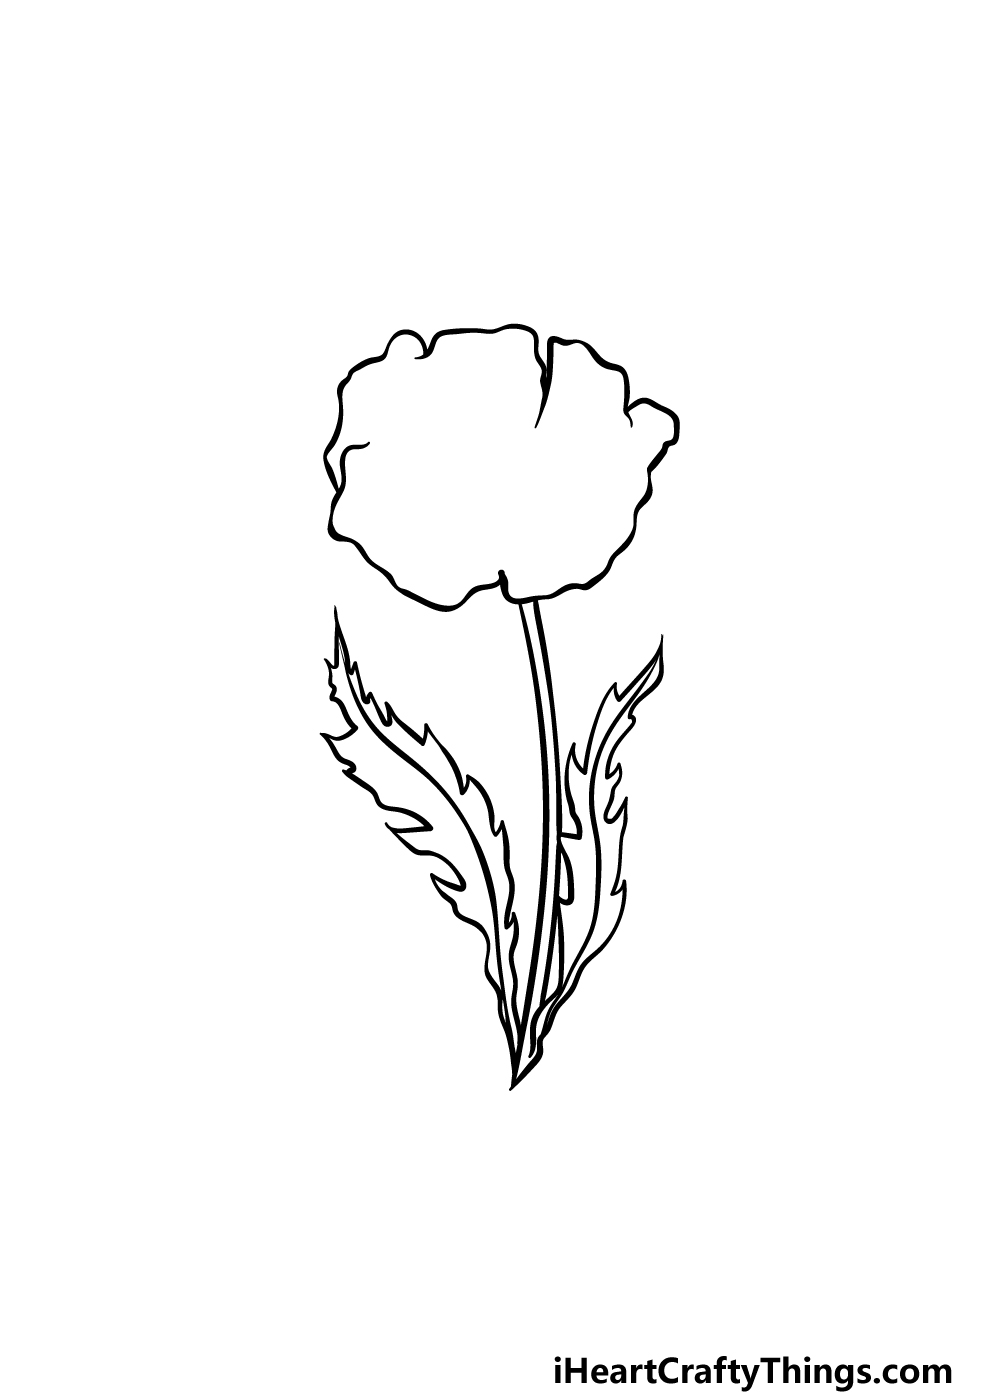
Step 2 – Next, start the stem of the flower
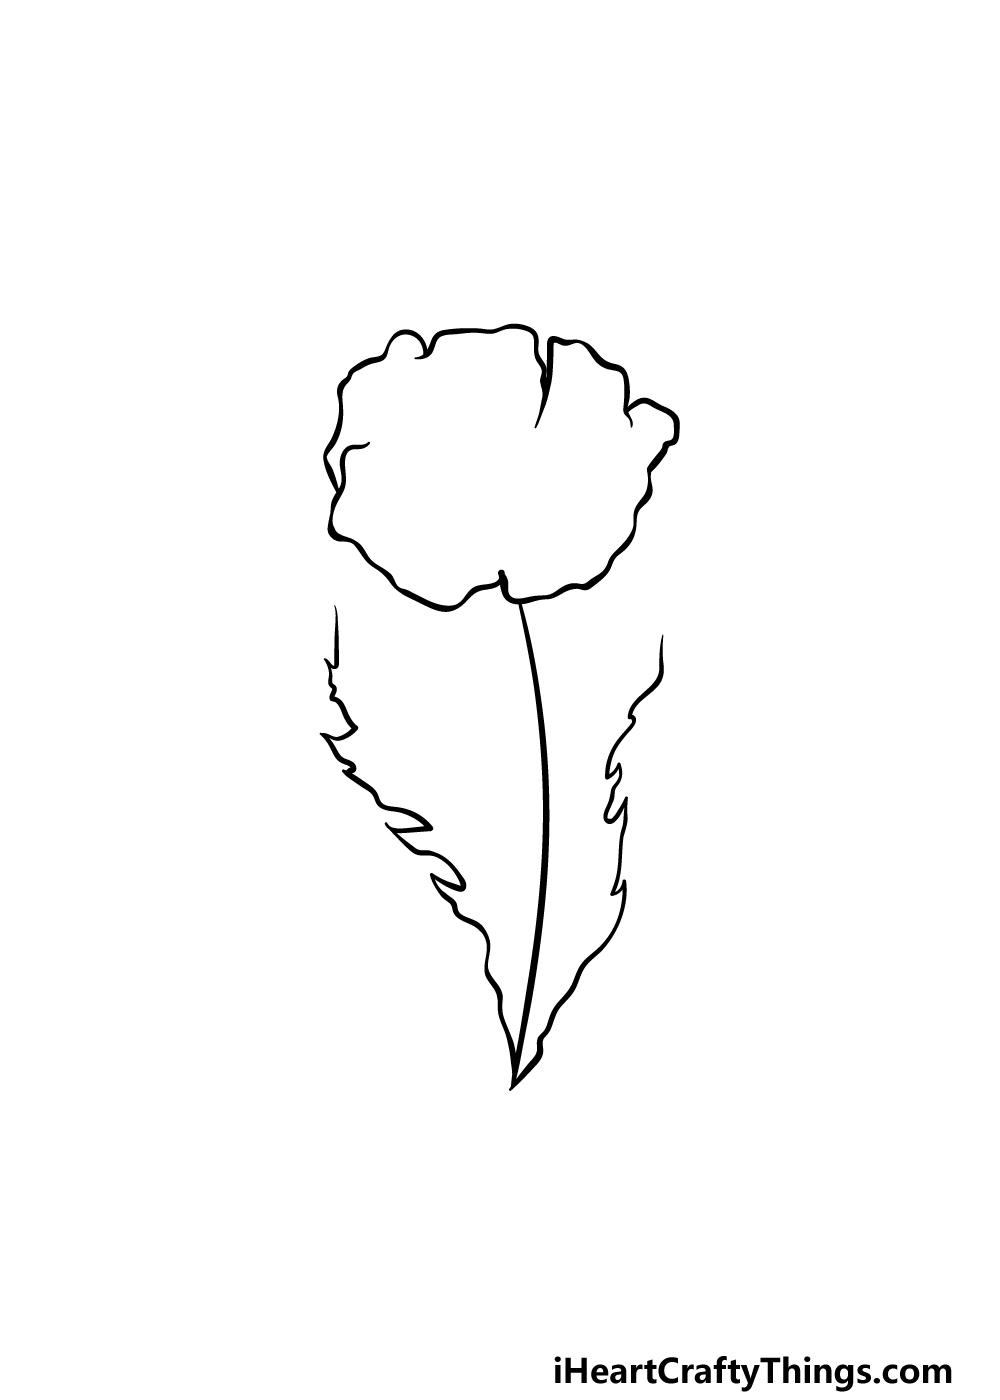
We will be leaving the flower and petal outlines alone for now as we start to draw the stem outline of your poppy drawing. To start with, you can simply draw a fairly thick, slightly curved line down from the center of the bottom of the flower.
Then, once you have this outline of the stem, you can add some jagged lines going upward on the flower that will start at the base of the stem.
These jagged lines will form the outlines of the leaves that will be coming up from the base of the stem, and while they may also look odd now we will finish them off soon.
That’s all there is to it for this step, and now you’re ready to proceed.
Step 3 – Now, finish drawing the stem and the leaf outlines
In this third step of our guide on how to draw a poppy, we will be finishing off the outline of the stem and the leaves that you started in the previous part.
For the stem, simply draw another line down from the base that runs parallel to the line that you drew prior.
Then, once you have drawn the stem we will be finishing off the leaves. In this step, you will see the purpose of those strange outline lines that we drew in the prior step.
Step 4 – Next, draw some more of the flower itself
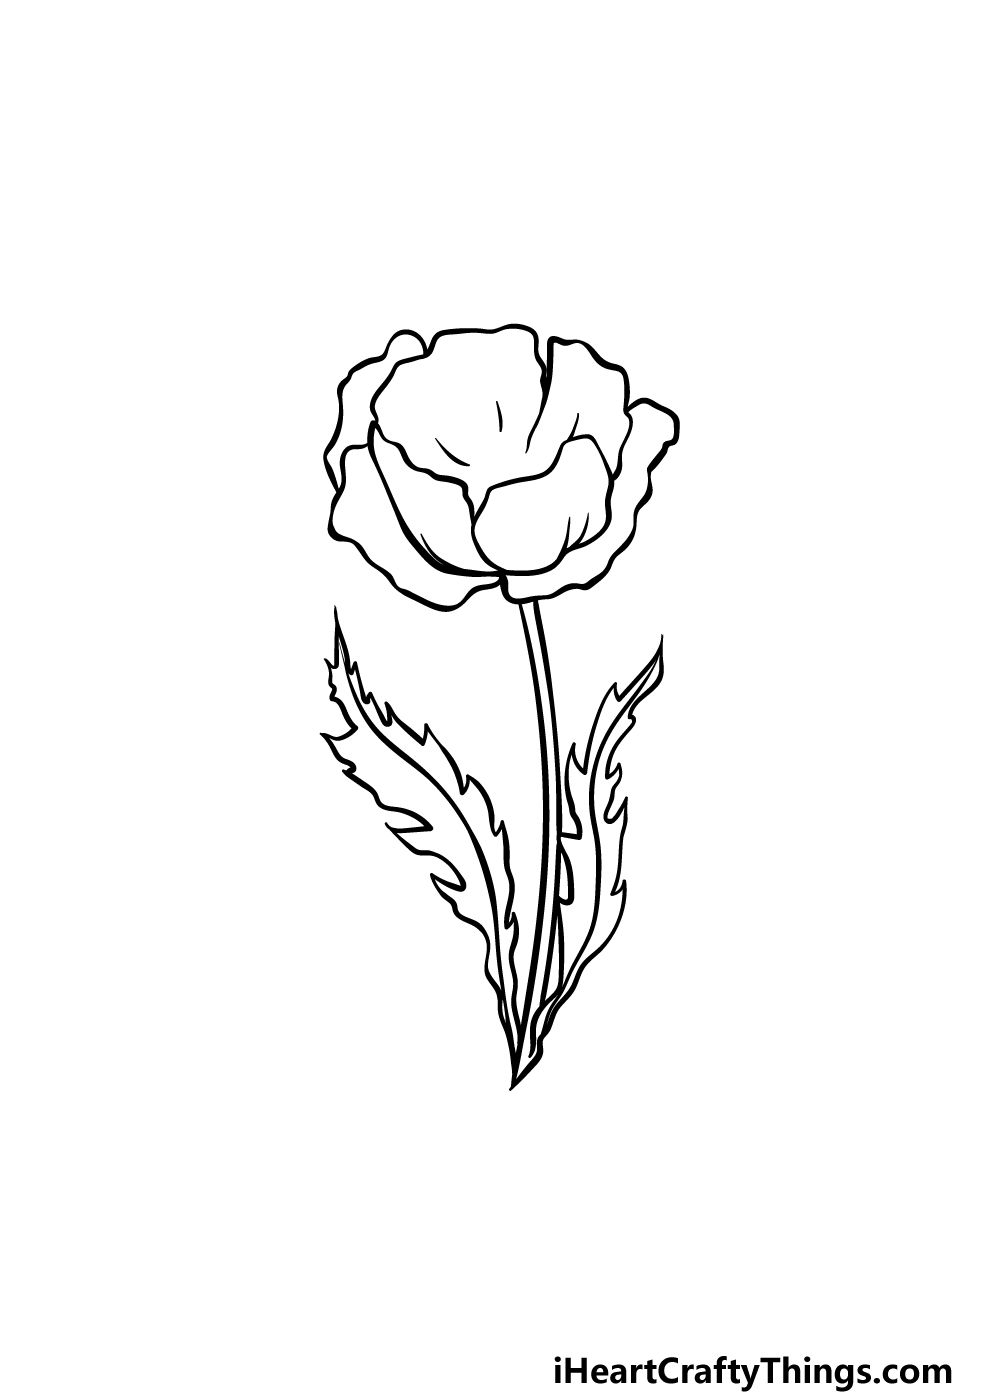
You have finished the stem and the leaves of your poppy drawing, and now we will continue to draw the flower itself.
To do this, we will be drawing some petal shapes inside of the poppy outline. You can draw these using some curved lines to make the petals that will connect to one another.
The reference image will guide you as to how these petals should look like, and then you can add some line details for some more texture to them.
With these petals done, we will be adding some final details in the next step before you color it in.
Step 5 – Now, finish off your poppy drawing
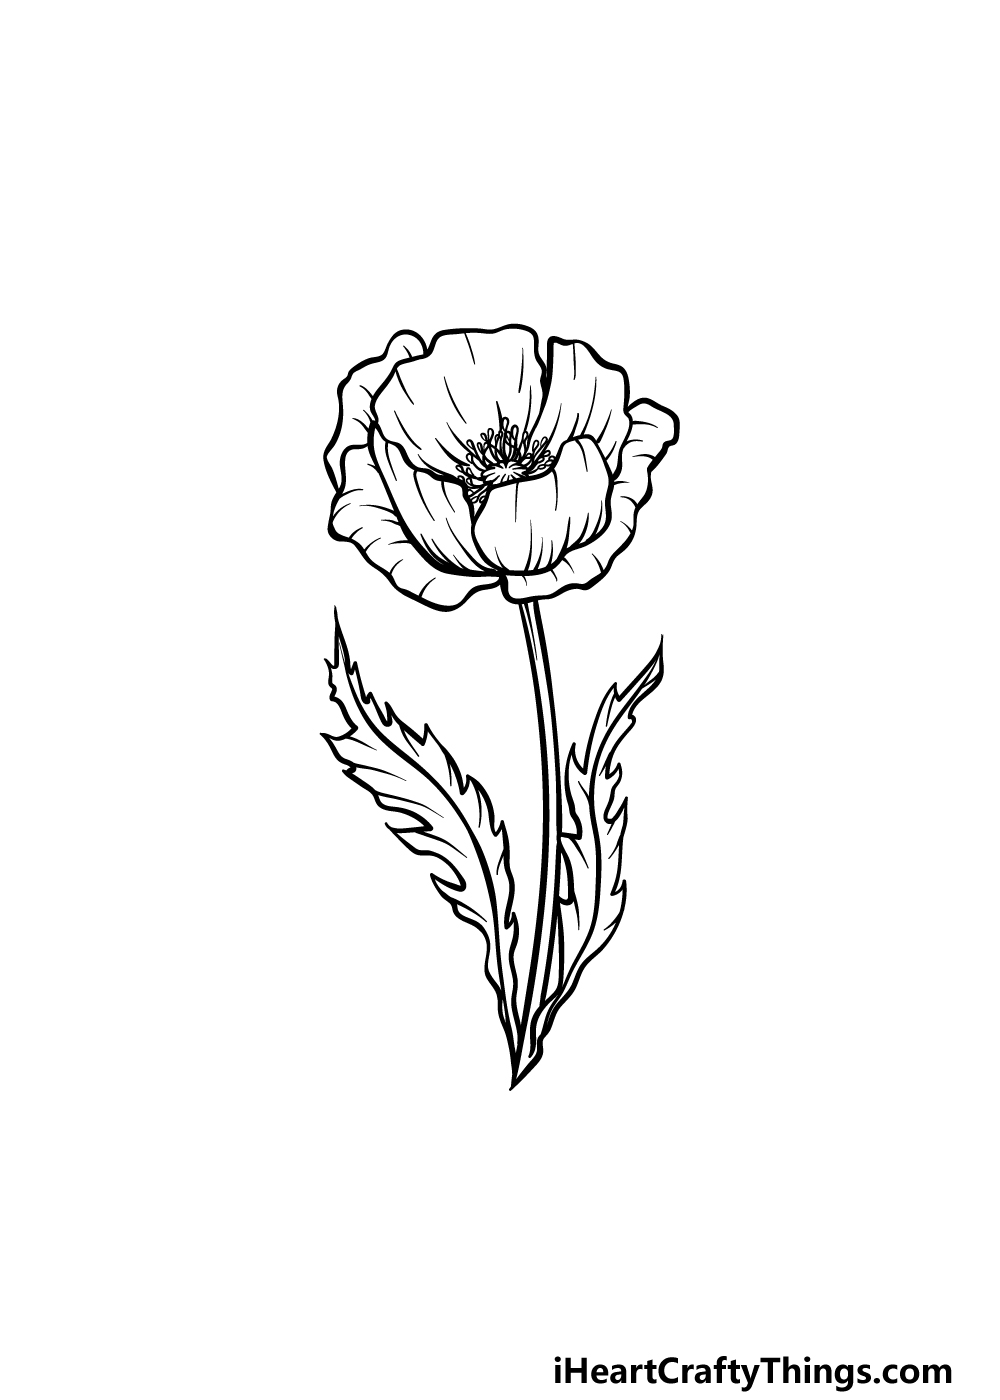
It’s almost time to bring some incredible colors to your drawing, but first we have some final details and elements to add in this step of our guide on how to draw a poppy.
The main thing we will be adding will be some pollen details in the center of the flower. There will be a rounded shape inside the middle of the flower with some lines along the outline.
Then, you can draw some small, thin shapes extending from this shape for the pollen tendrils.
Once you have these pollen details drawn, you can then start drawing some more details throughout the poppy.
You can start these details by drawing some lines on the petals of the poppy flower, as shown in the reference image. Then, you can add some similar line details to the leaves to finish off this step.
When these details have been added, you can also add some final touches of your own! You could draw some more poppies alongside this one or even add some more of your favorite flowers.
What extra details can you think of to finish off this image?
Step 6 – Finish off your poppy drawing with some color
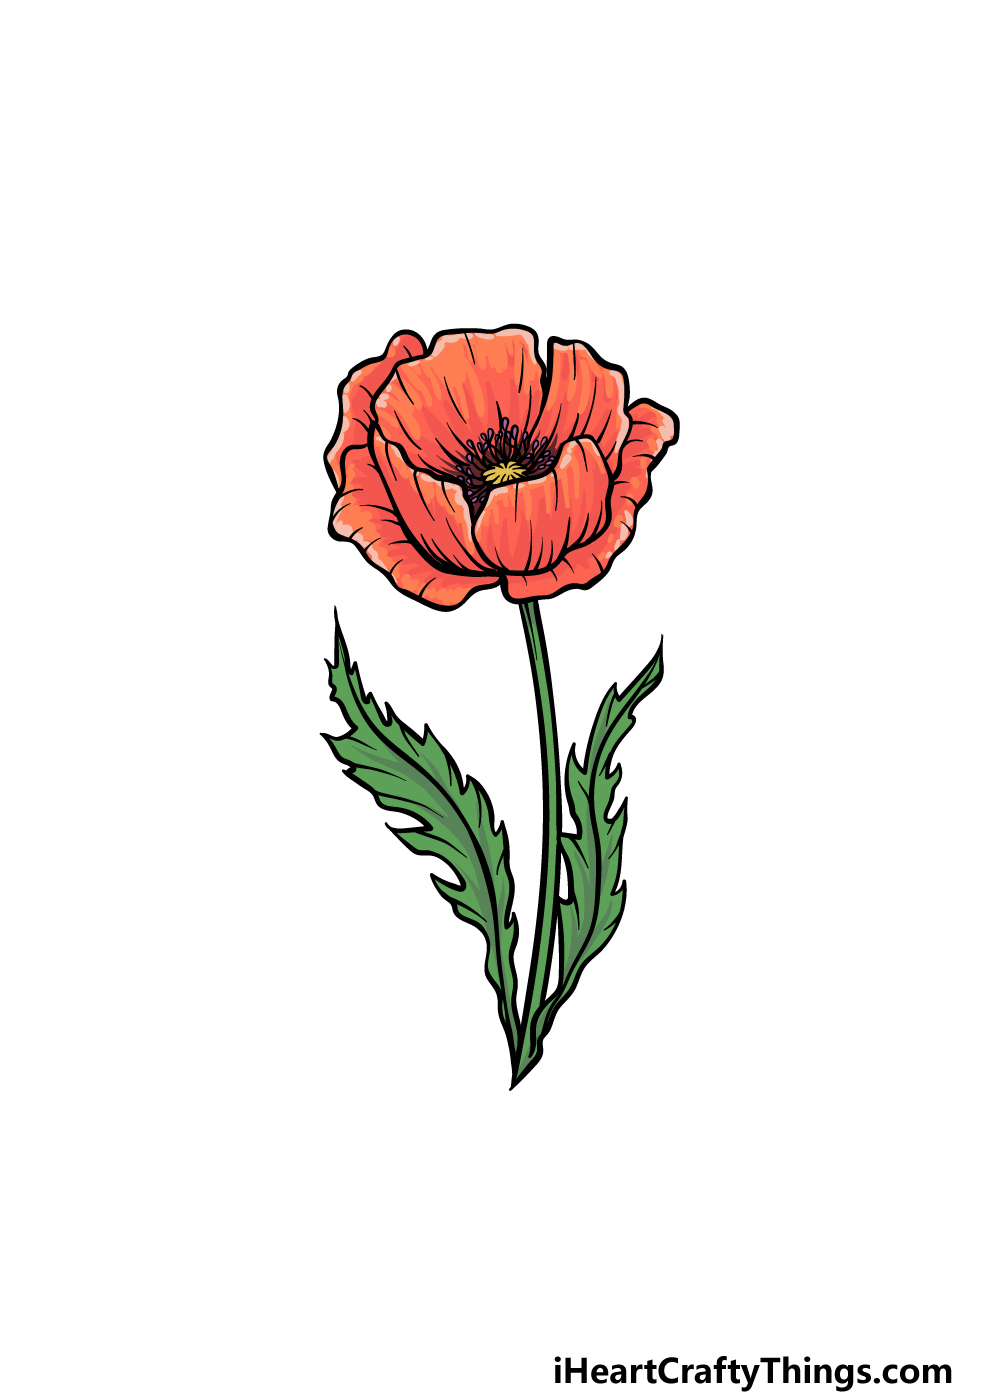
You have reached the end of your poppy drawing, and now you can bring some beautiful colors to your artwork.
Poppies are well known for their pretty red coloring, and that is what we went for in this step. Even if you go for these classic poppy colors, there are ways that you can bring some variety to the colors.
These can include using various shades of red, or changing up the art mediums that you use. You could also create your own poppy variations by using your own favorite colors.
We can’t wait to see what colors and mediums you use to finish it off!
5 Tips To Make Your Poppy Drawing Even Better!
Make this beautiful poppy sketch even better with these 5 ideas to try!
Now that you have completed this drawing of a poppy, you could add many more flowers to the drawing! It would look wonderful to draw a field of red poppies filling the page.
Doing so would require some patience, but it would be worth it to create a stunning and warm floral display. How many poppies would you like to have on the page?
If you want to have more flowers on the page but would prefer a bit more variety, then you could add other kinds of flowers alongside the poppy.
The flowers you choose would be entirely up to you, and it would be a great way to show off all of your favorite flowers. It would be great to see which flowers you choose to include!
Once you have all the flowers you want for this poppy drawing, there are small details and creatures you could add. For example, you could have some insects around the poppy.
Having some bright yellow bees would help to add even more color to this beautiful artwork, but that is just one example of something you could add.
Another way that you can add even more to look at in this image would be by drawing a background. This would be a way for you to show the wonderful setting that this poppy is growing in.
This background could be based on a real place where you live, or you could base it on any other picturesque place you can think of.
For example, maybe you could recreate the famous Flanders field of poppies!
You can make this poppy sketch look even more dynamic by incorporating some art crafts to the image. For example, you could use some light craft paper to make some petals.
These could be stuck over the image to make the petals of the poppy actually have a 3D feel to them. That way, the picture would be fun to look at and touch!
Your Poppy Drawing is Complete!
We hope that you had a great time working on this guide on how to draw a poppy! There were lots of details to draw in this guide, so we aimed to break it down into smaller steps to make it easy and fun for you to take on.
Now you get to be in charge as you personalize this drawing. Whether you draw different followers, add some more poppies or use some creative colors, we know you will land up with an incredible image!
This is your chance to get creative and have fun with it, so let your imagination run wild!
Don’t forget to visit our website frequently, as we have some awesome drawing guides that we will be uploading often!
Then, when your poppy drawing is finished we would love to have a look! You can share your beautiful artwork on our Facebook and Pinterest pages for us to enjoy.