Throughout the history of art, there have been many movements and styles that have become beloved by many people.
In the 1950s, a radical new type of art emerged that would come to be known as Pop Art. This style would incorporate imagery from popular comics, products and other such mediums in order to make some ironic statements about consumerism.
It is a style and aesthetic that is popular to this day, and many people like to learn how to draw Pop Art to recreate this style.
By the end of this tutorial, you will be able to recreate your very own Pop Art piece!
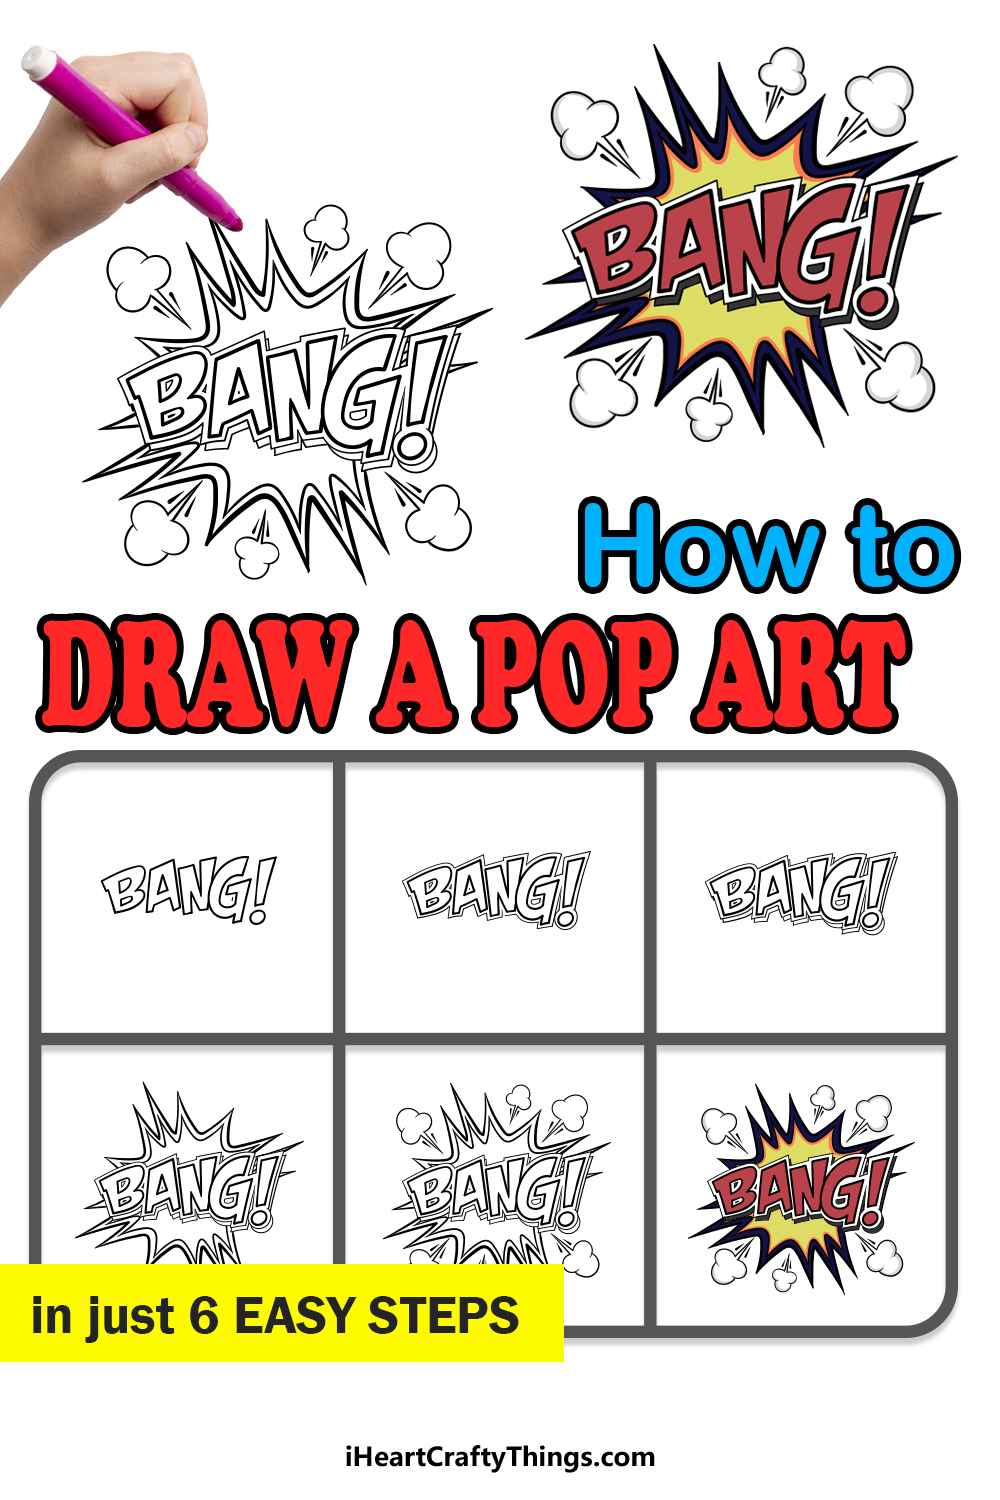
Get ready for some artistic drawing fun as we begin this step-by-step guide on how to draw Pop Art in just 6 easy steps.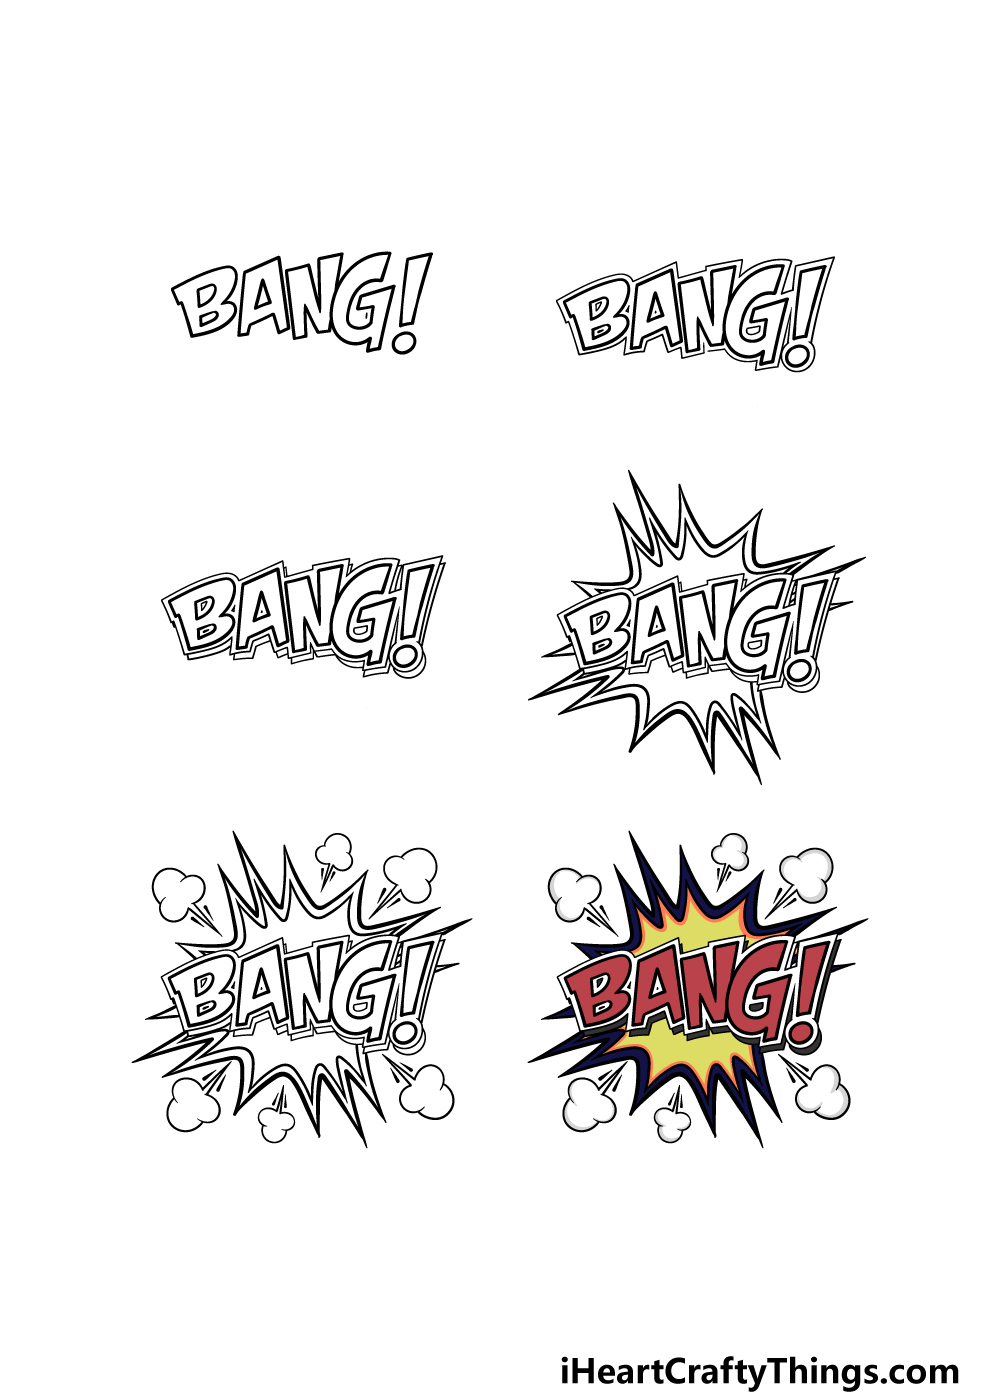
How to Draw Pop Art – Let’s Get Started!
Step 1
This style of art often features panels and iconography from comic books, and this is what we will be going for in this guide on how to draw Pop Art.
While this style can be quite diverse, the main thing most Pop Art has in common is that it is bold, colorful and vibrant.
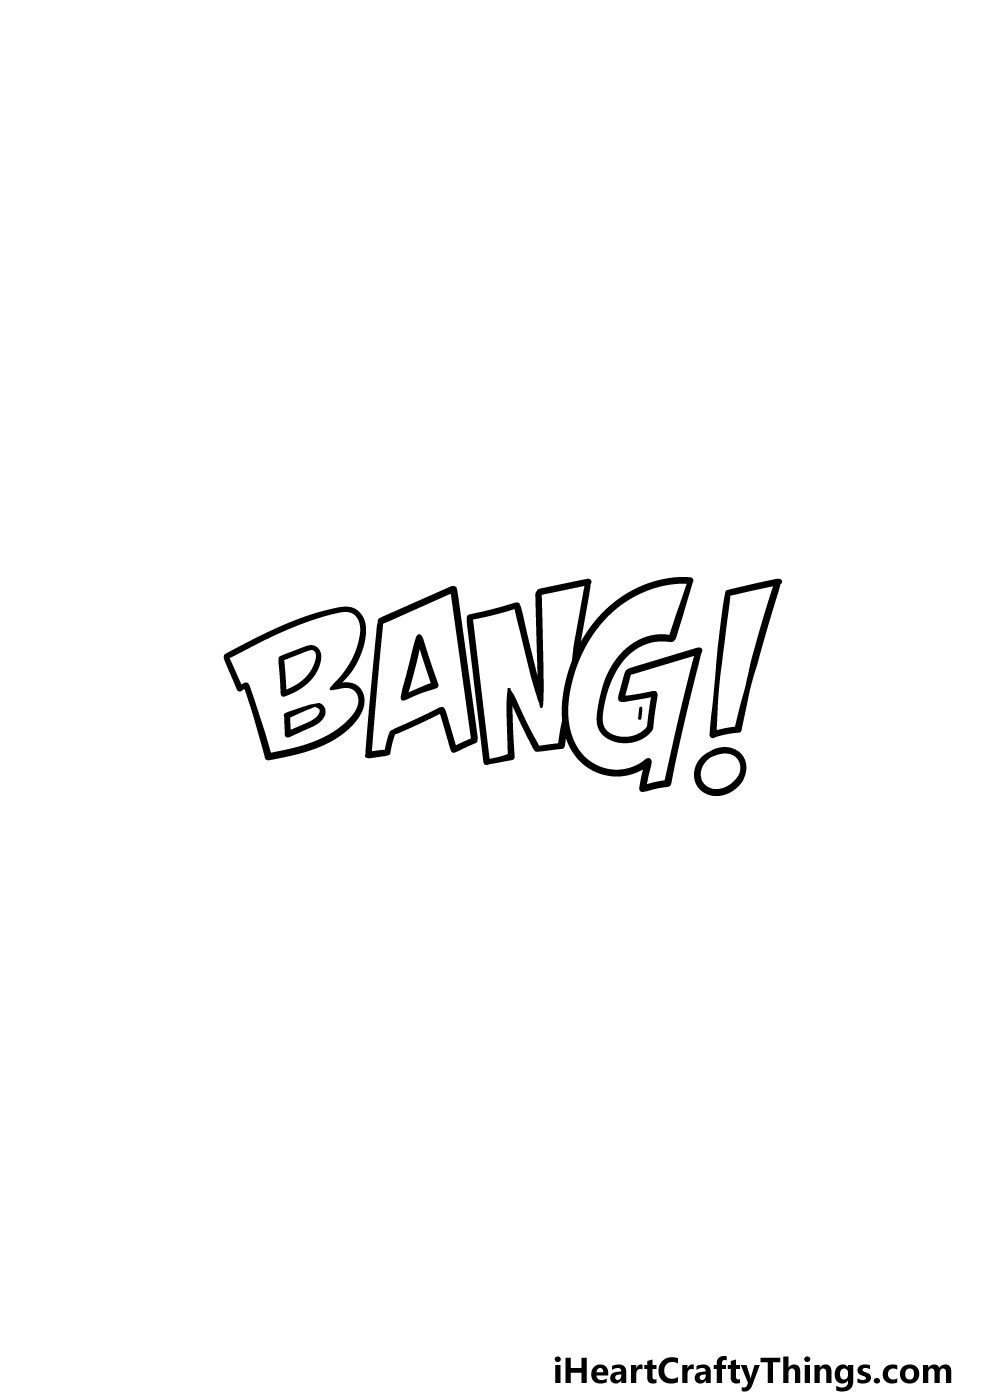
That will certainly be the case for this design, and we will begin by drawing a big, bold BANG.
To get this started, we will be drawing each letter in a big block letter to really make it stand out on the page.
When drawing these letters, you can try your best to replicate the style we used for our example to stick with this classic Pop Art style!
In the next few steps of the guide, we will focus on adding some more details on and around the letters, so when you’re ready we shall move on!
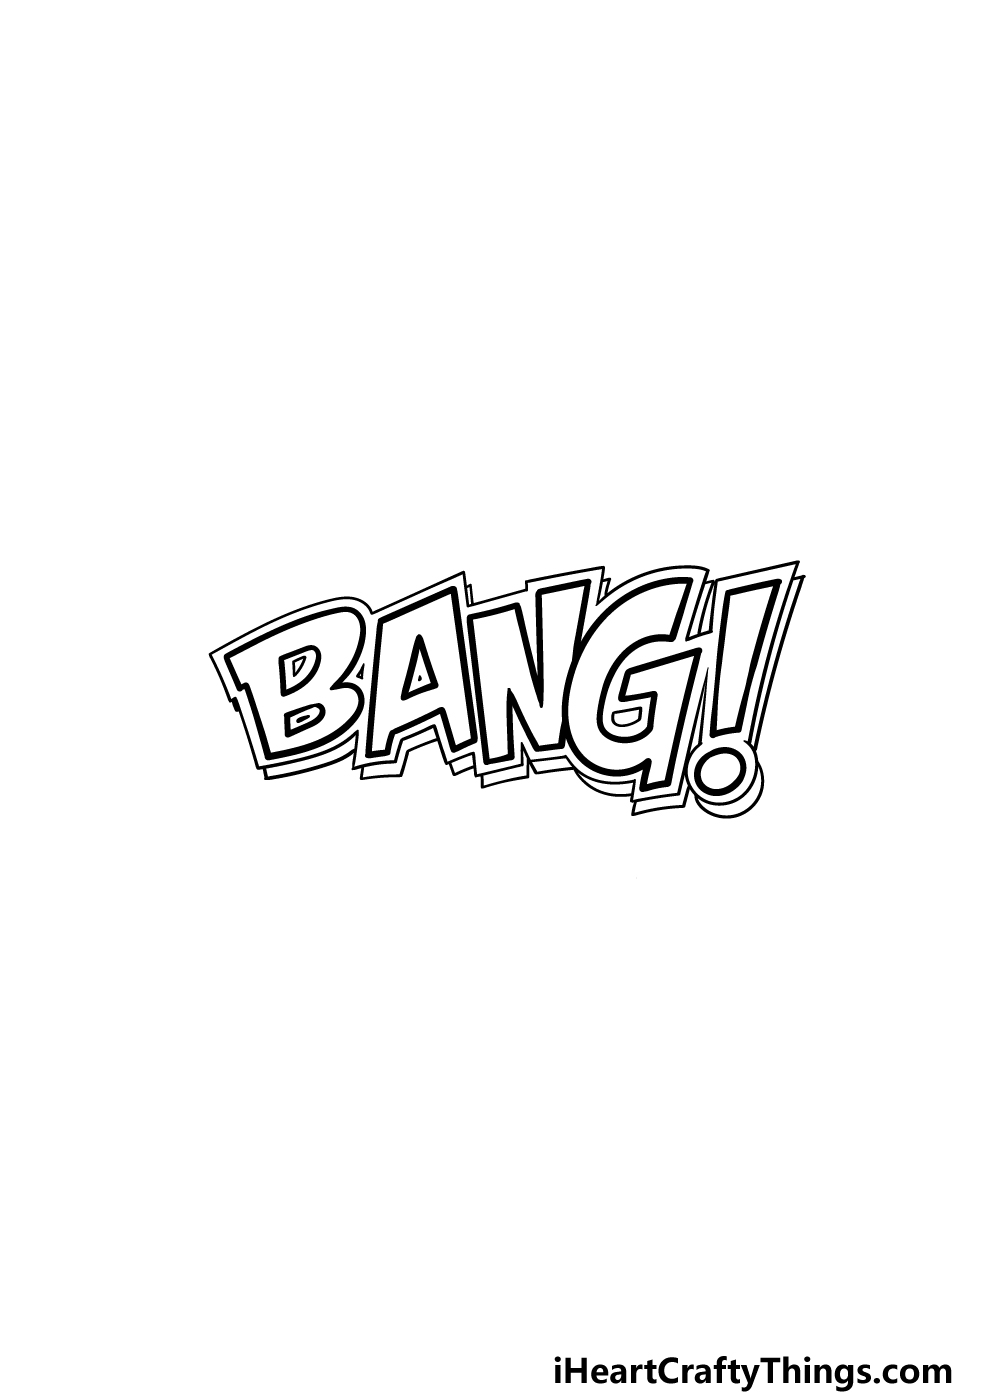
Step 2 – Now, draw an outline around the letters
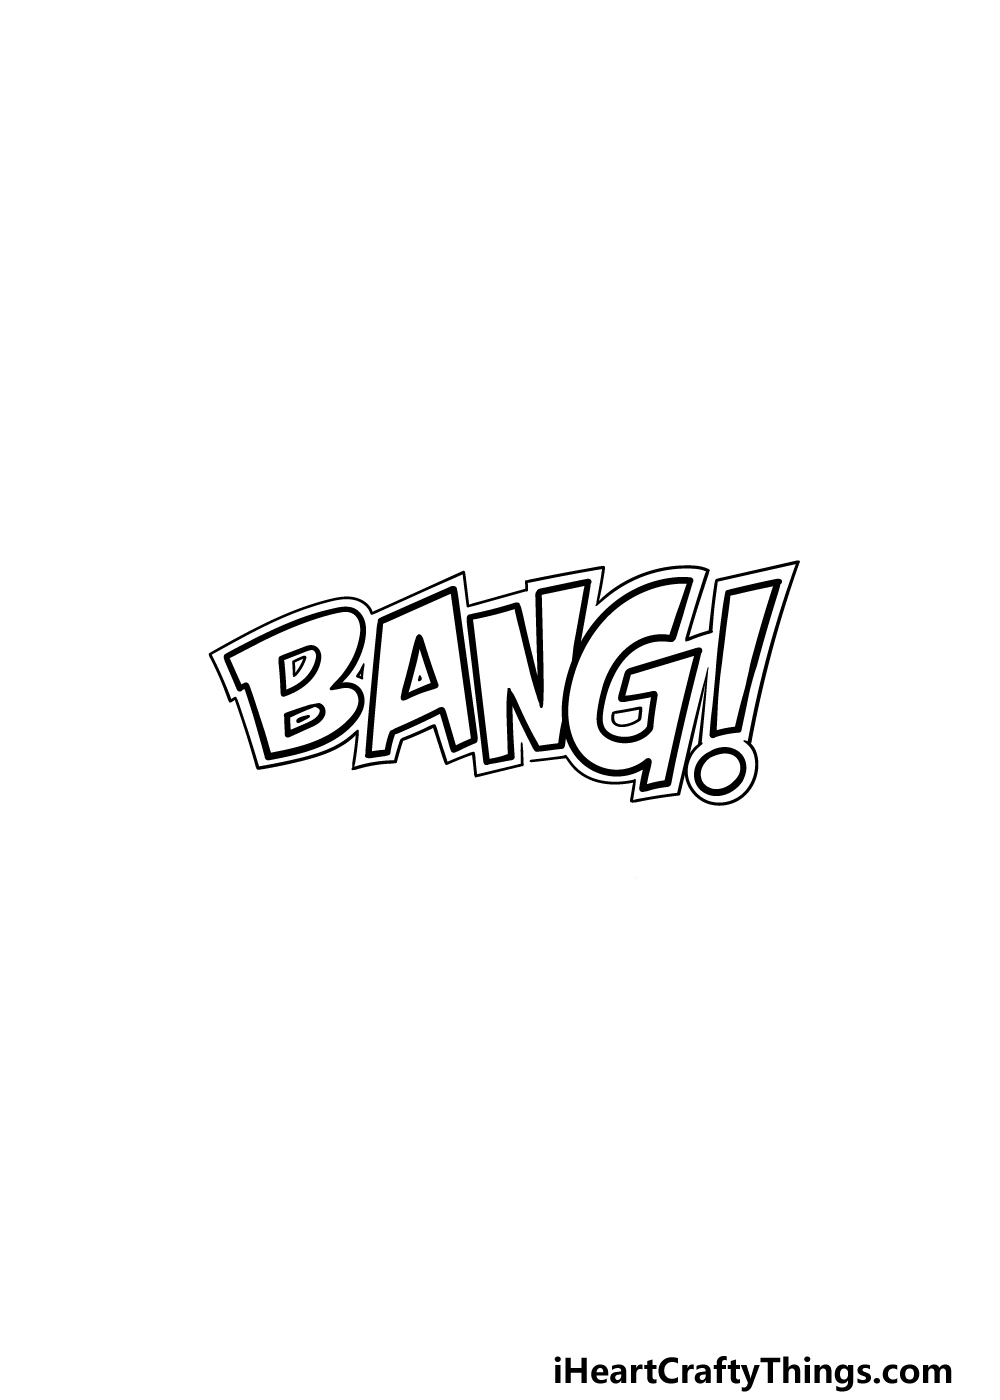
Now that you have the letters of the word this design will focus on, we can start adding those extra details that we mentioned for your Pop Art drawing.
To do this, we will be drawing an outline all around the letters. This outline will follow the outlines of each letter closely, and it will form one single large yet irregular shape all around the letters.
This step can require a bit of a steady hand if you don’t want this outline to touch the letters, so be sure to take it slowly as you draw!
Step 3 – Draw a shading effect
For the design we’re creating in this guide on how to draw Pop Art, we are aiming to make it look like the letters are flying off the page!
To do this, we will be adding a shading effect behind the letters. To do this, you can draw some shapes behind each letter that matches each shape of the letter.
You can see in the reference image that this shading will be positioned in such a way as to keep it consistent, as if there is a light source shining on the letters.
The reference image will help you to position this shading, and then you’ll be ready for step 4!
Step 4 – Next, draw an explosion effect behind the letters
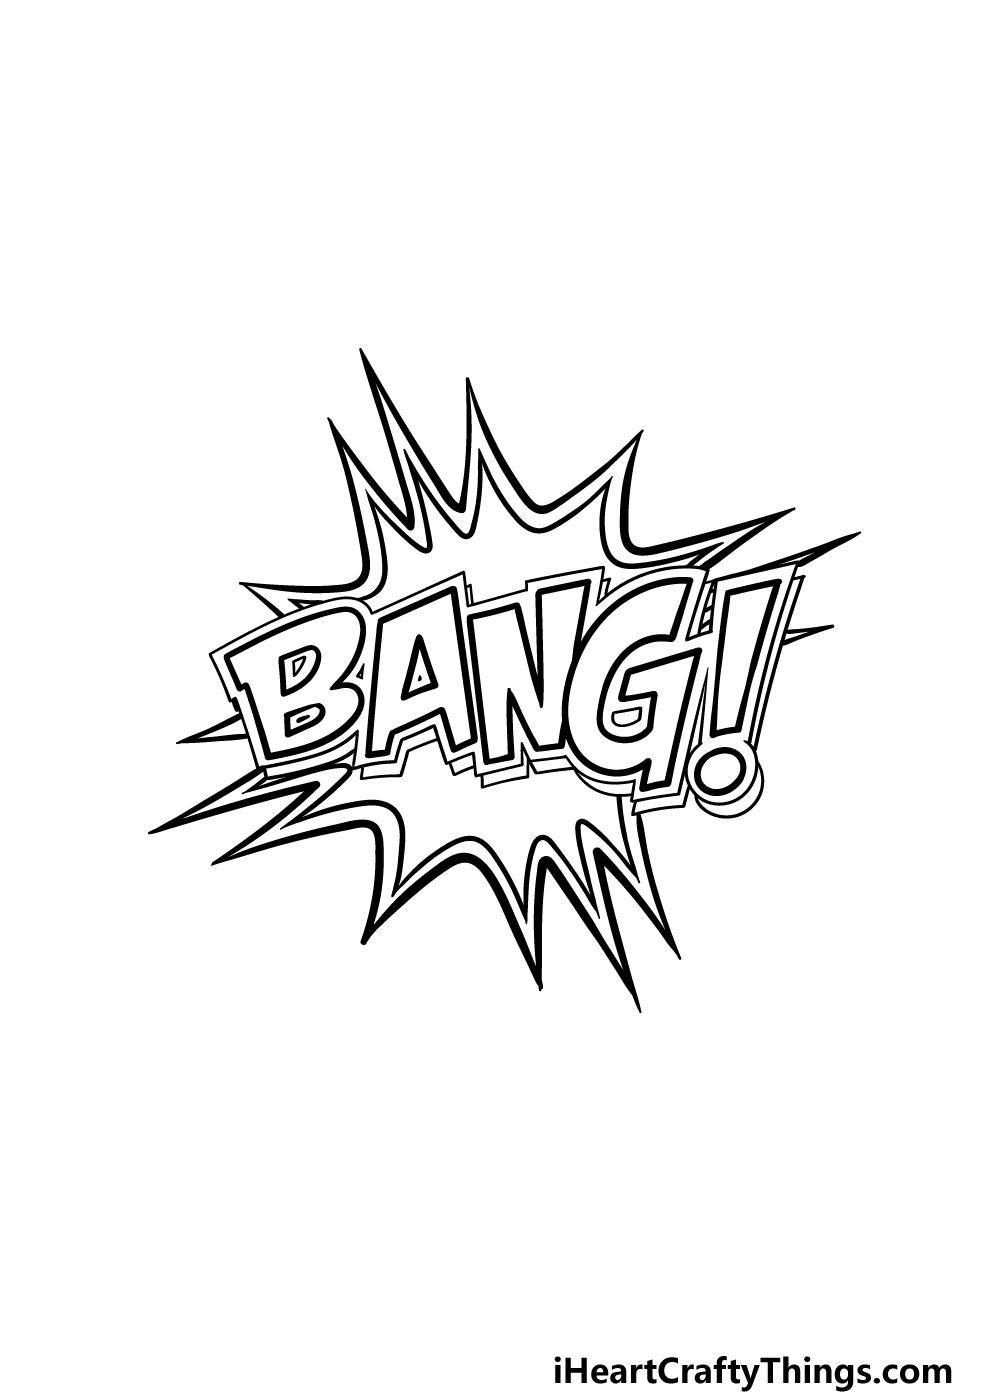
As we mentioned at the start of this Pop Art drawing, this style is usually big and bold, and it will often feature literal popping or explosive imagery.
Much of Pop Art is taken from and inspired by classic comic book panels, so this makes sense!
In this part of the drawing, we will be adding this explosive effect using some curved lines that culminate in pointy tips all around the drawing so far.
Then, once this is drawn, you can add another one closely around the outlines of the explosion to give it more depth.
The reference image will show you what we mean by this, and it should be easy to add once you know what to do!
Then, we will be ready for some final details and elements in the next step of the guide.
Step 5 – Add the final details to your Pop Art drawing
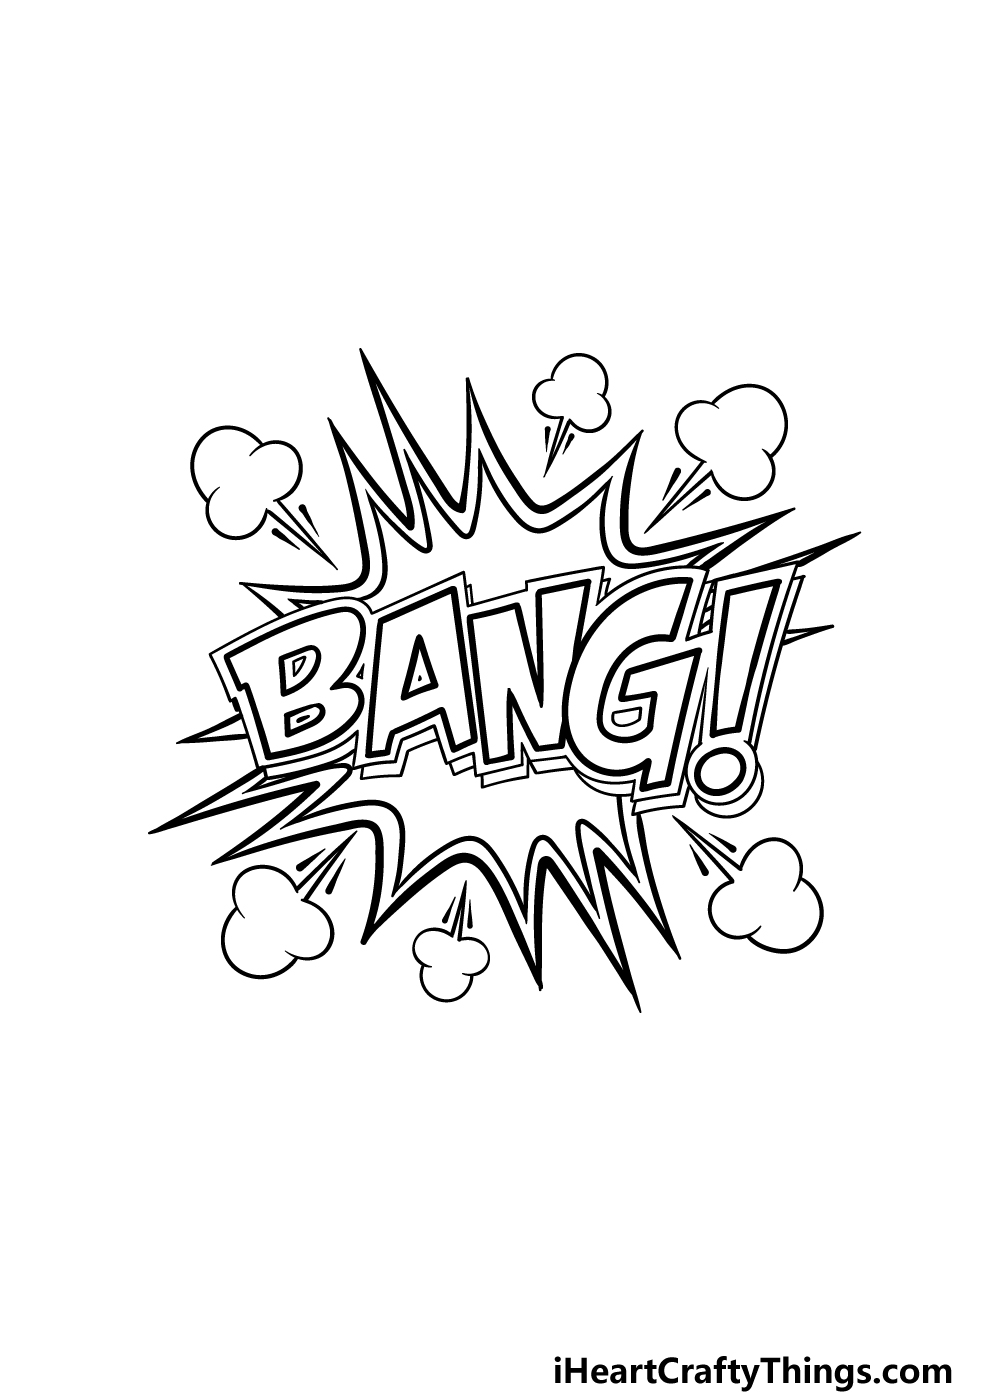
This fifth step of our guide on how to draw Pop Art will have you adding some final fun details to finish off this design nicely!
Once that is done, you will also have the chance to add some fun ideas of your own. First, we will draw some shapes around the explosion in this image.
Each of these shapes will have a long, thin pointy section at the base with some large rounded shapes above.
When these are added, you should feel free to add your own creative ideas as well!
Art is all about expressing yourself, so you should really let your creativity flow as you add more details or background details. How will you complete this image before the final step?
Step 6 – Finish off your Pop Art drawing with color

Color is one of the most important aspects of most Pop Art, so that’s why we will focus on it for the final step of this Pop Art drawing!
In our image, we used some bright yellows and reds that are balanced with some darker blues.
When coloring, you could change around the colors or even go for some entirely unique color choices!
Changing up the art mediums you use will also go a long way towards creating your perfect image, so be sure to have fun as you experiment with colors and mediums.
4 More Ways To Make Your Pop Art Drawing Unique
Create some art that really pops with these tips for your pop art sketch!
Pop art is known to be big and bold, and that is certainly shown in this drawing of pop art. That being said, it could always be even bigger and bolder!
You could do this by adding even more elements to the design such as more sharp angles and explosion effects. There is no such thing as going too big and bold when it comes to pop art!
What other fun effects could you add to make this image even more eye catching?
Pop art would often be inspired by comic book imagery and advertisements, and you could incorporate some imagery inspired by these sources into your own drawing.
There are many ways you could do this, but one way would be to draw a comic book character beneath the image we created in this guide.
If you were to do this, you would be best off using vintage comics with bold, clean colors if you wish to capture that pop art style.
Another way that you could make this pop art drawing look even more amazing would be by using crafts and fun art mediums. For example, you could add stickers, glitter or even beads to the image.
Remember that the goal with pop art is to make it bold, colorful and exciting! What are some of your favorite craft materials that you could use for this artwork you have created?
This pop art sketch we created has the word bang written out in bild letters. This is again inspired by elements from classic comic books.
You could instead go with other words if you wanted to make this image more personalized! Some of these words could include boom, pow or any other words that suggest a loud noise.
If you want some inspiration, you could look up some pages from vintage comic books. Or, you could also look up examples of pop art that you could use for your own creation!
Your Pop Art Drawing is Complete!
This is such a classic art style that many people love, and we hope that you had a great time creating your own addition to the style during this guide on how to draw Pop Art!
We wanted this guide to make creating this artwork not only a fun experience but also one that would be easy and that would allow for your own creativity.
With that in mind, you should definitely feel to change or add to the design in any way you want! This will be all about having fun getting creative, and we can’t wait to see what you end up with!
Then, you can head to our website for access to a huge library of different drawing guides to enjoy. You should try to check in regularly, as we upload new ones frequently!
Lastly, we’re sure you’ll want to show off your finished Pop Art drawing, so please be sure to share it on our Facebook and Pinterest pages!