When those hot Summer days start rolling in, there are a few ways that you can use to keep cool and make sure that you don’t fry!
One of the best options at your disposal is to jump into a nice cool swimming pool, as that will cool you off instantly.
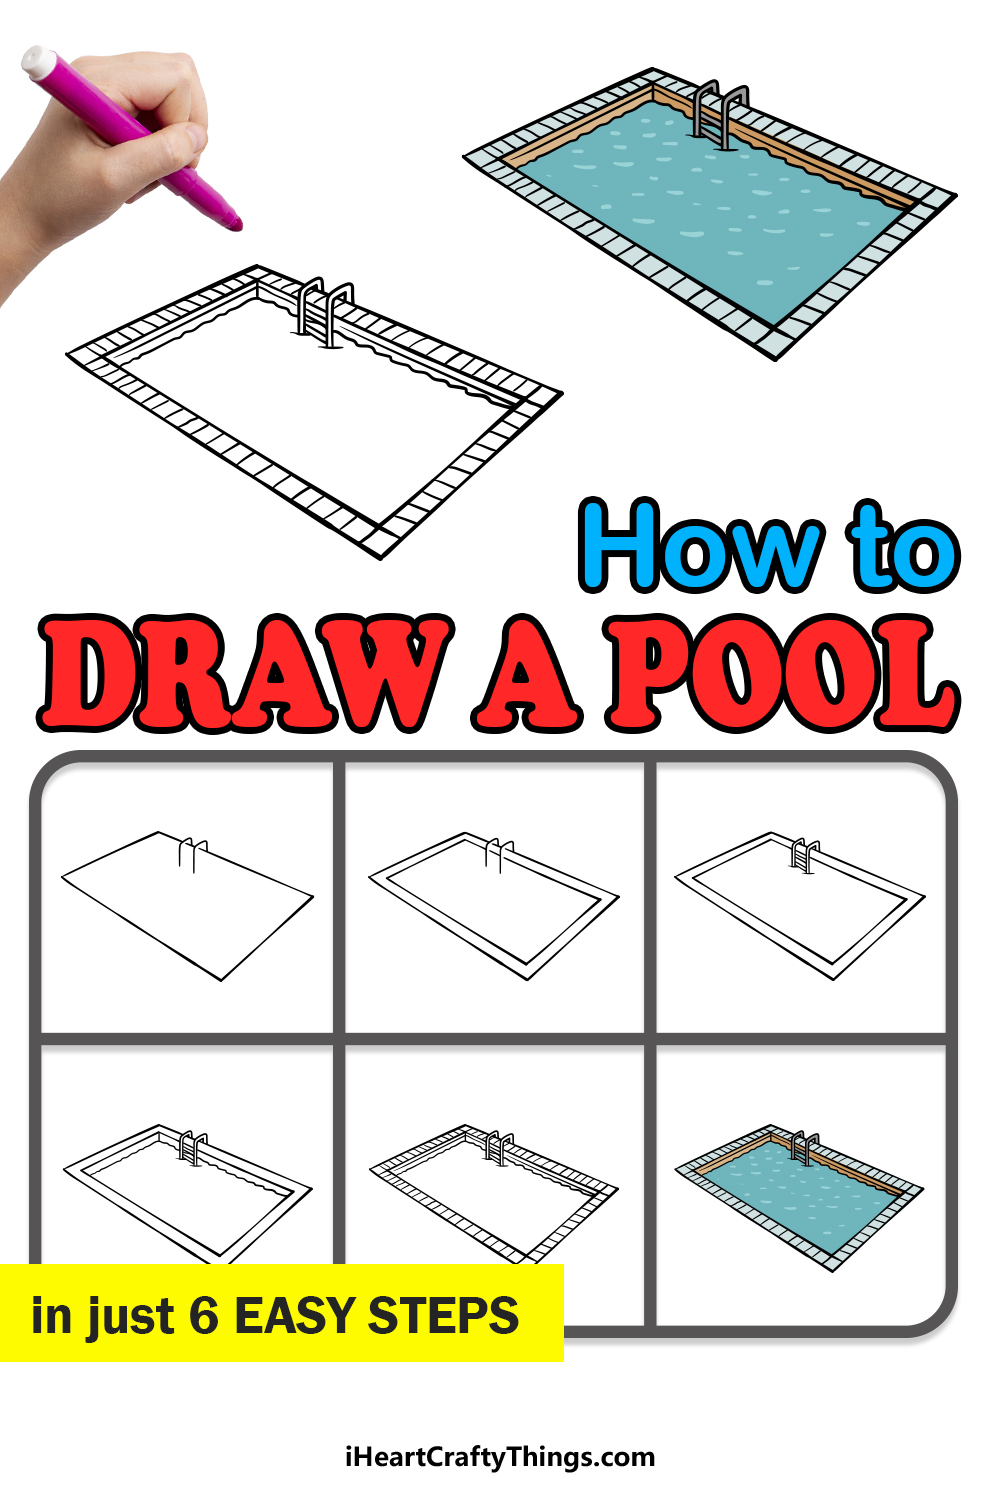
Pools can come in many different shapes and sizes, and there is a pool type to suit any taste! It can be fun to design your own perfect pool, and learning how to draw a pool can be the best way to do that.
By the end of this guide you have before you, you’ll know how to do just that.
This step-by-step guide on how to draw a pool will show you how easy and fun it can be!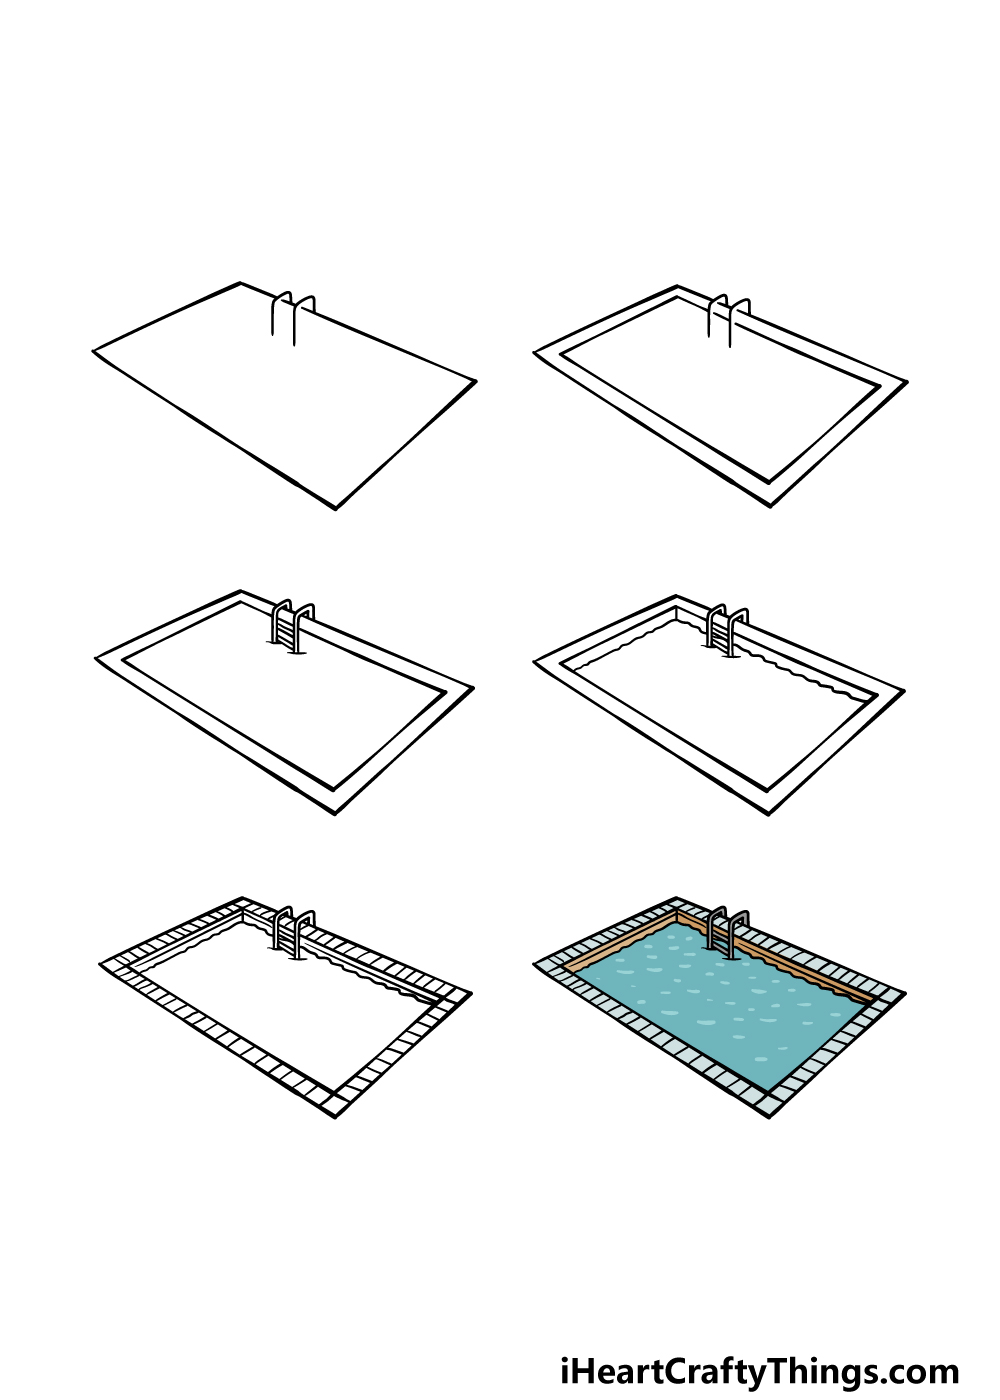
How to Draw A Pool – Let’s get Started!
Step 1
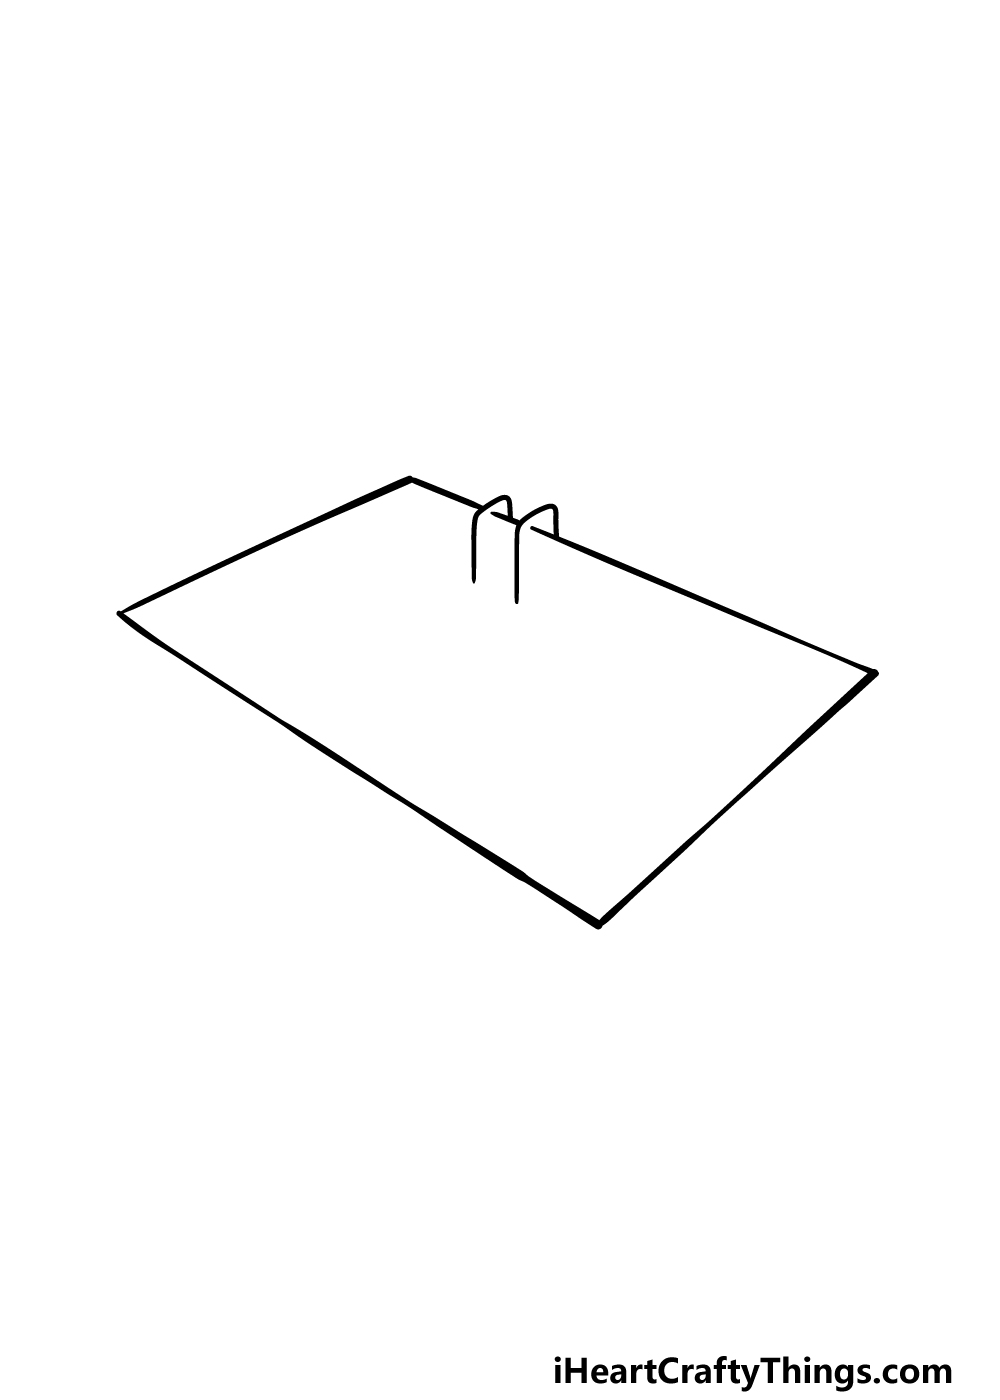
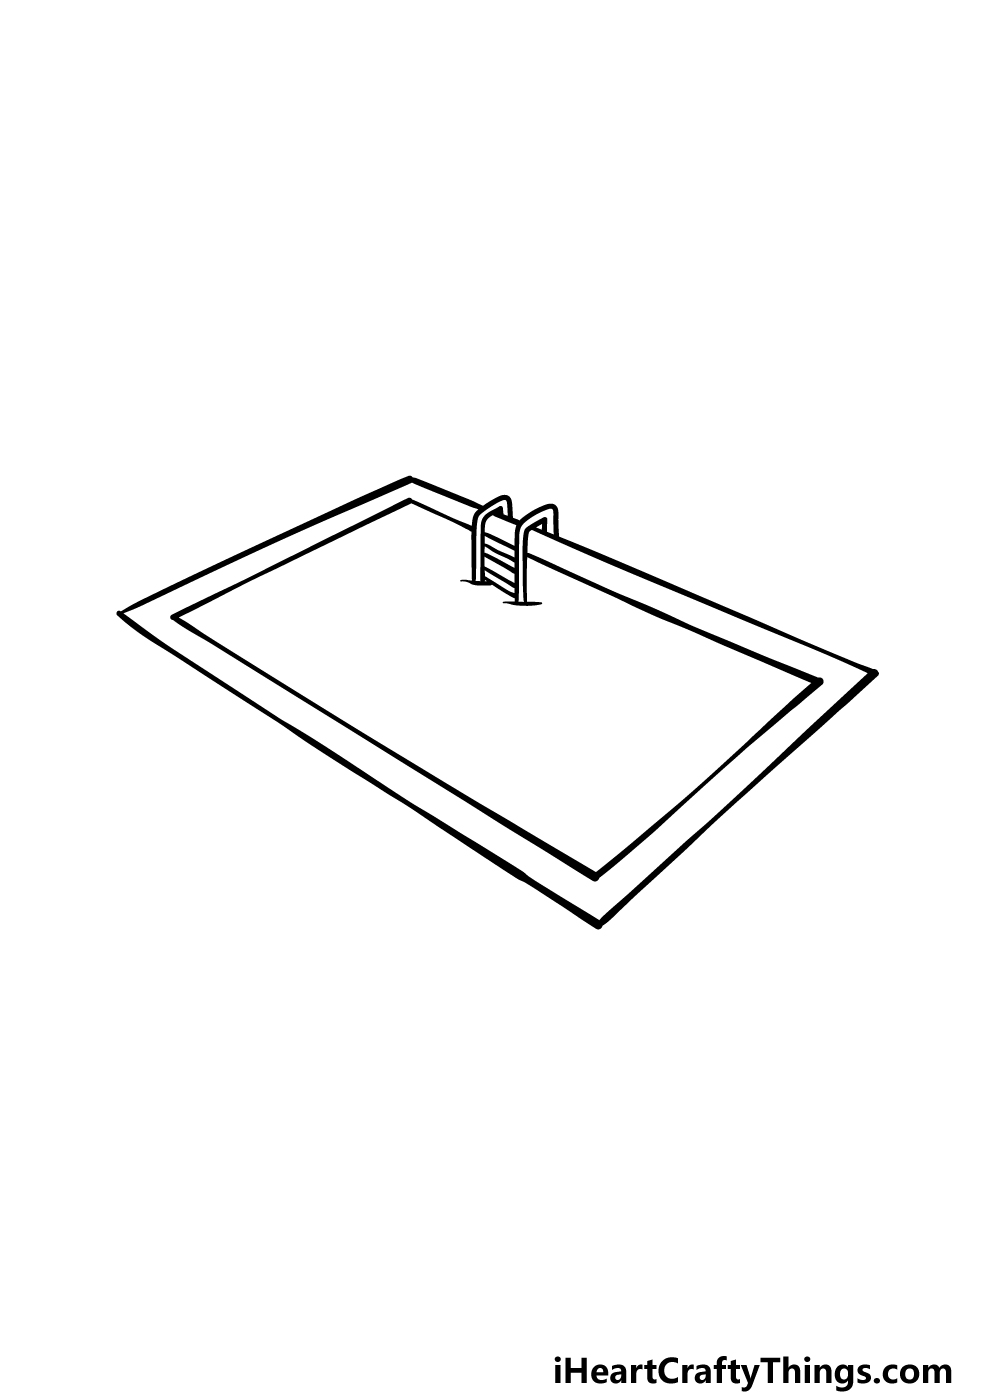
We will be going with a classic rectangle design for this guide on how to draw a pool. Because of this, a ruler would be a handy tool to have on hand as you draw, as there will be lots of straight lines.
Once you have your ruler ready, we can start to draw the rectangular outline. This can tend to be a bit trickier than expected, as the lines are at a bit of an angle, as shown in our reference image.
Using it as a guide, carefully draw the rectangle. Then, you can finish off by using some curved lines for the beginning of the ladder of the pool.
The ladder will be simple for now, but we will add some details to it soon! Then, once you have these details drawn you’re ready to move on to step 2!
Step 2 – Next, draw some more of the pool outline
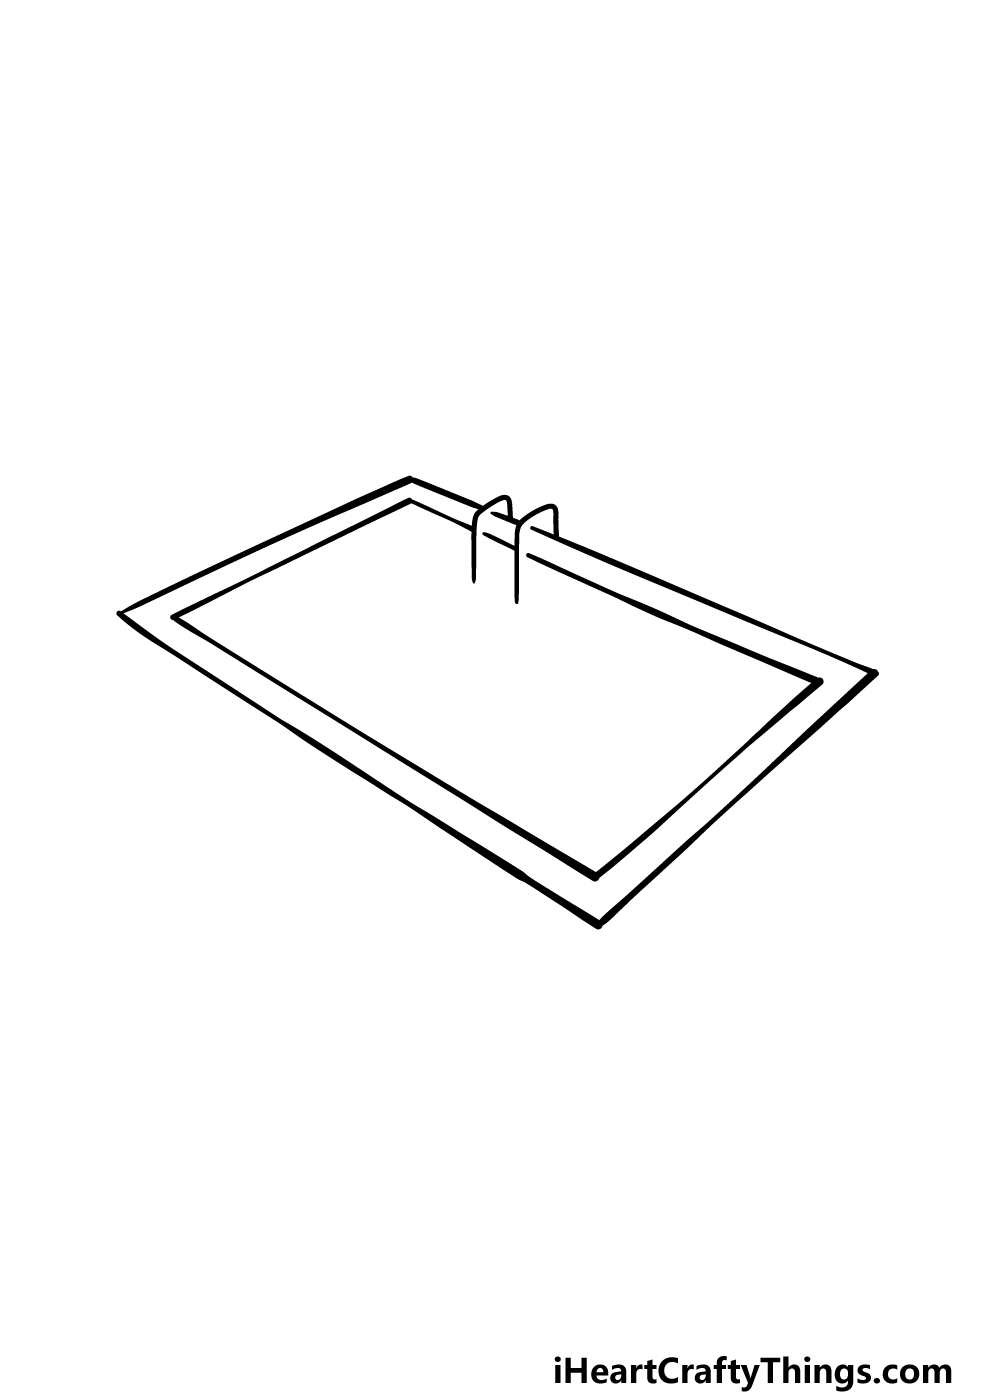
This second step of your pool drawing should be an easy one for you to take on. For this step, we will be drawing the inner edge of the pool’s outline.
To do this, simply use your ruler to draw some more straight lines running parallel to the outline that you drew in the previous step.
This should result in a rectangle that almost looks a bit like a picture frame.
Be sure to leave some small gaps where the ladder will be going in the next step, and you can use the reference image to show you where these gaps should be.
With the outline done, it’s on to step 3!
Step 3 – Now, finish drawing the ladder for the pool
You started the ladder in the first step of this guide on how to draw a pool, and now you can finish off that aspect.
Using the lines that you already draw for the ladder, add some more curved and straight lines to complete the outline as it appears in our reference.
By the end of it, you should have two rungs attached to the frame of the ladder.
Step 4 – Next, draw the water for the pool
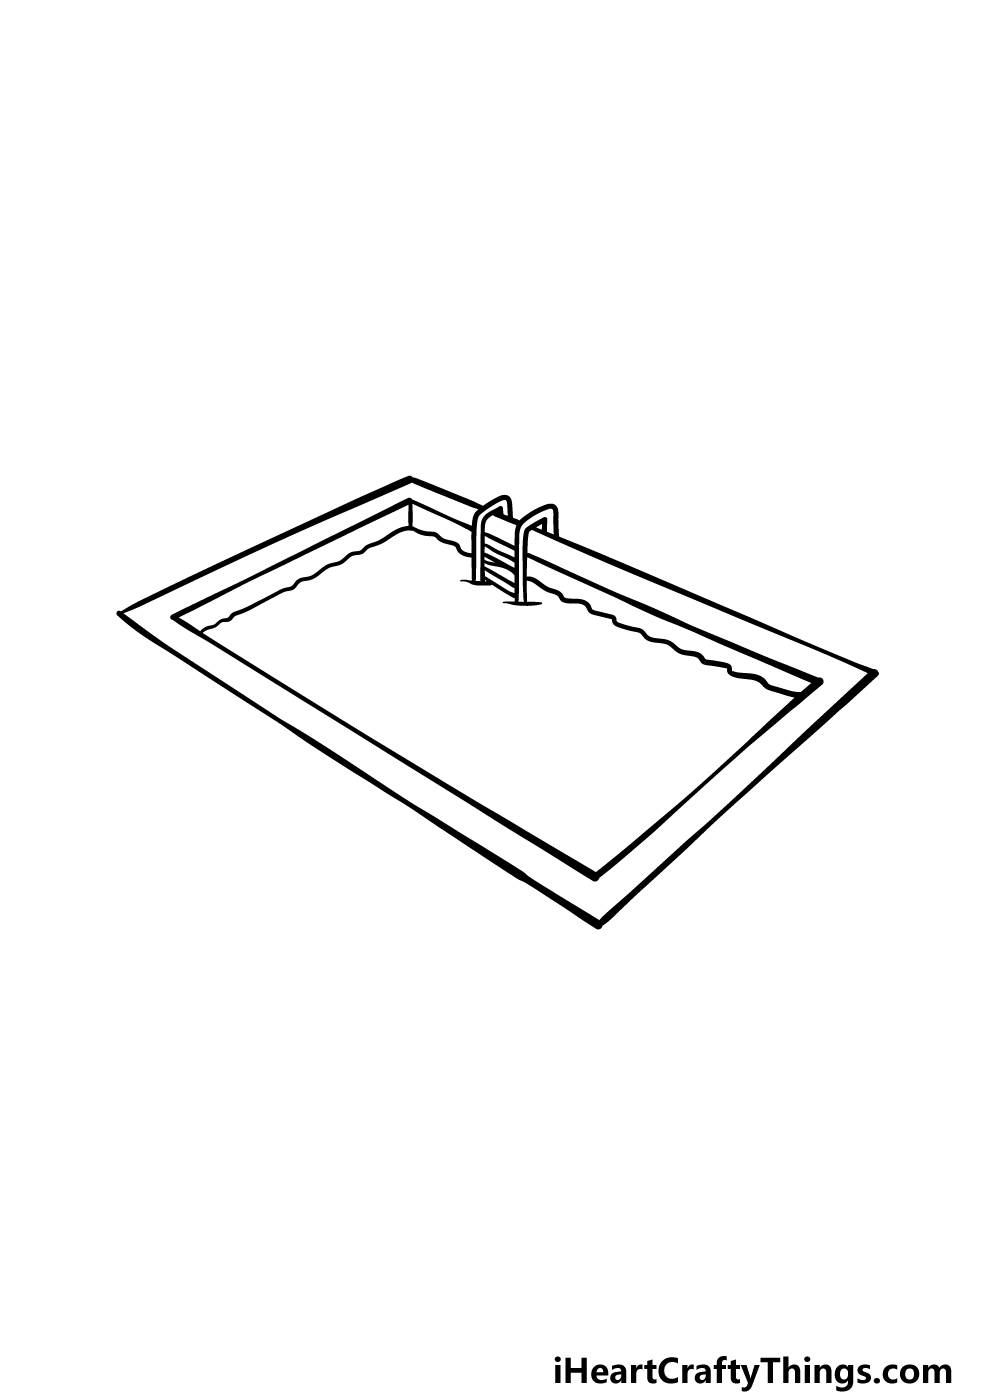
Jumping into a pool with no water in it would not be a very pleasant experience! For that reason, we will add some to your pool drawing in this part.
First, draw a short line down from the very top corner of the pool.
Once you have done that, we will be adding some wavy lines near the inner outlines of the pool.
These will only go on two edges of the pool, and the reference image will show you where they should go for this viewing perspective.
Then we just have a few final details to add in the next step before you color it in.
Step 5 – Now, finish off your pool drawing
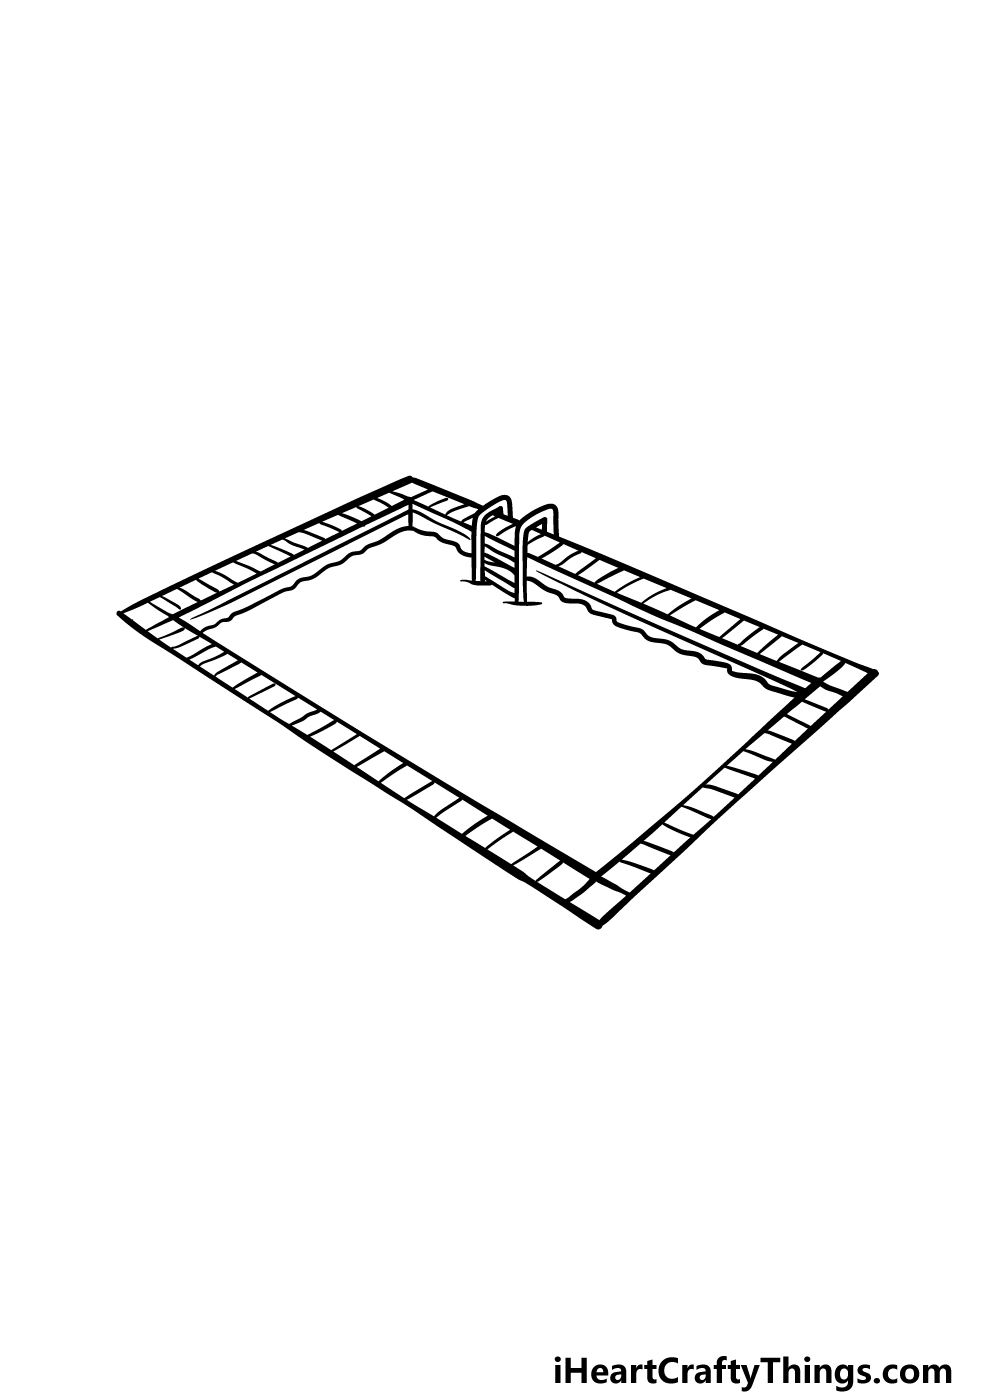
In this step of our guide on how to draw a pool, we will finish off the final details. The main aspect we will be drawing will be between the two outlines of the pool.
These straight lines will be to show that the outline of the pool has lots of little tiles making it up. When you have added all of these lines, you have finished all of the details!
You don’t have to move on quite yet, however, as you can add some more of your own details that you may want.
You could draw some people swimming in it or even draw some big pool toys floating in it for some color variation later. Once you have mastered this drawing, you could also take what you have learned to create your own pool variations.
What final details do you think you will use to finish off this pool drawing?
Step 6 – Finish off your pool drawing with some color
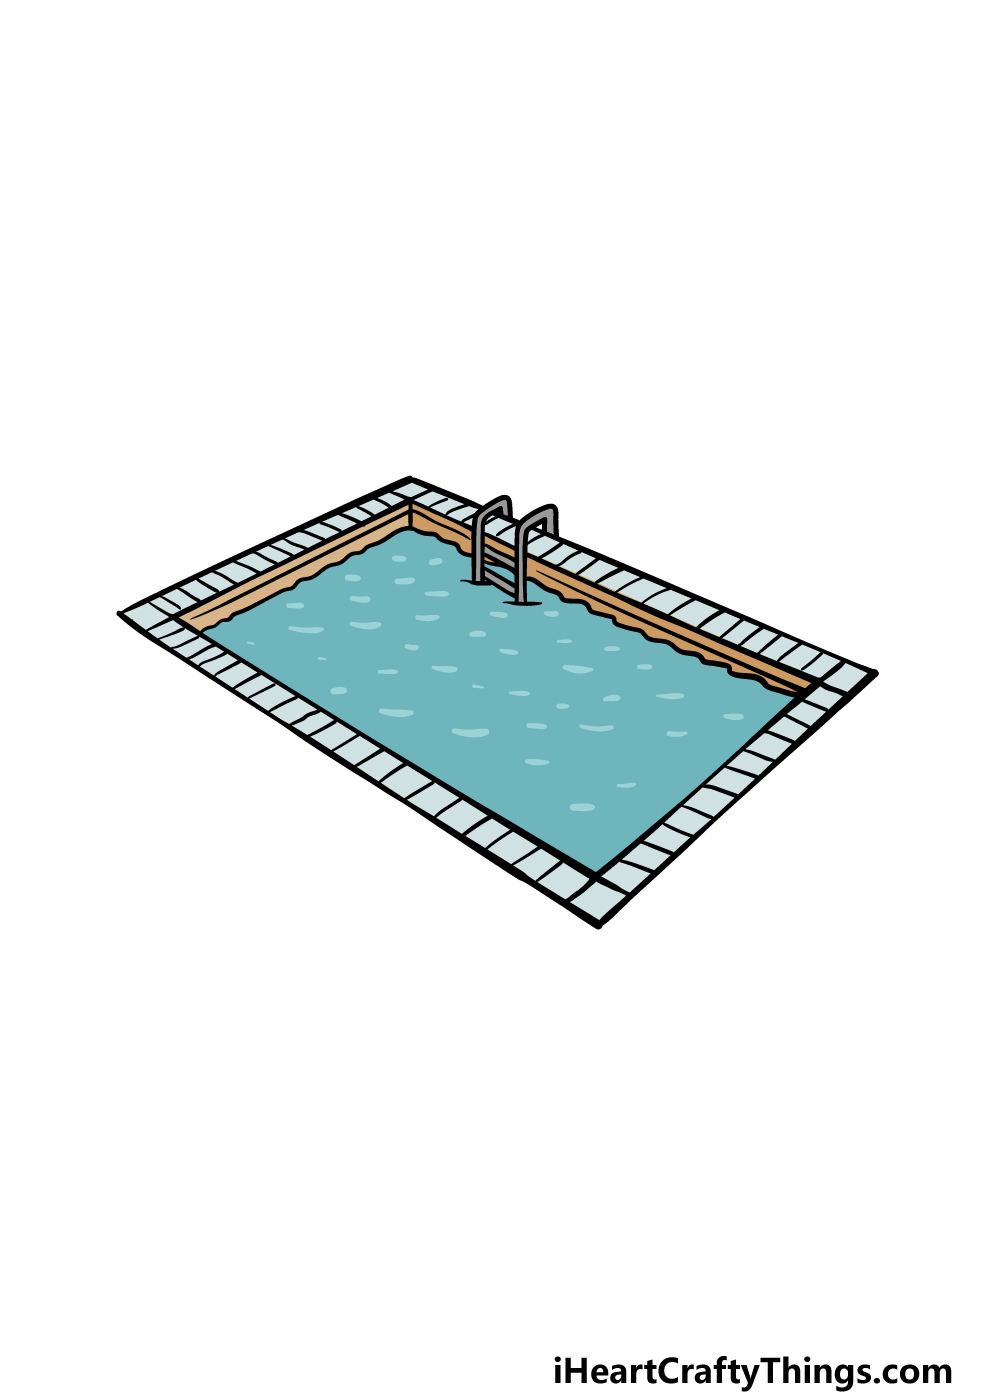
This is the final step of your pool drawing, and in this one you can add some amazing colors to finish off your picture.
We used some grey, brown and of course some blue for the pools surroundings as well as the water. These are some colors you could use for your own drawing, but you should be sure to use any colors that you want for it!
Once you know what colors you would like, you can also decide on the various art mediums and tools you will use to finish it off.
For pictures involving water, it can be great to use some watercolor paints for a softer look to the image, but you could also go for some brighter colors with other mediums. It’s up to you, and we can’t wait to see what you decide to use for your own picture!
3 More tips to make your pool drawing easy!
Get ready to dive into these 3 tips on making this easy to draw pool even easier!
When it comes to any drawing, extra details will always be a good addition. They can also make a drawing a lot harder, however, so sometimes it’s worth removing a few.
For instance, with this pool drawing there are lots of lines in the border of the pool. They look great, but adding them can be quite fiddly.
It’s also an example of details you could remove without making the picture worse. Or, you could make the spaces between the lines much larger so it’s not as fiddly.
This is one example, but you could remove or change any details that are giving you a hard time!
There are other aspects of this pool sketch you could also change to make it easier. For instance, some people may find drawing the rectangle shape of the pool to be a challenge.
If that’s the case for you, then you could change the shape of the pool. Maybe you would find a rounder pool easier to do, for instance!
By changing these elements to make it easier, you will also end up with a more unique pool design. Do you have some ideas for how you could change the design in a way that would make it easier for you?
With any drawing, referring to real life is one of the best things you can do. That is certainly true of this drawing of a pool!
If you’re lucky enough to have a pool in your own yard, then you can use it as a model as you draw this picture. If you don’t have one, then there are other sources you could look at.
If there is a local pool nearby, you could get an adult to take you there to look at. Or, maybe you could simply look up some pictures online.
Using pictures would help a lot, even if they look different to the one that we drew in this guide.
Your Pool Drawing is Complete!
You have reached the end of this guide on how to draw a pool! We hope that this guide made it easy and lots of fun for you to create this awesome pool drawing.
Breaking down a drawing into smaller steps can always make it less intimidating, so we aimed to do that for you in this guide.
Now you can show off how creative you can be by adding your own details, additions and unique color choices. It will be very interesting to see how you finish off this image!
Once you are ready for more drawing fun, be sure to check out our website. We have some incredible guides for you to work on there, and we upload new ones often!
We would be curious to see your finished pool drawing, so you can let us take a look by sharing it on our Facebook and Pinterest pages.