Our planet is full of many incredible environments, sights and sounds. From frozen ice fields to jungles and lush savannahs, there are many incredible natural sights to behold.
Deserts are one of these incredible places, and they have a duality to them as they can be stunningly beautiful but also perilous to survive in. their beauty has made them popular to represent in art, and it can be very gratifying to learn how to draw a desert.
If you would like to create your own desert pictures, then this guide is for you!
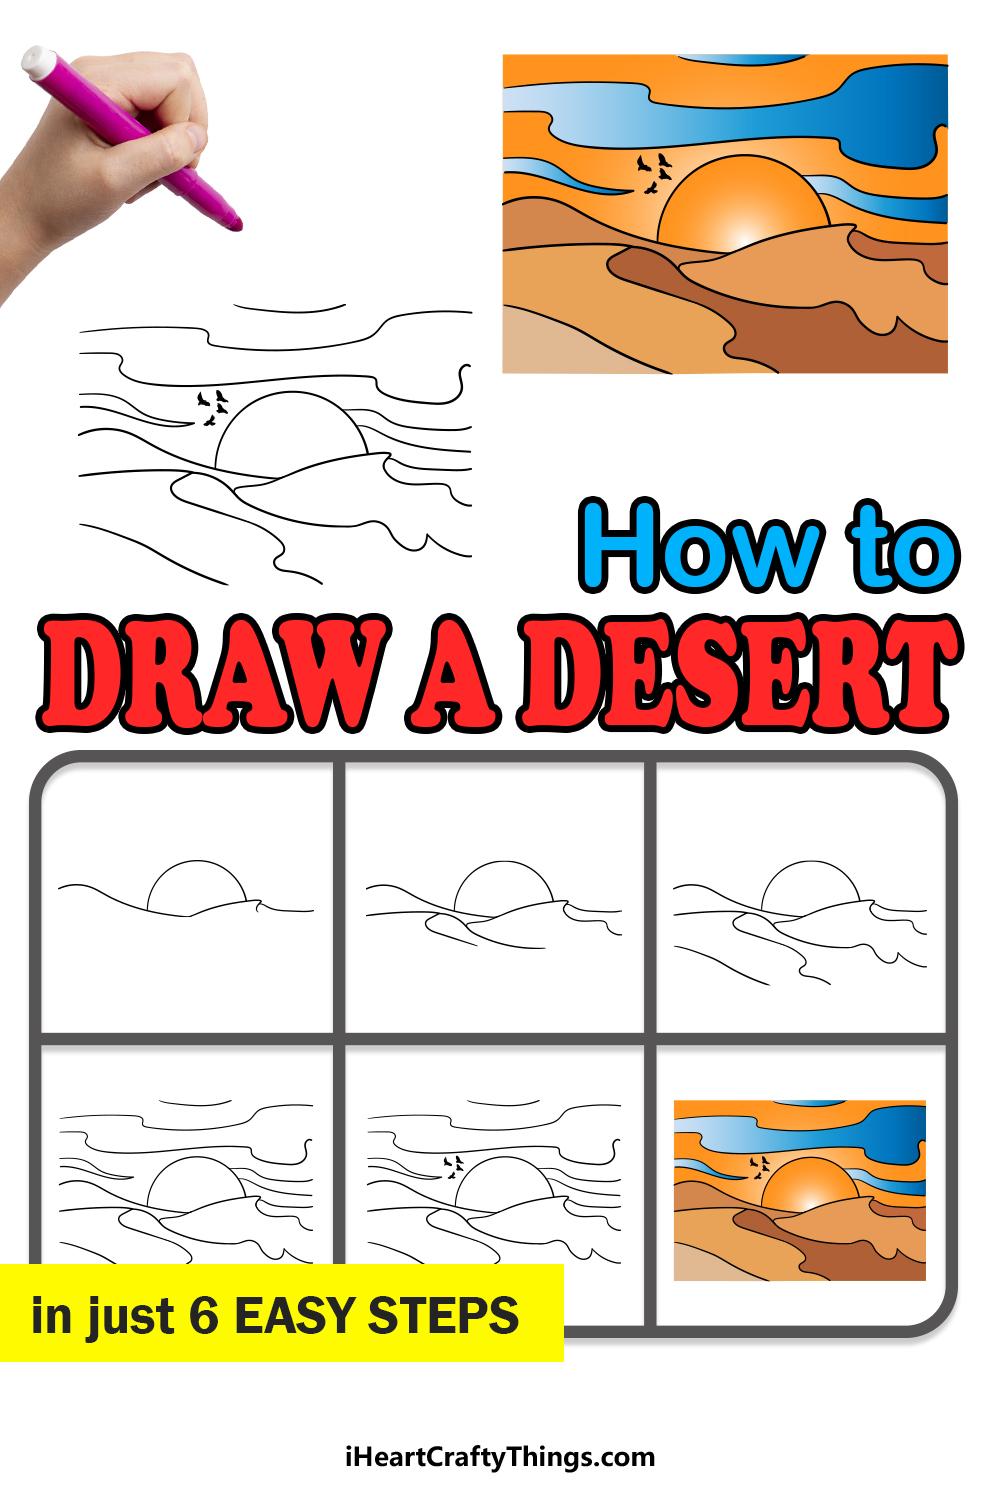
This step-by-step guide on how to draw a desert will show you how it’s done without deserting you along the way!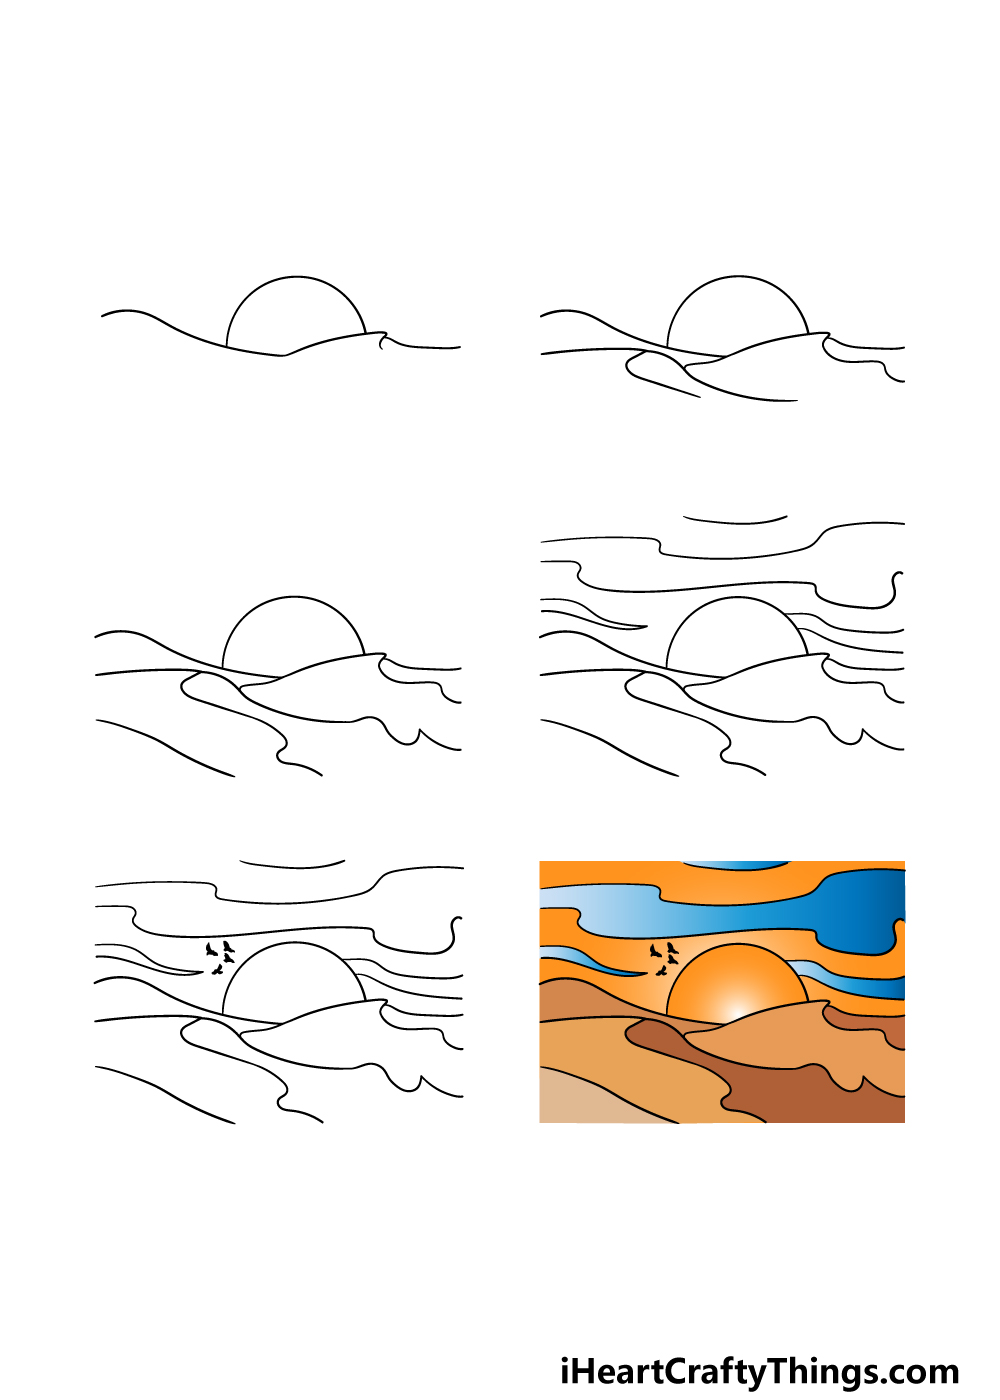
How to Draw A Desert – Let’s get Started!
Step 1
Drawing an entire desert may sound intimidating, but we will make it easier by taking it section by section in this guide on how to draw a desert.
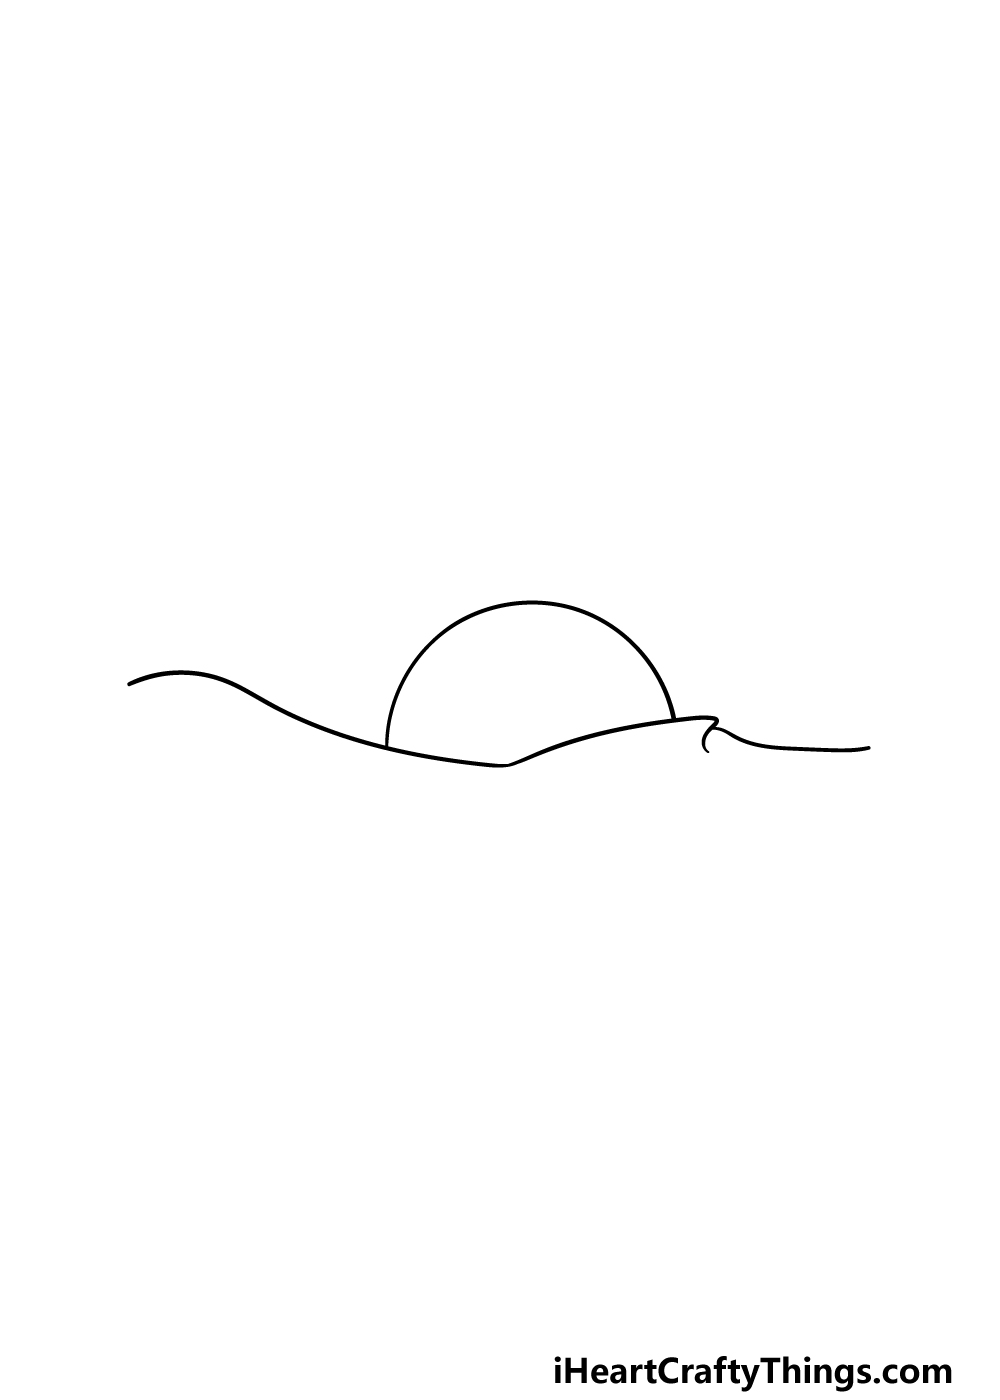
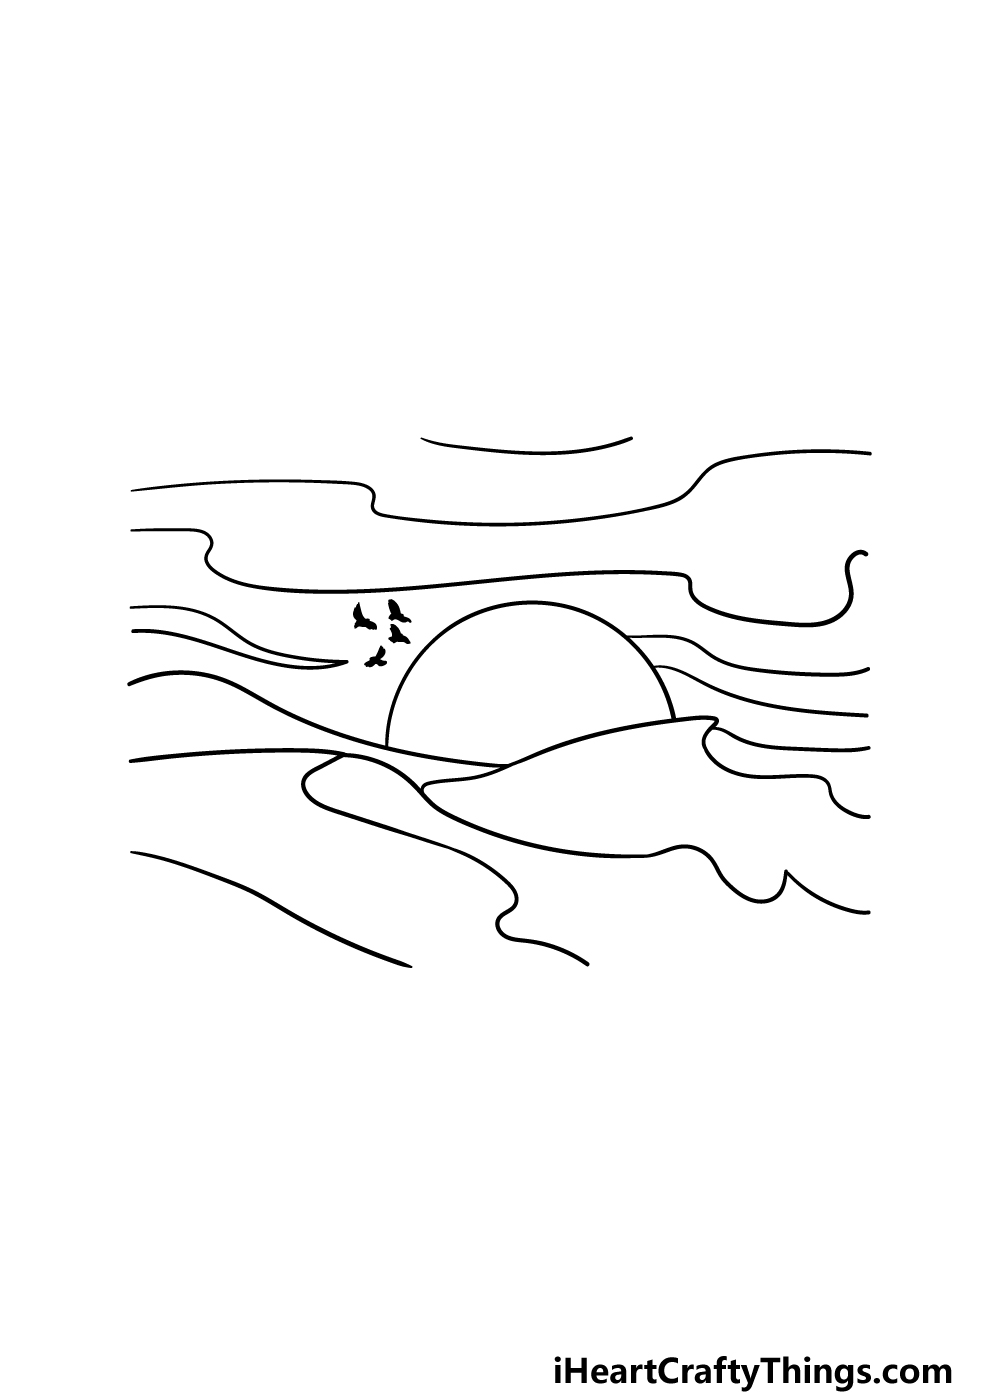
For this first step, we will focus on the horizon line as well as the blazing sun above the desert. For the horizon line, we will be using some curved lines to show the dunes of sand in the desert.
Near the right-hand side of the desert, there will be one line that is a bit sharper than the rest to show how the wind has blown the sand at an angle.
Then, you can finish off by drawing a circle for a rising (or setting) sun above the desert. With these parts all drawn, we can move on to step 2.
Step 2 – Next, draw some dunes for the desert

Now that you have the outline for your desert drawing, we can start to add some details to it in this step.
For now, we will mostly be focusing on adding some curved and rounded lines down from the horizon line as well as beneath them.
The reference image will show you how to position these lines for realistic placement of these dunes.
Step 3 – Now, draw some more of the dunes

This desert is already looking great! We will continue to add to it in this step of our guide on how to draw a desert.
To do this, we will mainly be using some more lines to extend what you drew in the previous step further down into the image.
If you have a nice big piece of paper, you could extend these even further and draw some more dunes taking what you’ve learned in order to make an even more immense desert!
For the next few steps, we will leave the sandy dunes for a bit and focus on the sky above the desert.
Step 4 – Next, draw the sky above the desert
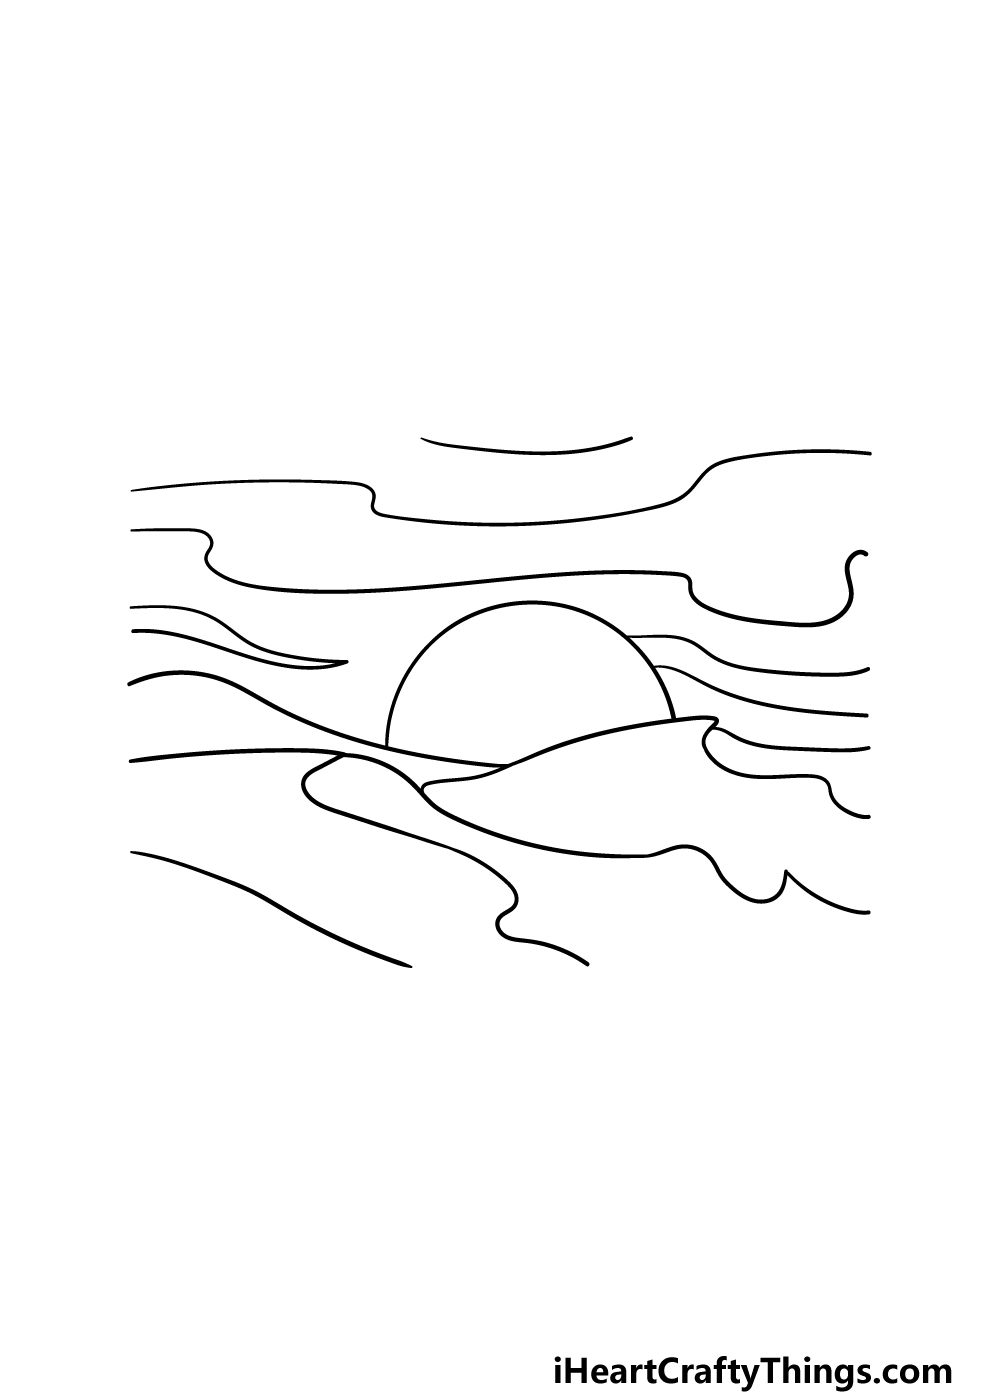
The sky above a desert will often be a sight to behold as the sun catches the swirling sands and heatwaves pulsing up.
We will be drawing this incredible skyline in this part of your desert drawing. To do this, we will be drawing layers of curvy lines above the desert.
The curved lines we will be using for the sky will be quite different from the ones that you drew to make the dunes, as they will be a bit flatter.
These lines may look simple, but together they will make an incredible backdrop for the desert. They will look especially great once we color them in the final step, but first we have a few final details to add in the next step.
Step 5 – Now, you can finish off the final details of your desert drawing
In this step of our guide on how to draw a desert, we will be finishing off with some final details.
The main thing we will be adding will be some flying birds to the left of the sun, and this simple detail will really help to create an atmospheric scene for the picture.
Then, with these birds added you have finished the steps in this guide! You don’t have to stop here, however, as you can also add some final touches of your own.
There are many options you could go for! Perhaps you could change up the weather conditions, add a sand storm or draw some intrepid camels trekking through the desert.
These are just a handful of ideas, but there are many possibilities with the desert! Be sure to get creative and have fun with it to see what happens.
Step 6 – Finish off your desert drawing with some color
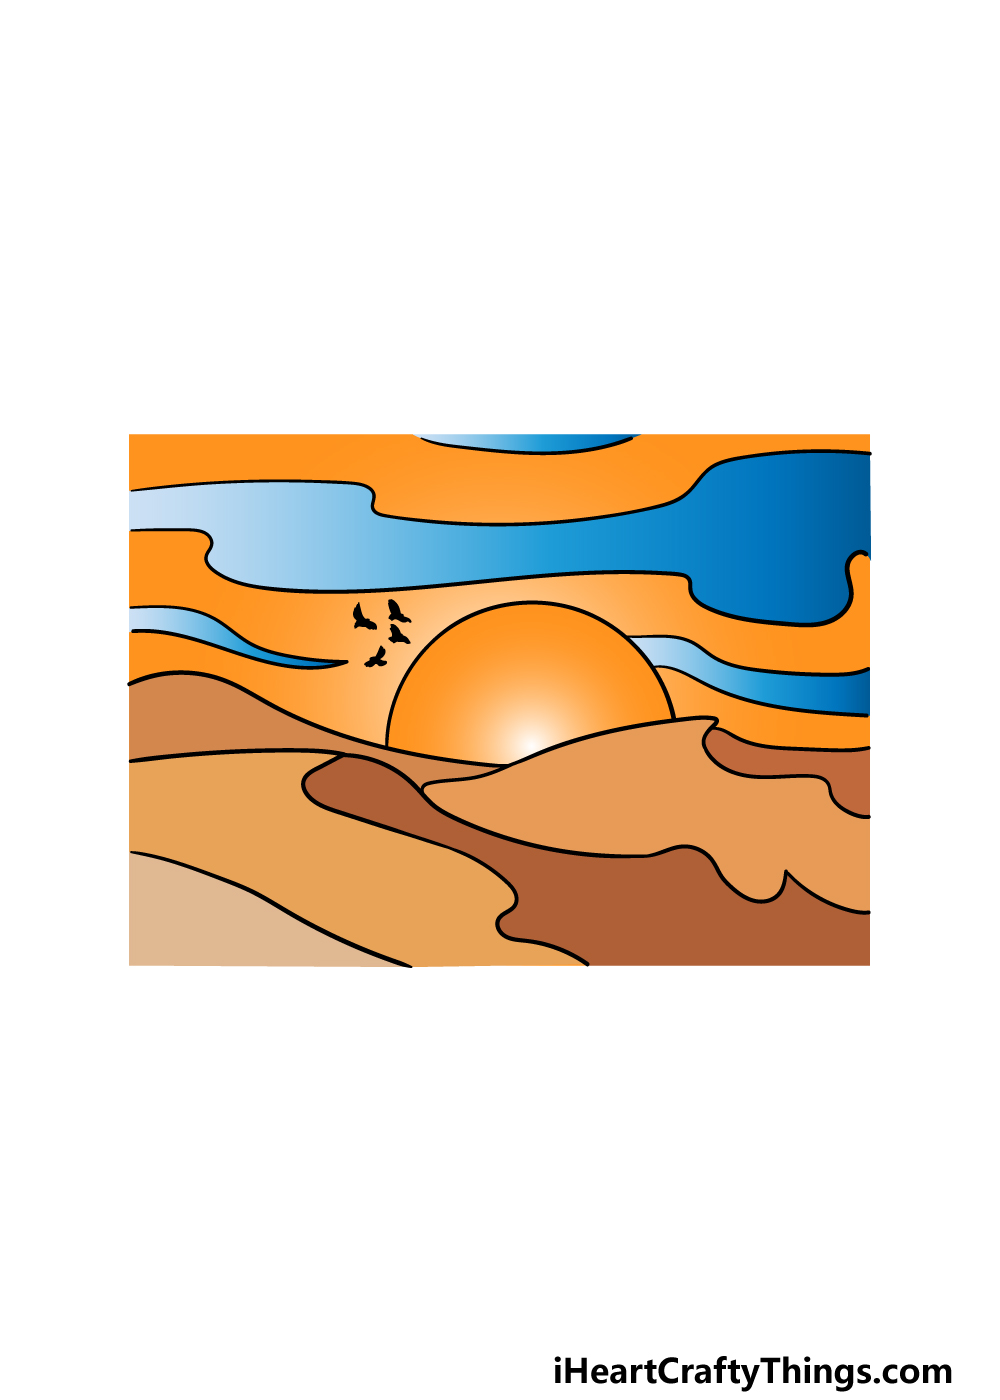
For this final part of your desert drawing, we will be finishing off with some incredible colors for this amazing desert.
In our reference image, we used a nice range of colors such as yellows, oranges, browns and blues.
These are just a few of the colors that you could go for, however, and you should feel free to use any colors you love for your drawing.
Then you can decide on how you will bring these colors to life! You could keep the colors bright by using some acrylic paints, colored pens or markers, keep them more subtle with watercolors and colored pencils or a mix of both.
It’s completely up to you, and we can’t wait to see what incredible colors and art tools you use to bring this picture to life.
4 More Ways To Make Your Desert Drawing Unique
There’s no need to be lost as you follow these tips we have for your desert sketch!
A desert is not a place that you would want to be lost in. despite this, it could be interesting to add a human character to this drawing of a desert.
Since we have such a wide view of the desert, the person would probably look pretty small in the grand scheme of things.
You could also include details such as a trail of footprints trailing behind the person.
You could also add a few people if you don’t want the person to be alone!
In this image, we see some birds flying. You could also populate the picture by adding some animals as well.
There are a few that would make obvious choices for the setting. For example, some camels traversing the desert would be an excellent choice.
This would also work really well if you decided to add some humans as we suggested in the prior step. Some horses or maybe some more birds would be other animals that you could add.
Adding more features to the landscape itself would be another way that you could alter this desert drawing. For example, you could create an oasis in the desert.
This could be done by adding a small lake with some palm trees and grass. Once again, this would work well if you decided to add some other characters to the image.
They would certainly be very happy to see this oasis if so!
The color scheme we used for this desert sketch looks great, but you could also go for some extra colors and art mediums to make it even better.
For example, you could take out the elements of blue and go for other warm colors to really make this a searing image. Or, you could go the other way and have cooler colors for some contrast.
Spreading a thin layer of glue over the desert and sprinkling some sand would be a great way to give the image some actual sandy texture.
Your Desert Drawing is Complete!
You have successfully completed this guide on how to draw a desert! By following all of the steps and taking it slowly you have ended up with an incredible desert landscape.
Even when taking on a trickier drawing, guides like these can help to break it down into more manageable steps, and that is what we aimed to do for you. We hope that the guide made it fun and easy for you to do!
Finishing this guide is just a part of the fun, however, as you can take it even further with your own extra details and elements.
You can also personalize it by adding some of your own awesome and beautiful color choices and art mediums.
Then, when you’re done with this drawing you’ll be glad to know that we have many more for you to enjoy on our website! Be sure to visit often, as we upload new guides frequently.
We would love to see your amazing desert drawing when it’s done! We hope you will let us join your drawing journey by sharing your artwork on our Facebook and Pinterest pages.