When it comes to flowers and plants, there’s something to fit every taste and preference.
The poinsettia is one of these flowers, and it really makes a bold statement with its bright red petals and green leaves.
Originating in South America and used y the Aztecs, it has since become a popular flower worldwide. Fans of this beautiful flower often like to create artwork featuring it, and learning how to draw a poinsettia is a great way to do this!
If you are one of these people, then look no further than this tutorial, as we will show you how it is done.
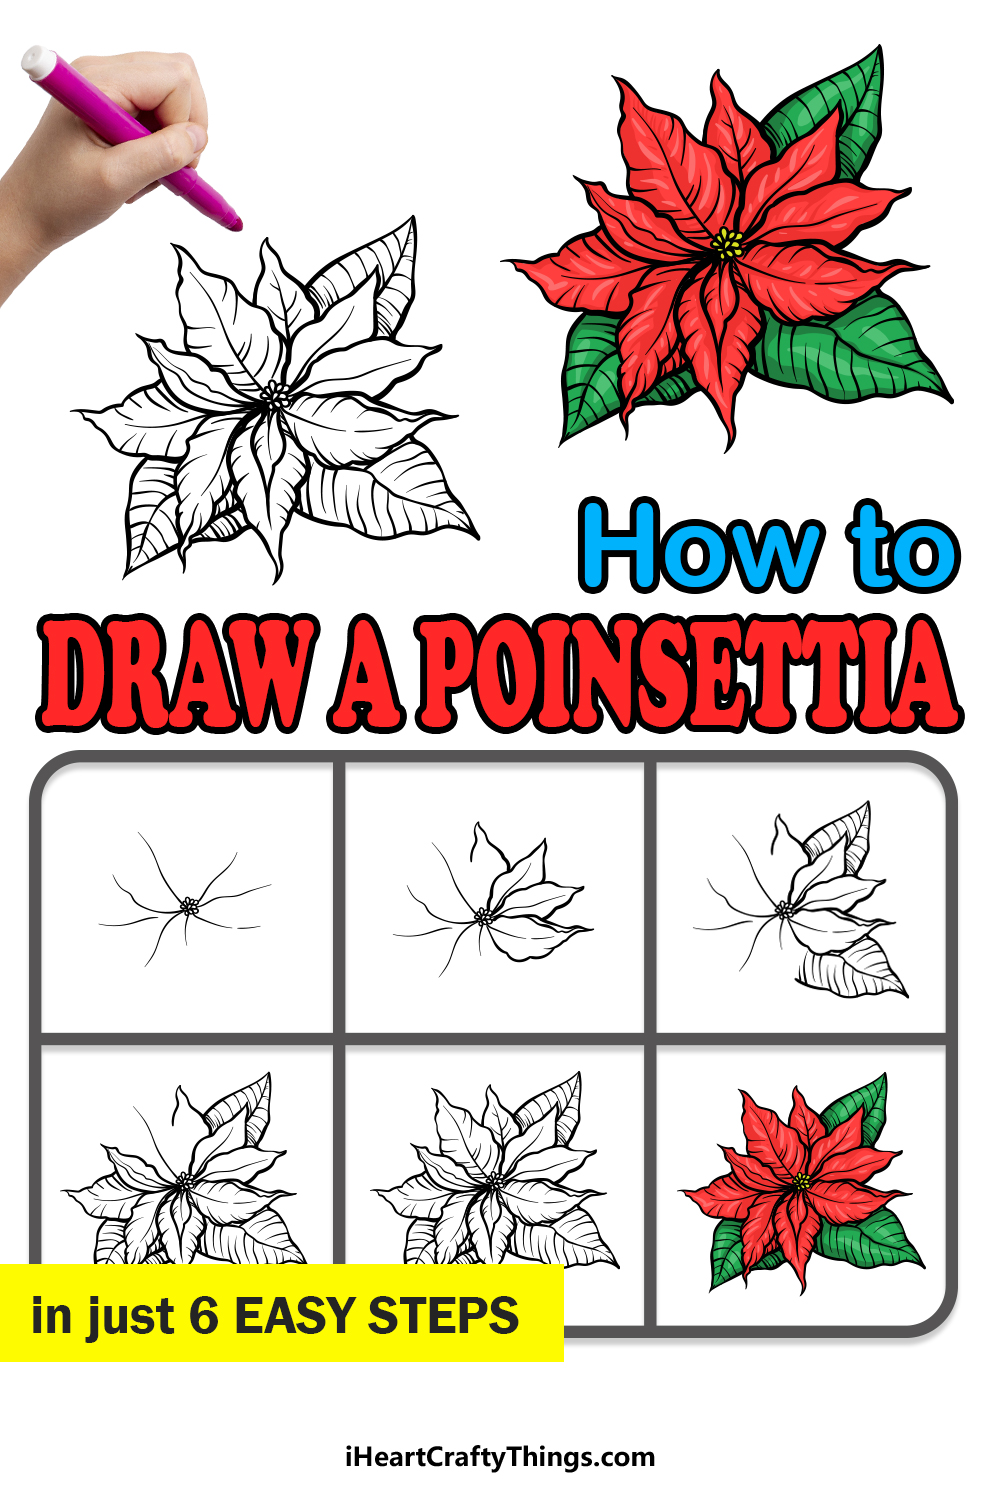
Our step-by-step guide on how to draw a poinsettia in 6 steps will show you how to draw this wonderful plant while having lots of fun!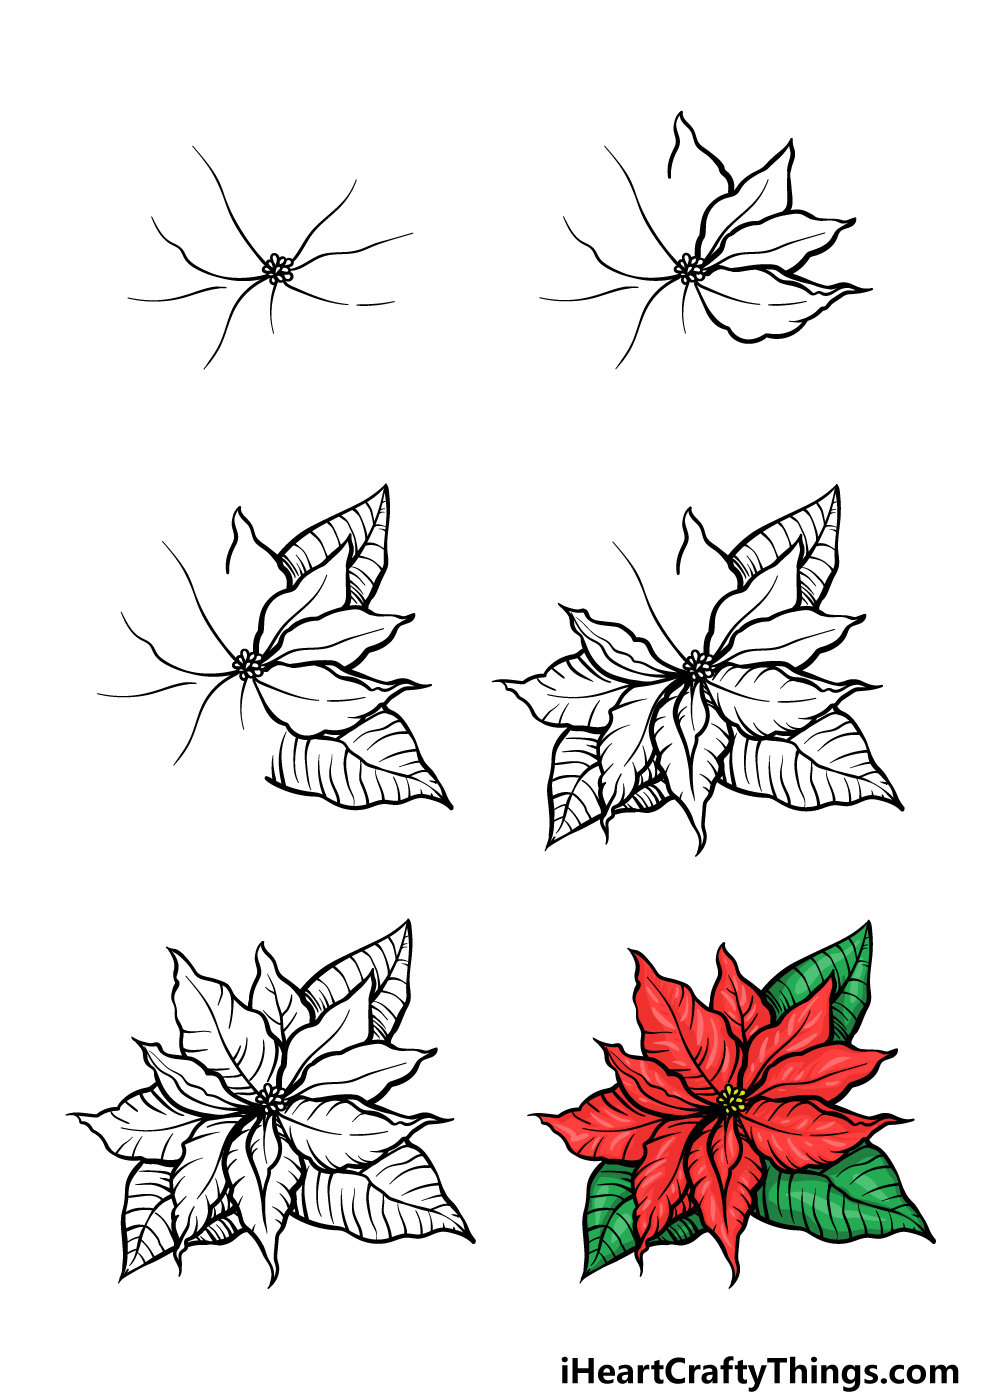
How to Draw A Poinsettia – Let’s Get Started!
Step 1
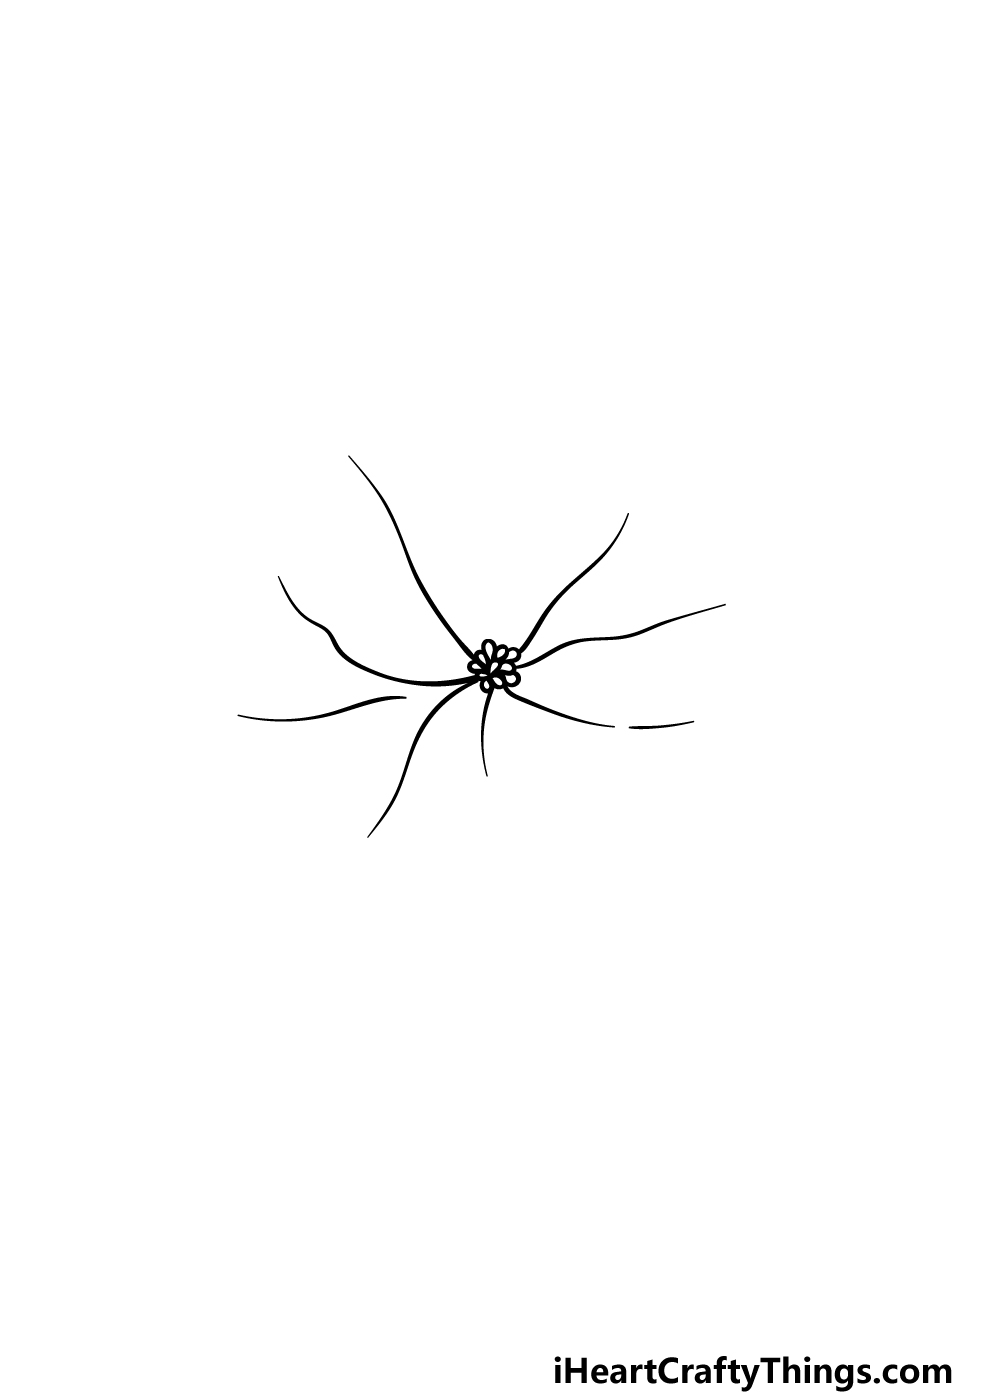
For this guide on how to draw a poinsettia, we will be starting from the center and moving outwards.
You can start this by drawing a clump of small round shapes together at the very center of the flower.
Once you have drawn this small clump, we will then draw some slightly curved lines outward from it, as shown in the reference image.
These lines will later be a part of the petals for the poinsettia, and we will add some more detail to these petals as we move through the guide.
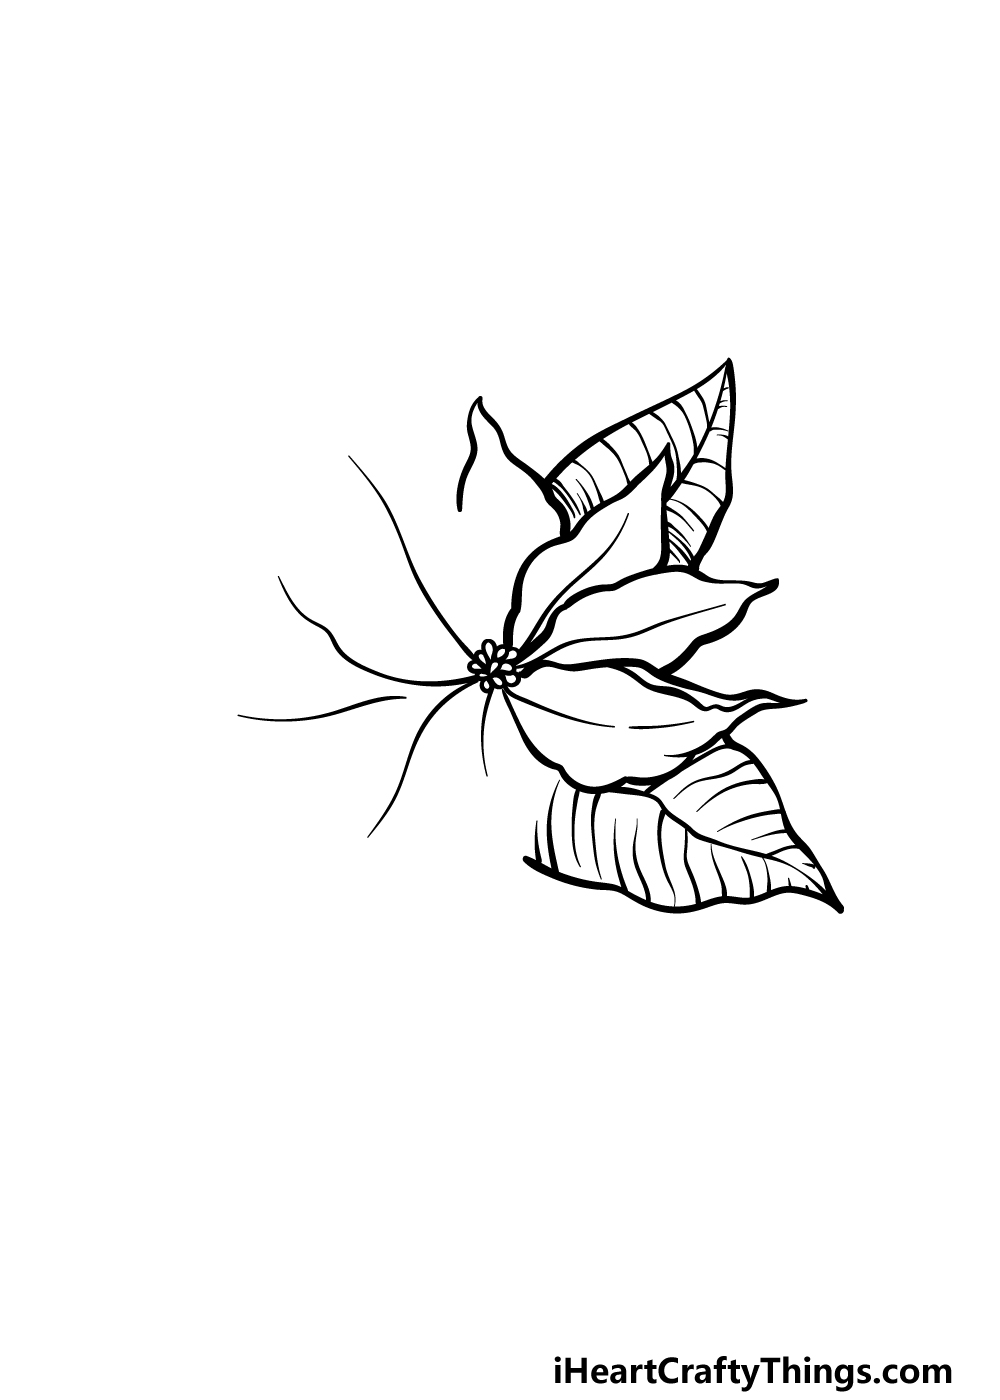
Step 2 – Draw some outlines for some of the petals in this step

We will start drawing some of the petals for your poinsettia drawing in this next step of the guide. For these petals, we will be using some slightly bumpy lines to create the outlines.
Each petal will go around one of the lines that you extended out from the center of the flower earlier. These petals will also culminate in a pointy tip, as they appear in the reference image.
The petal that we will be drawing at the top of the flower will only be half-drawn for now, but we will add the rest along with some petals overlapping it soon.
Once you’re ready, we can move on to the next part!
Step 3 – Next, draw the first leaves for the poinsettia
We will be leaving the petals for now and instead focus on the first leaves in this guide on how to draw a poinsettia.
To do this, we will be drawing some more curved lines that also culminate in sharp points as the petals did.
While similar in shape, these leaves will be quite a bit larger than any of the petals were.
We will be drawing two of these leaves for now, and the reference image will show you how they should be positioned.
Once you have drawn the outlines for these leaves, we will then add some details to them. To do this, draw a curved line down the center of each one.
Then, you can extend some more curved lines out from the center line to the edges of the leaves.
These lines will form the backbone and veins for the leaf, and once again the reference image will guide you as you draw these details.
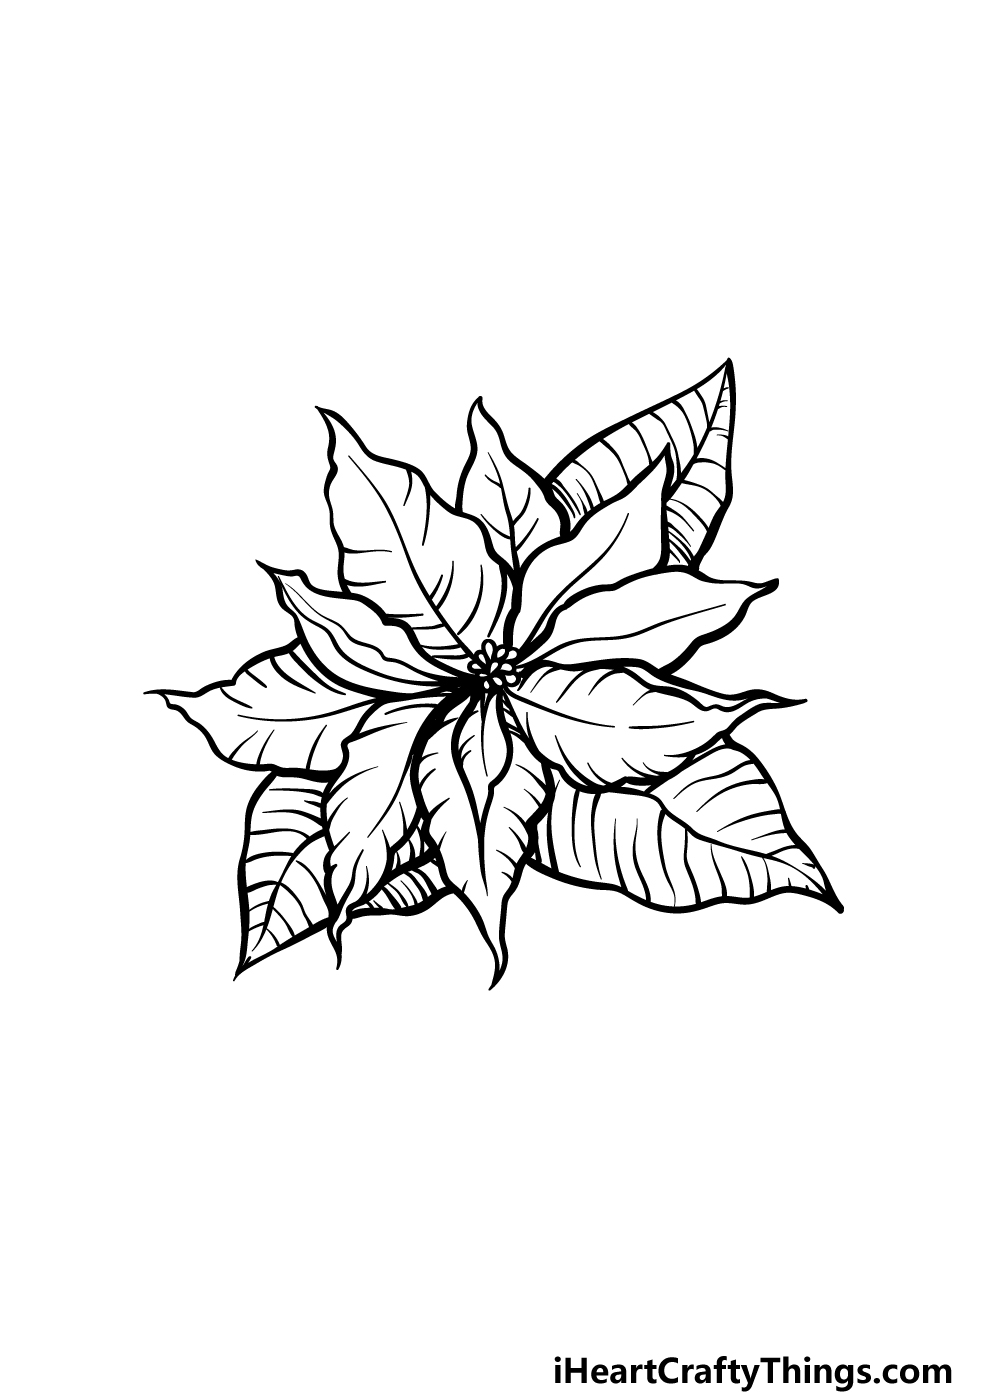
Step 4 – Now, draw some more petals and leaves
At this point of your poinsettia drawing, you have drawn both leaves and petals, and in this step we will be drawing some more of both.
To do this, you can replicate what you did in the prior two steps of the guide. That means that you will be drawing some petal outlines around the lines coming out from the center of the flower.
These petals will have a little more line details on their edges than the previous ones did. There will also be a smaller petal over the petal at the bottom center of the flower.
Once these peals are drawn, you can then draw another large leaf near the bottom of the flower. Then you will be ready to move on to the next step where we will finish off the final details.
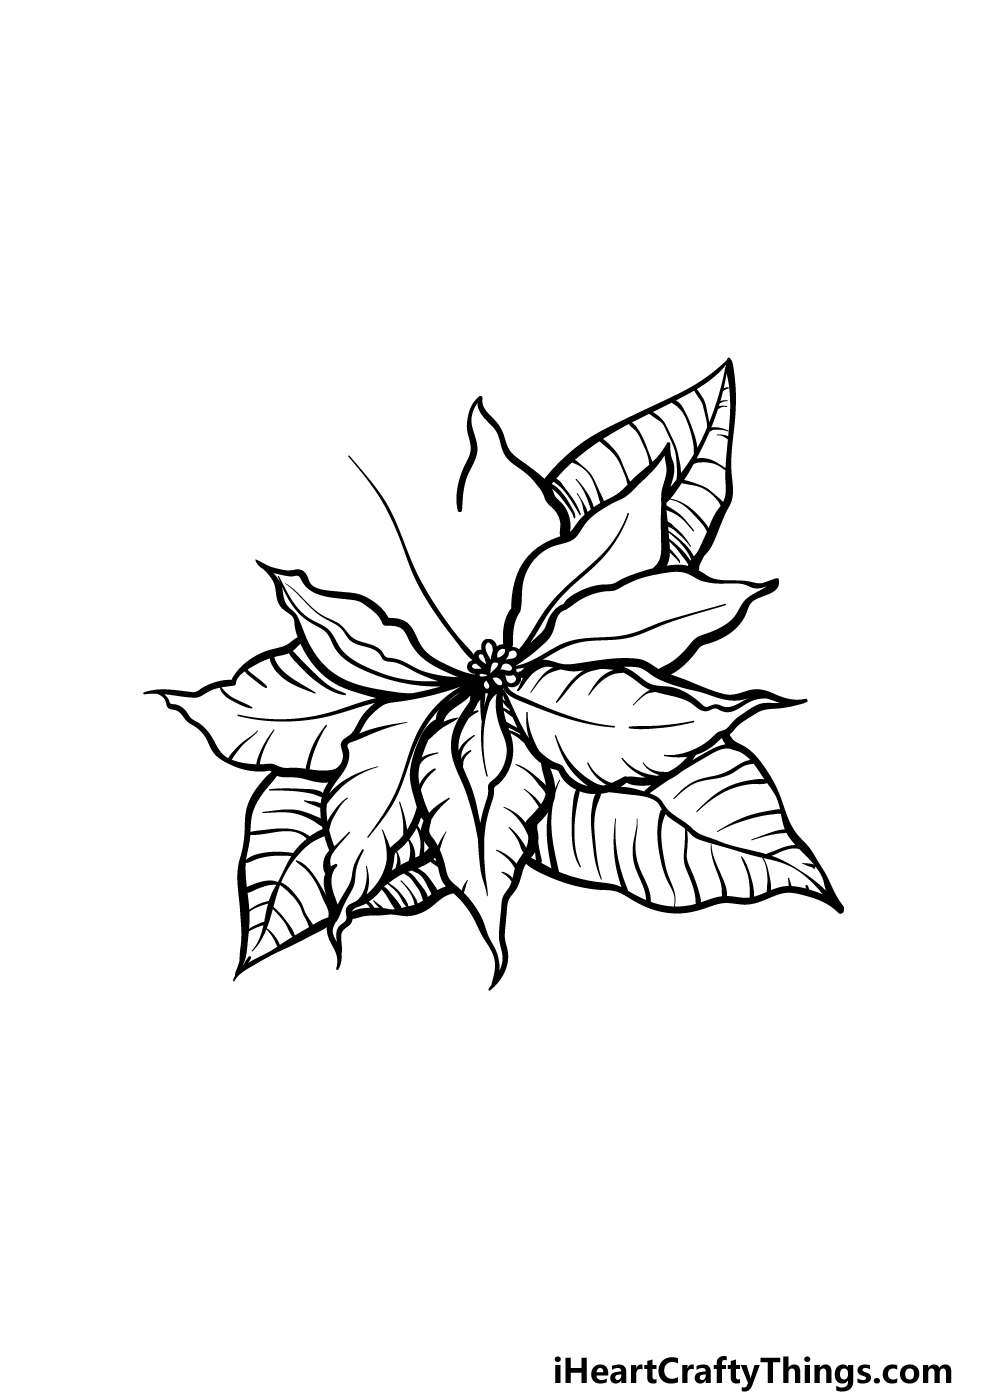
Step 5 – Add some final details to your poinsettia drawing
This step of our guide on how to draw a poinsettia will see you adding the final details and elements before you color in the image.
You’ll notice that after the previous step there is an empty space near the top left of the flower, and this is where we will add the final petals for the flower.
You can then detail them in the same way that you did for all the other petals.
Once these are done, be sure to add any more details or touches of your own that you may want!
You could draw a background featuring more poinsettias or even some more flowers that you love. How will you finish off this picture?
Step 6 – Finish off your poinsettia drawing with some color
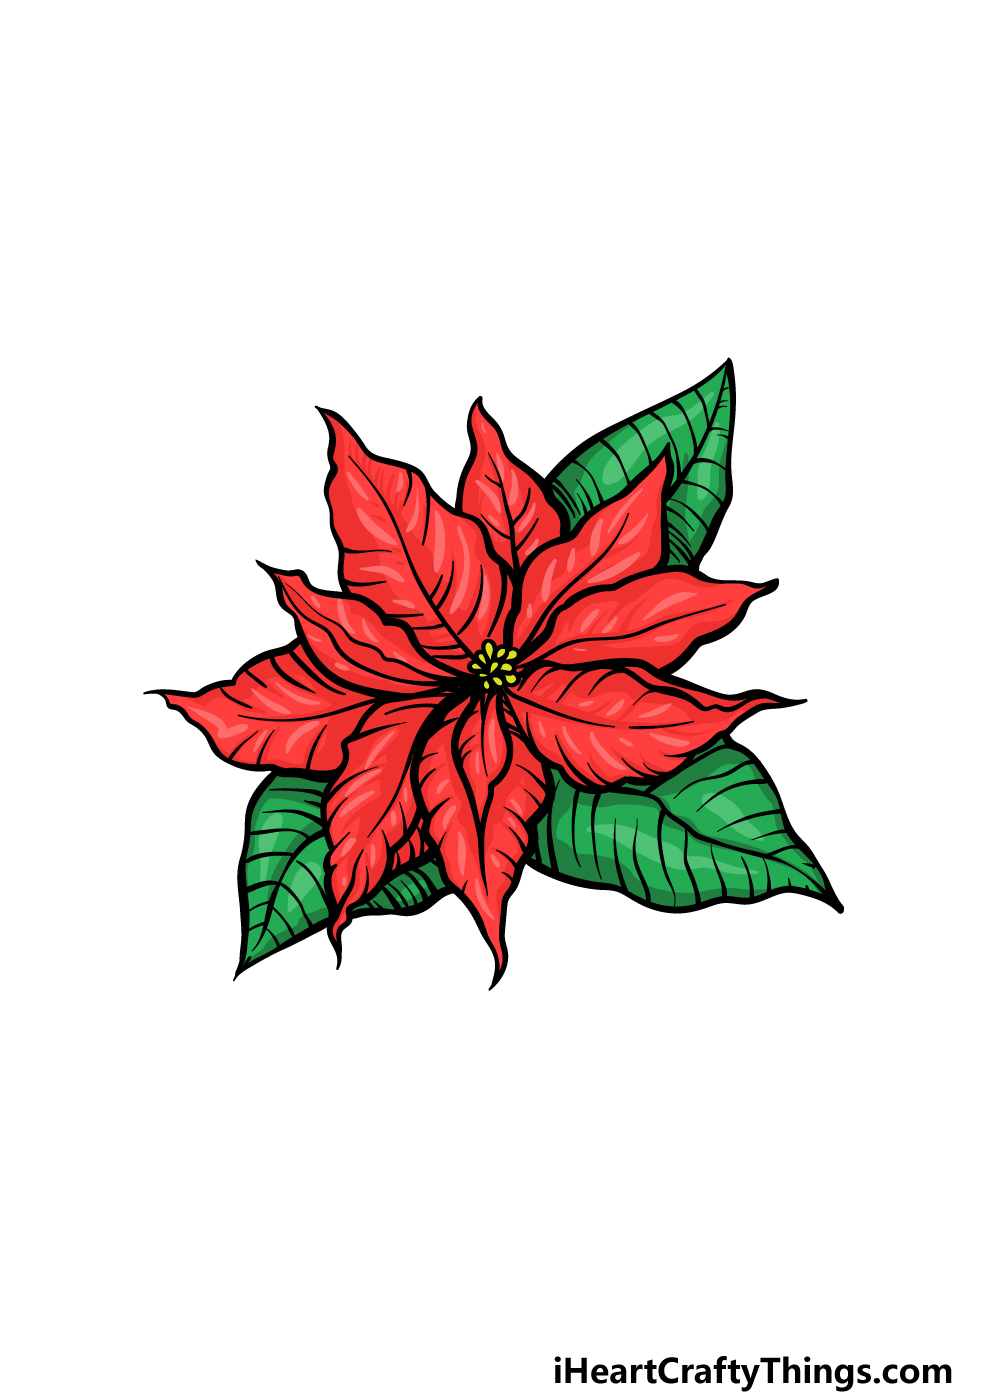
In this final part of your poinsettia drawing, we will finish off with some amazing color.
We mentioned how this flower is well known for its bright red and blue color scheme, so that is what we went for in this reference image. If you would like similarly bright colors, you could use some acrylic paints or colored markers for colors that pop.
Alternatively, colored pencils and watercolors would create a nice soft look for the colors. Which approach will you take, or will you mix and match your mediums?
4 More Ways To Make Your Poinsettia Drawing Unique
Find out how to make your gorgeous poinsettia sketch even more breathtaking!
Our first tip for your poinsettia drawing is one you are well prepared for after finishing the guide! We think it would look amazing to have this poinsettia be part of a bunch.
The reason that should be easy for you now is that you have done such a great job drawing the one in the guide. Now all you need to do is follow the steps again and maybe make a few small changes.
That way, you can have a beautiful bouquet of poinsettias that’s as big as you like!
Of course, you don’t necessarily have to stick to just poinsettias. You could also make your drawing of a poinsettia even more incredible by adding other flowers as well.
There are so many amazing flowers you could choose, and it will all depend on your personal favorites. You can pick any of your favorite flowers and arrange them into a stunning display.
Whether it’s roses, sunflowers or maybe some elegant lilies, you can bring some amazing life to this wonderful picture. Which flowers would you like to add?
Once you have decided whether to add more flowers to your poinsettia sketch or not, you can also consider some background ideas. There are so many different ones to choose from!
The poinsettia could be growing in a beautiful garden, or maybe it could be in a basket at a wedding. These are just two ideas, but they are far from the only ones.
Why not show us where you would like to display this poinsettia?
The final step of this poinsettia would be playing around with colors. We spoke a bit about some colors and mediums you could use in the guide, but this is a step where you should really feel free to experiment.
You can even try mixing some different paints with mediums like colored pens or markers. These are just a few mediums you could use, so which colors and mediums will you choose?
Your Poinsettia Drawing is Complete!
This is a truly beautiful flower, and we hope that you had a great time portraying it during this guide on how to draw a poinsettia!
We aimed to make this drawing fun and easy for you to do, and we also aimed to make it so that you would have the freedom to add your own details and elements.
You can have lots of fun drawing a background or experimenting with colors and mediums, so be sure to have fun with it and see what happens!
We have many more drawing guides on our website for you! These cover a wide range of subjects, and many of them feature more flowers and plants. Be sure to keep checking the website as we upload new ones often!
Please remember that we always love to see your finished artwork, so please share your poinsettia drawing on our Facebook and Pinterest pages!