It’s hard to ignore the impact that Star Wars has had on our culture and media. With 9 films and countless books, TV shows, toys, video games and more, Star Wars has certainly taken over our planet!
There are so many recognizable elements in the Star Wars universe, and one of the most iconic is the lightsaber.
This simple yet very cool-looking weapon is something many fans wish they could own in real life! While real lightsabers may be a few years off, learning how to draw a lightsaber can be the next best thing.
If you’ve always wanted to know how to design your own lightsaber, then this is the guide for you!
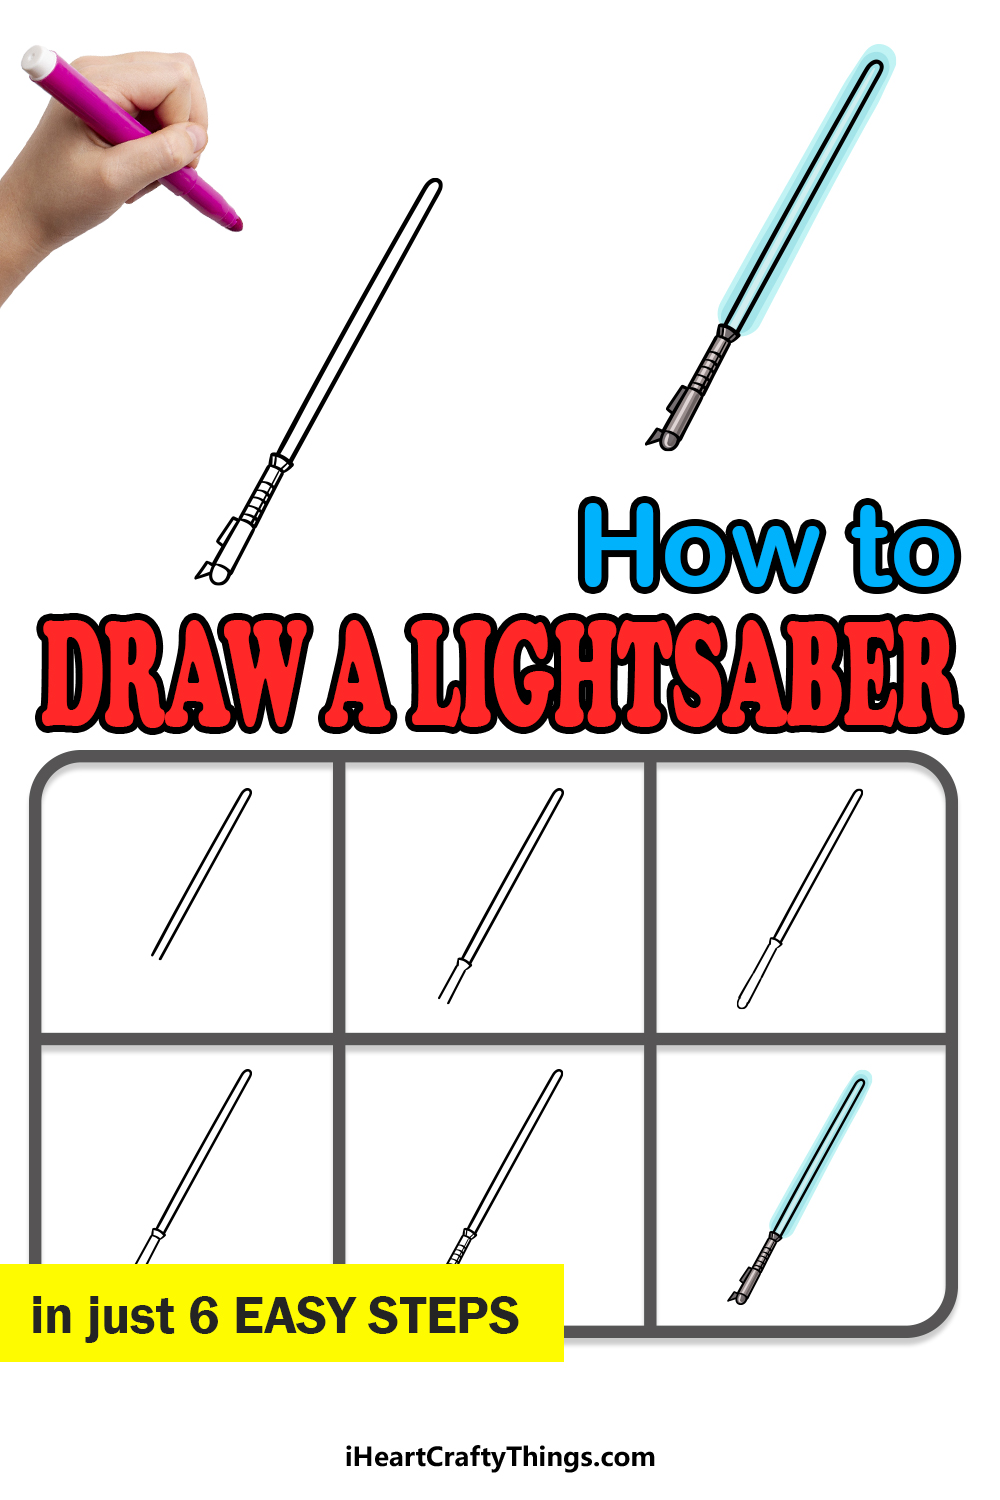
Our step-by-step guide on how to draw a lightsaber will show you how to recreate this amazing weapon.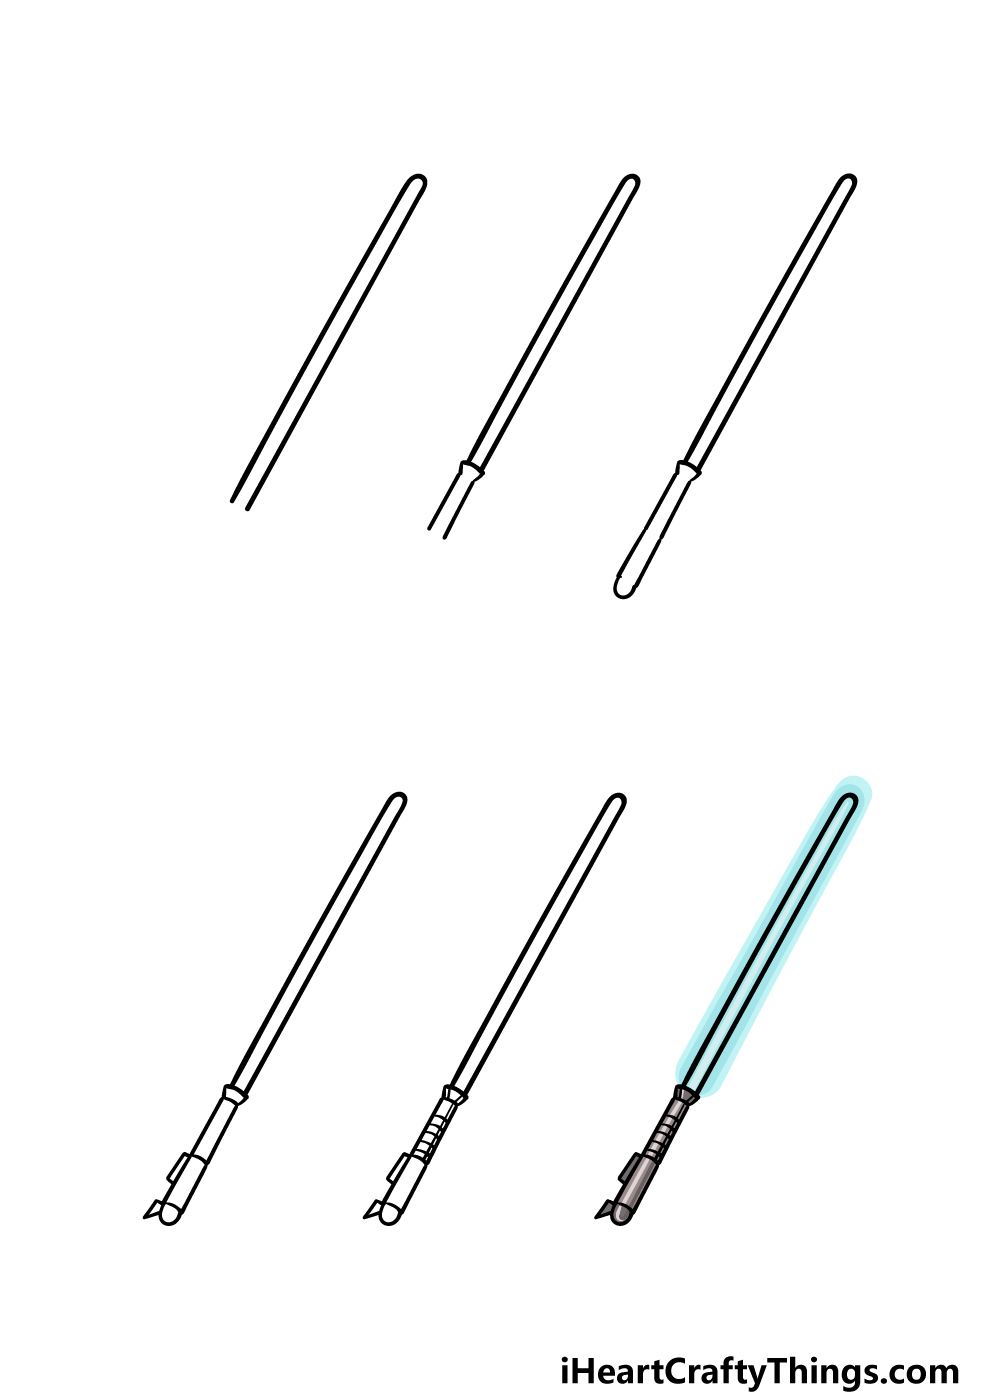
How to Draw A Lightsaber – Let’s Get Started!
Step 1
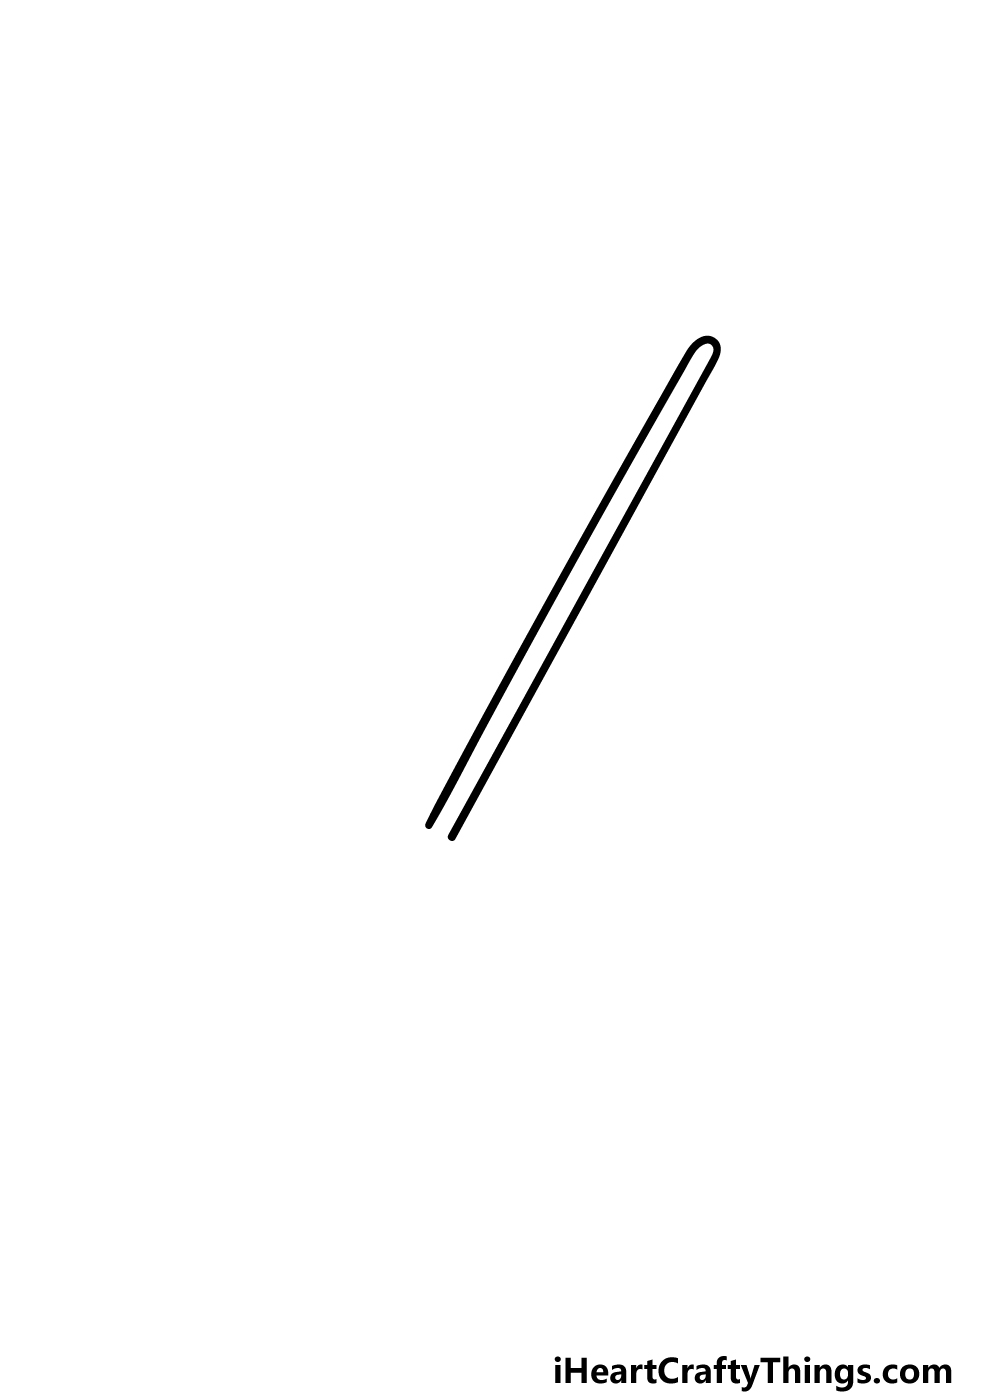
To get this guide on how to draw a lightsaber going, we will start with the laser blade of the weapon.
There are actually a few ways that you could go about drawing this, and we will cover some of them. In our reference image, we used a solid black line to create the outline of the blade.
This will help to give it some definition, but you could also create it using just color. If you would like to take this approach, then you could use a light pencil for now so that you have the outline in mind.
Then, in the final step where we add color, we will talk about how you can create the blade using color.
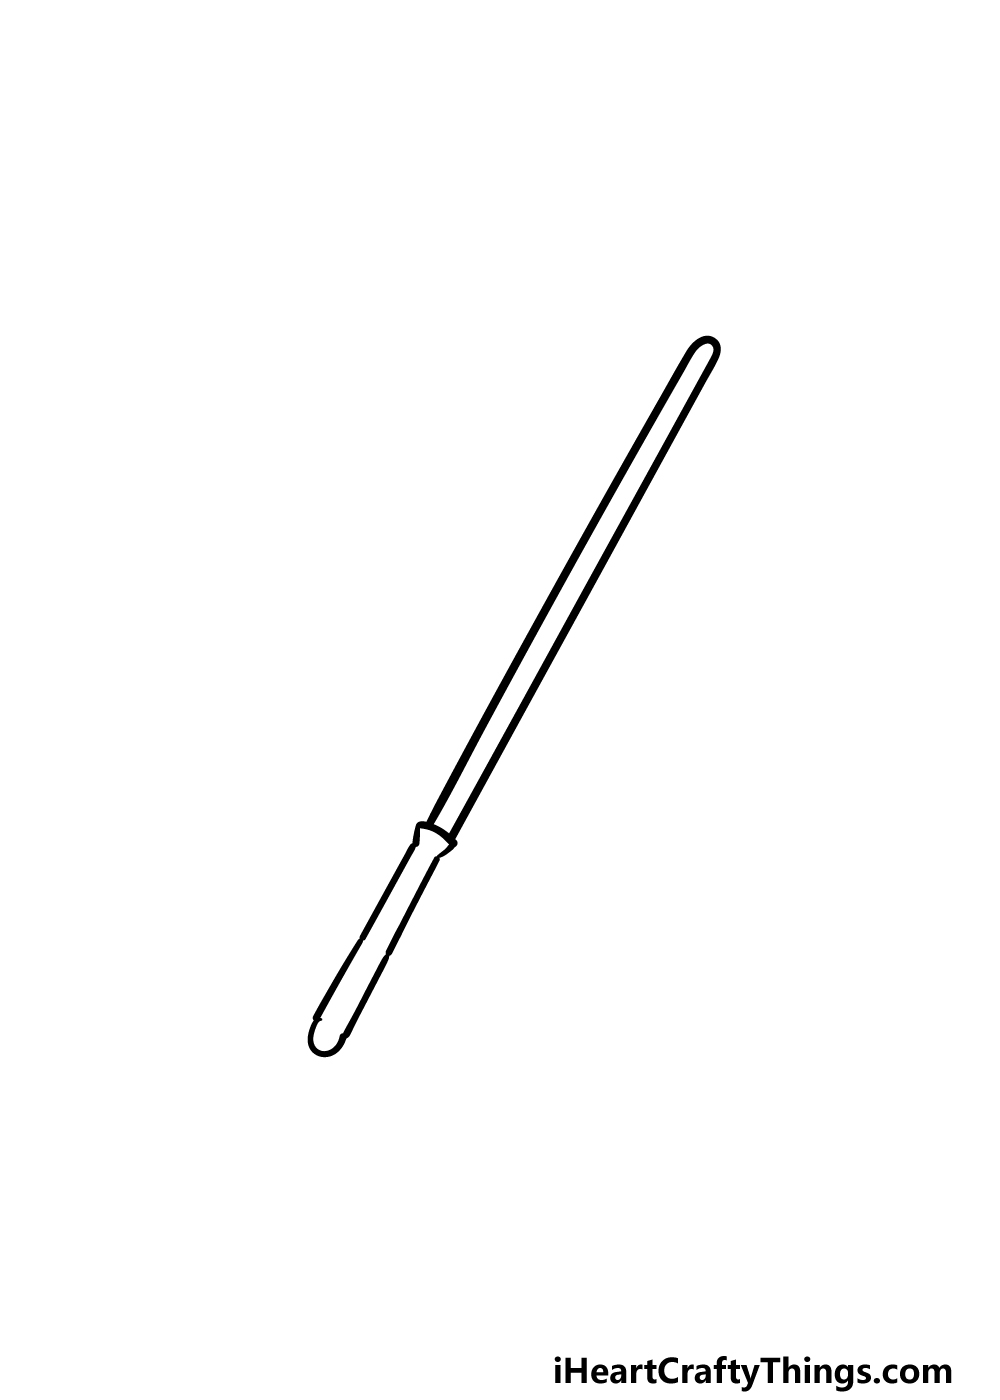
Step 2 – Next, start drawing the handle of the lightsaber

Without a handle, lightsabers wouldn’t be too comfortable to hold! For that reason, we will be drawing the handle for your lightsaber drawing now.
Each lightsaber has a unique handle, and if you like then you could look up a picture of the handle for your favorite Star Wars character’s lightsaber and draw some of the details onto this one.
Even if you do that, the approach will be the same as what we show in this guide.
You can draw two straight lines leading up to the blade of the lightsaber, and then add a small rim fanning out at the part where the handle meets the blade.
Step 3 – Draw the rest of the handle
In this third step of our guide on how to draw a lightsaber, we will be drawing the rest of the outline for the handle.
This should be pretty easy to do, and you can simply build onto the part of the handle that you drew already. Draw the straight part of the handle a bit further down, and then at the very end you can att a rounded tip.
That will finish off the outline of the handle, and then you will be ready to add some more details to it in the next few steps, so let’s proceed!
Step 4 – Now, draw some more details for the handle
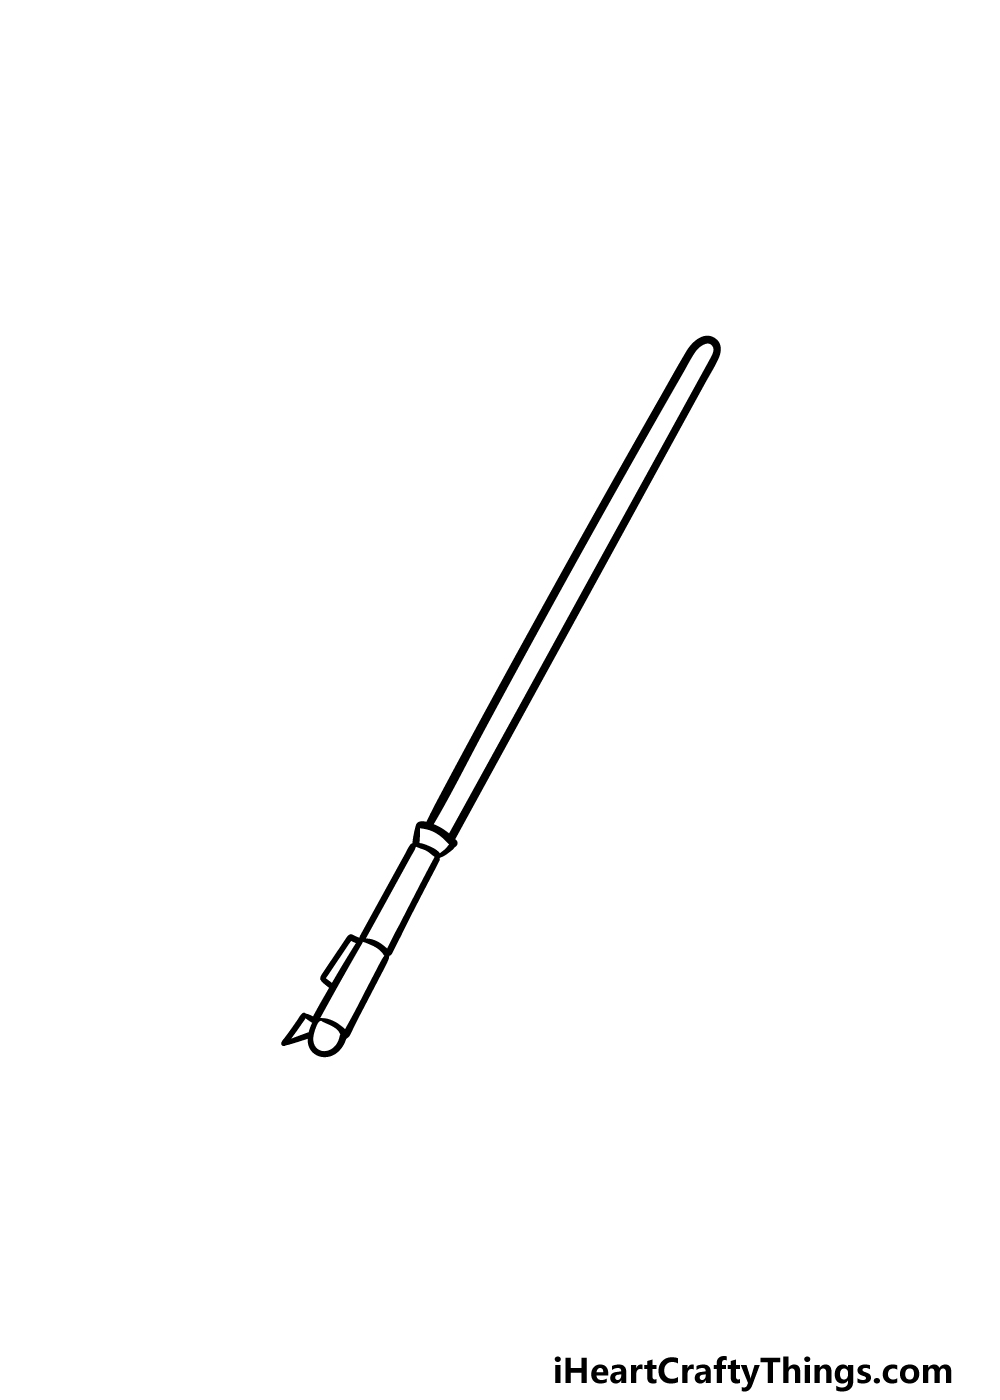
As we mentioned in the last part of your lightsaber drawing, in this step we will be adding some details to the handle. These details will be quite limited for now, but we will build on them later.
First, draw a line across the handle at the base of the rim where the blade is coming out. Then, draw another line across the handle near to the center of it.
We will then add a thin, rectangular shape onto the left-hand lower side of the handle to create the switch.
Finally, you can draw one more line across the handle and then add a small, sharp shape to the bottom of it.
Step 5 – Add some final details to your lightsaber drawing
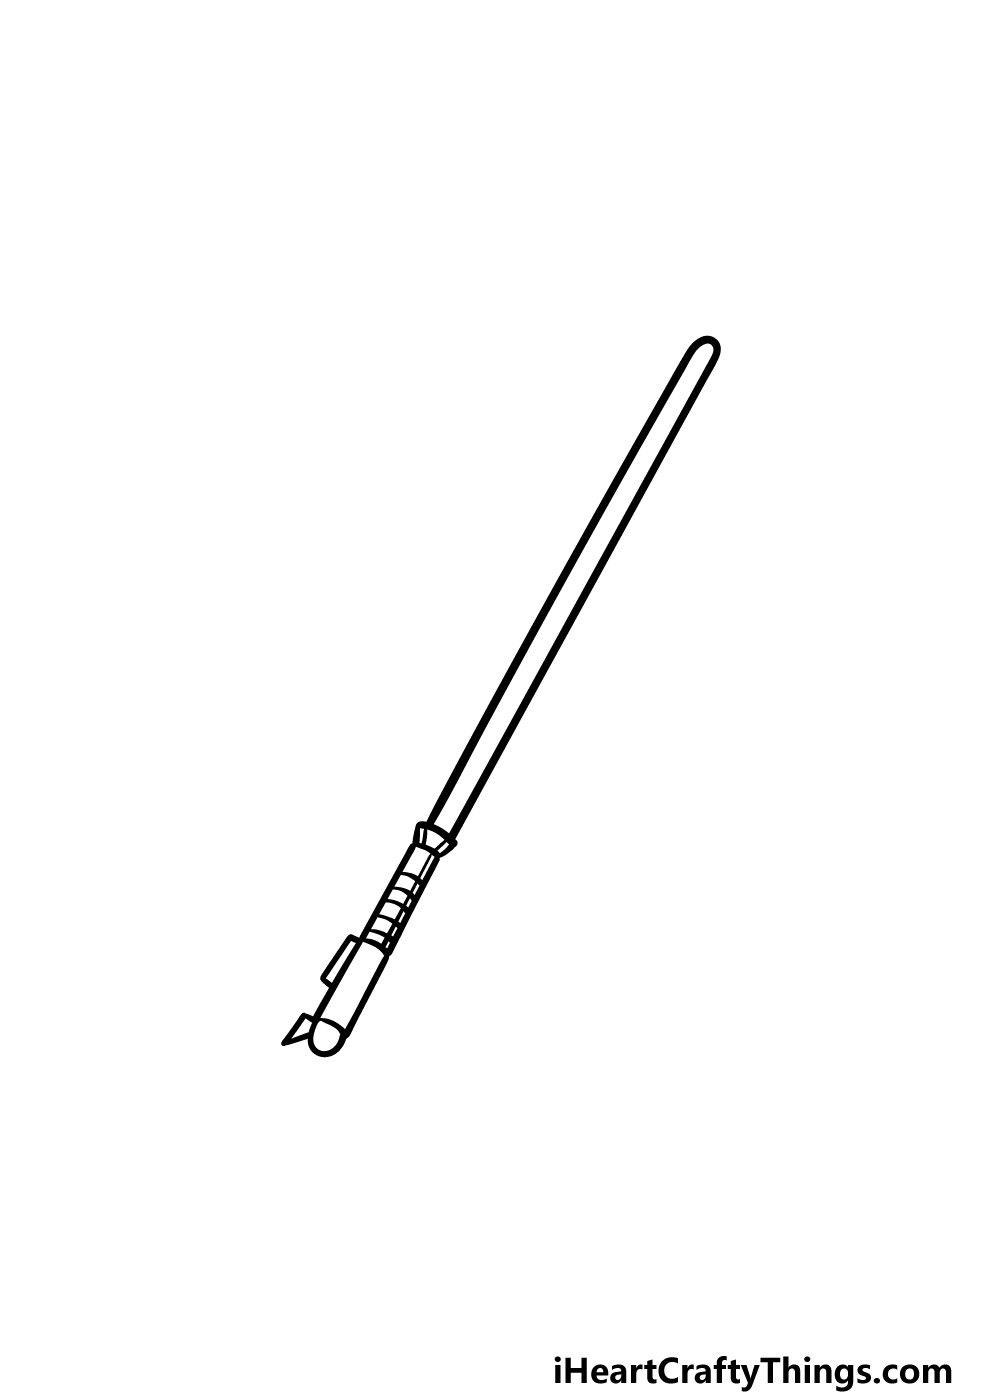
Now you’re ready to finish off the final details of your picture in this fifth step of our guide on how to draw a lightsaber!
You can add some more lines across the handle and give it some more subtle line detailing. Then, before you close off this step you could also draw some details of your own!
We mentioned how you could change the look of the handle to look like a favorite character’s lightsaber, but you could go even further and draw the character themself! How will you finish off this image?
Step 6 – Finish off your lightsaber drawing with some color
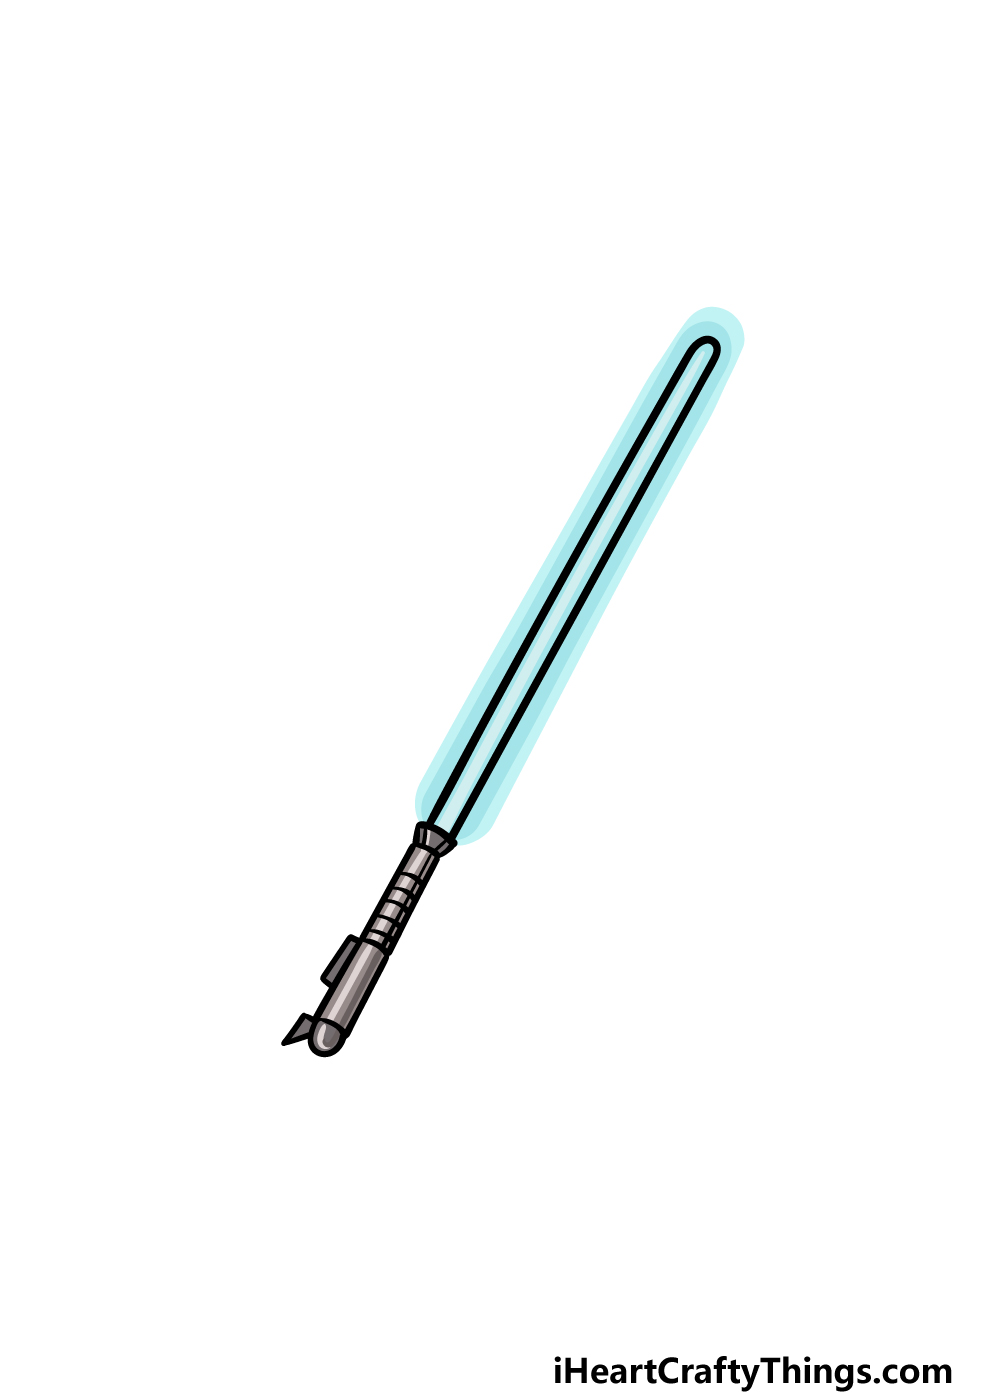
You will be finishing off this lightsaber drawing with some color in this final step. For our example, we used greys for the handle while using blue for the blade.
You could use pretty much any colors you like for it, as lightsabers come in a wide variety of colors! We mentioned that there are a few ways to depict the blade, and we will talk about them now.
If you used a pencil to draw the blade, then you could color the center of the blade with a darker version of the color you would like for it.
Then use a color gradient by using progressively lighter shades of that color for the area surrounding the blade.
This will make it look like it is giving off some light. You could also use a harsher art medium like colored markers for the center and then use something softer like watercolors for the outer edge.
Be sure to have fun as you work on getting the colors as you want them!
4 More Ways To Make Your Lightsaber Drawing Unique
You won’t need The Force to make this lightsaber drawing even better when you use these tips!
The standard lightsaber design that is used by most people in the movies looks like the one we designed. There are many other variations you could create for your lightsaber sketch, however!
For a few examples, there is the double lightsaber wielded by Darth Maul or the curved one Count Dooku uses.
These are just a few examples of some more unusual lightsabers, but you could also come up with your own variation!
Which famous lightsabers would you like to create?
Another way to make your drawing of a lightsaber even more unique would be by drawing the person who is wielding it. If you went with our suggestion and recreated an unusual lightsaber, then you could draw that character holding it.
If you have a favorite Star Wars character, then you could also give them a unique lightsaber! Another option would be to create your own Jedi or Sith character.
This next tip will be especially useful if you went with our previous suggestion. For this tip, we would suggest creating a background setting!
If you were to do this, then you could recreate a famous lightsaber duel from the movies, TV shows or even the video games. You can use these scenes to help you out if you want to do this.
Otherwise, you could create an entirely unique background setting to create your very own Star Wars location!
Finally, we would again recommend getting creative with your colors and mediums for this lightsaber drawing. We spoke a bit about a few ways you can bring color to this drawing, but you can use all sorts of creative techniques.
Choosing the color of the lightsaber is one thing, but we think you should also try and use the brightest art tools and mediums you can!
Colored pens and markers would be perfect for making the colors really pop, but these are just some of what you could use.
Your Lightsaber Drawing is Complete!
We hope that you had some out-of-this-world fun as you worked with us on this step-by-step guide on how to draw a lightsaber!
Lightsabers may be quite simple in shape and structure, but they can still be a bit tricky to draw. This guide was created to make it much easier and even more fun for you to work on!
Now you can keep the fun going as you add some details and elements of your own to create your own unique image.
There is a lot that you could do to get creative with it, so have fun and see what happens when you experiment!
There is a drawing guide to suit any taste and skill level on our website, so be sure to visit us for more fun! We have more on the way as well, so keep on the lookout for that.
We would love to have some Star Wars fun alongside you, so please do share your finished lightsaber drawing on our Facebook and Pinterest pages for us to enjoy!